
I kept asking my stylist for "just a little warmth" and walking out with orange edges. After the third try I learned that chocolate brown needs soft placement, thin sections, and a demi gloss to read like fall light instead of a dye job. That small change stopped the midweek panic and made my coffee-run hair look intentional.
These ideas are for anyone with a chocolate brown base who wants fall-ready highlights without daily upkeep. Expect a range from salon-level techniques to easy at-home touchups, budget notes, and heat-free options. I tested these across four hair textures I have styled, and most suggestions include one product you can grab quickly. If your hair is porous, look for the porosity notes in each entry and plan for a glaze after lightening.
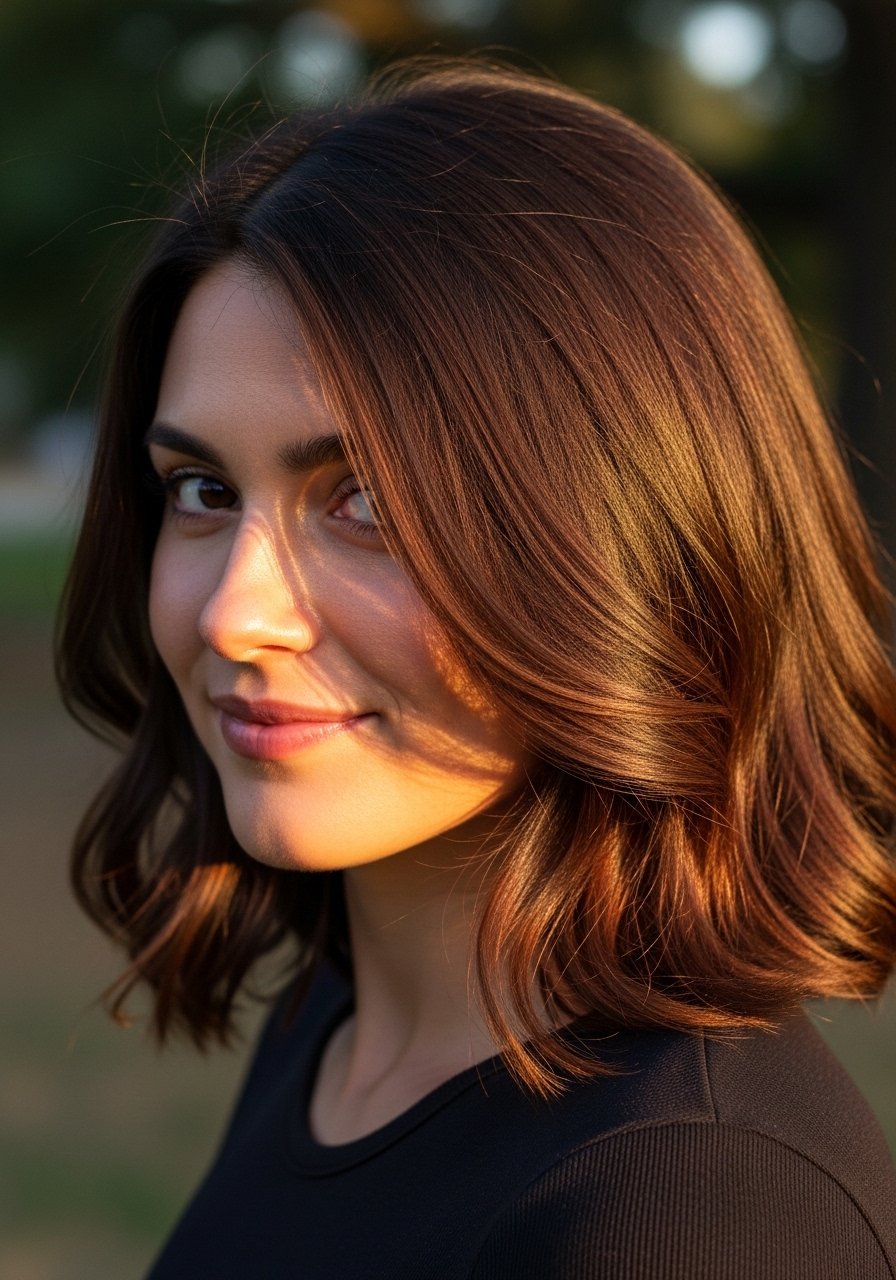
1. Warm Caramel Babylights
Babylights are tiny painted highlights placed in 1/8- to 1/4-inch sections to mimic natural sun hits. For fall, ask for warm caramel instead of pale blonde so the contrast stays cozy against chestnut clothing. The effect reads polished because each strand is only lifted about two levels, which keeps brass minimal on darker bases. This look works well for fine hair and anyone who wants soft brightness without a full commitment. Use a gentle lightener cream to keep elasticity, and finish with a glossing hair serum to blend tones.
Mistake to Avoid: Spacing babylights too close together, which makes the highlights look stripy instead of natural.
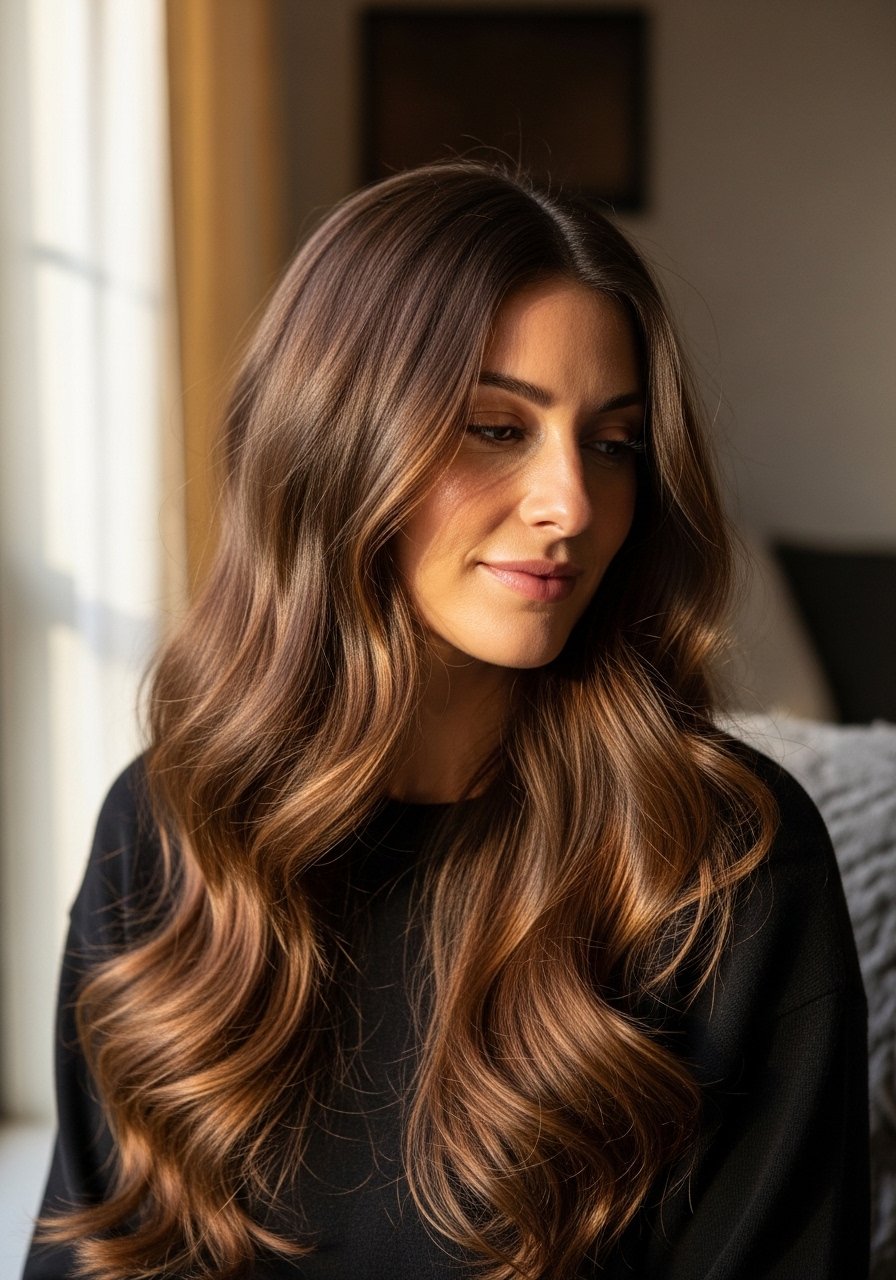
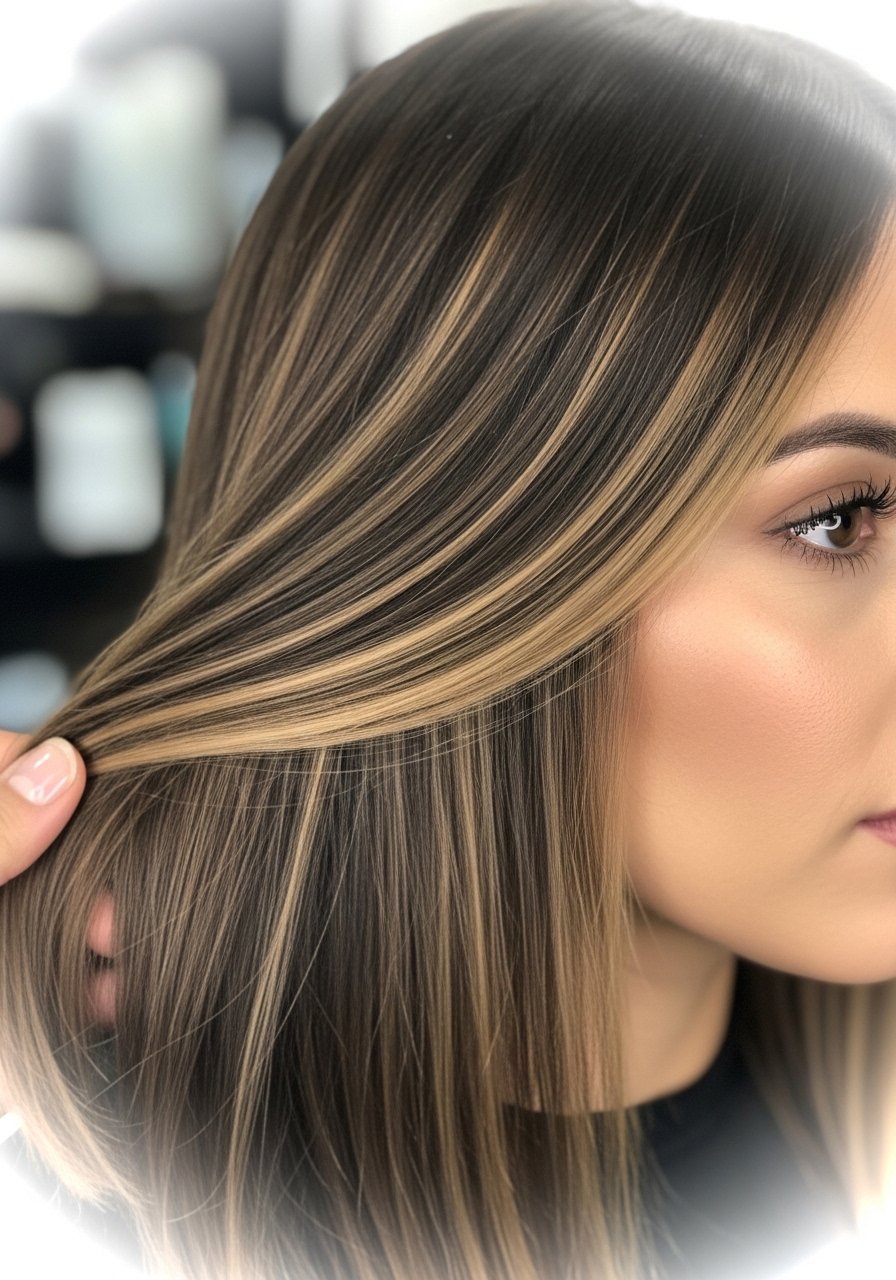
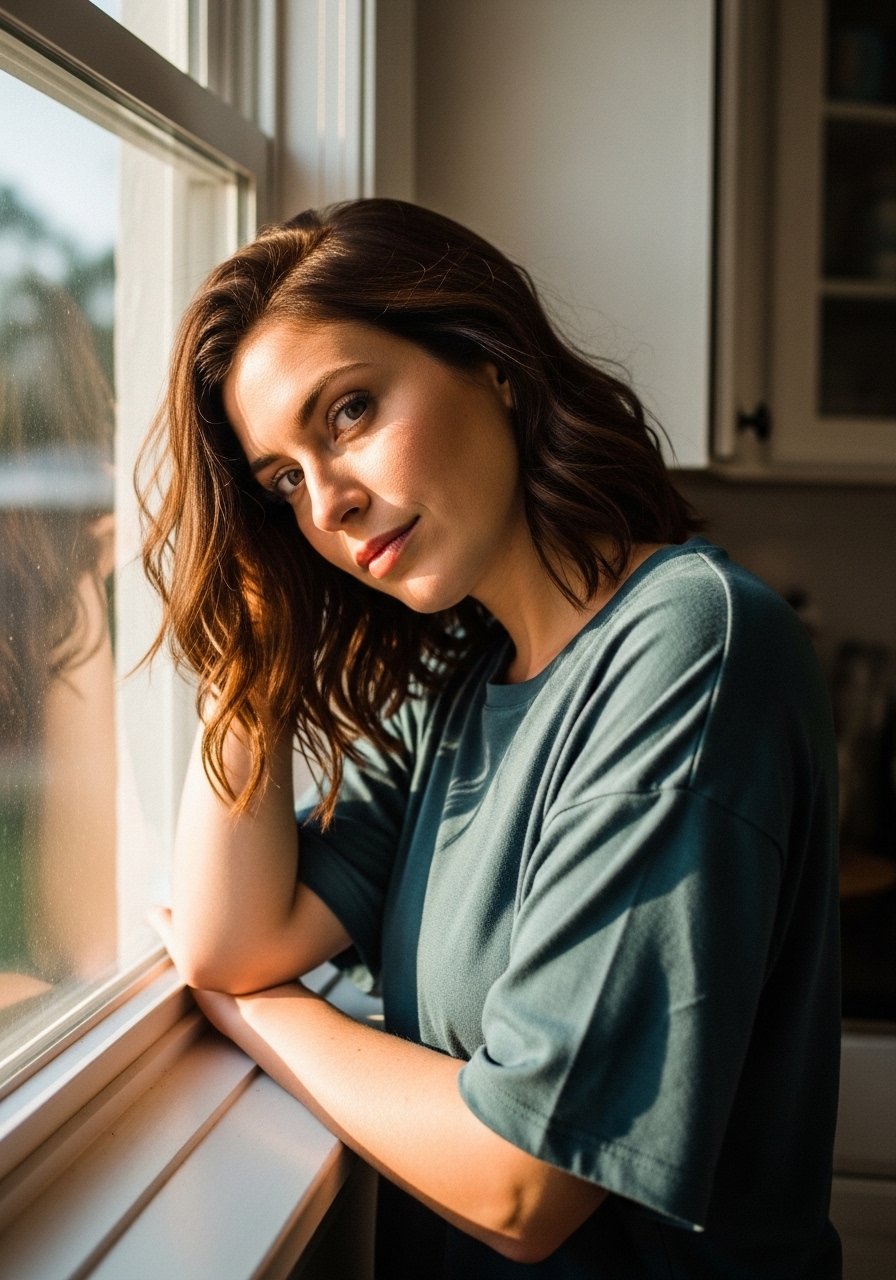
2. Face-Framing Soft Balayage
Balayage gives a lived-in gradient by painting freehand about 2 to 3 inches away from the root. For fall, keep the painted strokes horizontal and thin so the pieces catch light without a hard line. This creates a toasted-wood vibe that feels warm and intentional. It suits medium to thick hair best, but stylists can thin the painted areas for fine textures. At home, maintain it with a color-depositing conditioner every 3 washes to prevent fading. Ask your colorist to lift only to a warm chestnut, not pale blonde.
Mistake to Avoid: Requesting full-face brightening when you actually want subtle warmth, which leads to obvious regrowth.
3. Subtle Copper Ribbon Highlights
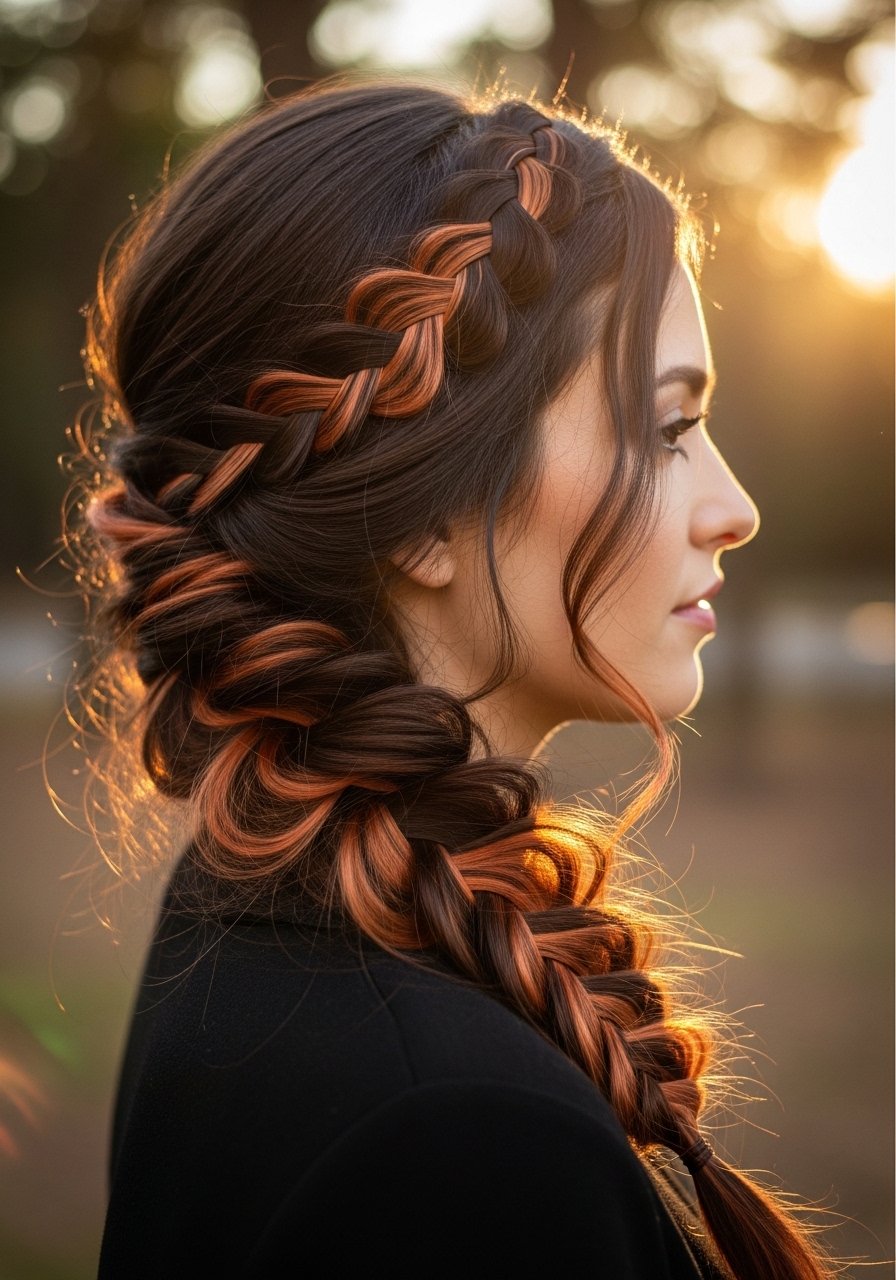
Copper ribbons are narrow sliced highlights painted in 1/4-inch bands to add warmth without heavy brightness. They catch in motion and create that mug-of-cider glow in photos. This is a good swap for dated chunky blonde highlights. For a believable fall result, lift only one to two levels and tone with a warm glaze. Use a copper-neutralizing mask if your hair tends to overshoot into orange. Copper ribbons work on straight, wavy, and loose-curly textures and are quick in the chair, usually 45 to 75 minutes.
Mistake to Avoid: Leaving slices too thick, which becomes a stripe instead of a ribbon.
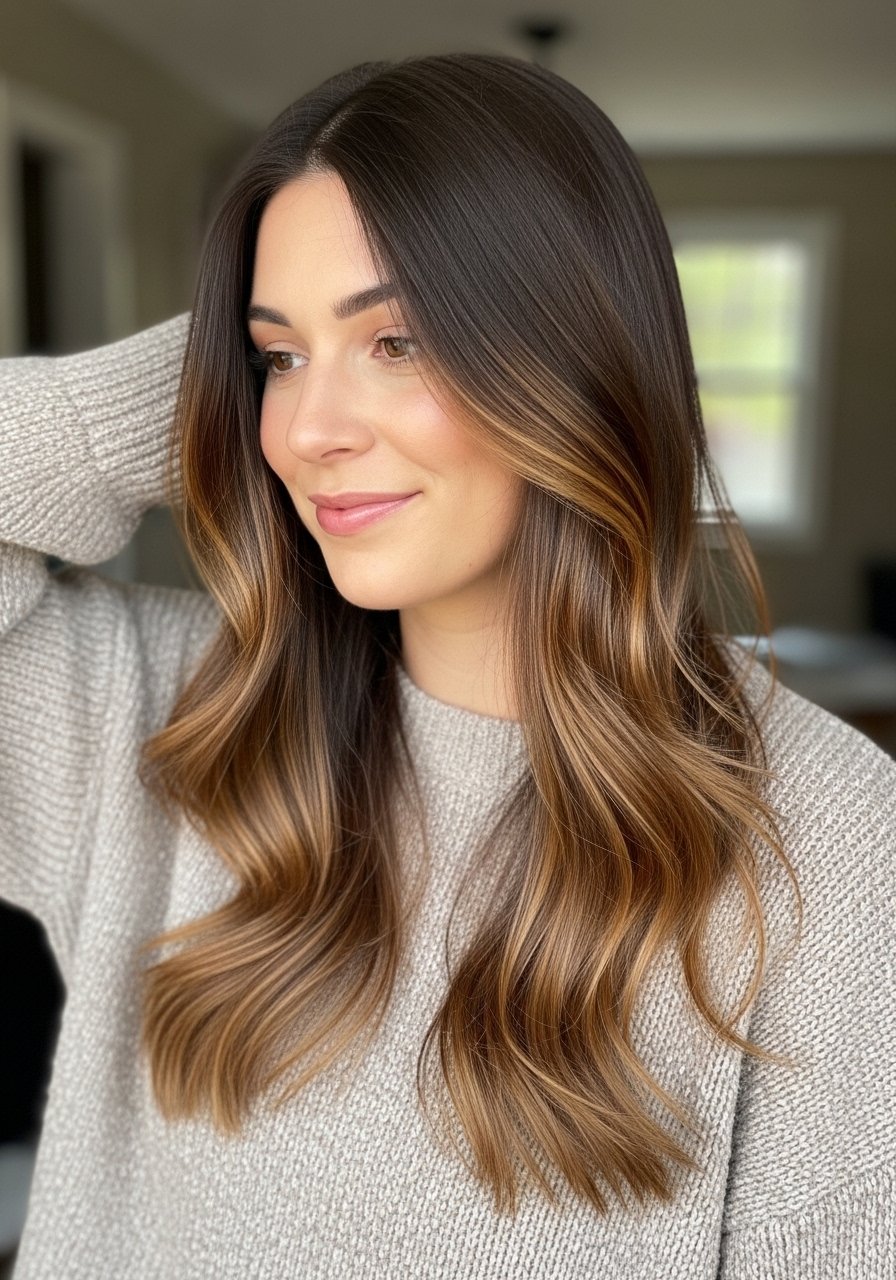
4. Deep Chocolate With Honey Lowlights
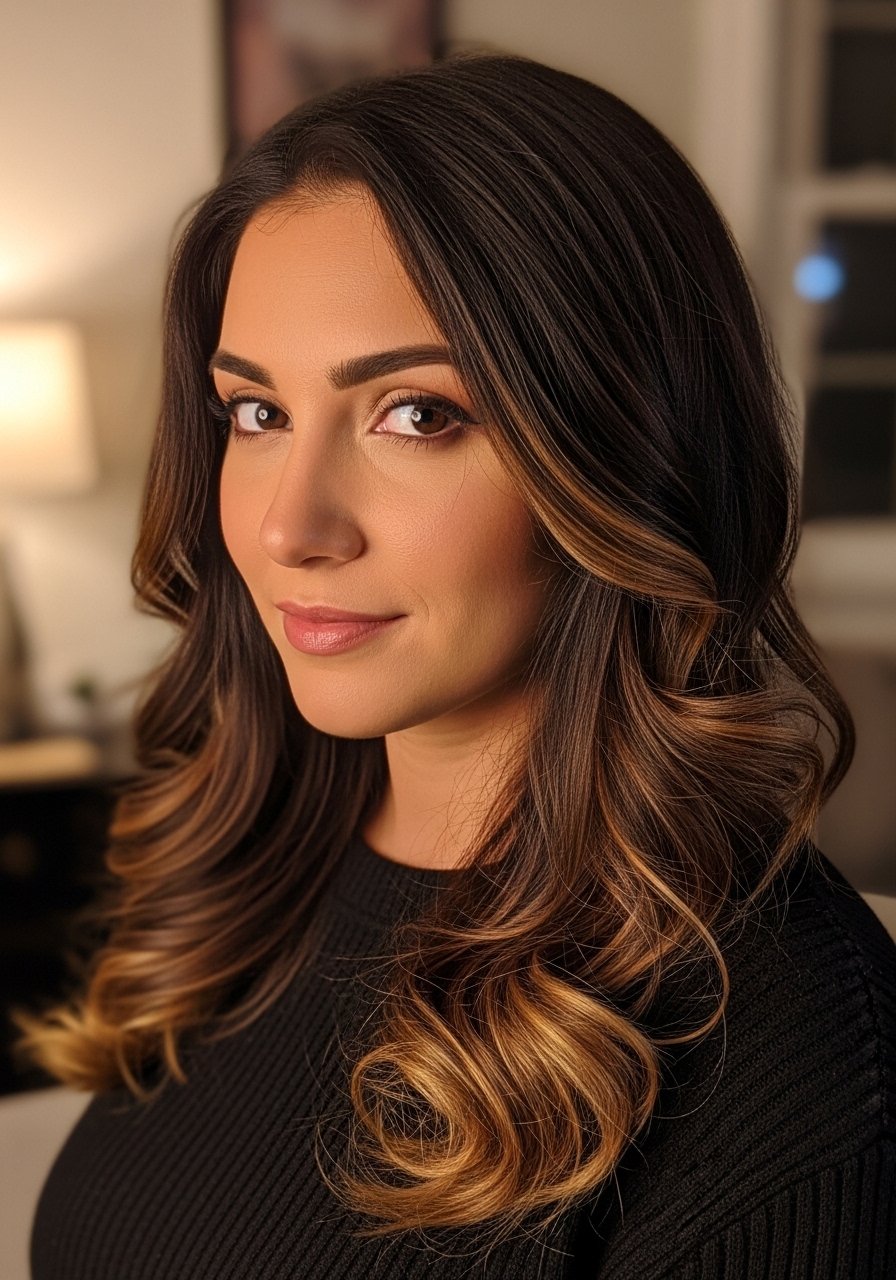
If you already have warm highlights that faded into brassy streaks, bring the base darker and insert honey lowlights around the mid-lengths and ends. The technique is painterly, using 1/2-inch strokes to blend. It gives depth and keeps the overall tone grounded for fall outfits. This is a fixer for people who feel their highlights are too bright but miss the dimension. Maintain with a sulfate-free color shampoo and a weekly gloss to keep the honey from dulling.
Mistake to Avoid: Darkening everything equally, which removes dimension and flattens texture.
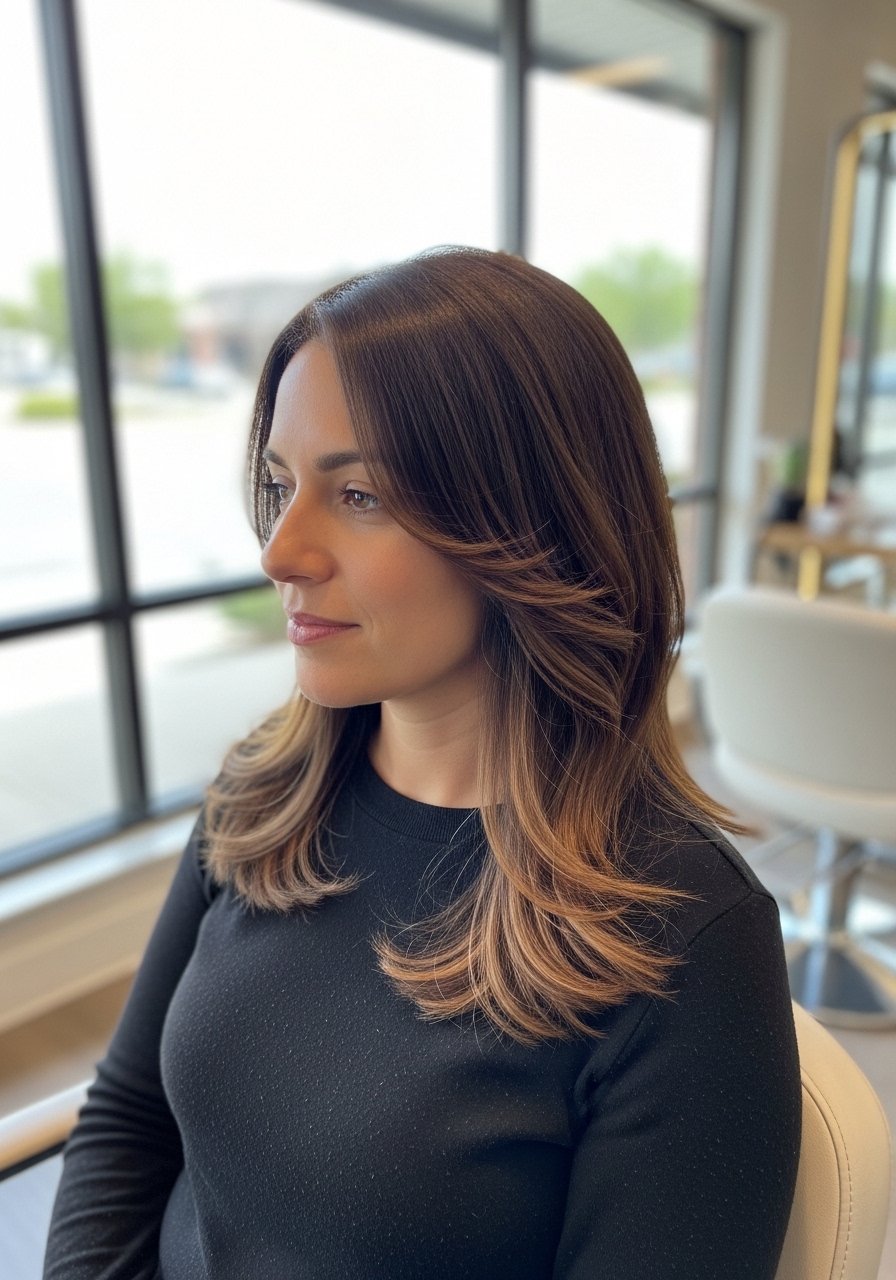
5. Ash-Free Money Piece
The money piece is still trendy but fall favors warmth rather than ash. Ask for an ash-free money piece in a warm honey or caramel that frames the face and lifts the complexion. Technically, keep sections thin, about 1/4 inch, and paint from mid-shaft so the root line feels natural as it grows out. This suits anyone who wants contrast but hates upkeep. To maintain tone between appointments, use a color-refresh gloss once a week.
Mistake to Avoid: Choosing an ashy money piece on a warm skin tone, which can make the face appear washed out.
6. Sun-Kissed Slices For Fine Hair
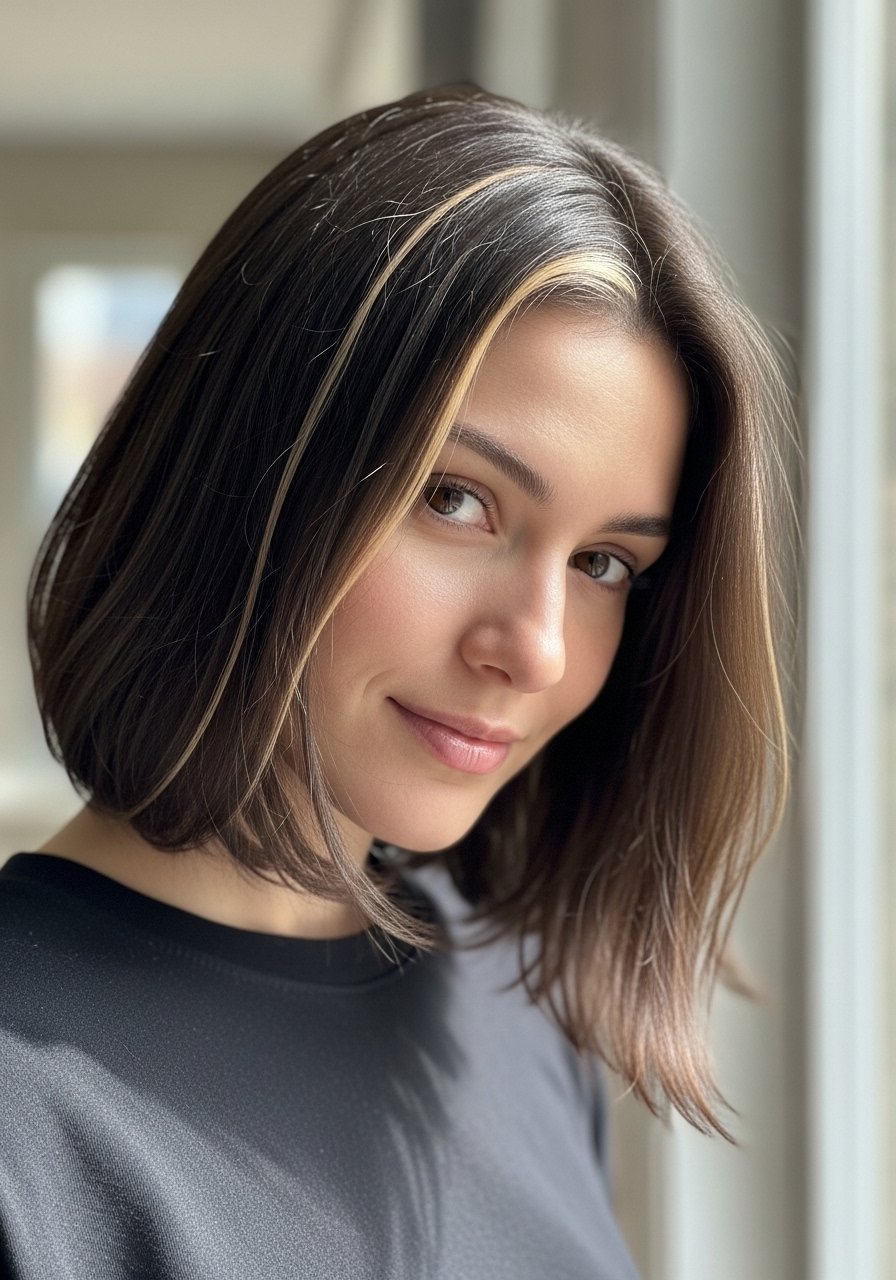
Fine hair often loses highlights because heavy foils weigh strands down. Instead, opt for sun-kissed slices, spaced slightly wider and painted with feathered ends. Use 1/8-inch slices and a low-volume developer to protect integrity while still lifting slightly. The result is brightness without density loss, and styling with a small round brush shows the pieces. Pair with a lightweight leave-in conditioner to avoid flatness.
Mistake to Avoid: Asking for chunky highlights, which make fine hair look sparse and stripy.
7. Glazed Toner For Smooth Shine
A glaze is a semi-permanent toner applied after lightening to smooth porosity and unify tones. For fall, a warm glaze with low ammonia corrects brass and adds a transparent sheen. Technically, leave on 5 to 15 minutes depending on porosity, then rinse. This is a low-cost chair service that extends highlight life by weeks and is perfect for anyone who wants to postpone a retouch. Keep one at home like a color gloss treatment for between-salon refreshes.
Mistake to Avoid: Skipping glaze after lightening, which leaves strands chalky and uneven in photos.
If any of these ideas have you ready to actually try something, here is everything worth picking up.
Essentials For Chocolate Brown Shine
Coloring Tools:
- Toning applicator brush (~$8-15), handy for precise money pieces and balayage edges.
- Mixing bowls for color (~$10-18), lightweight and microwave safe if you do at-home glosses.
Maintenance & Home Care:
- Glossing hair serum (~$12-22), smooths cuticle and blends highlights.
- Color-depositing conditioner (~$12-20), use every third wash to refresh warm tones.
- Sulfate-free color shampoo (~$10-18), protects lifted strands from fading.
Styling Aids:
- Lightweight leave-in conditioner (~$8-15) for fine and processed hair.
- Microfiber hair towel (~$10-14), reduces friction and prevents breakage after color services.
8. Rooty Melt For Low Maintenance
A root melt blends the natural root into lighter lengths so regrowth looks intentional. Ask for a 60 to 70 percent root shadowed blend that fades into highlights at the mid-lengths. This is ideal if you want to extend salon visits to 3 months or more. Technique-wise, the colorist paints glaze into the root area and blurs with a half-inch feathering motion so there is no hard line. Maintain with a sulfate-free shampoo and a gloss every 4 to 6 weeks.
Mistake to Avoid: Creating a too-dark root shadow that removes all contrast and makes the hair look flat.
9. Chestnut Peekaboo Underlights
Peekaboo underlights are color painted beneath the top layer so movement shows warmth without constant exposure. For fall, choose chestnut or warm toffee to harmonize with coats and scarves. Placement is key, paint 1 to 2 inch sections under the crown and near the nape. This is a great gap most articles miss, because it gives color for movement without increasing maintenance. Use a heat protectant spray when styling the reveal pieces.
Mistake to Avoid: Placing underlights too low, which hides them entirely and wastes the effect.
10. Painted Babylights For Curly Hair
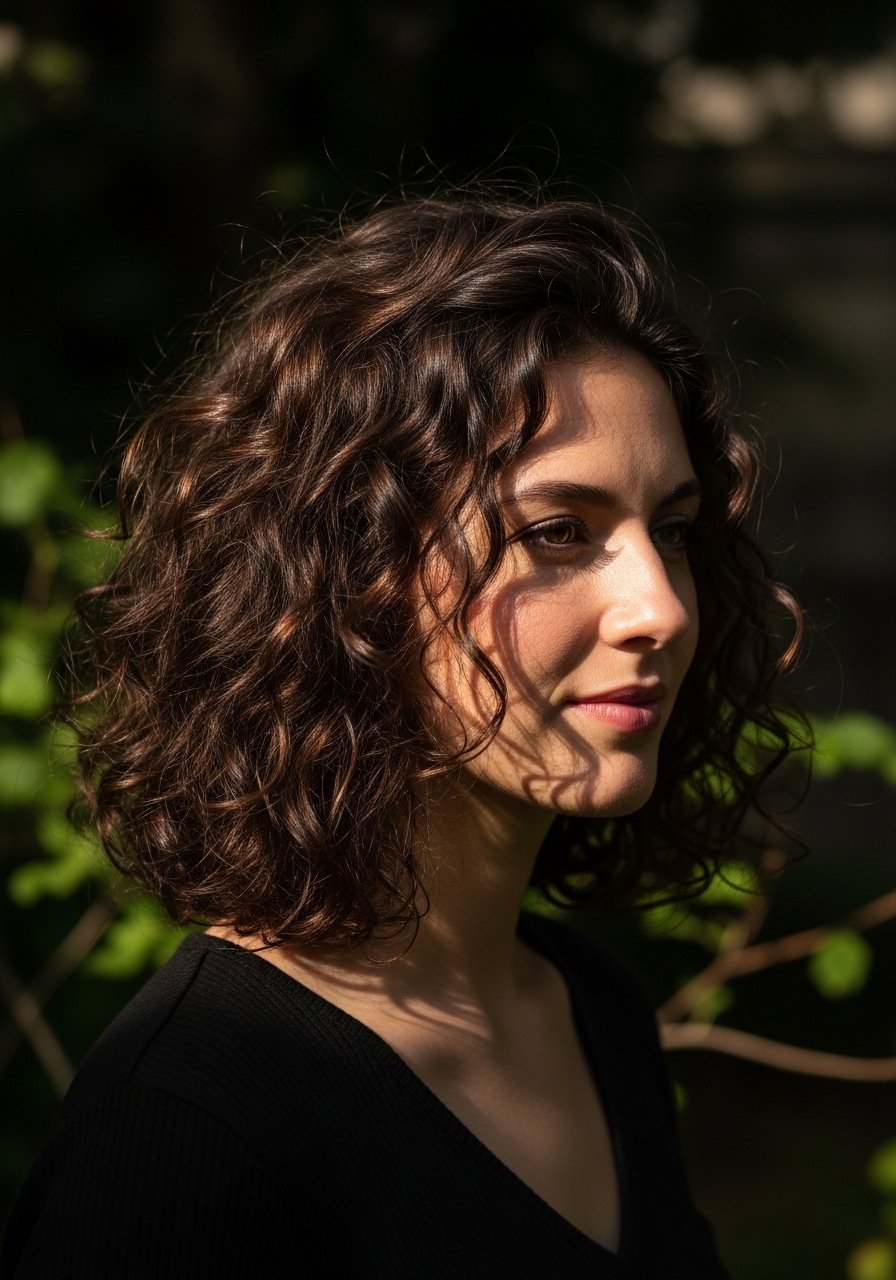
Curly hair needs highlights painted on dry curls to see how each coil takes color. Painted babylights on curls should be thinner and placed where strands naturally part. Lift by only one to two levels and tone warm to avoid brassy bounce. A key detail is to use a cream lightener and monitor every 3 to 5 minutes since curls can flash lift. I learned this after a few misfires and it changed how long my curls stayed healthy. Finish with a curl-specific leave-in.
Mistake to Avoid: Painting highlights on stretched or wet curls, which misreads the final placement.
11. Heat-Free Brightening With Gloss Treatments
If you want brightness without extra lightening, regular gloss treatments deposit pigment and reflective shine on the surface. Use a warm-toned glaze every 4 to 6 weeks to refresh highlights and neutralize any cool cast. This is a low-damage route for color refresh and works across textures. At home, a clear to warm tint gloss applied for 10 minutes can lift perceived brightness without developer. Keep a color-gloss treatment in your routine and skip heat styling the day after application for best shine.
Mistake to Avoid: Leaving a pigmented glaze on too long at home, which can drift too warm or muddy mid-lengths.
Keeping Chocolate Brown Highlights Fresh
Thin coats beat one thick coat every time. Three thin layers of a quick-dry top coat look smoother and last longer than one gloopy layer.
Grab a microfiber hair towel for around $12. Blot, do not rub, and your highlights stay glossy longer because cuticles seal faster.
Curly hair air-dries best plopped in a microfiber towel, not wrapped in cotton. A microfiber hair turban costs about $14 and saves twenty minutes.
Most people rinse color with hot water. Cool your final rinse to lukewarm or cool, and use sulfate-free shampoo to preserve tone and reduce fading.
If you have porous ends, use a protein-rich mask monthly to rebalance porosity and keep highlights from soaking up too much pigment.
