
The saved pins all had tiny, perfect lilies floating on wrists, but my first attempt blurred into a smudge by week two. I learned to ask for single-needle work, to accept a 2 to 3 inch placement, and to treat the design like jewelry, not a sticker. After a few awkward touch ups and a lot of reading, I have a set of small tiger lily ideas that actually age well.
These picks are for someone who wants simple, mostly work-coverable ink that reads elegant up close. Most are one-session pieces, low pain, and budget friendly when you ask for 1 to 2 inches max. Across five shops I have visited I noticed artists default to heavier lines unless you specify needle size, so these ideas lean clean and intentionally small. Expect basic aftercare and a touch-up at three months sometimes. Links point to things I actually reached for during healing, nothing fancy.
1. Single-Needle Line Lily
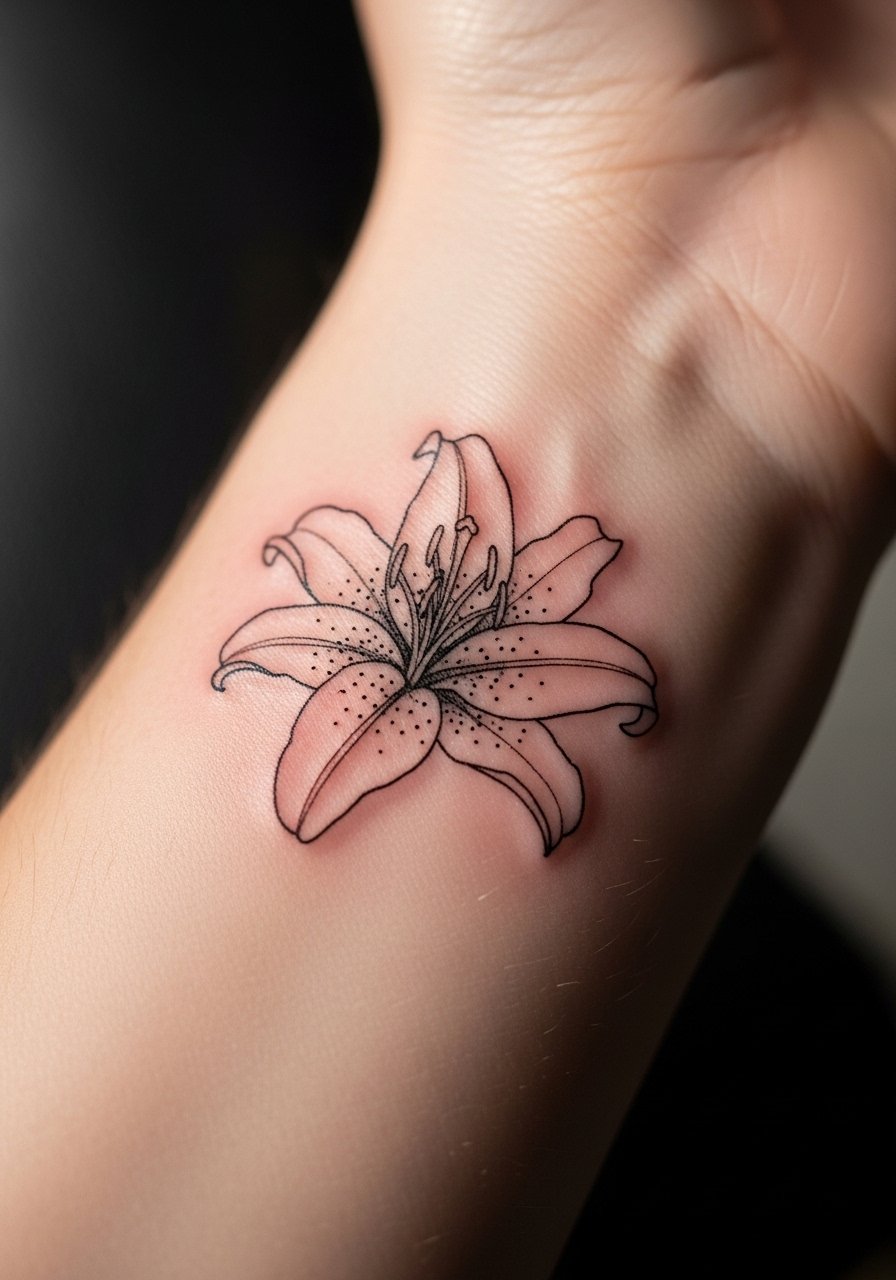
Style/Technique: Fine line single-needle
Pain Level: 3/10
Session Time: 30 minutes to 1 hour
Best For: Inner wrist, ankle, visible-but-easily-covered placements
The charm here is the whisper of a single-needle line, the way delicate petals suggest shape without heavy black. It reads like jewelry at arm's length and holds up if the artist uses 1RL or 3RL for slightly stronger curves. Ask for 1 to 1.5 inches for wrists, which keeps the petals from crowding when the skin stretches. Budget friendly because it is quick to do. I used a small tube of tattoo balm during the first week to keep scabs soft. For anyone new to line work, the artist will advise on spacing.
Mistake to Avoid: Asking for "as small as possible" without specifying needle size, which makes lines too thin and prone to blur.
2. Tiny Tiger Lily Outline
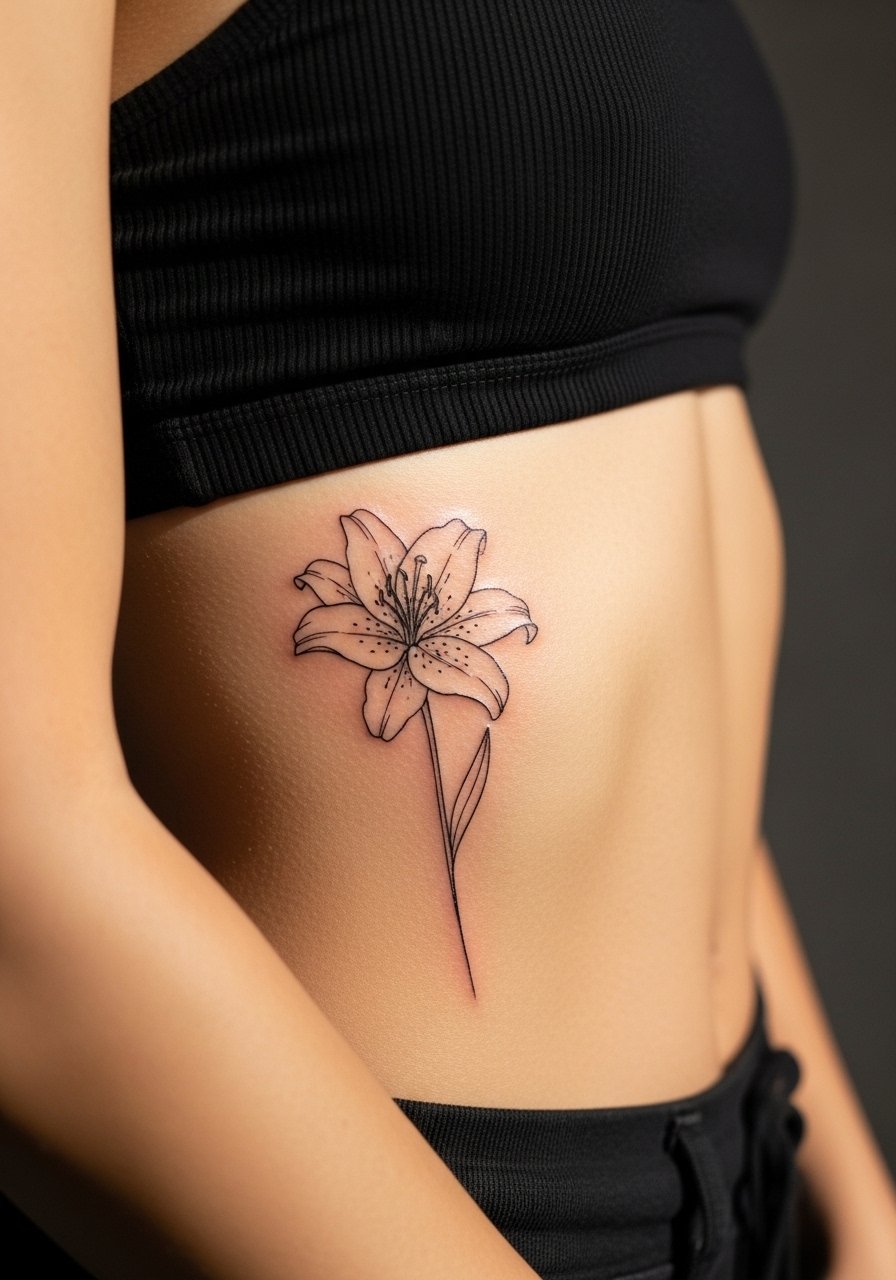
Style/Technique: Minimal outline
Pain Level: 5/10
Session Time: 45 minutes to 1.5 hours
Best For: Rib, side torso, coverable placements
Outlines are the most classic minimal option, a single continuous contour with small stamen dots. It looks crisp in photos, and in real life it sits best when scaled to 2 to 3 inches on the rib so the curves breathe. This style gives a soft silhouette when you wear a crop top or a low side tee. If you want color later, an outline gives you a clean base. I keep an unscented gentle tattoo soap on hand during showers to avoid stripping pigment. Expect a short touch-up if you sit too long in the sun the first month.
Mistake to Avoid: Washing with abrasive soaps and scrubbing the outline while healing.
3. Single-Flower With Negative Space
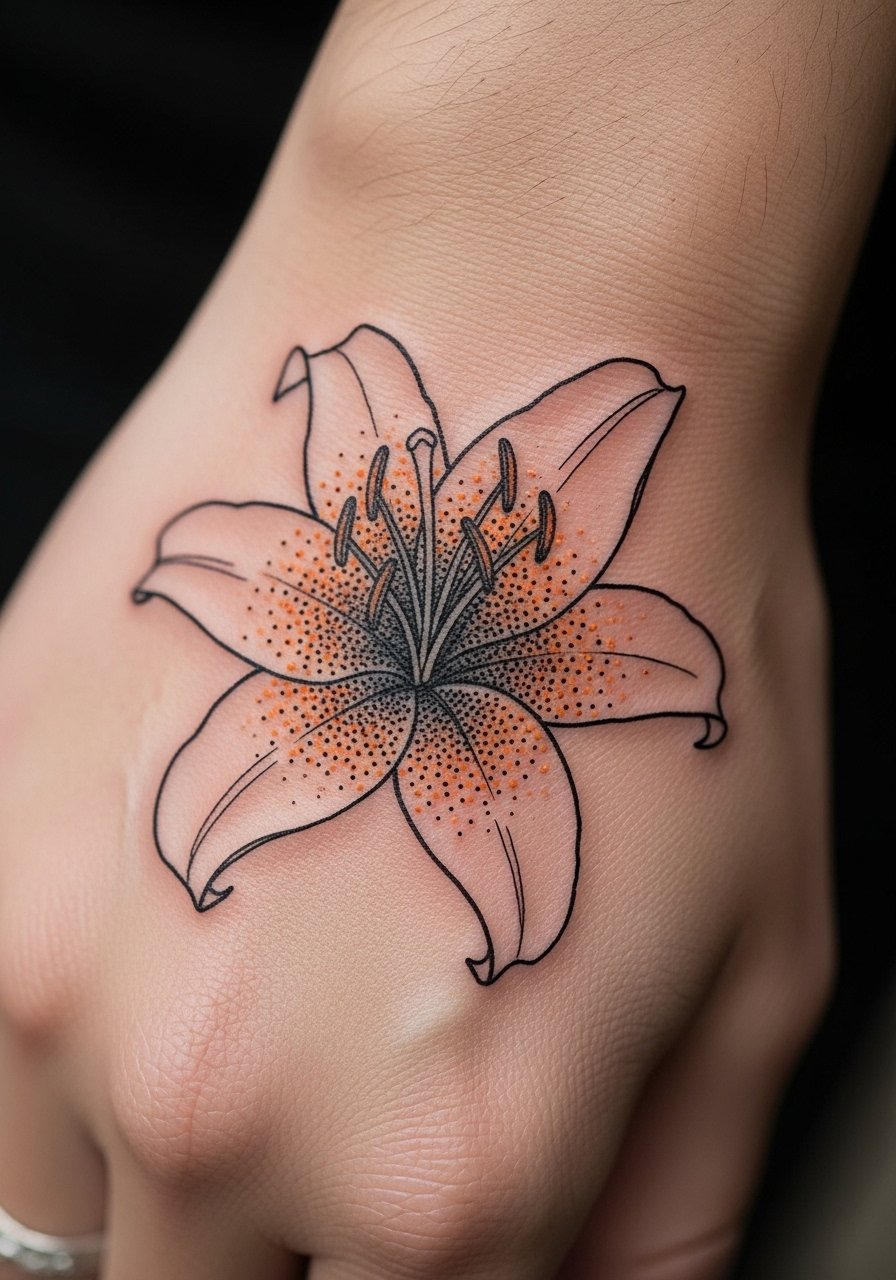
Style/Technique: Negative space linework
Pain Level: 4/10
Session Time: 45 minutes to 1 hour
Best For: Back of hand, forearm, visible areas that still cover with long sleeves
Using negative space creates the lily without filling every petal. That airy feeling is what makes it feel modern and intentional. Artists will map the white space so the petal edges read when the skin moves. Keep it 1.5 to 2 inches on hands or you risk losing petal separation. I tested this across three tattoo sessions and found a thin white retouch rarely helps the initial read. Use a light covering bandage like nonstick wound dressing for the first day to avoid sticking.
Mistake to Avoid: Choosing too small a negative area, which turns petals into indistinct blobs as the piece heals.
4. Tiny Color Accent Lily
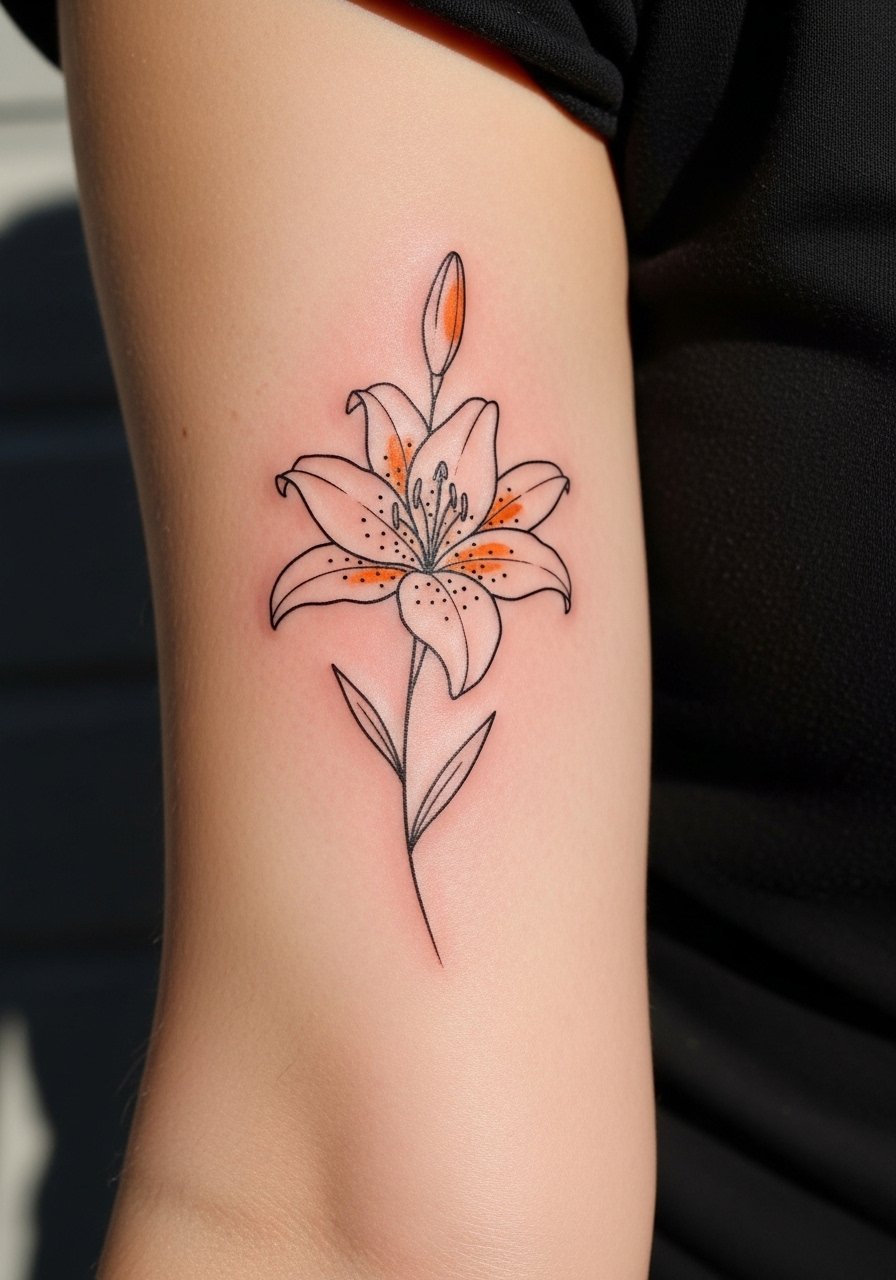
Style/Technique: Minimal color accent
Pain Level: 4/10
Session Time: 45 minutes to 1.5 hours
Best For: Inner bicep, shoulder, approachable color placements
A hint of orange in the throat of the lily makes the design pop without committing to a full color piece. Artists often use a single dot cluster of dilute orange to suggest the tiger stripe. Keep pigment minimal, and ask for a healed swatch if possible. Color sits differently on varied skin tones, so budget a quick consult. I used a small tube of unscented healing balm after the color faded a touch in week two. This style reads wearable and refined.
Mistake to Avoid: Requesting saturated color in a tiny spot, which tends to blow out and blur.
5. Tiny Stipple Shading Lily
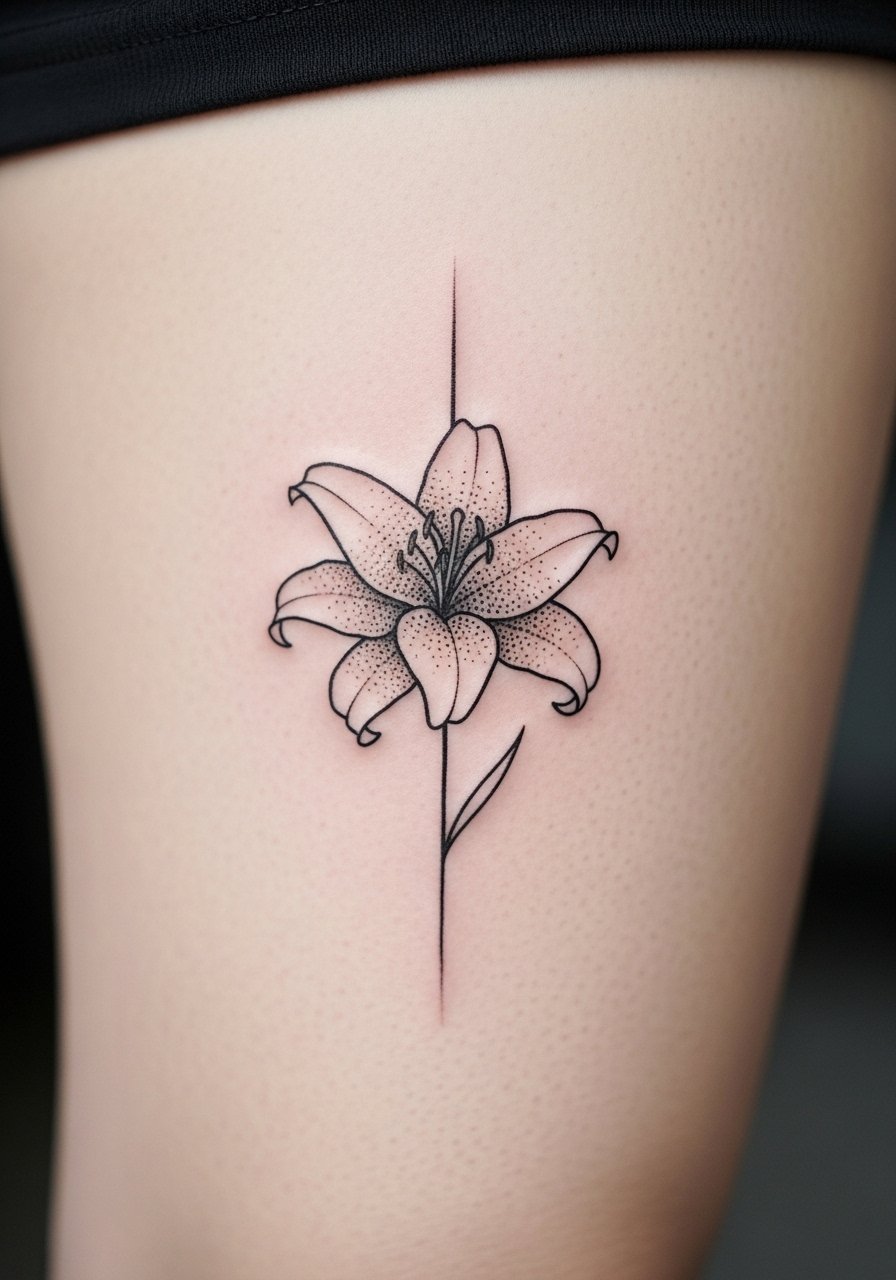
Style/Technique: Stipple shading dotwork
Pain Level: 5/10
Session Time: 1 to 2 hours
Best For: Thigh, calf, areas with softer skin that take dotwork well
Stipple gives shape without heavy gradients, a dotted wash that ages with texture rather than flat blocks. It is forgiving when scaled to 2 to 3 inches, and it looks intentional at a distance. Artists use 3 to 5 dot layers to build shadow, which creates depth without harsh edges. I bring a hypoallergenic aftercare ointment for the first 72 hours to prevent the dots from crusting too hard. For anyone with high activity levels, thigh placement handles friction better.
Mistake to Avoid: Asking for full shading in one pass, which increases scabbing and pigment loss.
6. Linework Lily With Tiny Name Accent
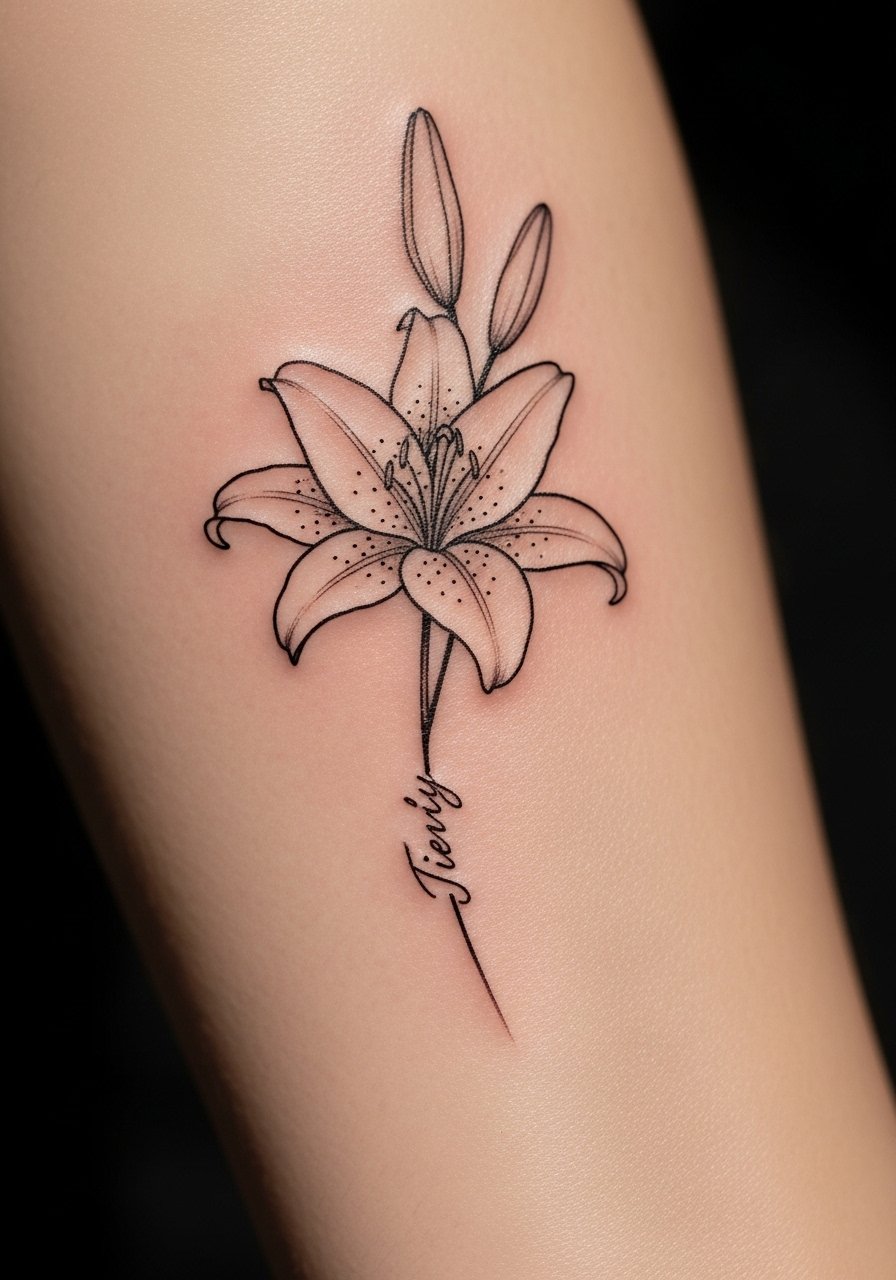
Style/Technique: Integrated script and linework
Pain Level: 3/10
Session Time: 30 minutes to 1 hour
Best For: Inner forearm, wrist, sentimental small pieces
Tiny script tucked into the stem feels personal and discreet. Keep lettering at 1 to 2 mm stroke width and choose a steady-hand artist for this micro work. Typefaces matter, ask to see how the letters look at the final size before inking. I used an alcohol-free antibacterial wipe pack in the chair for quick comfort during the stencil stage. This is a budget-friendly add and a subtle way to personalize the lily.
Mistake to Avoid: Choosing a script that looks readable at 12 point on screen but becomes illegible at tattoo scale.
7. Tiny Blackwork Lily Cluster

Style/Technique: Micro blackwork cluster
Pain Level: 4/10
Session Time: 45 minutes to 1.5 hours
Best For: Ankle, collarbone, placements that look delicate in a group
A small cluster of two or three lilies reads like a motif and gives options for future expansion. Keep each bloom around 1 to 1.5 inches so the group does not merge. Artists often space them 0.5 to 1 inch apart to maintain negative space. I carry a travel-size fragrance-free moisturizer for day four onward to prevent dryness. Cluster pieces are great if you want the option of adding leaves or a thin vine later.
Mistake to Avoid: Compressing three blooms into too small an area, which loses petal definition as it heals.
If any of these make you ready to actually try a piece, here are the essentials I kept with me the first time I committed to small lilies.
Tiny Lily Ink Kit
Aftercare Essentials:
- tattoo balm (~$8-15). Keeps scabs soft without heavy residue.
- gentle tattoo soap (~$7-12). Use twice daily during the first week.
- fragrance-free moisturizer (~$10-18). For weeks two to four.
Studio Comfort & Prep:
- antibacterial wipes individual (~$5-10). Small packs for the chair.
- nonstick-wound-dressing (~$6-12). For that first sticky night.
- medical gloves (~$8-15). Useful if you do any extra at-home care or help a friend.
Optional Tools For Touch-Ups:
- aftercare-ointment (~$6-12). Good to have for stubborn dry spots.
- tattoo-stencil-paper (~$9-16). If your artist offers the option, this helps test placement at home.
8. Micro Geometric Lily
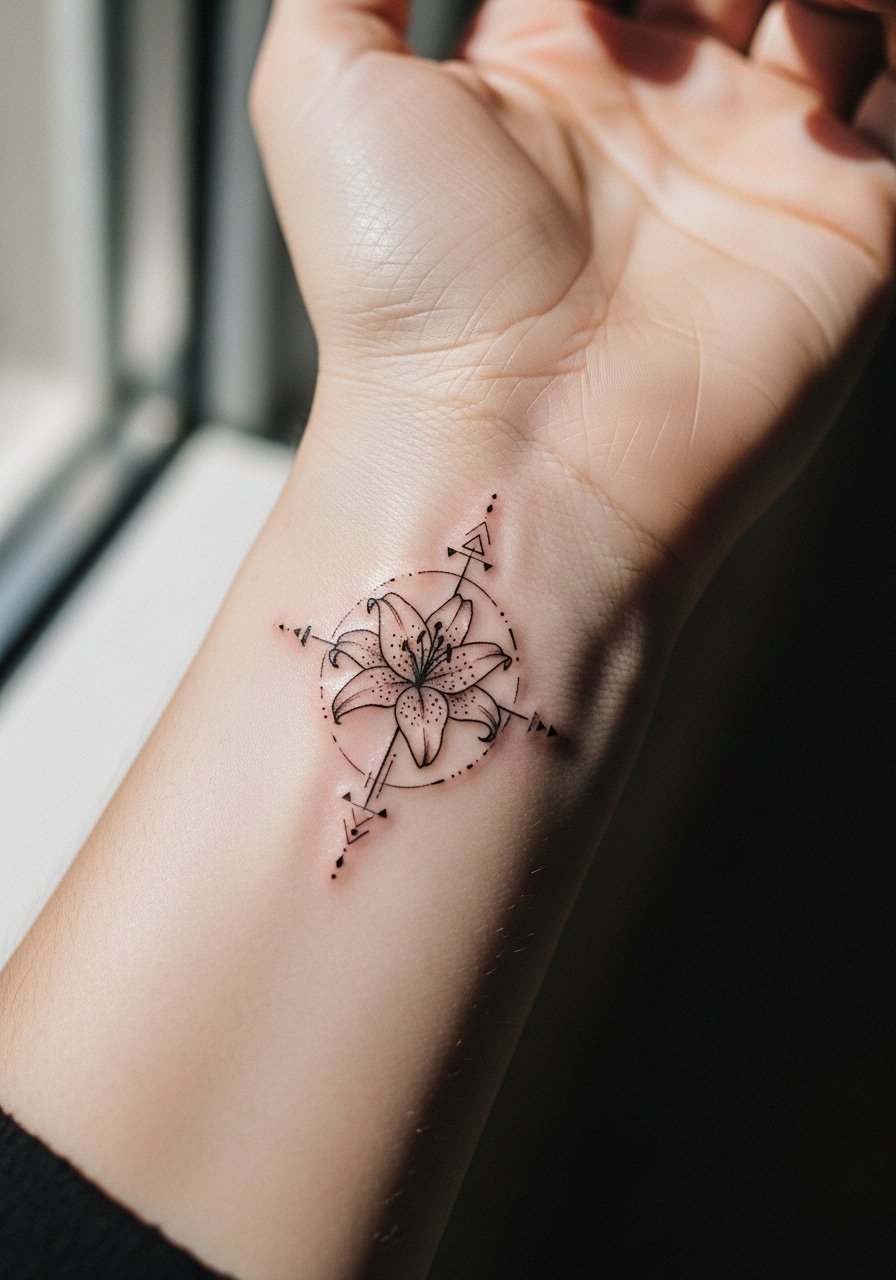
Style/Technique: Linework with geometric accents
Pain Level: 3/10
Session Time: 30 minutes to 1 hour
Best For: Wrist, behind the ear, minimal visible placements
A small lily with a single triangle or dot grid near the petals makes the piece feel modern without heavy work. The geometric element anchors the organic curve of the lily and helps it read in photos. Keep the geometry simple, one shape no larger than 0.5 inch, or it competes with the flower. I like a lightweight nonstick dressing for the first day to prevent smudging. This suits anyone who likes clean lines and a contemporary vibe.
Mistake to Avoid: Adding too many geometric elements which overwhelm the small flower.
9. Tiny Botanical Stem Spray
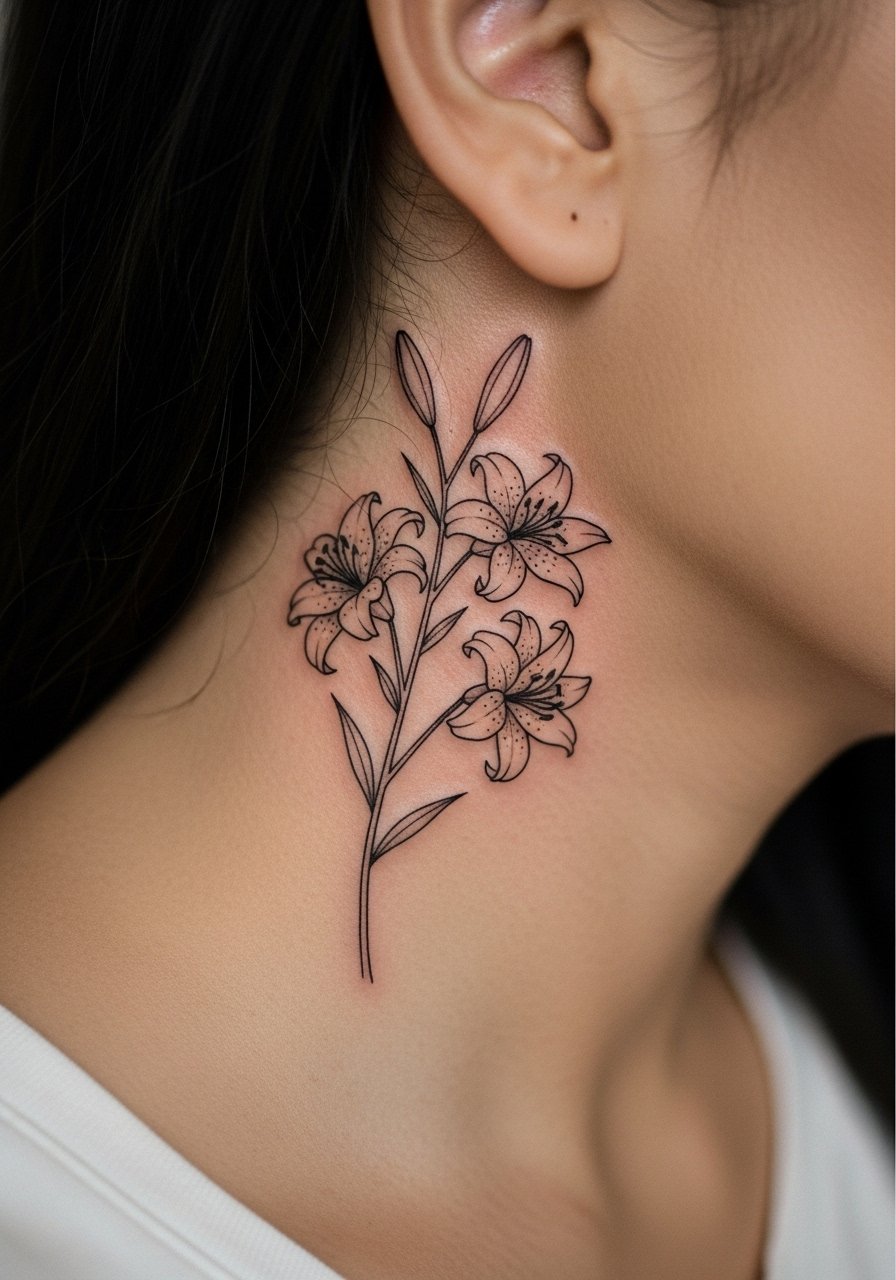
Style/Technique: Short stem spray, botanical minimalism
Pain Level: 4/10
Session Time: 30 minutes to 1 hour
Best For: Side neck, behind shoulder, visible statements that can be covered
A short stem with one small lily at the tip reads like a delicate botanical sketch. Keep the stem 1.5 to 2 inches so the flower sits naturally and the composition stays balanced against the neck or shoulder curve. Because neck skin moves a lot, expect a slightly higher touch-up rate. I applied a thin layer of unscented healing balm after the first shower to avoid excessive drying. This style feels like wearing a pendant where your skin moves with the jewelry.
Mistake to Avoid: Choosing too long a stem, which bends and blurs across mobile areas during healing.
Tiny Tattoo Care Habits
Thin coats beat one thick coat every time. Apply a very thin layer of tattoo balm twice a day, rubbed until you feel no residue. Thick layers trap moisture and invite bacteria.
Give fresh ink shade and low friction. Slip on loose cotton clothing after a session, and use a nonstick wound dressing the first night if your artist recommends it. That small step prevents accidental rubbing.
Curious about placement before committing, trace with stencil paper on your skin and live with it for a day. Tattoo stencil paper takes five minutes and saves regrets.
Don’t rush sun exposure. Keep healed minimal pieces under SPF or clothing for the first six months. A lightweight fragrance-free moisturizer keeps ink looking crisp when used regularly.
