
My first small mandala looked perfect on paper and like a smudge on my wrist, until the minute I scaled the outer petals down and tightened the inner dot grid. That tiny tweak changed the whole thing, and after a few more attempts I learned which placements keep crisp linework during healing and which designs need thicker anchor rings to age well.
I am writing these from experience across five shops I have visited, so these ideas are meant for someone who wants a low-cost session, coverable placement options, and designs that still read at three months. Expect simple linework, short sessions, and basic aftercare. If you want something ornate, bring reference art, but these are tailored to quick appointments under two hours and realistic fading.
1. Tiny Compass Mandala on the Inner Wrist

Style/Technique: Fine line geometric mandala
Pain Level: 3/10
Session Time: 30 to 60 minutes
Best For: Visible wrist placement, people who wear watches or bracelets
A compact mandala built around a tiny compass point works because the eye reads the central axis first. I ask artists to keep outer rings at least 2 mm thick so the line does not blur into a messy ring as it heals. The result feels intentional and quietly directional, good for someone who wants a visible piece they can also cover with a watchband. For at-home prep, I bring a fragrance-free aftercare balm to the shop so the artist sees what I plan to use after. Budget is low because this is largely single-needle work done in under an hour.
Mistake to Avoid: Asking for ultra-fine outer rings thinner than 0.3 mm, which often blow out during healing.
2. Mini Dot-Grid Mandala Behind the Ear

Style/Technique: Dotwork geometric mandala
Pain Level: 2/10
Session Time: 20 to 40 minutes
Best For: Concealable placement, subtle jewelry-adjacent look
A behind-the-ear mandala reads like a hint of pattern rather than a statement. The trick is to space the dot grid at roughly 1.5 to 2 mm between main dots so the negative space keeps the design from looking crowded. It creates a quiet, textured feeling and is ideal for someone who wears hair up occasionally. For touch-ups and gentle cleaning, pack a mild tattoo-specific cleansing soap for the first week. This is a budget-friendly session because the small dotwork bowls into one concentrated area and heals flat against the skin.
Mistake to Avoid: Crowding the dotwork so dots sit closer than 1.2 mm, which makes the pattern blur when skin swells.
3. Geometric Half-Mandala on the Rib Cage
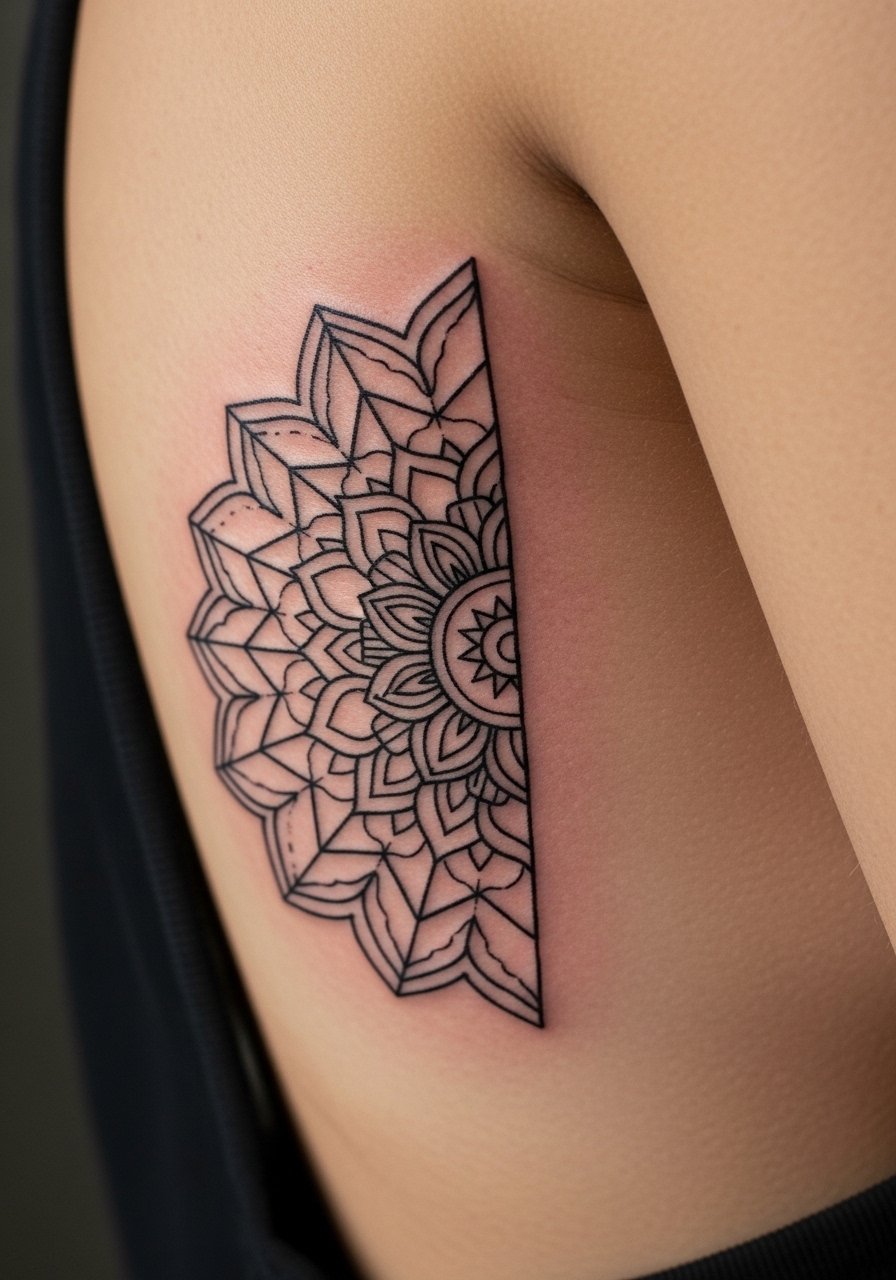
Style/Technique: Half-mandala linework
Pain Level: 6/10
Session Time: 45 minutes to 1.5 hours
Best For: Coverable placement, people who want larger visual impact without full back pieces
A half-mandala that hugs the rib allows for a bigger pattern while still counting as a "small" tattoo by session length. I learned to request anchor segments at 3 to 4 mm across the outer curve to prevent thin lines from fading into the seam between ribs. The result feels balanced and a little private, because you can show it at the beach or keep it hidden with a tee. Bring a lightweight breathable transfer paper if you are DIY-ing stencil work at the consult stage. Expect a higher pain score, but a single session usually suffices.
Mistake to Avoid: Asking for identically thin rings across highly curved rib skin, which causes uneven healing and patchy linework.
4. Micro Mandala on the Side Finger
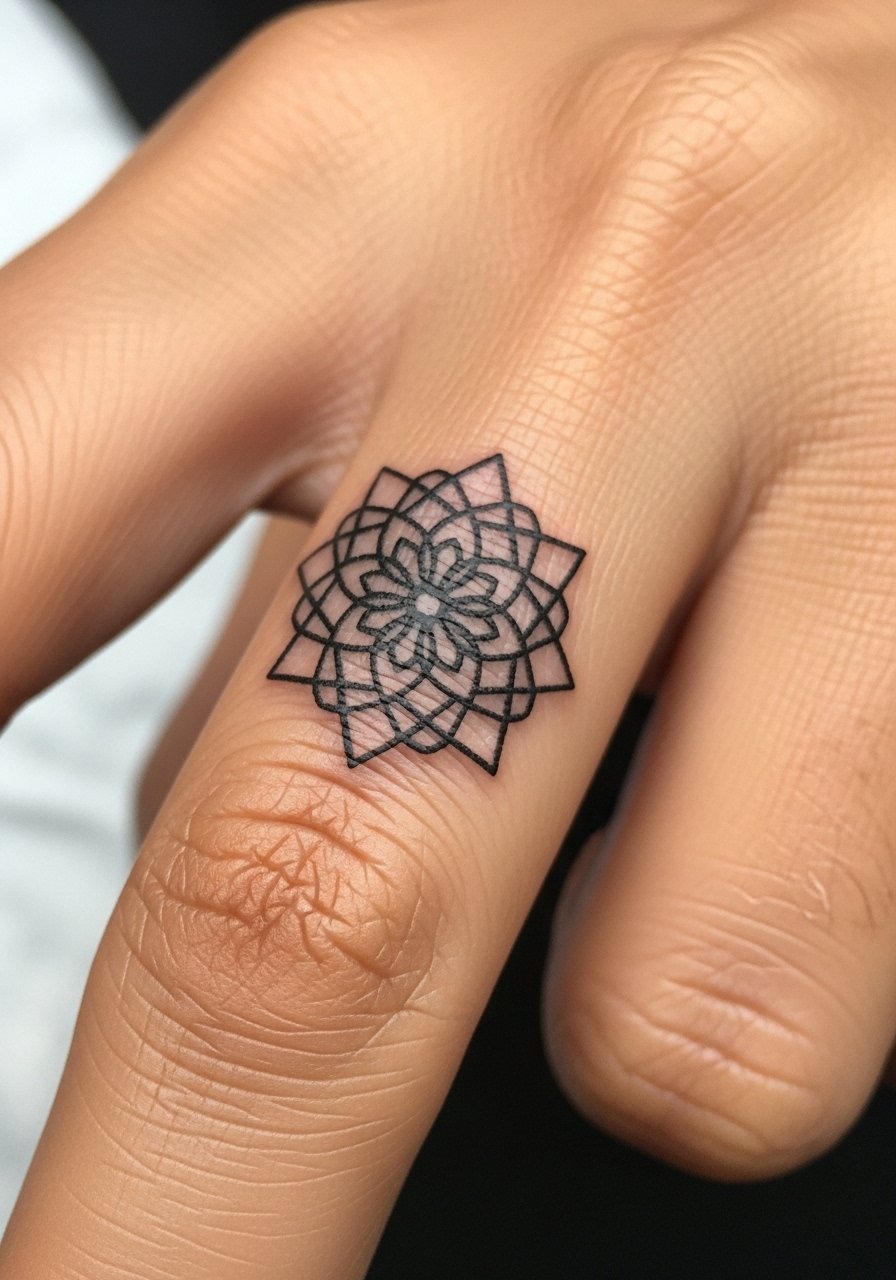
Style/Technique: Micro geometric mandala
Pain Level: 4/10
Session Time: 15 to 30 minutes
Best For: Finger placement, people who want a delicate ring-like effect
A small mandala placed on the finger side reads like a permanent ring. To keep this wearable, artists should thicken the outer band to at least 0.8 mm and keep inner details simple so the pattern ages cleanly. It creates a tactile, intentional feel when you clasp hands or hold a cup. Hands see more sun and friction, so plan for faster fading and a likely touch-up at six to twelve months. Pack a tiny travel aftercare balm to reapply while you work or travel.
Mistake to Avoid: Demanding intricate filigree on the finger without accepting the need for regular touch-ups.
5. Tiny Sunburst Mandala on the Ankle
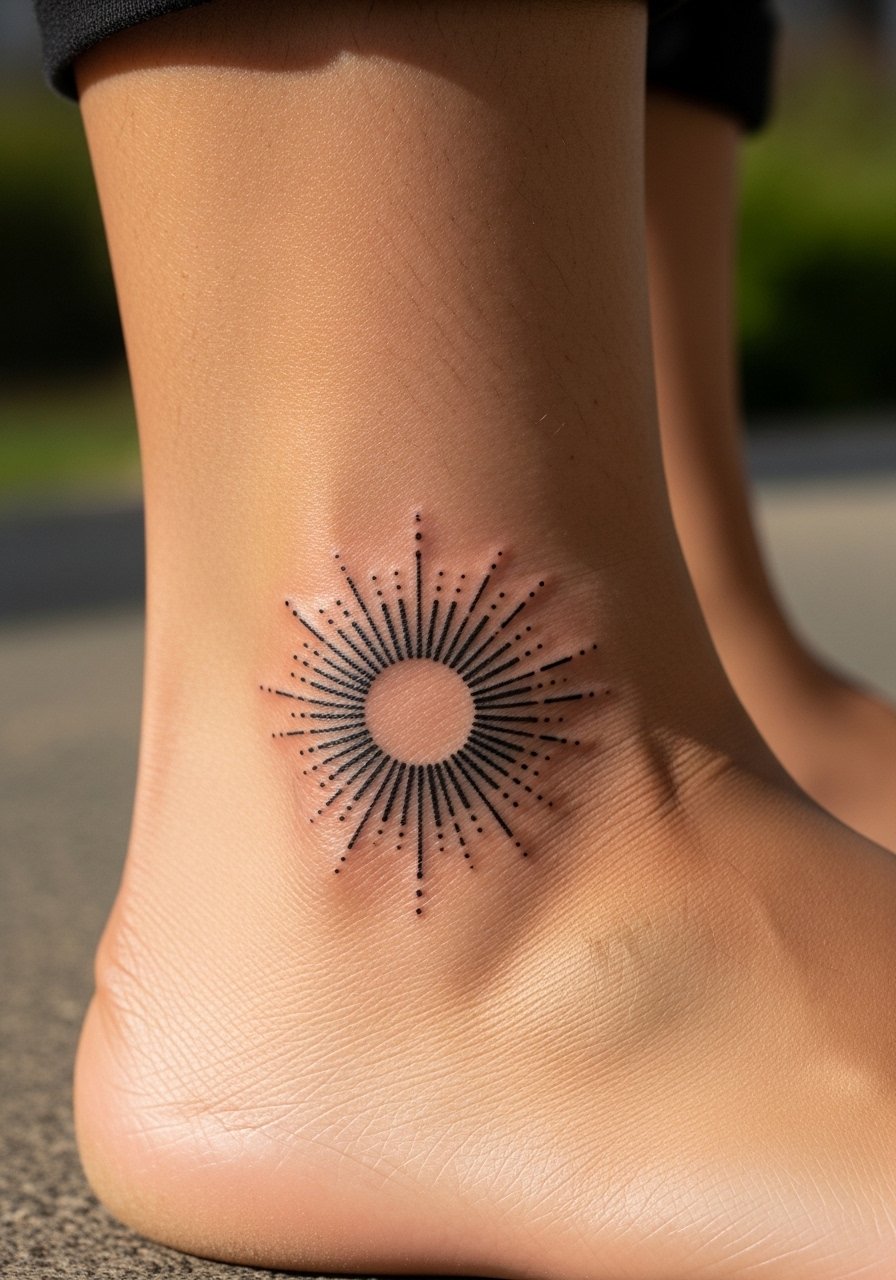
Style/Technique: Radial linework mandala
Pain Level: 3/10
Session Time: 25 to 45 minutes
Best For: Ankle placement, people who wear low shoes or sandals
A sunburst mandala on the ankle works because the radial lines spread outward and read even from a distance. I ask for line terminals to be rounded and spaced at about 2 mm so the pattern cleans up while the skin settles. The feeling is warm and playful, and the placement is easy to hide with socks for work. Bring a thin pair of slip-on shoes to the appointment so straps do not rub the area while it heals. I also carry a small broad-spectrum mineral sunscreen stick for months when the ankle is exposed.
Mistake to Avoid: Choosing razor-thin spike points that collapse into a single blur after a month of wear.
6. Concentric Ring Mandala on the Back of the Neck
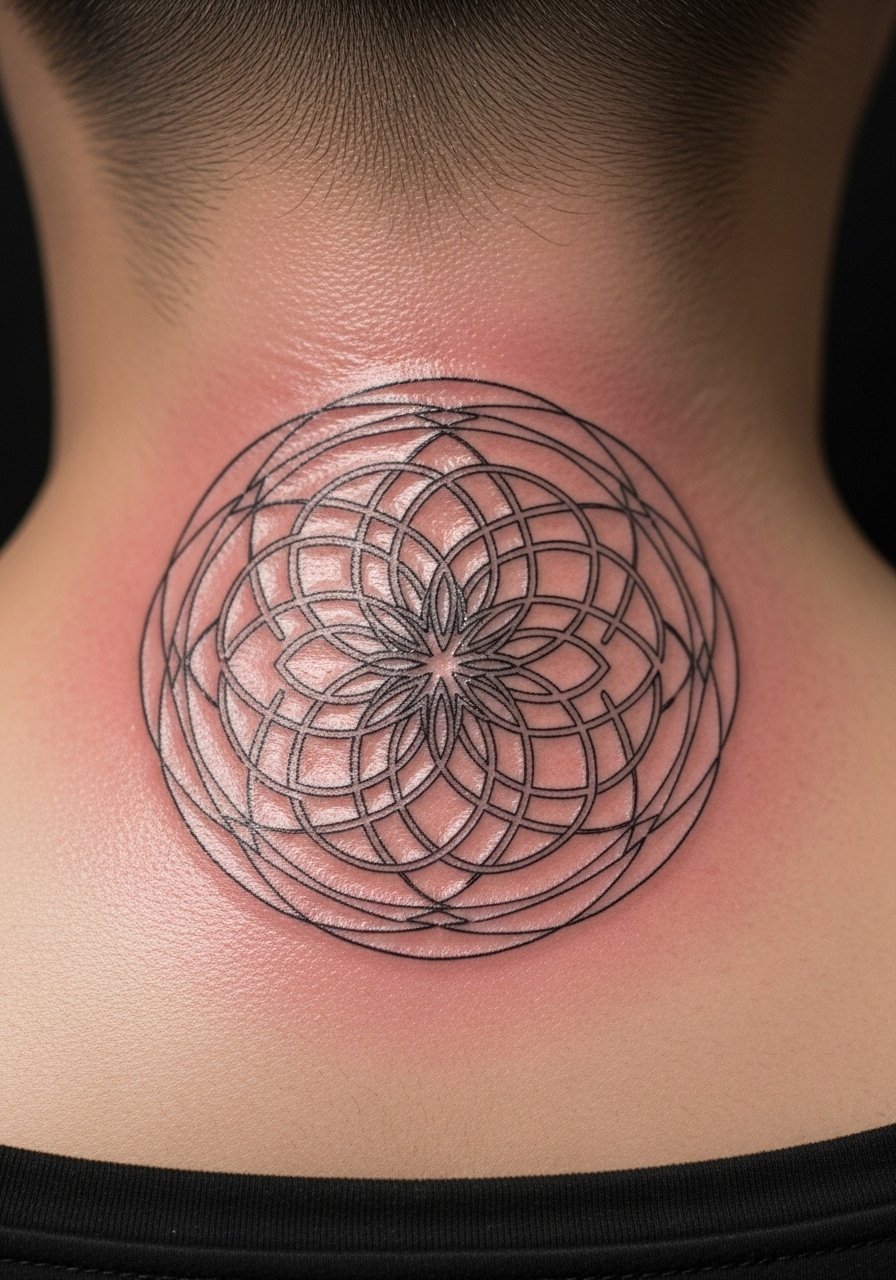
Style/Technique: Circular concentric mandala
Pain Level: 5/10
Session Time: 30 to 60 minutes
Best For: Nape placement, people who wear hair up or want a hidden surprise
Concentric rings feel modern when spaced deliberately. I learned to have the artist leave a 2.5 mm breathing room between primary rings so the tattoo does not look heavy or muddy once healed. That breathing room gives the piece a clean, architectural feeling, which suits someone who cycles hair up and down. Because the nape gets friction from collars, expect subtle softening at the edges. Keep a lightweight antibacterial foam for tattoo aftercare on hand during the first week to avoid scabbing.
Mistake to Avoid: Packing too many concentric rings into a small space, which makes the design read as a blot after scabbing.
7. Stencil-Free Freehand Micro Mandala on the Shoulder Blade
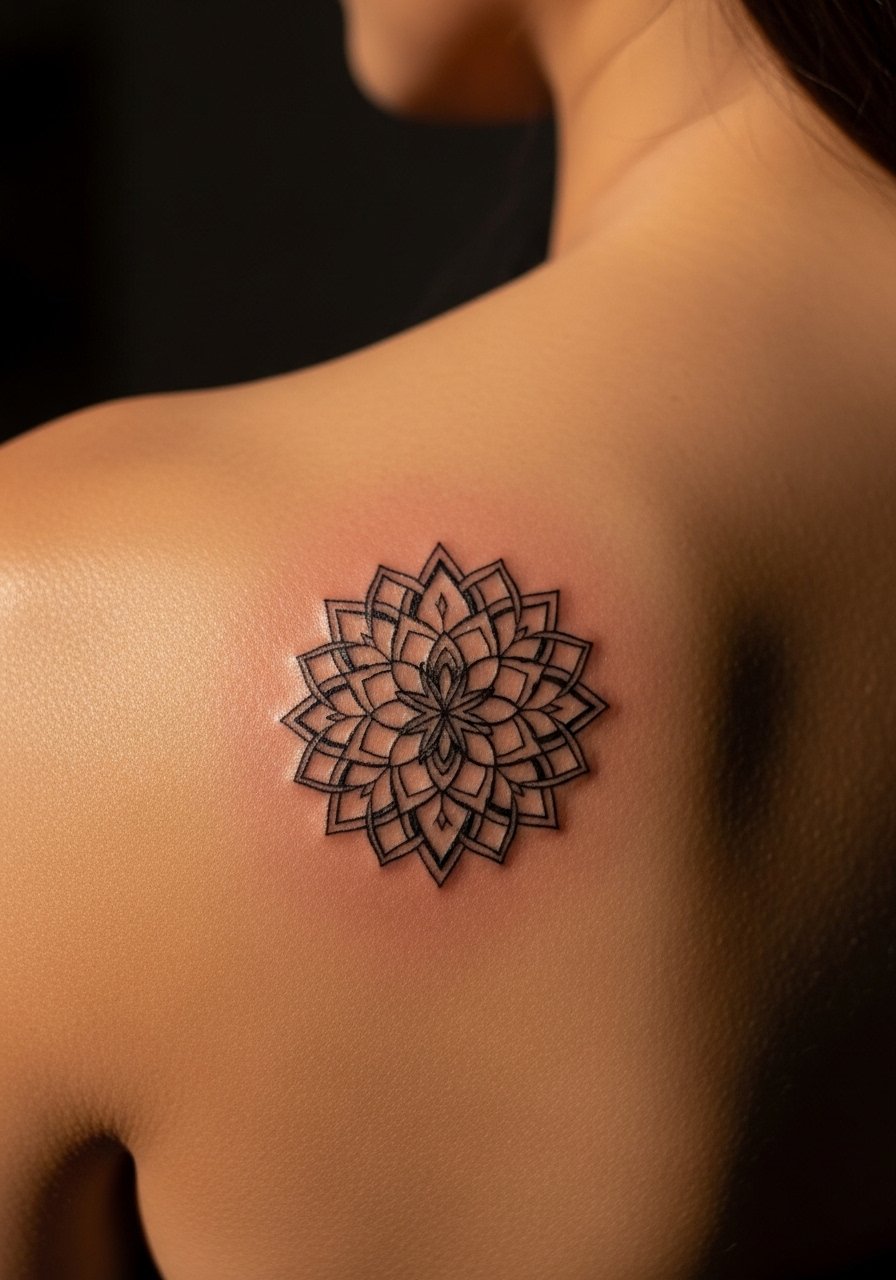
Style/Technique: Freehand micro mandala
Pain Level: 4/10
Session Time: 30 to 50 minutes
Best For: Shoulder blade placement, people who prefer artist interpretation
This is one of the gaps most lists skip, because many features focus only on stencil art. A freehand micro mandala leans on the artist's steady hand and suits organic body contours. I recommend it when the artist can work directly on the curved shoulder blade, keeping main nodes at least 3 mm apart so the symmetry reads from multiple angles. The look feels intimate and slightly improvised, and it often costs the same as a stencil piece for a short session. If you care about cultural context, discuss symbolic motifs openly with your artist before they draw. For aftercare, bring a soft non-stick dressing if the artist recommends covering the area overnight.
Mistake to Avoid: Assuming freehand means faster; it still needs careful spacing and planning or it will skew on rounded shoulder skin.
If any of these tools sound useful, here is what I actually order before a session.
Small Mandala Stencils and Care Picks
Basic Stencil & Aftercare:
- stencil transfer paper (~$8-15), for trying tiny variations at home
- fragrance-free aftercare balm (~$7-18), gentle and soothing
Cleaning & Protection:
- tattoo-cleansing-soap (~$6-12), pH balanced for fresh ink
- non-stick-wound-dressing (~$6-12), for overnight protection if needed
Touch-Up & Sun Care:
- mineral-sunscreen-stick (~$8-18), essential after healing
- travel-tattoo-aftercare-balm (~$5-12), for reapplying on the go
- antibacterial-foam-tattoo (~$7-14), for gentle cleansing in the first week
8. Minimal Lace Mandala on the Side Rib
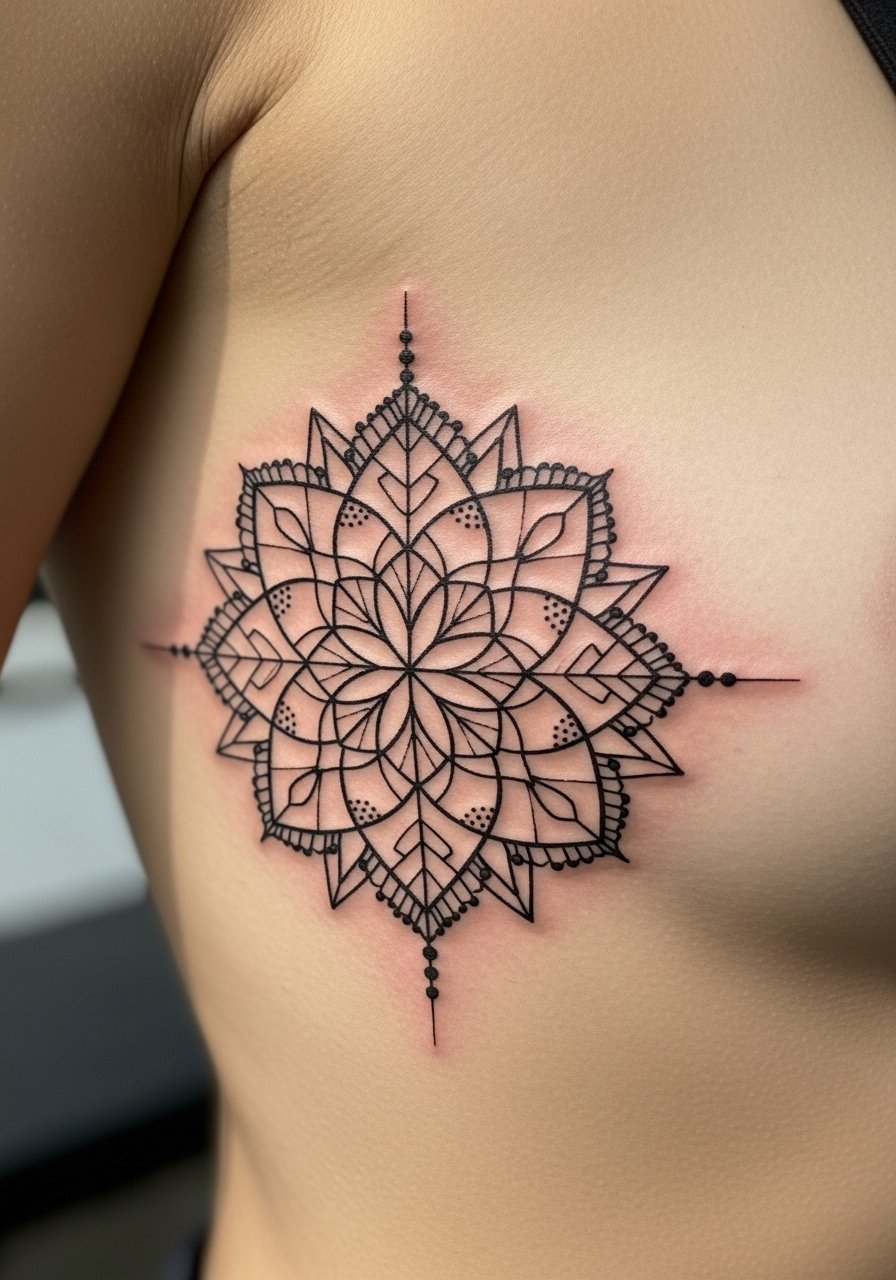
Style/Technique: Lace-inspired geometric mandala
Pain Level: 6/10
Session Time: 40 minutes to 1.25 hours
Best For: Side rib, people who like delicate, feminine patterns
A lace mandala uses repeating arches and small open diamonds. I prefer the primary arches be about 2.5 to 3 mm wide so they do not collapse when the skin stretches. The look feels delicate and ornate without being heavy. This idea fills the rib area delicately and pairs well with a half-mandala if you decide to expand later. Bring photos of lace patterns you like so the artist can translate thread-like motifs into dependable line weights. Keep a small pot of fragrance-free aftercare balm for the tender first two weeks.
Mistake to Avoid: Asking for hairline lace details under 0.2 mm that will not survive even gentle swelling.
9. Micro Sun and Moon Mandala on the Ankle Bone
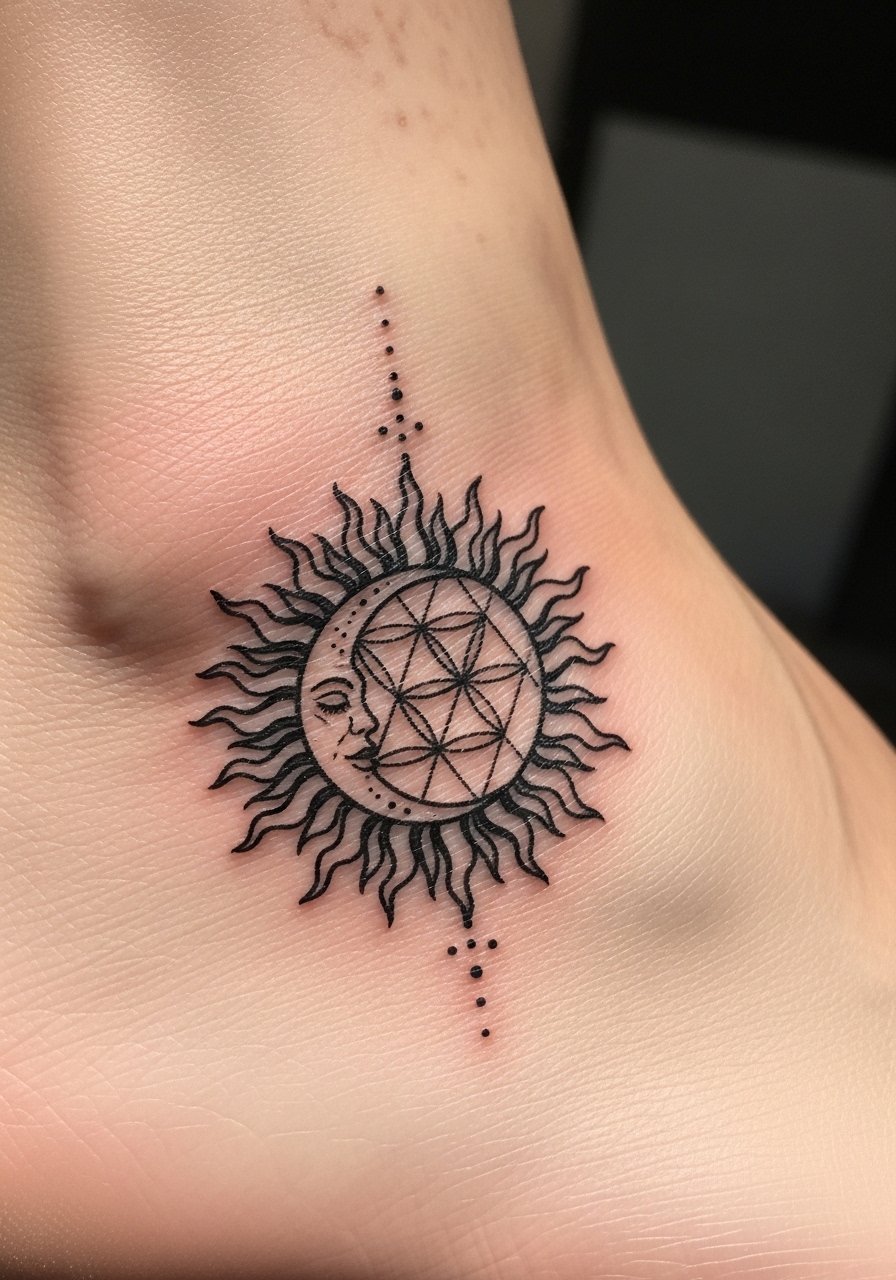
Style/Technique: Symbolic micro mandala
Pain Level: 3/10
Session Time: 20 to 40 minutes
Best For: Ankle bone placement, people who want symbolic tiny tattoos
Combining a sun and moon within a compact mandala is a small design that tells a story. Keep the central sun rays no thinner than 0.5 mm and set the moon crescent at roughly a 4 mm radius so the contrast holds through healing. The piece reads as both symbolic and ornamental, and it works for someone who likes narrative in a discreet package. Because the ankle sees footwear friction, use a mineral sunscreen after the initial healing to slow fading. I usually recommend a single light touch-up after six months if you want the contrast preserved.
Mistake to Avoid: Cramming two distinct icons into a space under 12 mm across, which makes both lose definition.
Tattoo Timing And Care Shortcuts
Plan sessions for cooler months. Your skin swells less in cool weather, which helps small linework settle. Grab a fragrance-free aftercare balm to keep the skin supple.
Sleep on a clean pillowcase. Swap to a fresh pillowcase the first five nights after getting inked. I keep an inexpensive pack of soft cotton pillowcases for exactly this reason.
Avoid tight clothing over the area. Tight fabrics cause friction and scabbing. If your tattoo is on the ankle or wrist, wear looser shoes or sleeves for two weeks. A lightweight cotton tee helps keep pressure off.
Reapply sunscreen after healing. Small geometric linework fades faster without protection. A mineral-sunscreen-stick is easy to carry and saves contrast.
Ask for a slightly bolder outer ring. Most small mandalas benefit from a small increase in outer line weight, about 0.3 to 0.5 mm thicker than inner details. If you like ultra-fine work, accept annual touch-ups so the design ages cleanly.
