
I used to ask my stylist for "more movement" and leave with layers that looked chopped and grew out into a triangle. The moment I learned to say where the layers should start and how long they should be, everything softened. It took one bad trim and a week of hiding under hats for me to start measuring and asking for staggered lengths instead of just "layers."
This list is for anyone who wears long hair and wants layers that behave in real life, not just on Instagram. These looks range from quick DIY styling to salon cuts that require a professional, and most work across straight, wavy, curly, and coily textures, which I know from styling across four hair textures I have styled. Expect low to moderate time to style, budget options for product swaps, and clear notes on what not to do.
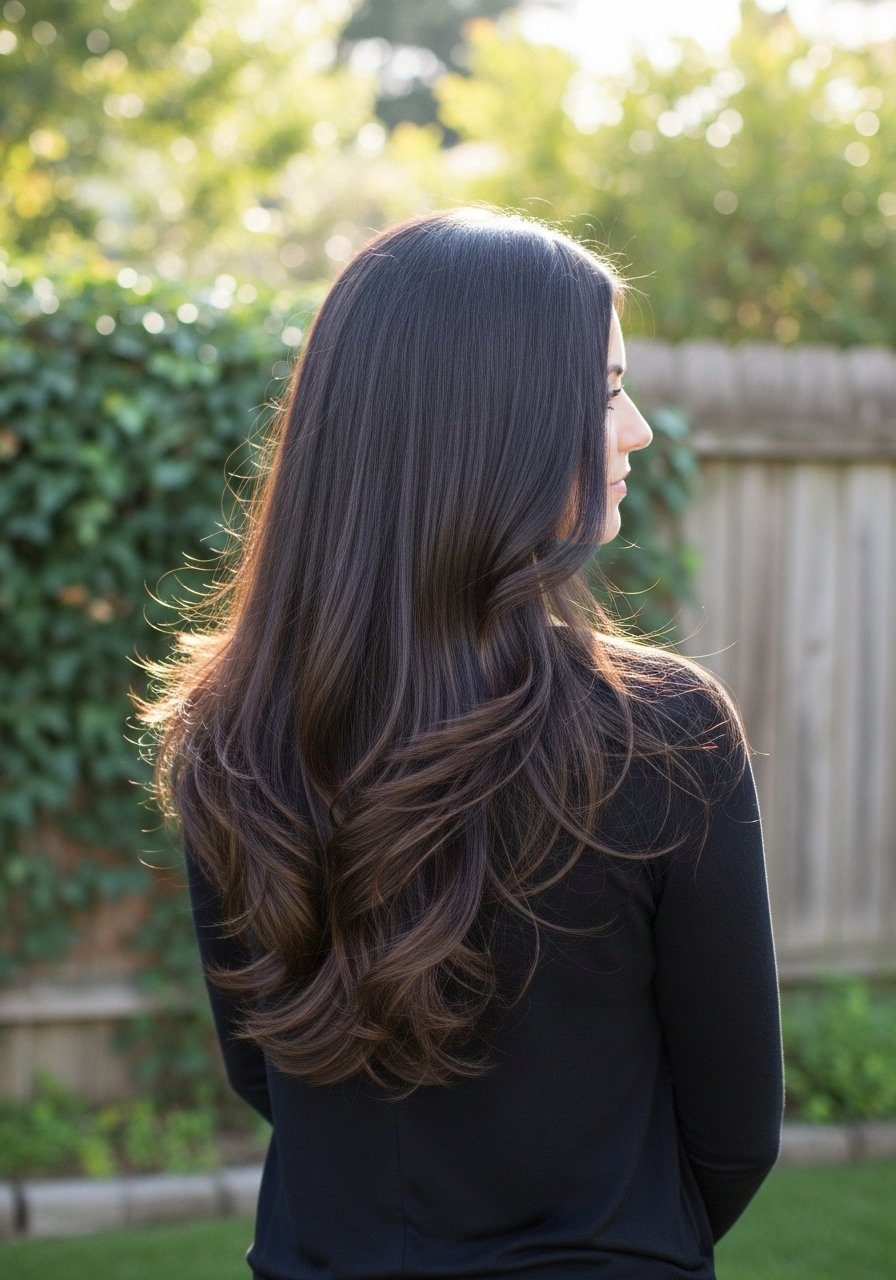
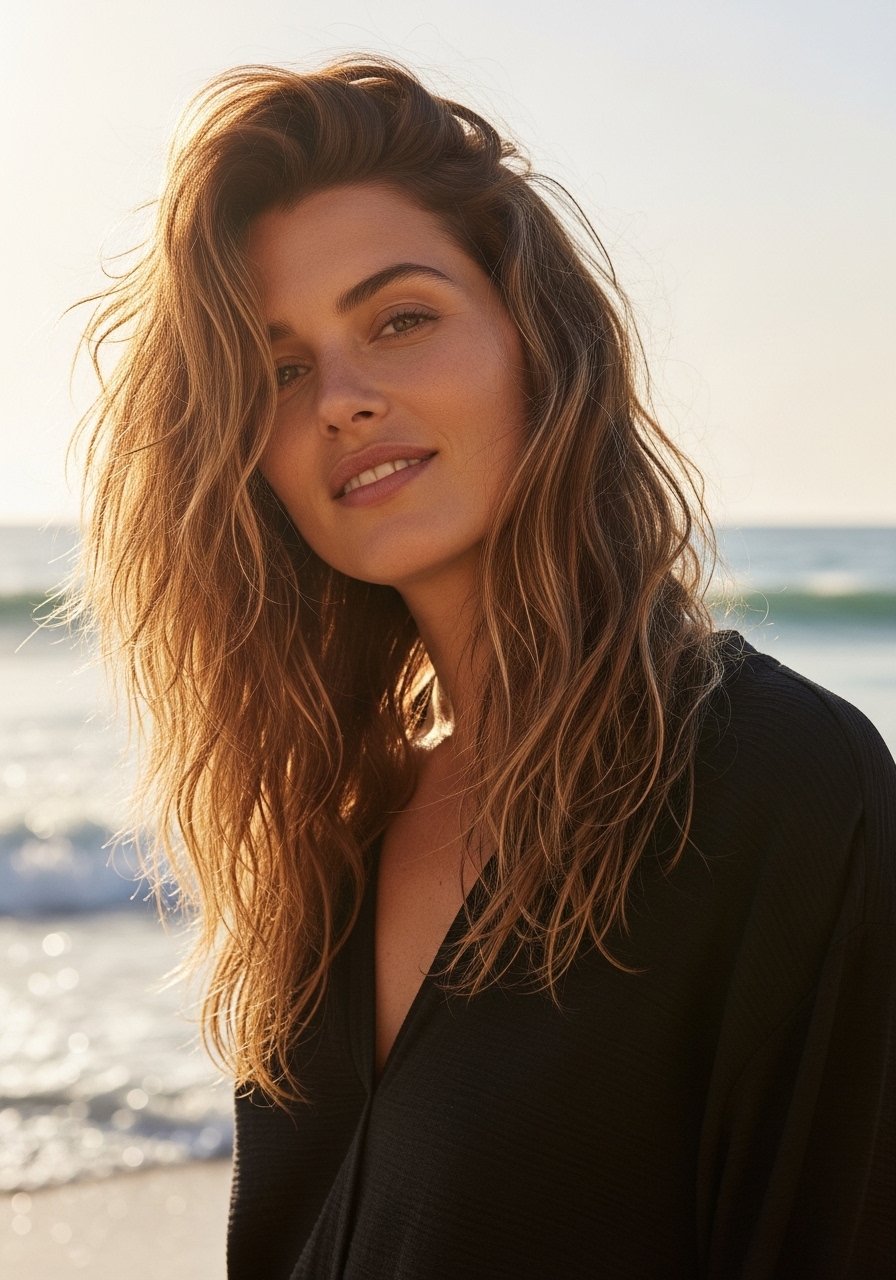
1. Long Curtain Layers With Soft Bangs
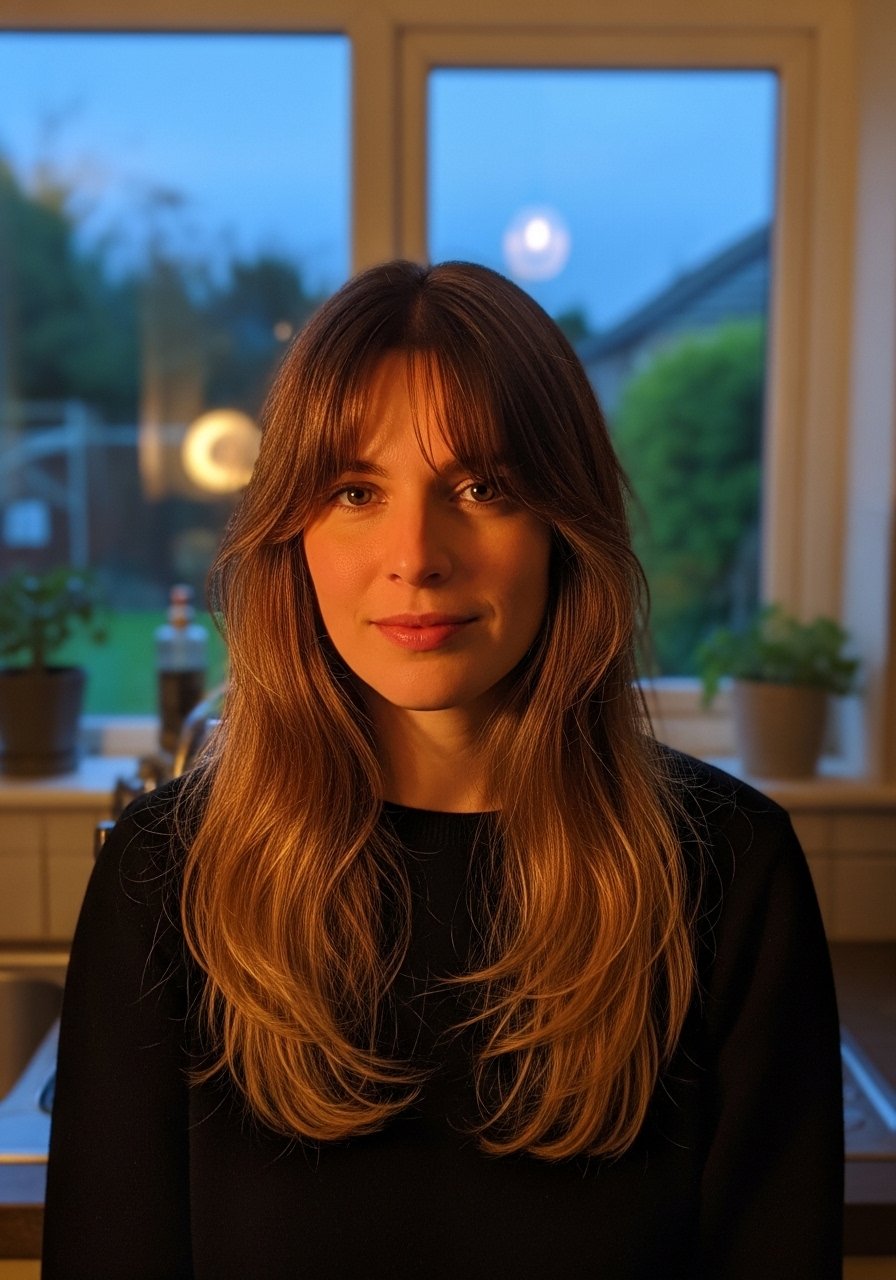
Ask for curtain layers that start about three inches below your cheekbones and taper into long ends, cut on a 45 degree elevation so the bangs blend into the layers. Visually this gives a soft frame without shaving off length, and it reads casual and lived-in, perfect for anyone who wears hair down most days. Style with a medium-barrel blowout brush and a light leave-in like a smoothing hair oil to keep the ends from looking fuzzy. For finer hair, request thinner face-framing pieces, about 1/2 inch wide, so the layers add shape without weight.
Mistake to Avoid: Asking for "bangs" without specifying curtain shape, which leaves you with a heavy fringe that breaks the long silhouette.
2. Face-Framing Swoops
Start the layers at chin level and keep them at a 2 to 3 inch difference from the longest length, cut using sliding shears for feathered edges. The result is a swooping frame that brightens the face and works for anyone who wants the look of a cut that still tucks behind ears. This is low effort to style, a quick round-brush roll or a 1 1/4 inch curling iron gives the swoop its shape. I like finishing with a weightless spray like a flexible hold hairspray so the movement stays without stiffness.
Mistake to Avoid: Cutting the face-framing pieces too bluntly, making them stick out instead of blending into the rest of the hair.
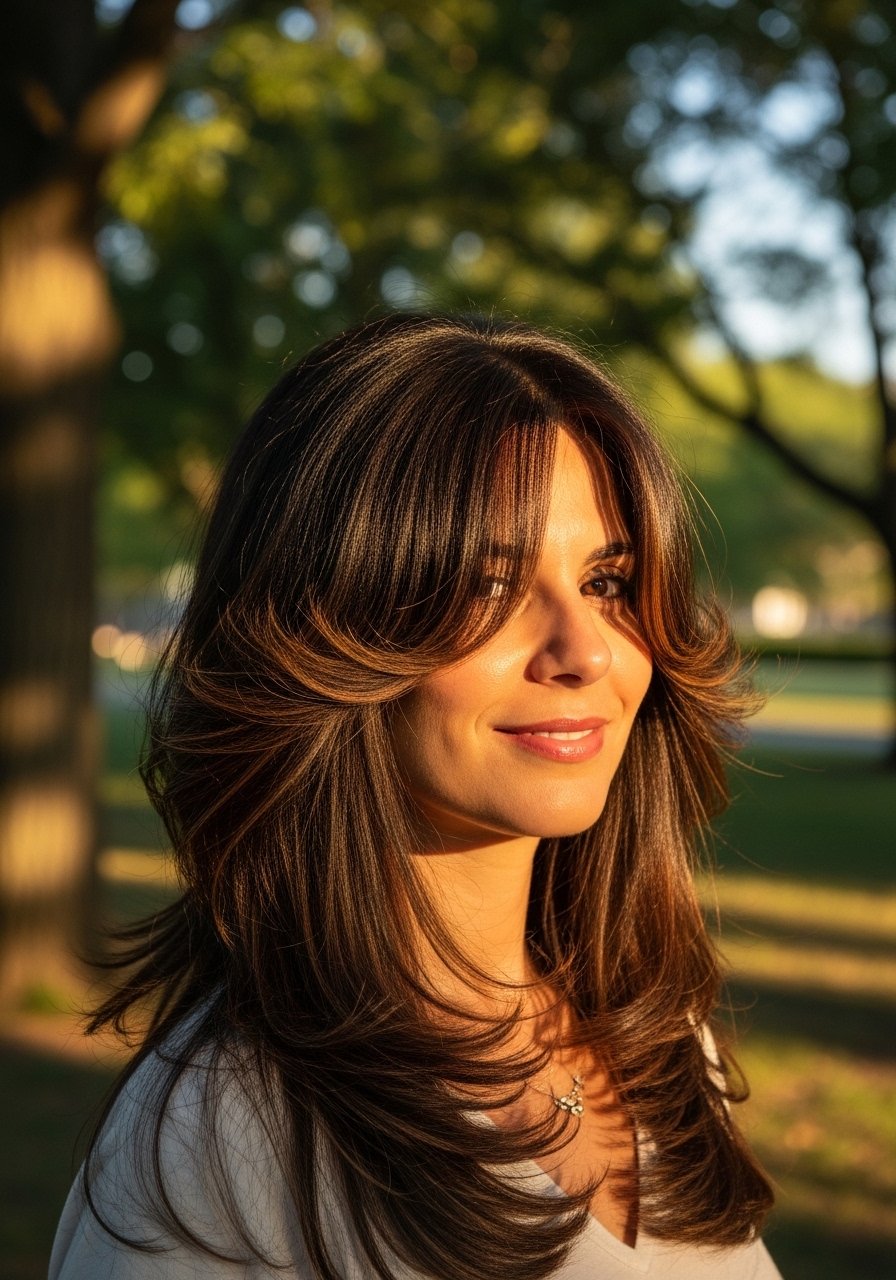
3. Feathered Long Layers For Movement
Feathering means slicing thin sections into the mid-lengths and ends at a shallow 15 degree angle, which removes weight without looking wispy. The visual result is soft, airy movement that is timeless and works on straight and wavy hair, and it hides split ends better than blunt trims. This is a mid-skill salon cut. Afterward, smooth the top with a heat protectant spray before a quick flat iron pass to set the layers so they fall neatly.
Mistake to Avoid: Over-slicing the crown which creates volume where you do not want bulk and short pieces that flip up.
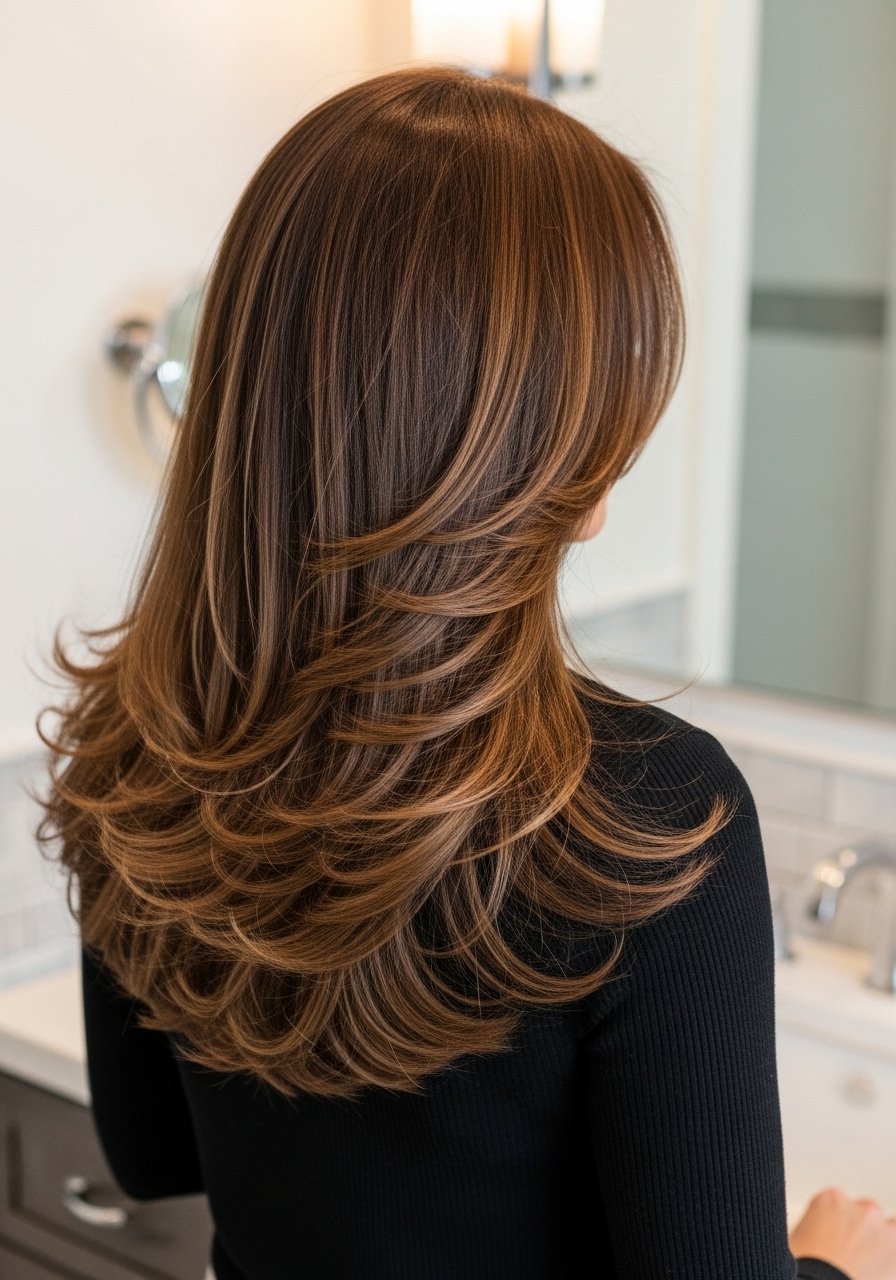
4. Long Shag With Piecey Ends
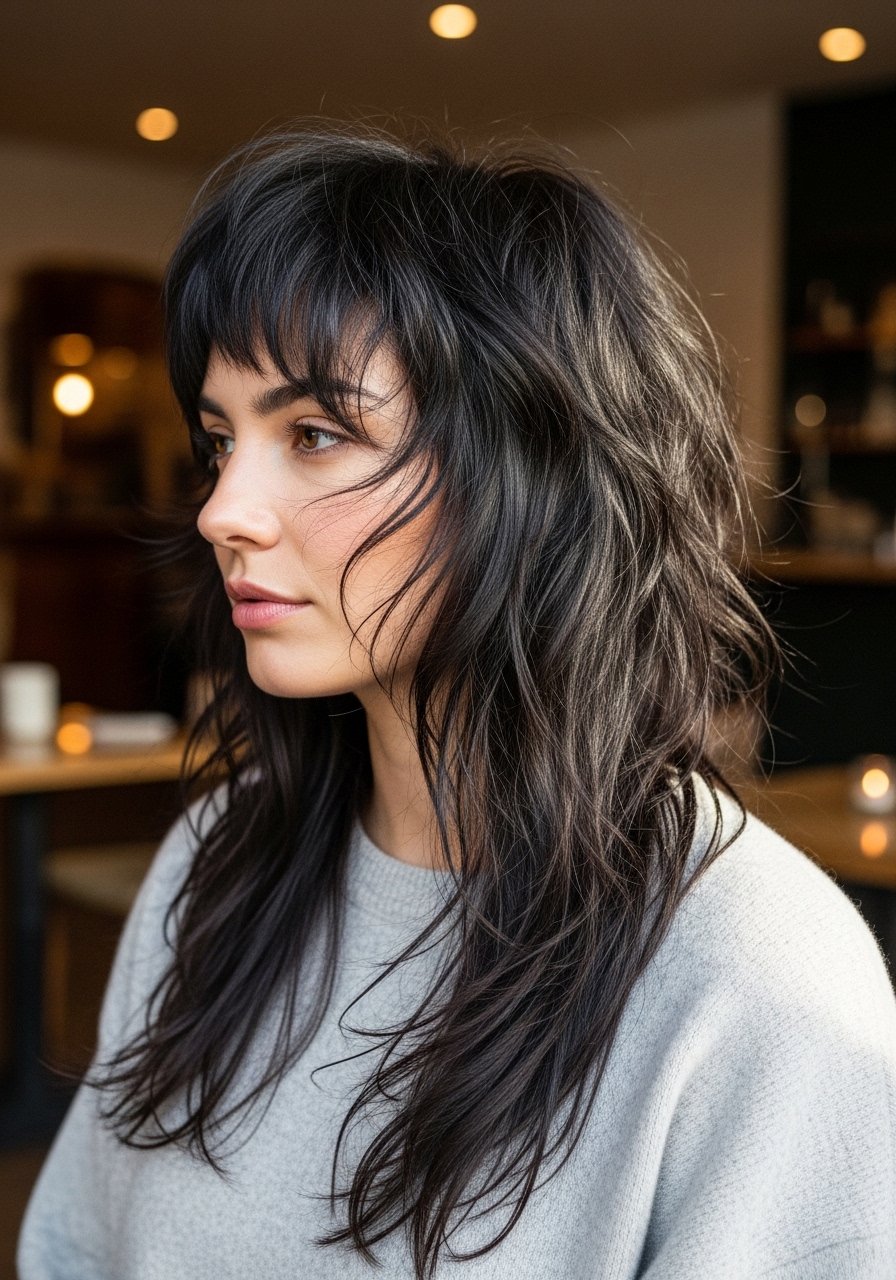
The long shag keeps overall length but adds lots of short-to-long contrast through the crown and mid-lengths, using point cutting at the ends to get that lived-in texture. It feels modern and a little edgy, and it is excellent for medium to thick hair wanting volume without a full chop. For styling, scrunch in a dime-sized amount of texturizing cream on damp hair and diffuse for natural wave. If you prefer heat-free styling, salt spray scrunching on towel-dried hair gives a similar piecey finish.
Mistake to Avoid: Requesting a shag and then weighing it down with heavy oil, which flattens the intended texture.
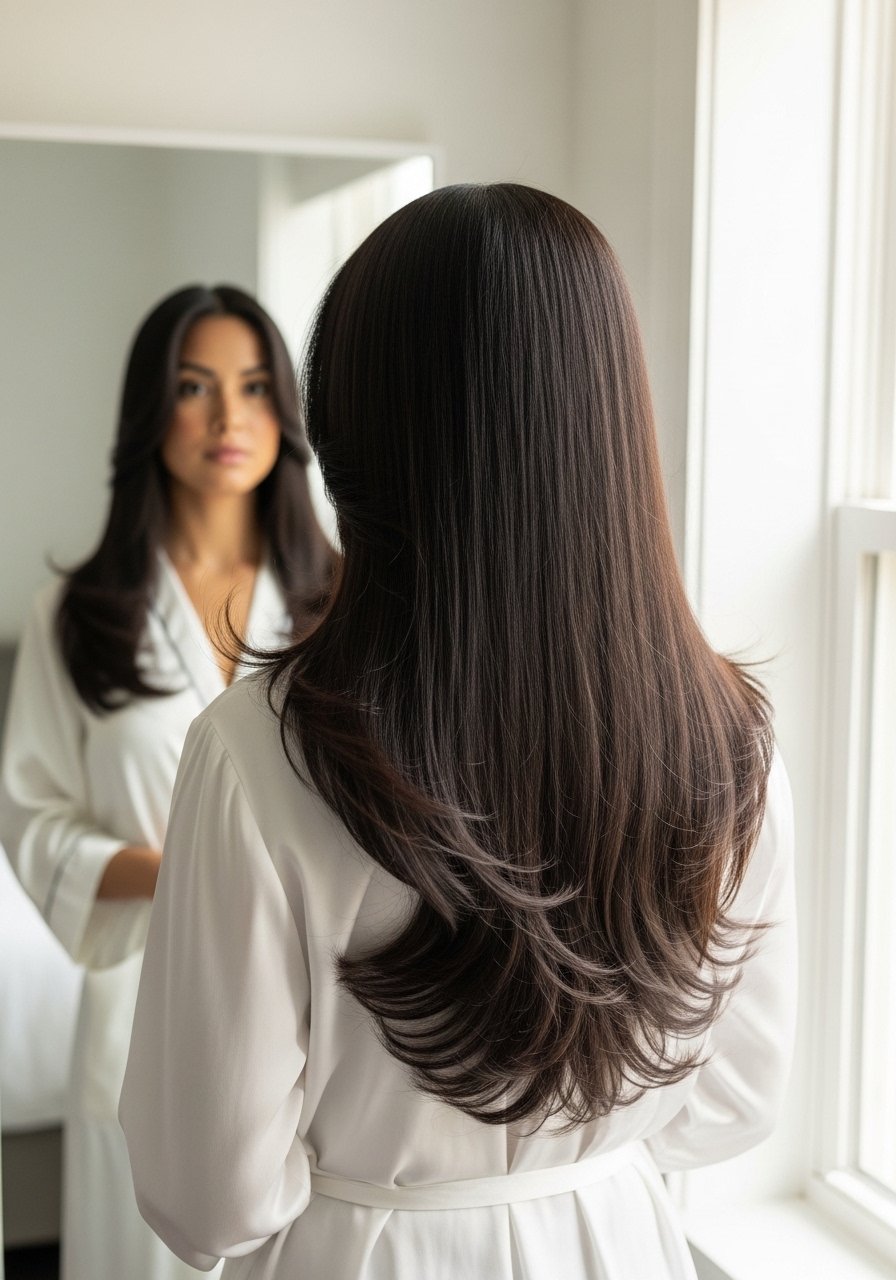
5. V-Cut Layers For Weightless Ends
A V-cut removes weight from the center back while keeping long side lengths, creating a subtle point that elongates the back. Ask for the V to start around 6 inches from the nape, with internal layers of about 2 inches to feather weight. The look reads sleek when straight and dramatic in waves, great for anyone who wants length but less bulk. Maintain it with a wide-tooth comb and occasional trimming of the point every 3 months. I use a detangling leave-in like a lightweight leave-in conditioner to keep the V from appearing ragged.
Mistake to Avoid: Cutting the V too high, which shortens the silhouette and makes styling awkward.
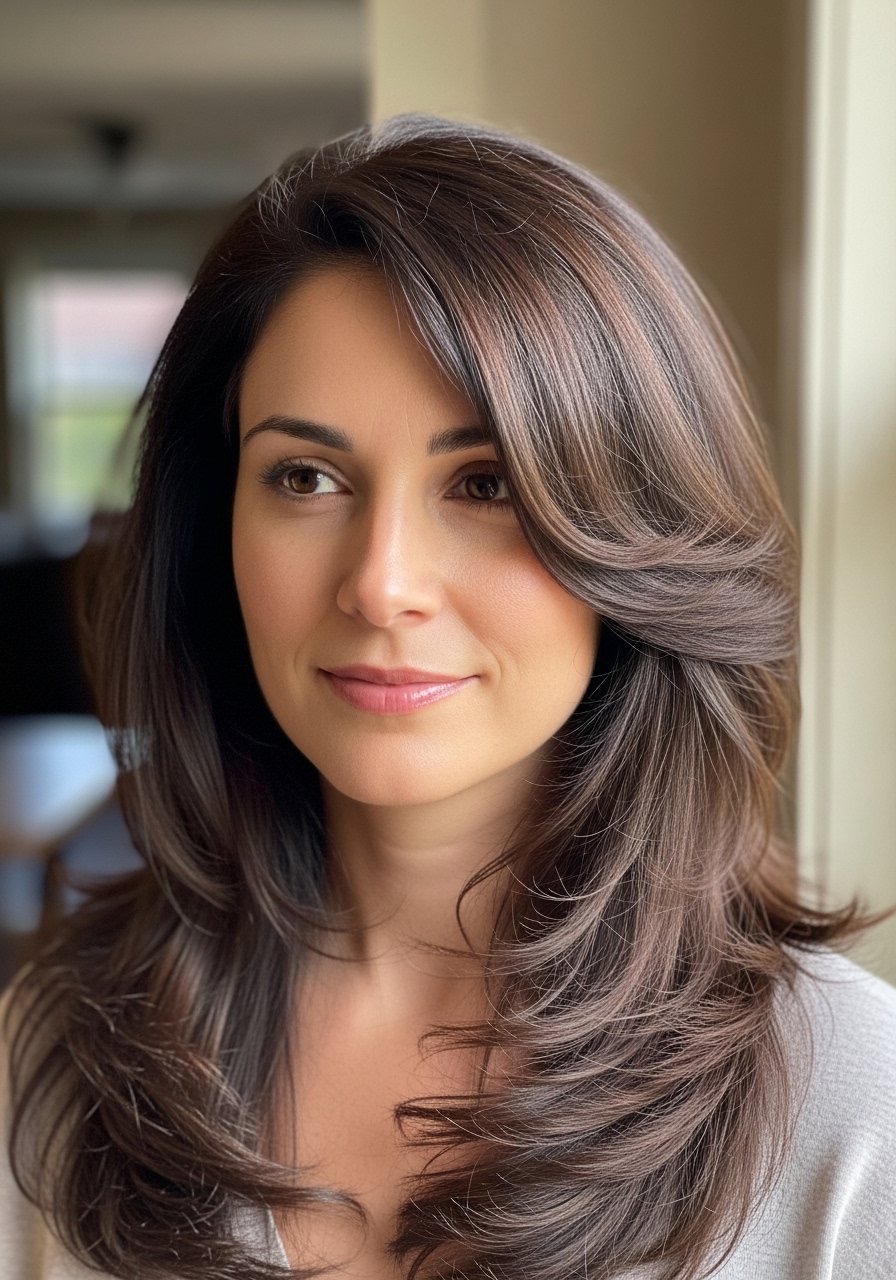
6. Blunt Ends With Internal Layers
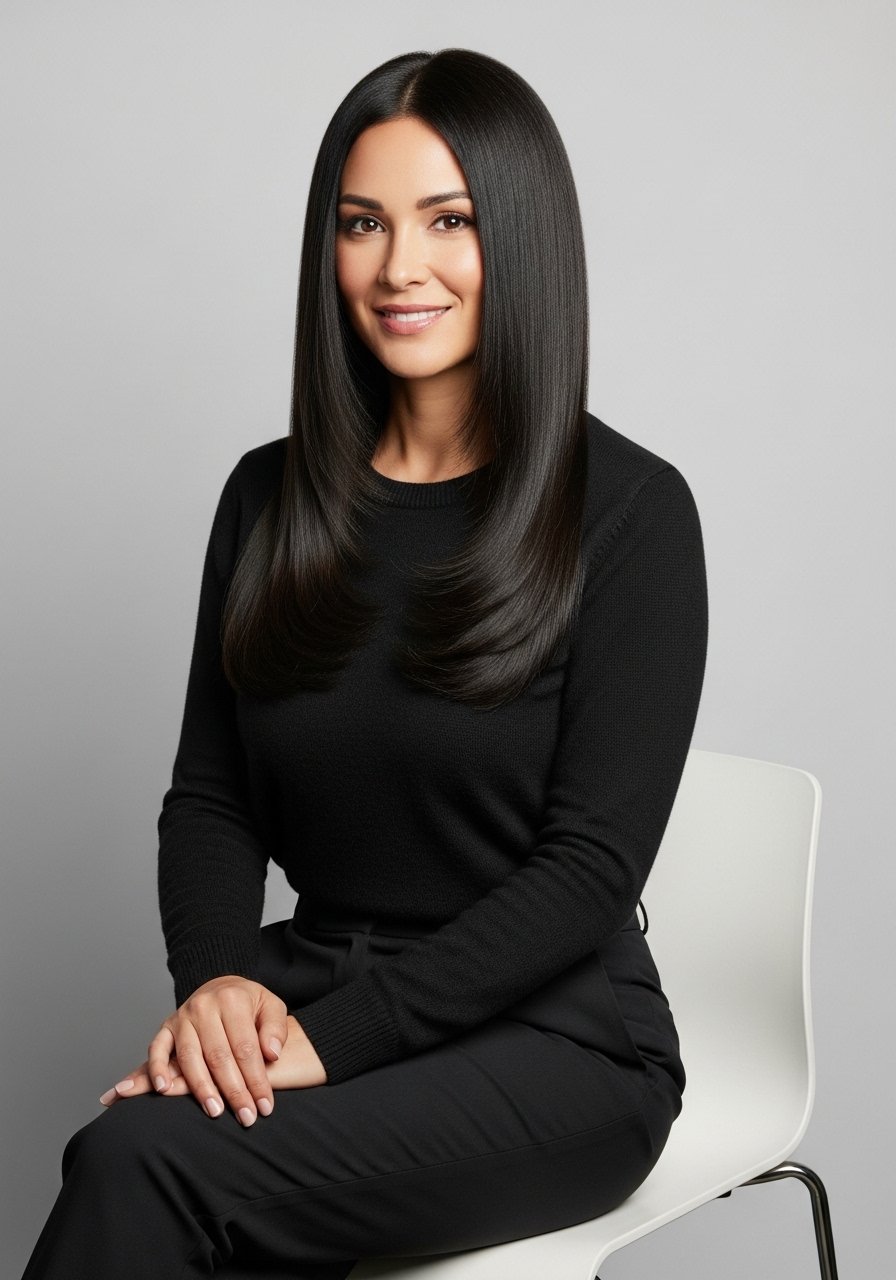
This is a weighty look that keeps a blunt perimeter while adding short internal layers for movement inside the hair, cut with 1/4 inch internal layering. Visually it looks polished with body, and it is a good fit for straight to slightly wavy textures and anyone who wants a clean edge without stiffness. Styling is quick: a single pass with a flat iron and a dab of shine serum on the ends. Tell your stylist you want internal layering only, not graduated perimeter layers, to preserve the blunt finish.
Mistake to Avoid: Asking for "layers" without specifying internal only, which results in a shorter outer edge than intended.
7. Sleek Long Layers For Straight Hair
For straight hair, layers should start lower, about 5 to 6 inches from the jawline, and be cut with a slight slide cutting technique to avoid visible steps. The result is a sleeker silhouette that still moves and catches light, ideal if you wear hair poker straight most days. A ceramic flat iron set to a moderate temperature and a smoothing cream applied sparingly on the mid-lengths keeps the finish clean. Budget tip, ask for a polish trim every 10-12 weeks instead of a full reshape.
Mistake to Avoid: Cutting layers too short near the face for straight hair, which creates a helmet effect.
If any of these styles made you want to try a new tool or product, here are the essentials I reach for before the rest of the list.
Must-Have Tools For Long Layers
Styling Brushes:
- Wide-tooth comb (~$6-12). For detangling wet layers without breakage.
- Medium round brush (~$12-20). Ideal for creating movement during blowouts.
Heat & Protection:
- Heat protectant spray (~$10-18). A must for any layered style that uses heat.
- Ceramic flat iron (~$40-120). Use on moderate heat to smooth long layers.
Finishing & Texture:
- Texturizing spray (~$9-20). For piecey ends and second-day volume.
- Flexible hold hairspray (~$8-15). Keeps movement without stiffness.
Care & Maintenance:
- Lightweight leave-in conditioner (~$8-16). Prevents frizz without weighing down layers.
- Thinning shears (~$15-35). For minor at-home maintenance only, used sparingly.
8. Layered Waves For Second-Day Volume
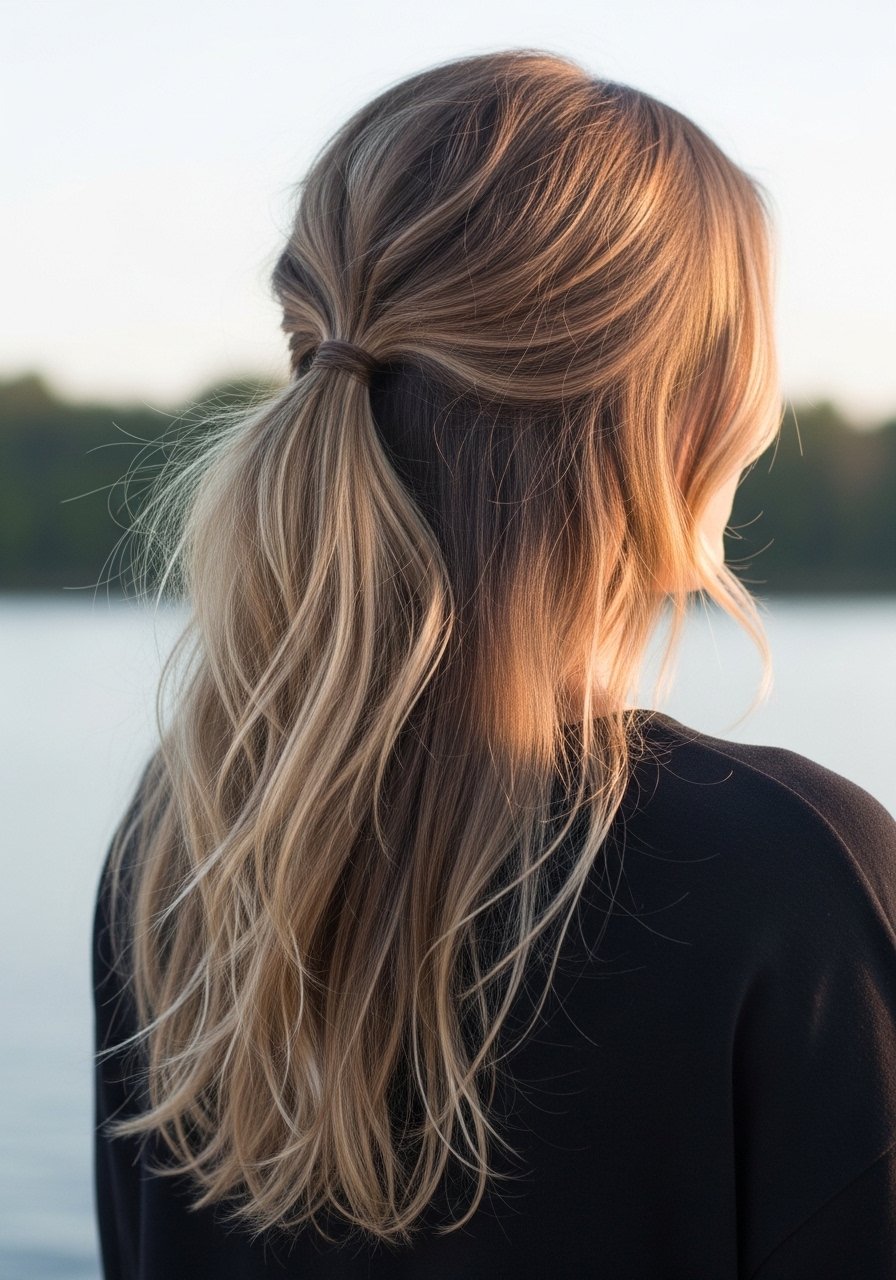
Cut the layers with staggered lengths spaced roughly 2 inches apart so second-day waves fall into a distributed shape instead of a single heavy band. This creates natural lift around the crown without backcombing. For styling, use a sea-salt spray on damp roots and a 1 inch curling iron on random sections, then finger-comb. I like finishing with a dry texturizing spray to revive volume on day two. This approach suits anyone who prefers low-maintenance styles and hates washing every day.
Mistake to Avoid: Layering only the ends, which produces a heavy midsection and flattens the crown on day two.
9. Deep Layers For Curly Hair
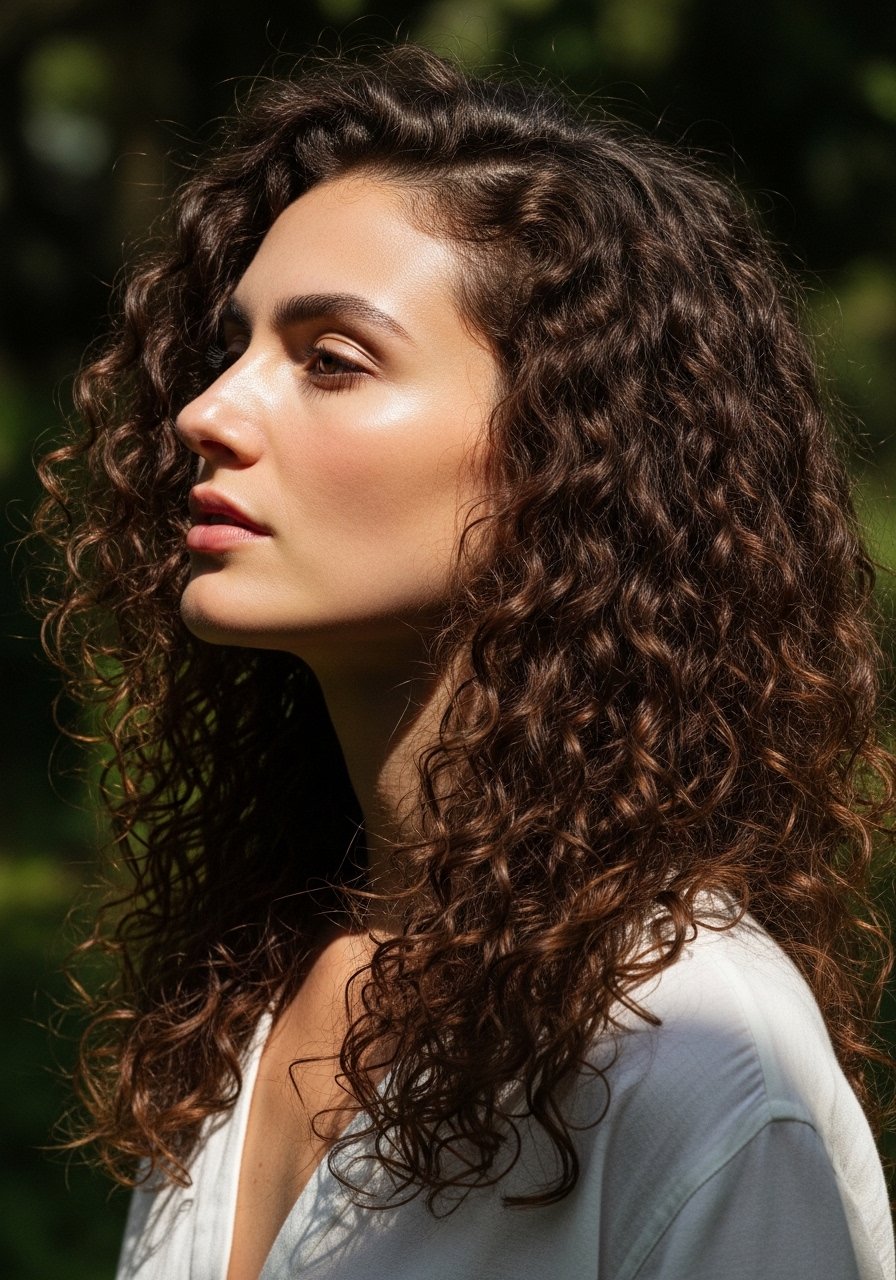
Curly hair needs deep internal layers that start higher at the crown to avoid a triangle silhouette, cut with dry-scutting or curl-by-curl shaping so each curl sits correctly. The result is controlled volume and defined bounce, ideal for 3A-4A textures. For product, rake in a curl cream and diffuse on low heat. Mention porosity when you book your cut, since low-porosity curls will need lighter product choices to avoid weighing layers down.
Mistake to Avoid: Cutting curls in uniform wet hair, which shortens unpredictably when the curl dries and leaves uneven layers.
10. Low-Porosity Friendly Layering
Low-porosity hair resists moisture, so layers should be sparse and start lower to prevent a pouf at the crown. Ask for longer mid-length layers and fewer internal slices, and use warm water and lightweight, penetrating oils like jojoba rather than heavy creams. For styling, a steam towel for five minutes before product helps absorption. I suggest a lightweight leave-in that lists water first in the ingredients to avoid buildup.
Mistake to Avoid: Adding lots of internal slicing on low-porosity hair, which increases frizz and makes layers look dry instead of defined.
11. Layers To Camouflage Thinning
For fine or thinning hair, create short face-framing layers and subtle graduated layers that add lift at the crown, keeping the longest lengths at the back. Ask your stylist for 1/4 inch texturizing at the roots only, and avoid heavy blunt cuts that show scalp contrast. Styling with a root-lifting mousse and a small round brush can add a visible 20 to 30 percent perceived volume. Try a volumizing mousse on damp roots for best results.
Mistake to Avoid: Over-thinning with a razor, which removes the very hair needed to create the appearance of density.
12. Long Layers With Side-Swept Bangs
Side-swept bangs that start as long face-framing layers blend seamlessly into long layers when cut on a 30 degree angle. The effect is soft, approachable, and works for most face shapes while still allowing you to tuck hair behind one ear. Style with a round brush or a flat iron bend and finish with a flexible serum like a lightweight smoothing serum. This is a moderate maintenance look, trims every 6 to 8 weeks keep the bangs behaving.
Mistake to Avoid: Cutting the bangs too short so they cannot sweep, which forces constant styling to lie flat.
13. Salt-Spray Scrunch For Beachy Texture
This is a styling technique that works with long layers cut to varied mid-lengths so the salt spray grabs different strands and creates separation. On damp hair, mist a salt spray and scrunch upward in three sections, then air-dry or diffuse. I use a lightweight sea salt spray and a pea-sized cream for ends to prevent frizz. This is a great heat-free option for anyone who wants instant texture in under ten minutes.
Mistake to Avoid: Using too much spray and skipping a light cream, which leaves hair crunchy and dehydrated instead of touchable.
Layering Care Habits
Different shampoos for different layers. Use a sulfate-free shampoo if you have color-treated layers. I alternate a sulfate-free shampoo with a clarifying wash every 6 weeks to prevent product buildup that hides movement.
Grab a microfiber hair towel. It reduces friction and keeps layer ends from frizzing while you air-dry.
Trim on a rhythm. Trimming every 10 to 12 weeks keeps the layered shape and the point or V crisp without losing length. Use a pair of salon shears for at-home touch-ups only if you know how to slide cut.
Start your styling with damp hair sectioned into four quadrants. A simple one-minute warm-up with a heat protectant spray before any tool prevents layer tips from splitting.
Everyone over-styles the crown. Try loosely backcombing only a 1-inch strip at the crown, not the whole top, and set it with a light hold spray to keep volume natural and avoid the helmet look.
