
I kept trying to file my short nails into a point, thinking length would follow. Instead my tips broke, polish chipped at the edges, and my almond shape looked more like an accident. One slow afternoon I switched to a softer curve and a 180-grit file, and the whole thing clicked. Short almond nails actually want a gentle hand, the right tools, and a few tiny design tricks.
These nine looks are for people who want an almond silhouette without growing their nails out, friendly to natural nails or gels, and doable in a 30 to 60 minute at-home session. Most ideas use affordable tools and one salon-step if you want longer wear. If you usually rush your base, these will force you to slow down a bit and the results last longer.
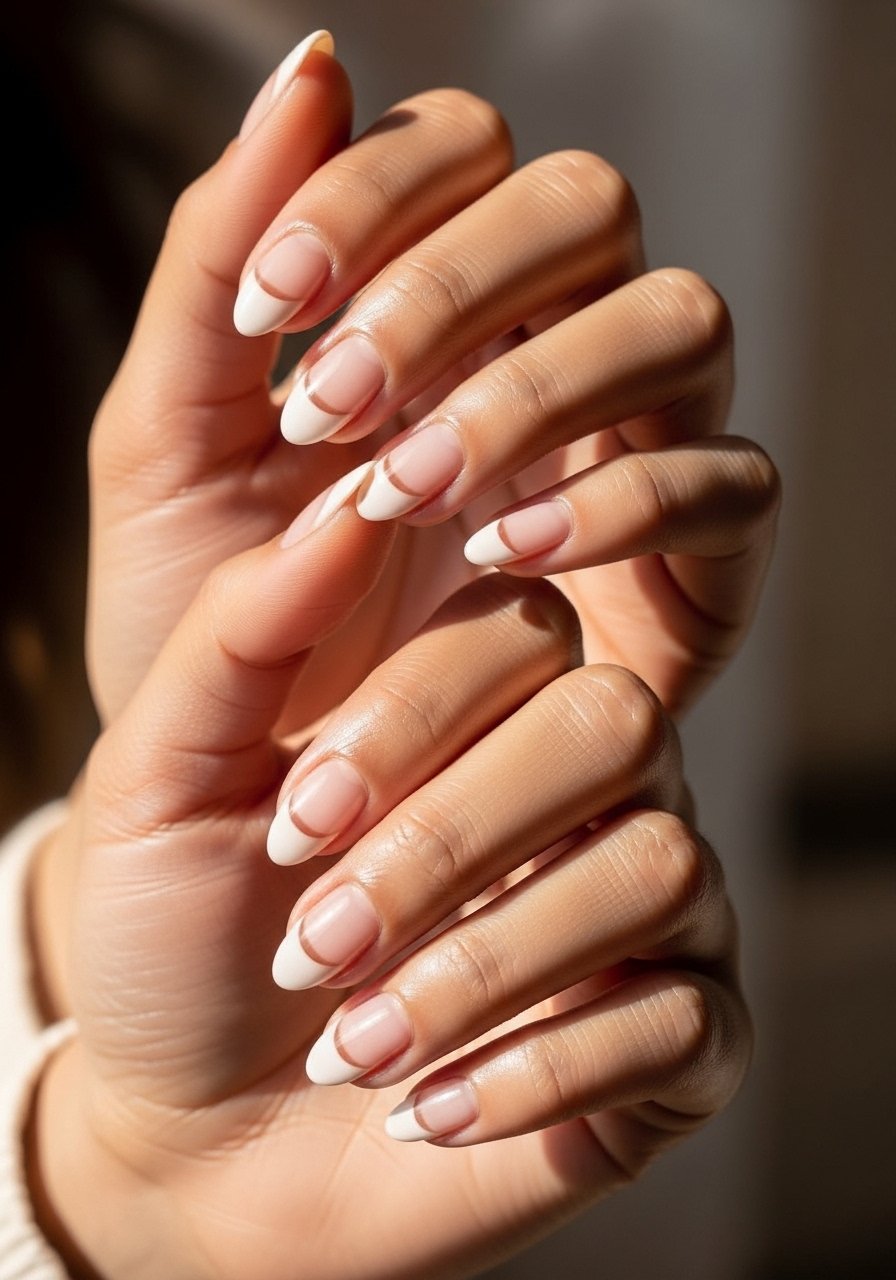
1. Soft Ombre With Matte Finish

Style/Vibe: Soft ombre, modern neutral
Best For: Short nails, everyday wear
Skill: Beginner
What makes this work is blending pigment so the tip reads almond without extra length. I use two thin coats of a pale nude then a dab of a slightly deeper rose at the free edge, blurring the join with a small sponge in 3 to 4 light taps. Finish with a matte top coat for a soft, lived-in look that hides tiny filing errors. It reads elevated but low effort and fits anyone who wants a neat office-friendly mani. Try a sponge nail applicator and a matte top coat. One salon tech showed me that two thin layers beat one thick layer for smoother blending.
Mistake to Avoid: Rubbing the sponge too hard, which makes blotchy edges instead of a soft gradient.
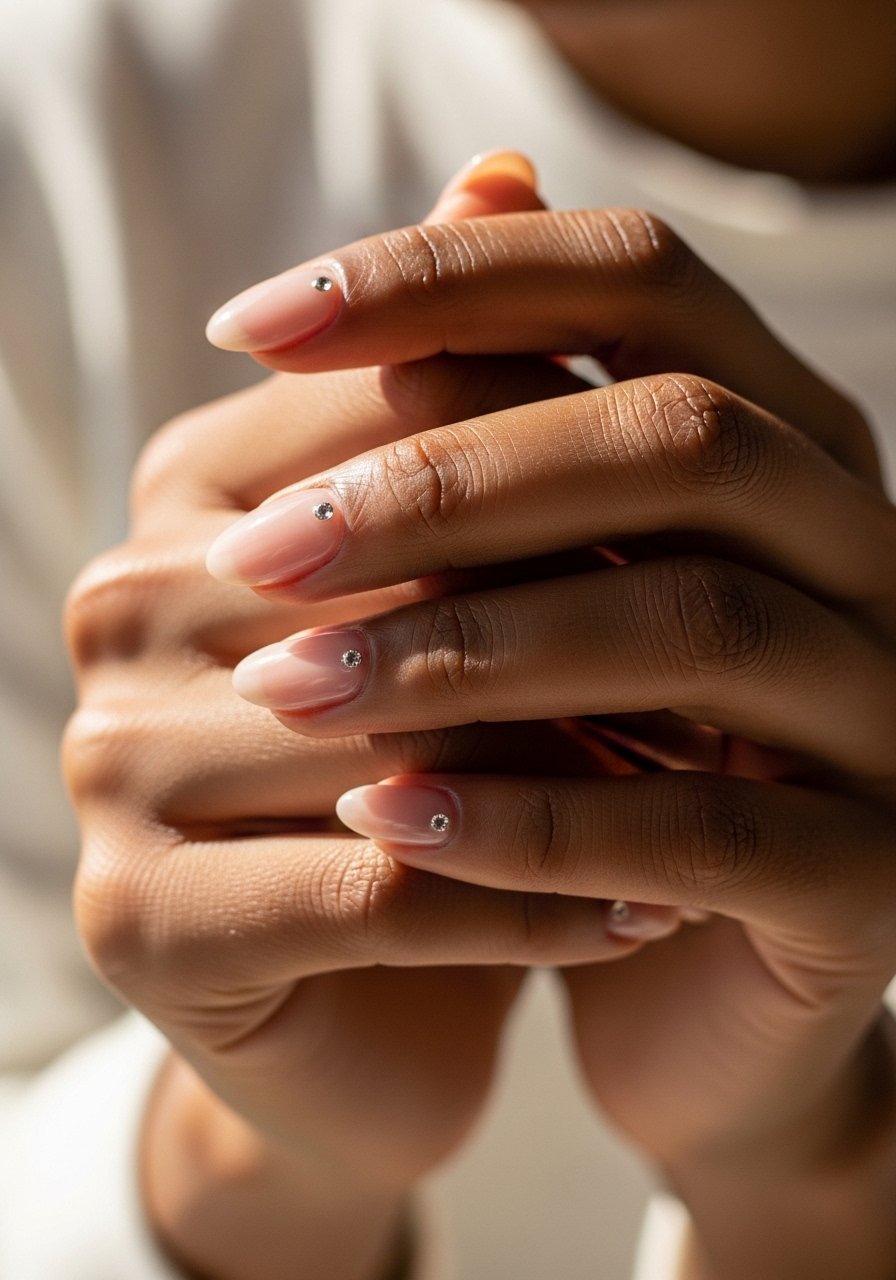
2. Tiny Negative Space Crescent
Style/Vibe: Minimal negative space
Best For: Short nails, weekend or date night
Skill: Beginner
This trick shrinks the visual nail bed and emphasizes a rounded almond tip. Paint a thin half-moon near the cuticle in a sheer base, cure if using gel, then lay a 1.5 to 2 mm gap of bare nail and paint the tip in color. The small crescent reads intentional and modern while keeping polish away from the cuticle where chips start. It takes ten minutes once you get the spacing right. Use peel-off base coat for easy removal on short natural nails, or a sheer gel like nude gel polish for longer wear.
Mistake to Avoid: Making the negative space too large, which shortens the nail visually instead of lengthening it.
3. Micro French With Metallic Edge
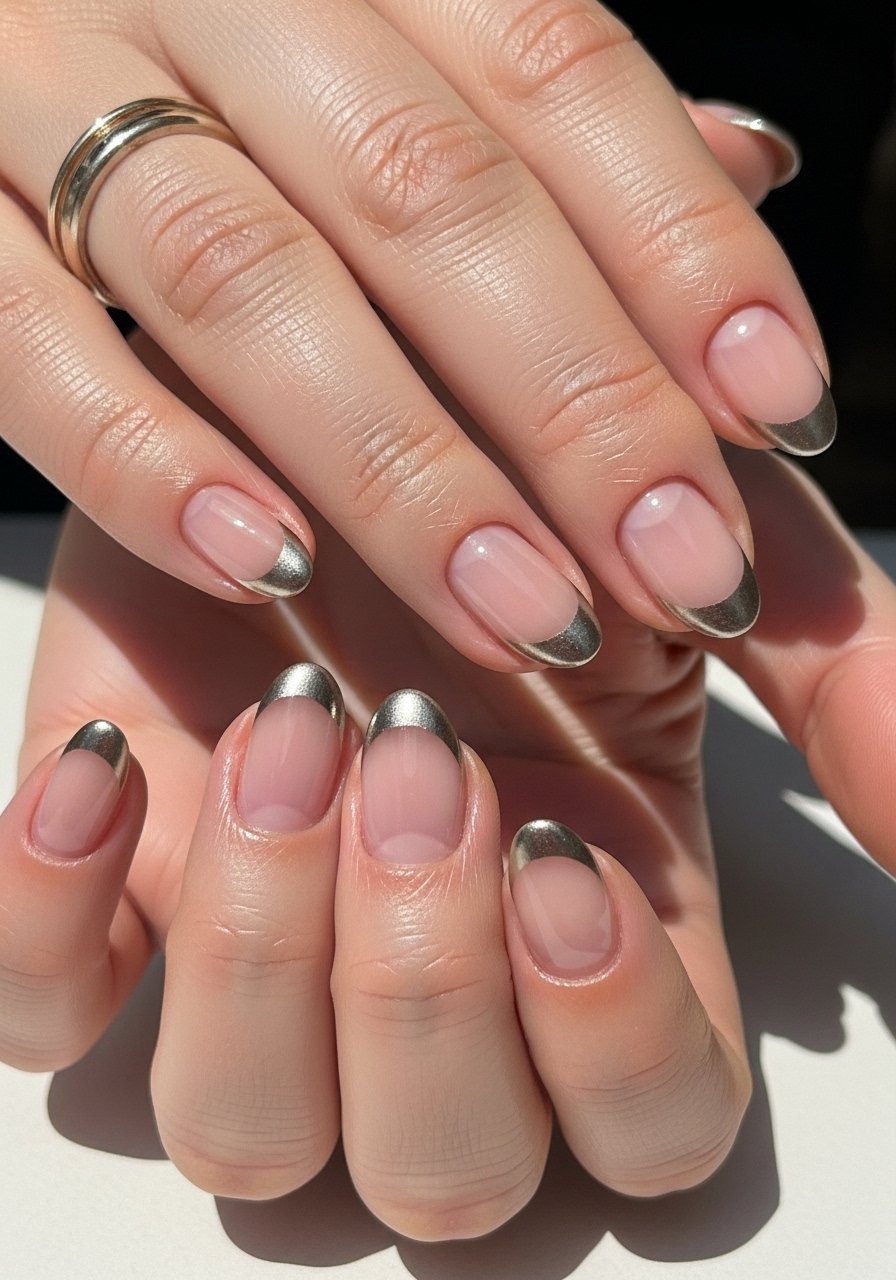
Style/Vibe: Micro French, crisp metallic line
Best For: Short nails, formal events
Skill: Intermediate
Competitors often show thick white tips. The micro French uses a 1 to 1.5 mm metallic line only at the extreme edge, which reads refined and makes nails look longer. Use a steady hand or a thin striping brush with metallic nail polish. For gel, cure each 30 to 60 seconds under an LED lamp for edge durability. The visual trick is the thin high-contrast line, not added length. This is a bit fiddly, but worth the payoff for weddings or interviews.
Mistake to Avoid: Painting a thick metal band, which shortens the nail silhouette instead of slimming it.
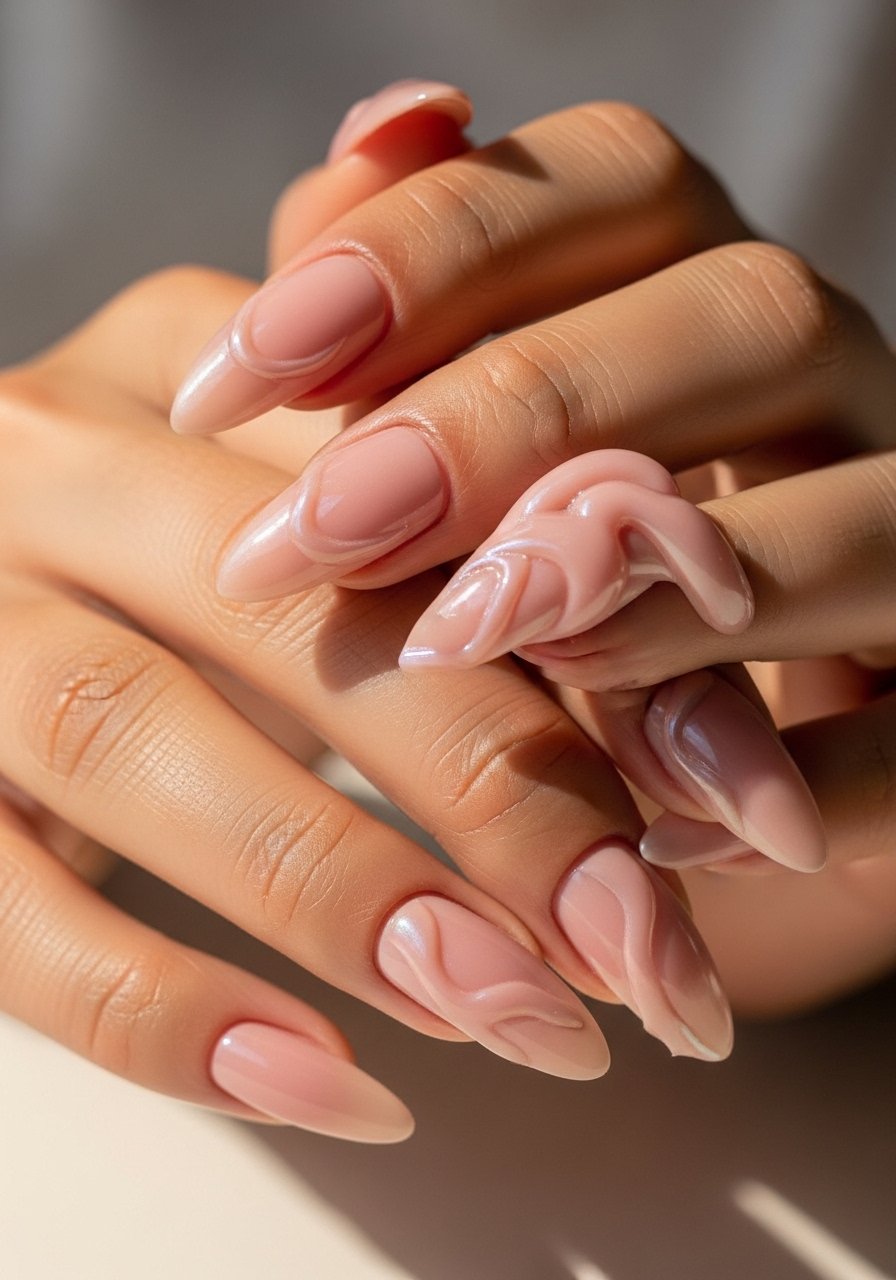
4. Soft Marble Accent
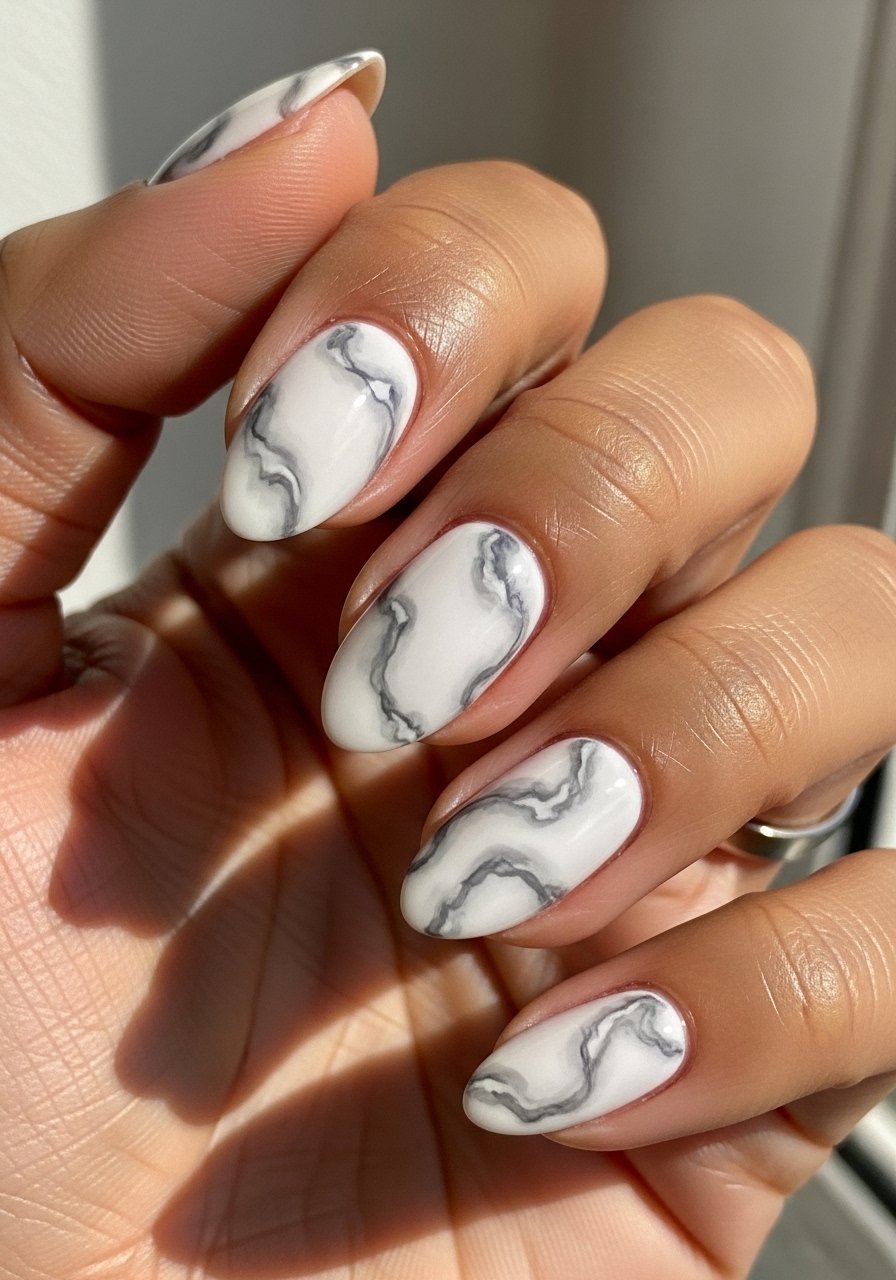
Style/Vibe: Subtle marble, artful neutral
Best For: Short nails, creative looks
Skill: Intermediate
A single marble accent nail keeps the mani interesting without overwhelming short tips. Mix a pea-sized dot of white, light gray, and a drop of translucent polish, swirl with a thin brush in three short strokes, then press the design only on one nail. Seal with a glossy top coat so the pattern looks like depth, not paint on top. Use a fine detail nail brush and a sheer base to keep the look airy. The small size reads intentional on short almond shapes.
Mistake to Avoid: Overworking the marble so it becomes muddy instead of soft veins.
5. Blunted Almond With Color Block
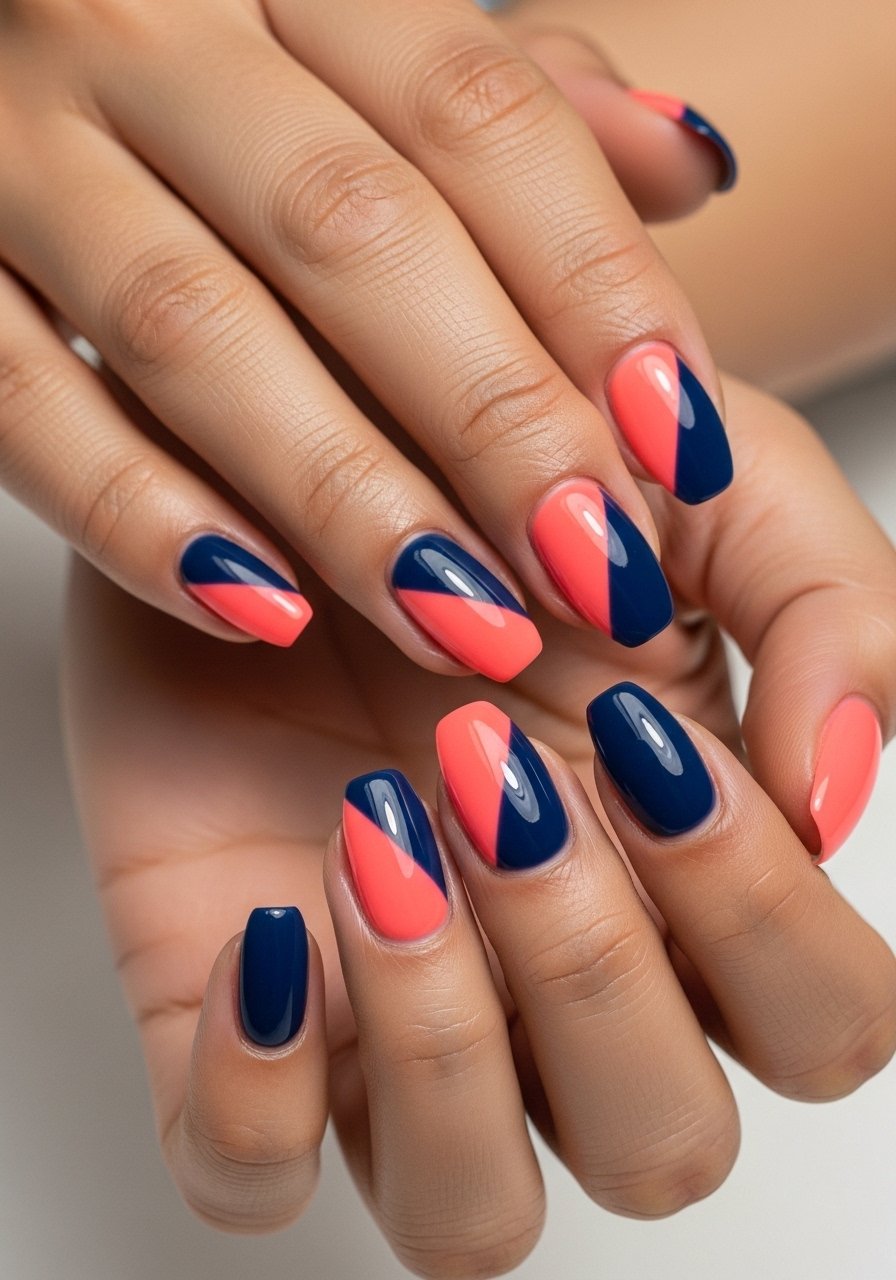
Style/Vibe: Blunted almond, graphic color block
Best For: Short nails, bold casual looks
Skill: Beginner
This is the shape that saved my left-hand tips. Keep the sides slightly tapered but blunt the center tip by about 0.5 to 1 mm, then paint two color blocks meeting at a diagonal. The blunt center makes the almond feel substantial without excess length. Use tape or a quick-dry polish like a fast-dry lacquer for crisp edges. It reads modern and fits anyone who likes a bit of edge without high maintenance.
Mistake to Avoid: Cutting the tip too narrow before blocking color, which makes the diagonal look off-center.
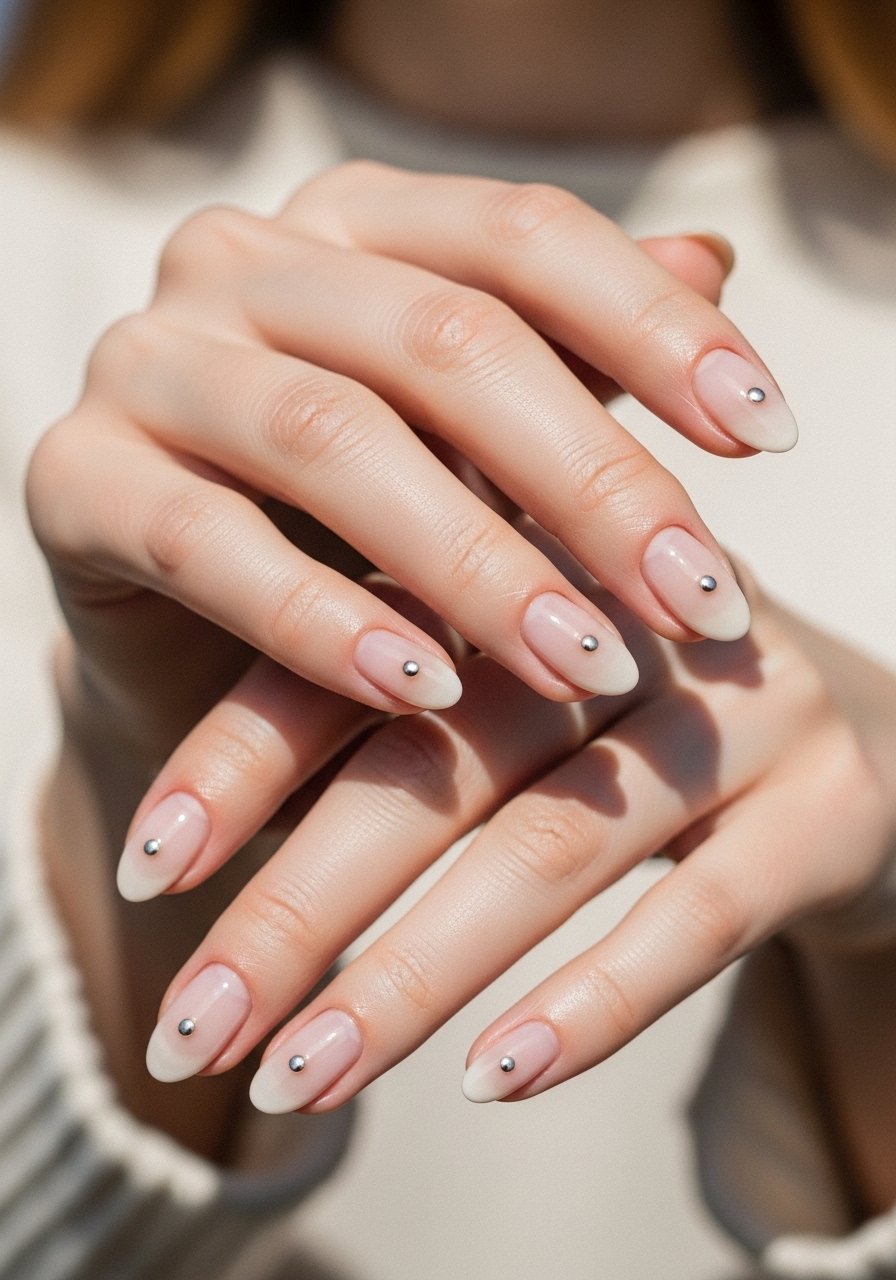
6. Tiny Gems on a Sheer Base
Style/Vibe: Delicate gems, low-maintenance sparkle
Best For: Short nails, special nights or daily sparkle
Skill: Beginner
A single 1.5 to 2 mm gem looks luxe on a short almond without feeling costume. Use a dot of gel top coat or nail glue, place the gem with a wax pencil, and cure for 30 seconds if using gel. Keep the rest of the nails sheer so that the eye is drawn to the gem and the almond curve. I prefer tiny crystal nail embellishments and a wax pencil. This is one of the competitor gaps I saw, small-scale sparkle that does not demand nail length.
Mistake to Avoid: Using large gems that overpower short tips and catch on fabrics.
7. Thumb-Forward Accent Stripe

Style/Vibe: Vertical accent, elongating stripe
Best For: Short nails, minimalist fans
Skill: Beginner
A single vertical stripe on the thumb or ring finger creates an optical lengthening effect. Paint a narrow stripe 1.5 to 2 mm from the lateral edge running from cuticle to tip. Use a striping brush or nail striping tape as a guide. This is low time and high impression, and it works with both creams and sheer jelly polishes. Keep other nails neutral to let the stripe do the work.
Mistake to Avoid: Centering the stripe, which shortens rather than elongates the nail.
If you want to shop while you read, these are the tools and polishes I actually reach for when I do short almond manis.
Short Almond Mani Essentials
Tools:
- A 180-grit nail file (~$4-8). The gentler grit keeps edges clean without over-thinning.
- Fine detail nail brush (~$6-12). For ombre and marble work.
- Nail striping tape (~$5-10). Use for crisp micro French and stripes.
Polishes & Finishes:
- Matte top coat (~$8-15). Softens gradients and hides tiny flaws.
- Peel-off base coat (~$9-14). Great for short natural nails and quick changes.
- Fast-dry nail polish (~$7-12). Cuts overall mani time.
8. Micro Negative Space with Metallic Dot
Style/Vibe: Micro negative space, tiny metallic detail
Best For: Short nails, modern minimalists
Skill: Beginner
This is a twist on negative space that competitors miss, using a tiny metallic dot at the tip center to suggest length. Create a 1 to 1.5 mm clear gap at the very center of the free edge and place a dot of metallic polish or micro-stud right above it. The contrast fools the eye into seeing a longer curve without growing anything out. I use micro metallic studs and a thin top coat to seal. It pairs well with a jelly base for layered depth.
Mistake to Avoid: Placing the dot off-center, which reads asymmetrical rather than elongating.
9. Press-On Almond With Sculpty Finish
Style/Vibe: Press-on sculpted almond, salon finish
Best For: Short nails, quick transformations
Skill: Beginner
If you need almond shape right now, custom press-ons can be filed into a soft almond and adhered with nail glue. Pick press-ons with a slightly longer overlay and file down 1 to 2 mm for the blunted almond silhouette, then finish edges with a 180 file. Press-ons let you try almond without committing to growth or gels. I like pre-shaped sets that come slightly longer so you can customize. Try press-on nail sets and nail glue. Finish with a glossy top coat for a sculpty look.
Mistake to Avoid: Skipping edge filing after applying press-ons, which makes the almond look blocky.
Short-Almond Finishing Moves
Thin coats beat one thick coat every time. Three thin layers of fast-dry top coat look smoother and last longer than one gloopy layer.
Use a wax pencil to place tiny gems. It is far easier than tweezers and keeps the jewel exactly where you want it.
If you are curing gel at home, keep your LED lamp clean and cure each thin layer 30 to 60 seconds. Dirty bulbs and under-curing are the usual reasons edges peel within days, not the formula itself.
Keep a gentle cuticle oil at your desk. Short almond shapes read healthiest when cuticle skin is hydrated and tidy.
When filing for almond, file from the side towards the center at a slight angle, not straight up and down. That small 5 to 10 degree tilt makes the tip look softer and avoids a point that chips.
