
I kept asking for bigger spiders until my lines blurred into a single dark blot, and the artist finally stopped me and said, smaller was the point, not less thought. That was the moment I started looking at negative space, single-needle profiles, and placements that read as a deliberate mark rather than a tattoo shouting for attention.
These picks are for men who want quiet tattoos that pass at work, age well, and fit into a short session. Most of these are single-needle or micro-line pieces that sit 1.5 to 3 centimeters across, so budget is small and healing is straightforward. I picked these after visiting five shops, and what kept showing up was consistent: 0.25 to 0.35 millimeter line weights read best on camera and in real life.
1. Tiny Single-Leg Spider, Outer Wrist
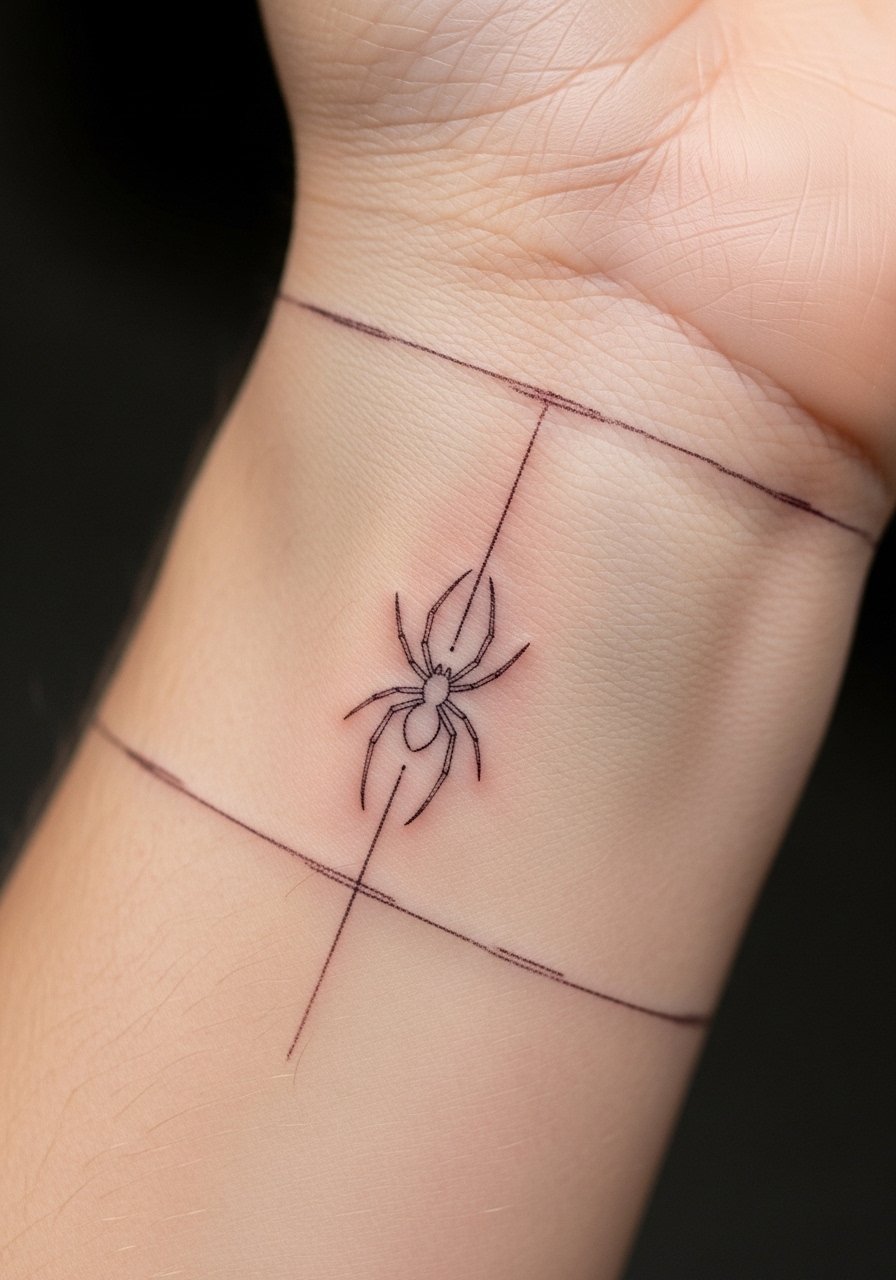
This is a single-needle spider about 2.2 centimeters across, eight legs suggested with three fine strokes each, and a tiny negative-space abdomen. It reads like a deliberate accent on your wrist, easy to hide under a watch for work, and cheap to touch up if one leg fades. If you want to care for it properly, use a fragrance-free tattoo ointment like fragrance-free tattoo ointment after the first wash. A single-session design like this is usually 20 to 40 minutes and low pain for most.
Mistake to Avoid: Asking for thicker lines to make it “pop” will turn a delicate single-needle spider into a blob over time.
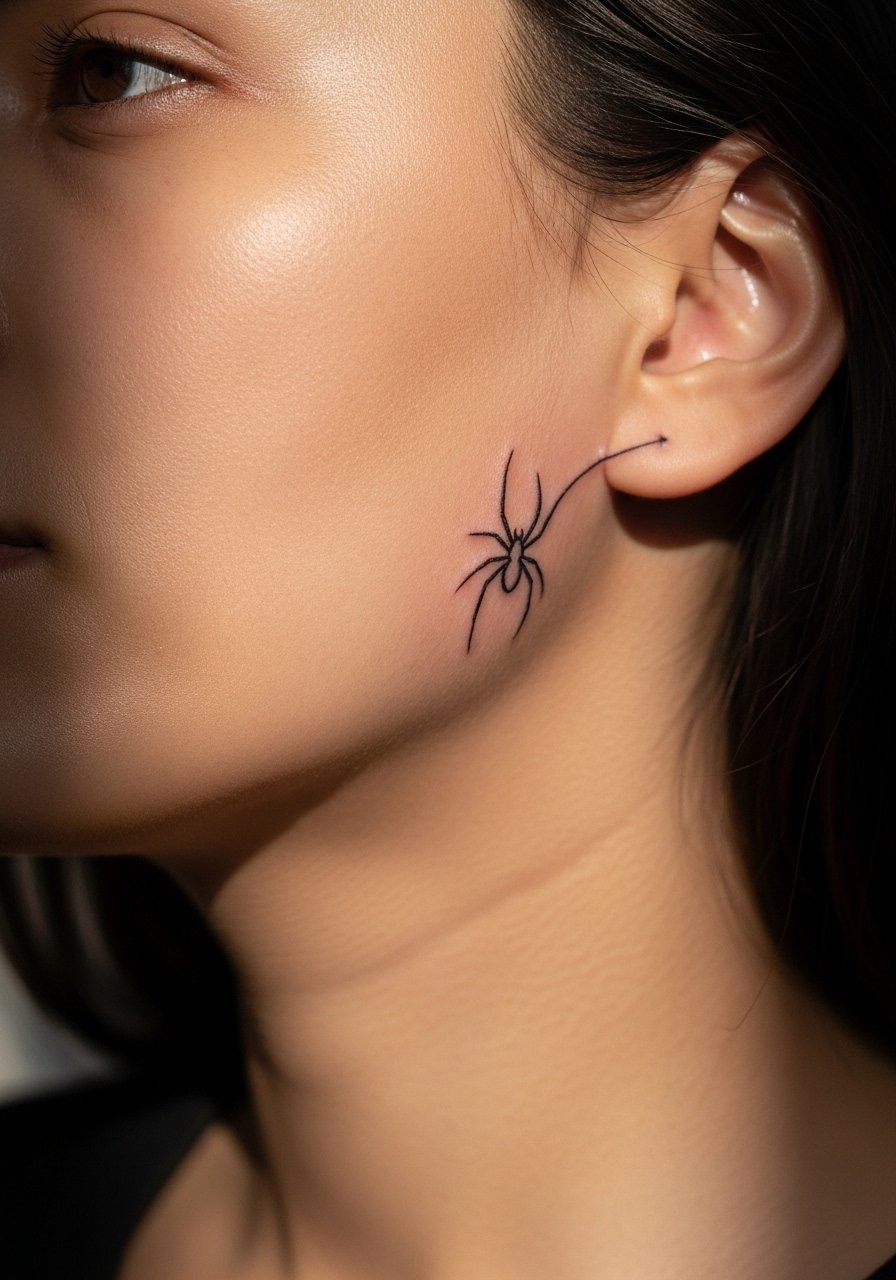
2. Tiny Dot-Body Spider, Side of Neck
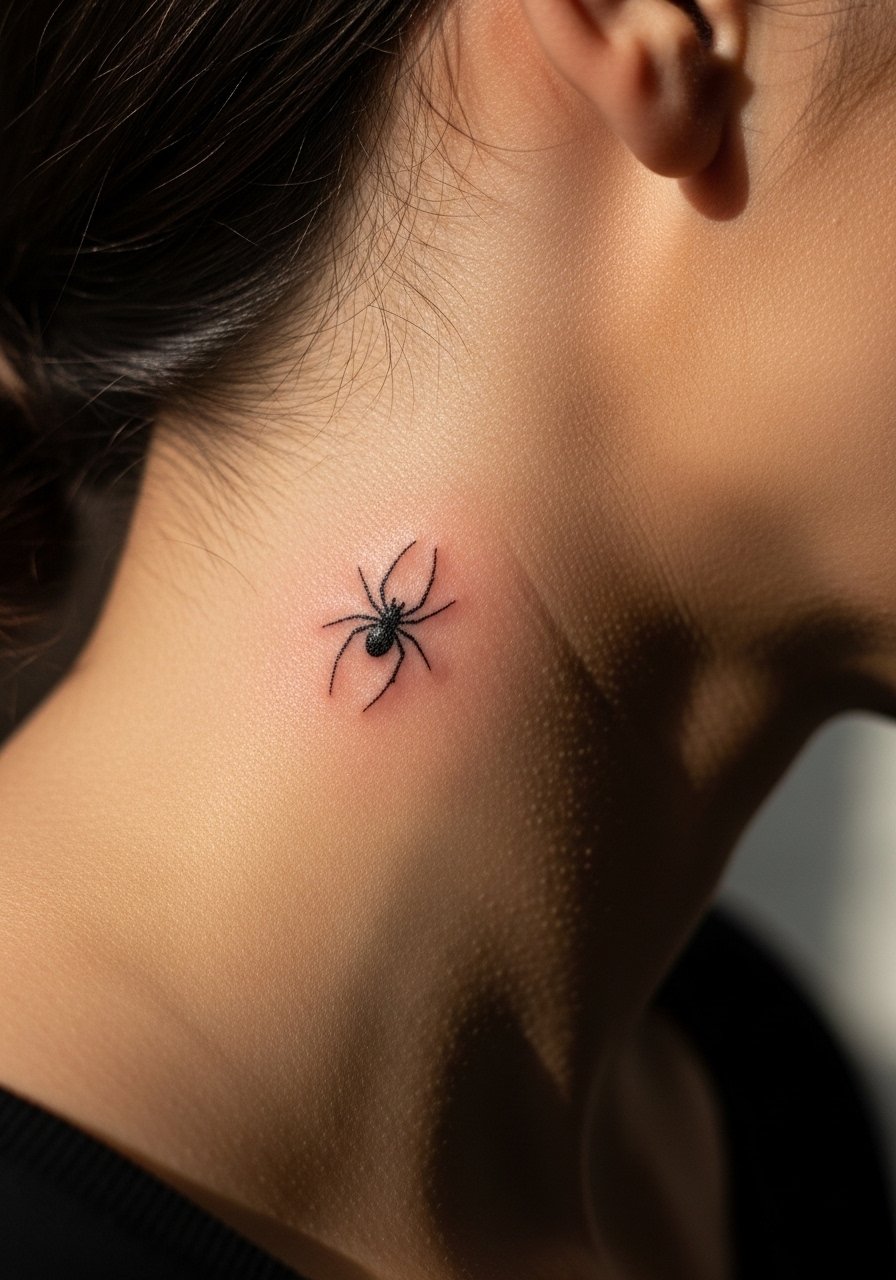
This design pares the spider down to a tiny dot for the body with four minimalist leg strokes on each side. It creates a discrete silhouette that looks intentional from a distance and detailed up close. Placement on the side of the neck gives a hint of edge without being full face-level visible. Expect 30 minutes in the chair and a 2/10 pain rating. Bring a soft shirt to avoid rubbing during healing and use a mild tattoo soap like gentle tattoo cleanser.
Mistake to Avoid: Sleeping on the side with the fresh tattoo on it will trap moisture and increase scabbing risk.
3. Geometric Spider With Negative Space Web, Upper Arm
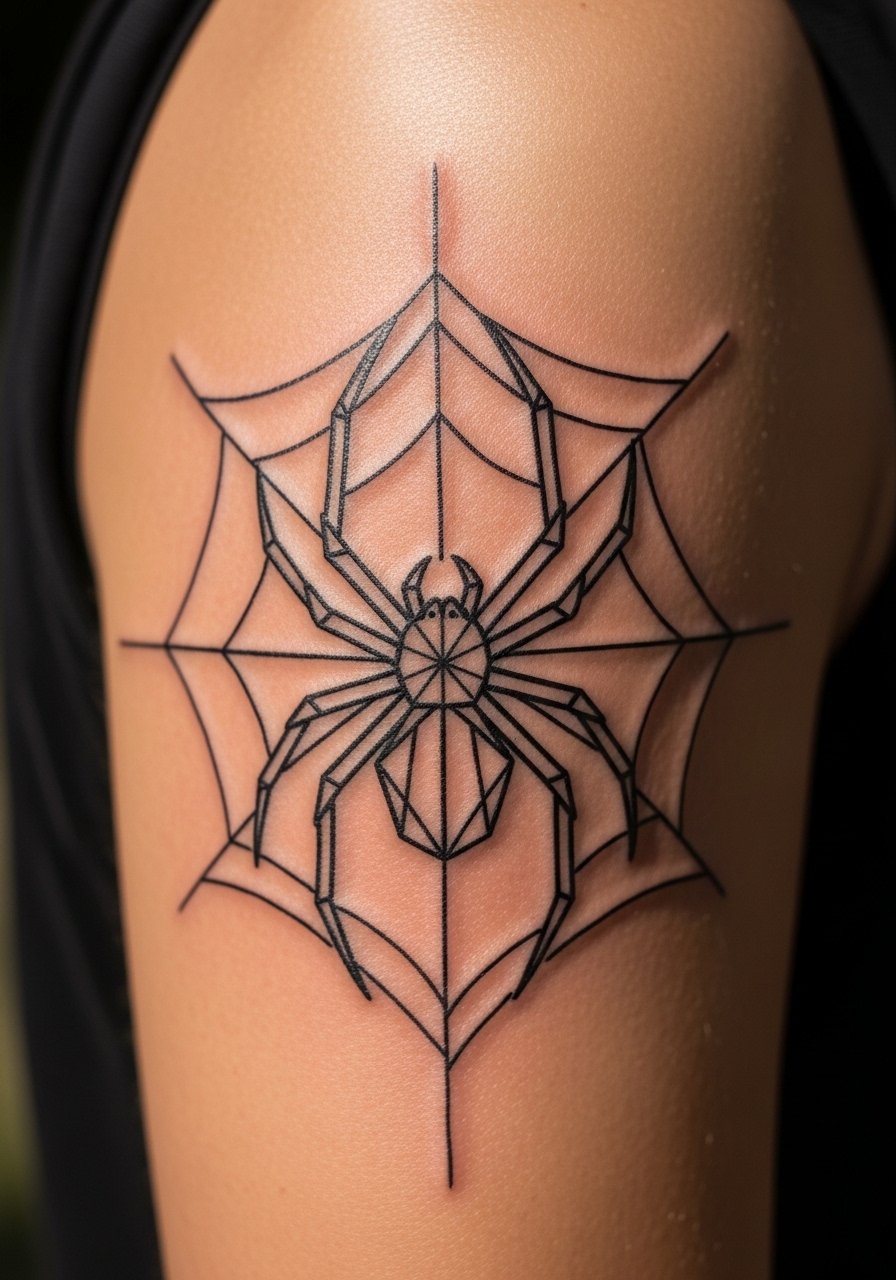
This pairs a tiny spider silhouette with a one-line negative-space web. The trick is 60 percent of the mark being open skin, which keeps the piece feeling light. It reads modern and clean, good for someone who wants a sculptural look rather than realism. Expect a 45-minute session and plan for light touch-ups after a year. For stencil stability and crisp lines, some artists use transfer spray, you can suggest the shop use a reliable brand like tattoo-stencil-transfer-paper if they work with small geometric templates.
Mistake to Avoid: Asking for too much fill in the web removes the intended negative-space contrast.
Style/Technique: Geometric Minimalism
Pain Level: 3/10
Session Time: 0.5 to 1 hour
Best For: Upper arm, those wanting a modern look
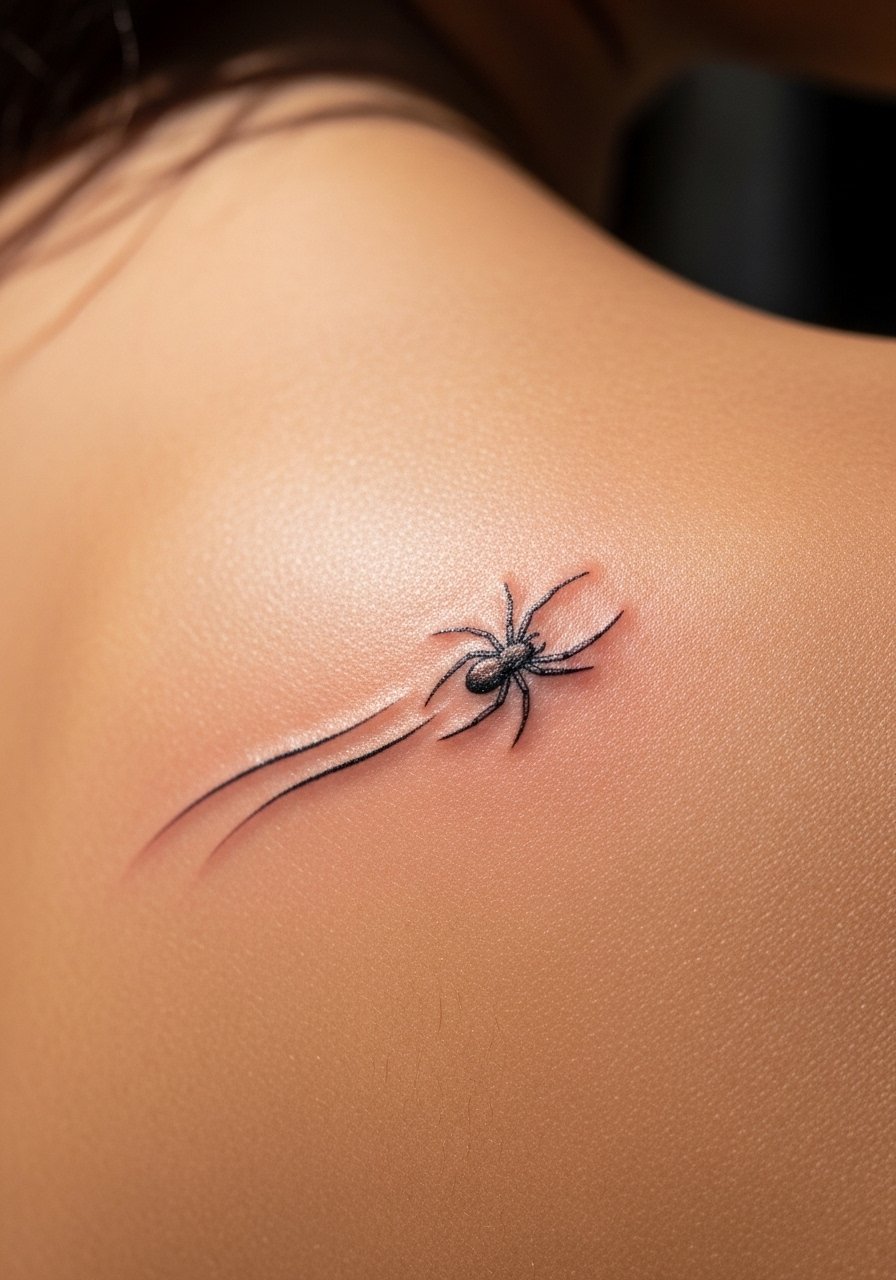
4. Micro-Realism Spider Over a Scar
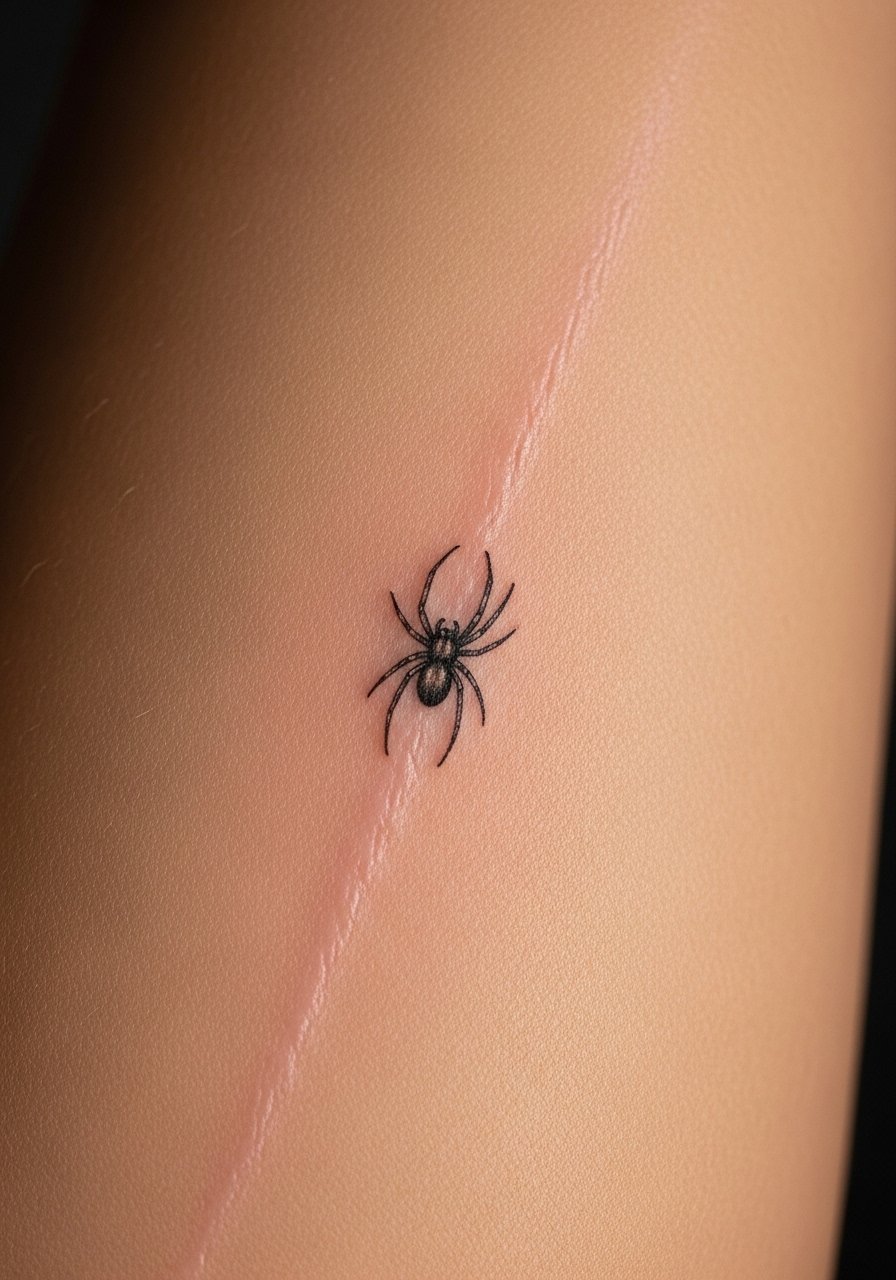
If you have an old narrow scar, a tiny spider can disguise it by following the scar line with a micro-body and delicate legs. This is a niche repair move I did after seeing a shop do it well. Expect careful shading at 0.5 to 1 millimeter fills and a follow-up touch-up after healing. Use a silicone scar sheet after the tattoo has fully healed if you want to further blend, and keep the area moisturized with silicone scar sheets.
Mistake to Avoid: Placing a heavy solid-black fill directly over the scar will make the area pick up ink unevenly.
Style/Technique: Micro-Realism Scar Work
Pain Level: 4/10
Session Time: 0.5 to 1 hour
Best For: Forearm scar cover, skin with even texture
5. Single-Leg Micro Line, Back of Hand
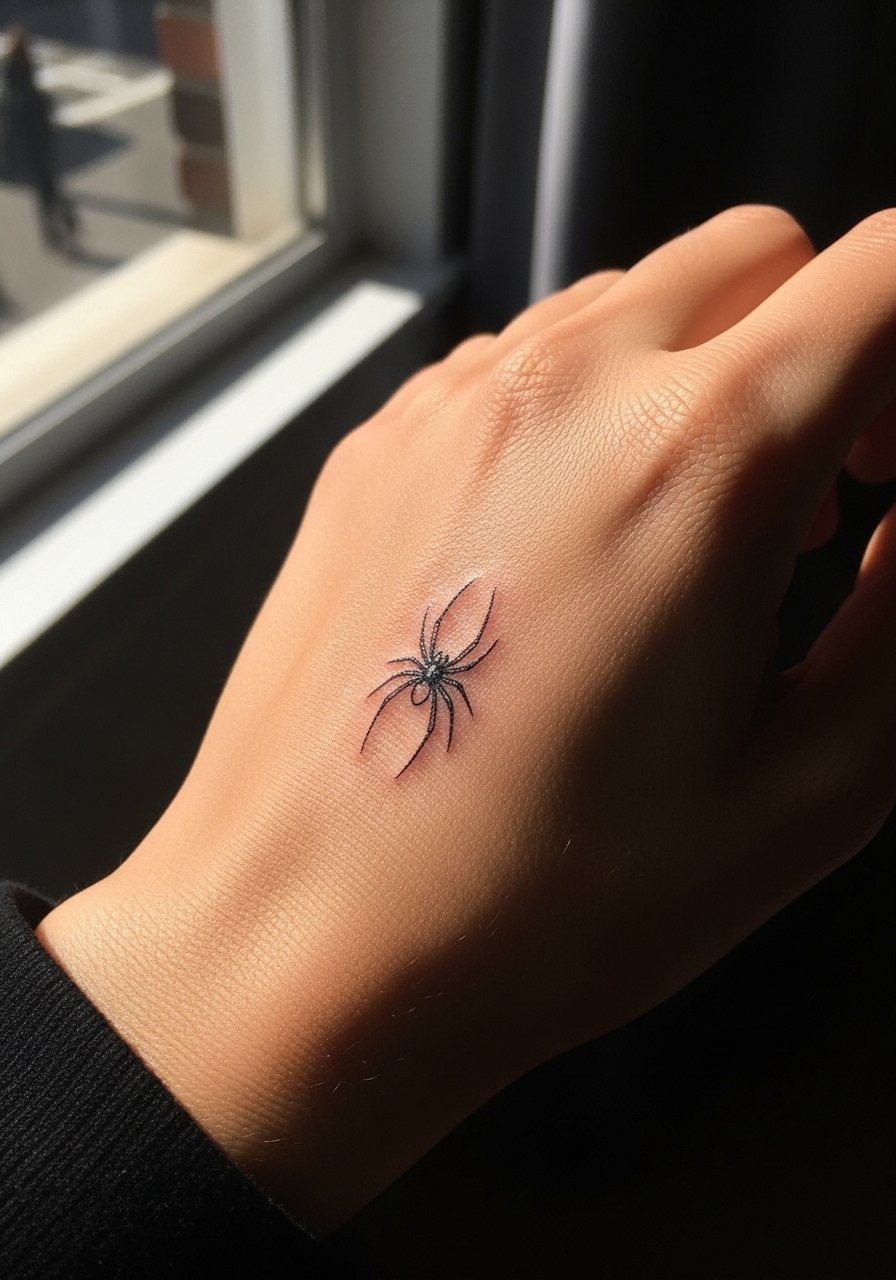
A tiny spider with just four legs, placed low on the back of the hand, reads like a small signature. Because hands see more wear, go for 0.3 millimeter linework and minimal fill. Bring a breathable bandage for the first 48 hours and wash gently with a dedicated cleanser such as tear-free tattoo soap. This is visible in most social settings so think about work visibility before inking.
Mistake to Avoid: Choosing heavy black fills for hand tattoos will darken faster and require more frequent touch-ups.
Style/Technique: Micro Line Hand Tattoo
Pain Level: 5/10
Session Time: 20 to 35 minutes
Best For: Back of hand, visible style statements
6. Minimalist Spider Silhouette, Ribcage

A simple silhouette on the ribcage keeps the design bold while staying coverable. Because the canvas moves with breathing, a compact 2.5 centimeter silhouette holds shape well. This placement is higher pain but worth it if you want private placement that ages predictably. Pack a recovery kit with a low-scent ointment like sensitive-skin tattoo-ointment.
Mistake to Avoid: Stretching the design too large on the ribs will distort with body movement and age poorly.
Style/Technique: Silhouette
Pain Level: 6/10
Session Time: 0.5 to 1 hour
Best For: Ribcage, those who want coverable pieces
7. Tiny Spider With Motion Lines, Shoulder Blade
Adding one or two motion lines gives a minimal piece a sense of movement without adding detail. Keep lines no more than 0.5 millimeters thicker than the main body so the spider still reads small from a distance. It sits well on the shoulder blade for a piece that changes angle with movement. Artists often recommend a single-session for this and a dry, breathable covering like non-stick tattoo bandage for the first day.
Mistake to Avoid: Requesting three or more motion lines will clutter a tiny design and reduce clarity.
If any of these sounds useful, here are the actual items I keep on hand for visits and aftercare.
Essentials For Minimal Spider Tattoos
Aftercare:
- Fragrance-free tattoo ointment (~$8-15). Light, non-greasy, good for the first week.
- Tear-free tattoo soap (~$6-12). Gentle daily wash.
- Non-stick tattoo bandage (~$10-18). For the first 24 hours.
Supplies For Artists I Ask About:
- Tattoo-stencil-transfer-paper (~$12-20). Keeps micro designs crisp.
- Single-needle cartridges (~$8-15) for micro-line work.
Cover & Maintenance:
- Silicone-scar-sheets (~$10-20) for healed scar blending.
- SPF 50 broad-spectrum sunscreen (~$10-20) to protect small exposed pieces.
Extras:
- Hypoallergenic adhesive patches (~$7-14) for sleeping without rubbing.
8. Micro Dotwork Spider, Ankle
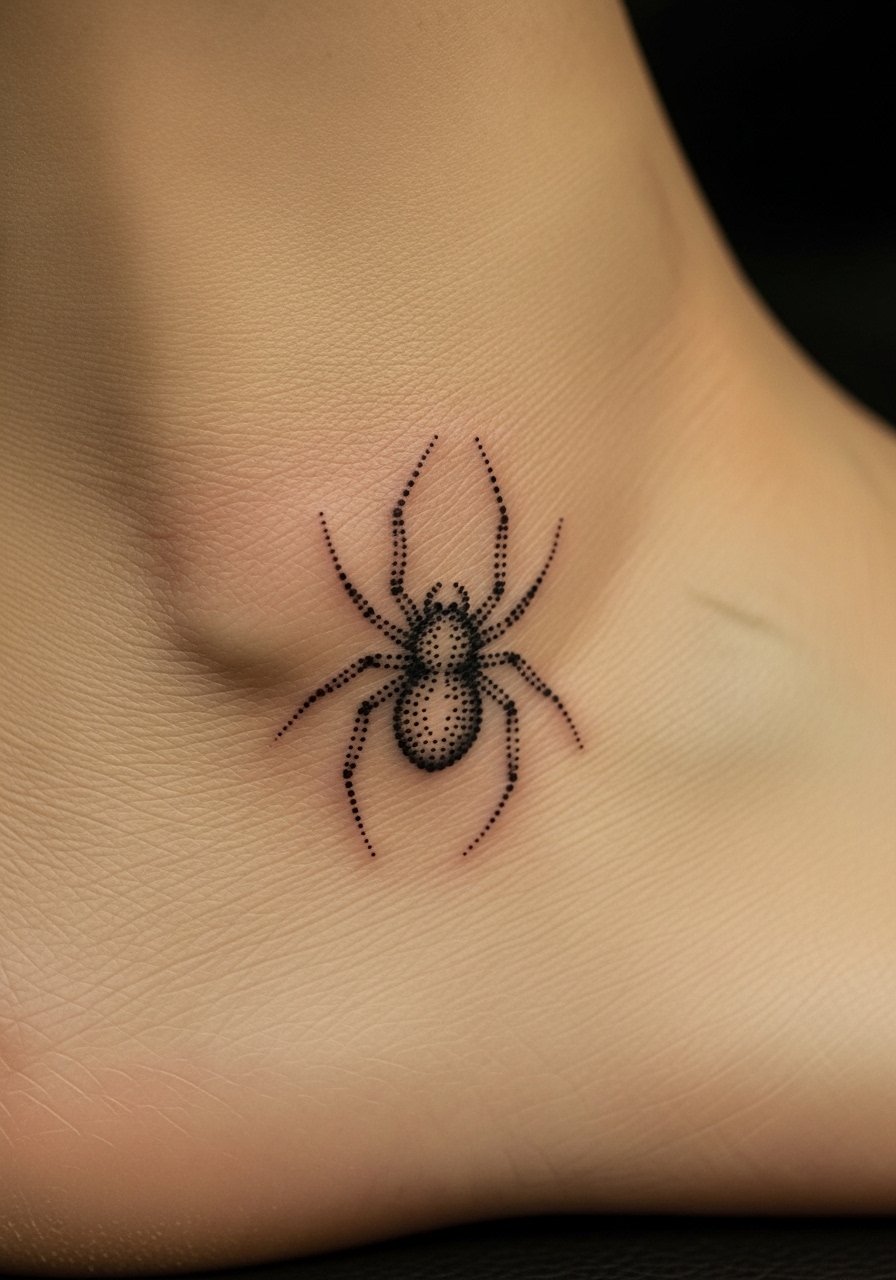
Dotwork lets you suggest volume without heavy lines. A spider built from dots, with a denser dot cluster for the abdomen and sparse dots for legs, holds texture while staying soft. This is perfect for someone who wants hint of pattern around footwear. Expect 30 to 50 minutes in the chair and relatively low pain. Use a low-fragrance moisturizer like unscented-healing-lotion during the second week.
Mistake to Avoid: Asking for solid black fill instead of controlled dot density will change the aesthetic entirely.
Style/Technique: Dotwork Micro
Pain Level: 3/10
Session Time: 0.5 to 0.8 hours
Best For: Ankle, those who want textured minimalism
9. Minimal Spider With Tiny Shadow, Calf
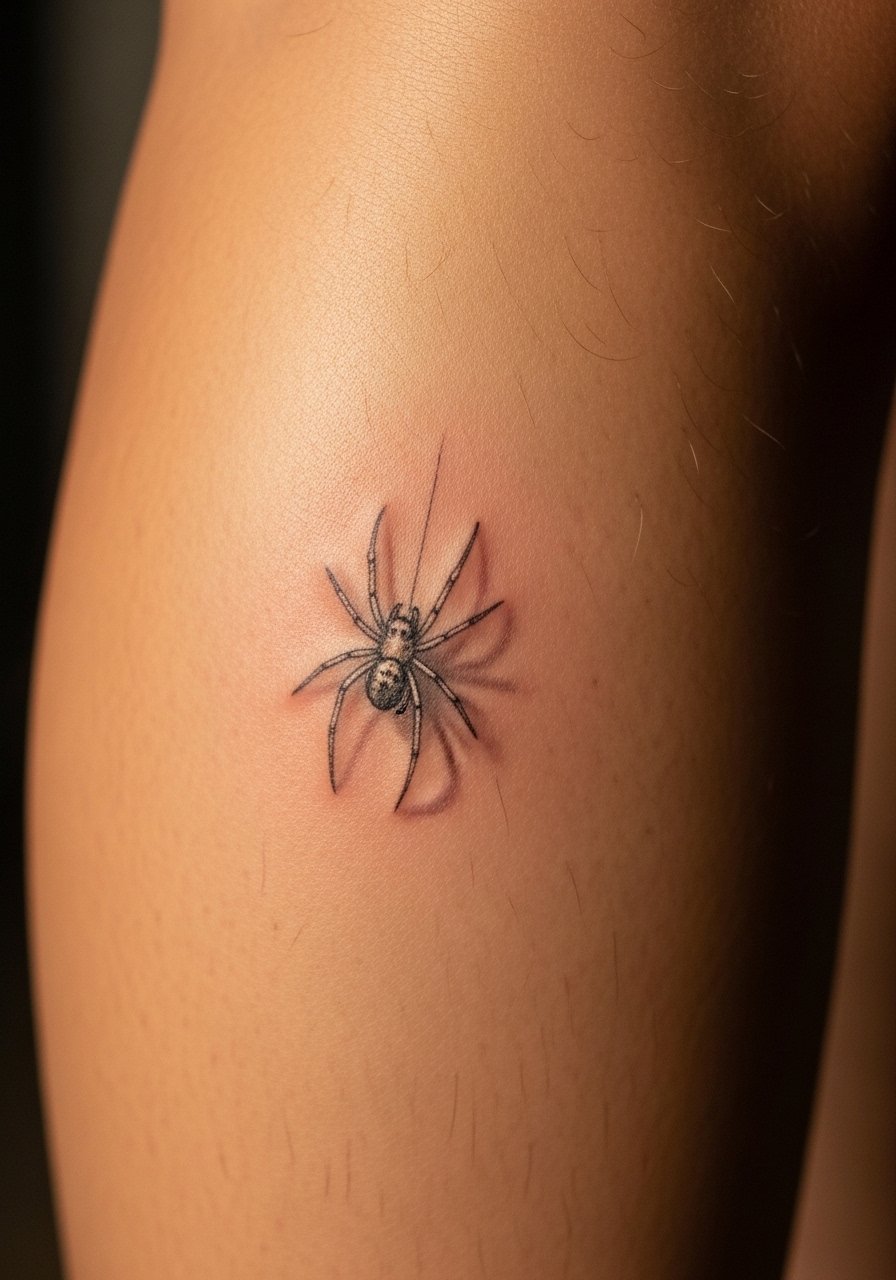
A single-needle spider with a faint 1 mm soft shadow offset adds depth without losing minimalism. The shadow should be one directional wash across 2 to 3 millimeters. It creates a subtle 3D effect and works well on the calf where it can sit larger, about 3 cm, and still read minimal. Ask the artist for subtle stippling rather than a gradient block. Aftercare with a gentle balm like lanolin-free tattoo-balm helps the soft shading settle.
Mistake to Avoid: Insisting on a sharp, dark shadow will read like a different, heavier style.
Style/Technique: Micro Shadowing
Pain Level: 3/10
Session Time: 0.5 to 1 hour
Best For: Calf, those who want subtle depth
10. Minimal Spider Outline, Collarbone
An outlined spider on the collarbone sits flat and reads like a jewelry mark. Keep the outline at 0.3 millimeter thickness and the whole piece under 2.5 centimeters so it doesn't fight with clothing seams. This is low-cost and quick, about 25 to 40 minutes. If you are prone to keloids, mention it to your artist and consider a test dot first. Pack gentle sunblock like small-sunscreen-stick for post-healing outdoor protection.
Mistake to Avoid: Placing the outline too close to the collar seam will cause friction during healing.
Style/Technique: Outline Minimal
Pain Level: 4/10
Session Time: 0.4 to 0.7 hours
Best For: Collarbone, visible but easy to cover with shirts
11. Spider Silhouette Behind Ear
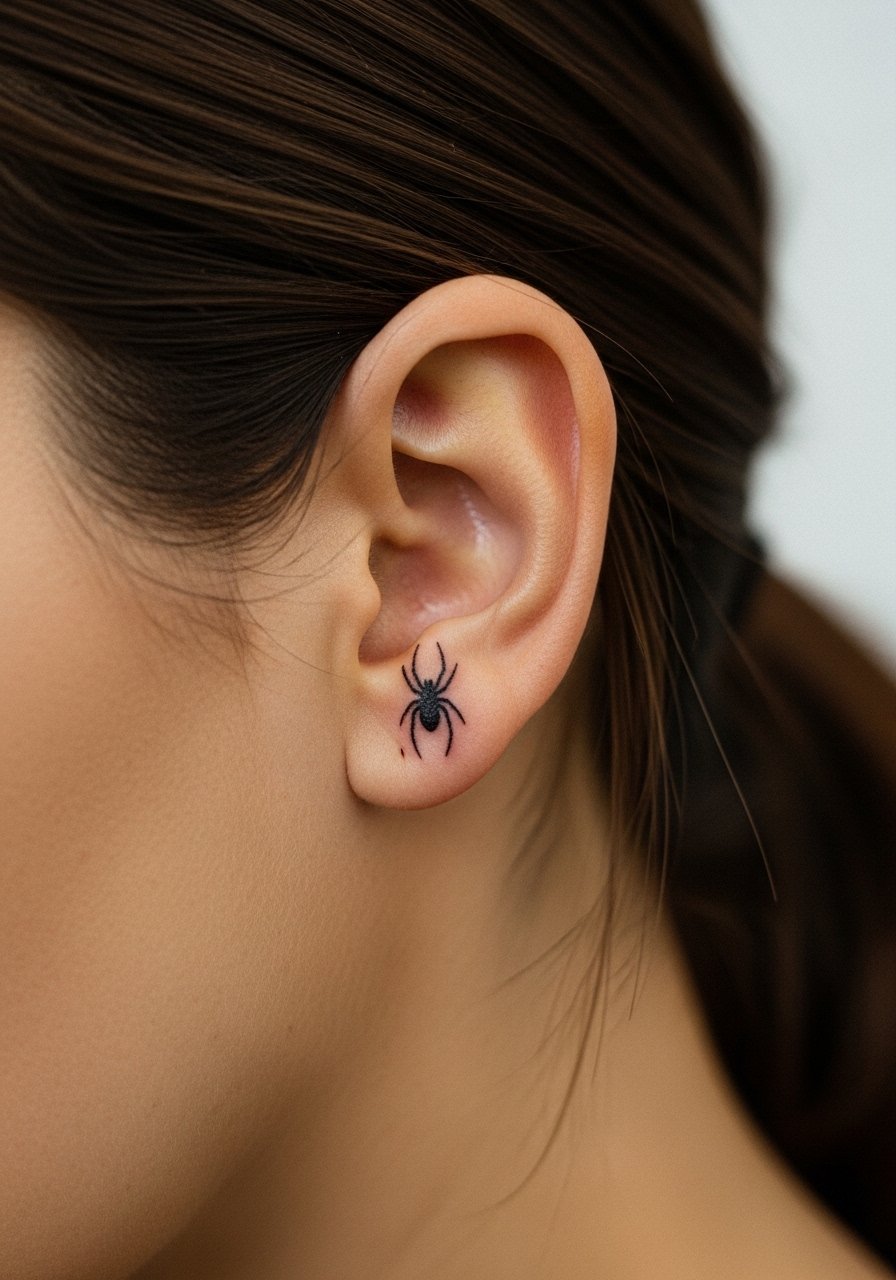
A behind-ear placement gives you a secret accent that only surfaces in short hair or certain angles. Keep it micro, about 1.2 to 1.8 centimeters, and request a healed-look stencil so you know how it will sit next to hair. Healing is easy but watch hair oils for the first week. Keep a travel-size gentle-tattoo-wash handy for aftercare.
Mistake to Avoid: Letting hair products sit on the fresh tattoo will cause irritation.
Style/Technique: Micro Silhouette
Pain Level: 2/10
Session Time: 15 to 30 minutes
Best For: Behind ear, those who want a hidden accent
12. Spider With Minimal Web Accent, Inner Bicep
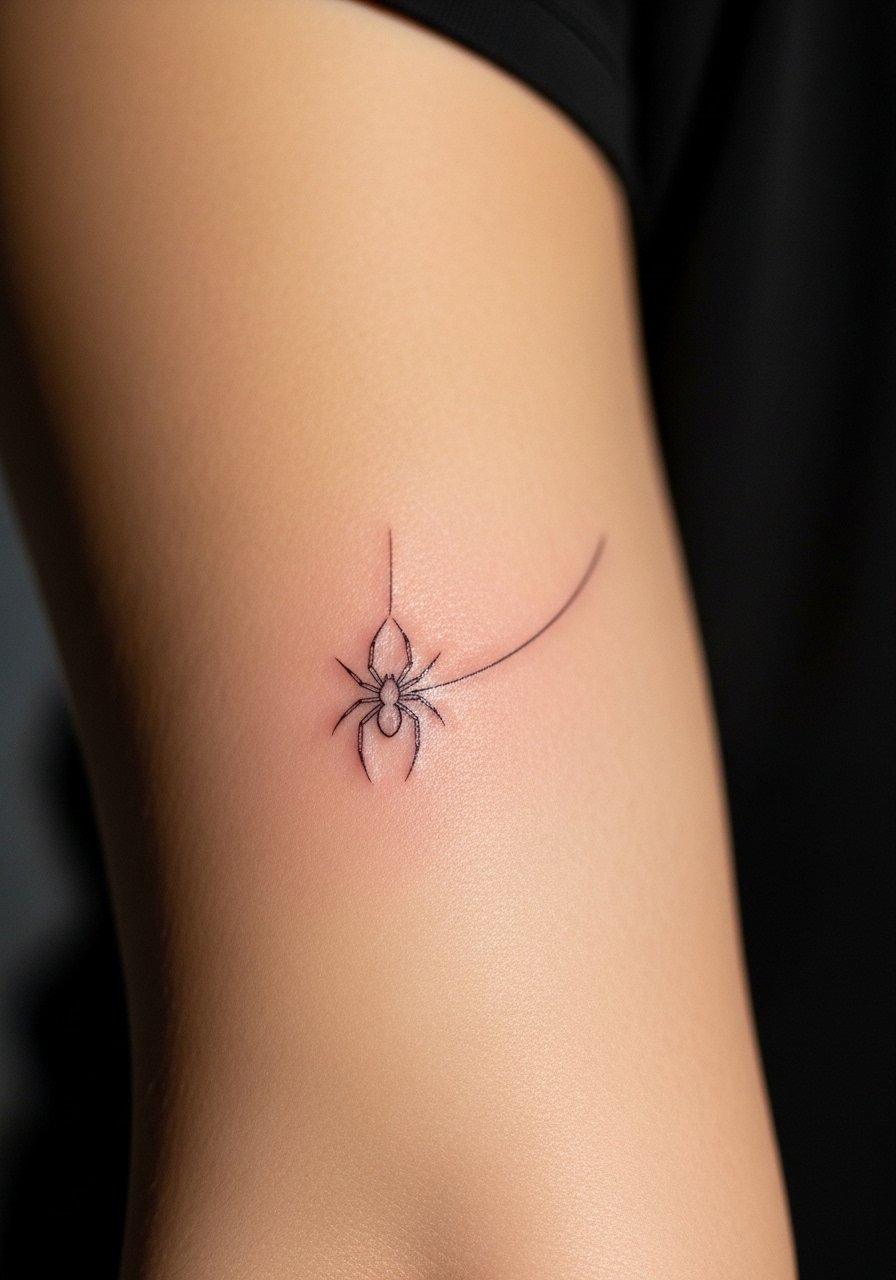
A small spider paired with a single-line arc web reads intentional and refined. Keep the web to one curved line and a single anchor point so it does not overpower the spider. Inner bicep is nicer for men who want a private spot that can be shown selectively. Session time is usually under an hour. For healing in this sweat-prone area, use breathable, non-occlusive coverings like breathable-healing-gauze.
Mistake to Avoid: Adding multiple web lines will make the design heavy and harder to maintain.
Style/Technique: Minimal Accent
Pain Level: 4/10
Session Time: 0.5 to 1 hour
Best For: Inner bicep, selective display
13. Miniature Stylized Spider, Finger Side
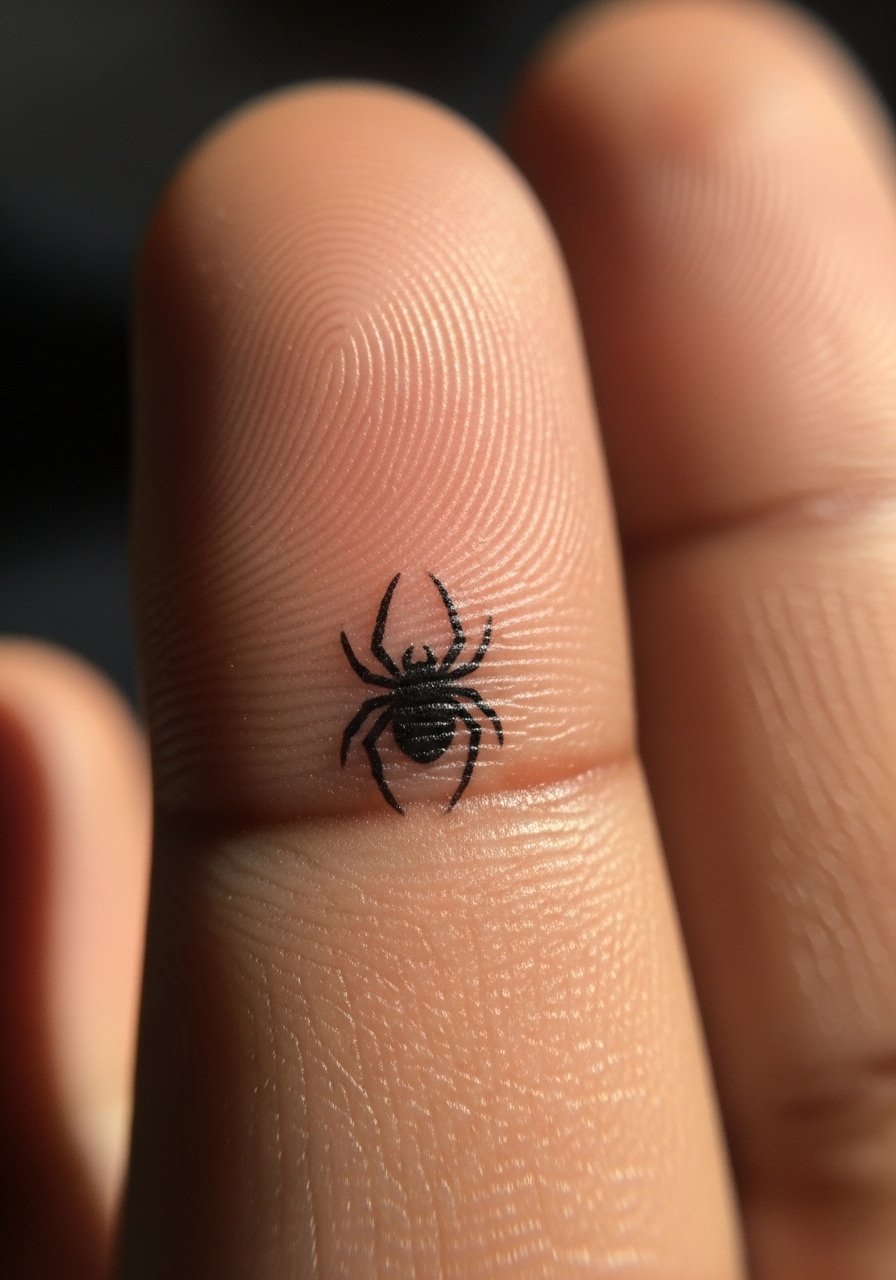
Finger-side tattoos are stubborn but look great tiny and spaced. Keep this one linear and no more than 1 centimeter in height, with 0.25 mm lines and no solid fill. Expect touch-ups, often after six months, and plan for a waterproof bandage for the first night like waterproof-mini-bandages. This is a commitment but totally low-key when done right.
Mistake to Avoid: Wanting heavy fill on finger tattoos; they do not hold dense black well on that skin type.
Style/Technique: Finger Micro
Pain Level: 5/10
Session Time: 15 to 30 minutes
Best For: Side of finger, discreet everyday mark
14. Asymmetrical One-Leg Spider, Jawline
An intentionally asymmetrical one-leg spider reads like a small charm near the jaw. Keep the mark under 2 centimeters and request the line weight at 0.3 mm so it ages cleanly. This sits between visible and coverable depending on beard and hair. Consider numbing cream for jawline work if you are sensitive, and bring topical-numbing-cream if your artist is comfortable using it.
Mistake to Avoid: Asking for symmetry in a piece designed to read off-kilter defeats the whole point.
Style/Technique: Asymmetrical Micro
Pain Level: 4/10
Session Time: 0.3 to 0.6 hours
Best For: Jawline, subtle statement placements
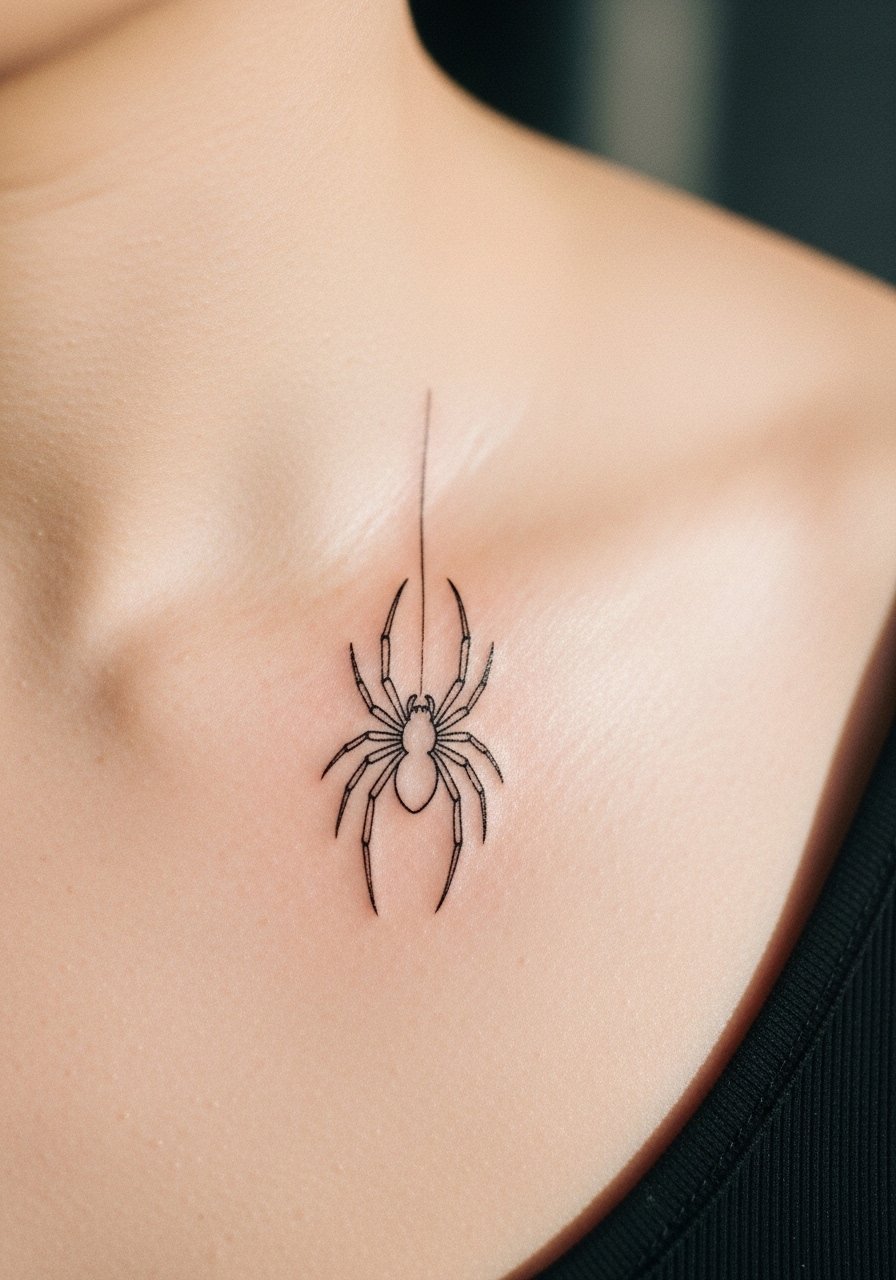
15. Tiny Line-Only Spider, Chest Near Sternum
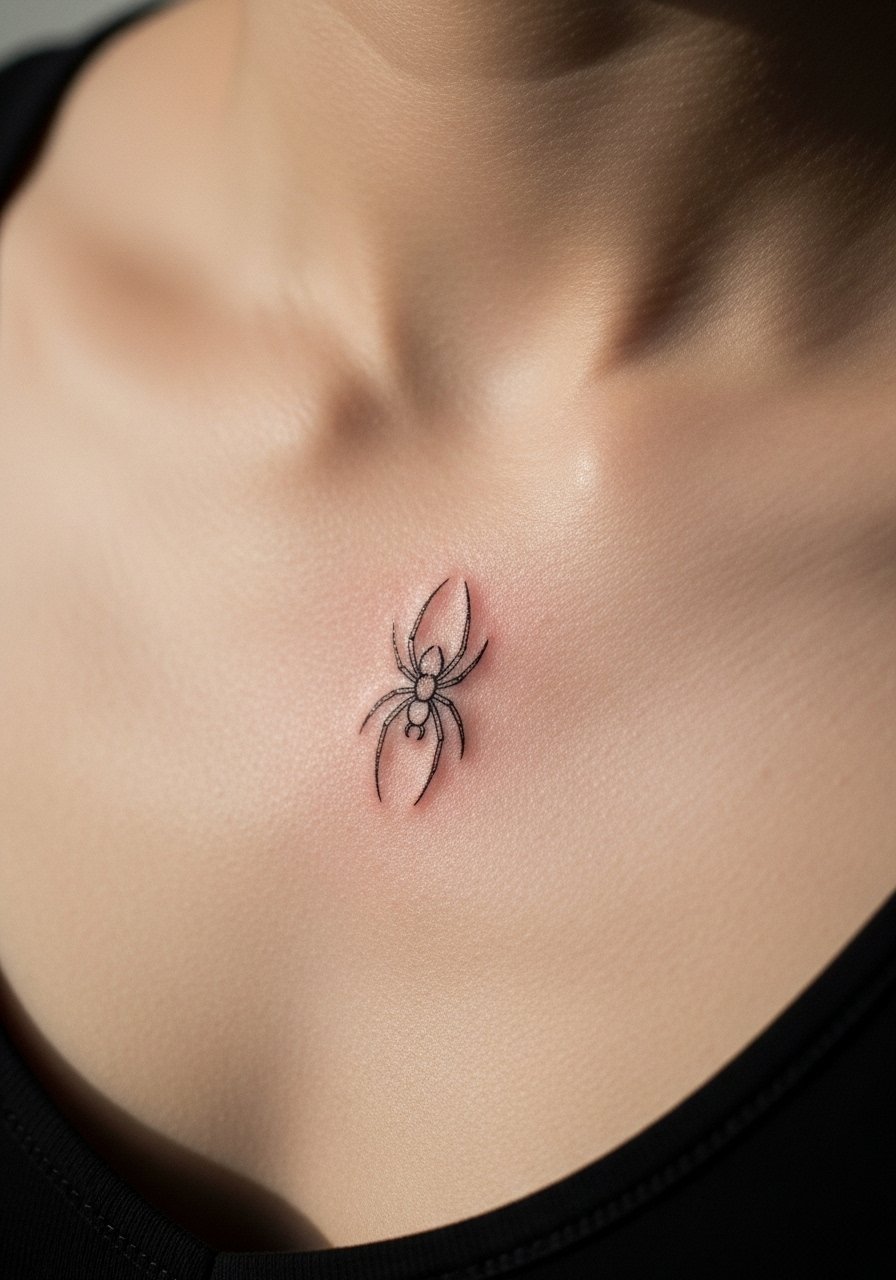
Centered near the sternum, a tiny line-only spider becomes almost talismanic. Keep it centered under clothing seams and limited to 1.8 to 2.5 centimeters so it does not fight with shirts. This spot reads intimate and can be shown selectively. Ask for a thin, single-needle outline and plan one short touch-up session in the first year. For chest aftercare, a breathable shirt and light application of unscented-healing-lotion help reduce friction during sleep.
Mistake to Avoid: Placing it off-center or too close to sternum seams will make it look lopsided as you move.
Style/Technique: Line-Only Chest
Pain Level: 4/10
Session Time: 0.3 to 0.6 hours
Best For: Sternum-adjacent, those who want an intimate mark
Tiny Tattoo Upkeep Habits
Thin coats beat one thick coat every time. For aftercare lotions, use a light layer of fragrance-free tattoo ointment twice daily so the skin breathes and heals without heavy crusting.
Grab SPF 50 broad-spectrum sunscreen for small exposed pieces. Keeping a small stick in your bag means you actually use it after the two-week mark when sun damage accelerates fading.
Most people over-scrub a new tattoo. Use a gentle wash with tear-free tattoo soap and pat dry, do not rub, for at least the first week.
If your artist suggests a single-needle look, trust the line weight. Single-needle cartridges like single-needle-tattoo-cartridges produce the fine lines that keep minimalist spiders readable.
For sleeping, a small patch of non-stick-tattoo-bandage protects hand and finger placements from sheets and hair oils.
If you plan to hide a tattoo in certain jobs, practice with clothing and grooming before booking so placement hits the right visibility point.
