
A pinned wedding-updo photo once had me buying a dozen pins and still arriving at the venue with a limp knot. The real switch came when I stopped trying to copy the glossy studio shot and instead learned small measurements, like working with two-inch sections and tucking hair into a base of four to six pins. These are the looks that actually stayed through vows and cake, the ones I now use across four hair textures I have styled.
These updos are for someone who wants polished hair without hiring a full styling team, they work on medium-length hair with a little practice, and most are doable in 15 to 30 minutes. Expect simple tools, a couple budget-friendly products, and one trick per style that makes the whole thing hold. I include heat-free options and porosity notes when it matters.
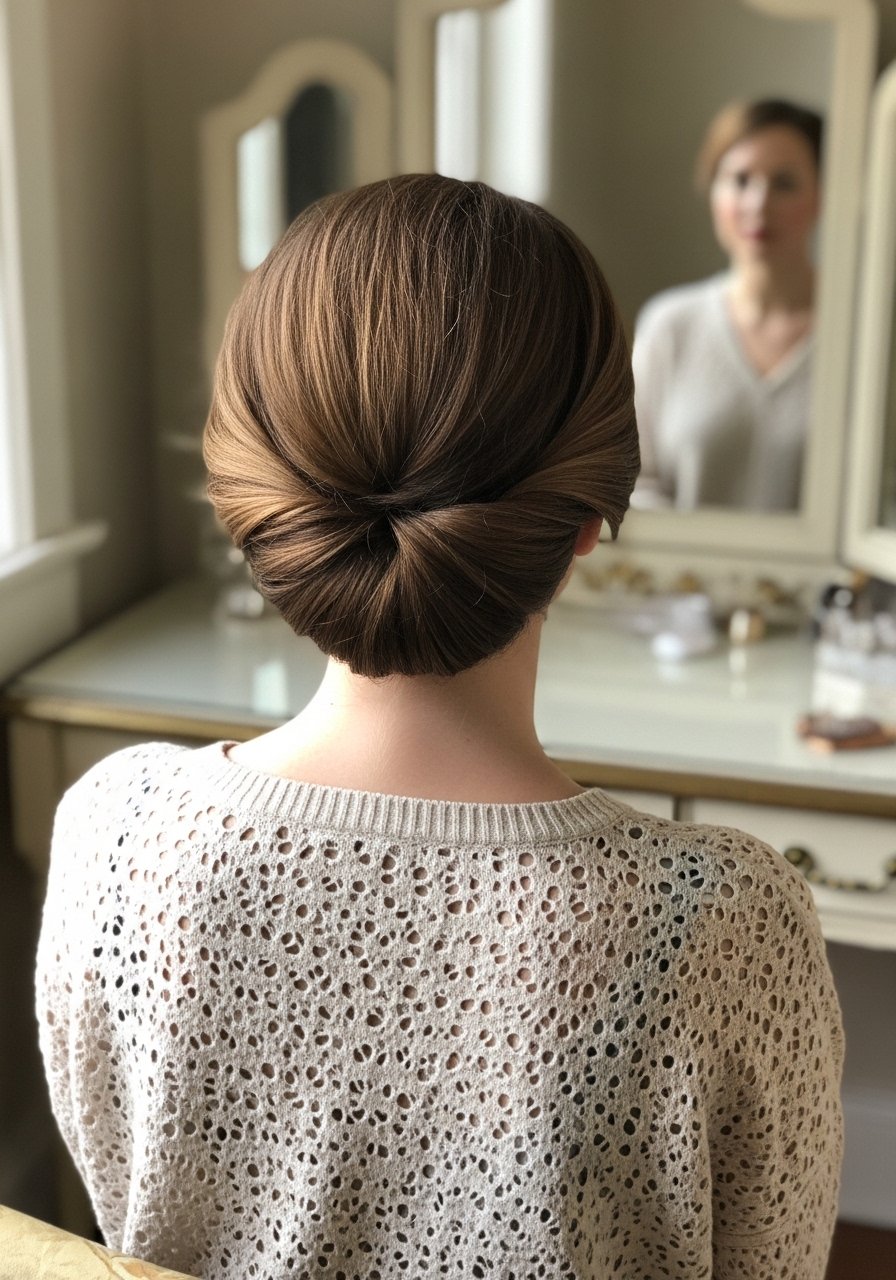
1. Textured Low Twist Chignon
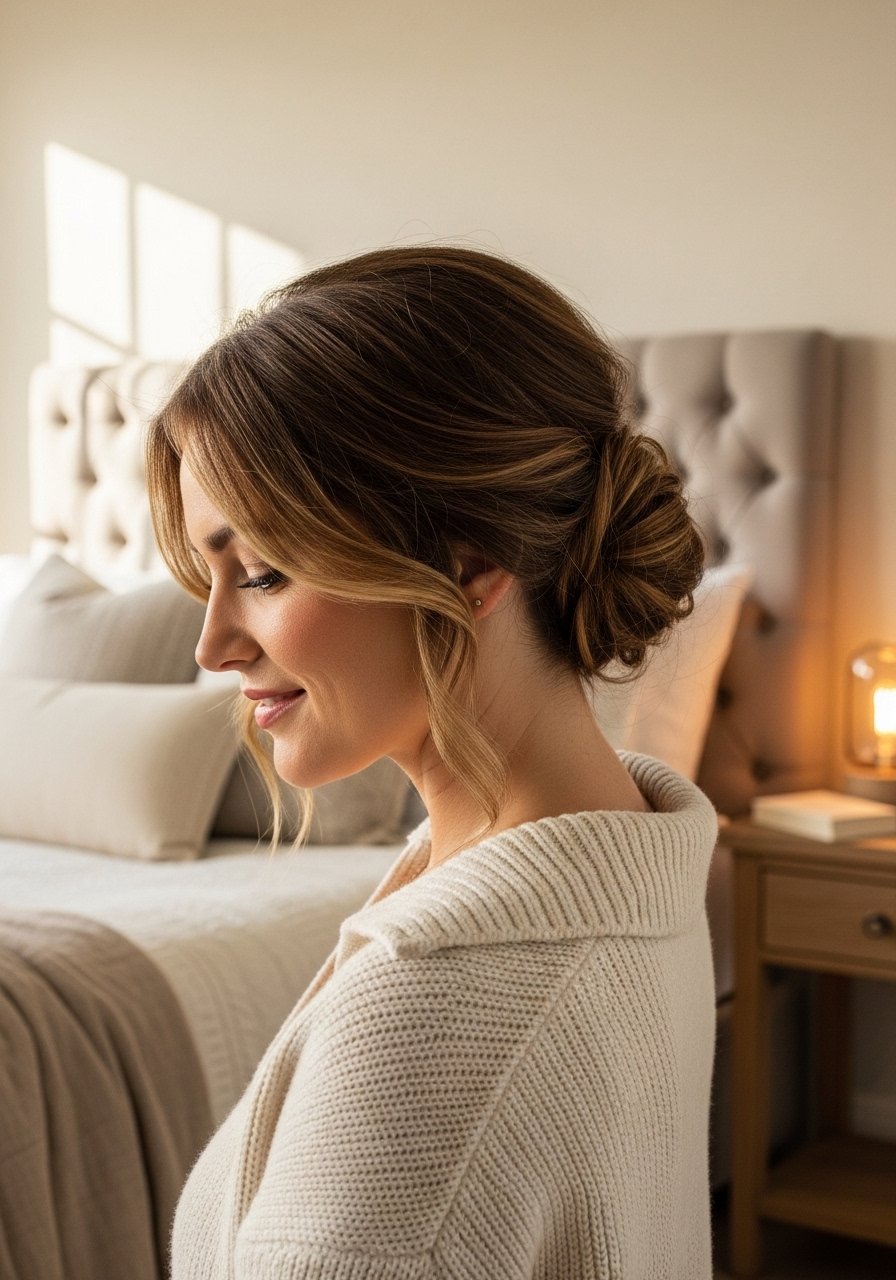
Start by spraying one to two pumps of texturizing spray through damp hair, then twist two-inch sections toward the nape and pin with no-slip pins. The texture gives the chignon something to grip so it does not slide out during the reception. It reads elegant and a little modern, good for straight or wavy medium hair, and it tolerates a few hours of dancing without a touch-up if you use a lightweight hold spray. For higher porosity hair, mix in a pea-size smoothing cream before styling.
Mistake to Avoid: Pinning directly into freshly washed, slippery hair without a texturizer so the chignon slides out by the first slow song.
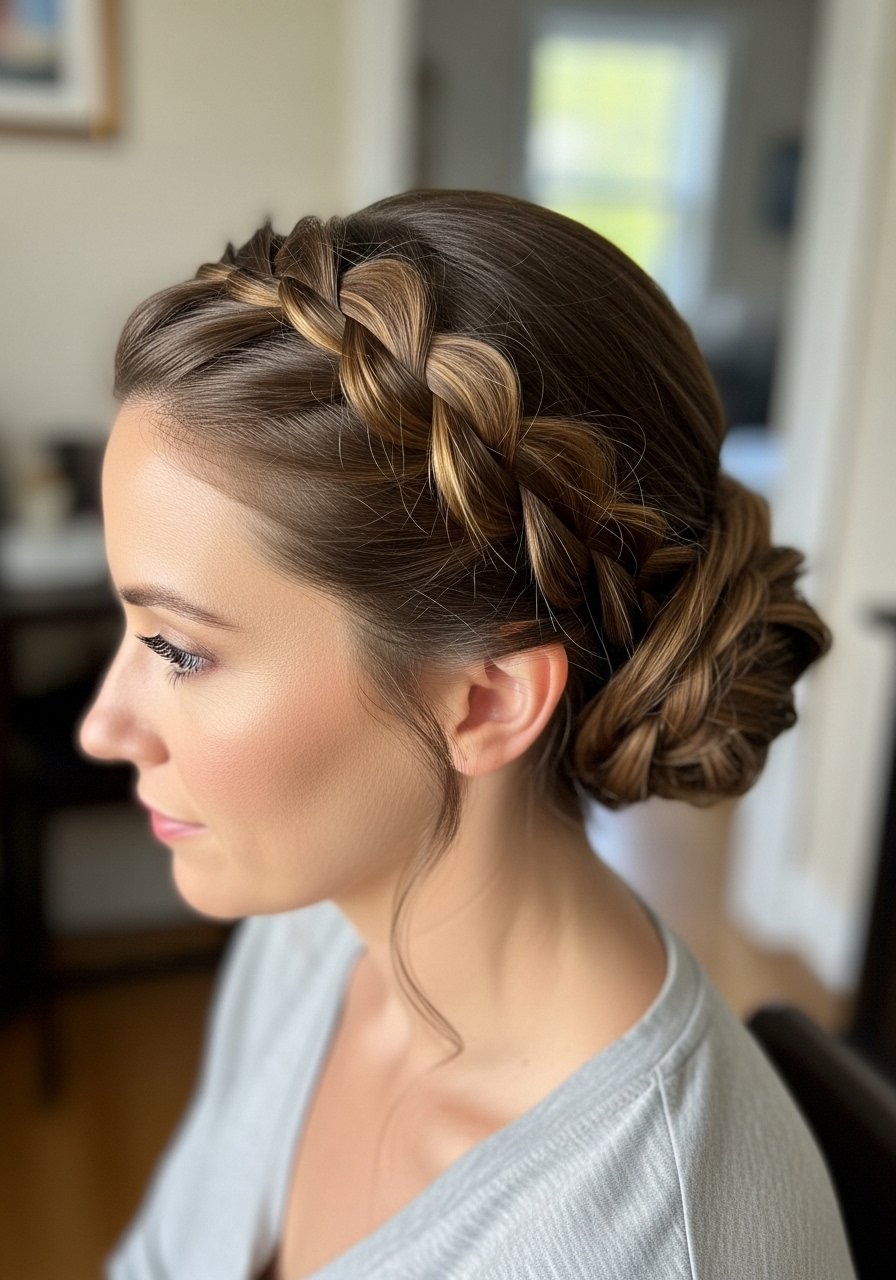
2. Soft Crown Braid With Pulled Pieces
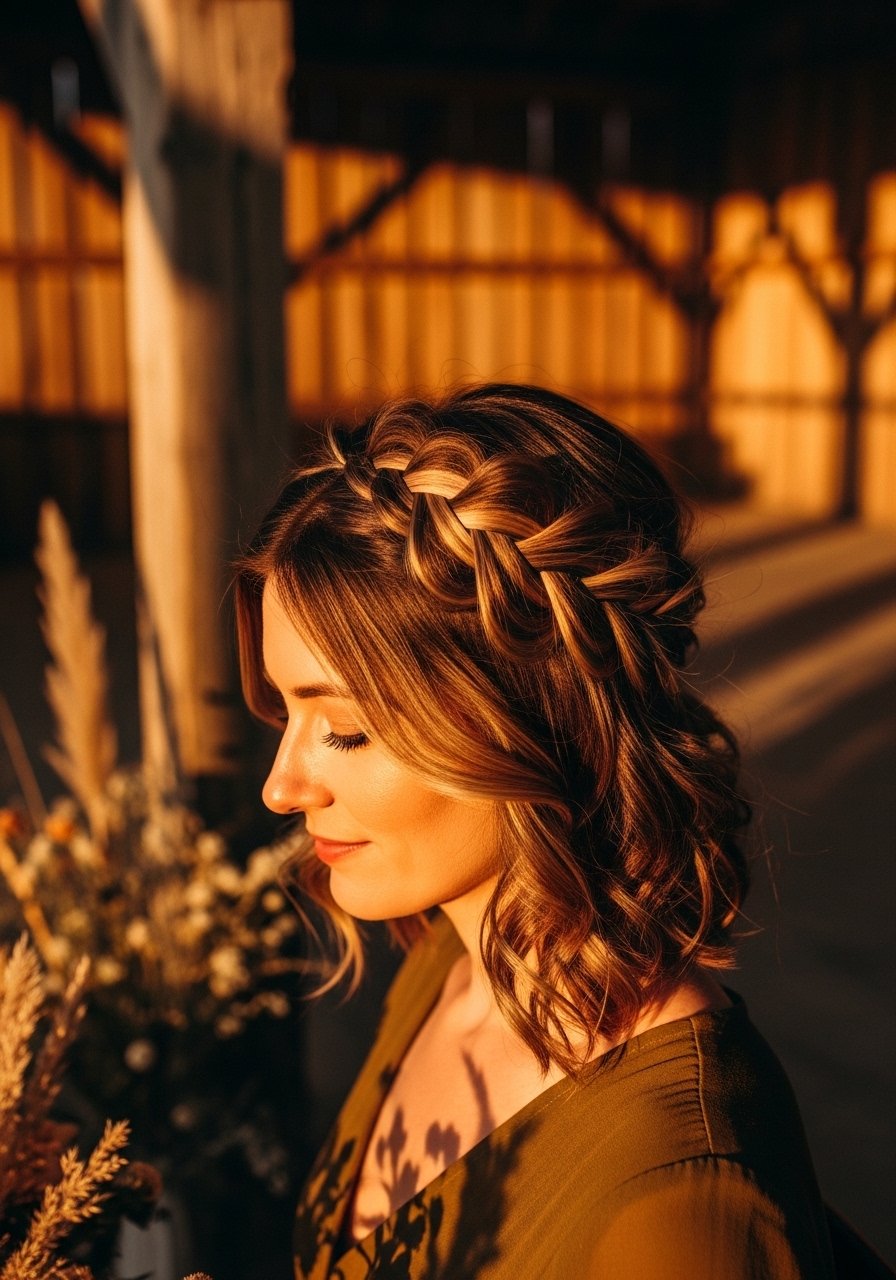
Create a loose crown braid by taking two-inch sections and braiding with added slack, then use your fingers to pancake each braid gently. Secure under the opposite side with four bobby pins and pull small pieces free to soften the line. This feels boho but neat, works well for medium hair with natural waves, and is a low-heat option for fine hair. Pack a set of small clear elastics to start braids cleanly, then hide them under the braid.
Mistake to Avoid: Making a crown braid too tight that the hair looks pulled and flattens the face instead of framing it.
3. Half-Up Twisted Knot With Veil Clip
Take two front sections, twist away from the face about two full turns each, then tie into a small knot and secure with a low-profile veil comb. The knot creates lift and keeps a veil attachment point stable without lots of pins. This style is bridal-friendly and fast, perfect if you want hair down but contained. Use a lightweight setting spray and a discreet comb rather than many pins so the knot stays but movement still looks effortless.
Mistake to Avoid: Anchoring a veil only with bobby pins into loose hair without a comb or base, which makes the veil pull everything down.
4. Low Braided Bun With Donut Base
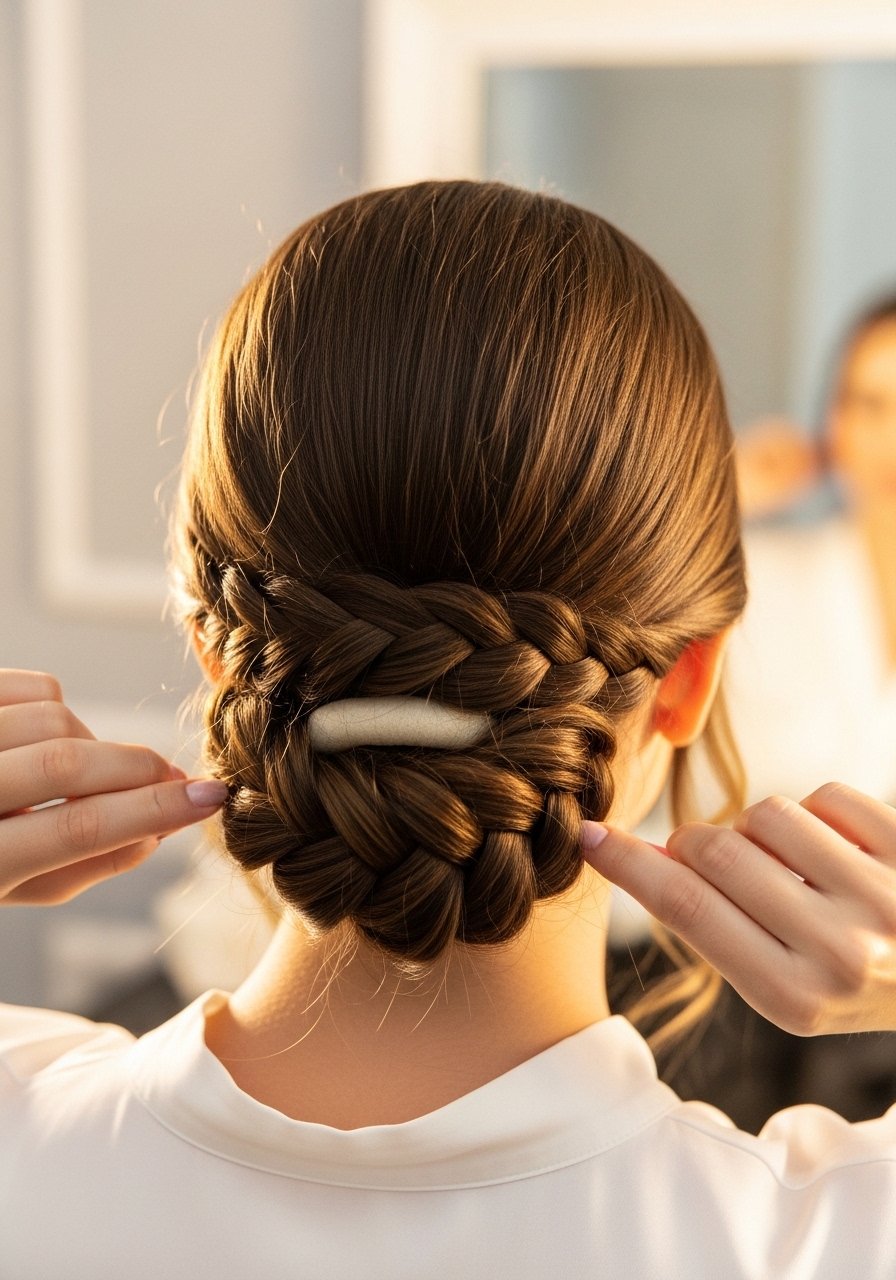
Braid a loose three-strand braid from the nape, feed it around a small hair donut and pin. The donut gives structure so the bun keeps its roundness in photos, even when a veil brushes it. Best for medium to thick hair, this look feels classic with a modern texture. Use four to six pins to lock each braid pass. If your hair is on the thinner side, pancake the braid and use two donuts layered for a fuller effect.
Mistake to Avoid: Over-tightening the braid around the donut so the bun looks forced instead of soft and circular.
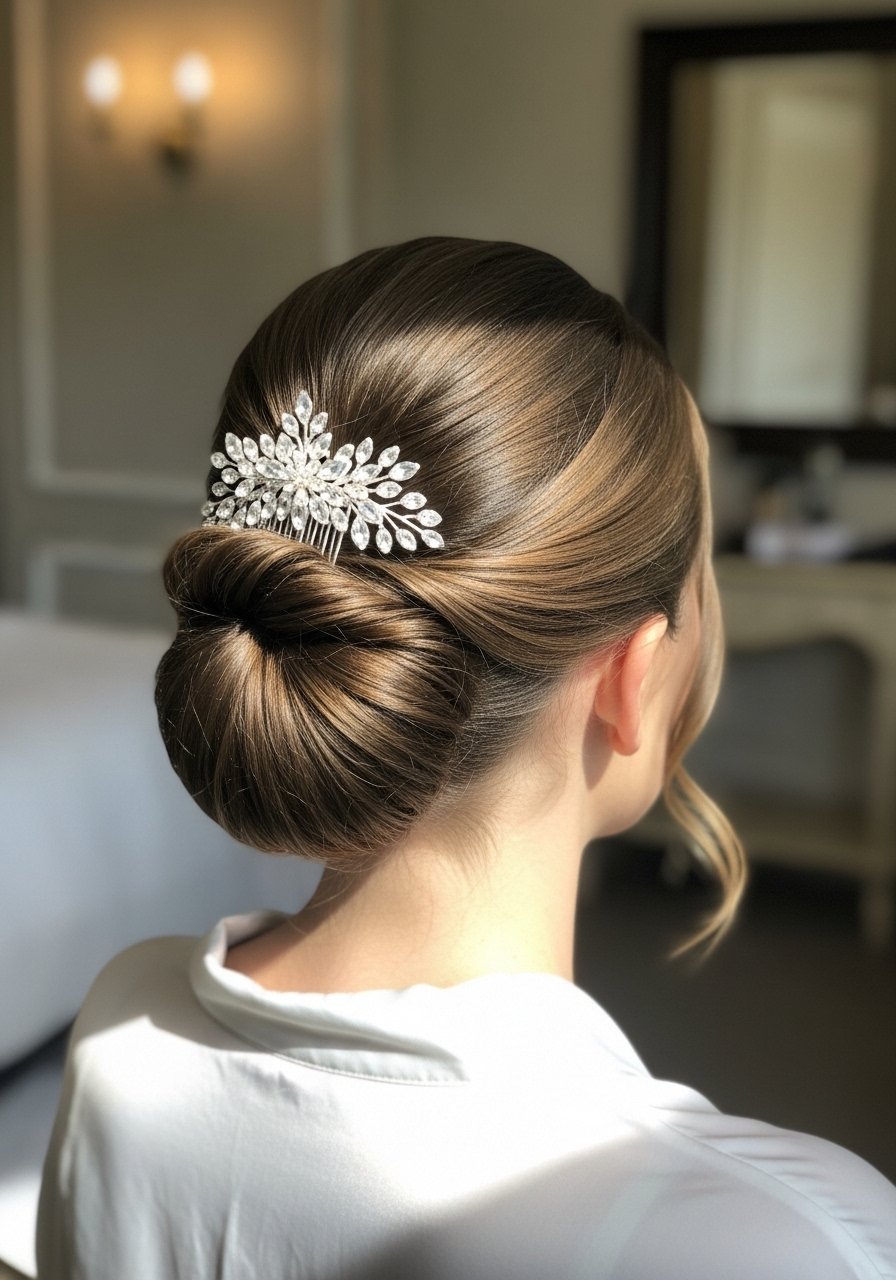
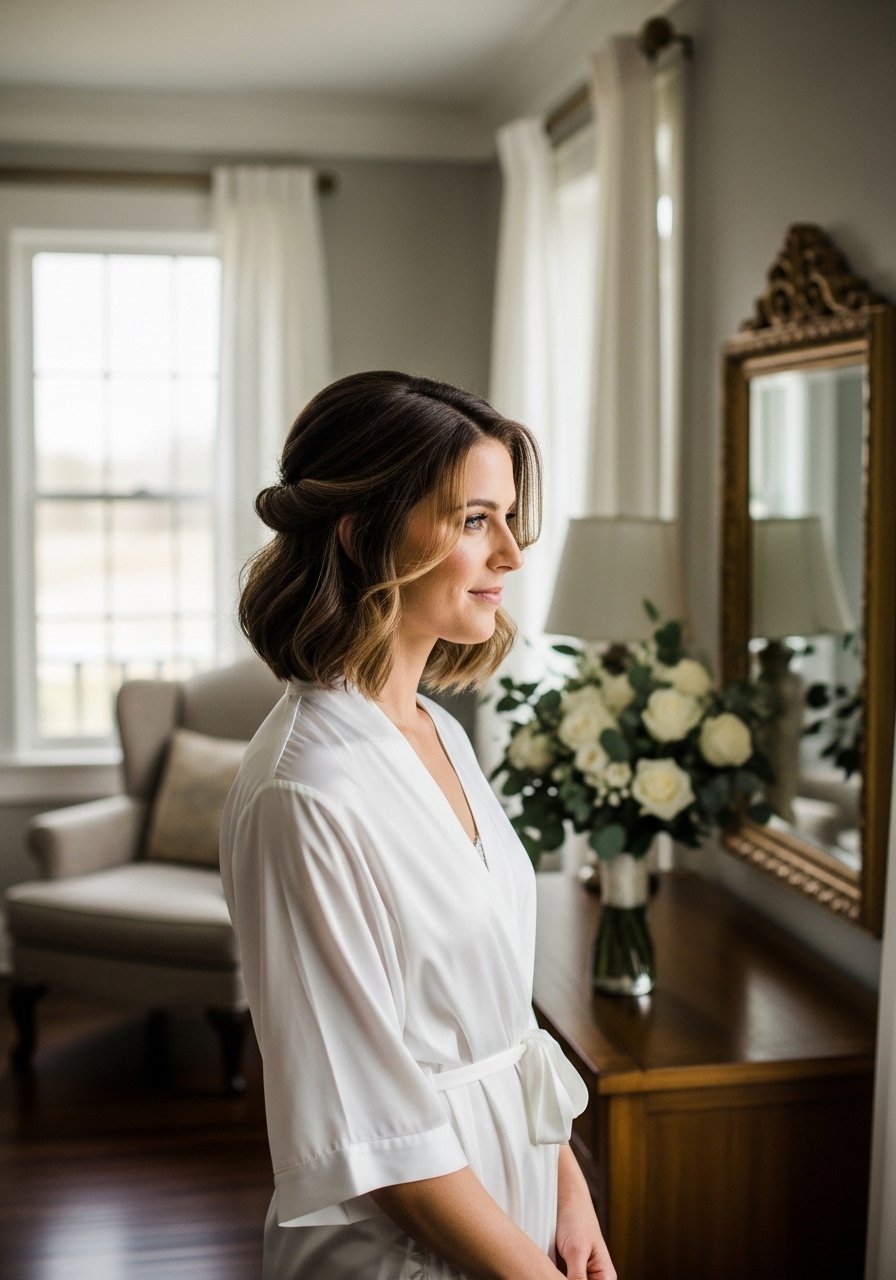
5. Sleek Low Bun With Smoothing Serum
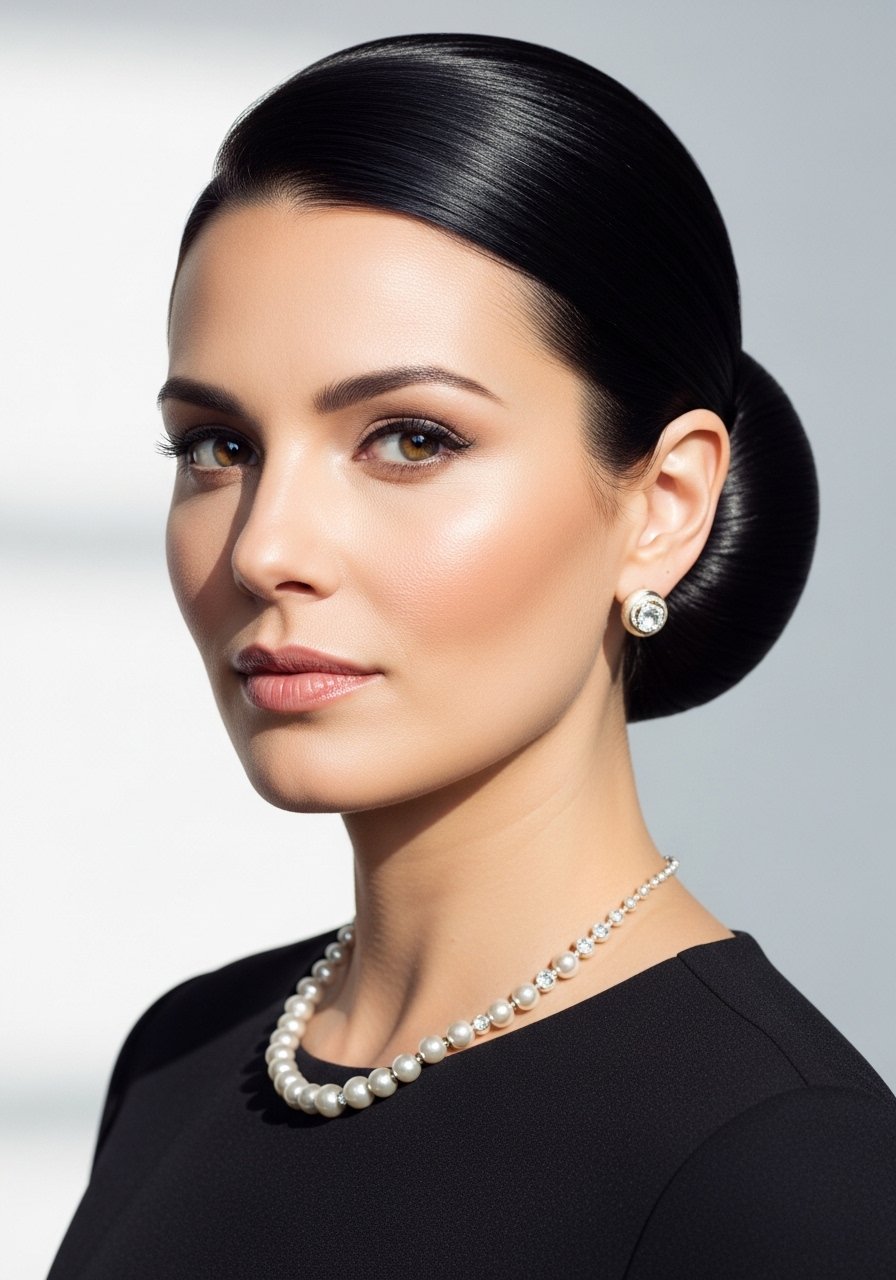
Apply one pea-size pump of smoothing serum to damp hair, smooth with a boar-bristle brush, and form a low bun with a small elastic, tucking ends under. This gives a clean ceremony look and photographs simply. It suits medium straight or slightly wavy hair and is useful when you want a neat silhouette under veils or hats. Finish with a light mist of flexible-hold spray so movement stays controlled without stiffness.
Mistake to Avoid: Using too much serum which makes the hair look oily instead of sleek.
6. Pinned Boho Waves
Create loose, finger-combed waves with a 1-inch barrel or heat-free braids overnight, then sweep sections back and pin into a low cluster at the nape with U-pins. The result reads soft and romantic and is forgiving if your hair has different curl patterns. This is a good heat-free alternative for medium hair with texture. Use a texturizing salt spray for grip and no more than five pins so the shape remains movable and lived-in.
Mistake to Avoid: Using heavy hold spray on textured waves which makes the pinned style look stiff and flat.
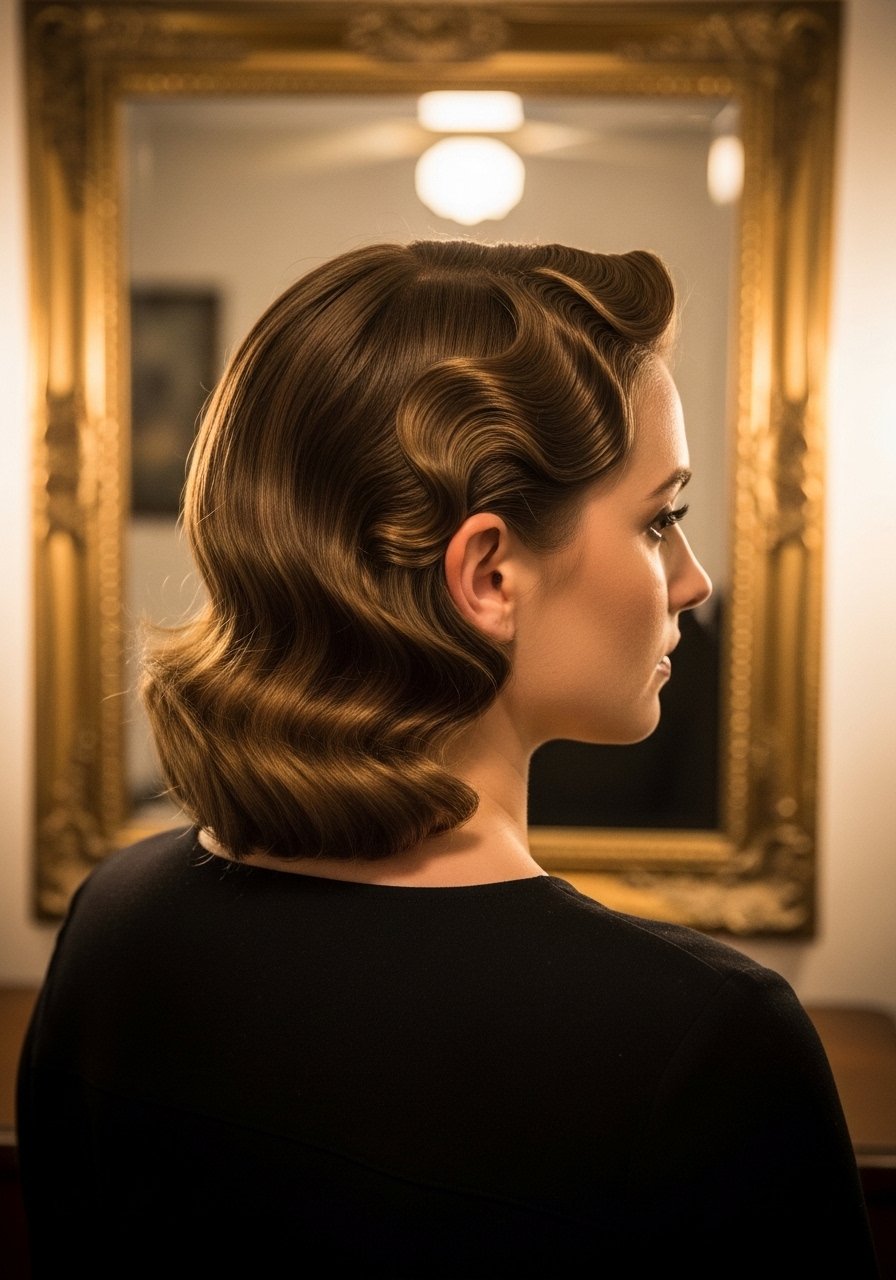
7. Rolled Vintage-Inspired Updo
Section the crown, backcomb gently one to two inches for support, roll the top into a soft vintage roll and pin. Tuck the remaining hair into a low roll at the nape and secure with long U-pins. The backcombing ratio is small but critical, about one to two inches only, which keeps the look elevated without frizz. This works on straight to wavy medium hair and reads polished on photos from multiple angles.
Mistake to Avoid: Over-backcombing the entire crown which causes bulk and a frizzy halo in overhead shots.
If you want to shop quickly for what actually holds all these looks, here are the essentials I reach for first.
Essentials For Bridal Updos
Tools:
- No-slip bobby pins (~$6-12), the ones that curve correctly and grip fine hair.
- U-shaped hair pins (~$5-9), long ones for anchoring buns.
- Hair elastics (~$4-8), small and snag-free for clean bases.
- Rat-tail comb (~$6-10), for neat parting and precise sections.
Finishing Products:
- Texturizing spray (~$8-20), one to two pumps is all you need for grip.
- Flexible hold hairspray (~$6-18), resists humidity without turning hair crunchy.
- Smoothing serum (~$10-25), pea-size goes a long way.
- Decorative hair comb (~$12-35), for veil anchoring and detail.
Extras:
- Hair donut (~$4-10), helpful for fuller buns.
- Clear elastics pack (~$3-7), invisible starts for braids.
8. Bubble Pony Reinvented as Updo
Create three or four bubble pony sections using clear elastics about two inches apart, then wrap each bubble into itself and pin into a stacked bun. The repeated elastic spacing gives a structural rhythm that photographs well and stays secure even with movement. This playful adaptation suits medium hair that wants fullness without a donut. Use a light texturizer for hold and tuck pieces instead of overpinning so the finish remains airy.
Mistake to Avoid: Placing the bubbles too close together so the updo looks compressed instead of intentionally spaced.
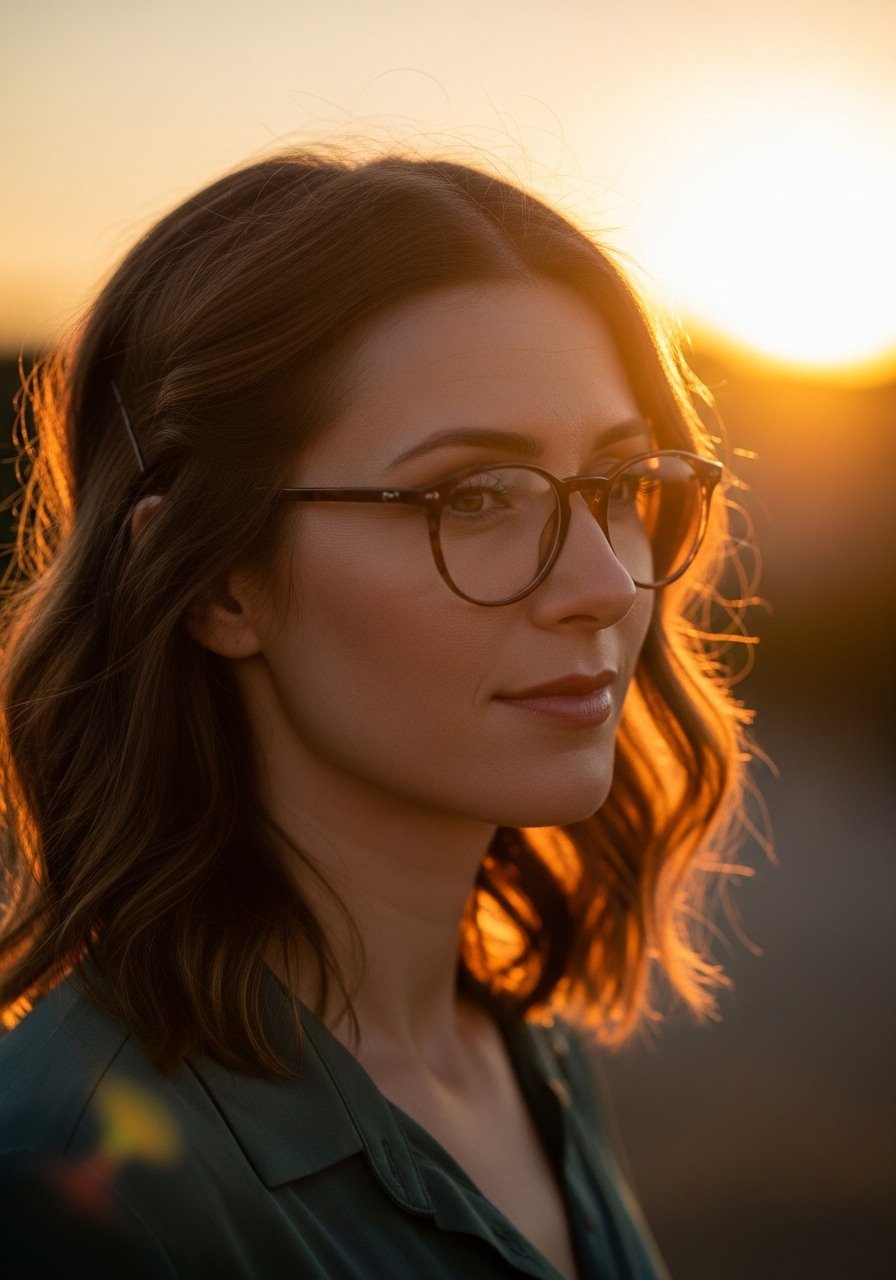
9. Finger-Wave Side Sweep For Medium Hair
Work with a small amount of setting gel and a fine-tooth tail comb to define S-shaped waves across the front. Sweep the set waves to the side and pin behind the ear with two secure pins. This creates an old-Hollywood frame for the face without needing long hair. It suits medium straight hair that responds to light gel shaping. For medium-porosity hair, apply a drop of serum before gel so waves remain glossy not powdery.
Mistake to Avoid: Using heavy gel across the whole head which makes hair look crunchy instead of softly shaped.
10. Knot-and-Tuck Faux Bob
Create a low knot, then tuck ends upward around the knot to simulate a bob line. Secure with three to five pins under the tuck so the aesthetic reads short in photos while you keep length. This is flattering on most face shapes and useful for strapless gowns that pair well with an off-neckline. If your hair has layers, use two small elastics to control shorter pieces before tucking.
Mistake to Avoid: Letting tucked ends stick out without being pinned flat, which gives a messy silhouette rather than a clean faux bob.
11. Twisted Low Pony With Fresh Flower Anchor
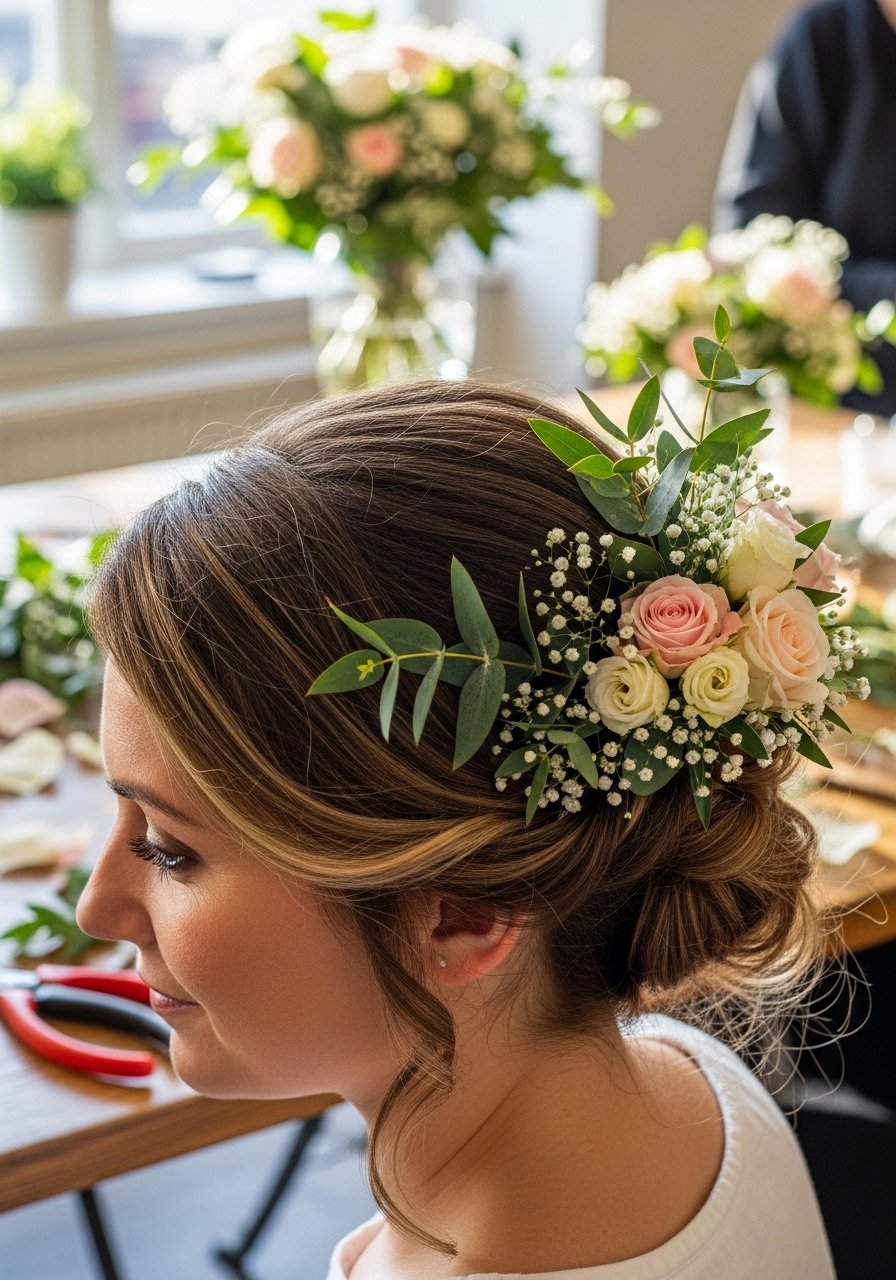
Twist two sections into the pony and wrap florist wire around the base where flowers will sit, then insert a small cluster and secure with U-pins. The small twist gives texture so the flowers sit naturally without sagging. This technique lets you add blooms without butcher-pinning or crushing petals, and it works for medium hair that wants a garden feel. Keep in mind that heavier blooms need extra pins or a comb base.
Mistake to Avoid: Pushing flowers directly into loose hair without a wired base which lets them droop or fall out during photos.
12. Heat-Free Braided Bun Alternative
Braid two sections from each side into loose plaits, wrap them into a bun at the nape, and pin. No heat required and the bun takes on wave texture from the braid. This is great if you want to avoid heat damage, and it works on all textures though very straight hair benefits from one pump of texturizing spray before braiding. The end result feels romantic and lived-in without salon tools.
Mistake to Avoid: Starting braids too tight when aiming for a soft bun that looks natural and full.
13. Half-Up Faux-Hawk With Volume
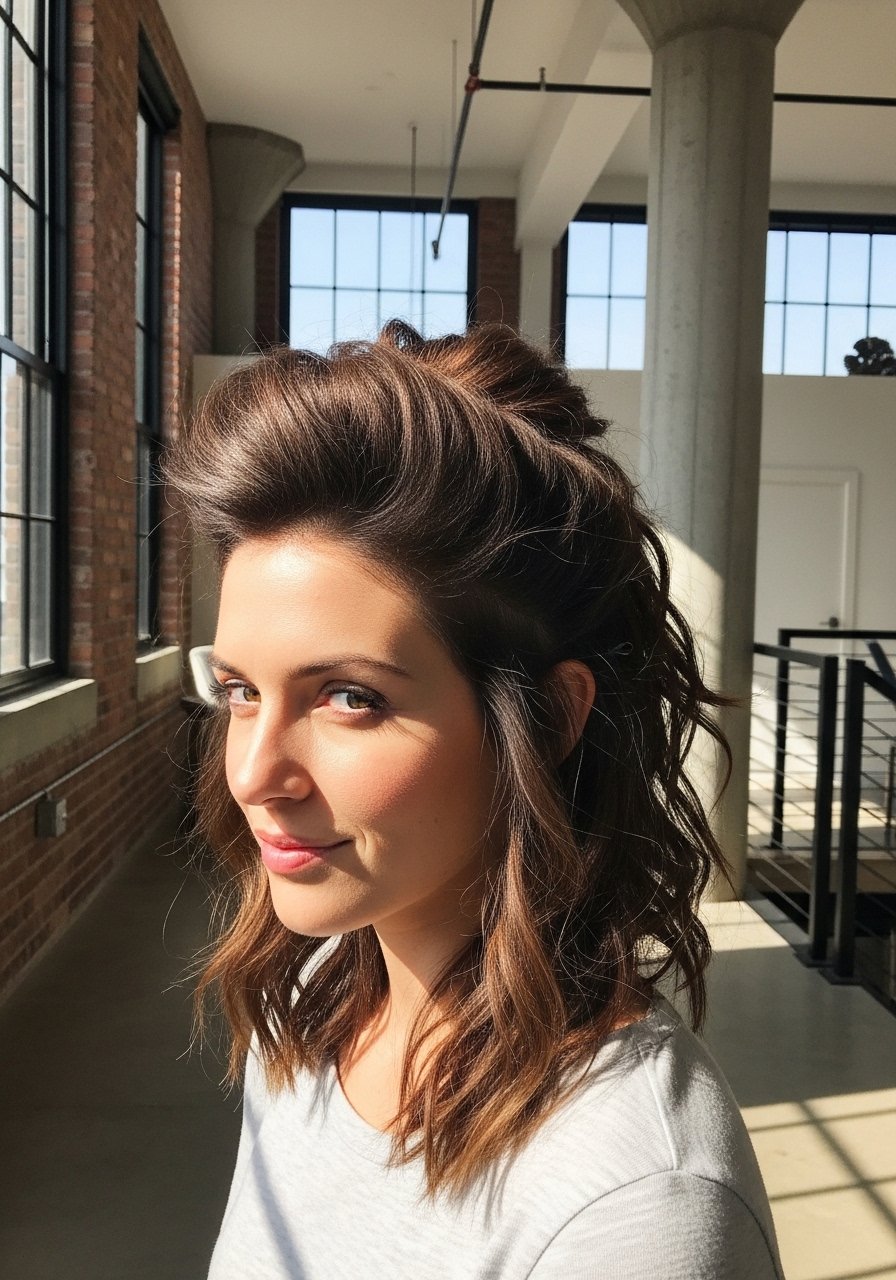
Tease the crown one to two inches, smooth the top layer, then gather the center section into a half pony and pin so the sides stay loose. The measured teasing creates height without a helmet. This is a great option for medium hair that wants drama but still wants the comfort of having hair down. Use a flexible-hold spray and one lightweight powder at the roots for lasting lift.
Mistake to Avoid: Over-teasing the entire crown rather than teasing just the center strip which creates bulk and splits in photos.
14. Low Fishtail Bun With Wrapped Ends
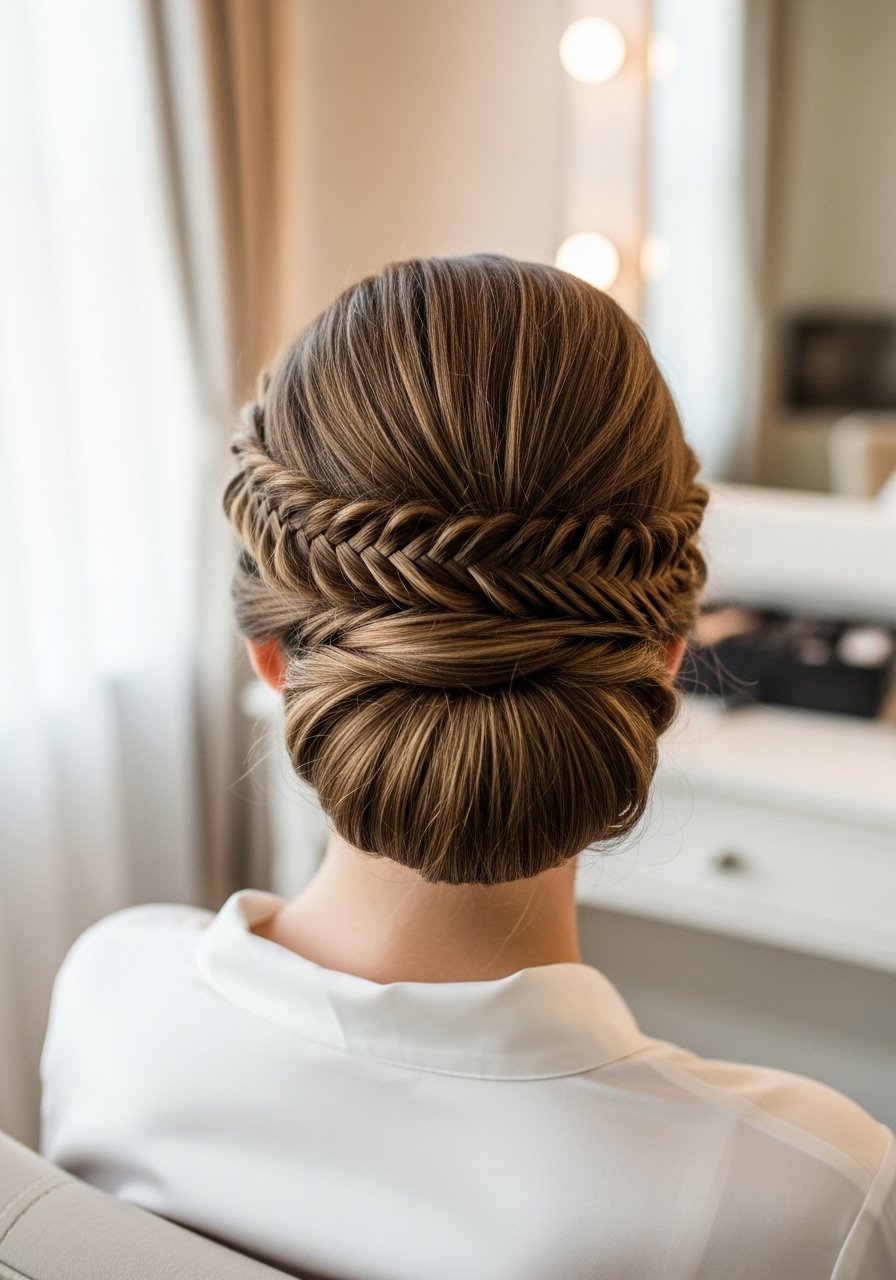
Make a fishtail braid starting low at the nape and secure with a small elastic, then coil it into a bun and pin. The intricate texture reads detailed without needing many pins, and the wrapped ends hide any uneven layers. It suits medium hair that is at least shoulder length and looks refined with a matte finish oil applied sparingly. Slide in decorative pins last to avoid disturbing the braid pattern.
Mistake to Avoid: Trying to fishtail with sections larger than two inches which hides the braid detail and makes the bun look chunky.
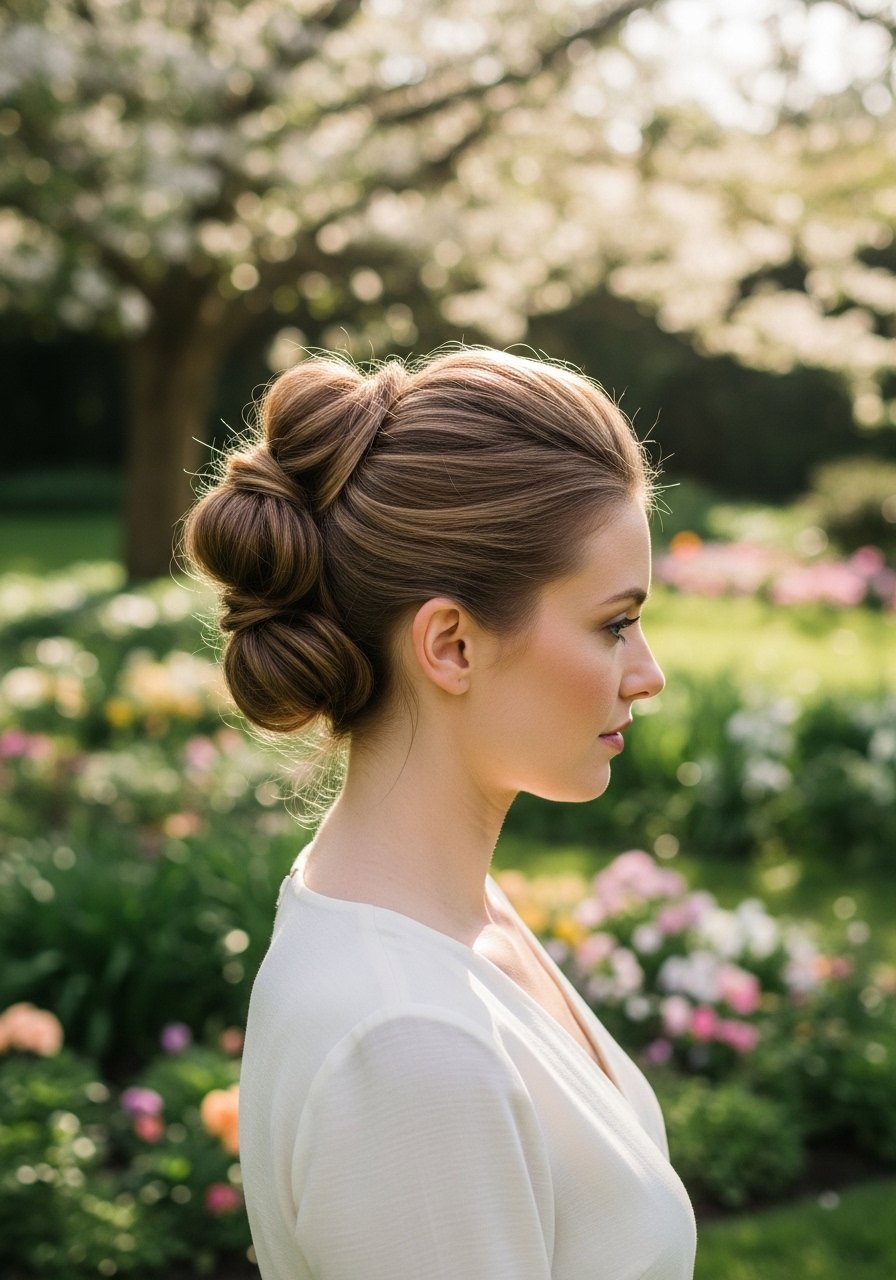
15. Soft Topknot With Face-Framing Tendrils
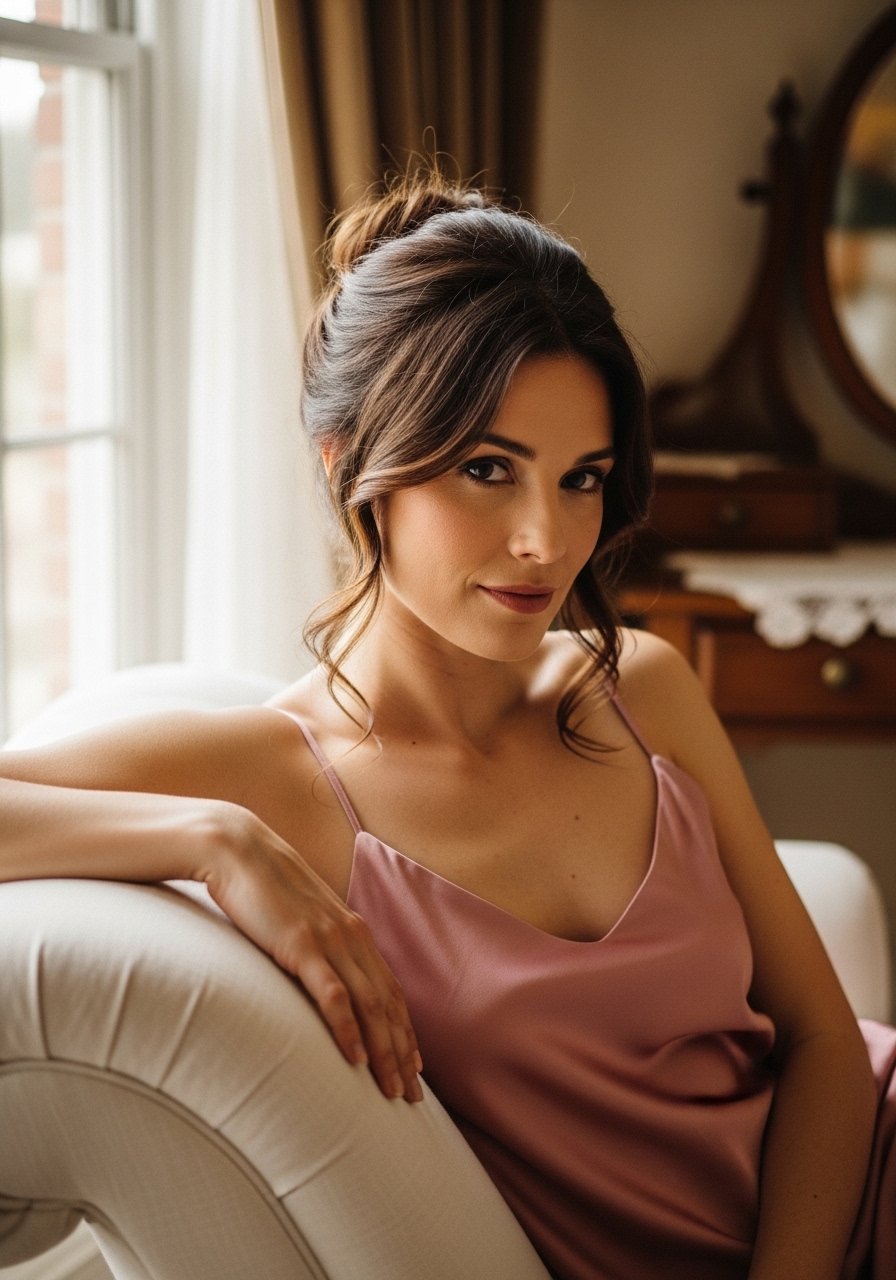
Gather hair into a high pony and wrap into a loose knot, leaving delicate pieces around the face. Pull the knot slightly apart using two fingers to create volume and softness, then secure with U-pins. This look is contemporary and good for medium hair that wants a playful silhouette. Use one to two drops of smoothing serum on tendrils to keep frizz away and a very light mist of hairspray for hold.
Mistake to Avoid: Tightening the topknot into a full bun so it reads severe instead of soft and bridal.
Day-Of Updo Moves
Thin coats beat one thick coat every time. Three thin layers of flexible-hold hairspray look smoother and last longer than one gloopy layer.
Grab no-slip bobby pins. Tuck them in with the curved side toward the head for better grip and stash a handful in your kit for quick fixes.
If you are skipping heat, prep hair the night before with a lightweight texturizing spray so braids and knots have something to grab without extra product on the wedding morning.
Everyone thinks more pins equals security. Place four to six well-placed pins in strategic spots instead of ten scattered ones. Use U-pins for buns and long pins for braids to anchor properly.
