
I kept booking tiny script tattoos and walking out annoyed because the letters blurred or the placement read awkwardly when I raised my hand. After the third redo I realized it was not the phrase, it was details like line weight, needle grouping, and how the skin moves when I reach. Once I started asking for single-needle hairlines and testing placement with medical tape, the phrase finally read like something I meant to wear.
These ideas are for people who want a quiet statement, not a cover-up project, and they work on a tight budget or as a single-session piece. I picked options that are mostly one to two hours, easy to cover for work if needed, and adaptable to different skin tones and body shapes. I learned these across five shops I have visited, so the notes below include what actually holds up after healing and what to skip.
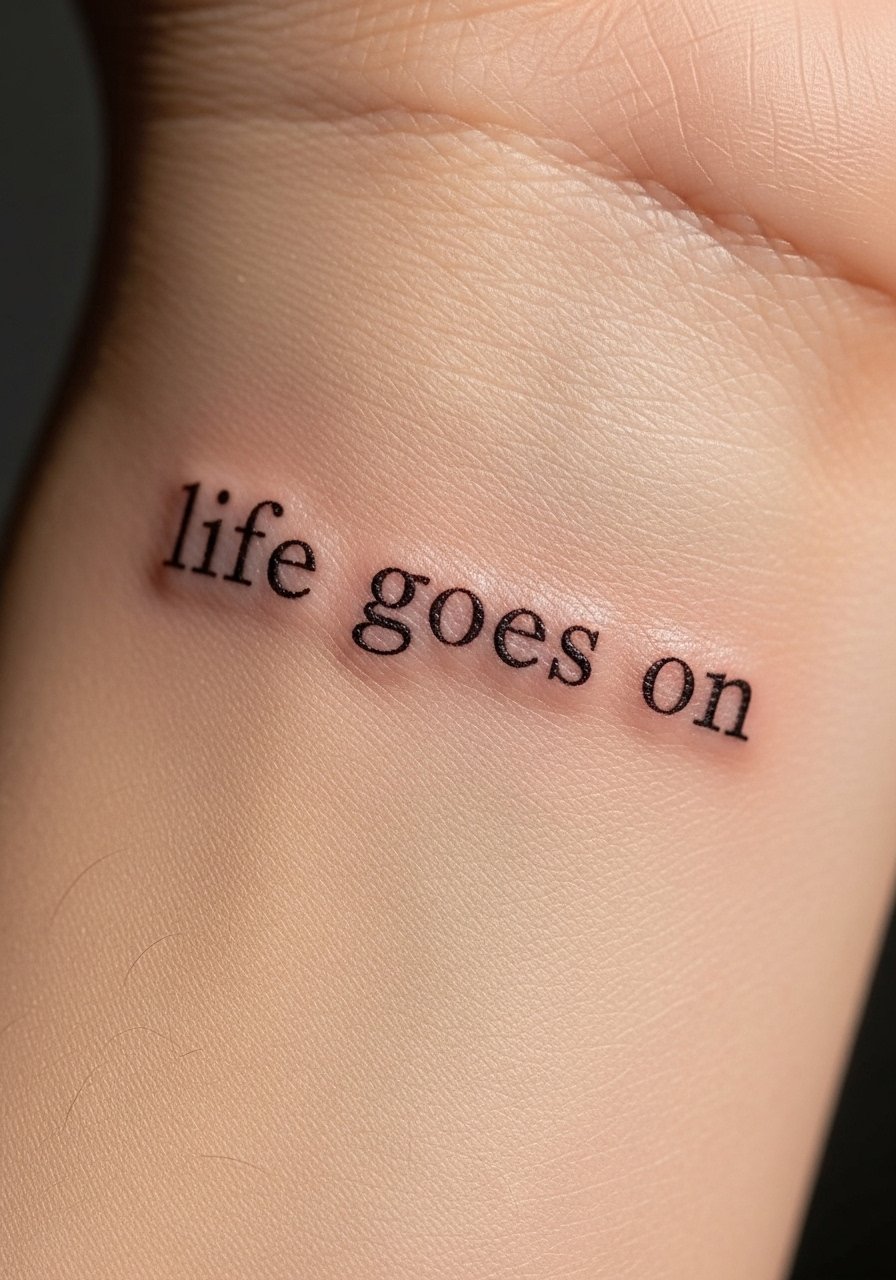
1. Minimal Script On Inner Wrist
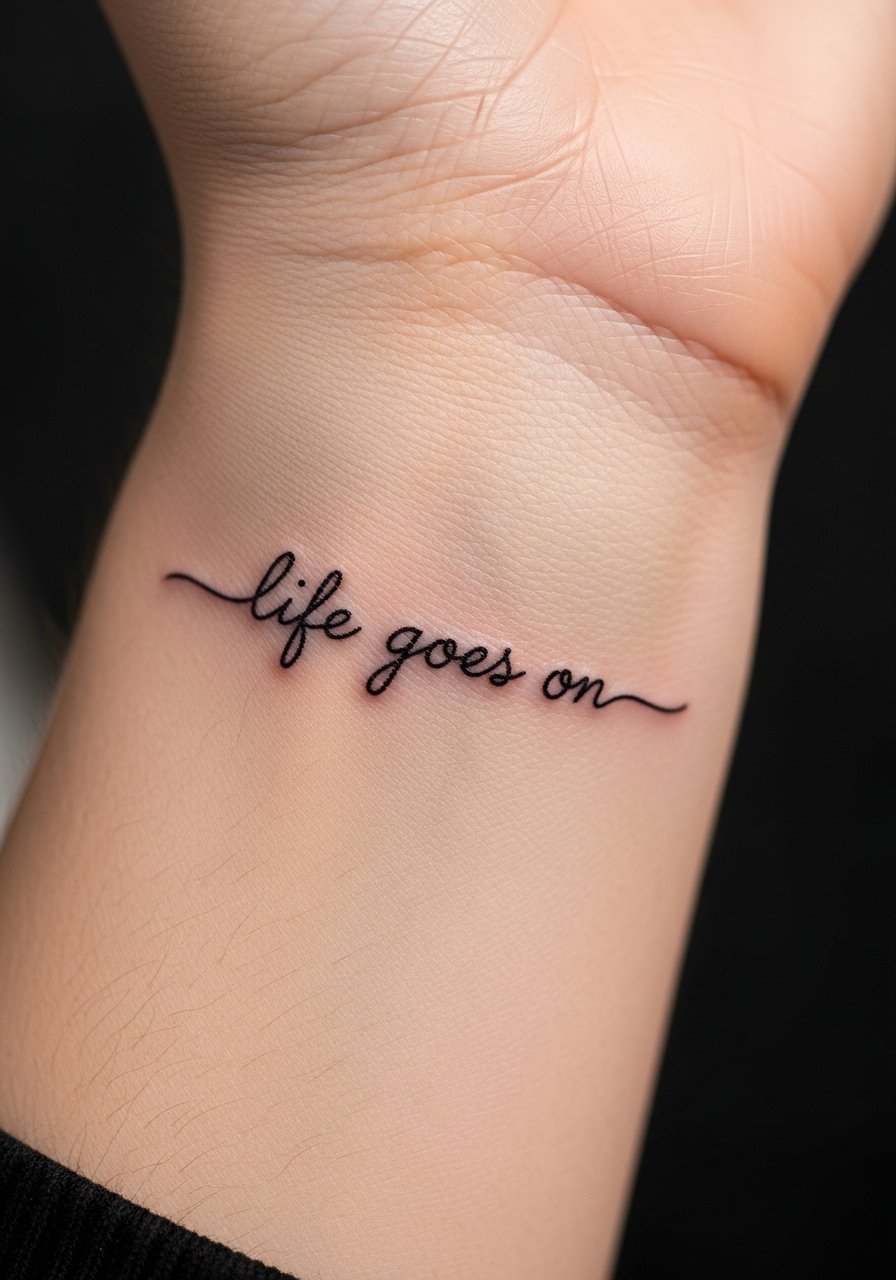
Small script works because it lives with motion, it sits where you see it often, and a fine single-needle line gives the fragile look that stays readable. Ask for 3RL or a single-needle grouping and for slightly increased letter spacing, about 1.5 mm between characters, so the lines do not bleed together as the skin settles. Ideal for someone wanting a subtle visible reminder, this is a quick 30 to 45 minute session and low budget. I pair it with a gentle tattoo aftercare balm during the first week.
Style/Technique: Fine Script, Single-Needle
Pain Level: 3/10
Session Time: 30 to 45 minutes
Best For: Inner wrist, visible but coverable with long sleeves
Mistake to Avoid: Asking for ultra-tight script with no spacing, which blurs after healing.
2. Tiny Morse Code Line Behind Ear
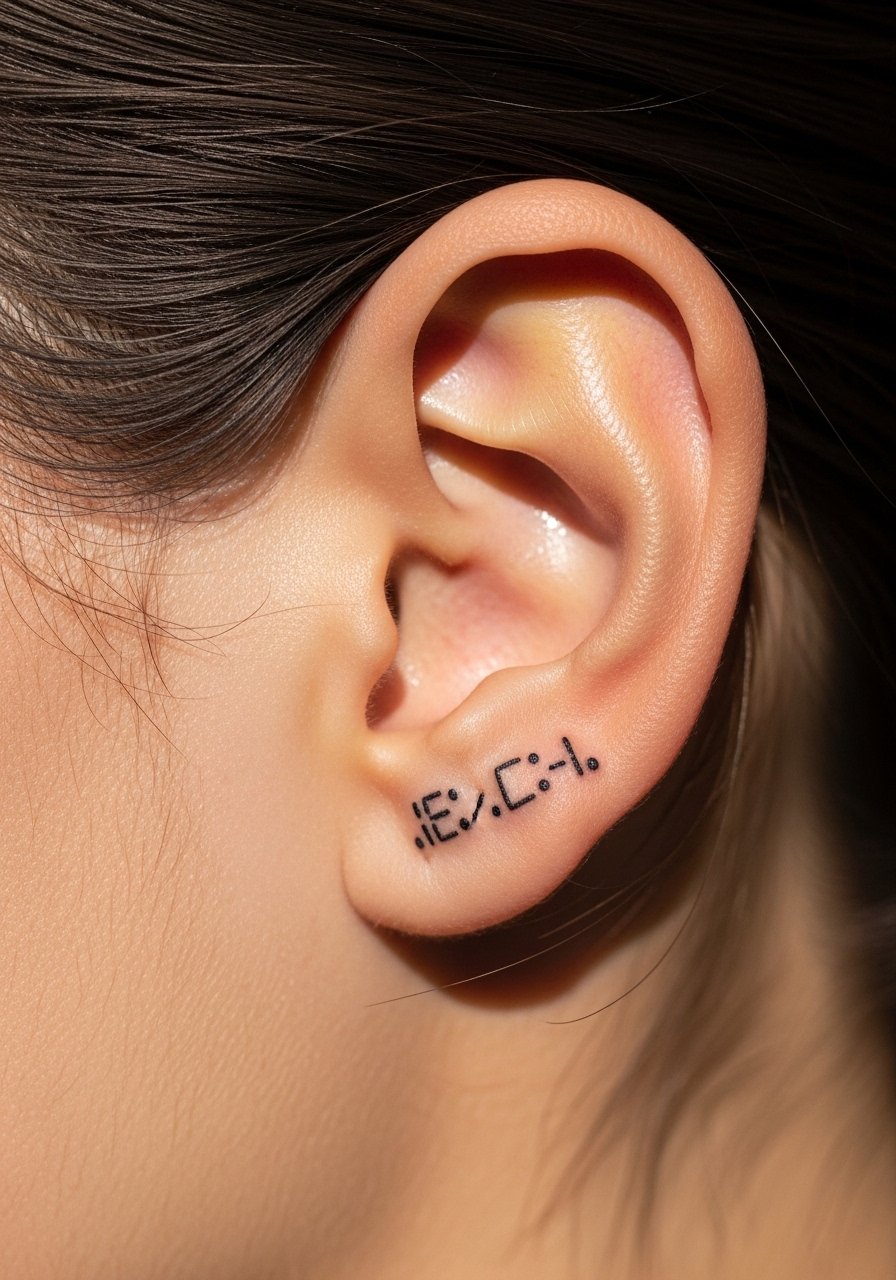
A Morse line reads clean because it relies on negative space not continuous strokes, so it ages nicely on oily or textured skin. Request 1 mm dot spacing and 0.8 mm dash lengths from your artist, and plan it as a one-pass piece that will not require heavy shading. This suits someone who wants something almost secret and discrete, and it is a 15 to 30 minute walk-in friendly option. For stencil prep I use tattoo transfer paper when I test placement at home.
Style/Technique: Micro Symbol, Single Pass
Pain Level: 2/10
Session Time: 15 to 30 minutes
Best For: Behind ear, hairline area, coverable
Mistake to Avoid: Placing dots too close together, which makes them merge during healing.
3. Single-Needle Micro Heart With Script Accent
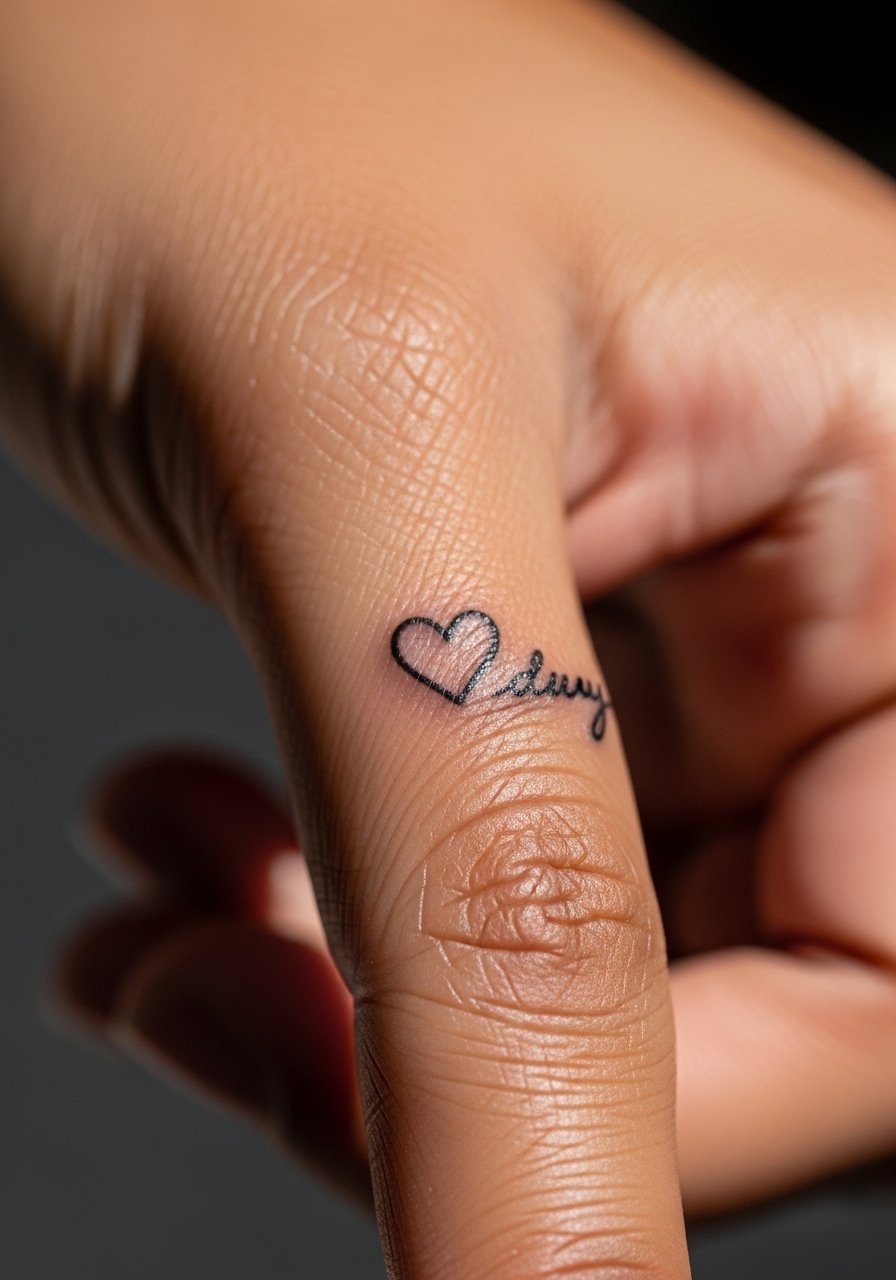
A tiny heart plus two words reads intentional because the negative space around the heart keeps the script from looking crowded, especially on bony areas. Use single-needle work and ask for 0.5 mm line width for the heart and 1 mm letter spacing for the script. Fingers heal differently so plan for a touch-up and choose a simple script that avoids looping letters. This is a budget-friendly option but expect a short touch-up after the first month. Keep a travel size hypoallergenic soap for gentle cleaning.
Style/Technique: Micro Icon with Script
Pain Level: 4/10
Session Time: 30 to 45 minutes
Best For: Fingers, small canvas, visible
Mistake to Avoid: Choosing ornate cursive for fingers, which fills in as they heal.
4. White Ink Healed-Effect Accent On Collarbone
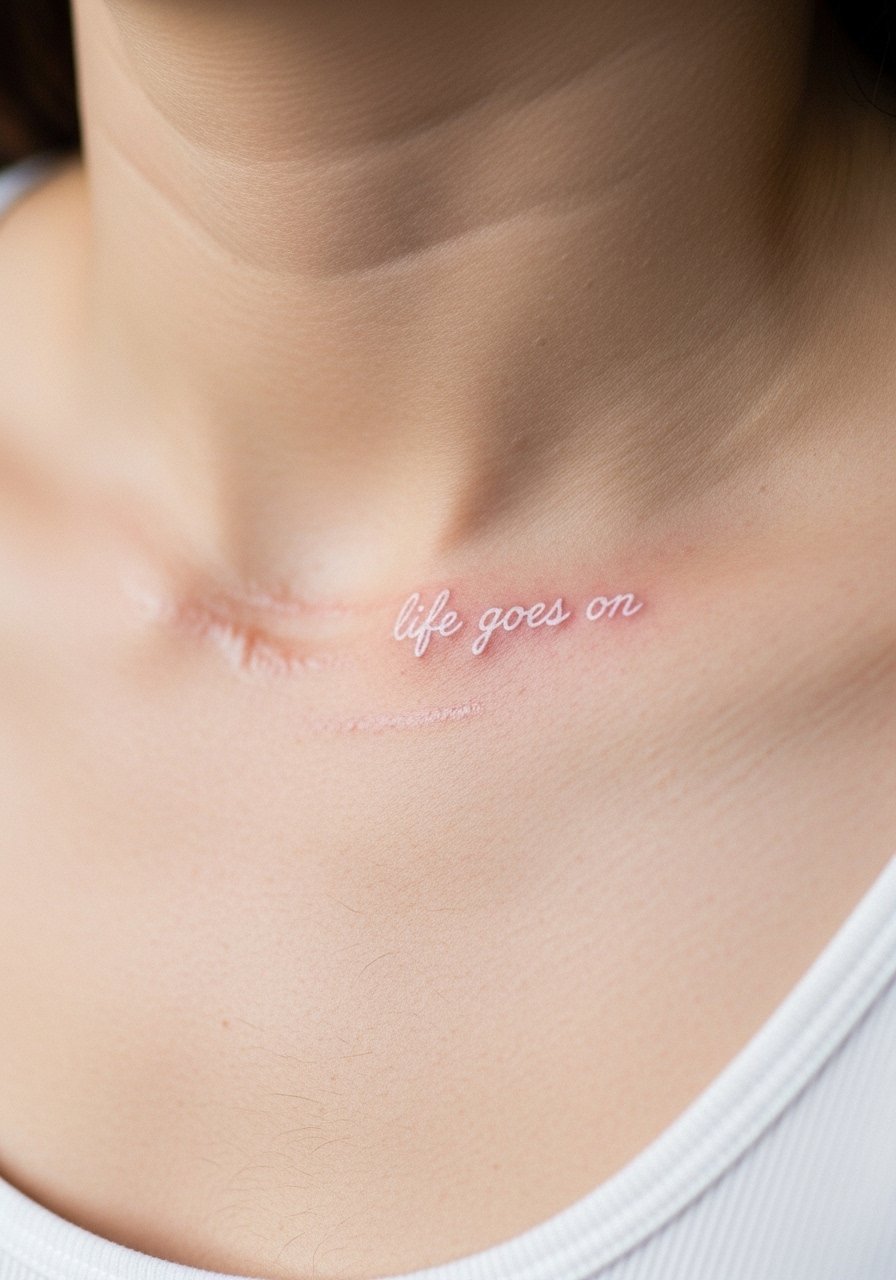
White ink gives a subtle, lifted look once healed, especially on fair to medium tones, and it reads like a soft highlight rather than bold text. Ask for a light application and a healed-look preview with 30 to 40 percent opacity during stencil placement. This is best for someone who wants almost-skin tone ink and is prepared for higher maintenance because white can fade faster, requiring an annual top-up. I like pairing this with a chemical-free tattoo sunscreen once healed to slow fading.
Style/Technique: White Ink, Low Opacity
Pain Level: 3/10
Session Time: 30 to 60 minutes
Best For: Collarbone, subtle visibility, fair to medium skin tones
Mistake to Avoid: Expecting white ink to pop immediately; it needs healed time and top-ups.
5. Small Wave On Ankle
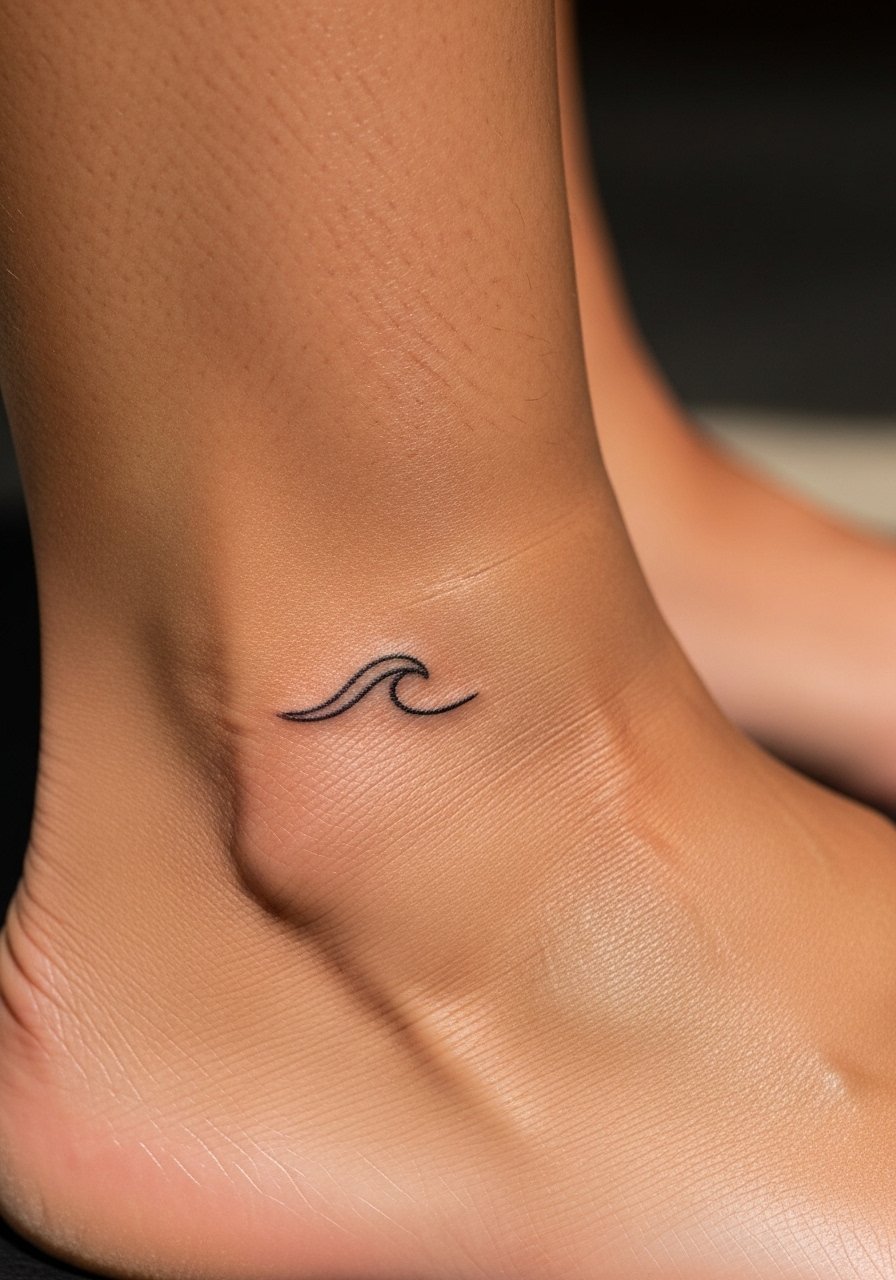
A small wave reads as movement and resilience without spelling everything out. The trick is a slightly thicker baseline line, about 0.9 to 1 mm, so it keeps definition on thin ankle skin. This suits someone who likes nature motifs and wants a coverable spot for work. Session time is short, about 20 to 35 minutes. For post-session protection on an ankle that rubs shoes I use a low-profile sterile dressing and a waterproof bandage until scabbing starts.
Style/Technique: Single Line Minimalism
Pain Level: 4/10
Session Time: 20 to 35 minutes
Best For: Ankle, small motifs, beach lovers
Mistake to Avoid: Picking a hairline stroke on the ankle that will fade where shoes cause friction.
6. Script Wrapped Around Thumb Joint
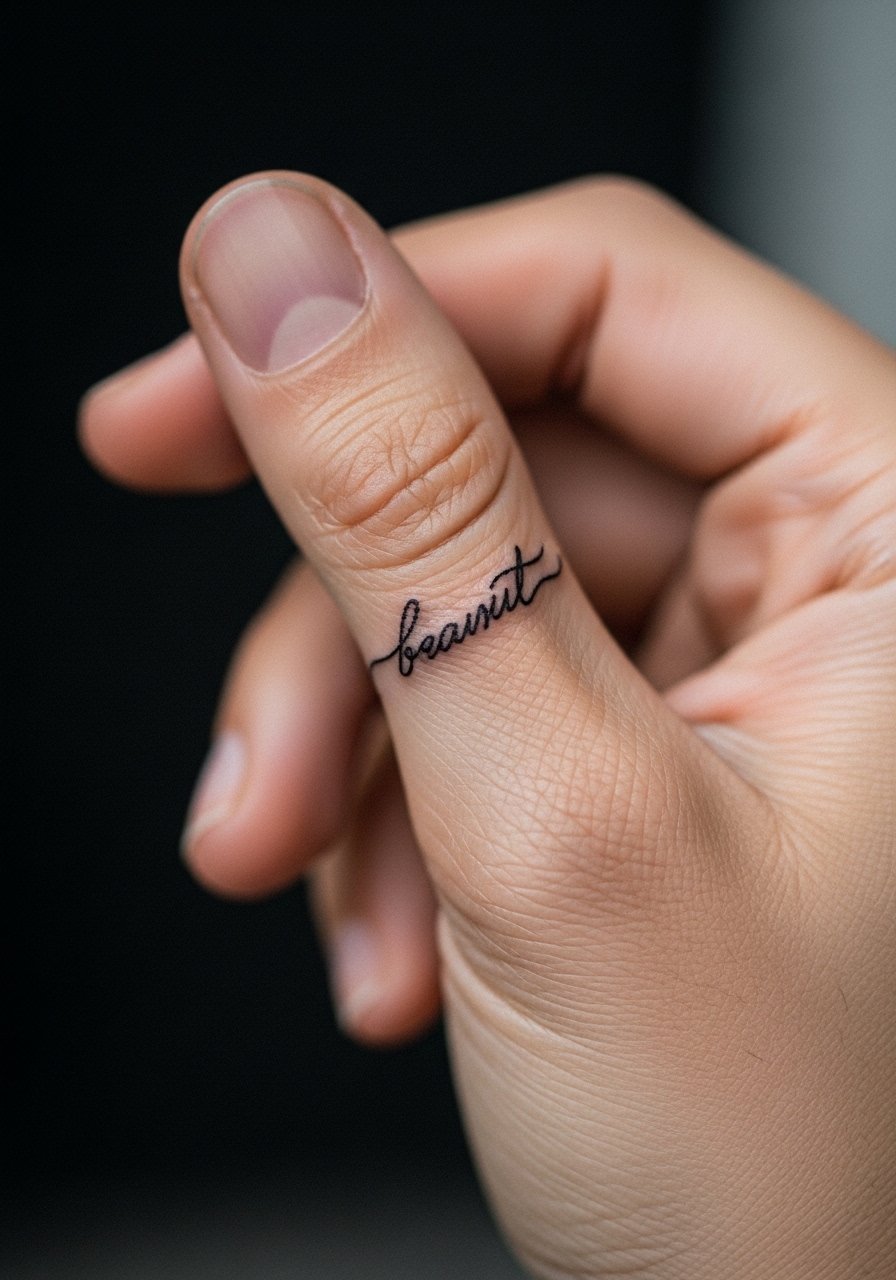
Wrapping script around a joint reads like a bracelet when the hand is closed and like a sentence when open. Ask for slightly increased stroke thickness, 1 to 1.2 mm, to compensate for joint movement and layer the stencil so the artist maps letter continuation over the knuckle. This is best for someone who likes hands-on reminders and accepts a higher chance of eventual touch-ups. Keep a dab of tattoo salve for the first seven days.
Style/Technique: Wrap Script, Boldened Lines
Pain Level: 5/10
Session Time: 30 to 50 minutes
Best For: Thumb joint, tactile reminders, visible
Mistake to Avoid: Choosing a spidery tiny font that disappears when the joint straightens.
7. Micro Portrait Line With Small Phrase
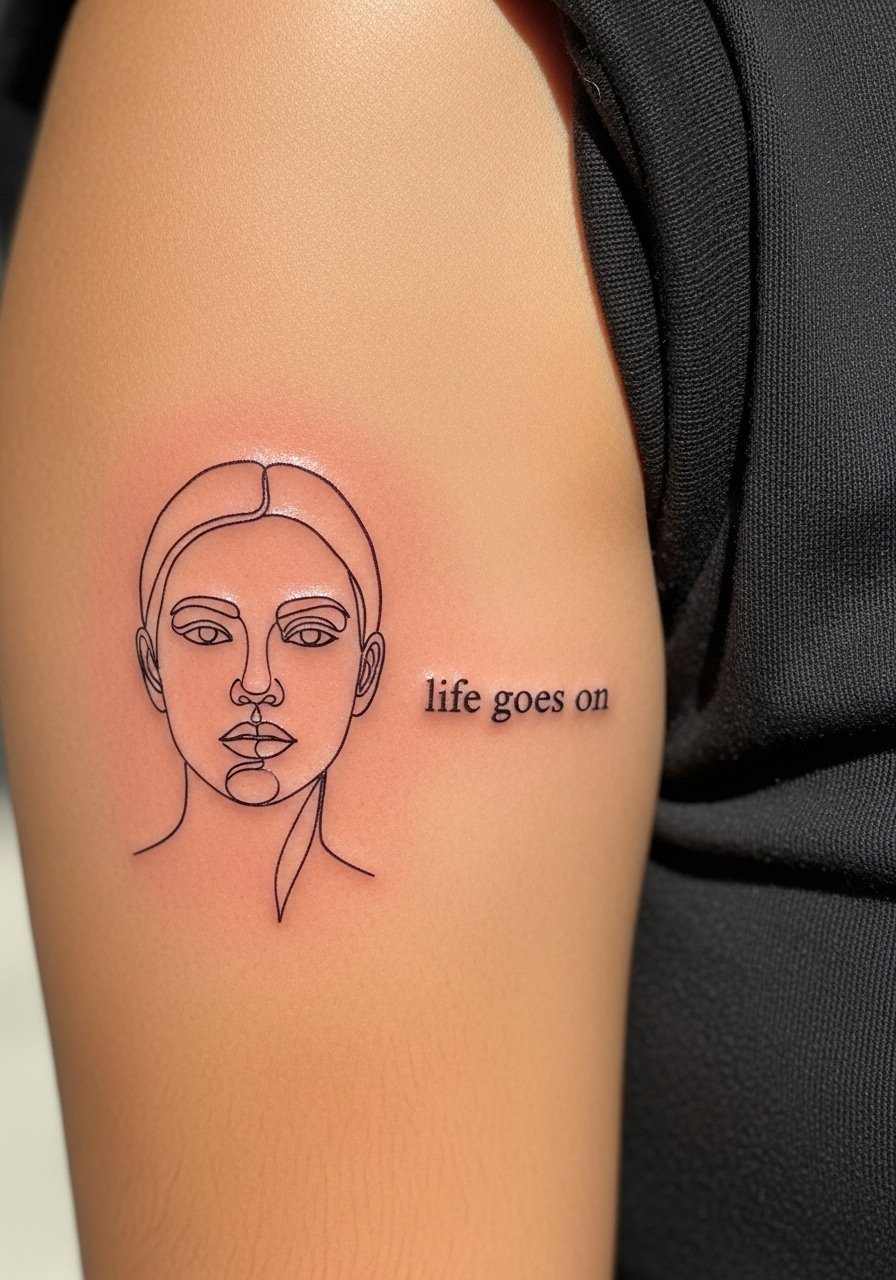
Pairing a tiny line portrait with the phrase turns the words into context instead of just a saying. The line portrait should be done with a single-needle outline and minimal fill, focusing on 1.2 mm anchor points so it stays recognizable. This fits someone who wants sentimental meaning and a small canvas that ages gracefully. The session can be 45 minutes to 1.5 hours depending on detail. Aftercare involves gentle cleansing and sterile gauze pads for the first two days.
Style/Technique: Micro Portrait with Script Accent
Pain Level: 4/10
Session Time: 45 minutes to 1.5 hours
Best For: Upper arm, sentimental pieces, portrait-adjacent
Mistake to Avoid: Asking for tiny facial detail that needs more space and loses clarity.
If any of these tools sound useful already, here are the products I reach for when getting or caring for micro script work.
Tools For Small Script Work
Aftercare Essentials:
- tattoo aftercare balm (~$8-15), a gentle unscented balm I use the first week.
- sterile gauze pads (~$6-12), for light coverage right after the session.
- hypoallergenic liquid soap (~$5-10), fragrance-free for daily cleaning.
Stencil & Prep:
- tattoo transfer paper (~$10-20), handy to test placement at home.
- disposable razors (~$5-10), for precise prep without irritation.
Protection & Touch-Up:
- waterproof sterile bandage (~$7-15), for areas that rub.
- tattoo sunscreen (~$10-18), use after full healing to slow fade.
Backup Supplies:
- tattoo salve (~$6-12), for dry spots during healing.
8. Tiny Script Tucked Behind Rib Cage
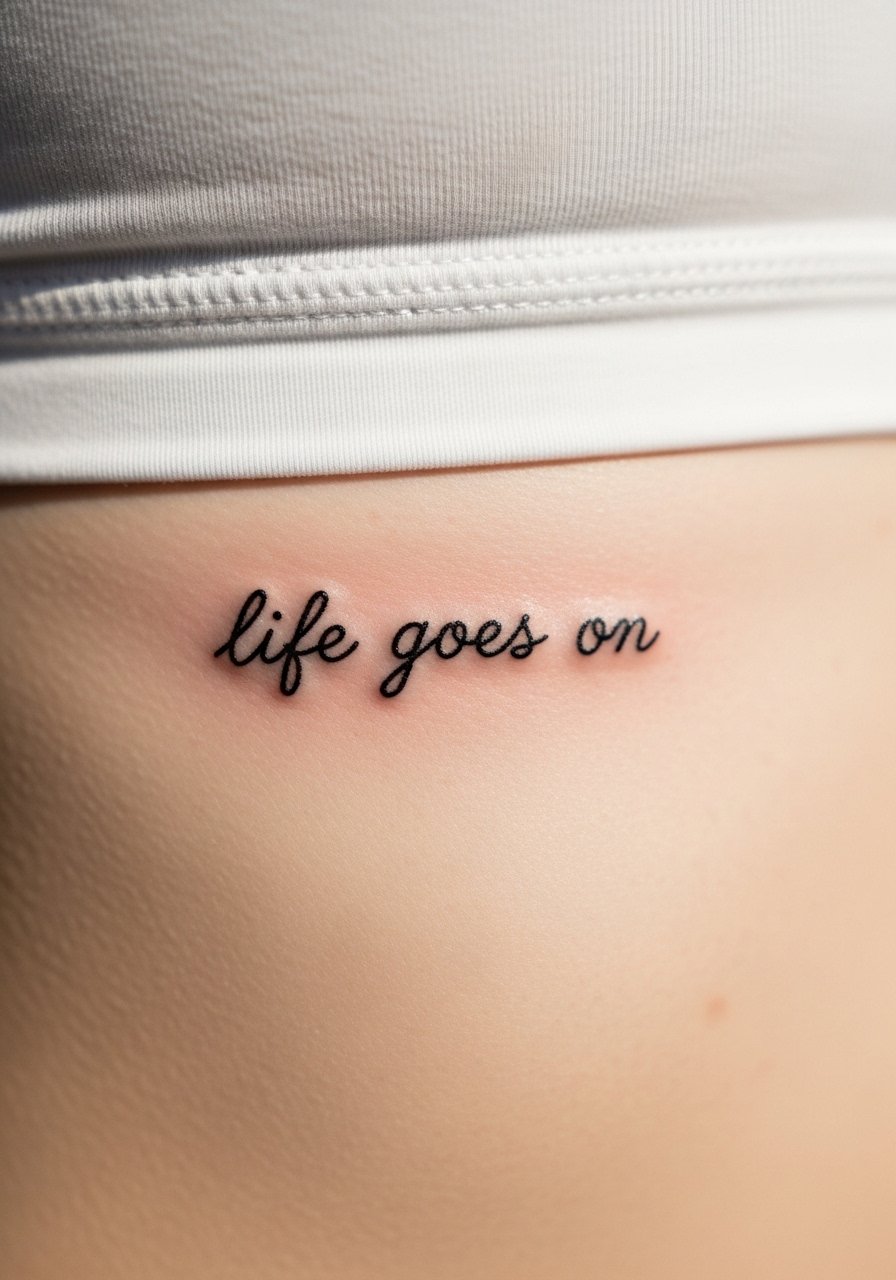
A tucked rib piece feels private and intimate because the movement of breath slightly changes how it reads. Choose a slightly longer letterform with increased kerning, about 2 mm between letters, to prevent distortion when skin stretches. This option is for someone comfortable with a bit more pain and who likes the idea of a hidden reminder. Sessions run 45 minutes to one hour. For healing on the ribs I used a breathable tattoo aftercare balm and slept with a loose cotton shirt.
Style/Technique: Hidden Script, Medium Kerning
Pain Level: 6/10
Session Time: 45 minutes to 1 hour
Best For: Rib cage, private placement, moderate pain tolerance
Mistake to Avoid: Picking a condensed font that compresses when skin moves.
9. Small Semicolon With Script Below Collar
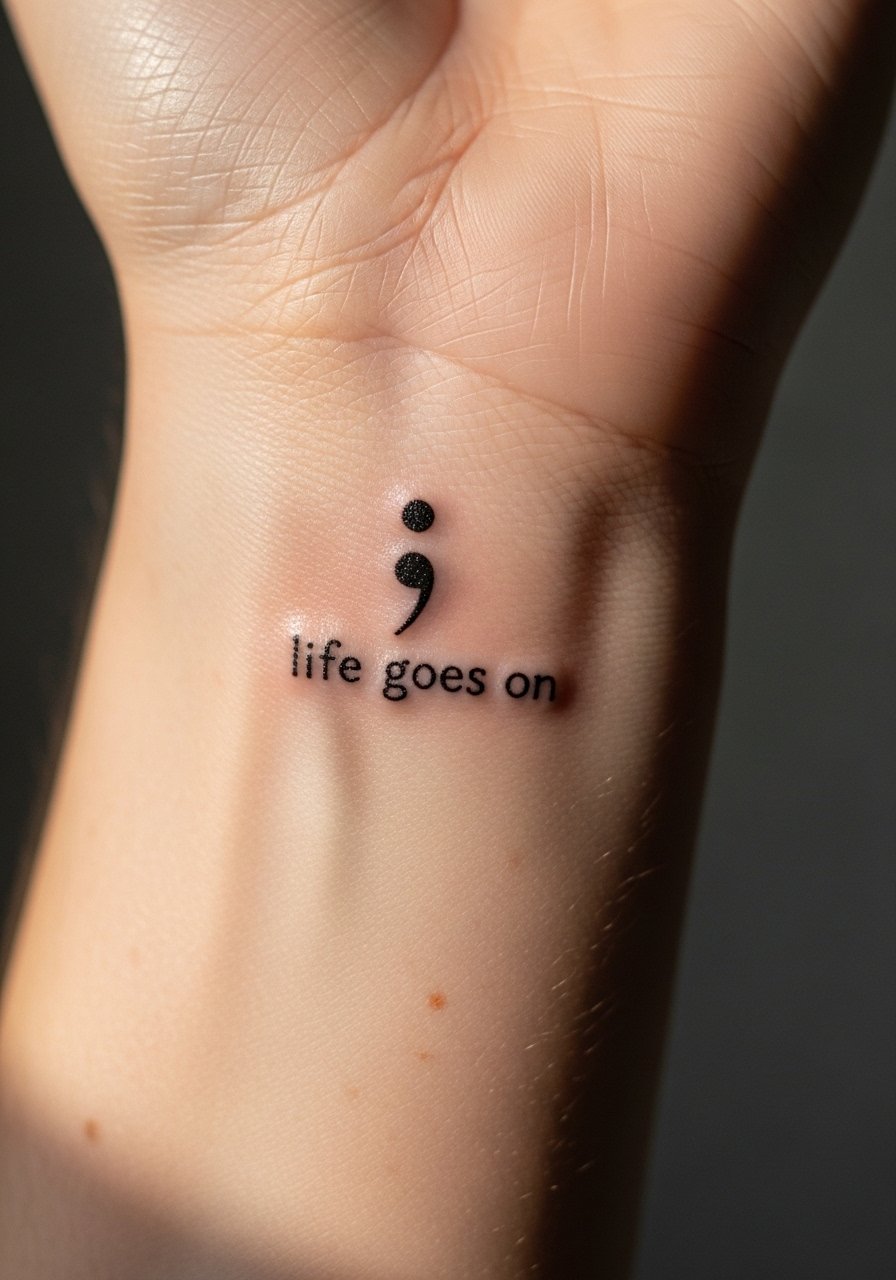
Combining a small semicolon symbol with a short phrase creates a clear, compact message that reads from a short distance. The semicolon should be 3 to 4 mm to stay recognizable, with the script set in a 2 mm baseline below. This works for anyone looking for a mental health nod in a subtle spot like the upper chest. Sessions are quick, and the design is forgiving across skin types. Keep a small tube of tattoo salve for rubbing areas under clothing.
Style/Technique: Symbol Plus Script
Pain Level: 3/10
Session Time: 20 to 35 minutes
Best For: Upper chest, symbolic work, approachable
Mistake to Avoid: Making the semicolon too small to read after scabbing.
10. Delicate Floral Stem With Small Text

Pairing a single-line floral stem with the phrase creates a soft, organic feeling while the line work frames the words. Request tapered line work and stippled filler points, and ask the artist to keep the stem vertical so the phrase reads naturally beside it. This is a slightly longer one-session piece, about 1 to 1.5 hours, and is good for someone who wants a small illustrative accent. After healing, I protect the area with tattoo sunscreen.
Style/Technique: Line Floral with Script
Pain Level: 5/10
Session Time: 1 to 1.5 hours
Best For: Rib side, illustrative accents, moderate detail
Mistake to Avoid: Overfilling the floral center, which flattens detail as it heals.
11. Thin Band Script Around Inner Bicep
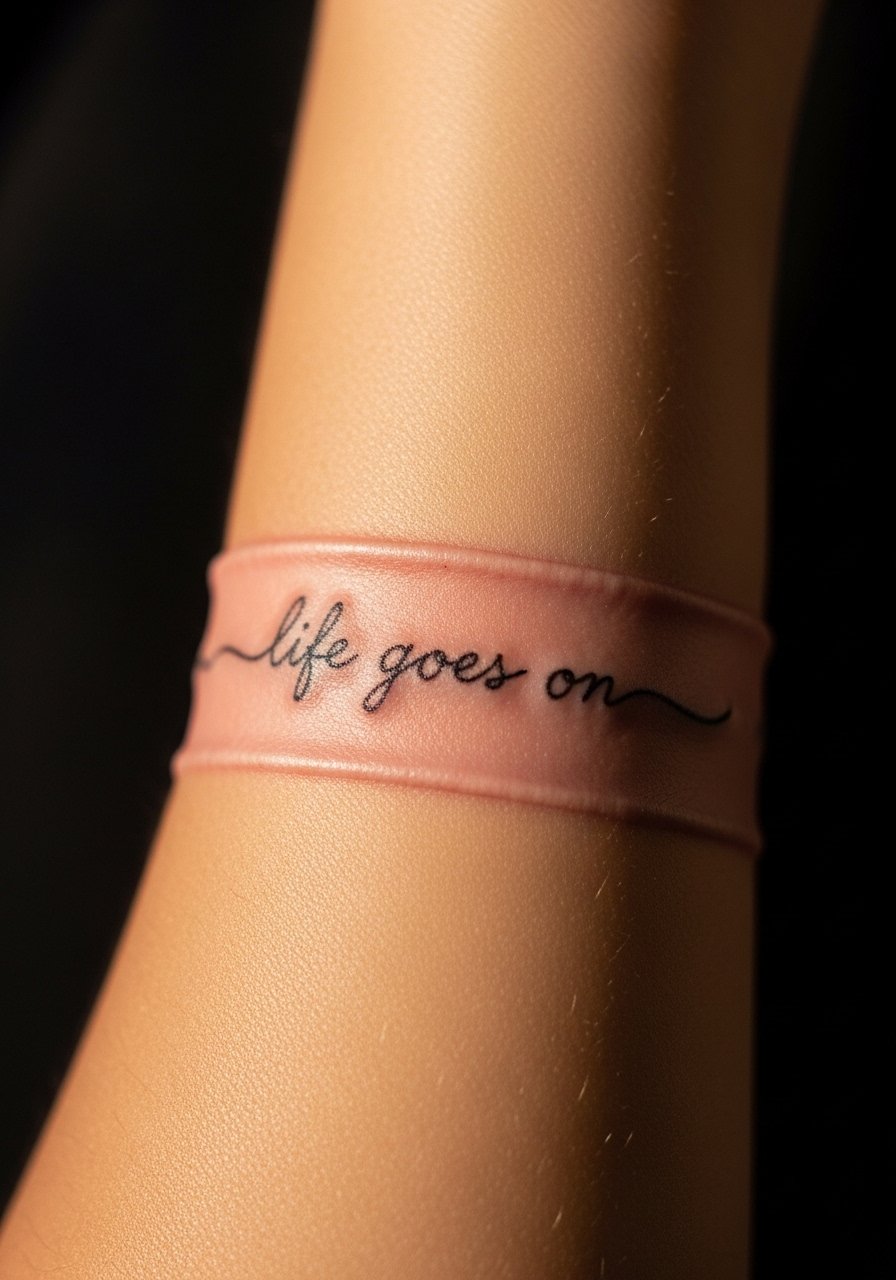
A thin script band acts like a bracelet that you cannot take off, and when done with slightly increased 1 mm strokes it stays readable on muscular or soft tissue. This fits people who move their arms a lot and want something discreet yet visible in sleeveless tops. Sessions take about 40 to 60 minutes. For placement testing try medical tape to mimic the wrap and bring tattoo transfer paper to the consult.
Style/Technique: Script Band, Medium Stroke
Pain Level: 4/10
Session Time: 40 to 60 minutes
Best For: Inner bicep, wrap effect, medium visibility
Mistake to Avoid: Expecting a single thin hairline stroke to hold on high-movement muscle areas.
12. Tiny Arrow With Phrase On Rib Cage
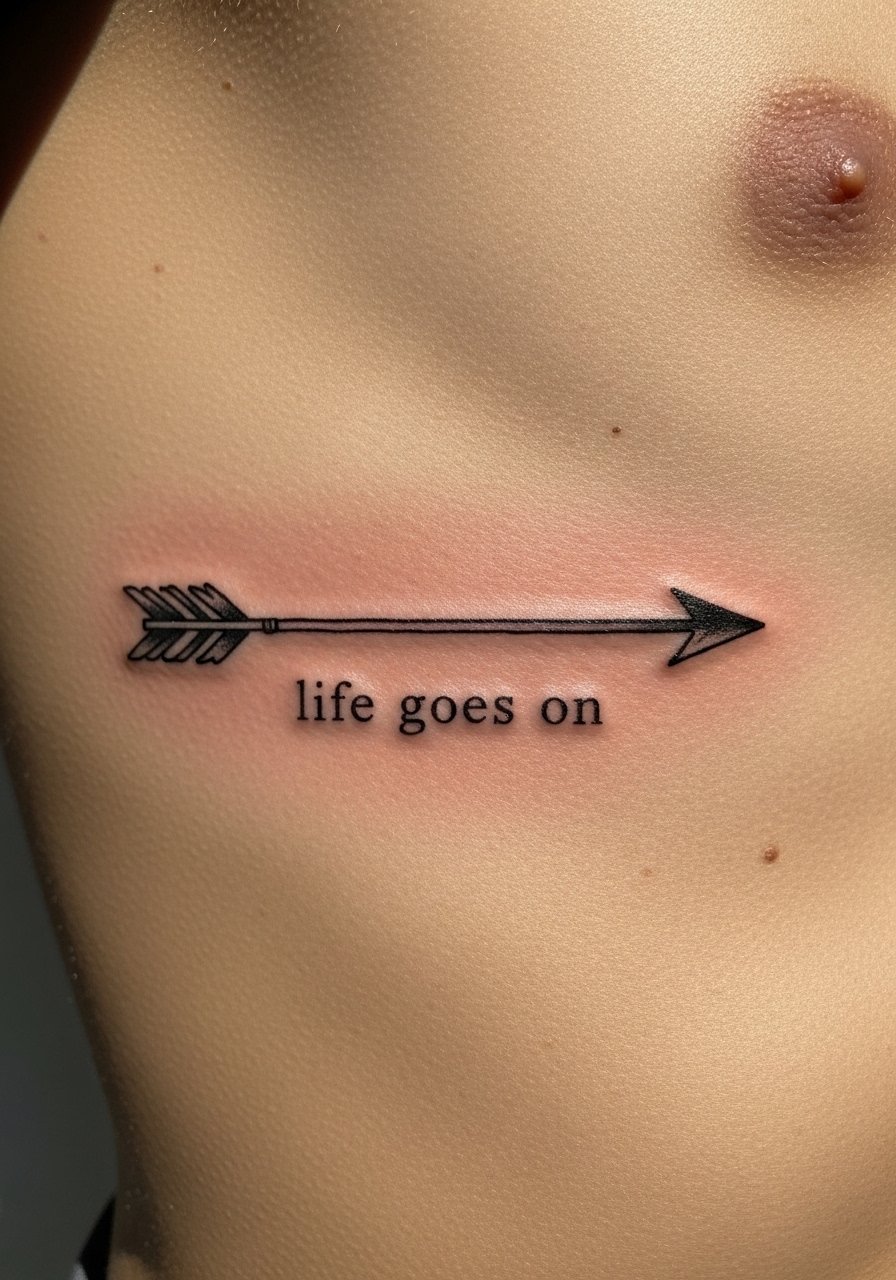
An arrow implies direction and pairs well with this phrase because the visual moves your eye forward. Use a slightly heavier arrow shaft, around 1 mm, so it keeps a crisp edge over time. This choice suits someone looking for symbolic motion in a small, elegant form. Session time is 30 to 50 minutes. If you have sensitive skin, check with an artist about a lighter pass to reduce trauma and use hypoallergenic soap for cleaning.
Style/Technique: Symbol with Script
Pain Level: 5/10
Session Time: 30 to 50 minutes
Best For: Rib, directional symbolism, compact design
Mistake to Avoid: Making the arrow too thin so it blurs at the tips.
13. Light Dotwork Halo Around Simple Script
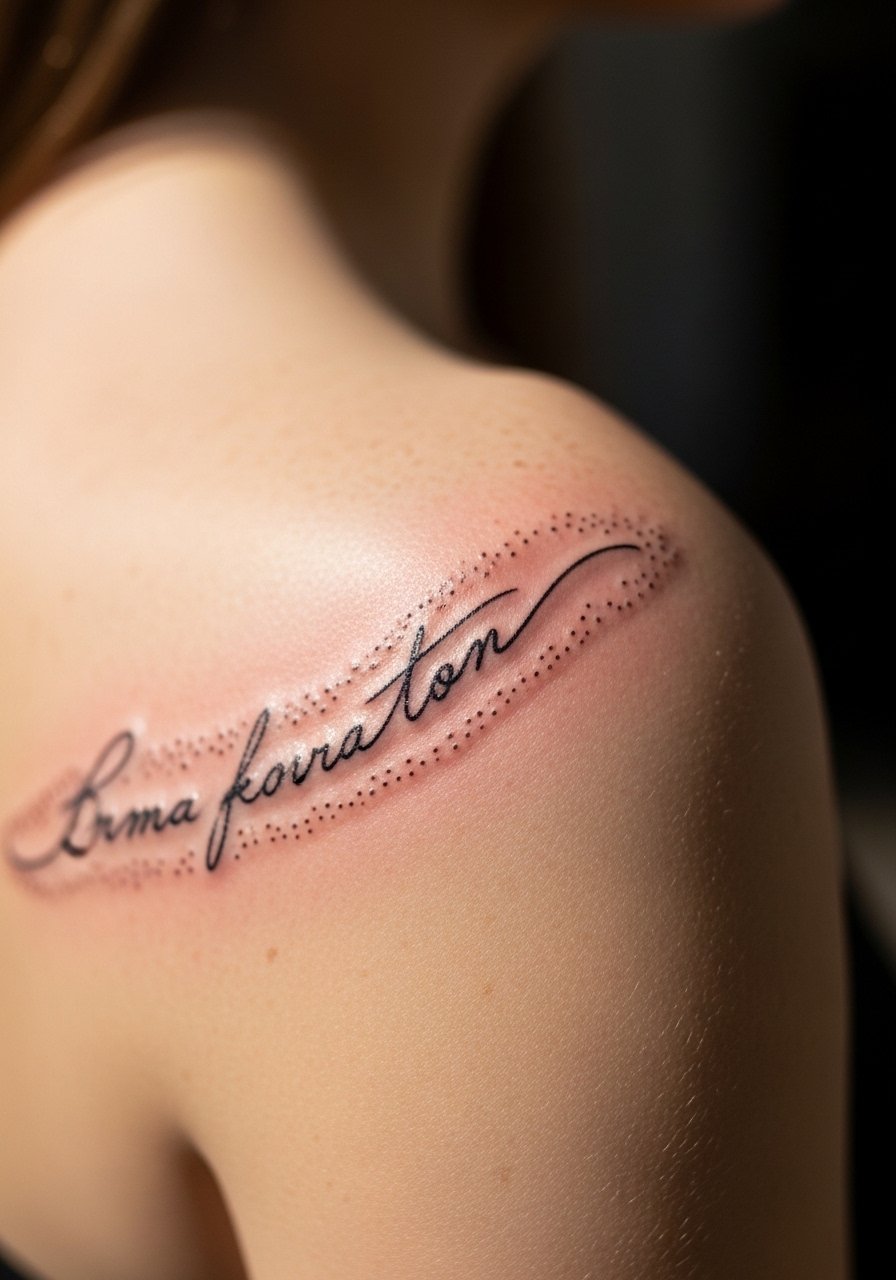
Dotwork halos add texture without heavy shading, and they help small script feel intentionally framed. Ask for a 0.7 to 1 mm dot spacing for even density, which prevents muddiness once healed. This look suits those who want a bit of decorative texture without a full illustrative tattoo. Expect a 45 minute to 1 hour session. Aftercare is the same gentle routine, and I cover with a breathable bandage if clothing will rub.
Style/Technique: Dotwork Framing
Pain Level: 3/10
Session Time: 45 minutes to 1 hour
Best For: Shoulder, framed micro text, decorative accent
Mistake to Avoid: Asking for dense dot grids that read like a gray block after healing.
14. Script With Small Date In Typewriter Font
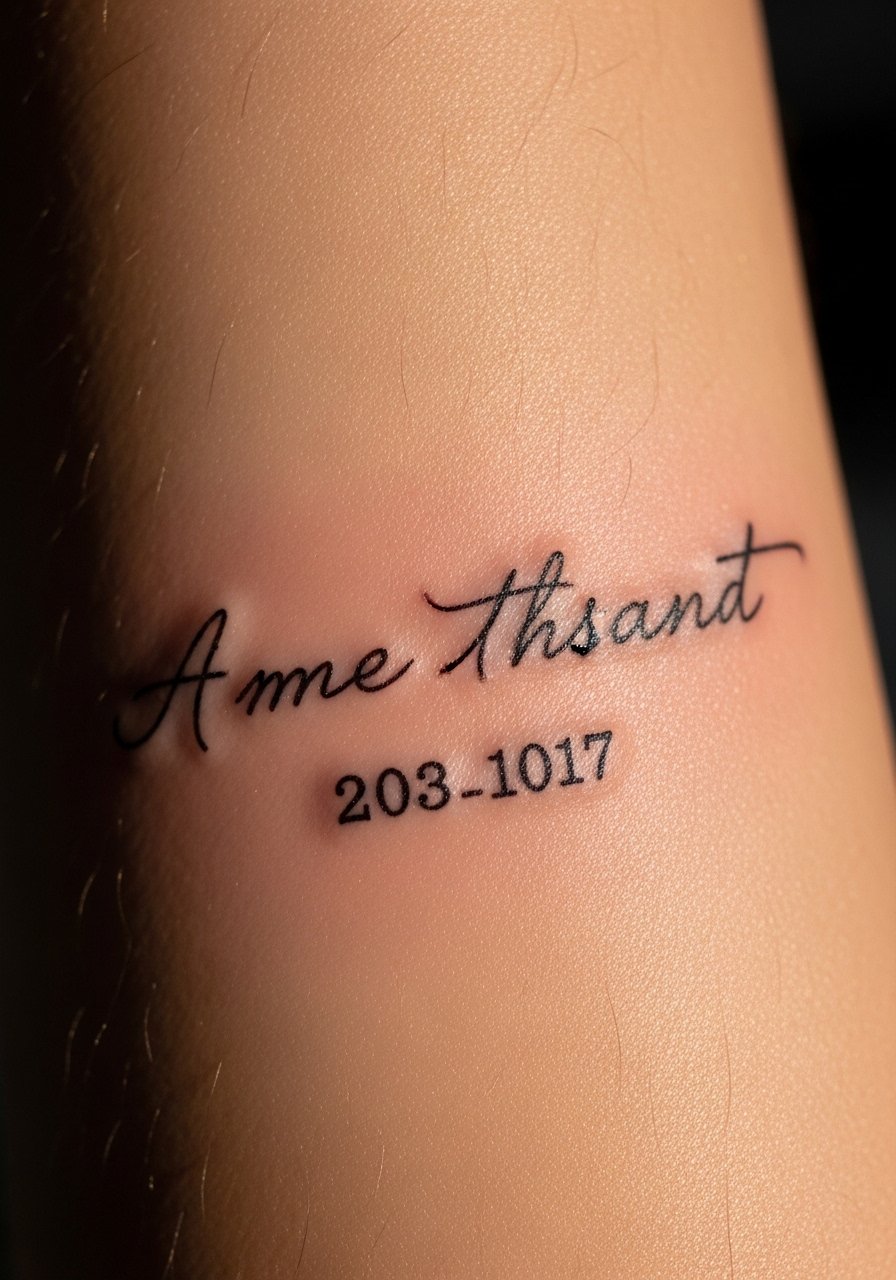
Pairing handwriting-style script with a tiny typewriter date creates a balance between organic and structured typography. The date should be 1.5 to 2 mm tall to remain legible, and the script can be slightly looser to contrast. This is good for someone marking a specific moment alongside the phrase. Session time is about 30 to 50 minutes. For touch-ups down the road, keep the original stencil on file with your artist.
Style/Technique: Mixed Typography
Pain Level: 3/10
Session Time: 30 to 50 minutes
Best For: Forearm, commemorative placement, balanced typography
Mistake to Avoid: Picking a micro typewriter size so small the numbers become unreadable.
15. Thin Band Of Negative Space Script On Side Wrist
Using negative space means the artist tattoos a surrounding thin band so the letters read as skin between inked lines, which gives a modern, understated look. Ask for 0.8 to 1 mm surrounding line thickness and consistent spacing to maintain letter clarity. This suits someone wanting a contemporary twist on script that is still subtle. Sessions typically run 30 to 45 minutes. For flatter healing keep the area moisturized with tattoo aftercare balm.
Style/Technique: Negative Space Script Band
Pain Level: 4/10
Session Time: 30 to 45 minutes
Best For: Side wrist, modern minimal, visible but refined
Mistake to Avoid: Letting the surrounding line thickness vary, which collapses the negative letters.
Healing Habits For This Phrase
Keep it short and breathable. Fresh tattoos need airflow more than heavy creams. Use a light layer of tattoo aftercare balm twice daily for the first week to prevent dryness without suffocating the skin.
Apply sunscreen after healing. A mineral tattoo sunscreen protects pigment and keeps white ink from yellowing when you are outside.
Test placement with tape first. Stick a strip of medical tape or a printed stencil and wear it for a day, then move the area around. If it feels off while you reach or sleep, change the spot.
Avoid tight clothing that rubs overnight. Swap to soft cotton shirts and use sterile gauze pads to cushion scabs until they lift.
If you need temporary concealment, a light dab of full-coverage concealer layered over a barrier works well for events.
Ask about cultural meaning. If a design borrows from a tradition you are not part of, talk to your artist about respectful alternatives rather than taking a motif without context.
