
I kept taking photos of my hair and deleting them, because black hair in photos looked like a matte shadow with no shape. The moment it clicked was when I stopped fighting glare and started shaping light instead, a single change that made my texture read as depth on camera. After trying it across four hair textures I have styled, the difference was immediate in both phone snaps and midday mirrors.
These nine ideas are for anyone who wants black hair to read as intentional on screen, not a single dark blob. Most looks are low to medium skill and budget friendly, with one or two that ask for a salon appointment. I call out porosity notes and heat-free alternatives when they matter, and I include small measurements and photo-specific fixes I learned the hard way so your screenshots actually look like the reference image.
1. Glossy Lob With Deep Side Part
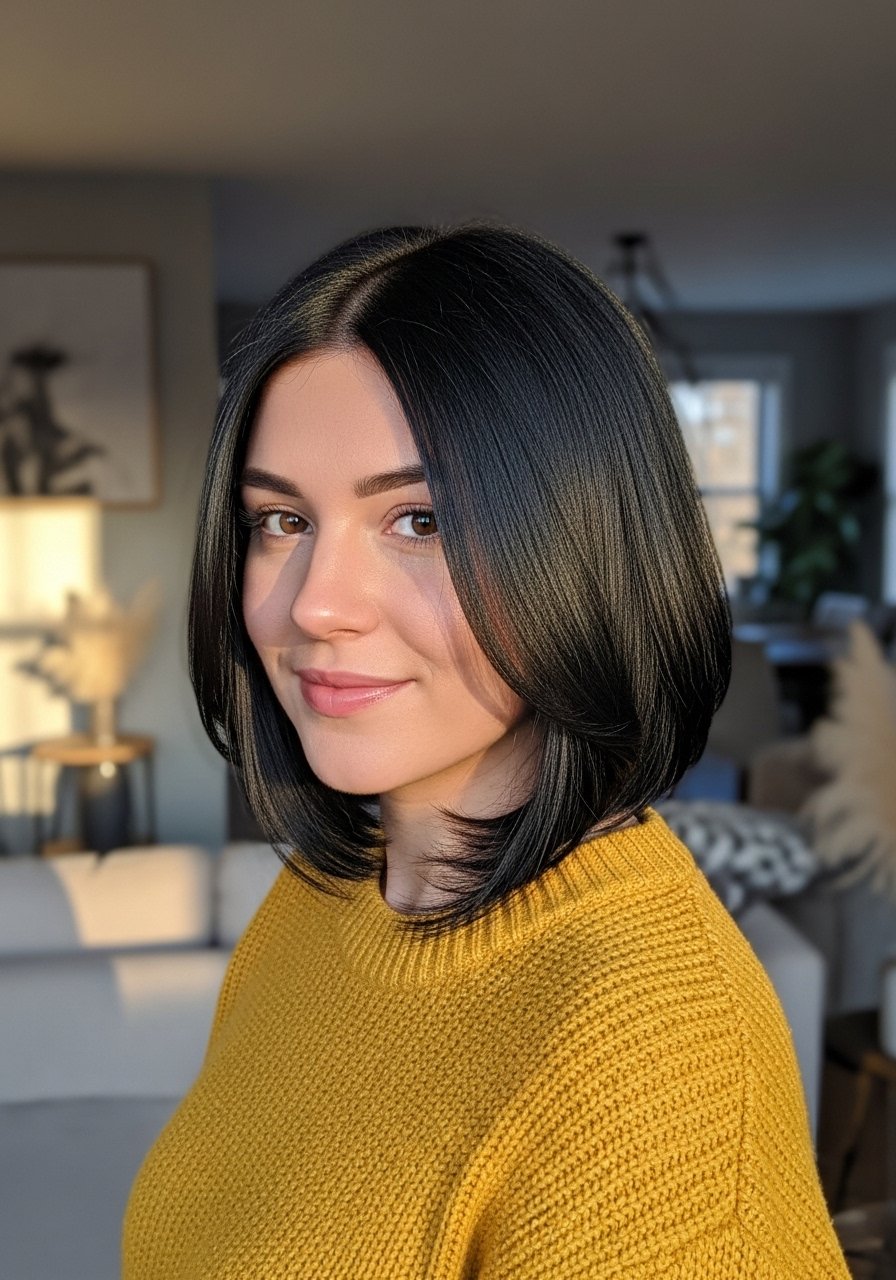
A deep side part creates immediate asymmetry that reads on camera as shape and motion. For my fine-to-medium hair clients I used one pea-sized drop of argan oil run from mid-shaft to ends for shine without weight. If your hair is high-porosity, use the oil as a seal after a 1:2 mix of leave-in to water so it does not soak through and look greasy. This suits people who want a polished daily look that takes five minutes to style. Try a heat protectant before a 250 degree flat iron pass, or finger-curl damp hair and sleep on a silk pillowcase for a heat-free option. I use argan oil treatment mid-paragraph and a silk pillowcase in the last sentence because both affect how light catches black hair.
Mistake to Avoid: Using a quarter-sized amount of oil on the roots, which makes dark hair read flat and oily in photos.
2. Curtain Bangs, Soft Face Frame
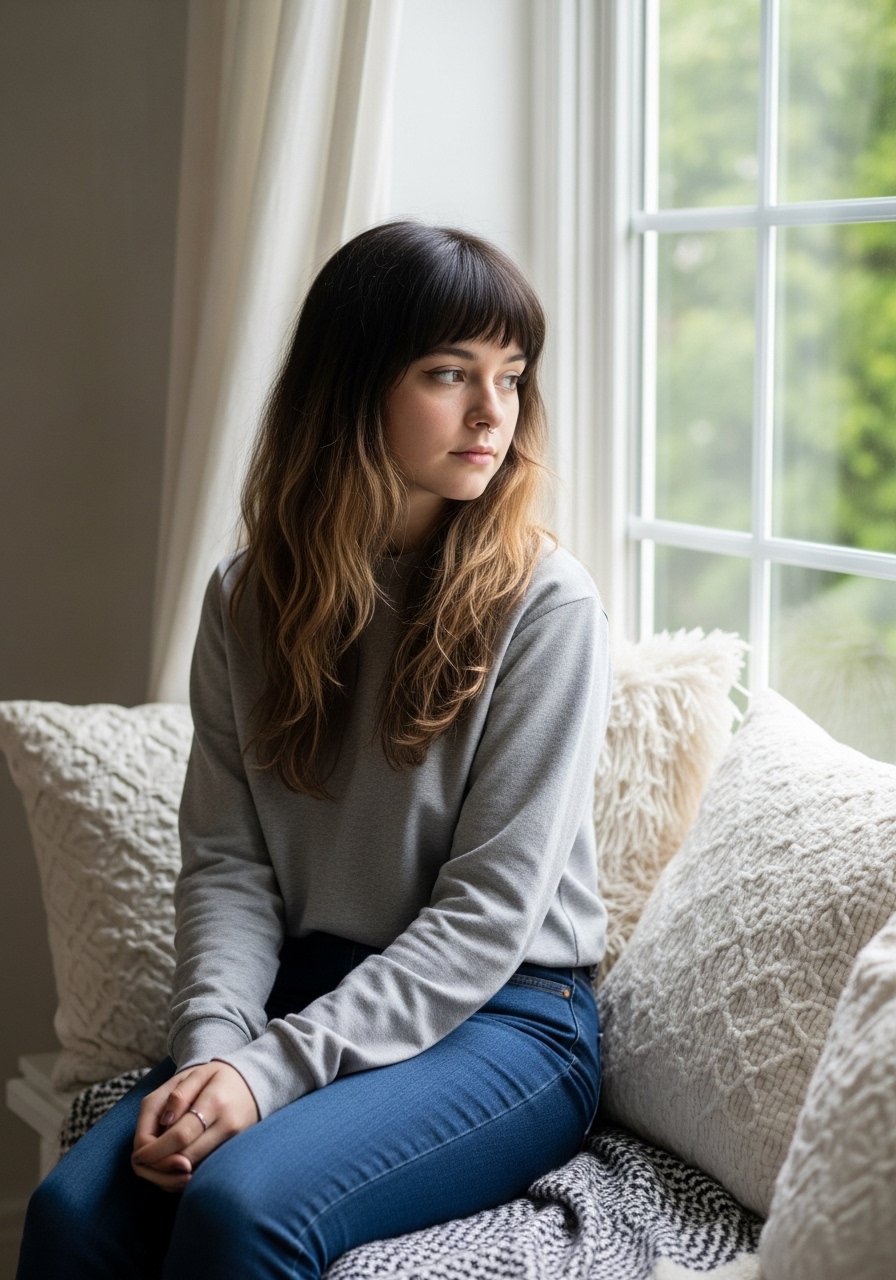
Curtain bangs break a dark silhouette into shapes that catch light, especially when trimmed to graze the cheekbone. For camera clarity, sweep them to one side and mist lightly with a soft-hold spray, applied three spritzes from eight inches away so hairs do not clump. This works well for round and oval faces and for anyone who wants a slightly vintage vibe without daily heat styling. For curly textures, stretch bangs with a wide-tooth comb damp and air-dry to avoid puff. I like a lightweight hairspray or soft-hold spray to keep pieces in place without a hard cast.
Mistake to Avoid: Cutting bangs too heavy, which creates a dense block that looks like one dark mass in photos.
3. Baby Hair Defined, Not Sticky
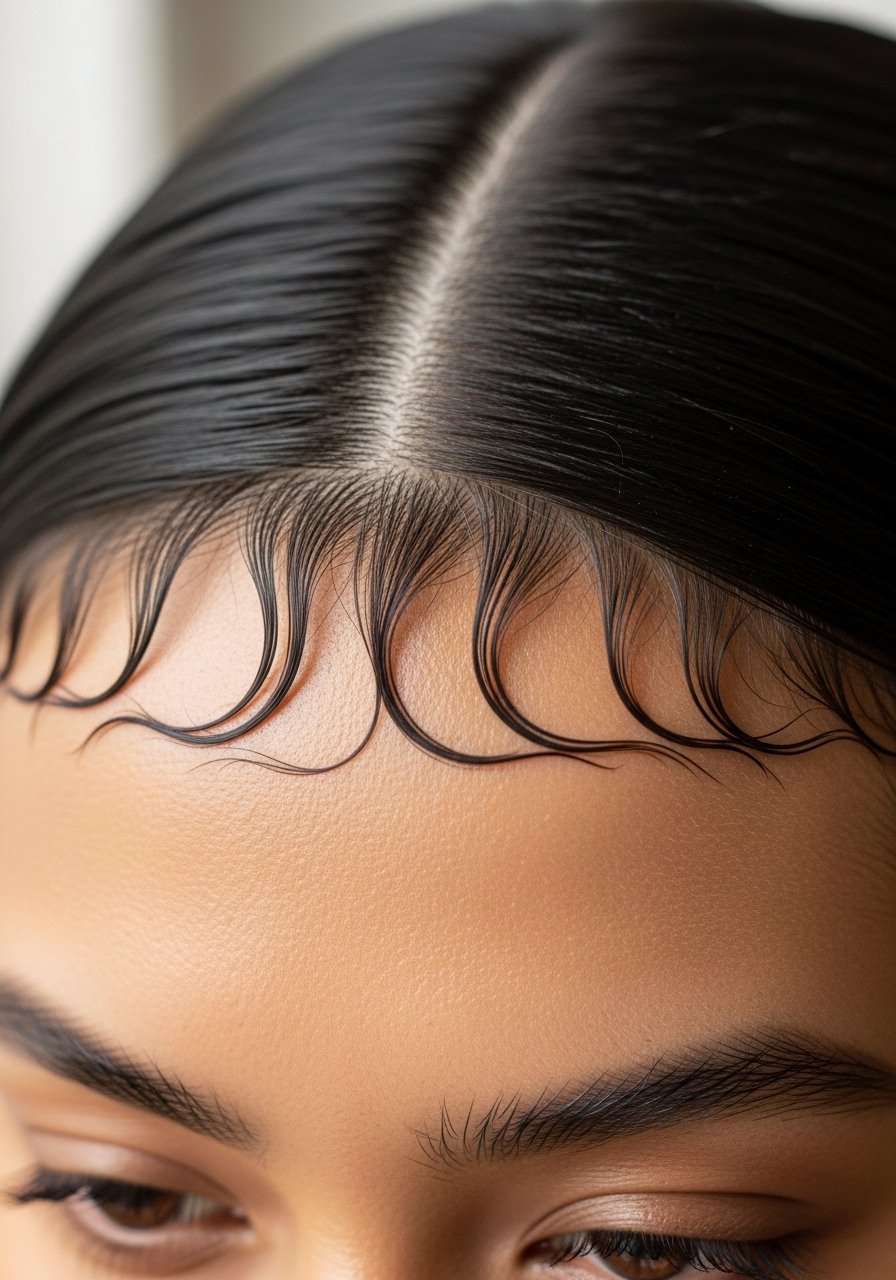
Baby hairs frame a photo-friendly hairline when they are slightly matte and feathered, not coated in gel. Use an edge brush and one rice-grain-sized dot of styling cream to sculpt, then gently pat with a soft toothbrush to diffuse shine. This small ratio keeps strands visible without reflecting too much light on camera. It flatters petite faces and people shooting selfies under overhead light. For a low-porosity hairline skip heavy waxes and try a water-based edge control. My go-to is edge control cream applied sparingly.
Mistake to Avoid: Smothering baby hairs with gel, which makes them stiff and reflective in pictures.
4. Low Buns With Face-Softening Strands
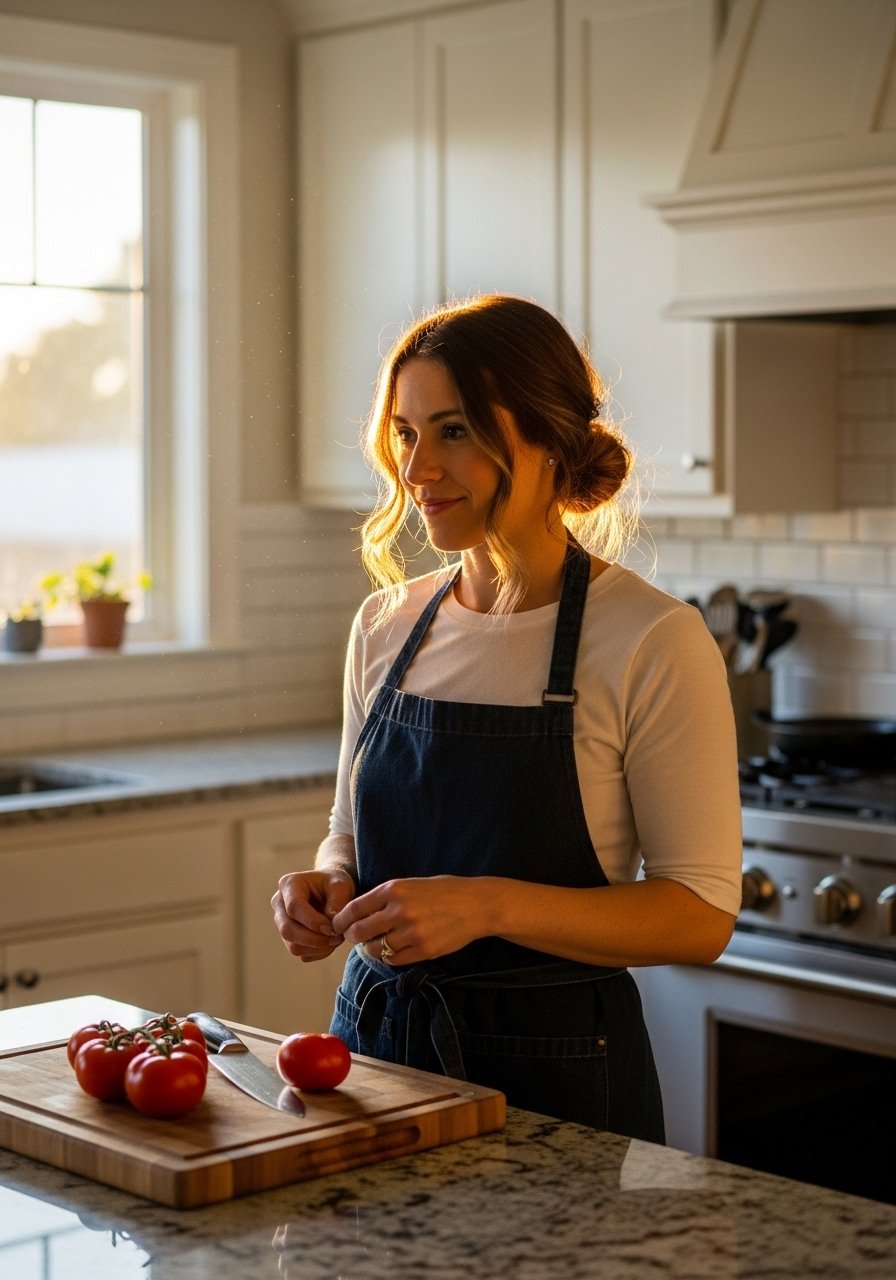
Low buns read as intentional shape on the head and keep the neckline clean in portraits. Pull hair into a low loop, then tug small sections for a lived-in outline. Leave two 2-inch face pieces and use a dab of cream to define curls around the face. This look is beginner friendly and photographed well from any angle. For thick textures, secure with a large claw then pin only where needed so the bun keeps volume without looking heavy. I often recommend a soft grip like large hair claw to avoid breakage.
Mistake to Avoid: Smoothing every hair into the bun. A bit of texture prevents the head from looking like one dark round shape.
5. Glossy Middle Part With Subtle Wave
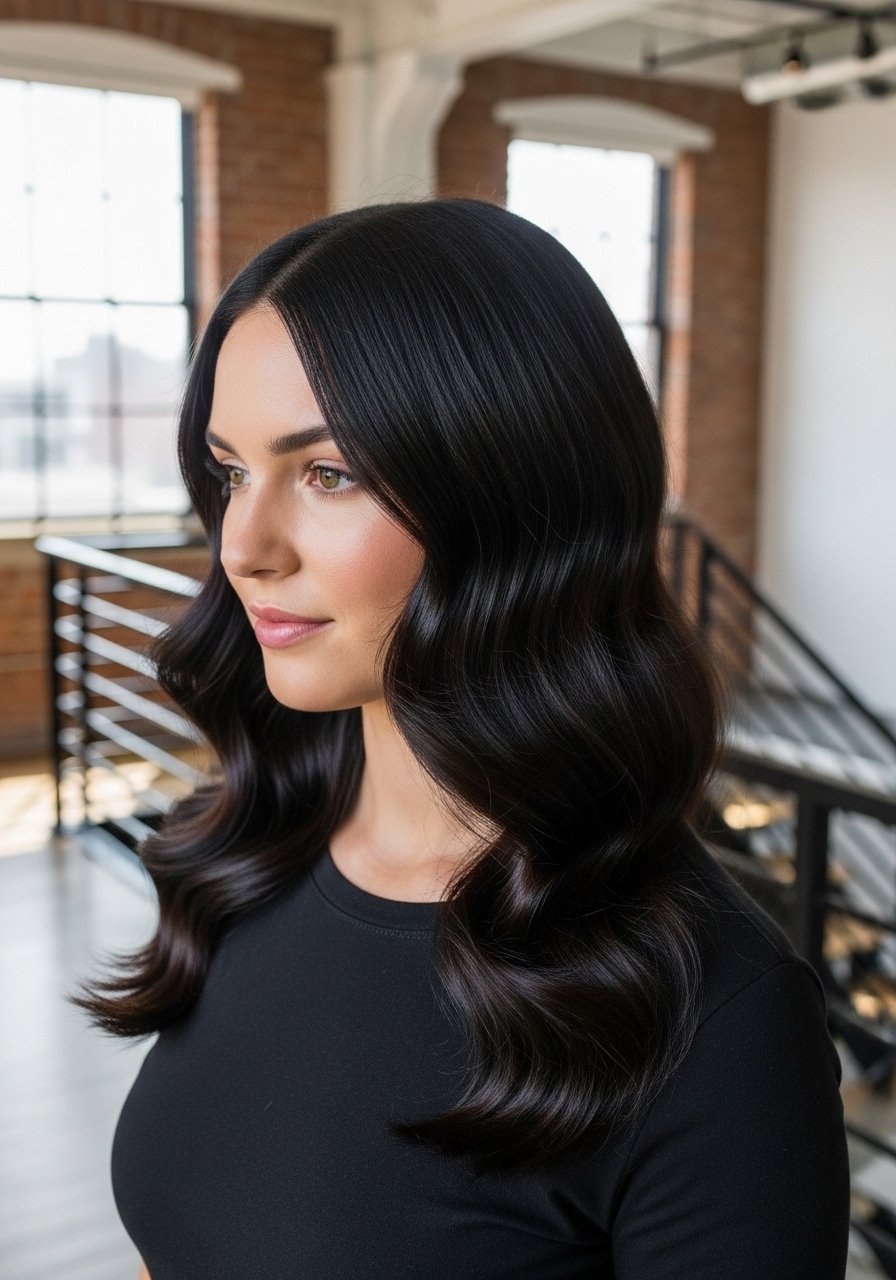
A clean middle part combined with soft S-waves adds reflective planes that make black hair appear dimensional on screen. Use a 1-inch barrel wand and wrap only the mid-lengths, leaving ends straighter for a modern finish. Alternate the wrap direction every 1.5 inches so waves do not fuse into a single cord. This fits anyone who wants a slightly editorial look without heavy product. For heat-free, braid damp hair in three sections overnight for looser waves. Finish with a light sheen spray, like light shine mist, applied at arm’s length.
Mistake to Avoid: Curling ends into tight spirals, which reads as too busy against a dark base in photos.
6. Mini Bantu Knots for Texture
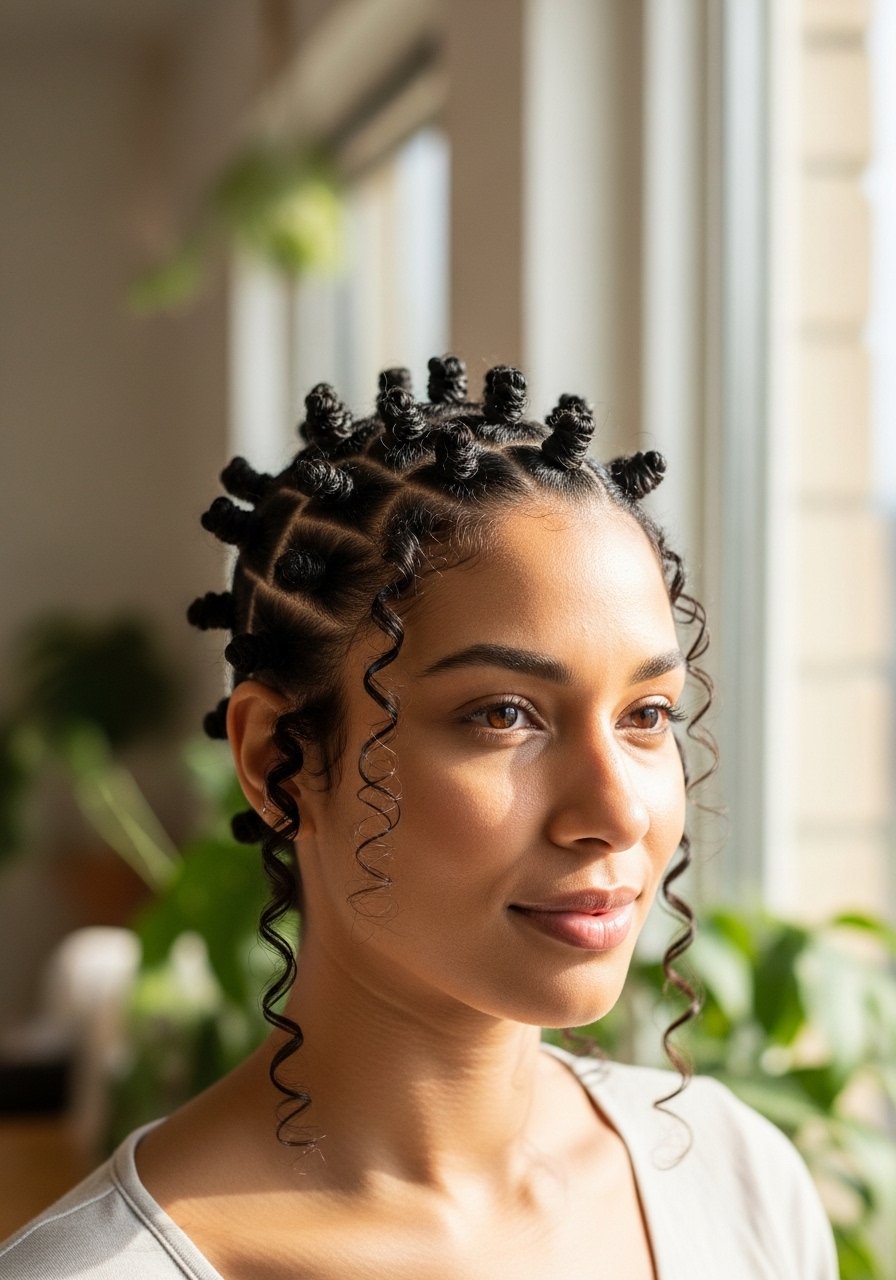
Mini Bantu knots add a textured, graphic pattern that photographs beautifully against black hair because they break up the surface evenly. Section hair into 1-inch parts and twist each into a tiny knot, securing with a small elastic. Keep knots slightly loose so your scalp lightens a touch and contrasts are visible in photos. This is excellent for medium to thick textures and for people who want a protective, low-manipulation style. Sleep with a silk scarf and undo in the morning for defined coils. I often recommend using small elastic bands that do not snag.
Mistake to Avoid: Making knots too large, which flattens the pattern and reads as a uniform dark area.
7. Accessorized Sleek Pony With Ribbon Tie
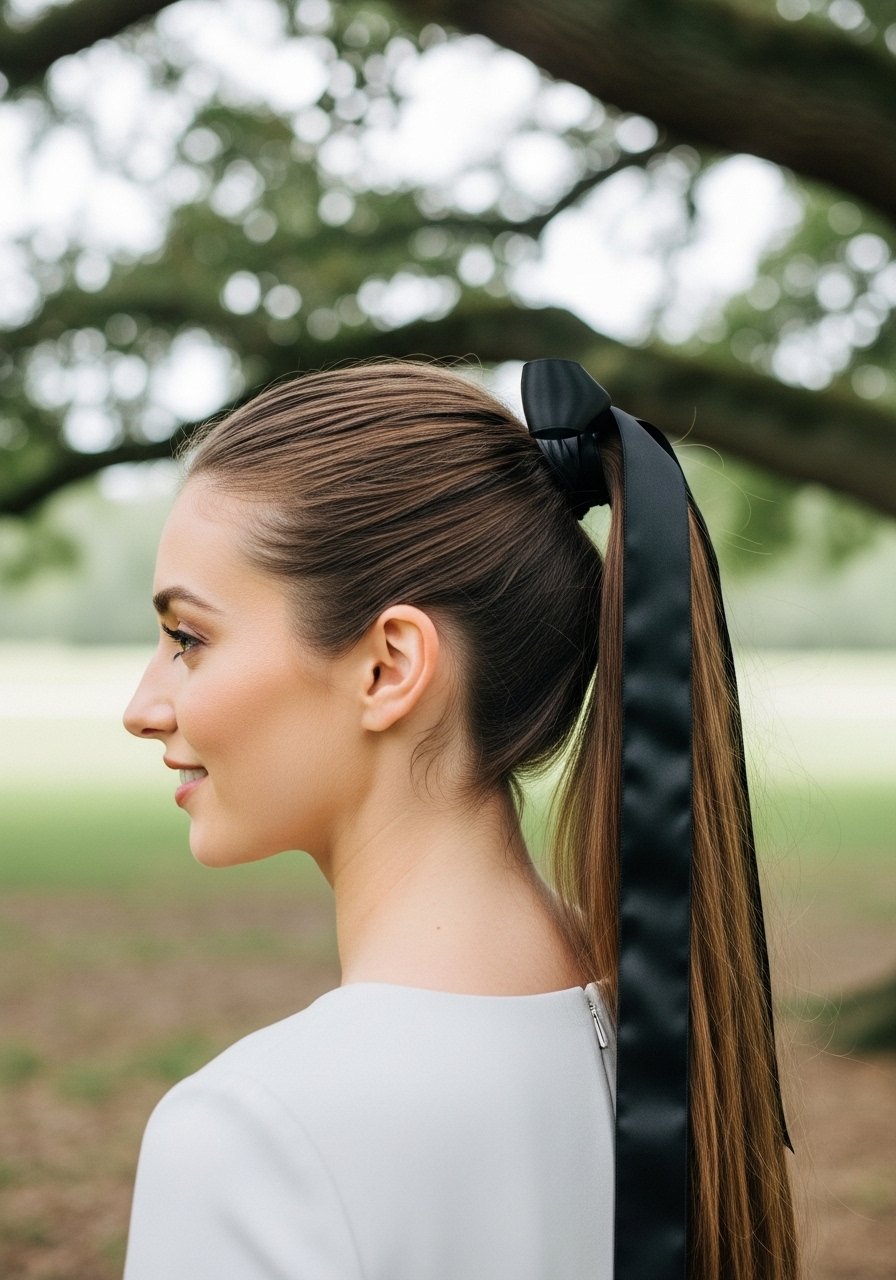
A sleek pony tied with a ribbon catches the eye because the ribbon adds a light-reflective edge against black hair. Smooth hair with a soft brush, secure ponytail at mid-height, then wrap a narrow satin ribbon around the elastic twice for a clean finish. Use a pea-sized amount of cream to smooth flyaways rather than heavy spray. This solves the problem of black ponytails reading as a single dark shape in candid shots. For coarse textures, detangle in sections with a wide-tooth comb first so the ribbon sits flat.
Mistake to Avoid: Using a thick, matte ribbon that hides the hair-to-accessory transition and creates a hard line.
If any of these ideas have you ready to actually try something, here is everything worth picking up.
Camera-Ready Black Hair Kit
Basics:
- Wide-tooth comb (~$6-12), for detangling without breakage.
- Silk pillowcase (~$20-40), keeps shine without friction.
Styling tools:
- Large hair claw (~$8-15), secures buns without creasing.
- 1-inch curling wand (~$25-60), for controlled S-waves.
Finishes & smalls:
- Argan oil treatment (~$10-20), a pea-sized seal for ends.
- Soft-hold spray (~$8-15), three spritzes from eight inches gives camera-friendly hold.
Screenshot-Ready Hair Habits
Thin product beats thick layers. One pea-sized drop of oil on damp hair prevents mid-day heaviness and keeps highlights visible in photos. Try argan oil treatment for this.
Grab a silk pillowcase. Sleeping on silk preserves shape and reduces frizz so morning selfies look like edited photos.
Curly and coily hair takes light differently. For high-porosity hair, apply leave-in then seal with one pump of oil, not the reverse. A light leave-in spray works best.
Most people overbrush a sleek look. Use a soft brush only to smooth surface hairs and a wide-tooth comb to detangle, especially on damp hair.
If you shoot with a phone, angle toward natural window light and tilt your chin slightly down. A quick touch-up with soft-hold spray on face-framing pieces keeps them visible without shine.
