
I almost shoved a dented wooden cutting board into the donate box because it looked sad on the island, then I layered it with a tray and a vase and the whole counter stopped feeling like a sink staging area and started feeling like a room. That moment taught me scale, texture, and that small edits make an island look edited not cluttered.
These ideas are for people who cook most nights, who have limited storage, and who want renter-friendly tweaks that look thought-out. They run from ten-minute swaps to a weekend project, and most of them are cheap. Expect practical measurements like the one-third centerpiece rule, quick styling tricks I tested across three rentals, and fixes for small islands or shared prep space.
1. Layered Tray Centerpiece For Function
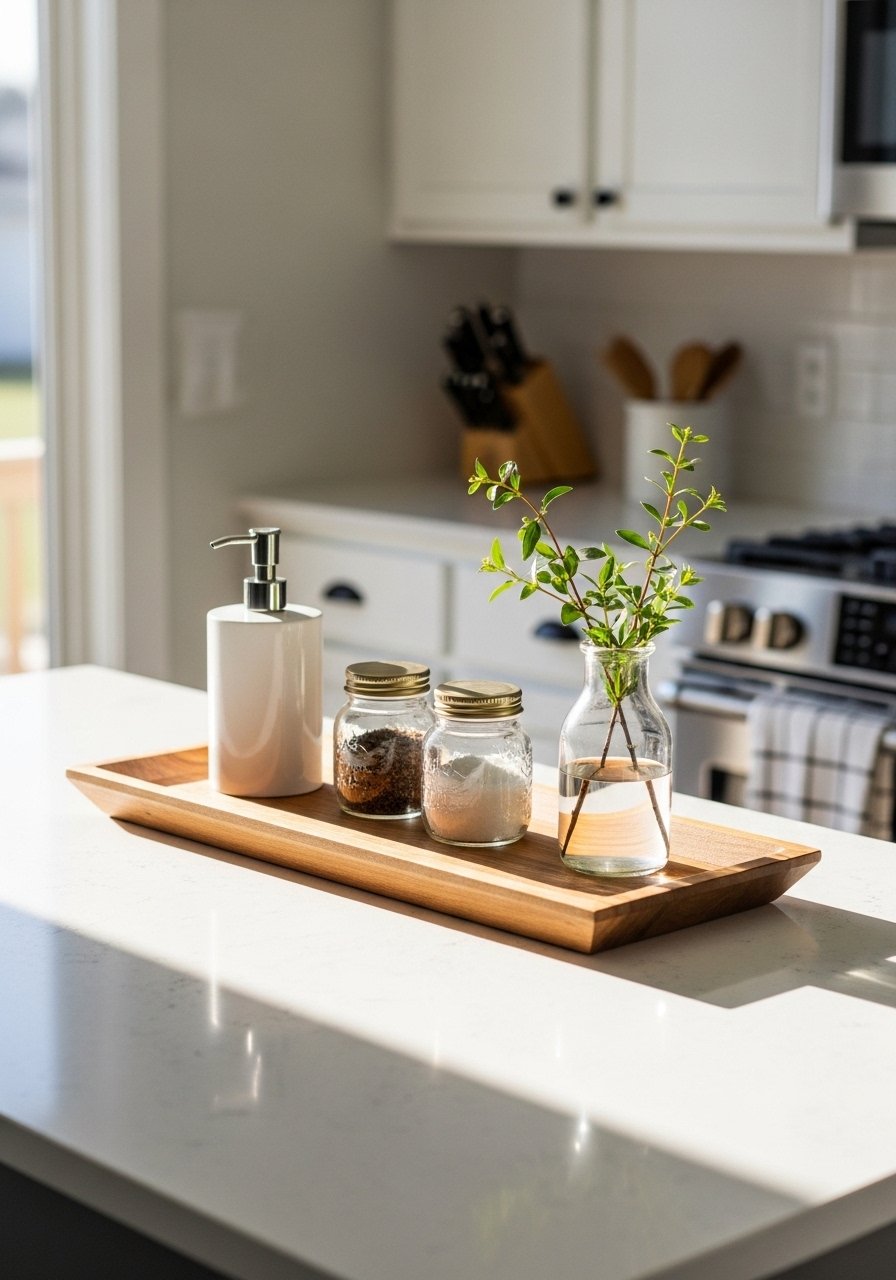
Start by picking a tray about one-third the island length and two-thirds the depth. That ratio keeps the centerpiece anchored without eating work surface. Layer a tall item, like a ceramic vase, with two low items, like a wood salt cellar and a small potted herb, so the eye moves. I use a wood serving tray and a low stone salt cellar. It creates a tidy landing spot for keys and receipts while still being easy to shift when I cook. Plan on moving the tray 12 to 18 inches from the stove edge for safety and workflow.
Mistake to Avoid: Choosing a tray that is too large so it blocks prep space and becomes permanent clutter.
2. Fresh Herb Corner With Planter Box
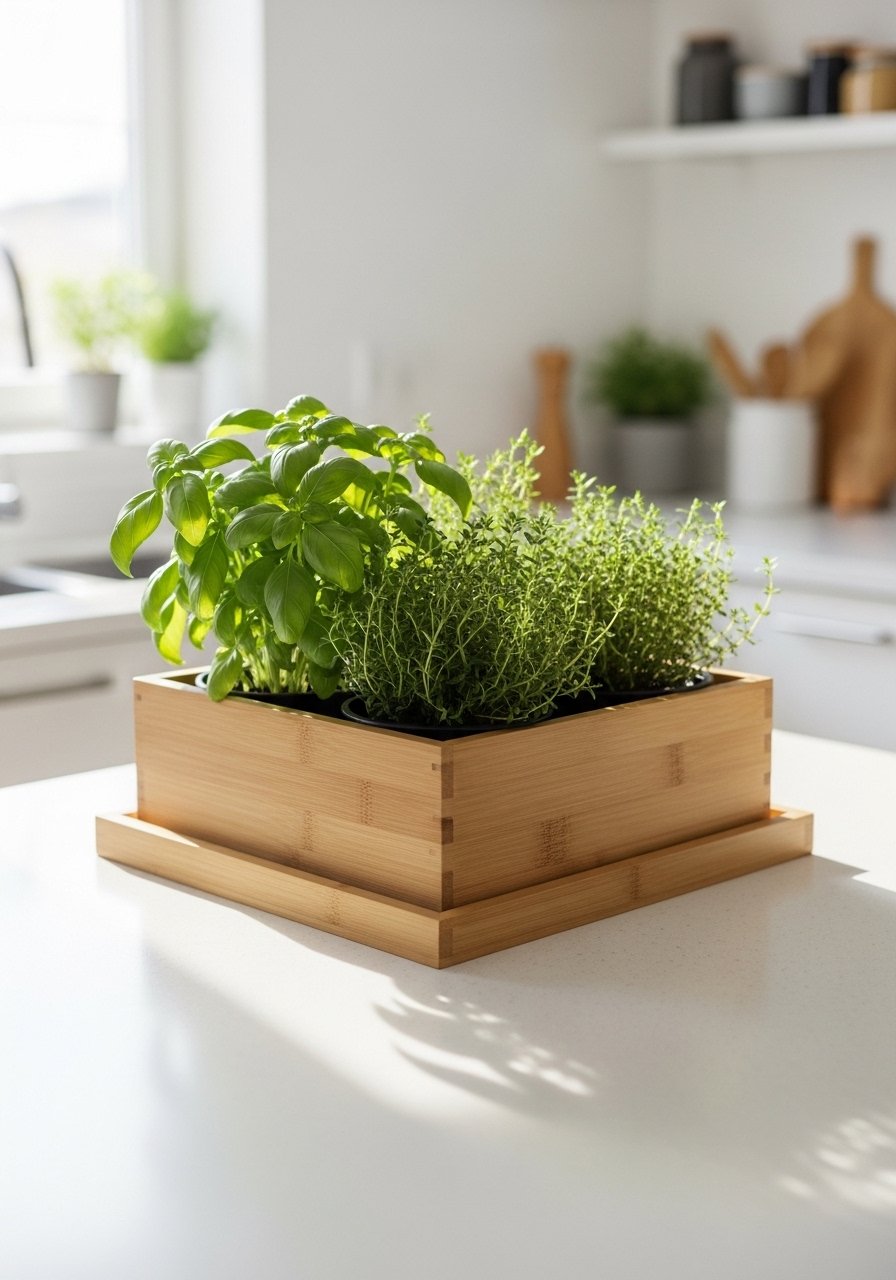
A row of herbs makes the island smell better and cuts trips to the backyard. Use a shallow wooden planter about one quarter the island length so it reads like a strip, not a potted forest. I plant basil, thyme, and chives because they stay compact and are under 10 inches tall, so they do not block sightlines. I pot them in a self-watering herb planter to avoid daily watering. This feels fresh in a small space and is renter-friendly since the planter sits on, not attached to, the countertop. After trying this in two kitchens I noticed fewer wilted herbs.
Mistake to Avoid: Planting tall, floppy varieties that require constant pruning and shade the prep area.
3. Low Pendant Swap For Task Lighting
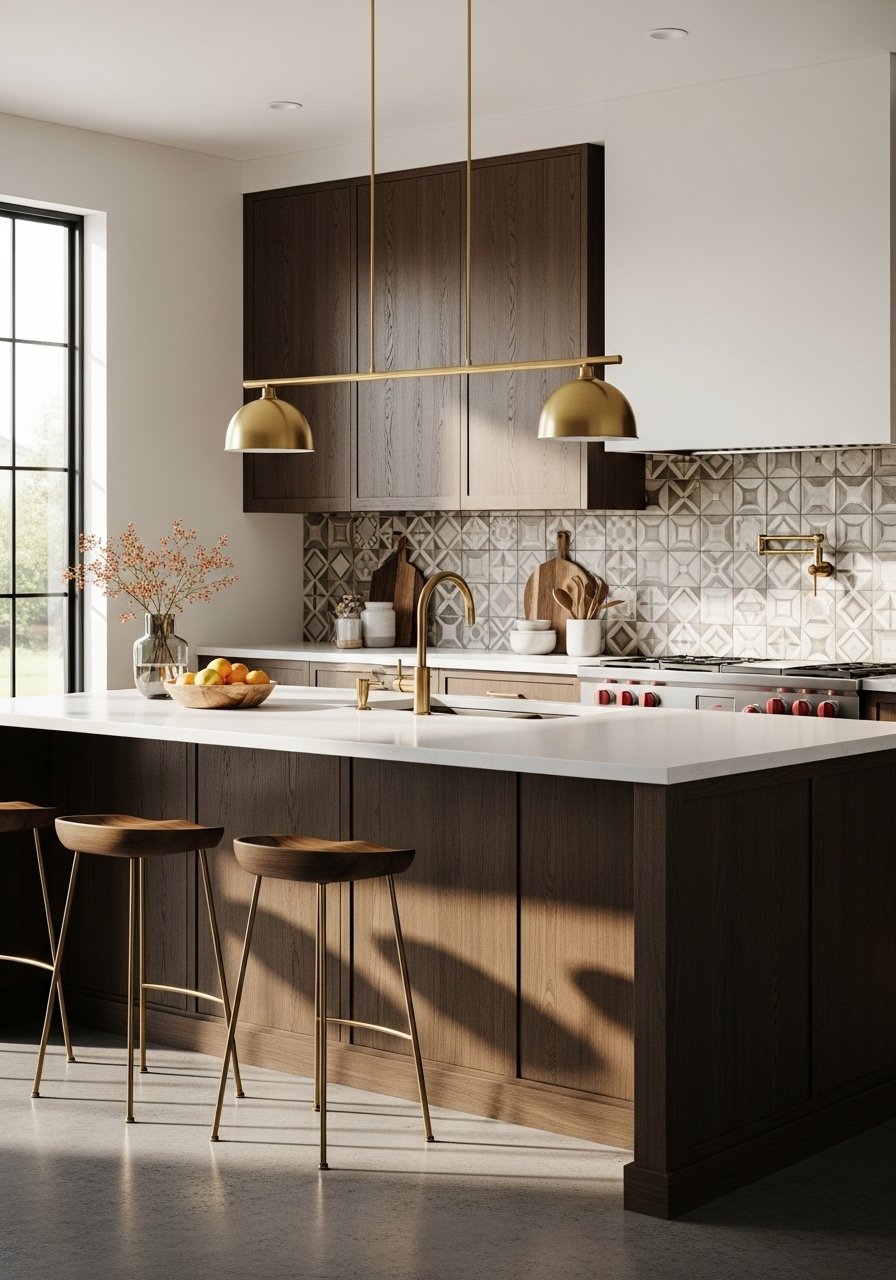
Swap an oversized chandelier for a focused, low pendant when practical. A pendant placed 28 to 34 inches above the island surface gives task light without glare. I replaced a too-big fixture with an adjustable gooseneck task lamp mounted on the island edge to get directed light for chopping and recipe reading. The result reads intentional and doubles as ambient evening light when dimmed. This is a slightly more involved swap but fits most budgets and makes the island feel used rather than decorative.
Mistake to Avoid: Hanging a pendant so low it interferes with sightlines across the room.
4. Woven Stool Grouping To Soften Edge
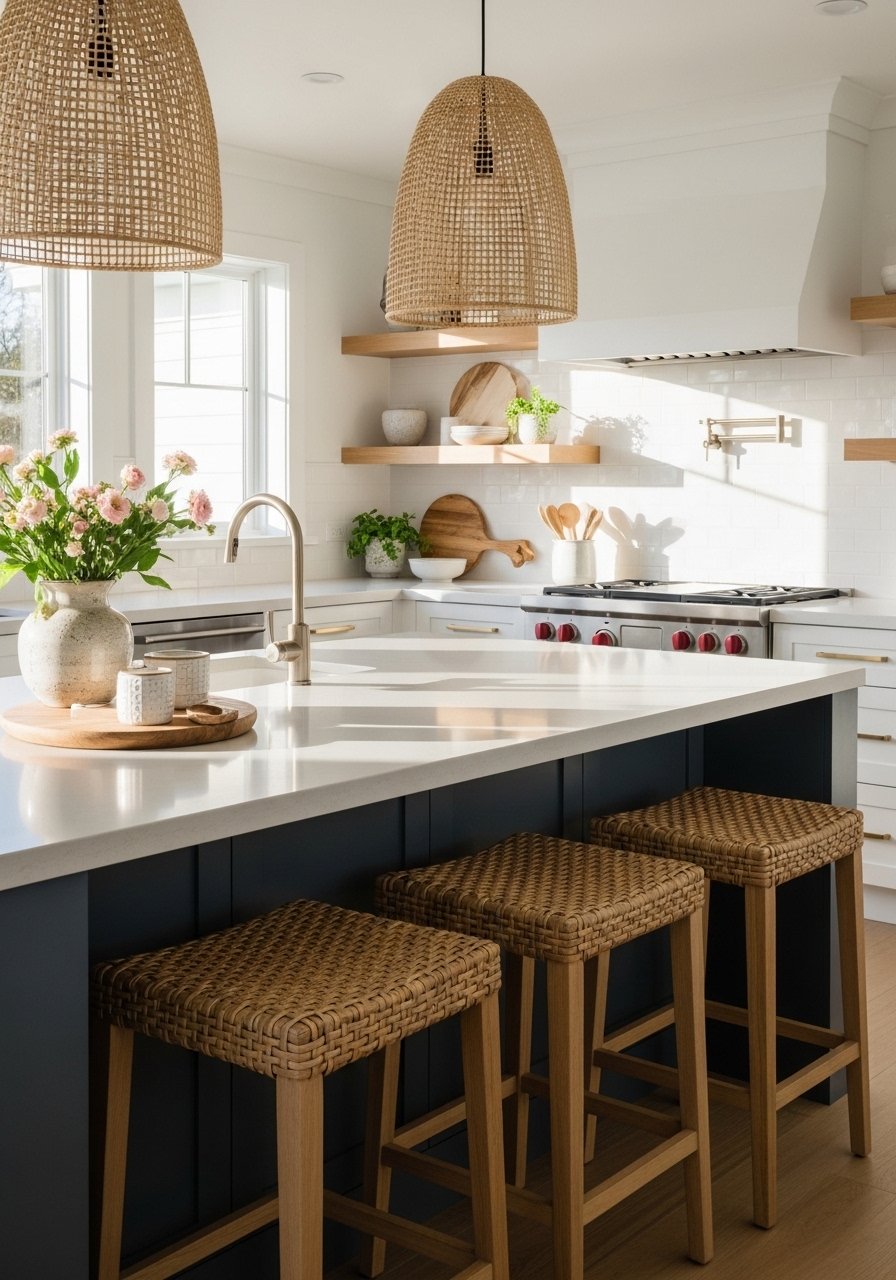
Group stools with mixed textures to break up the island's straight lines. Use two matching stools and one accent stool for balance. Woven seating adds warmth and hides scuffs from boots or little hands. I recommend stools that are about 24 to 26 inches high for standard counters and leave 10 to 12 inches between seats for elbow room. Try a pair of woven counter stools and an accent metal stool. This approach is budget friendly and easy to swap for seasonal looks.
Mistake to Avoid: Choosing stools that are too tall or too deep so they jam under the overhang and look bulky.
5. Portable Rolling Caddy For Prep
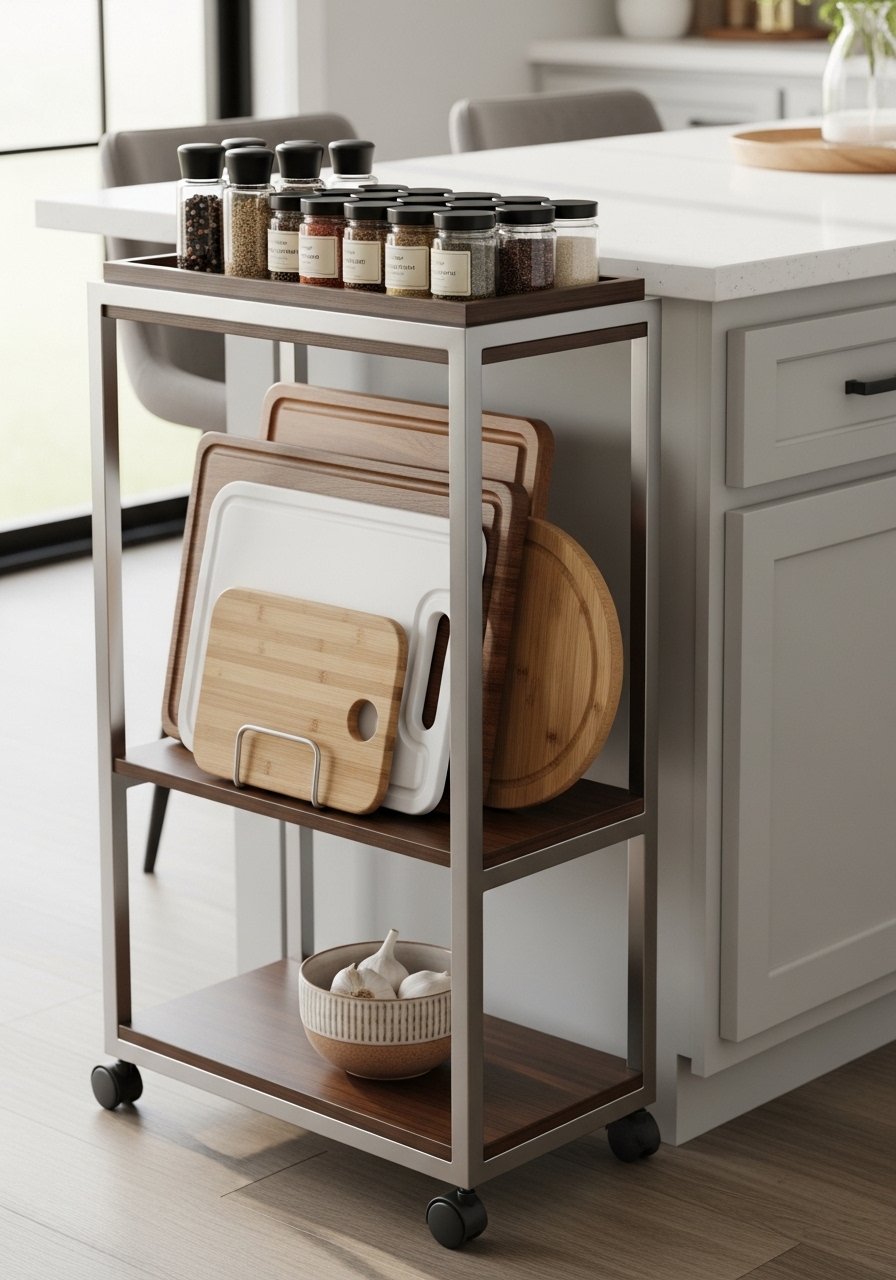
A slim rolling caddy slides beside the island to hold prep tools on busy nights, then tucks away when guests arrive. Pick one with two shallow shelves so items do not topple when moved. I keep oils, frequently used spices, and a cutting board on mine. The caddy doubles as a mobile bar for parties. Use a narrow rolling cart with lockable casters to keep it steady while chopping. It saves steps and keeps countertops clear without any permanent change to the island.
Mistake to Avoid: Overloading the cart so it becomes heavy to move and stays put as clutter.
6. Open-Shelf Display On Island Ends
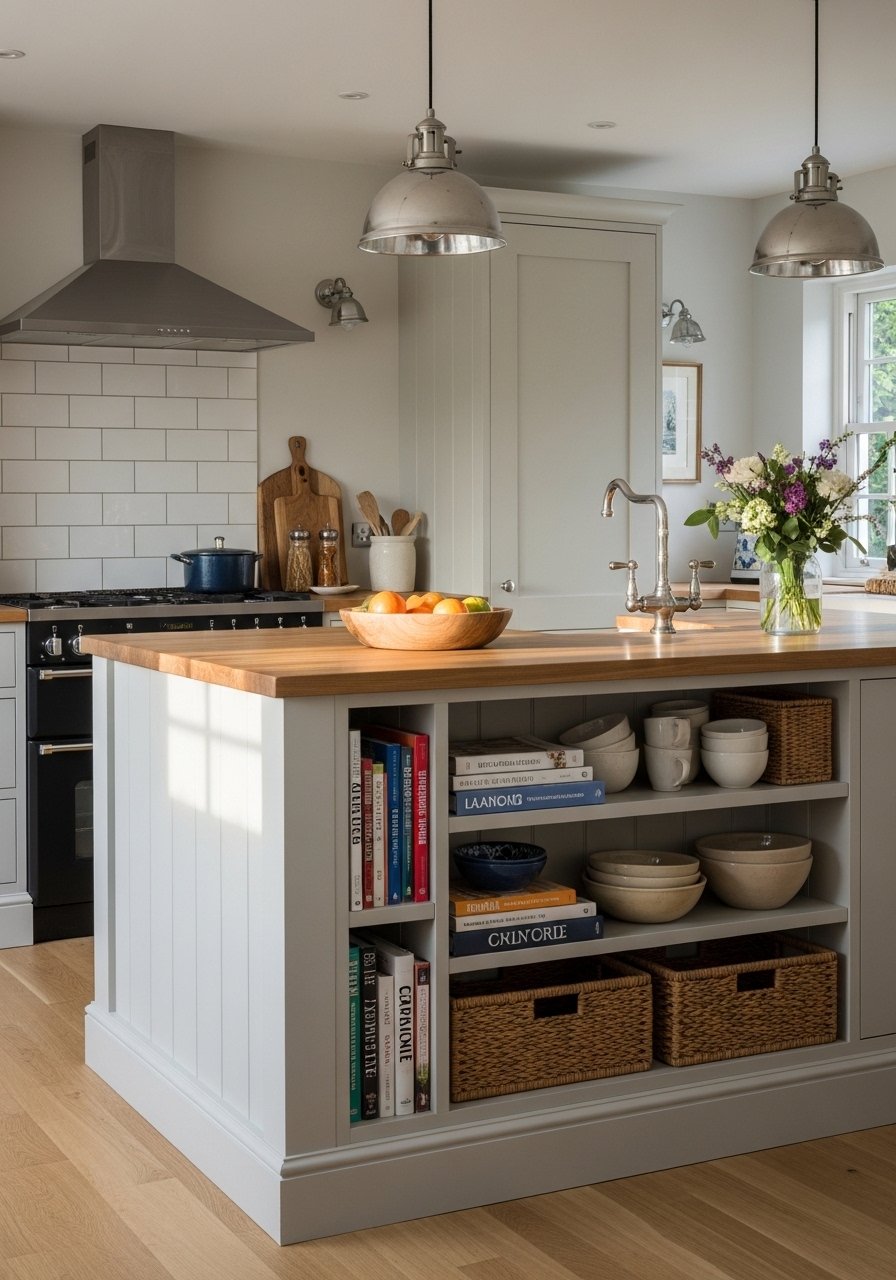
Turn the end of the island into display shelving sized for baskets and cookbooks. Limit each shelf to three to five items and keep one shelf intentionally empty to avoid looking busy. I use woven baskets for napkins and kids' placemats, and a ceramic bowl for fruit. Shelves three to four inches deeper than the island edge read substantial without protruding. A woven storage basket and a ceramic fruit bowl are enough to style it. This is a higher-skill build if you add lighting, but the visual payoff is worth a weekend's work.
Mistake to Avoid: Filling every shelf which makes the island look like a retail display not a home.
7. Magnetic Charging Drop-In Panel
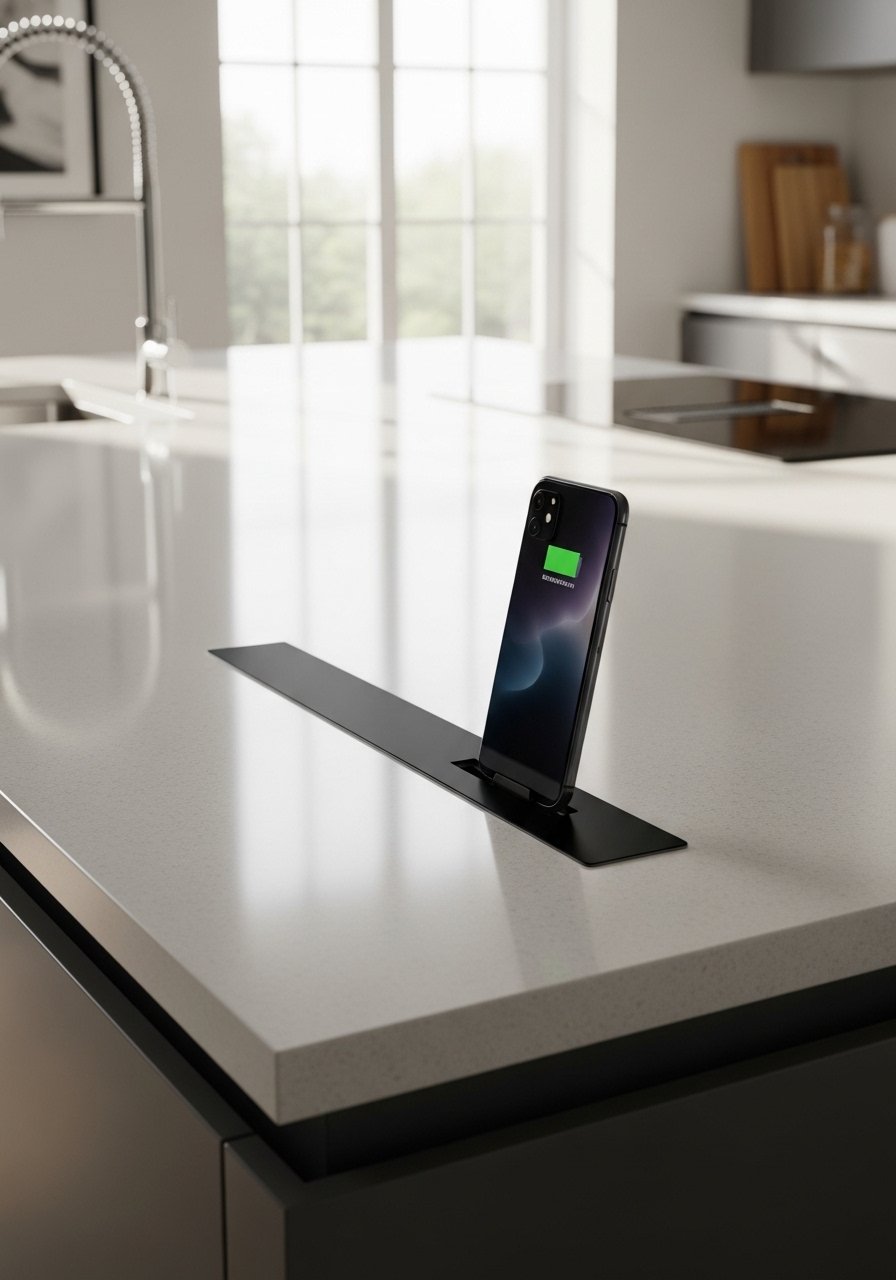
A drop-in magnetic charging panel keeps cords off the surface and lets phones attach flat while you cook. Measure the inset to be at least 2 inches from the island edge so phones do not slip off. I had one professionally installed for a clean look, but you can use a surface-mounted version if renting. A magnetic charging pad paired with a small cable organizer tucks technology out of the way. It keeps timers visible and hands free and is a fresh angle many styling guides skip.
Mistake to Avoid: Placing the panel in a prep zone where splashes and heat will shorten its life.
If any of these swaps have you ready to actually try something, here are the tools and pieces I reach for again and again.
Island Styling Staples For Easy Shopping
Serving & Styling:
- Wood serving tray (~$25-45). Sets a contained zone and makes cleanup faster.
- Stone salt cellar (~$12-20). Small height adds contrast.
Plants & Textiles:
- Self-watering herb planter (~$20-35). Keeps herbs alive with minimal fuss.
- Woven storage basket (~$18-40). Hides kid stuff and stays neutral.
Seating & Lighting:
- Woven counter stools (~$60-120 each). Comfortable and forgiving of scuffs.
- Gooseneck task lamp (~$40-80). Gives focused light without rewiring.
Island Habits That Keep It Working
Keep a one-third rule for centerpieces. Scale your tray or planter to about one-third the island length so the surface still reads usable. A simple wood serving tray makes rotating decor faster.
Grab a narrow rolling cart for dinner prep. It cuts trips back and forth and slides away when guests arrive.
I stop styling directly in front of the stove. Leave 12 to 18 inches of clear counter at cooking edges. A stone salt cellar placed away from heat keeps essentials handy without risk.
Most people stack too many small pieces. Choose one tall item and one low item, then add one textured accessory like a woven storage basket to ground the vignette.
Rotate one item monthly to keep the island feeling fresh without buying more. A seasonal ceramic fruit bowl does more visual work than five tiny objects.
