
I kept chopping off what I thought were "face-framing" bits until every photo looked like the same short bob. The mistake was cutting too much weight up top and forgetting that medium length thrives on balance, not bluntness. The day my stylist left a two-inch graduated layer at the chin and a soft 30-degree angle through the crown, my hair finally moved the way I wanted it to.
These nine looks are practical, low-fuss, and aimed at people who want a medium length haircut with layers easy to style at home, whether you have straight, wavy, curly, or coily hair. I have cut and styled across four hair textures and kept the budget realistic, from quick texturizing sprays to a single good pair of thinning shears. Expect a mix of heat-free options, porosity notes where it matters, and styles that grow out without looking sloppy.
1. Long Layers With Curtain Fronts
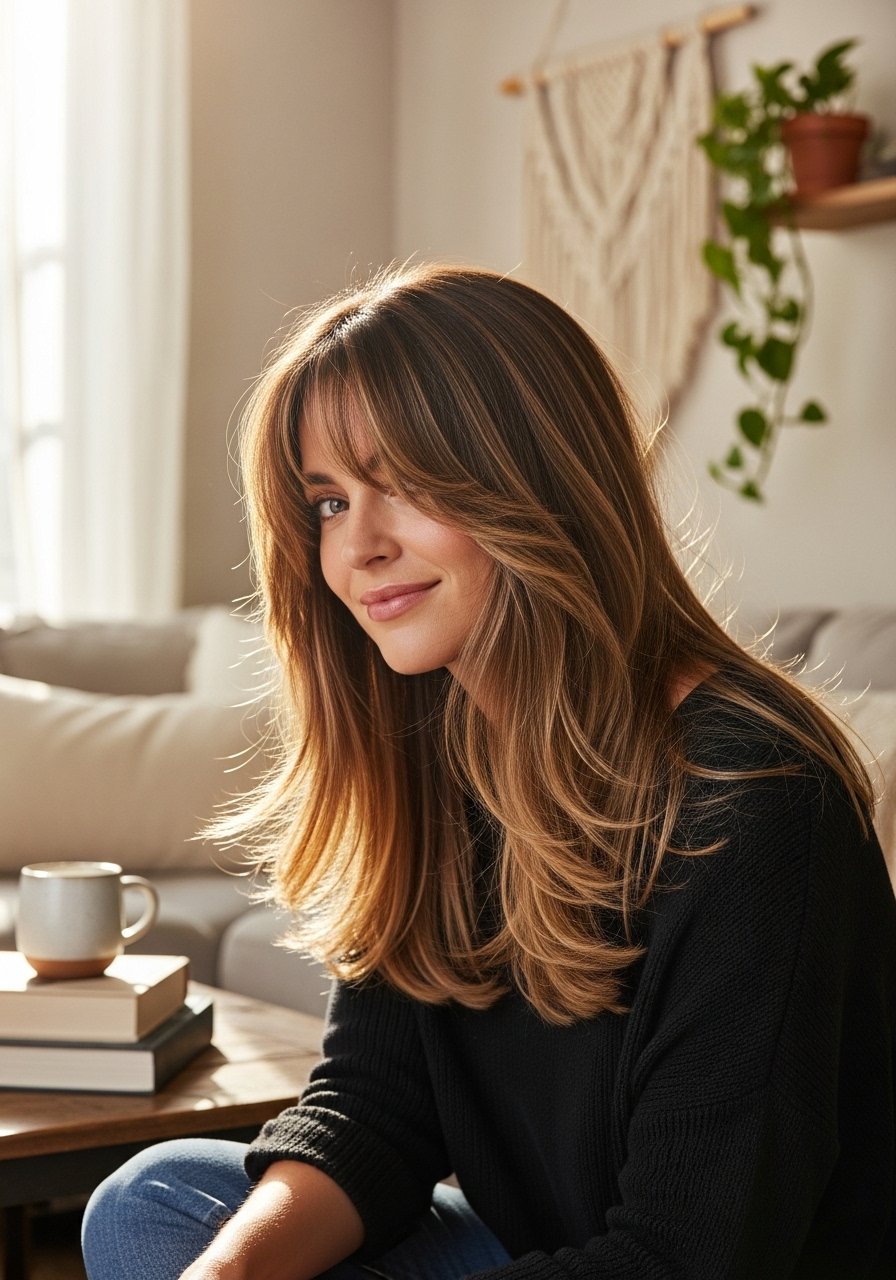
Long layers start at the collarbone and keep weight on the ends while curtain fronts soften the face. Visually it creates a gentle movement that looks lived-in and modern, ideal for people who like to pull hair back but still want shape. This cut is easy for low-heat days because the layers fall into a loose S-shape naturally. I recommend a dime-sized pump of lightweight texturizing spray through damp hair and a quick two-finger twist at the ends to define the curtain pieces. For thicker hair, ask for a 20 percent slide-cut through the mid-lengths so it does not puff out.
Mistake to Avoid: Cutting the curtain too short so it competes with your bangs, which ruins the soft frame this style is meant to create.
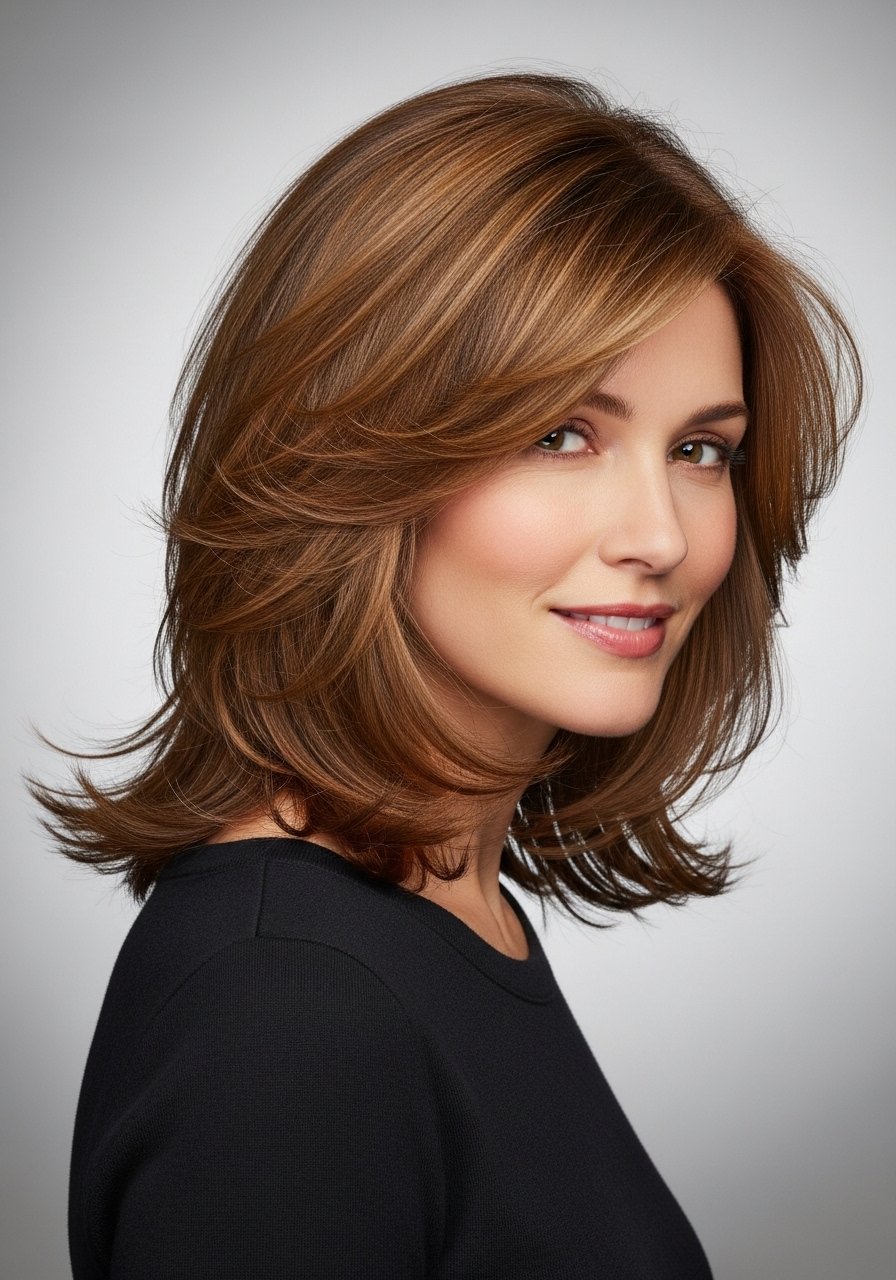
2. Face-Framing Layers With Blunt Ends
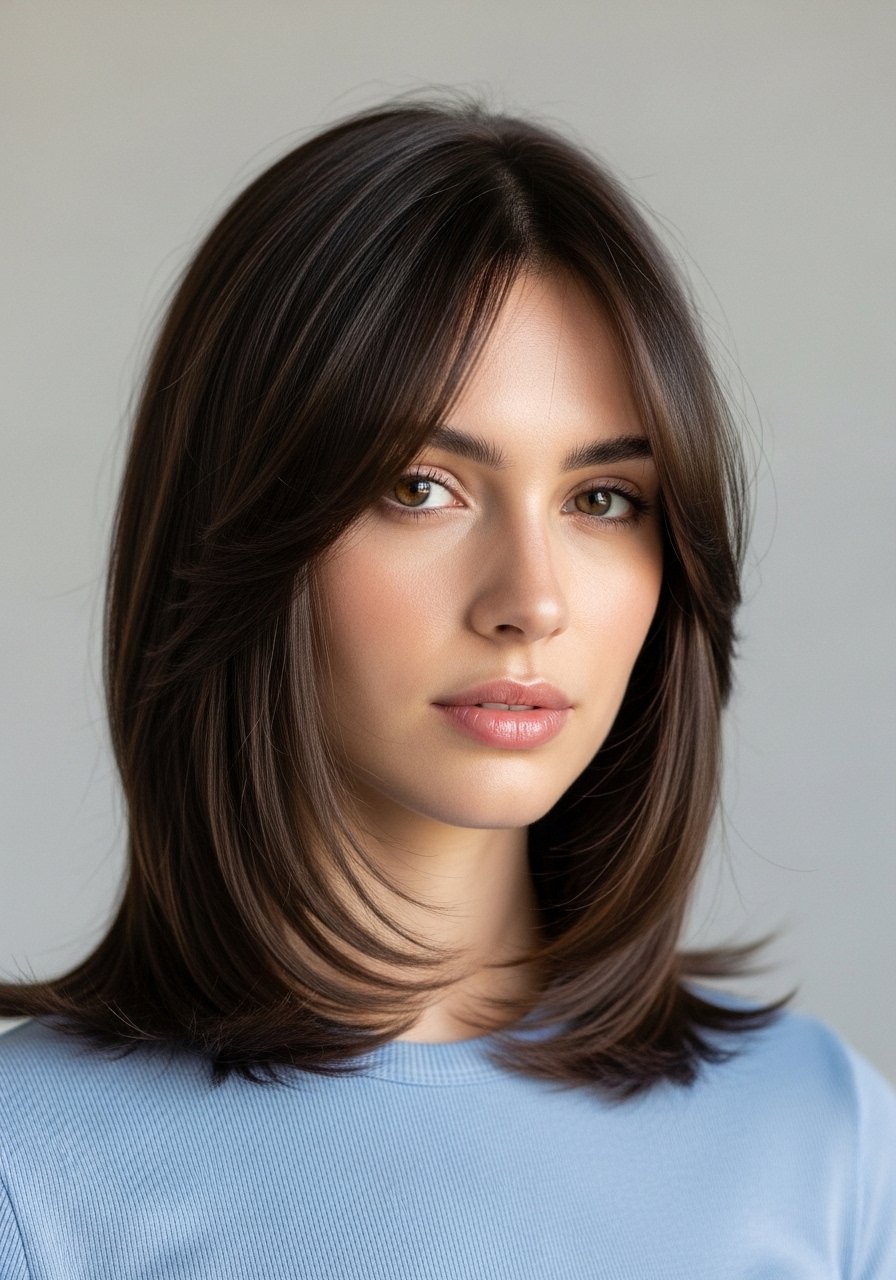
This one pairs soft, tapered layers around the face with blunt ends across the back for a contemporary edge. It makes hair read thicker at the ends while keeping the face framed, which is great if you want a fuller look without added bulk at the crown. Styling time is short, five to seven minutes with a round brush or a paddle brush if you air-dry. Use a small amount of smoothing cream on damp lengths to reduce frizz and protect porosity-prone strands. Ask your cutter to leave the front layers two inches shorter than the chin for a noticeable frame.
Mistake to Avoid: Thinning the ends too aggressively, which removes the blunt weight that defines this look.
3. Shaggy Mid-Length with Choppy Texture
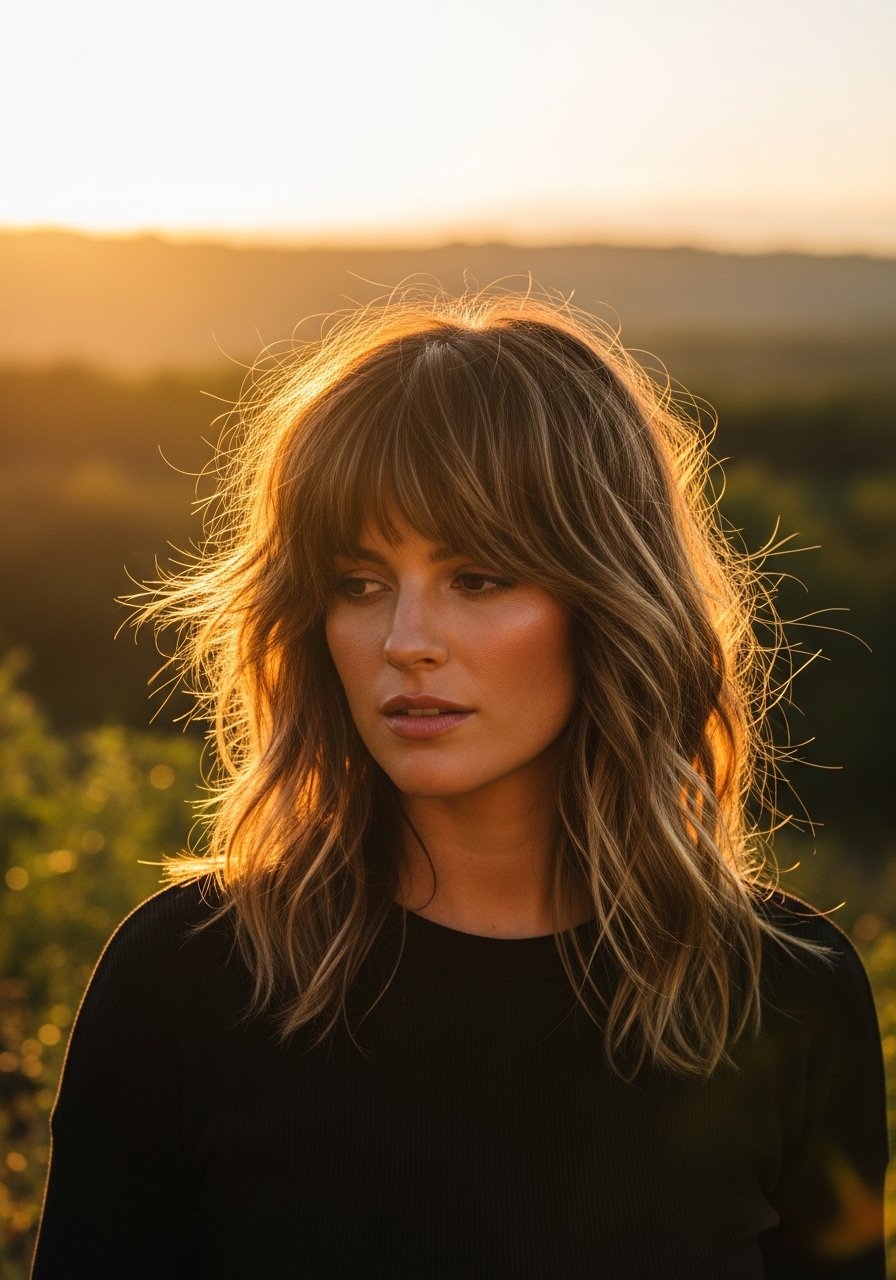
A mid-length shag gives instant texture and is forgiving on second or third-day hair. The secret is staggered layer lengths, with shorter pieces at the crown for lift and choppy ends for separation. It reads relaxed and playful, fitting someone who prefers messy polish over precise finish. For an easy at-home approach, scrunch two pumps of salt spray into damp hair and air-dry or diffuse on low. Hair with low porosity will want a light oil on the ends to prevent frizz. Ask your stylist for a 40 percent texturizing cut through the ends to keep movement without thinning the density.
Mistake to Avoid: Over-texturizing the crown which creates a poofy halo instead of controlled lift.
4. Layered Lob With Face-Grazing Fringe
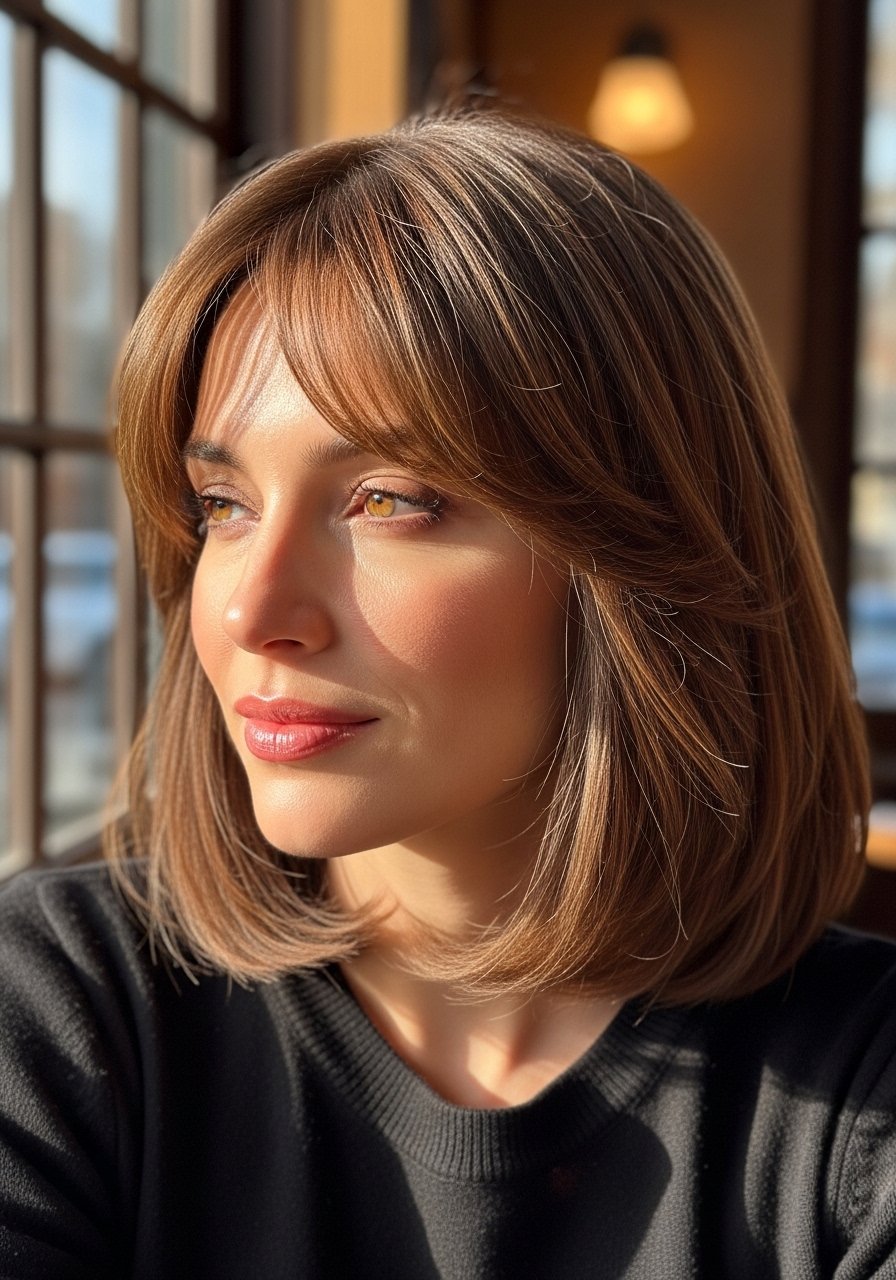
The layered lob is a steady middle ground for anyone moving from short to medium hair. Face-grazing fringe blends into side layers to avoid a heavy curtain. The visual result is a neat silhouette that still moves when you turn your head. It suits most face shapes and is low effort if you use a blowout brush once weekly and dry shampoo between washes. For hold without stiffness, try a flexible hold hairspray sprayed from arm’s length. Request a soft graduation of about one inch from front to back for an A-line that grows out gracefully.
Mistake to Avoid: Cutting the fringe too blunt and short so it requires daily heat styling to sit right.
5. Feathered Layers for Fine Hair
Feathered layers add lift and the illusion of density for fine hair. The technique uses short slicing at a 20-degree angle around the crown so pieces sit up rather than fall flat. It creates a lightweight feeling that is easy to style with minimal product. Start with a volumizing mousse at the roots and a quick blow-dry with a round brush, finishing with a volumizing powder at the part for midday boost. This cut is beginner-friendly and budget-wise it keeps salon trips shorter because it grows out in a controlled way.
Mistake to Avoid: Adding long layers through the ends which removes the lifted silhouette feathering is meant to give.
6. Layered Cut With Face-Framing Babylights
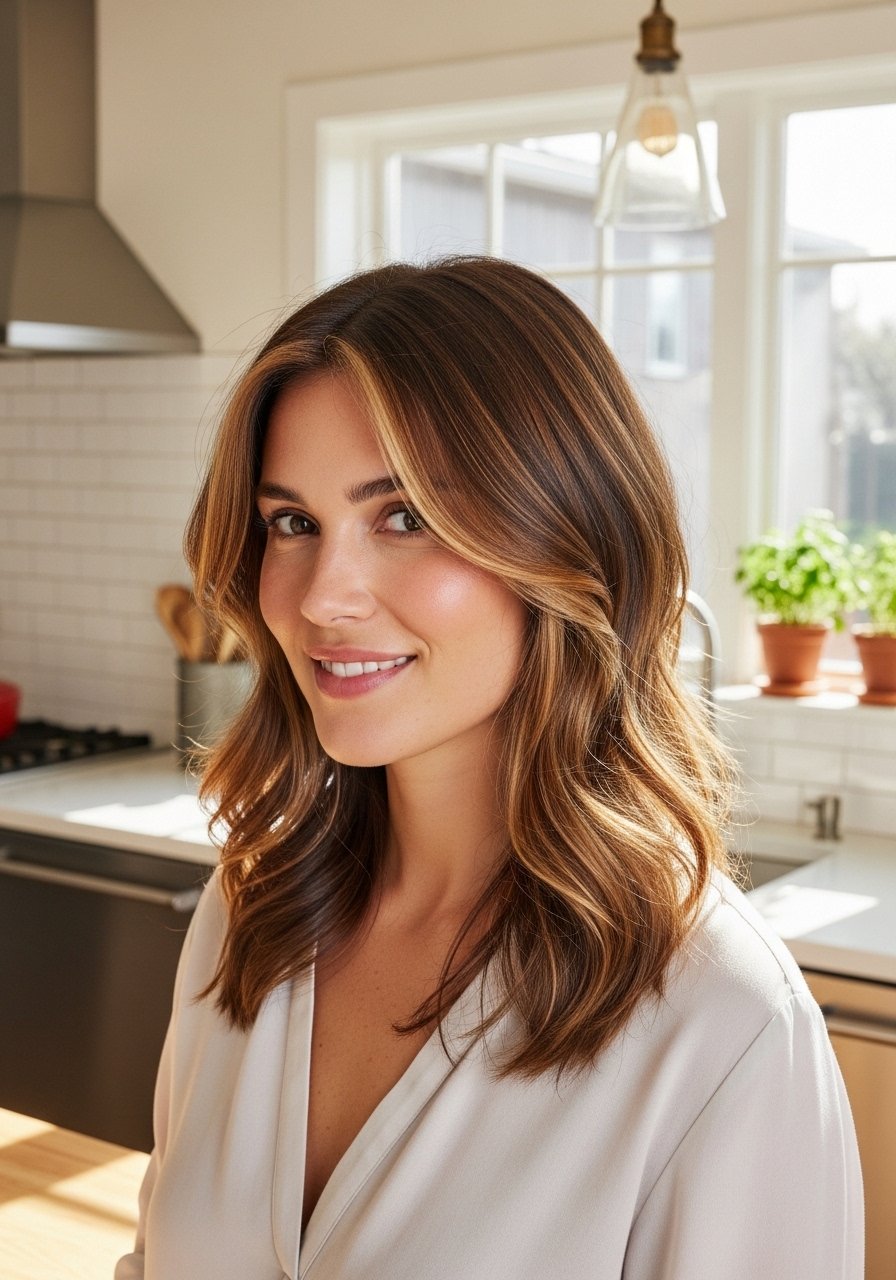
When you want dimension without a full color overhaul, babylights placed around the face and on layer tips add depth. The layers let the lighter bits peek through as you move, creating a sun-kissed effect that looks natural on straight and wavy hair. It reads cleaner than an all-over foil and is low maintenance for color upkeep. Pair with a sulfate-free color-safe shampoo and a single-use treatment like a color-protecting mask once a week. Ask your colorist to keep highlights thin and interspersed so the layers do the blending work.
Mistake to Avoid: Placing chunky highlights only at the ends which makes layers look disconnected from the color.
7. Curly Layered Cut With Graduated Shape
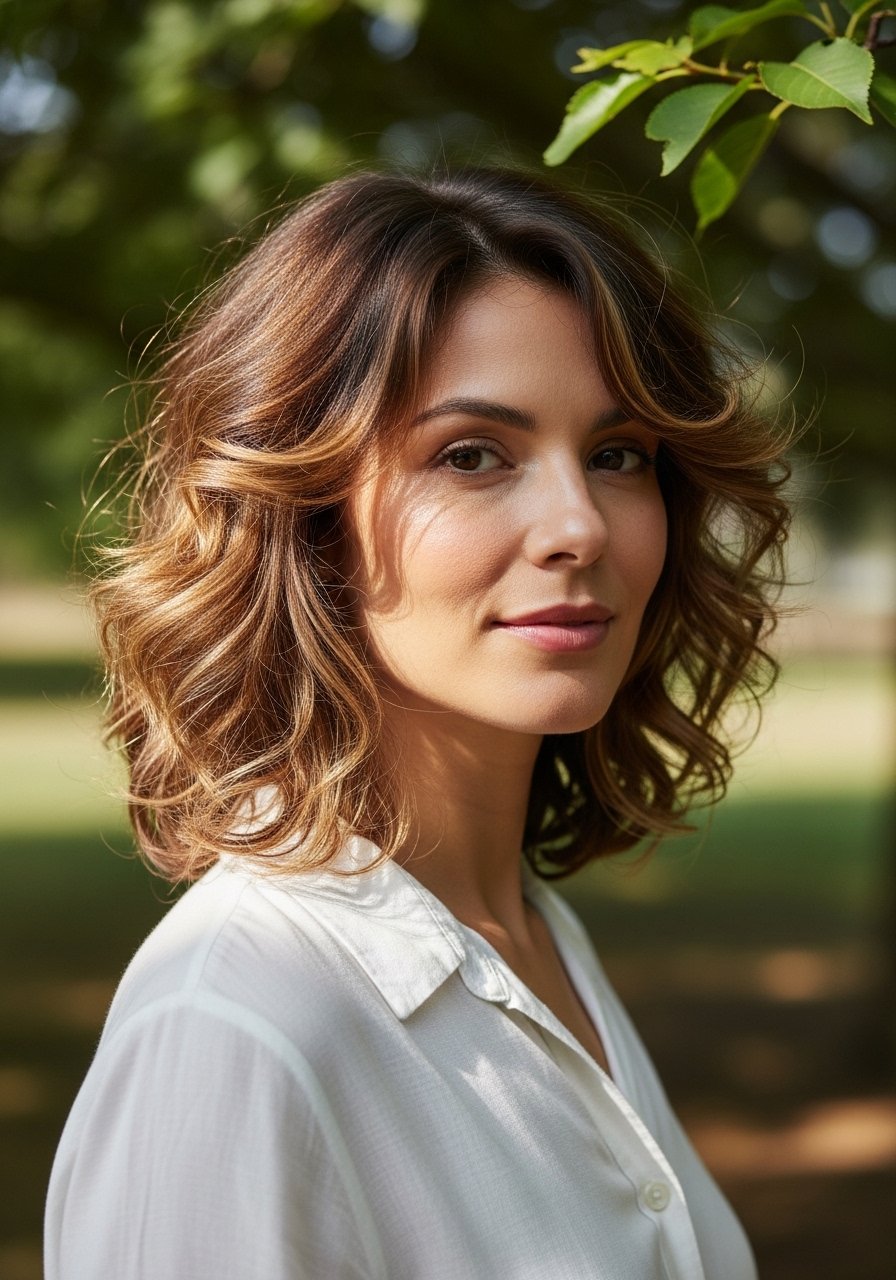
Curly hair thrives on carefully placed layers that remove bulk while preserving the curl pattern. A graduated shape that is slightly shorter in back prevents the triangle effect and gives a more rounded silhouette. Cut curly hair dry or dry-refine two to three curls after the initial wet cut so you see the true fall. Use a leave-in cream and a light gel like curl-defining cream to set the shape without crunch. Note porosity: high-porosity curls need more slip and hydration, so add a small oil to the ends.
Mistake to Avoid: Cutting curls wet and blunt across the length which makes the finished shape unpredictably short when it dries.
If any of these seem worth trying, here are the tools and products I reach for most when cutting and styling medium layered cuts.
Essential Tools and Styling Picks For Medium Layers
Cutting Tools:
- A pair of professional hair-cutting shears (~$40-95). Good, sharp shears change everything.
Styling Sprays & Creams:
- Lightweight texturizing spray (~$12-22). Adds separation without stiffness.
- Smoothing hair cream (~$10-20). Tames frizz on damp hair.
Tools For Drying & Volume:
- Round ceramic blow-dry brush (~$15-30). Speeds up styling and shapes layers.
- Volumizing root powder (~$8-18). Instant lift at the part.
Color & Care:
- Color-protecting hair mask (~$12-25). Keeps babylights from fading.
8. Blended Layers With Low Maintenance Bend
Blended layers mean less dramatic chopping and more subtle internal layers that let hair bend into a controlled curve. The result feels soft and wearable for people who prefer a natural finish with minimal daily styling. It is a good match for medium porosity hair because products absorb predictably and the layers do not gape. For quick texture use a small amount of lightweight cream wax through the ends. Ask for a comb-through layering technique so the cut grows out uniformly and does not form a mullet-like step as it lengthens.
Mistake to Avoid: Creating obvious stepped layers that reveal themselves as you grow the style out, which makes maintenance harder.
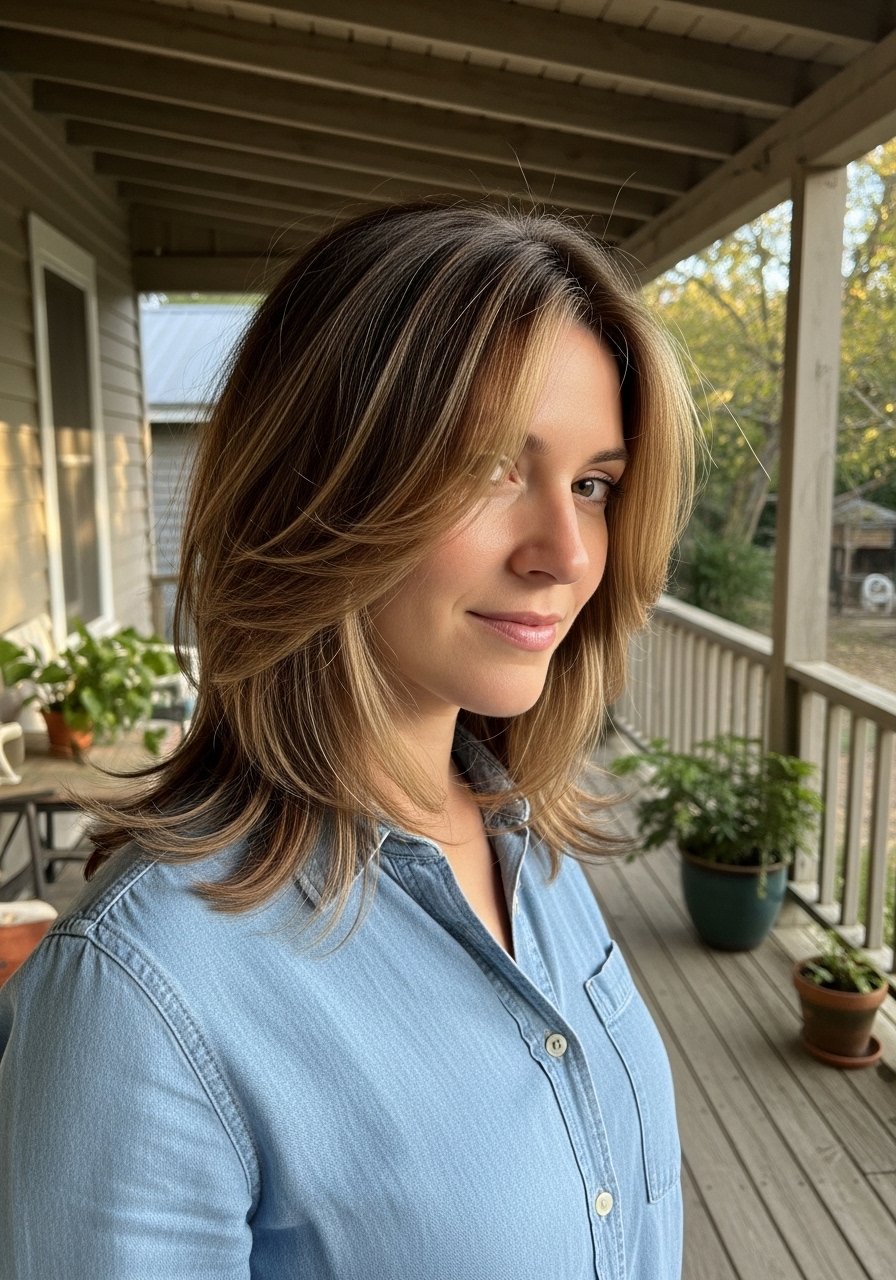
9. Low-Heat Layered Cut With Bang Integration
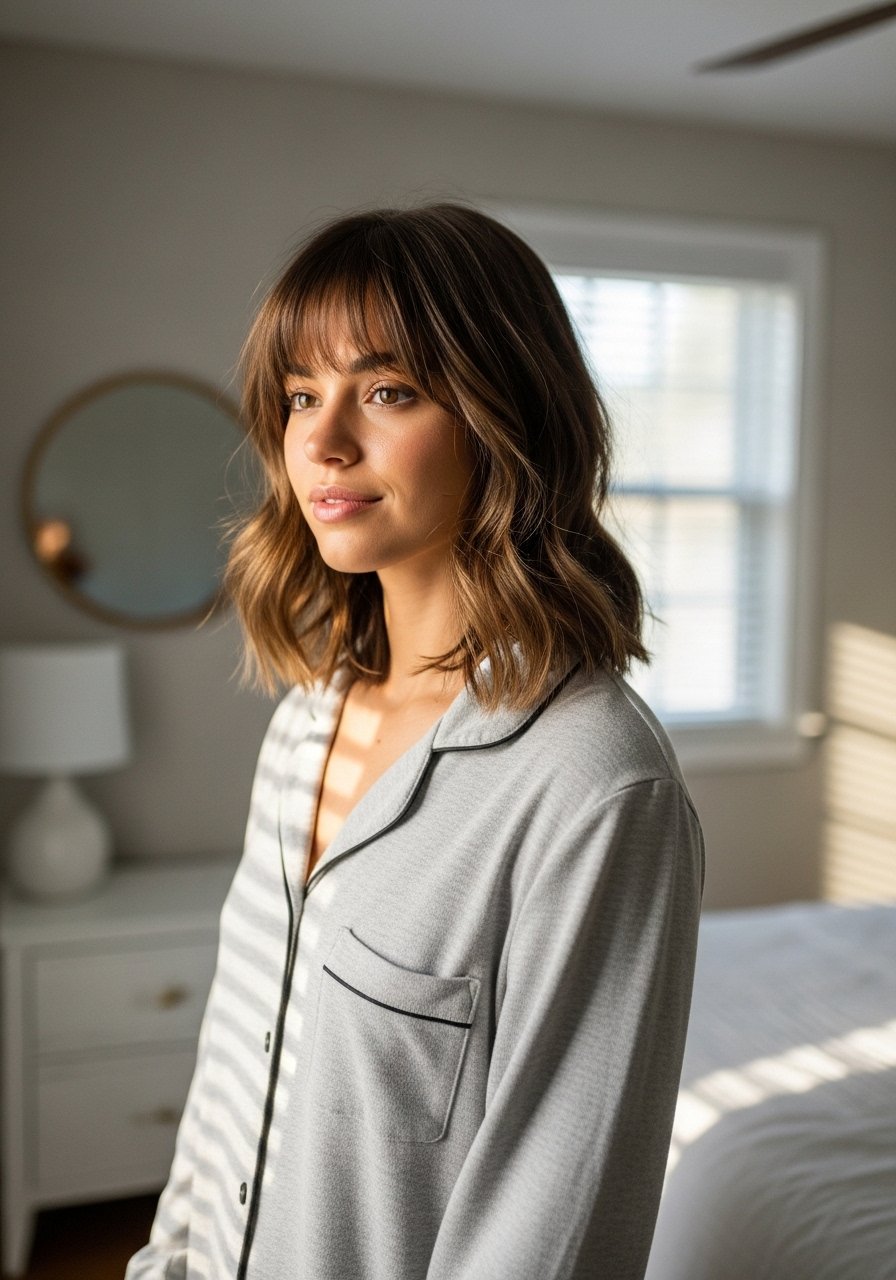
This option is for anyone who wants a layered look that styles without daily heat. The cut includes longer layers through the mid-lengths and short, integrated bangs that can be styled by scrunching or a quick finger-dry. It produces a relaxed, lived-in movement that suits busy mornings. Try plopping or overnight banding to shape the waves, and finish with a light leave-in detangler to hold pieces in place. Tell your stylist you prefer heat-free styling so they leave a bit more weight to encourage natural bending.
Mistake to Avoid: Thinning the bangs too much for a heat-styled look which makes them limp when you skip the blow-dry.
Layering Habits That Actually Help
Trim frequency keeps shape. Getting a light trim every ten to twelve weeks stops layers from collapsing and keeps the movement intentional. I book small maintenance visits rather than waiting for a major chop.
Grab a microfiber hair towel. It cuts drying time and reduces frizz without roughing cuticle layers.
Curly and coily hair responds better to dry shaping before a final tidy. Do one quick dry-check of three curls to see where the cut needs subtle shortening.
Use a heat protectant spray even on low settings. Heat damage is slow and it ruins layered bounce over months.
If you sleep on it, flip your part each week to avoid permanent flattening at the crown and preserve the layered silhouette.
