
I kept filling fine-line geometrics the same way, packing every empty triangle with solid black until the whole piece looked heavy and flat. The change came the day I swapped one dense fill for a handful of micro-dots and saw the shape breathe again. That small shift taught me more about scale and negative space than any flash sheet.
These 15 filler ideas are aimed at people getting or designing fine-line geometric tattoos who want subtle texture without turning the piece into a block of ink. Expect techniques that work with coverable placements and visible placements, time ranges from quick single-session fills to techniques that need extra passwork, and budget picks that run from a simple aftercare balm to a small stencil kit. I tested many of these approaches across five shops I have visited and across three sessions on my own arm.
1. Micro-Dot Gradient Fill
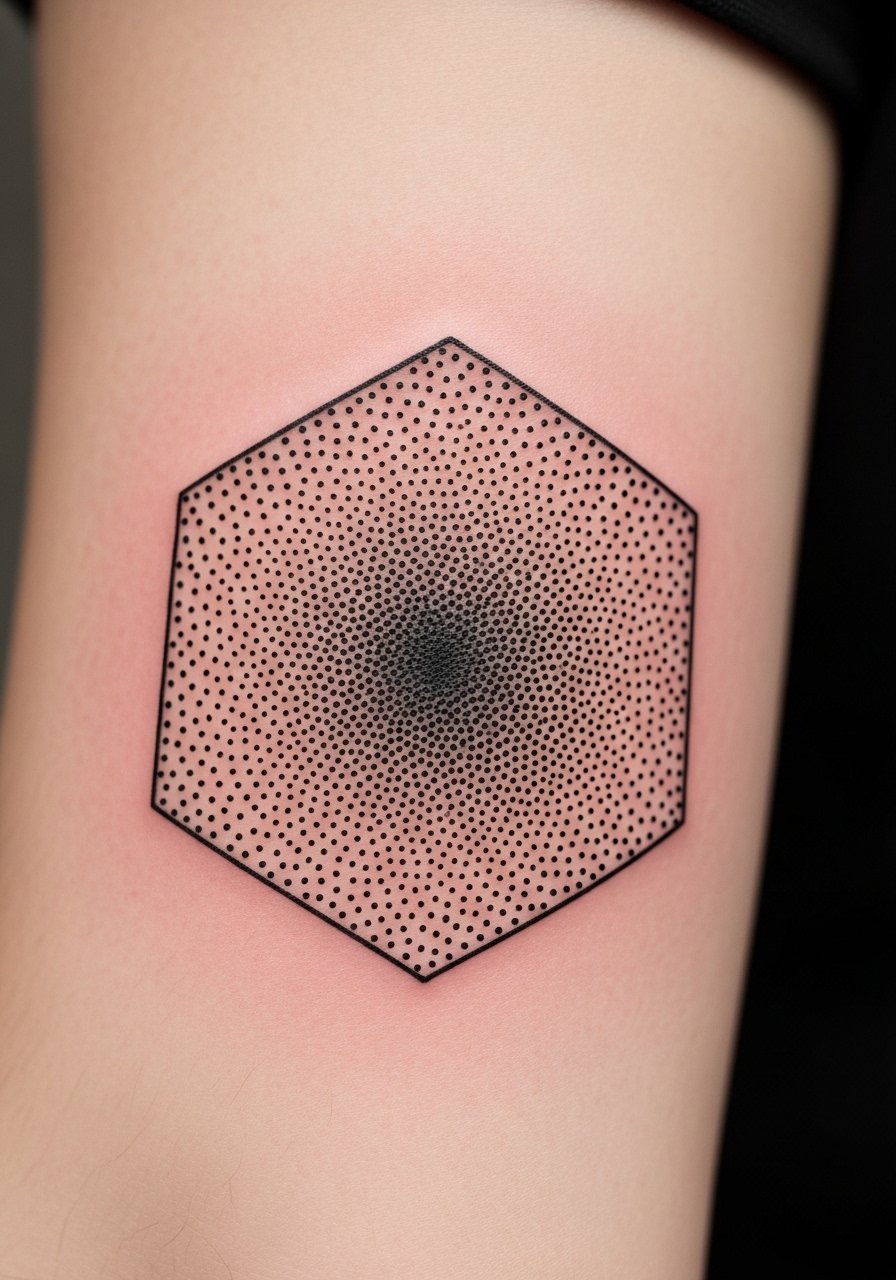
Micro-dot gradients read delicate from arm’s length and give depth without solid black. The idea is to place dots denser near the edge you want to read as shadow then feather out toward the center, which creates an airy ombré effect. This suits wrists, forearms, and clavicle pieces and works well for low-sweat zones during healing. For a budget aftercare option try a fragrance-free healing balm to keep scabs soft while the micro-dot texture settles.
Style/Technique: Micro-dot stippling
Pain Level: 3/10
Session Time: 0.5 to 1.5 hours
Best For: Forearm, wrist, visible but coverable areas
Mistake to Avoid: Packing dots too densely at the start, which turns the gradient into a flat patch.
2. Parallel-Line Hatch Fill
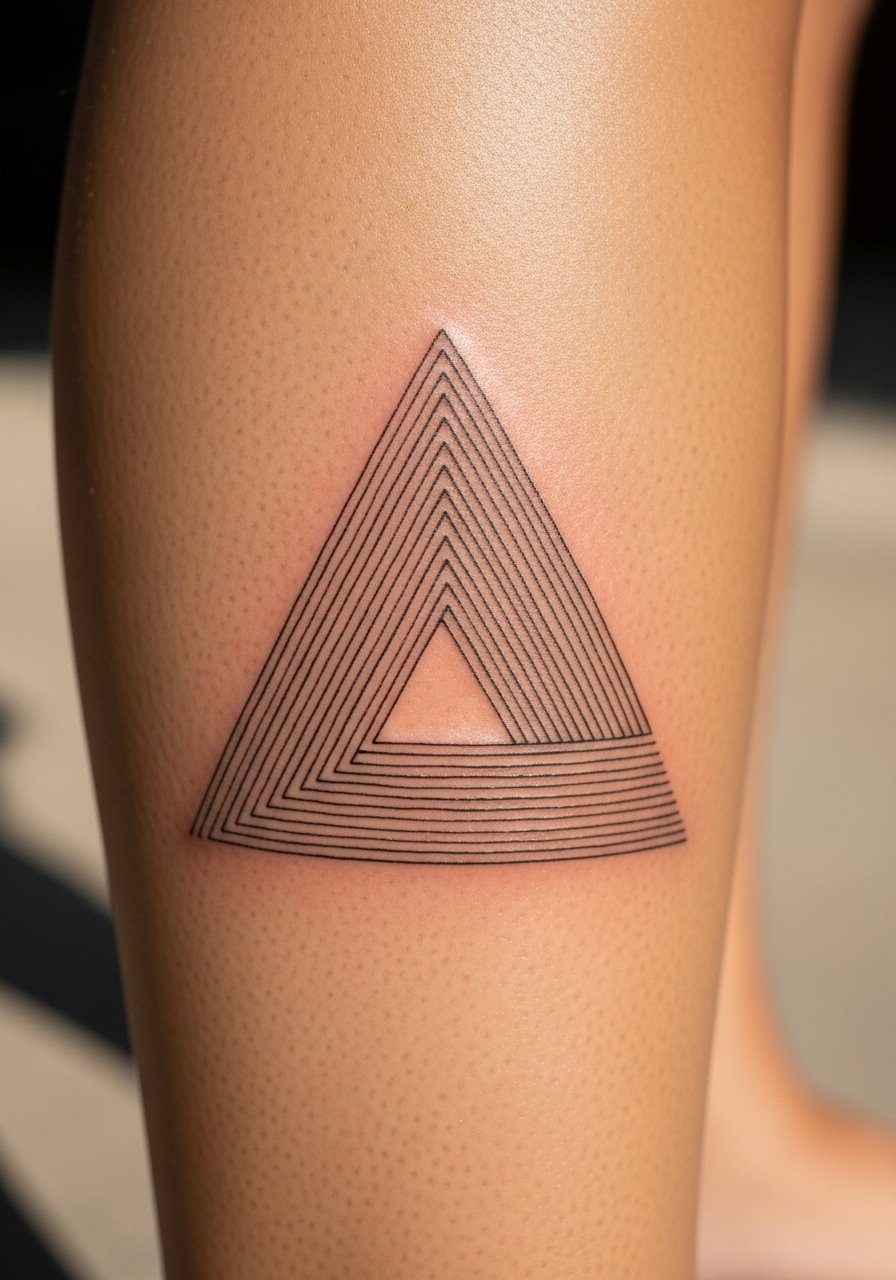
Parallel-line hatching gives a woodcut feel, very architectural and crisp. Use even spacing and consistent line length to keep the fill feeling intentional. It is a high-skill option that looks best in longer shapes like sleeves or shins because the eye reads the rhythm better across a stretch. If you want to mock it up at home, a small precision ruler set helps artists plot consistent spacing before inking.
Style/Technique: Linear hatching
Pain Level: 4/10
Session Time: 0.5 to 2 hours
Best For: Sleeves, shins, long panels
Mistake to Avoid: Varying line weight accidentally, which makes the hatch look sloppy rather than deliberate.
3. Tiny Triangle Tessellation
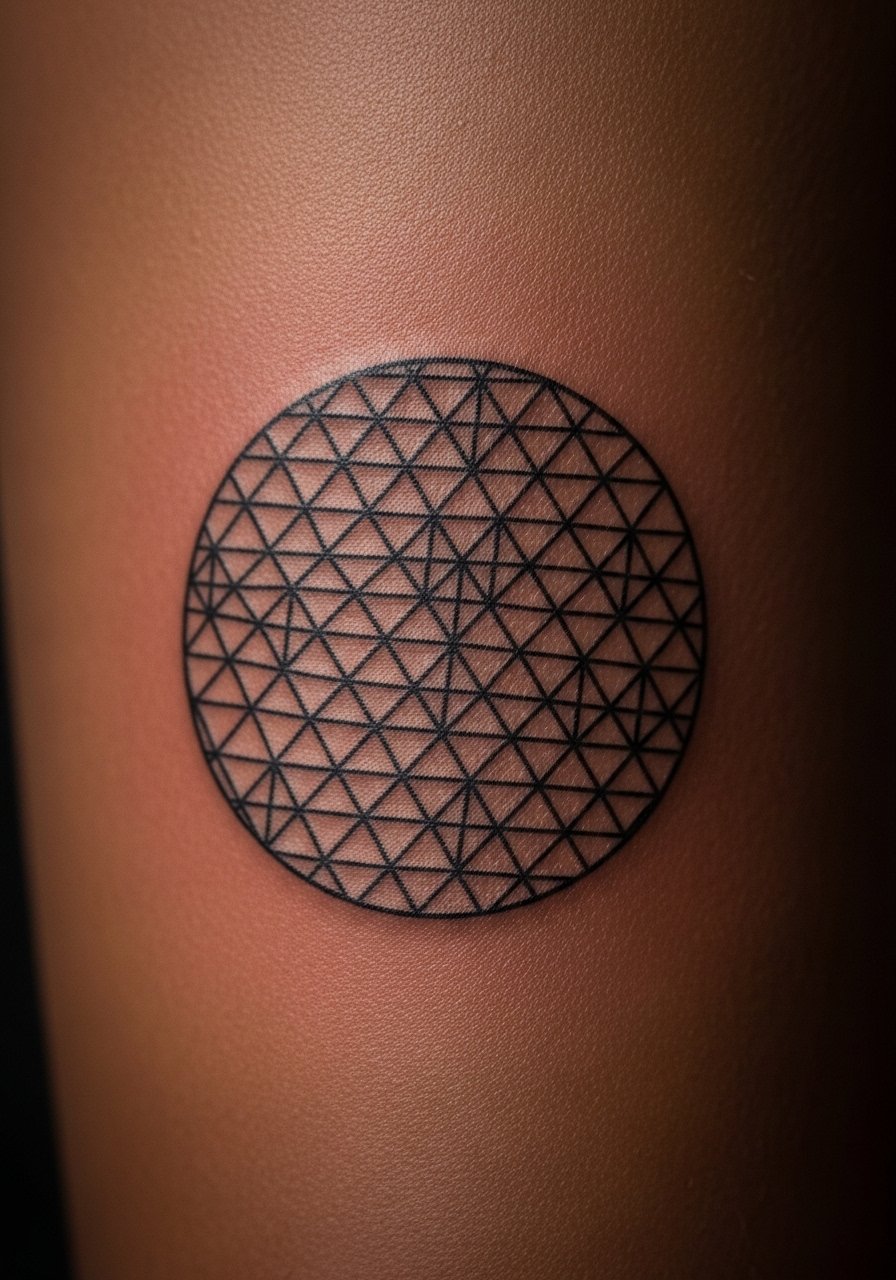
A tessellated field of micro-triangles reads as texture up close and subtle tone from a distance. Because triangles stack, they create micro-patterns that age predictably. This fill fits people who like orderly geometry and want a repeatable motif across multiple placements. For stencil prep, a transfer gel keeps small repeat shapes from shifting during placement.
Style/Technique: Repeating tessellation
Pain Level: 3/10
Session Time: 1 to 2 hours
Best For: Upper arm, chest panels, symmetrical placements
Mistake to Avoid: Letting the stencil stretch and distort, which ruins the repeat rhythm.
4. Stipple Halo Fill
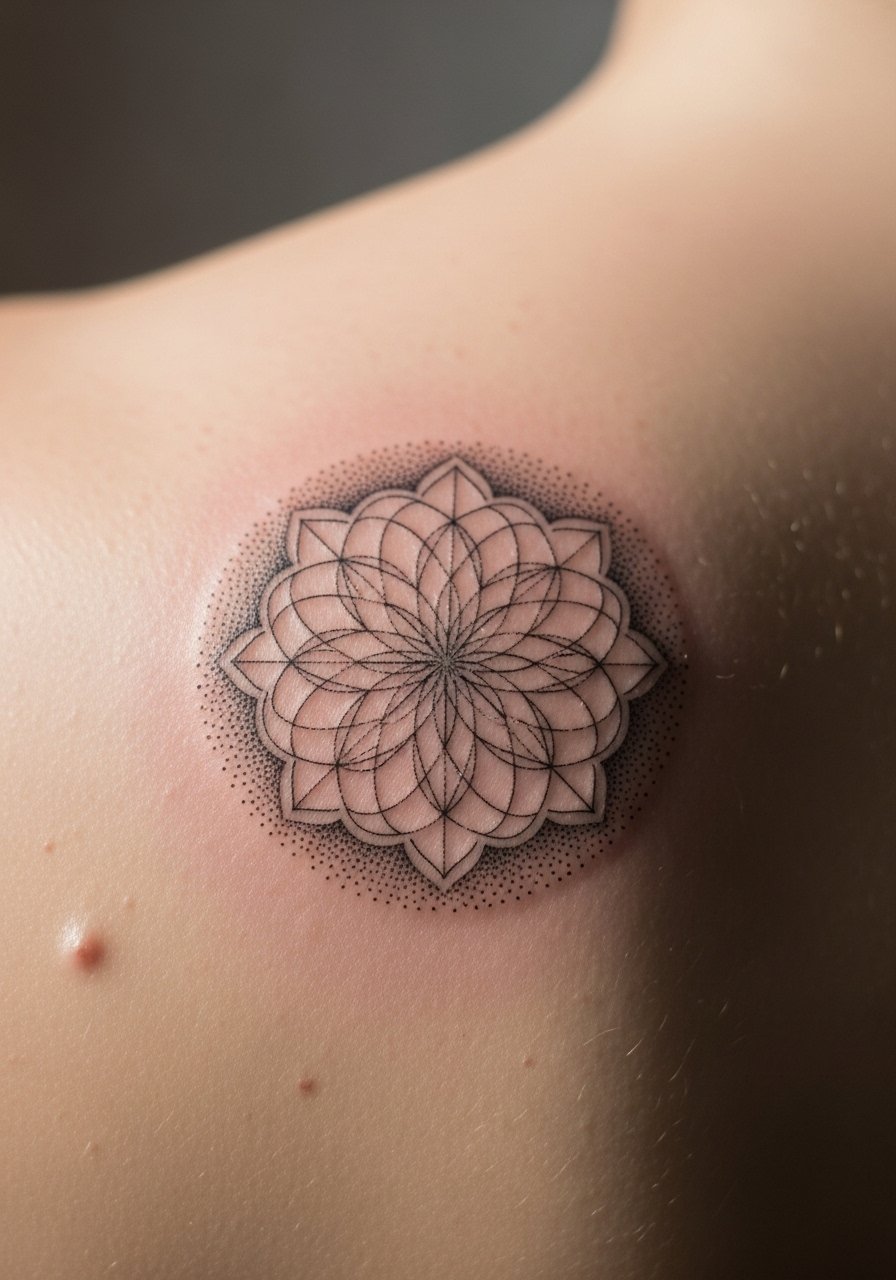
A stipple halo puts focus on a central motif by surrounding it with a soft, diffused texture. Start dense at the motif’s edge and feather outward over a wider radius than you think you need. This creates a soft vignette that makes the center pop without heavy ink. Pair this with a sensitive-skin antibacterial soap for gentle washing during the initial healing.
Style/Technique: Stipple vignette
Pain Level: 2/10
Session Time: 0.5 to 1.25 hours
Best For: Back, shoulder, centerpiece tattoos
Mistake to Avoid: Ending the halo abruptly, which reads like a repair rather than a design choice.
5. Micro-Line Maze Fill
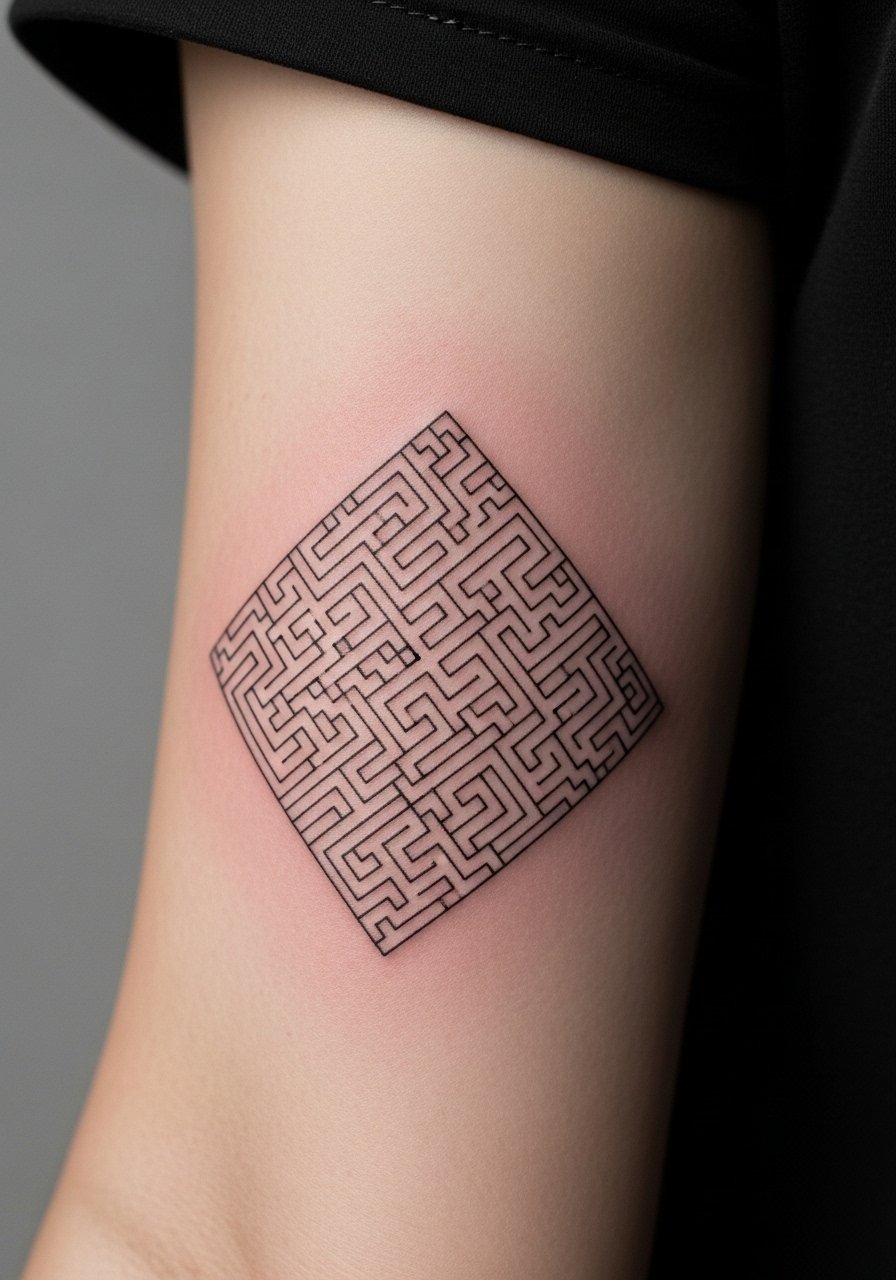
Micro-line maze fills use one continuous path or a compact labyrinth of fine lines to create movement inside a shape. It looks busy up close and calm from afar, a good trade-off for people who like detail without heavy saturation. This fill takes patience from the artist, so expect slightly longer session time and plan for a skilled tech. For small adjustments, a single-use stencil pack keeps fine paths crisp.
Style/Technique: Continuous micro-linework
Pain Level: 4/10
Session Time: 1 to 2.5 hours
Best For: Inner arm, ribs, placements that curve
Mistake to Avoid: Letting lines cross unpredictably, which breaks the maze logic.
6. Negative-Space Constellation
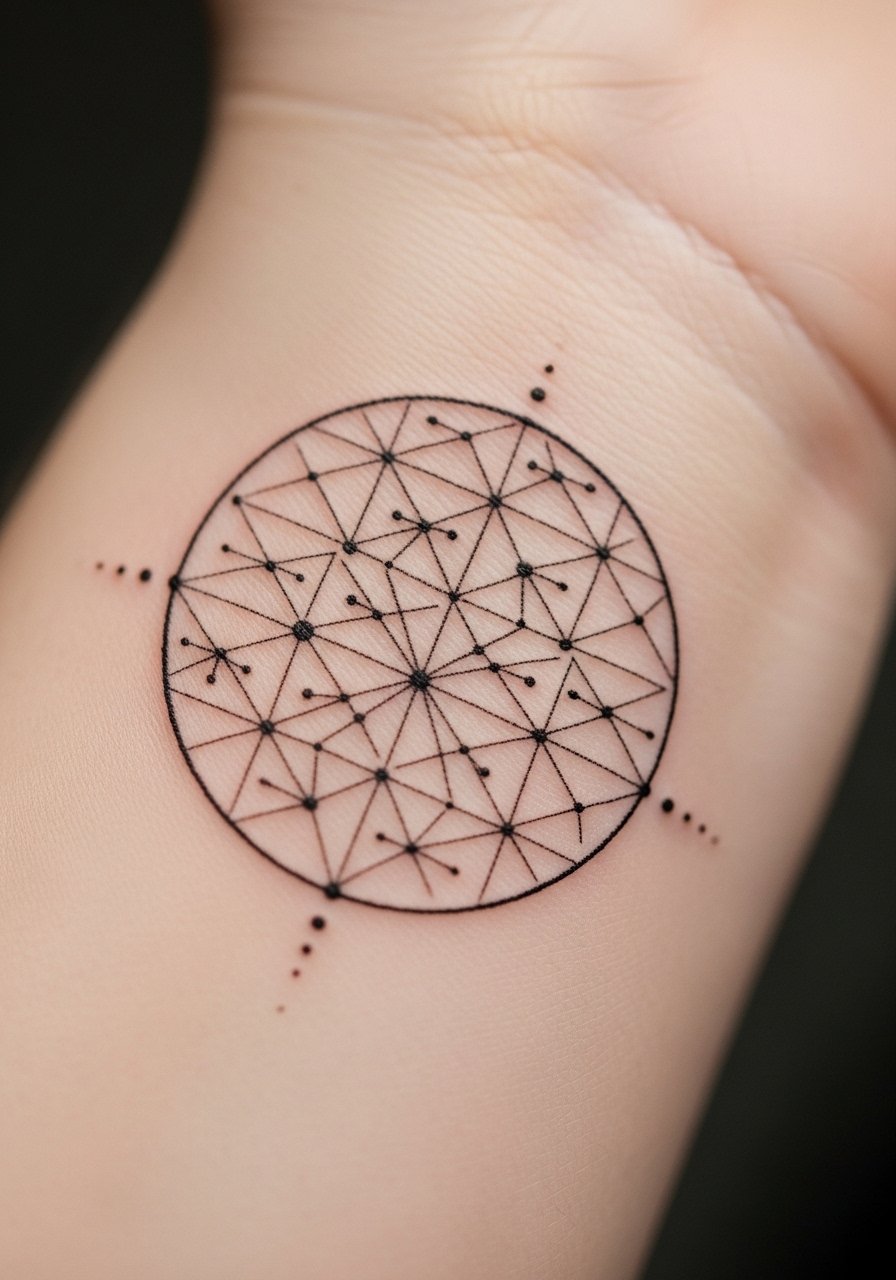
Using negative space as the fill creates a night-sky effect without heavy ink. Instead of dotting everything, leave tiny uninked points or thin crescent shapes that catch the eye. It is especially good for visible, work-friendly placements because the overall darkness is low. Use a hypoallergenic adhesive bandage while the tiny areas scab to avoid picking.
Style/Technique: Negative space detailing
Pain Level: 2/10
Session Time: 0.25 to 1 hour
Best For: Wrist, fingers, neck-adjacent spots
Mistake to Avoid: Over-inking the negative spots, which removes the subtlety.
7. Micro-Triangle Gradient Band
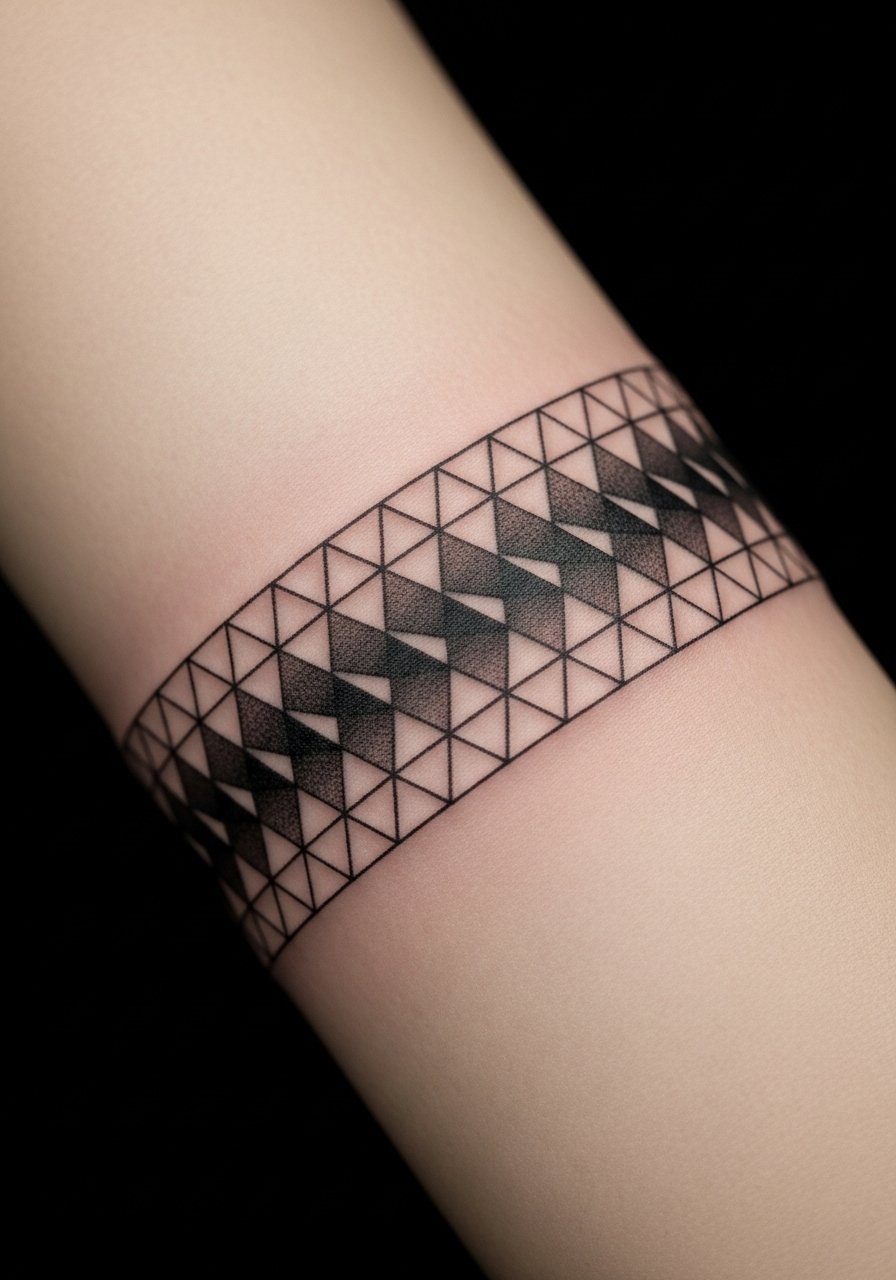
A band of graduating micro-triangles makes a strong linear statement while staying visually light. Triangles pointing toward the darker edge reinforce motion. This works well as an arm band or ankle band. Expect some touch-up as tiny triangles can blur slightly over years. Keep a small fragrance-free healing balm on hand for the first two weeks.
Style/Technique: Graded micro-triangle band
Pain Level: 3/10
Session Time: 0.75 to 1.5 hours
Best For: Arm bands, ankle bands, circular placements
Mistake to Avoid: Making the gradient too abrupt so it reads like two tones instead of a smooth shift.
If you want to shop before committing, here are the practical items I keep on hand when working with fine-line fills.
Fine-Line Filler Essentials
Stencil & Prep:
- Stencil transfer gel (~$8-15). Keeps tiny repeat shapes crisp.
- Single-use stencil pack (~$10-20). Saves time on intricate repeats.
Aftercare:
- Fragrance-free healing balm (~$8-18). Softens scabs and keeps texture from packing.
- Sensitive-skin antibacterial soap (~$6-12). Gentle initial cleansing.
Tools & Protection:
- Hypoallergenic adhesive bandage (~$5-12). Useful for tiny areas.
- Precision ruler set (~$7-18). For plotting parallel fills.
- Disposable gloves (~$10-20). Clean handling during touch-ups.
- Medical-grade saline spray (~$6-14). Keeps larger stenciled areas hydrated.
- Small stencil brush (~$5-10). For detail placement cleanup.
8. Cross-Hatch Mini-Grid
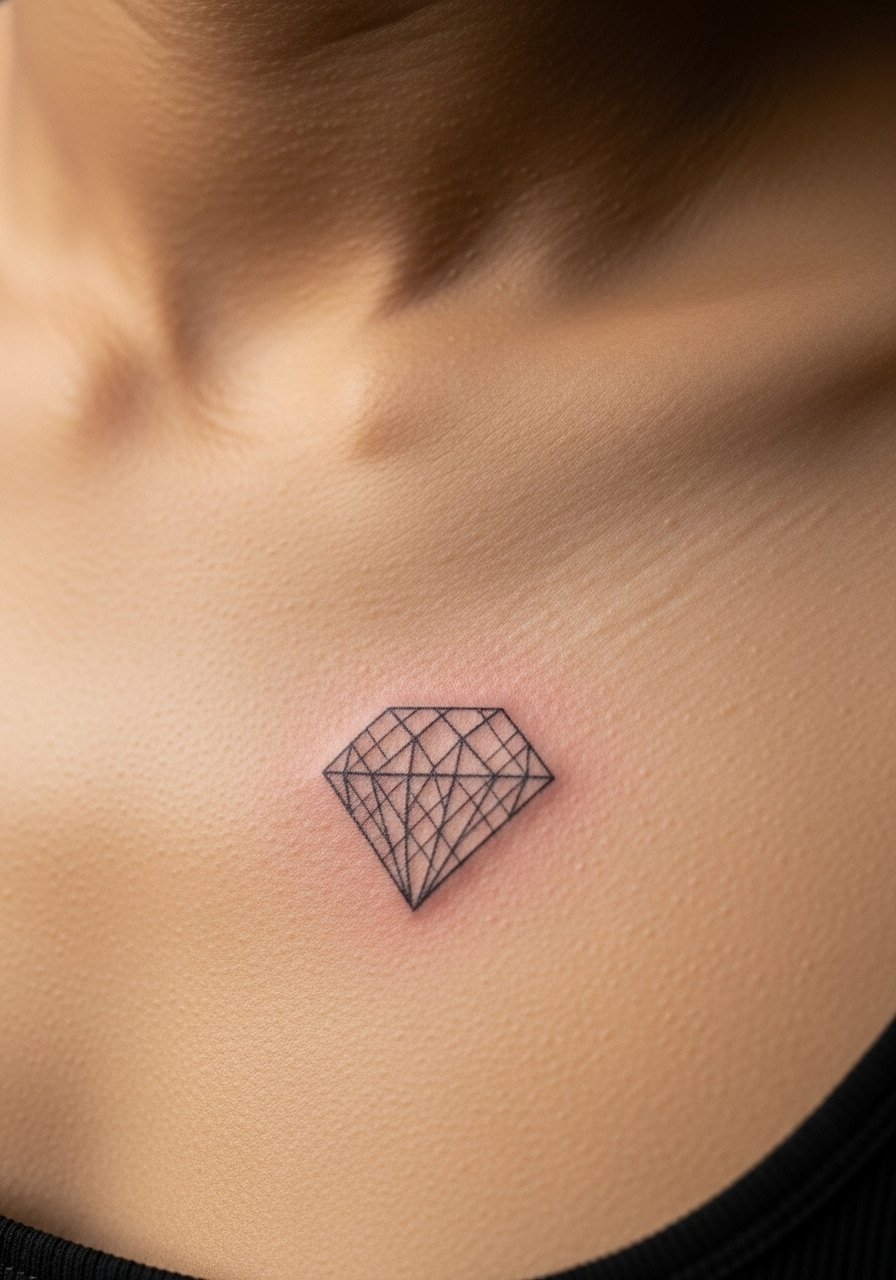
Cross-hatching creates tonal shifts with intersecting fine lines. The mini-grid method uses tighter intersections near shadowed edges and wider gaps elsewhere. It reads old-print and pairs well with single-line outlines. This is intermediate skill and benefits from a well-laid stencil. A precision ruler set helps with plotting before the first pass.
Style/Technique: Cross-hatching
Pain Level: 4/10
Session Time: 1 to 2 hours
Best For: Chest, back panels, larger diamonds
Mistake to Avoid: Crossing at inconsistent angles, which muddles the tonal effect.
9. Honeycomb Micro-Cells
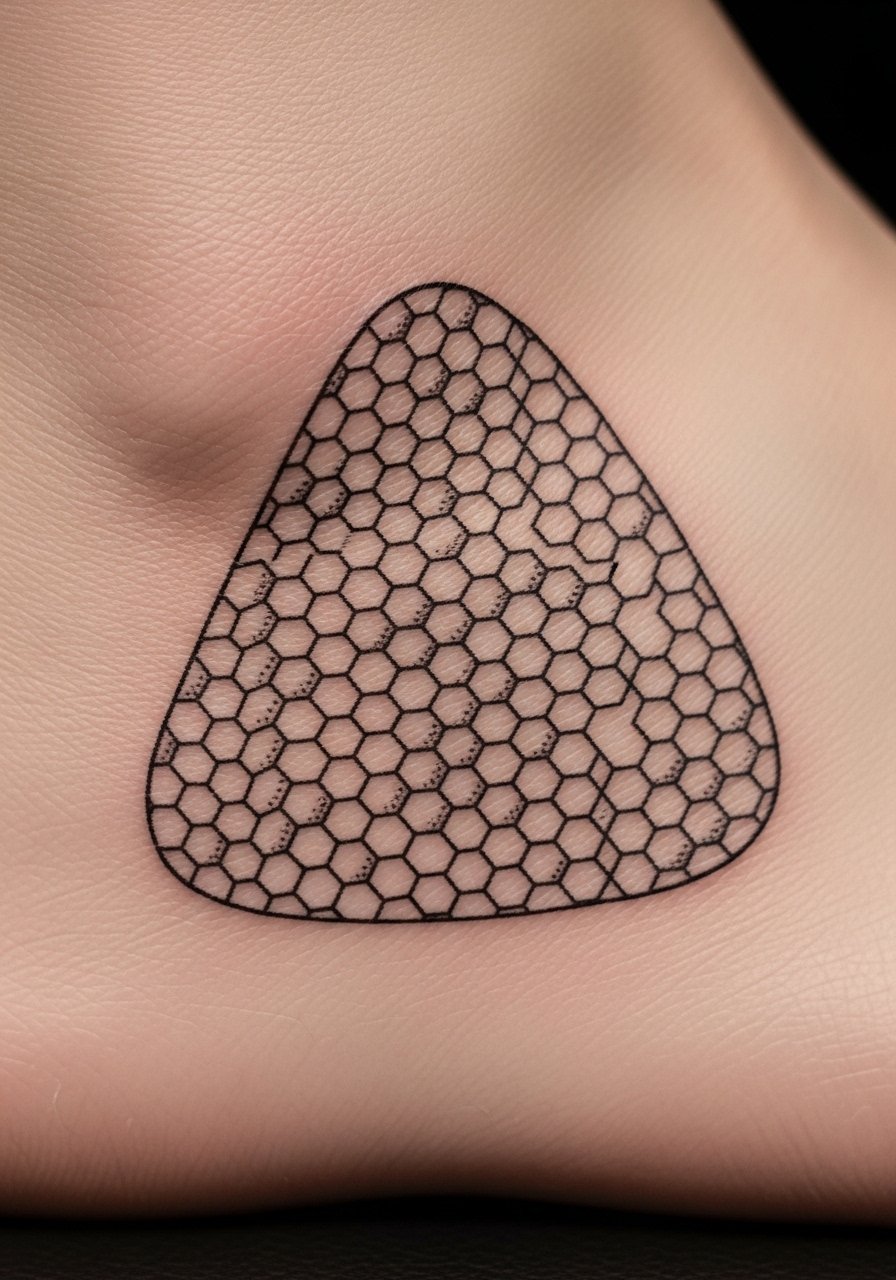
Honeycomb cells create a biomorphic texture that is geometric but organic. Slight variation in cell size gives a hand-drawn look that stays charming as the tattoo ages. Best on flatter areas that do not stretch a lot during movement. Keep an eye on aftercare with a medical-grade saline spray to avoid scab cracking in small cells.
Style/Technique: Repeating hexagonal cells
Pain Level: 3/10
Session Time: 0.5 to 1.25 hours
Best For: Ankles, forearms, panels with soft curves
Mistake to Avoid: Using perfectly identical cells; tiny variation is what keeps the pattern from looking mechanical.
10. Fine-Grid Lattice Fill
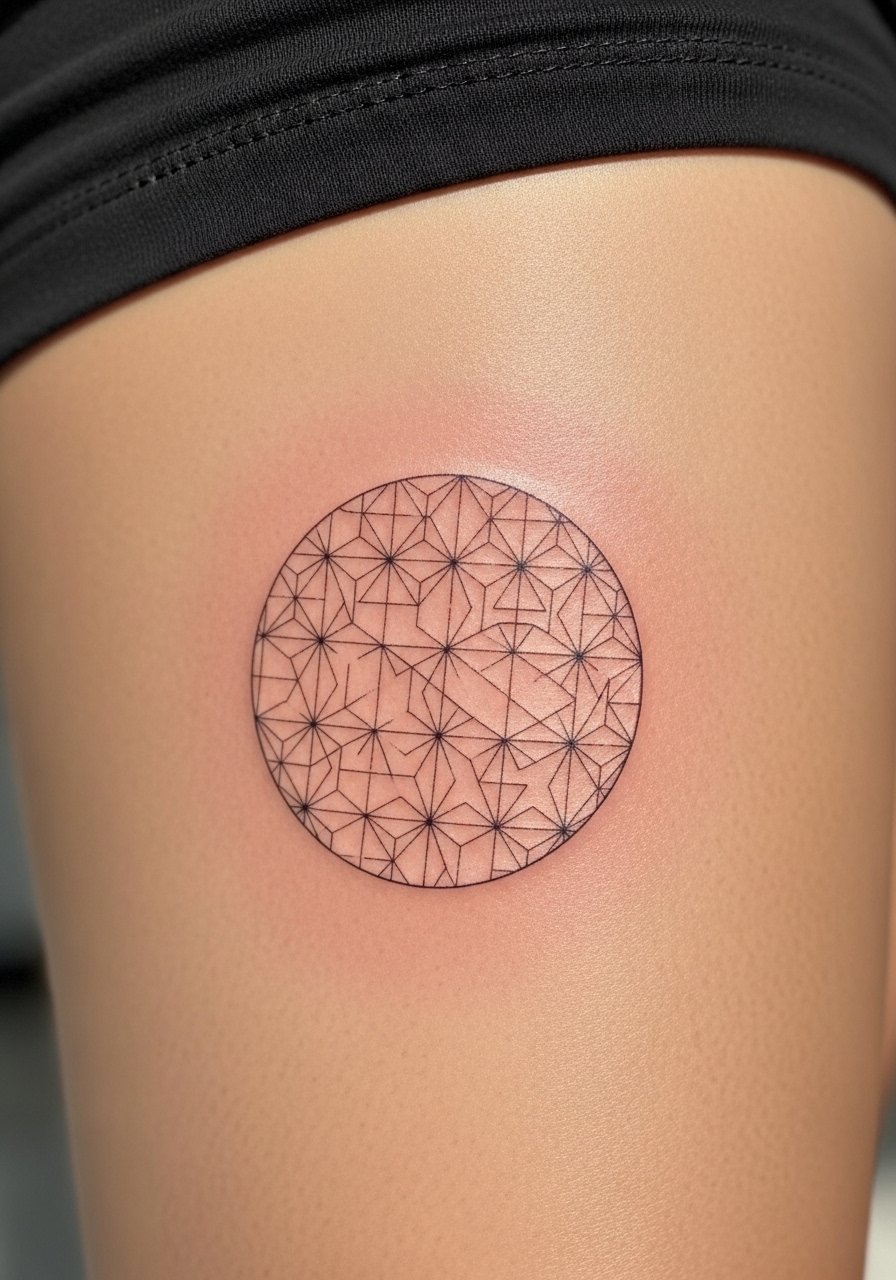
A uniform lattice gives structure and reads as mid-tone from a distance. It is clean and modern, and works for people who want a subtle, architectural texture. Because it is regular, it scales well across multiple small placements for a cohesive sleeve. Apply with a steady stencil and consider a small stencil brush to remove transfer residue.
Style/Technique: Even lattice pattern
Pain Level: 3/10
Session Time: 0.75 to 1.5 hours
Best For: Thighs, panels, repeat sleeve elements
Mistake to Avoid: Letting the stencil bleed during transfer, which ruins the crisp grid.
11. Micro-Scale Mandala Fill
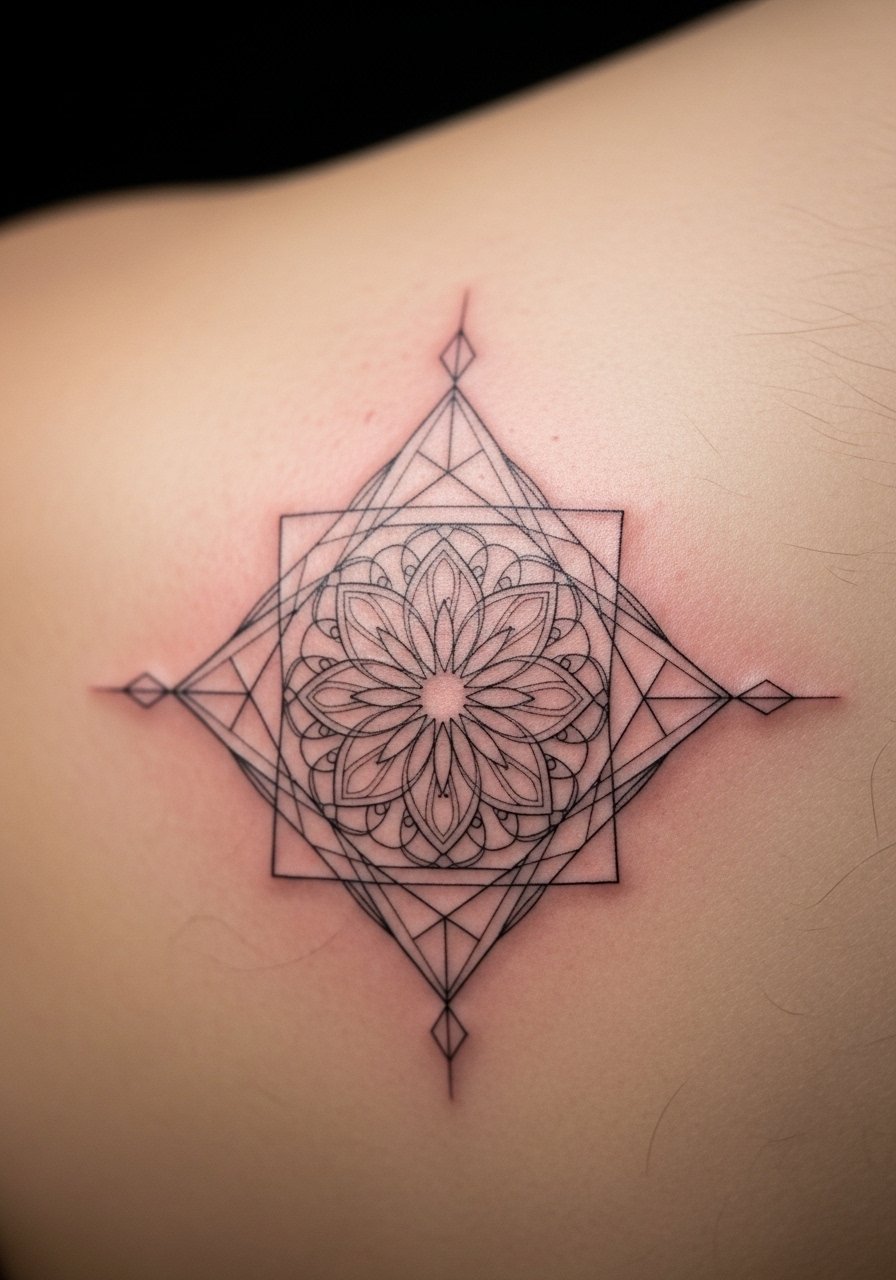
Mini mandala fills combine radial repetition with tiny details for a filigree center. They read delicate and are a great way to add ornament without weight. These take patience but are forgiving in small sizes because the complexity distracts from tiny irregularities. Use a single-use stencil pack to map fine repeats cleanly.
Style/Technique: Mini mandala tessellation
Pain Level: 4/10
Session Time: 1 to 2.5 hours
Best For: Shoulder blade, centerpieces, ornamental panels
Mistake to Avoid: Rushing the center detail, which makes the whole mandala collapse visually.
12. Thin-Line Checkerboard
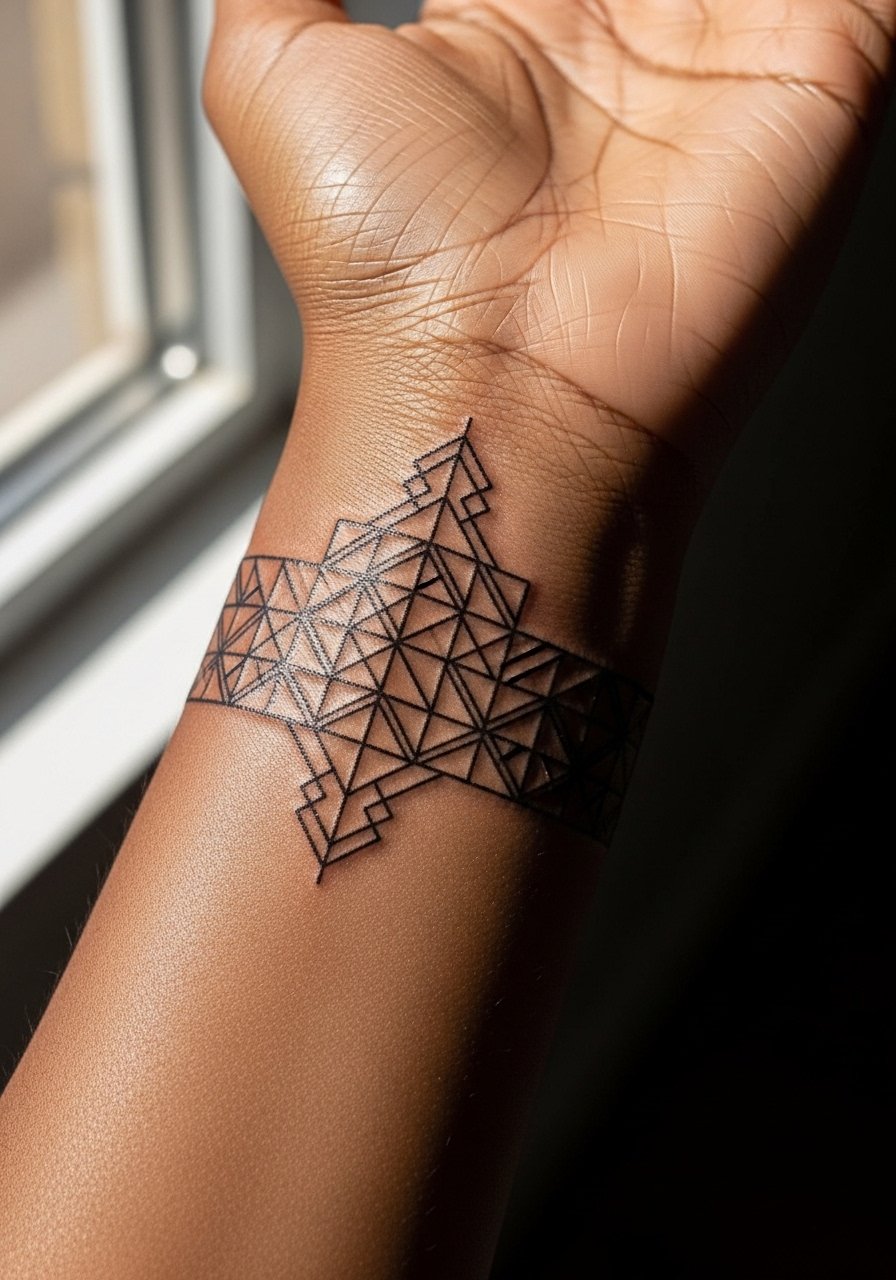
A stripped-back checkerboard can be executed with tiny alternating filled and negative squares. Keep the line work thin and consistent so the pattern stays light. It works well as a cuff or narrow band and is a good option for first-time geometric fills. If the artist is new to this scale, keep a hypoallergenic adhesive bandage on deck during healing.
Style/Technique: Tiny checkerboard band
Pain Level: 2/10
Session Time: 0.25 to 1 hour
Best For: Wrist, ankle, narrow bands
Mistake to Avoid: Making boxes uneven, which immediately reveals shaky handwork.
13. Concentric Line Echoes
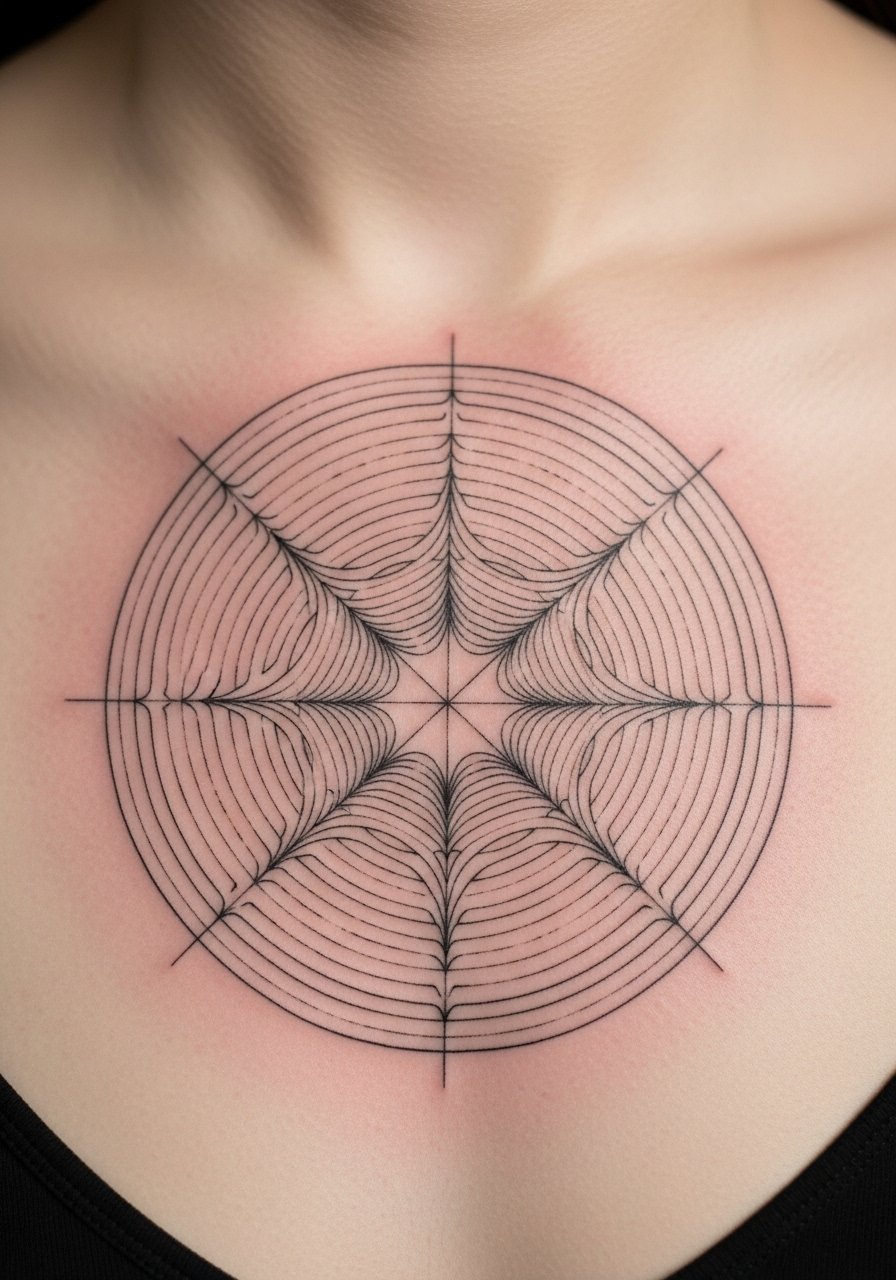
Concentric echoes give a vibrating optical feel when lines are spaced tightly. The negative space between echoes controls how heavy it appears. This technique plays nicely with curved anatomy because the rings follow the form. Expect mild tenderness where lines cluster; keep aftercare light with a fragrance-free healing balm.
Style/Technique: Concentric thin rings
Pain Level: 3/10
Session Time: 0.5 to 1.5 hours
Best For: Sternum, centerpieces, circular panels
Mistake to Avoid: Spacing rings too tightly without a plan, which reads muddy after healing.
14. Single-Line Spiral Fill
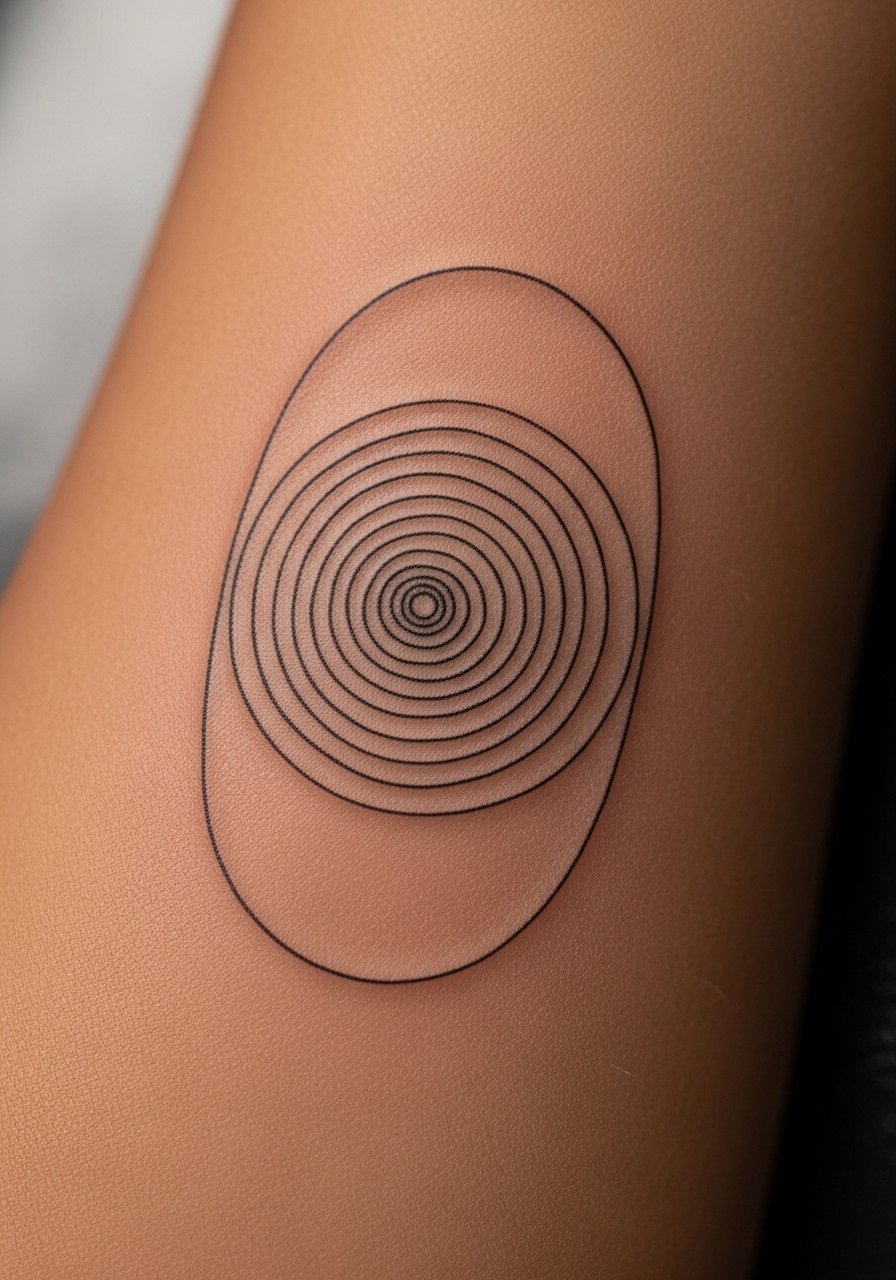
A single-line spiral made with one continuous pass can be hypnotic and stays light because it is never shaded. The key is spacing and tension: too tight and it looks like a bruise, too loose and it loses cohesion. This fill is fast and a solid choice for shorter sessions. A precision ruler set is handy for pre-mapping the spiral pitch.
Style/Technique: Continuous spiral line
Pain Level: 3/10
Session Time: 0.5 to 1 hour
Best For: Forearm, calf, compact ovals
Mistake to Avoid: Turning the spiral into a tight cluster that heals into a blurred mass.
15. Tiny Arrowwork Fill
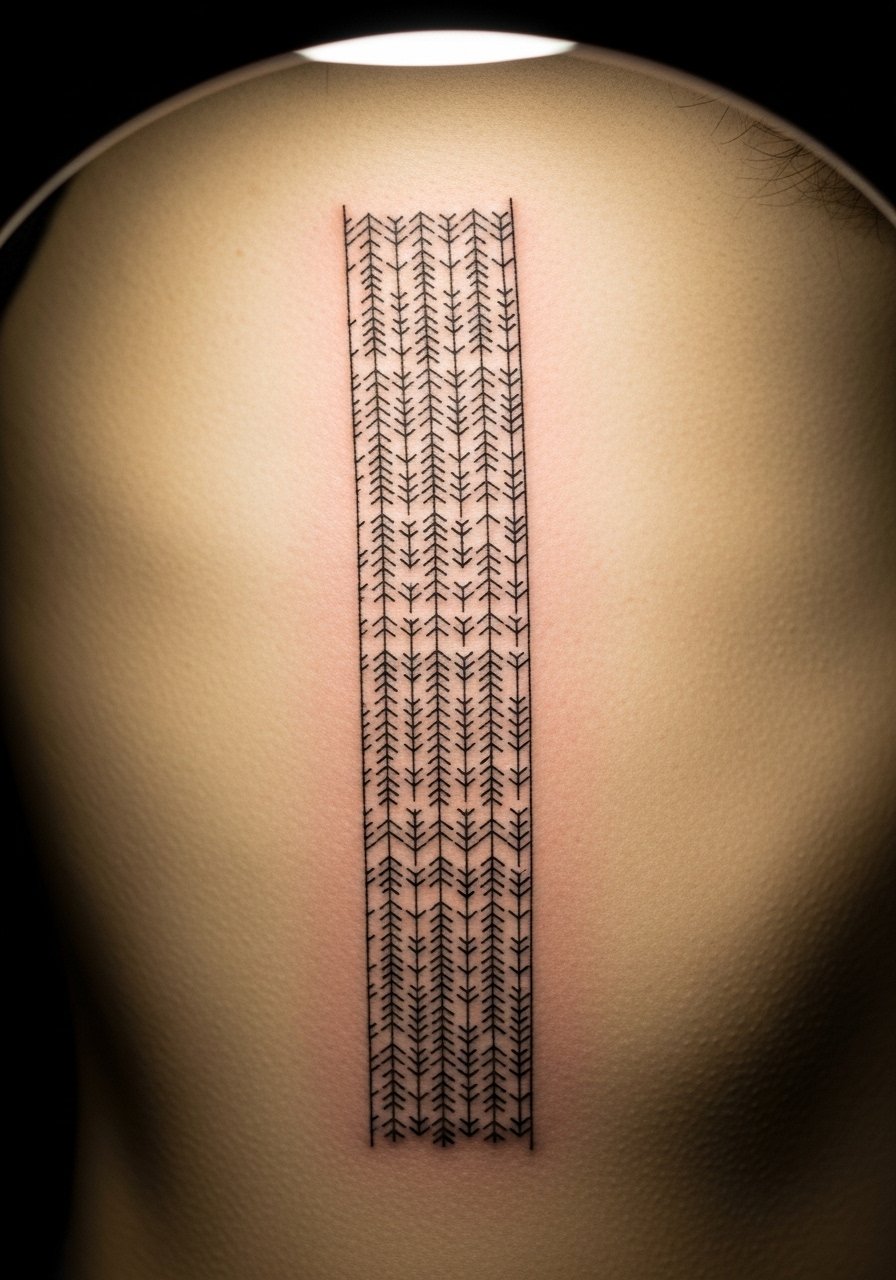
Tiny arrow motifs pointing in a single direction create subtle flow within a shape and let you play with directionality across the body. It is a graphic option for someone who wants movement without heavy tone. Because arrows are directional, think about how they read on your body when you move. Keep a small fragrance-free healing balm handy in the first week to prevent picking.
Style/Technique: Repeated micro-arrow motifs
Pain Level: 4/10
Session Time: 0.75 to 1.5 hours
Best For: Ribcage, panels that follow muscle lines
Mistake to Avoid: Pointing arrows randomly, which breaks the intended flow.
How Fine Lines Age
Thin coats beat one thick coat every time. Letting touch-ups sit a few months after the initial session gives small fills time to settle and lets you see what truly needs more work. A keeper product is fragrance-free healing balm for day-to-day maintenance.
Use hypoallergenic adhesive bandages during the scabbing phase around fingers and wrists. Those tiny patterns crack more easily, and gentle protection stops accidental scrapes from turning into touch-ups.
Curate aftercare with a mildly acidic cleanser, not harsh antiseptics. A sensitive-skin antibacterial soap keeps things clean without stripping ink during the first two weeks.
If your design includes motifs from a cultural tradition, ask your artist about appropriate references and placement, then bring clear examples to the consult. A respectful approach avoids accidental appropriation and makes the design feel intentional.
Keep a small medical-grade saline spray in your kit for touch-ups. Salt spray soothes and rehydrates tiny scabbed areas without adding grease that can trap dirt.
Rotate sun protection into daily life. Fine-line details fade quickly under UV, so a good mineral sunscreen applied daily preserves those micro textures longer. A lightweight mineral sunscreen stick is easy to carry and reapply.