
I spent weeks wondering why my chrome manicures flaked at the edges, until I realized I had been slathering product on like paint and skipping a proper seal. One tiny shift, thinner layers and careful cap sealing, made the mirror finish stay. That is the sort of small change these ideas are for, the things I learned by ruining a set and doing it over until it lasted longer.
These 15 ideas run from quick at-home tweaks to salon-level details, aimed at people who wear gel regularly and want that chrome mirror to last. Most options are budget friendly, a few need a steady hand or a lamp. A tech who works at a salon downtown showed me the layering order I use here, and I tested a couple at home to make sure the cure times and thin coats actually hold up for daily wear.
1. Classic Full Chrome Mirror
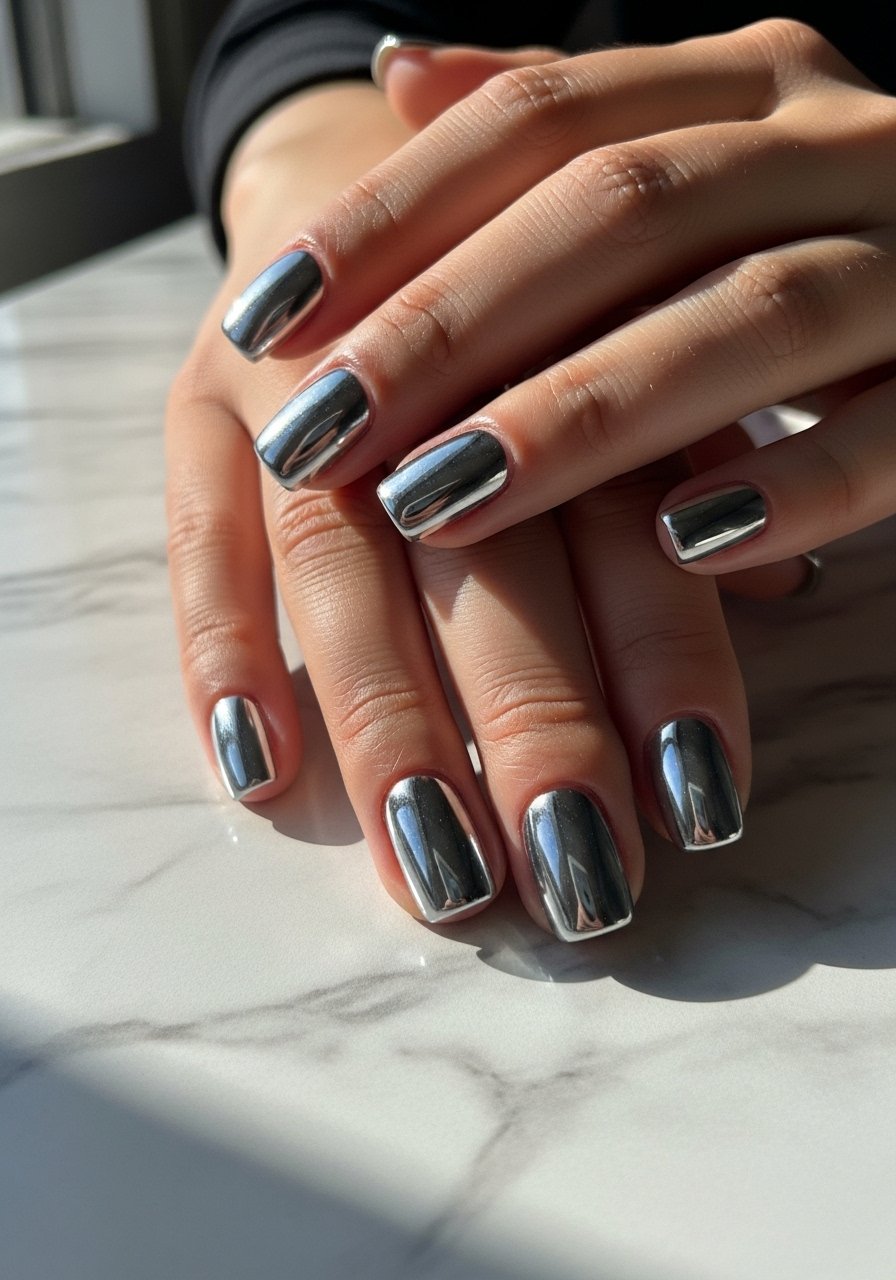
Start with a true black or deep gray base, cured fully, then apply a mirror chrome powder with a soft silicone applicator. What makes it read chrome instead of "shiny silver" is the base contrast and a thin buff of powder until it is uniformly reflective. Visually it reads like plated metal, cool and clean, and it fits short or long nails and beginner to intermediate skill. Use a 30 to 60 second cure per thin gel layer under a 48W LED lamp for best bonding, and seal with a no-wipe glossy top coat. Try mirror chrome powder for the reflective layer.
Mistake to Avoid: Applying powder to a tacky, uncured surface, which traps oils and ruins the mirror finish.
Style/Vibe: Classic chrome mirror
Best For: Short to medium nails, everyday wear
Skill: Beginner
2. Halo Chrome Gradient
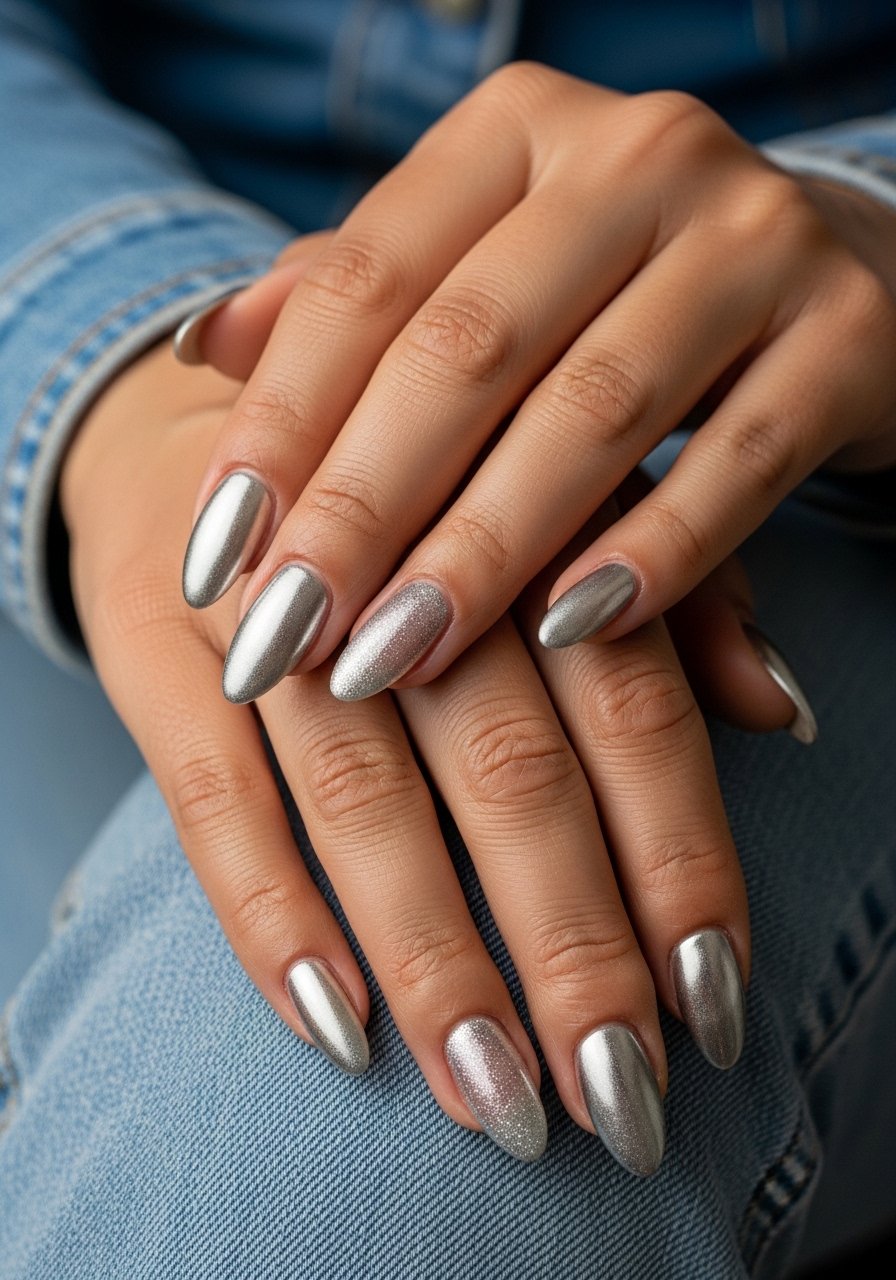
This is chrome concentrated at the free edge, feathered back into a sheer base for a halo effect. The trick is 80 percent of the powder at the tip and 20 percent dragged back with a soft brush to avoid a hard line. It reads modern and delicate, perfect for medium or long shapes and brides who want reflective drama without full chrome. You can do this in about 30 minutes if you work in thin layers. Use a slightly tinted sheer pink gel base and nail art brushes for the fade.
Mistake to Avoid: Rubbing too aggressively when blending, which removes the mirror instead of softening it.
Style/Vibe: Soft chrome gradient
Best For: Medium to long nails, special occasions
Skill: Intermediate
3. Matte Chrome Accent
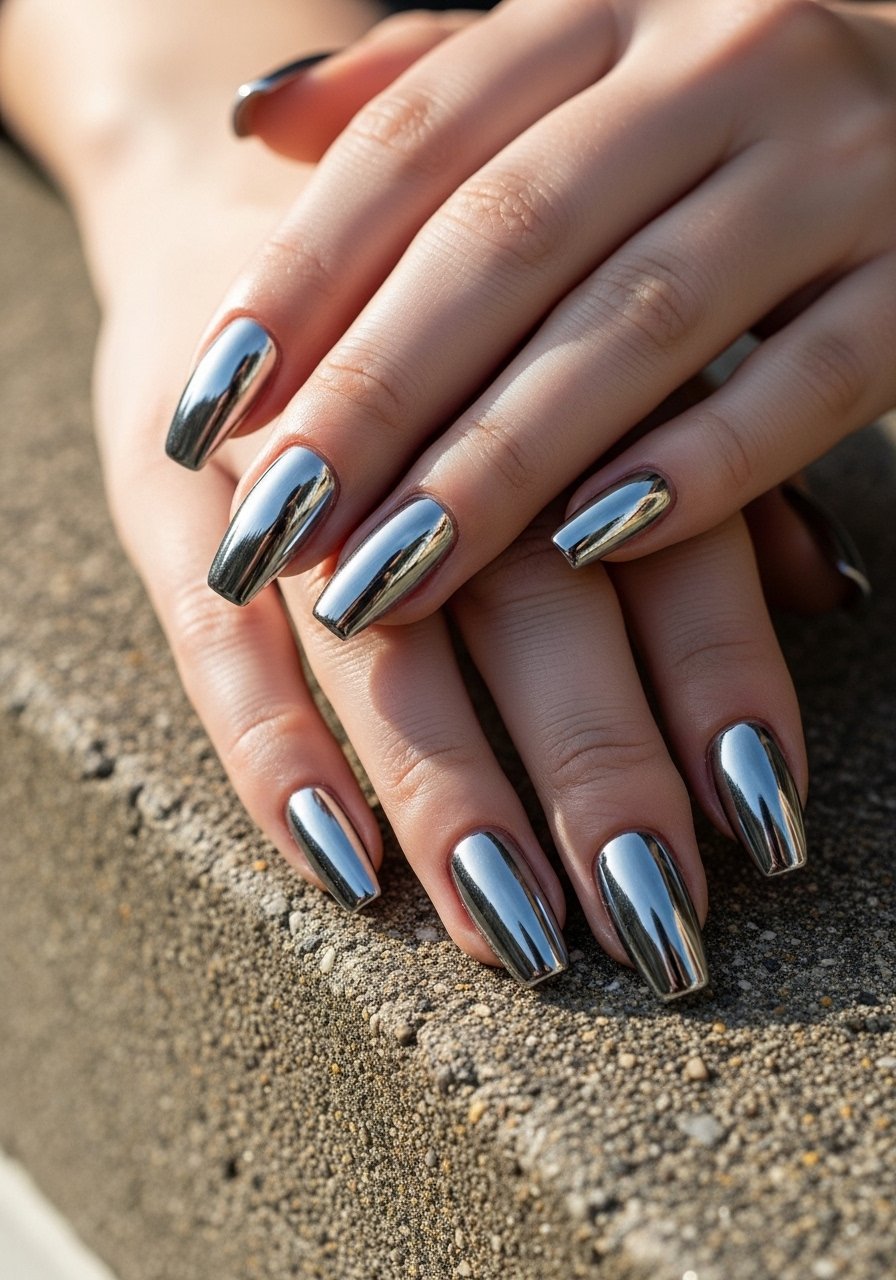
Swap one or two nails to a matte top coat over the chrome for a velvet-metal contrast. That tactile difference makes the shiny nails look sharper and the set feel intentional. This pairing works across nail lengths and is a fast way to add depth on a budget. Use a spray or gel matte top coat cured for 60 seconds and pair with a glossy no-wipe top coat on the others. Add matte gel top coat to your kit.
Mistake to Avoid: Applying matte over a wet top coat, which creates streaks and dull spots.
Style/Vibe: Mixed finish chrome
Best For: Medium to long nails, fashion-forward looks
Skill: Beginner
4. Negative Space Chrome Crescent

Leave a curved crescent of natural nail near the cuticle and fill the rest with chrome. The exposed lunula gives the look a modern, airy feel and reduces time compared to covering the whole nail. It is a salon-friendly shape for short nails and low-maintenance wearers. Use a thin guide or freehand with a fine brush, cure the base for 30 to 60 seconds, then apply chrome powder lightly. I like pairing this with a fast-curing base like gel base coat.
Mistake to Avoid: Trying the crescent on a cuticle that is not clean, which makes the chrome lift at the edges.
Style/Vibe: Negative space chrome
Best For: Short nails, low-maintenance wear
Skill: Beginner
5. Chrome French Tip With Microline
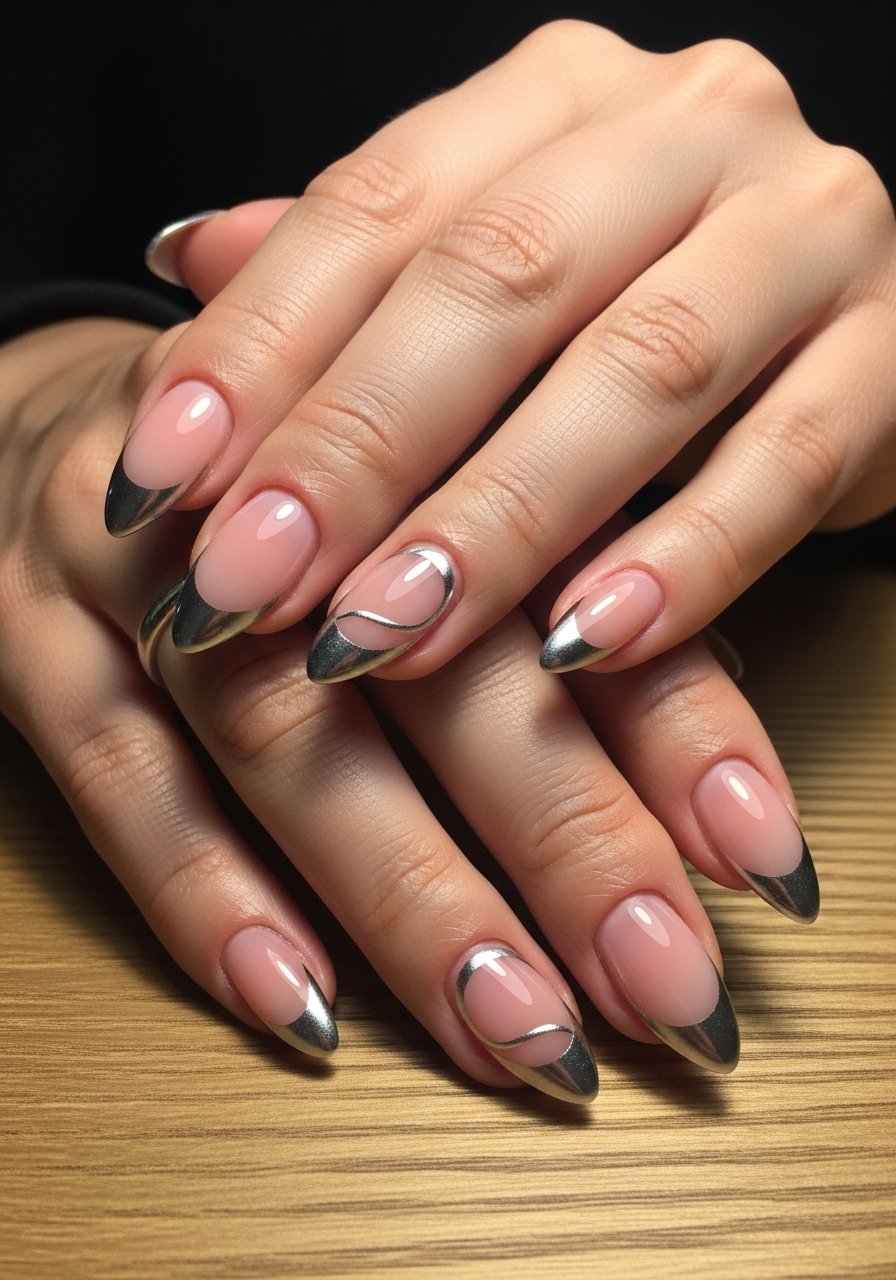
A thin chrome tip with a microline of black or deep gray under it looks crisp and editorial. What makes it work is keeping the tip under 1 to 1.5 millimeters thick and curing in between micro-steps so layers do not bulge. The result feels tailored and suits anyone who likes a polished, slightly edgy mani. This is intermediate skill and takes more time than a standard French. Use nail striping tape to guide the tip.
Mistake to Avoid: Painting a fat chrome tip, which looks clumsy and chips faster.
Style/Vibe: Sharp chrome French
Best For: Medium nails, editorial looks
Skill: Intermediate
6. Jelly Under Chrome Glow
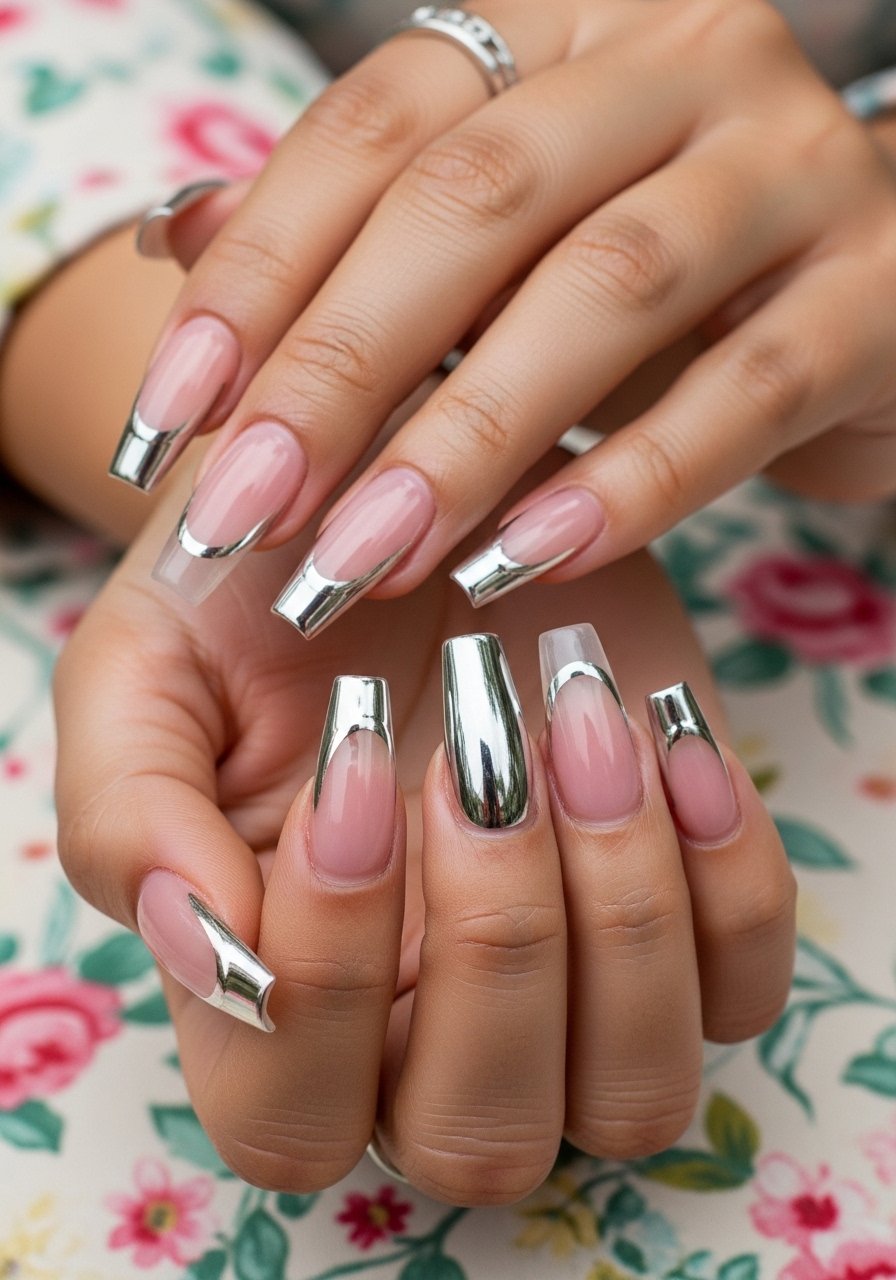
Layering a translucent jelly color under chrome gives depth, making the chrome read as liquid metal with a tinted glow. Apply two thin jelly layers, cure 30 seconds each, then place chrome where you want the glow. This technique takes slightly more time but gives a warm or cool cast that photographs well. It works across lengths and is forgiving for those new to layering. For the jelly, try translucent gel polish.
Mistake to Avoid: Using opaque color under chrome, which kills the translucent glow.
Style/Vibe: Jelly-backed chrome
Best For: Medium to long nails, photo-ready sets
Skill: Intermediate
7. Chunky Glitter + Chrome Accent
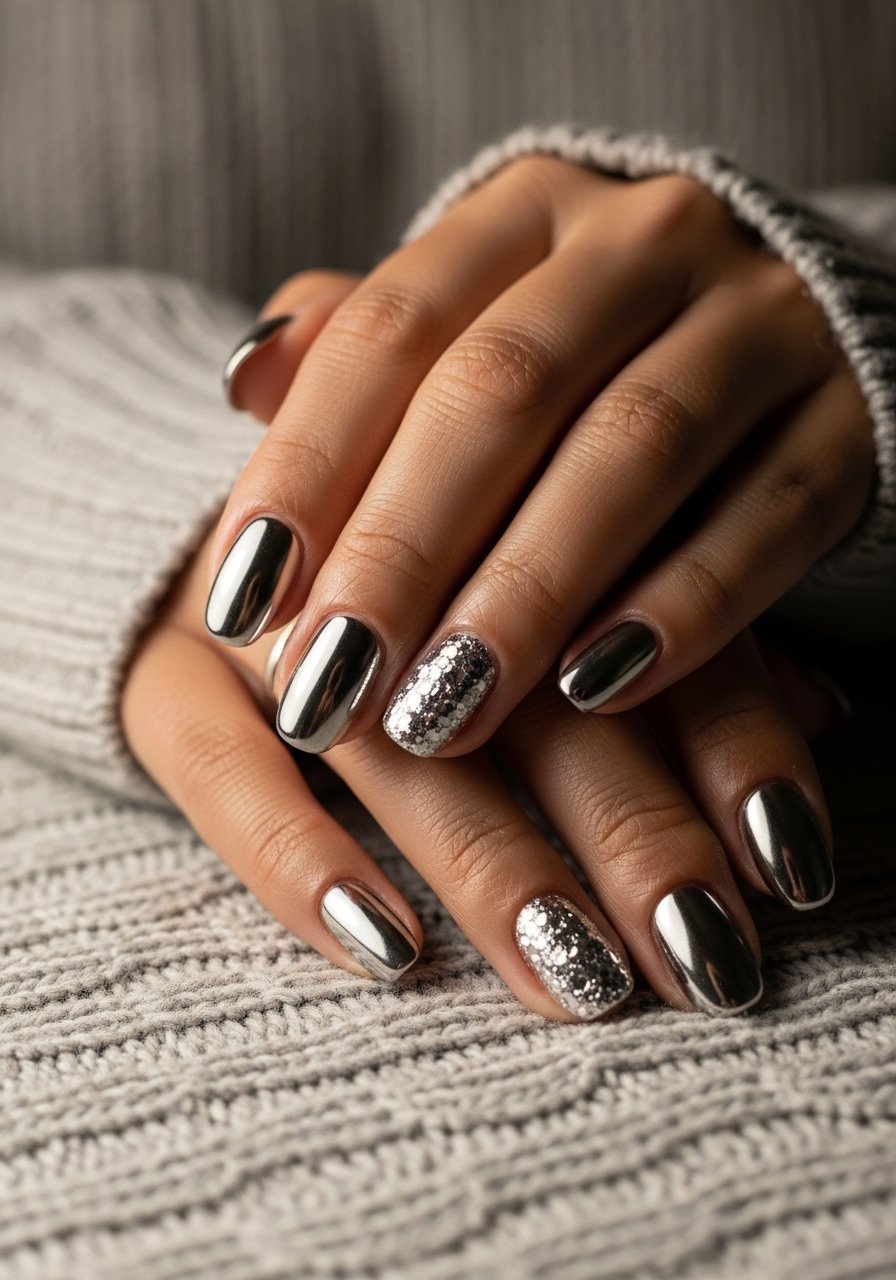
Combine chunky silver glitter on one accent nail with clean chrome on the rest for texture contrast. Apply glitter over a sticky layer and press it into thin builder gel to lock it down before sealing. Visually this reads festive and tactile, great for parties and holidays, and it is forgiving for short or medium nails. I prefer using a firm brush to tamp glitter flat so the top coat cures evenly. Pick a chunky glitter like silver chunky glitter mix.
Mistake to Avoid: Overloading glitter without embedding, which leaves a bumpy, fragile finish.
Style/Vibe: Textured chrome accent
Best For: Short to medium nails, party looks
Skill: Beginner
If any of these ideas have you ready to actually try something, here are the products doing most of the work.
Chrome Mani Essentials To Buy
Application Tools:
- mirror chrome powder (~$8-15), the polish-level powder I keep on hand for quick touch-ups.
- silicone chrome applicator (~$6-12), soft and precise for gradients.
Base and Top Coats:
- gel base coat (~$10-18), thin formula cures clean.
- no-wipe glossy top coat (~$12-22), seals the chrome without dulling.
- matte gel top coat (~$10-18) for mixed finishes.
Tools & Prep:
- LED nail lamp (~$20-60), 48W or higher for consistent cures.
- lint-free wipes (~$6-12) for clean hands before powder.
- nail art brushes (~$7-15) for microlines and fades.
Clean Up:
- nail cleanser (~$6-14) to remove oils and maximize adhesion.
8. Mirror Chrome Foil Nails
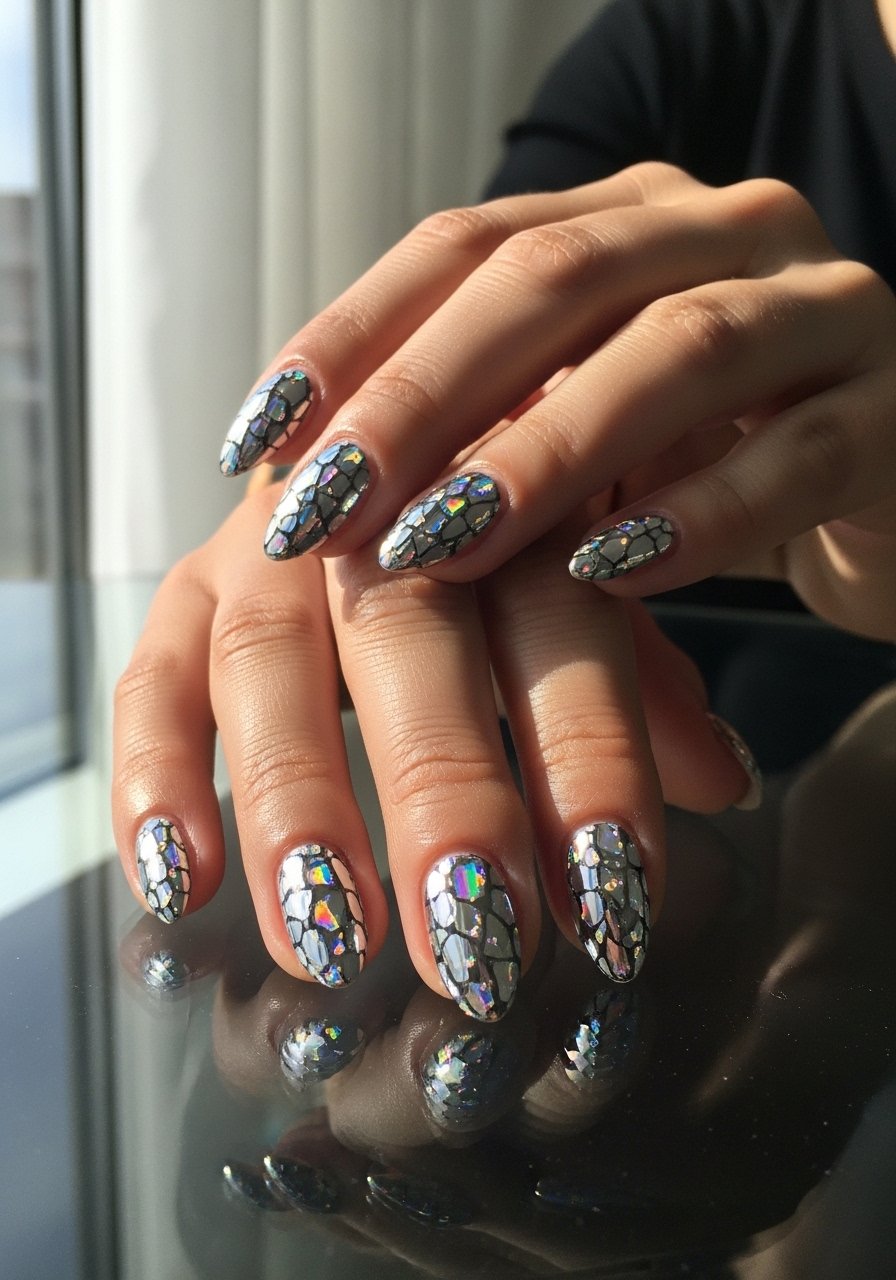
Foil transfers give a broken mirror look, ideal for editorial sets that read high-impact without full coverage. The key is using a tacky gel layer and pressing foil with a silicone tool. This feels luxe and modern, it suits medium nails and intermediate skills. Foil tolerates tiny surface breaks well, so it is forgiving on shorter prep times. For transfers, use nail foil sheets and press firmly for full adhesion.
Mistake to Avoid: Trying to stick foil to a dry surface, which makes it flake immediately.
Style/Vibe: Foil-chrome fragments
Best For: Medium nails, editorial looks
Skill: Intermediate
9. Reverse Chrome French
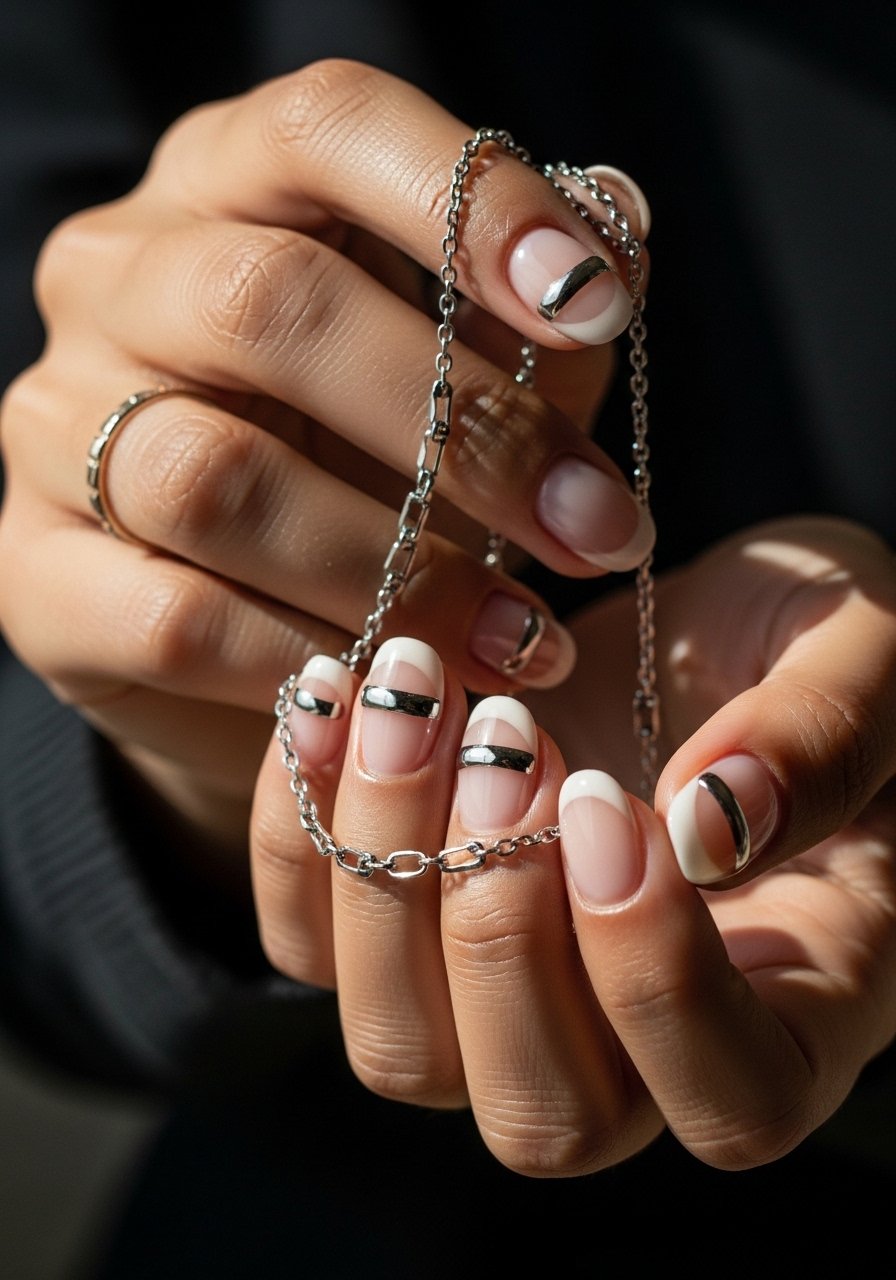
Instead of chrome at the tip, place a block of chrome at the base for a bold reverse French. The visual result is modern and slightly retro, leaning graphic rather than delicate. It saves time because the chrome area can be smaller, suitable for short nails. Keep your chrome block crisp by masking with tape and curing base gel fully before powder. For clean lines use nail striping tape.
Mistake to Avoid: Not sealing the chrome edges, which invites chipping at the cuticle.
Style/Vibe: Graphic reverse French
Best For: Short nails, bold minimalists
Skill: Beginner
10. Multi-Tone Microchrome
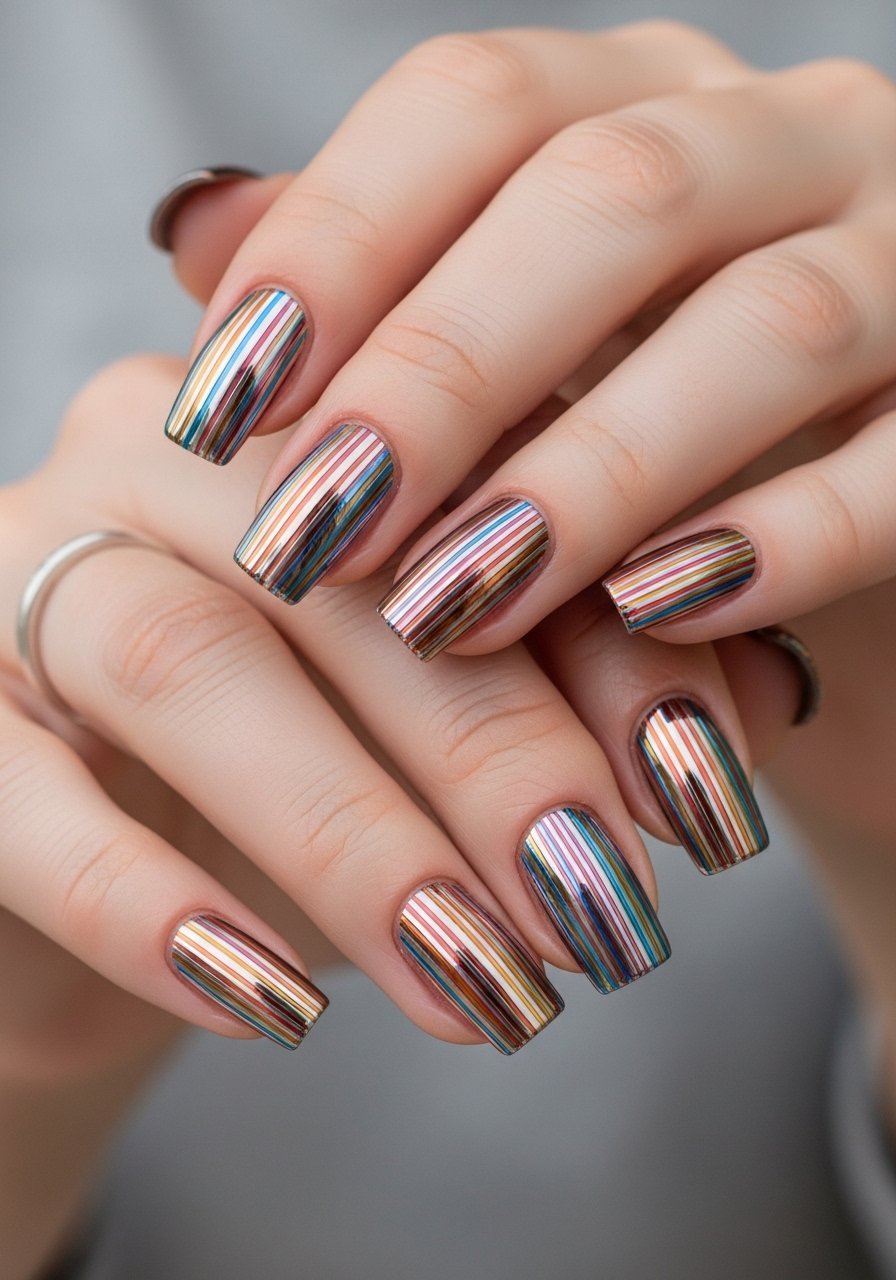
Mix tiny stripes of warm and cool chrome powders to create a micro-metal mosaic. Use a thin striping brush to separate tones and cure each thin layer so powders do not bleed. This technique reads playful but refined, great for medium nails and people comfortable with small brushwork. It takes patience but is forgiving in wear because the micro pattern disguises small chips. Pull from warm chrome powder and cool chrome powder.
Mistake to Avoid: Laying down wide stripes which look messy and chip unevenly.
Style/Vibe: Micro chrome stripes
Best For: Medium nails, creative mani-lovers
Skill: Intermediate
11. Chrome With Embedded Studs
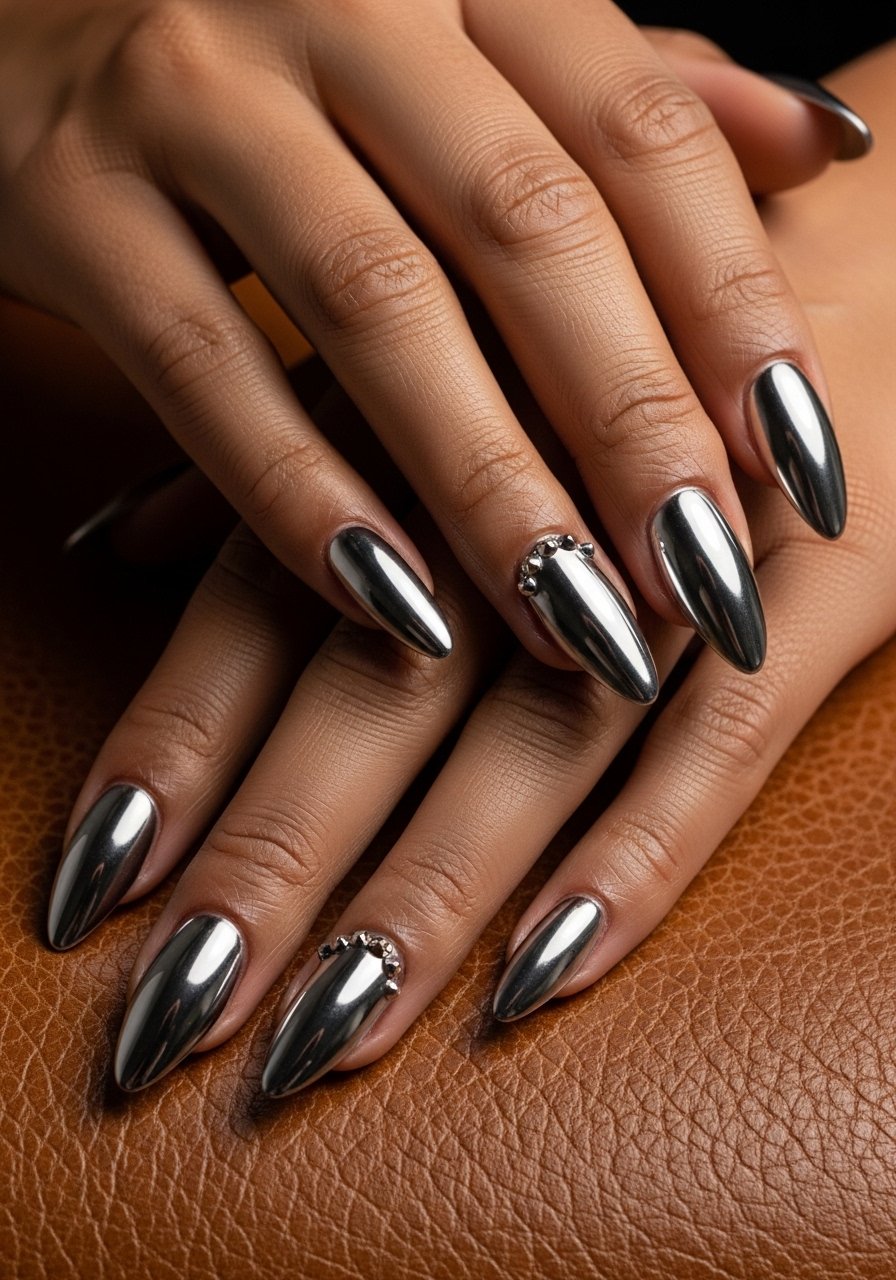
Add a single row of silver studs to a chrome nail to catch light and draw the eye. Embed studs into a tacky gel layer and cure with a firm press so they become part of the surface, then finish with a generous top coat around them to lock edges. This reads jewelry-like and suits long shapes or accent nails. Use nail studs and a pair of tweezers for placement.
Mistake to Avoid: Gluing studs on after curing, which makes them fall off the next day.
Style/Vibe: Jewelled chrome accent
Best For: Long nails, special events
Skill: Intermediate
12. Holographic Chrome Shift
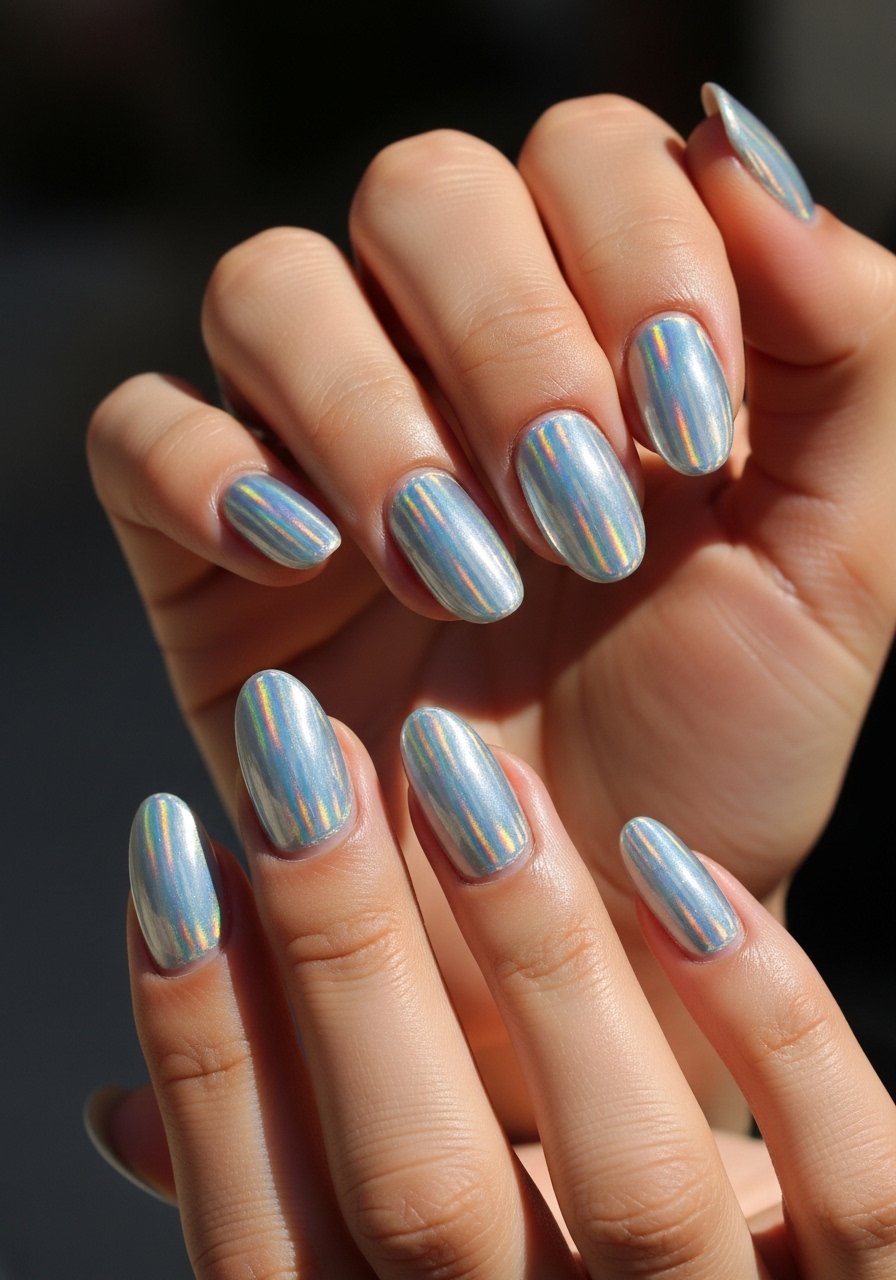
Holographic chrome powder adds a prismatic shift to the silver base, so nails change tone as you move. It works best over a white or very light base to let the holo particles reflect fully. This look is playful and eye-catching for medium to long nails and does better with multiple thin layers of powder and a no-wipe top coat. Use holographic chrome powder.
Mistake to Avoid: Layering the powder too thickly, which mutes the shift effect.
Style/Vibe: Holo-shift chrome
Best For: Medium to long nails, trend-forward wearers
Skill: Intermediate
13. Tarnished Silver Look
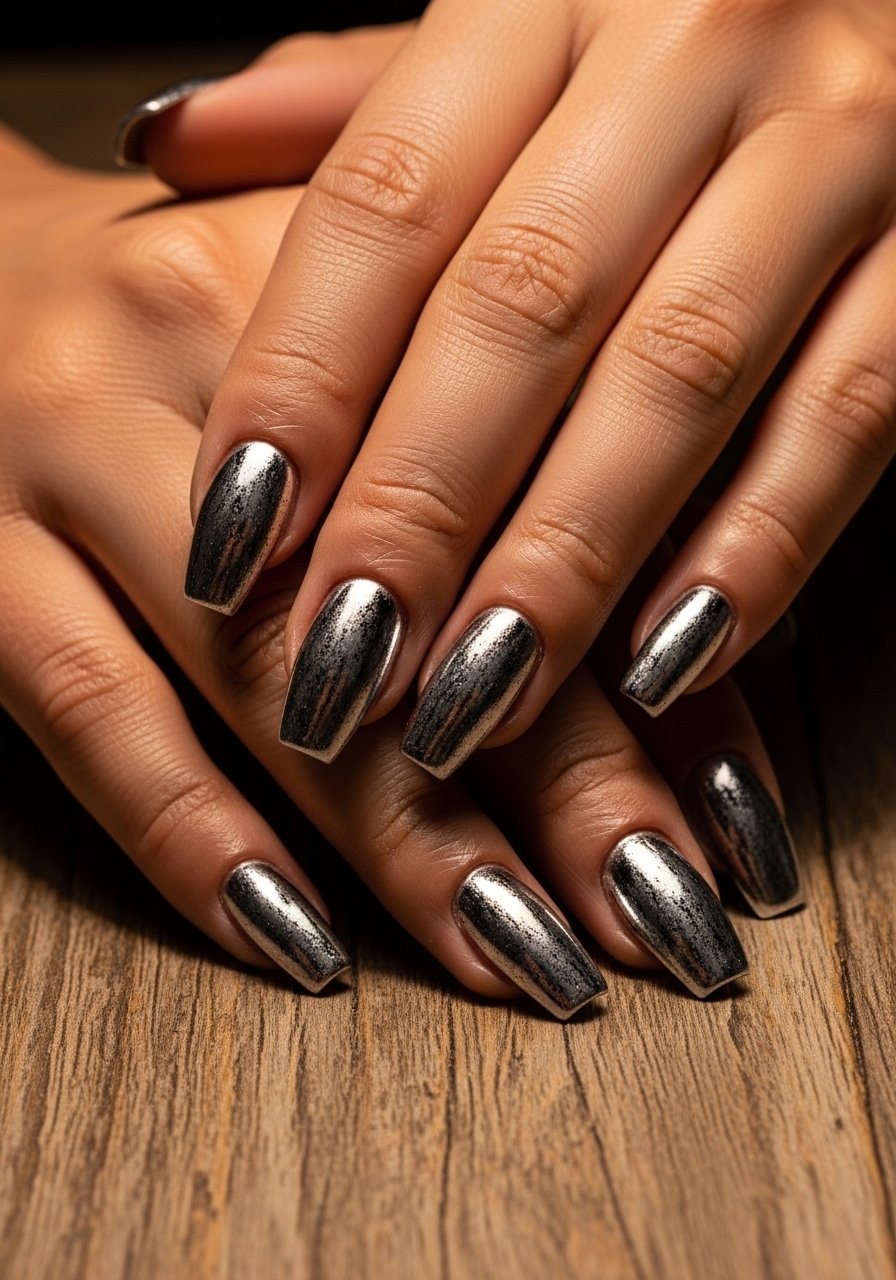
If you like a more lived-in, vintage metal look, patina the chrome with a thin wash of diluted black gel then lightly buff the highlights back. The result reads like aged silver, stylishly imperfect. It is a strong salon move for intermediate or advanced skill and works best on medium nails. Use a mixture of one drop black gel to three drops clear builder gel to tint, apply sparingly, then correct highlights with a clean applicator. Try black gel polish.
Mistake to Avoid: Using too much black wash, which turns the set muddy instead of aged.
Style/Vibe: Aged metal chrome
Best For: Medium nails, vintage-inspired looks
Skill: Advanced
14. Chrome Chrome-Block Geometric
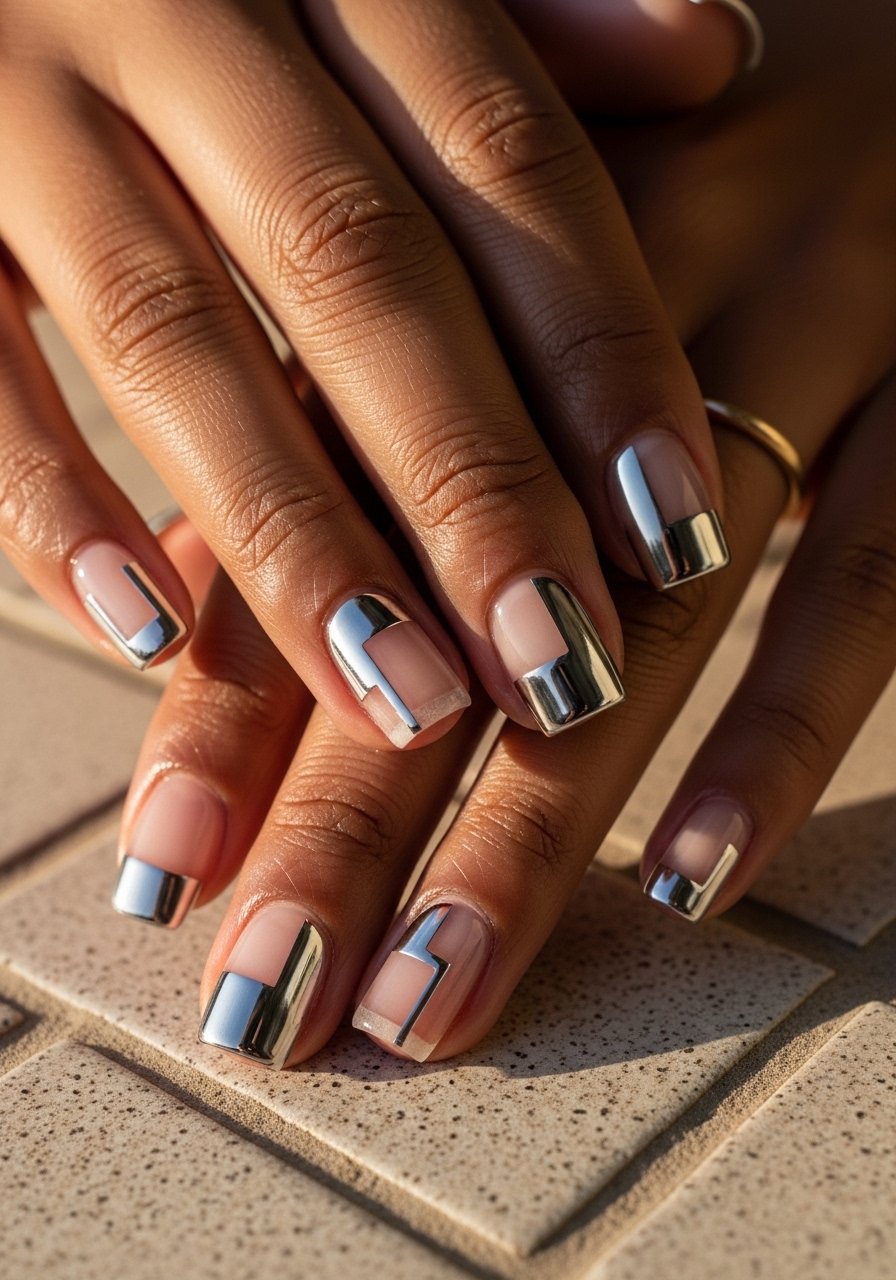
Create bold geometric chrome blocks against a matte neutral background. Precision is the visual hook here, the hard edges look modern and architectural. Good for short nails when you want a statement without extra length. Use a flat brush and cure in stages so each block stays crisp. Keep blocks to one third of the nail to avoid heavy weight and use fine nail brush set for edges.
Mistake to Avoid: Painting blocks freehand without steady curing, which leads to blurred edges.
Style/Vibe: Geometric chrome blocks
Best For: Short nails, sculptural looks
Skill: Intermediate
15. Two-Tone Split Chrome
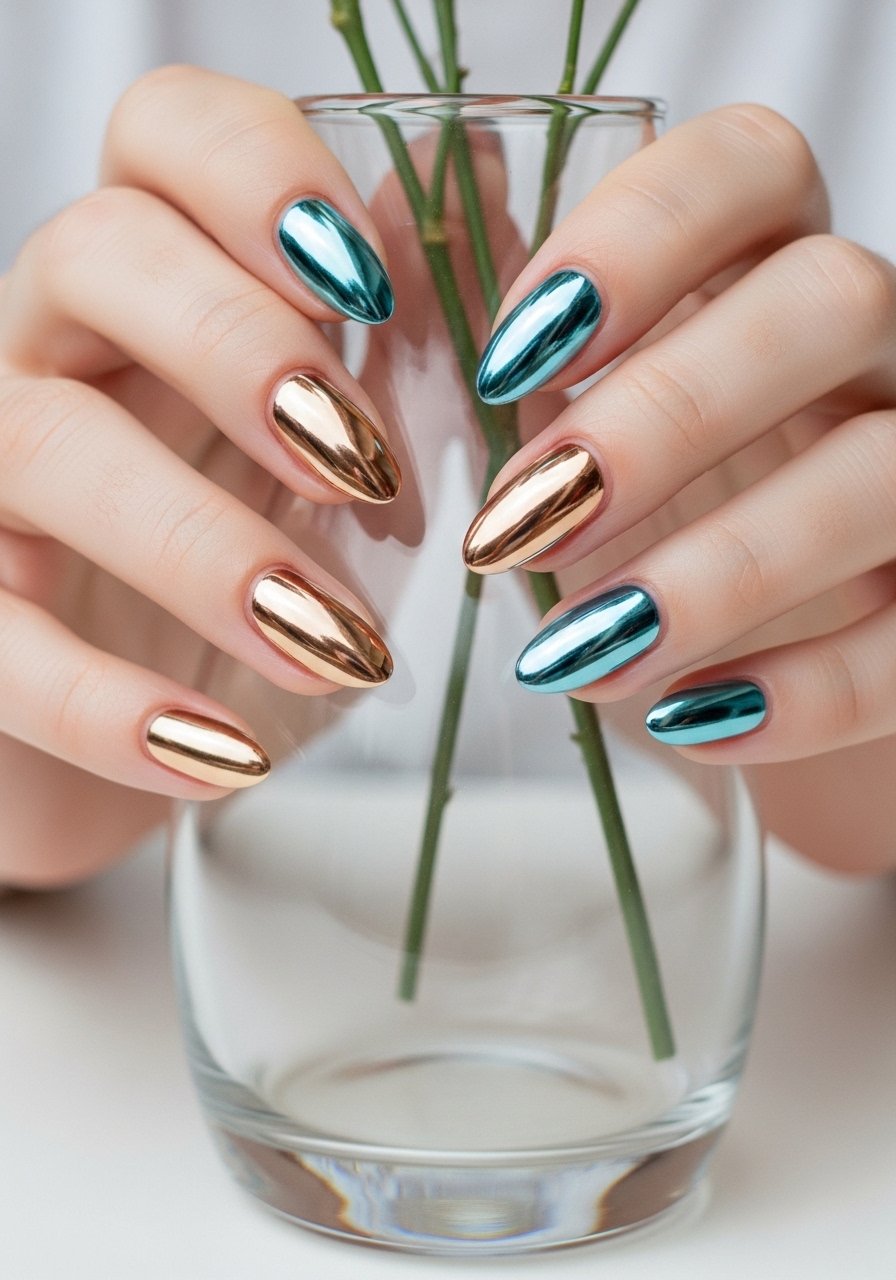
Split the nail down the middle and mirror two chrome tones for a modern divide. The crispness of the center line is what sells it, so use thin striping tape and cure the two halves one at a time. It creates a balanced but surprising effect and suits medium nails well. The split helps hide small chips because damage reads as part of the design. Try pairing warm chrome powder and cool chrome powder.
Mistake to Avoid: Trying the split without a guide, which makes the line wavy and amateur.
Style/Vibe: Split-tone chrome
Best For: Medium nails, bold color-play
Skill: Intermediate
Chrome Application Habits I Keep
Thin coats beat one thick coat every time. Three thin layers of no-wipe glossy top coat look smoother and last longer than one gloopy layer.
Use a small bottle of nail cleanser and clean the natural nail for at least 20 seconds before base, which reduces lifting and makes chrome adhesion work better.
If you buff, keep it light, about 150 to 180 grit only. Over-buffing eats nail plate thickness. I switch to a soft buffer and buffer block for final smoothing.
Everyone skips edge capping, and that is the fastest way to chips. Run your top coat brush around the free edge and cure properly, using a reliable LED nail lamp for the timed cures.