
I kept asking artists for "just a thin spider" and leaving with something that read like a sticker. After a handful of fades, a too-thick hourglass, and one sunburned ankle that blurred the legs into a mush, I learned which tiny choices actually keep fine-line spiders crisp. These are the design moves I kept returning to, the placements that heal clean, and the small aftercare buys that cut the risk of lines spreading.
These nine designs are for people who want subtle, work-coverable ink, and who plan for one proper session with a professional. Expect low-to-medium pain and short sessions in most cases. I learned these after booking consults and sitting in the chairs across five shops I have visited, so the notes on placement and aging come from real shops, not a forum thread. Budget ranges from small single-needle pieces to slightly longer sessions for tiny shadowing.
1. Single-Needle Micro Spider
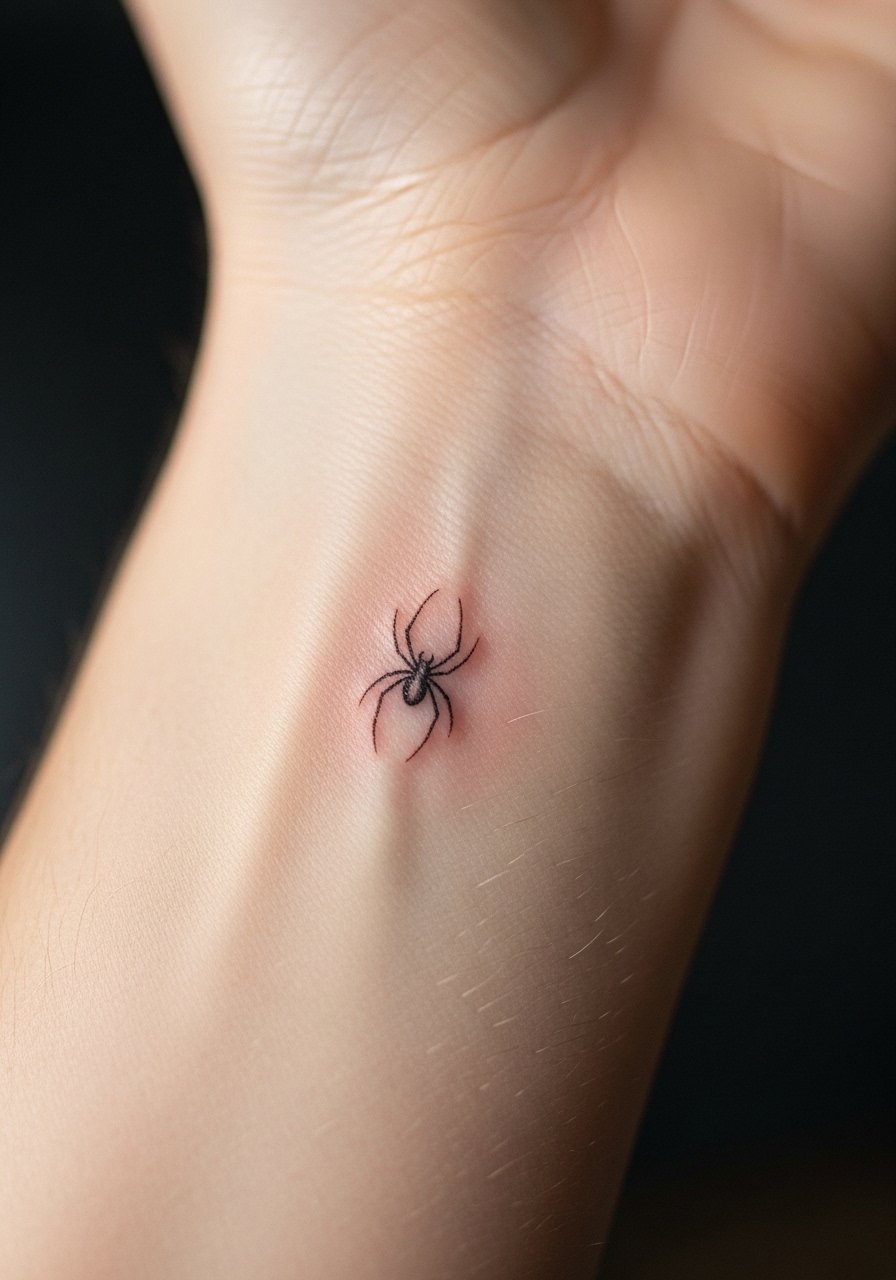
A true single-needle spider keeps the legs almost hairline thin, which looks like a delicate punctuation mark on the skin. Visually it reads as fragile and intentional, best for someone who wants something coverable by a watch or bracelet. Expect the session to be quick, around 20 to 40 minutes, and the line weight to be in the 0.2 to 0.5 millimeter range when done with a 1RL needle. For aftercare I use a fragrance-free healing balm like fragrance-free healing balm to avoid clogging pores during the first week. This design is budget friendly if you stick to one location.
Mistake to Avoid: Asking for "thin" without mentioning single-needle technique will often get you a small but thick-lined spider.
Style/Technique: Single-needle micro, fine-line
Pain Level: 3/10
Session Time: 20 to 40 minutes
Best For: Inner wrist, forearm, coverable placement
2. Micro Realism with Dot Shadow
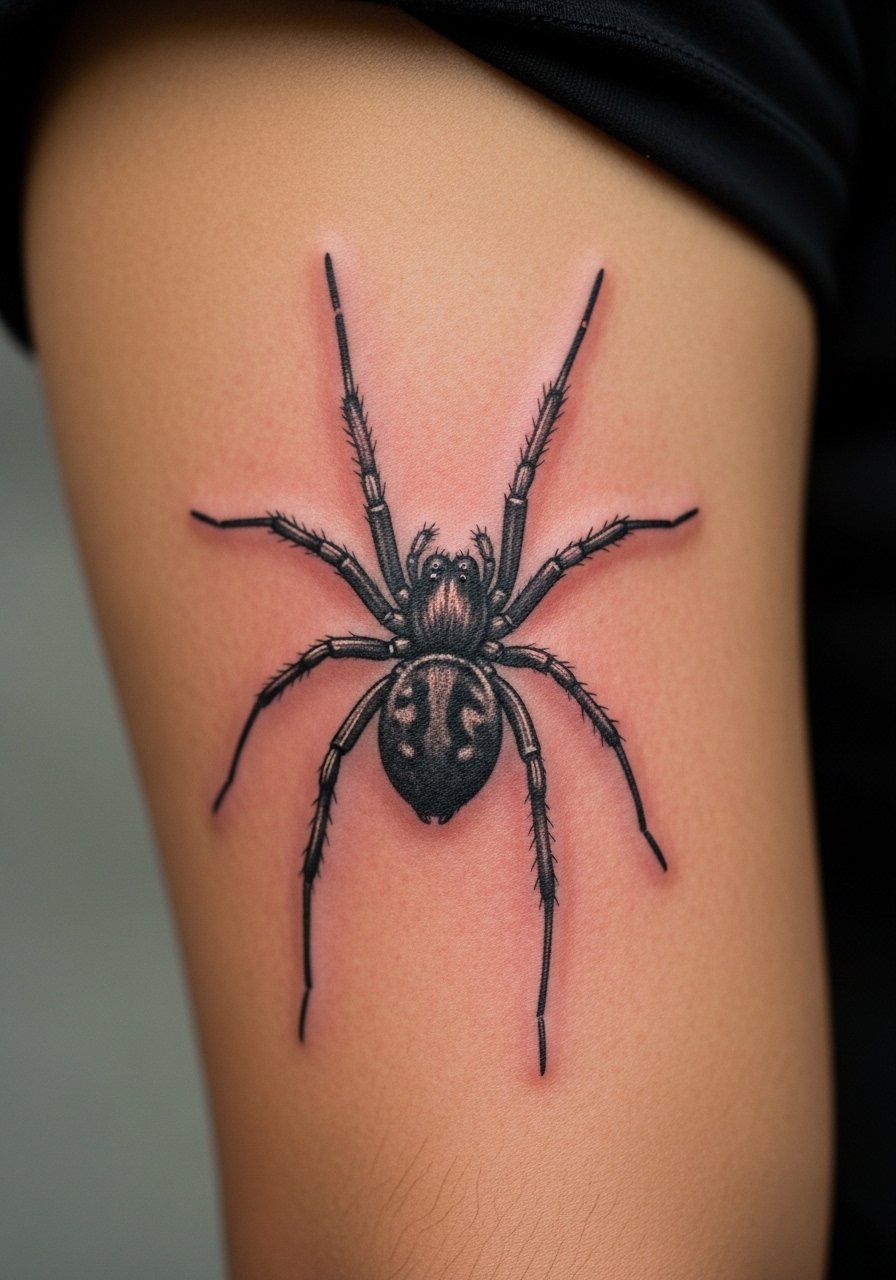
Tiny realism uses dots and micro-shading to suggest body shape without heavier lines. It feels dimensional but still delicate, which suits anyone who wants realism without the weight of solid black. The technique pairs a 3RL or tight mag with dotwork shading placed in a 1:3 light-to-dark ratio to keep contrast readable. If you want the shadow to read for years, ask for stippling rather than smooth gradients. For touch-free healing try antibacterial tattoo soap, used gently twice a day to remove plasma without scrubbing. This look ages well on medium skin tones when the dots are spaced deliberately.
Mistake to Avoid: Asking for "a shaded spider" and getting heavy black that blurs after a few months.
Style/Technique: Micro realism with stipple shadow
Pain Level: 4/10
Session Time: 30 to 60 minutes
Best For: Upper arm, calf, visible enough for detail
3. Spider Perched on a Fine Stem
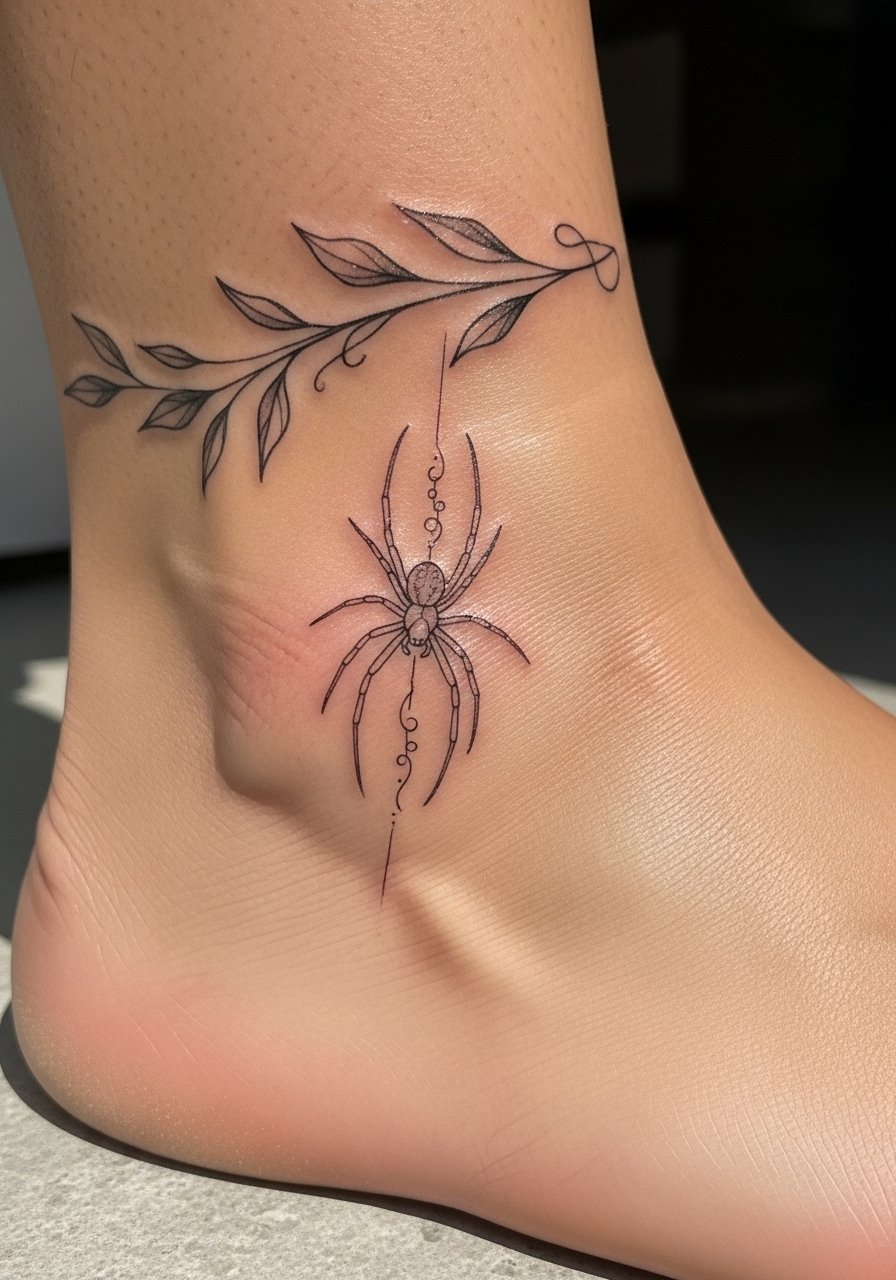
A small spider sitting on a line-drawn flower or stem feels like a little scene rather than a standalone bug. It creates a soft narrative and is great for someone who likes tiny nature pieces. The trick is spacing, a 2:1 element-to-spider size ratio keeps the composition balanced when worn on ankles or behind the ear. For placement that moves a lot like the ankle, choose slightly shallower needle depth to reduce blowout risk. I recommend adding a tiny tube of unscented healing lotion into your aftercare kit for after the initial scab falls.
Mistake to Avoid: Filling the stem with color, which overpowers the spider and ages differently.
Style/Technique: Botanical linework, fine-line spider
Pain Level: 4/10
Session Time: 30 to 50 minutes
Best For: Ankle, behind the ear, petite placements
4. Suspended Single Web Strand
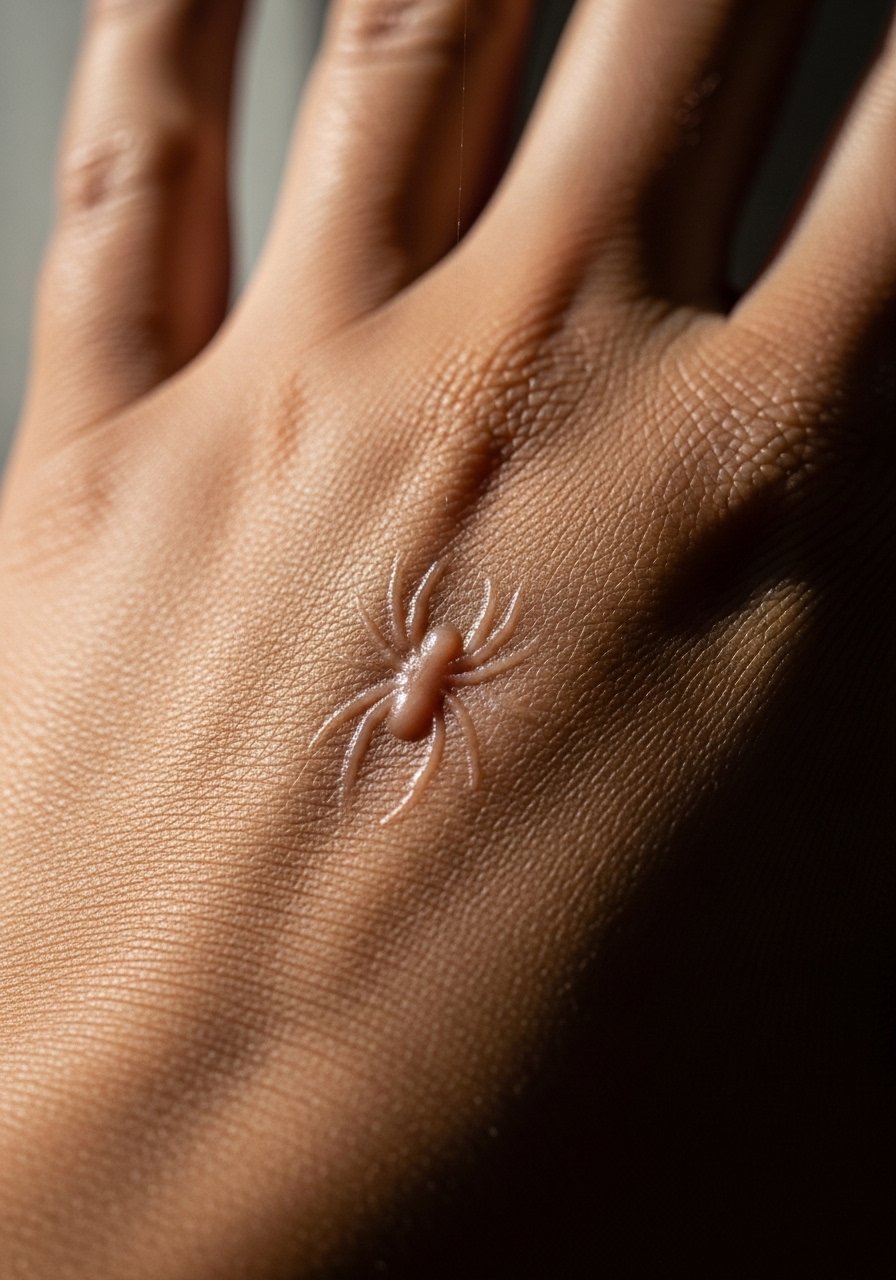
A single web strand with a spider hanging from it reads airy and modern. Visually it adds motion and works well on hands, collarbones, or neck areas that catch attention. Use a very fine one or two-point line for the strand and a slightly denser center node so the spider does not disappear at a glance. This is a slightly higher maintenance option because hands get a lot of sun and wear. Pair it with a travel-size broad-spectrum SPF stick for daily sun protection once healed.
Mistake to Avoid: Placing this on the finger where lines almost always blur faster.
Style/Technique: Suspended linework, minimal web
Pain Level: 5/10
Session Time: 30 to 60 minutes
Best For: Back of hand, collarbone, visible accents
5. Geometric Outline Spider
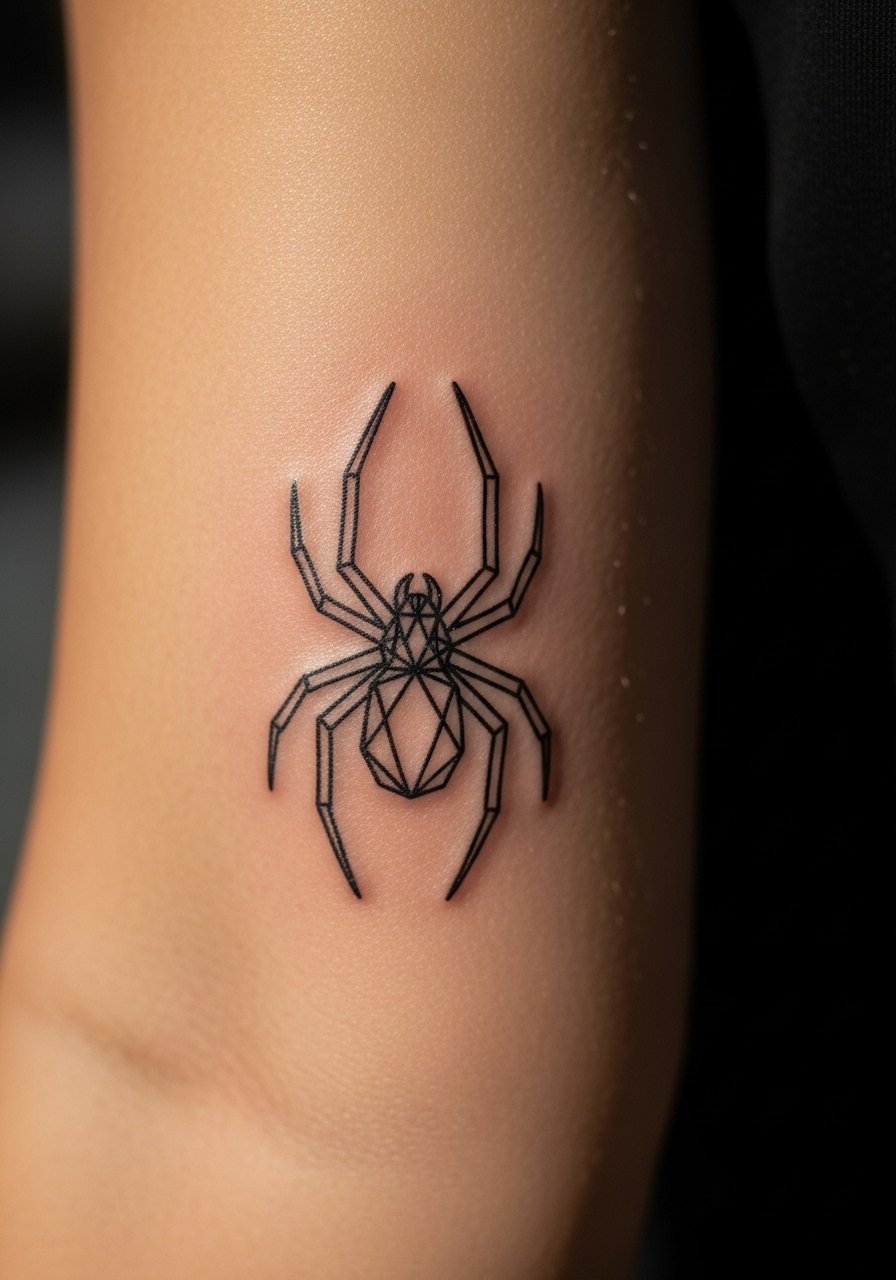
Clean geometry around a spider uses straight or slightly curved fine lines to frame the insect, creating a modern contrast. It feels intentional and suits someone who likes architectural shapes. Keep the geometry minimal, with 1 to 3 lines max, so it does not overwhelm the spider. For long-term clarity, ask the artist to space parallel lines at least 3 millimeters apart to avoid merging during healing. I keep a small sterile tattoo bandage for the first 24 hours if friction from clothing is a concern.
Mistake to Avoid: Crowding the spider with too many shapes, which makes the whole piece read noisy.
Style/Technique: Fine-line geometry with outline spider
Pain Level: 4/10
Session Time: 30 to 60 minutes
Best For: Inner forearm, wrist, visible but simple placements
6. Crawling Linework Along the Rib
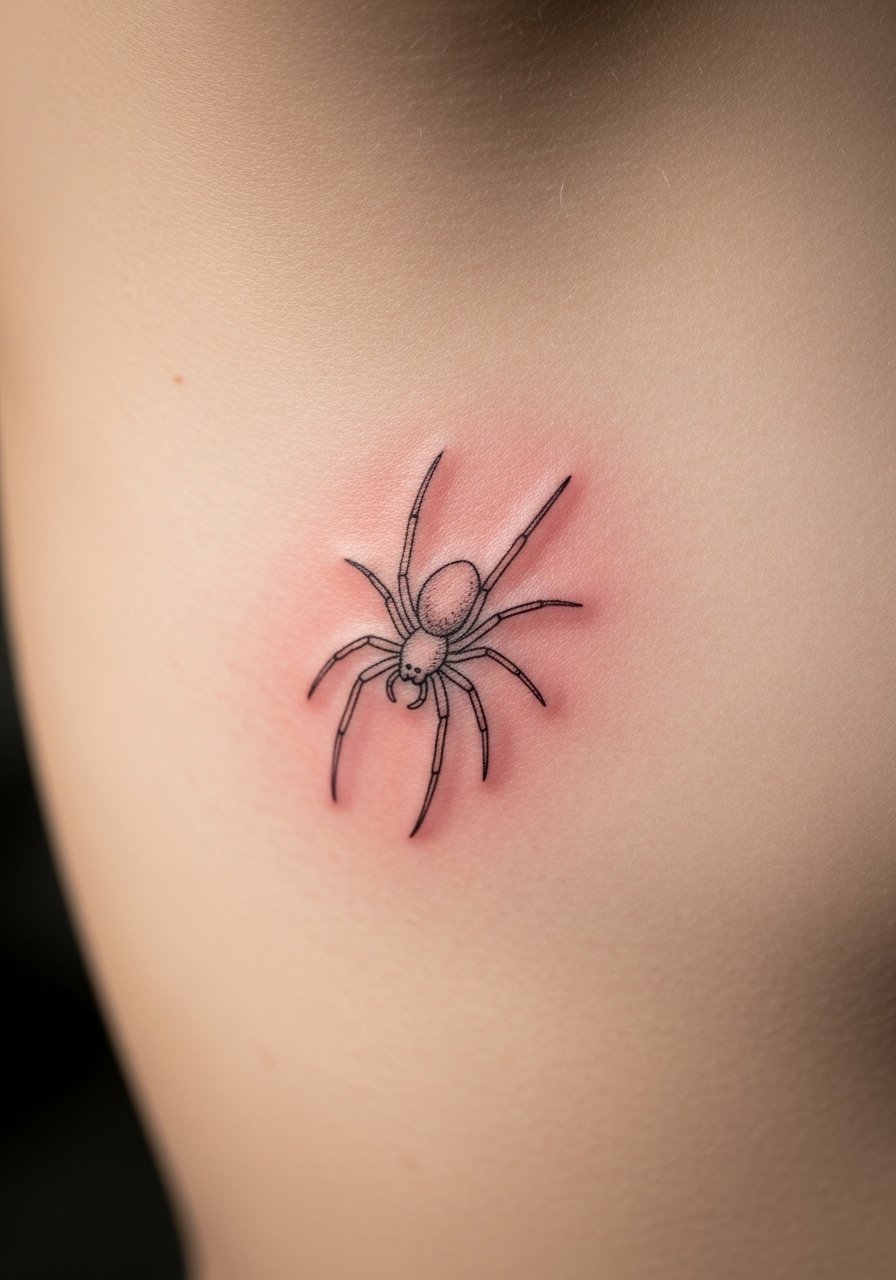
Ribs give a long canvas to show motion, a tiny spider traveling along a curved rib line reads like movement. This is for someone comfortable with a medium pain session and willing to avoid tight clothing during healing. For longevity, map the spider to natural skin folds so the piece flexes with the body rather than stretching perpendicular to grain. Expect the session time to be longer, around 60 to 90 minutes, if you want multiple small spiders or motion lines. Use a non-greasy fragrance-free healing balm in thin layers to avoid trapped moisture under clothing.
Mistake to Avoid: Placing a tiny detailed spider where the skin stretches a lot, which softens detail rapidly.
Style/Technique: Flowing linework, motion placement
Pain Level: 6/10
Session Time: 60 to 90 minutes
Best For: Ribs, side torso, longer canvas placements
7. Minuscule Accent Black Widow Mark
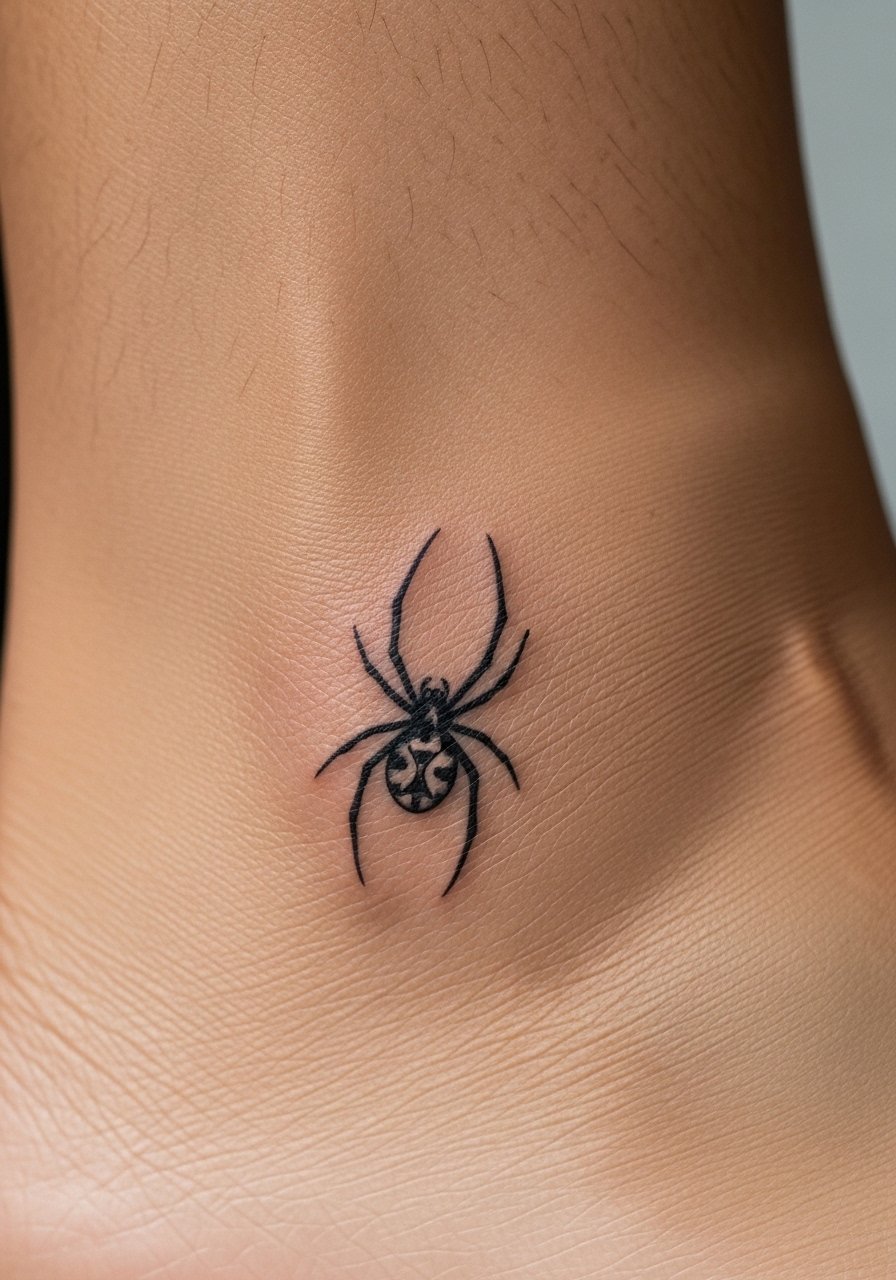
A micro black widow hourglass as an accent reads bold despite its size when the center red is replaced with fine dotwork or left negative. This design requires cultural sensitivity note because black widow imagery can carry different connotations in different communities, so discuss symbolism with your artist first. Keep the mark small, under 8 mm, and use negative space for the hourglass to maintain crispness. Aftercare for contrast spots needs gentle sun protection, so carry a tube of portable zinc stick after healing.
Mistake to Avoid: Asking for a bright red fill at tiny scale, which heals muddy and loses definition.
Style/Technique: Accent mark, negative space hourglass
Pain Level: 3/10
Session Time: 15 to 30 minutes
Best For: Ankle, behind the ear, subtle accents
Before we move to the last two designs, here is what I actually use and recommend for small fine-line work and healing.
Fine-Line Tattoo Essentials
Aftercare Basics:
- Fragrance-free healing balm (~$8-18), thin layers prevent clogged pores.
- Antibacterial tattoo soap (~$6-12), gentle wash twice daily.
- Sterile tattoo bandage (~$10-20), for first 24 hours if your artist uses it.
Protection & Touch-Ups:
- Broad-spectrum SPF stick (~$8-16), for daily protection once healed.
- Portable zinc stick (~$6-12), for bright contrast areas.
- Tiny first-aid kit (~$12-25), useful during the first week.
8. Negative Space Web Cuff
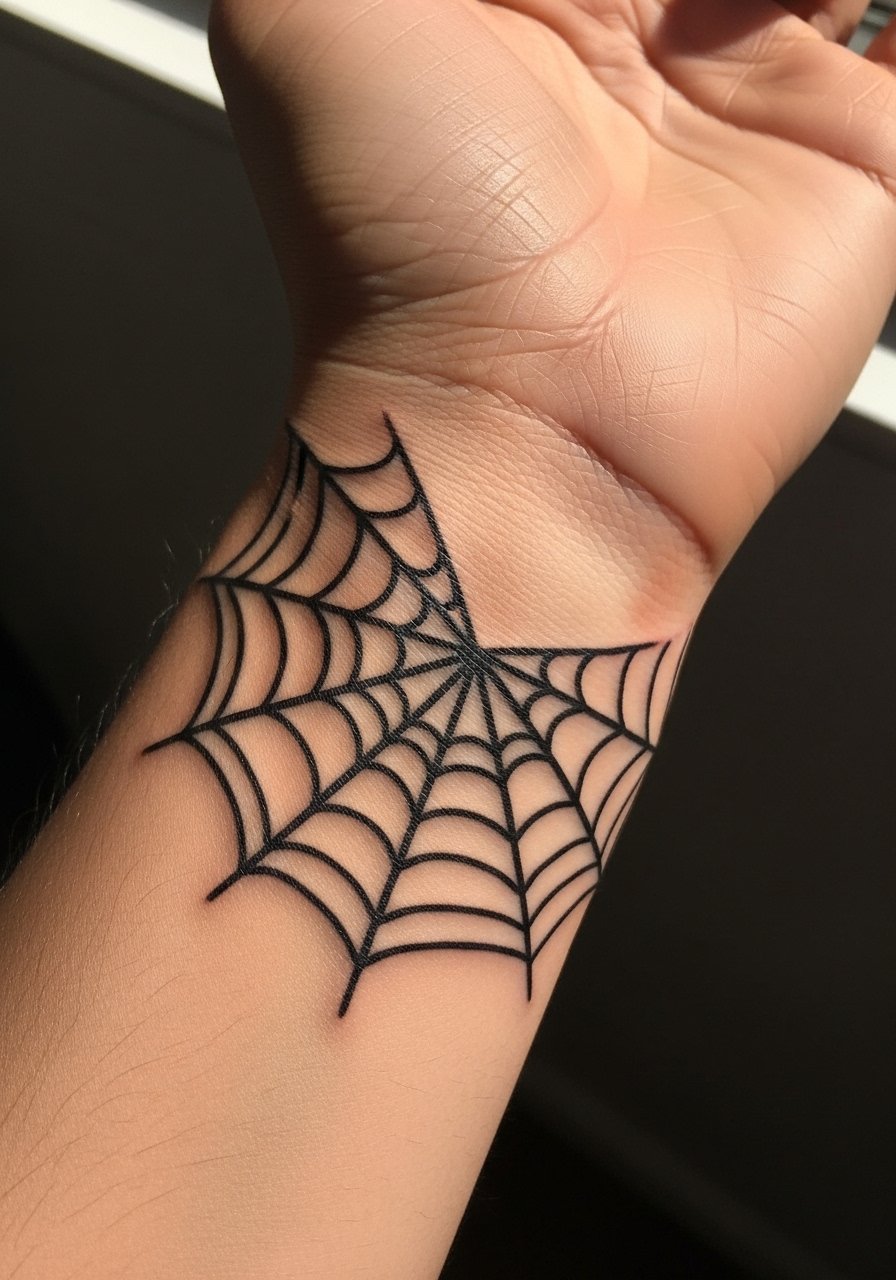
A web cuff using negative space leaves the skin as the highlight and tattoos the lines around it, which reads airy on the wrist or upper arm. It creates a cuff-like feel without heavy black. For a clean result, the artist should plan the negative space to be at least 6 millimeters across in key places so the eye reads the shape from a distance. This is a smart choice for someone who wants the impact of a band without full coverage. Sunscreen after healing is crucial for the contrast, so include a small broad-spectrum SPF stick in your daily bag.
Mistake to Avoid: Making the negative space too tight, which makes the cuff disappear as it ages.
Style/Technique: Negative space cuff, fine-line web
Pain Level: 4/10
Session Time: 30 to 60 minutes
Best For: Wrist, forearm, band-like accents
9. Clustered Motion Spiders
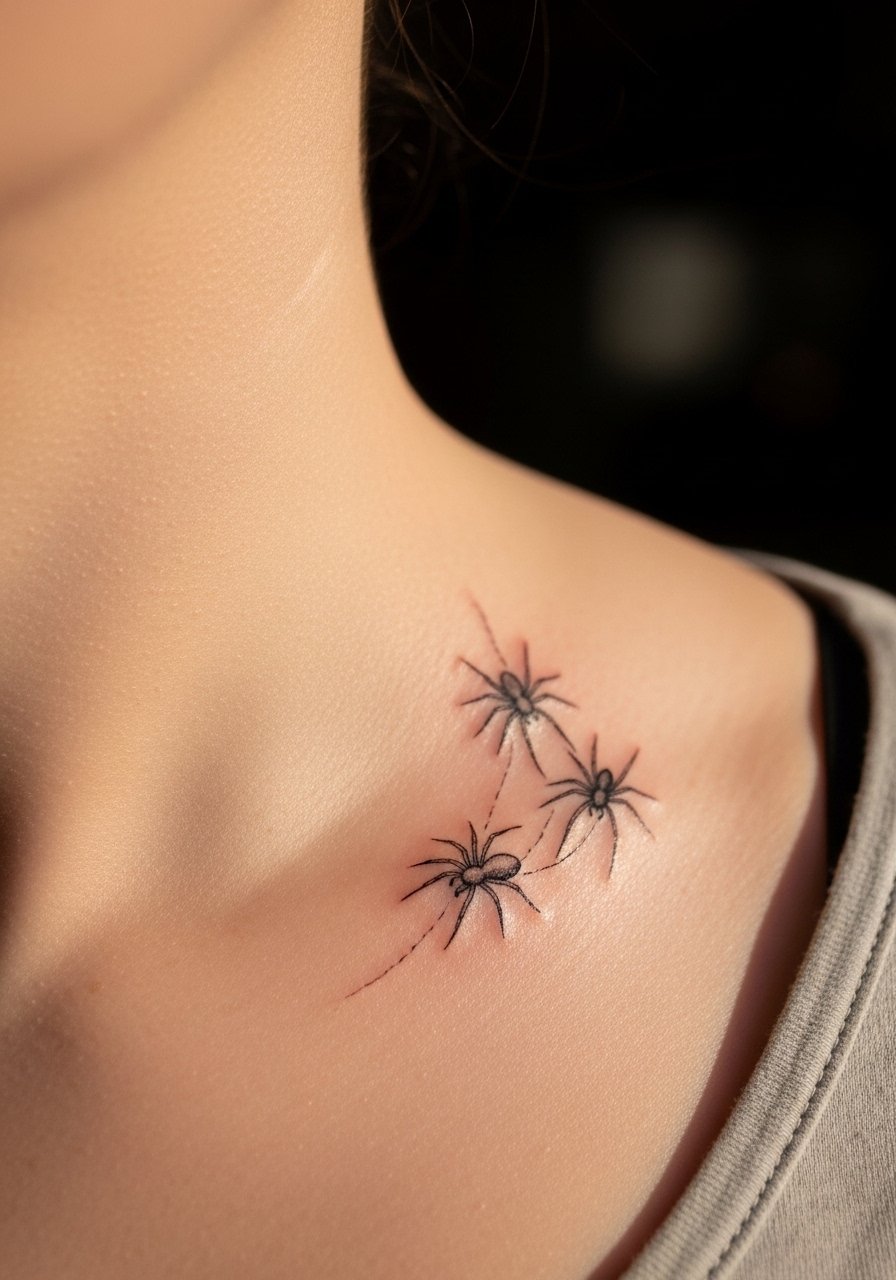
A small group of spiders with slight size and angle variation suggests motion and personality, like a tiny migration. Visually it feels playful and a bit cinematic, best for collarbones or shoulder blades where spacing can be maintained. Keep each spider spaced 8 to 12 millimeters apart so legs do not merge over time. This design suits someone comfortable with a slightly longer appointment but who wants multiple focal points rather than one single dot. A gentle unscented lotion after full healing preserves skin elasticity and line clarity.
Mistake to Avoid: Putting clustered spiders too close, which creates one muddy shape after a year.
Style/Technique: Cluster linework, motion emphasis
Pain Level: 4/10
Session Time: 45 to 75 minutes
Best For: Collarbone, shoulder blade, visible cinematic placements
Fine-Line Aftercare Habits
Start with this: Clean hands before touching a fresh tattoo. After washing, apply a thin layer of fragrance-free healing balm and let it breathe for most of the day.
Avoid soaking the tattoo in water during the first two weeks. Use a gentle antibacterial tattoo soap twice a day and pat dry with a clean towel.
Don’t pick at flakes. If scabs start prying, a thin smear of unscented healing lotion under a breathable bandage helps without trapping moisture.
Sun is the slow eraser. Once healed, daily application of a broad-spectrum SPF stick on exposed pieces keeps lines crisp.
If you suspect early blowout, book a consult rather than trying home touch-ups. A professional will recommend whether a light touch-up or wait-and-see is the right move.