
The moment it clicked was when my artist sketched a tiny cassette on my wrist, not as an exact replica but as a simplified block of color, and it read like a 90s memory instead of a crowded picture. That was the switch: scale down, pick one bold line, and let the skin do the rest. I kept photos of old flash sheets in my phone after that session.
These ideas are for people who want small, wearable nods to the 90s, not full sleeves. Most pieces are single-session or two short sessions, budget friendly, and meant to be easy to hide for work. I noticed the same pattern across five shops I have visited, small simplified flash holds up better through healing and everyday wear than overly detailed miniatures. Expect short sessions, basic aftercare, and designs that look good healed rather than only in a photo.
1. Micro Cassette Wrist Tattoo
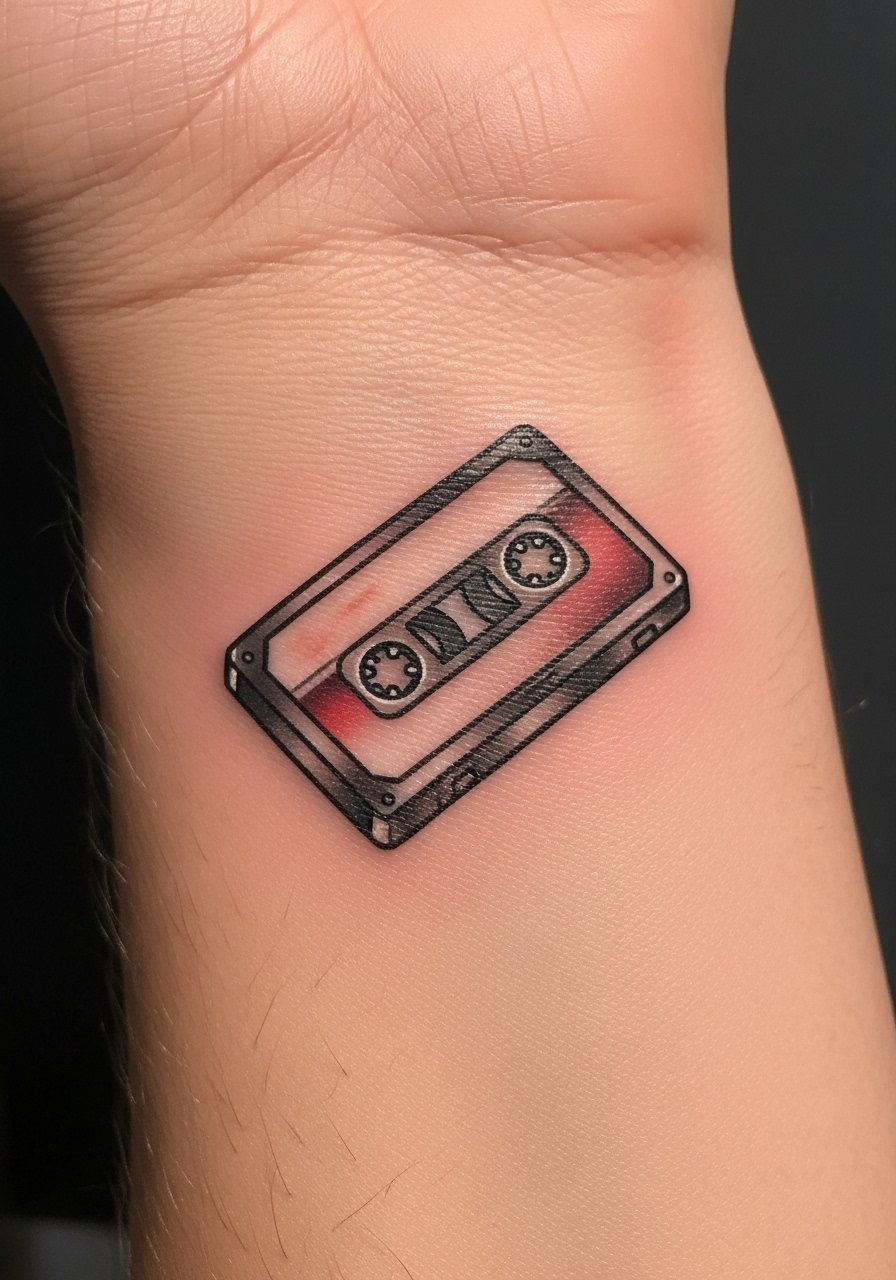
A micro cassette reads instantly because it uses high-contrast outline and one flat color block. Aim for 2 to 3 cm across, a 3RL for the outline and a 7RT shading pass if you want a soft fill. Visually it works by keeping the negative space around the tape, which makes the shape read from a distance. This fits someone who wants a low-commitment, coverable wrist piece and it heals quickly if you keep it dry the first 48 hours. Bring a simple reference and ask for sparing color saturation so edges stay crisp through healing. I keep a small tube of unscented tattoo aftercare balm in my bag for touchups.
Style/Technique: Bold Line Micro
Pain Level: 3/10
Session Time: 30 to 45 minutes
Best For: Inner wrist, people who want coverable flash
Mistake to Avoid: Pushing for photo-real detail at this tiny scale, which blurs in healing.
2. Tiny Tamagotchi Pocket Charm
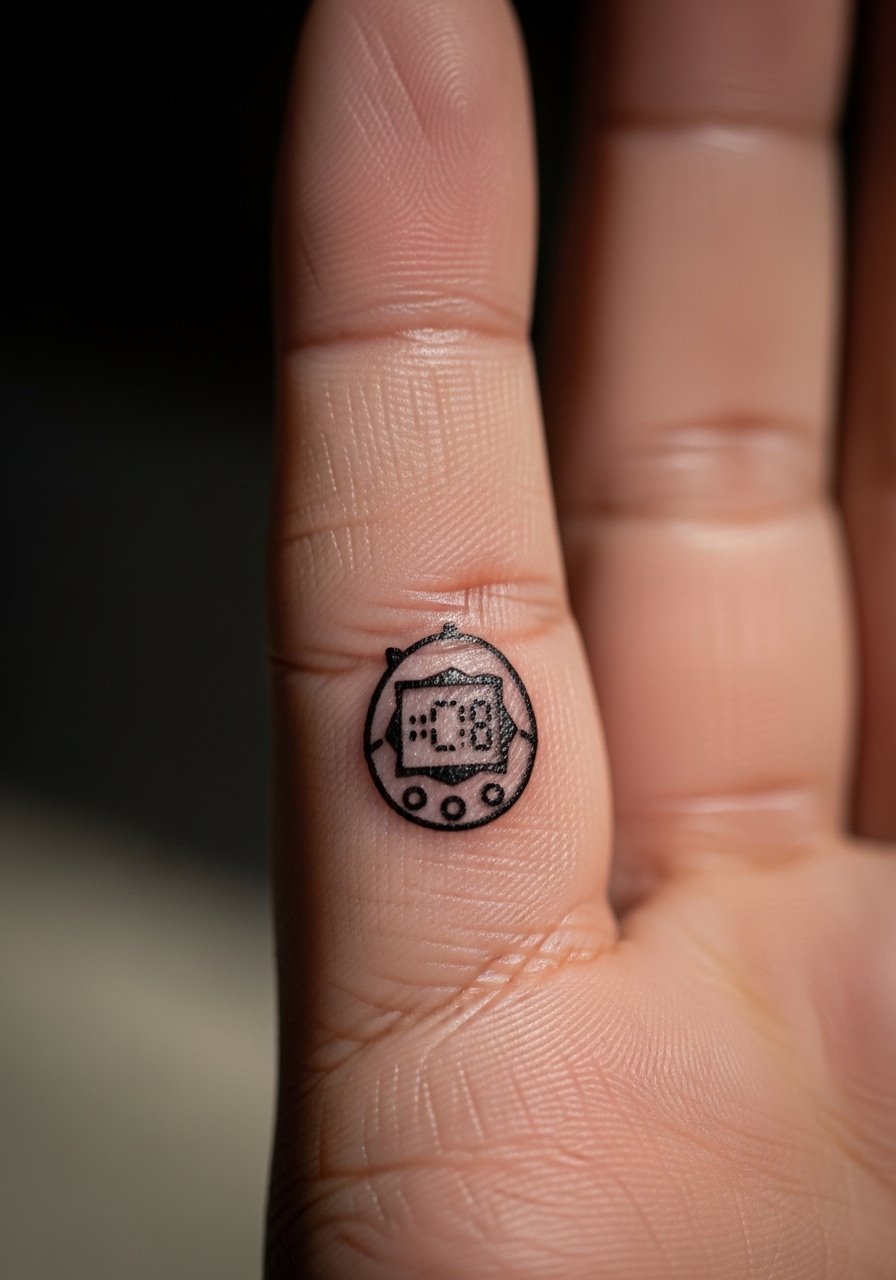
This idea leans cute and nostalgic, a 2 cm icon with 1 to 2 mm dot spacing for the screen pixels. Use a 3RL for the body and a single-color wash for the screen so the face stays readable after healing. It creates a playful, wearable charm vibe and works for fingers, ankles, or behind the ear. Fingers need extra care because of motion and scabbing, so expect a slightly longer visible scab stage that softens by week three. For practice at home try a disposable skin-safe stencil and a gentle green soap cleanser for first washes.
Style/Technique: Tiny Icon Tattoo
Pain Level: 4/10
Session Time: 20 to 40 minutes
Best For: Fingers, ankles, playful placements
Mistake to Avoid: Requesting tiny intricate shading on a finger where movement and washing will erase detail.
3. Mini Pager For Outer Wrist
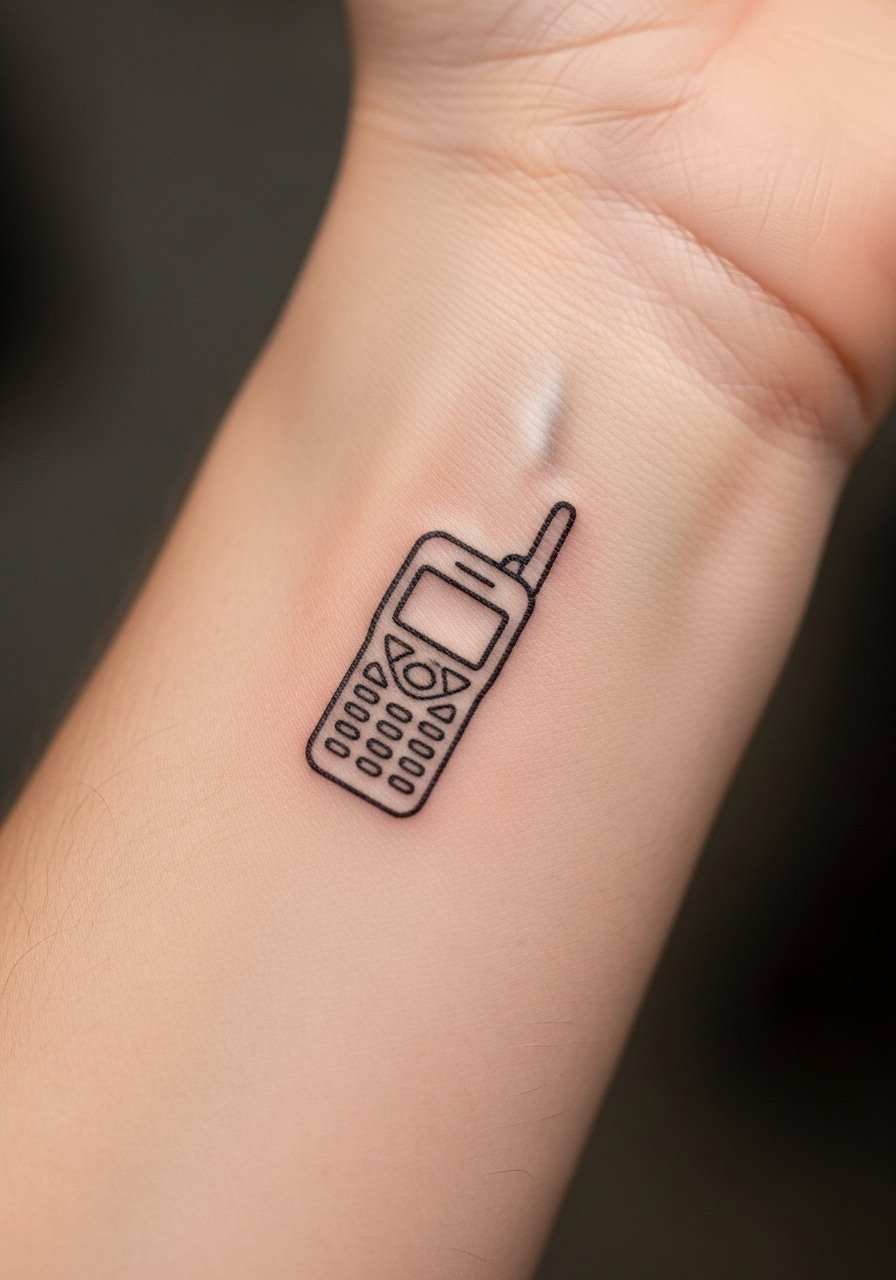
A mini pager is one clean rectangle and one bold button. It reads well at 2.5 to 4 cm using a 5RL for the outline and a single 9RT color block for the screen. The result feels retro and slightly cheeky, ideal for people who want a 90s tech nod that is still professional when covered by sleeves. For longer lasting edges ask the artist to leave a 1 mm breathing room between lines and color fills. I tested this across three shops I have visited and the common trick that works is slightly oversizing the outline by 0.5 mm to prevent feathering during healing. Keep a disposable razor for pre-session prep if needed.
Style/Technique: Simplified Icon
Pain Level: 3/10
Session Time: 30 to 50 minutes
Best For: Outer wrist, coverable with long sleeves
Mistake to Avoid: Asking for hairline detail inside the rectangle that will blur into a gray patch by week four.
4. VHS Static TV Patch
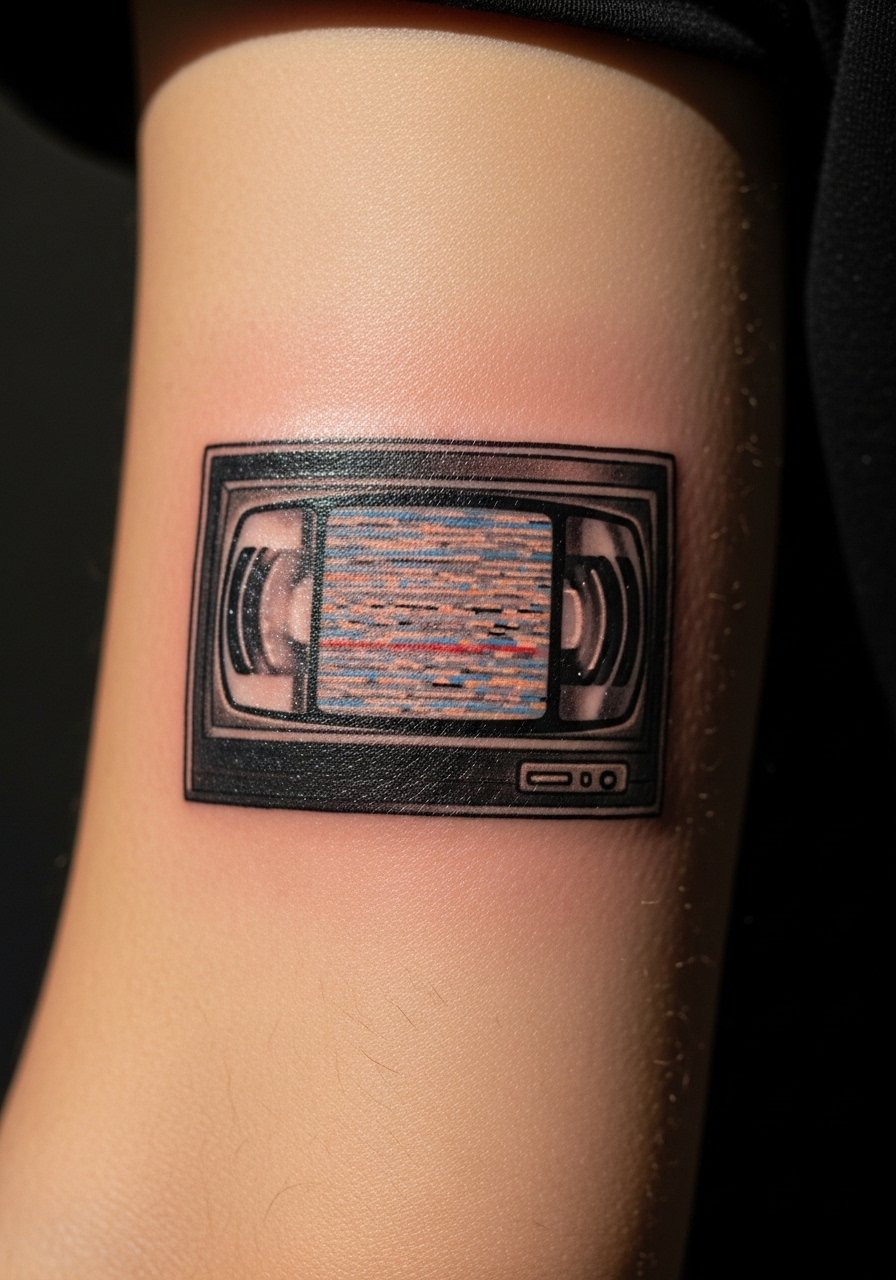
This patch uses stippling and short hatch lines to mimic static. Size it 4 to 6 cm so dots and short lines remain distinct. Use a 3RL for the TV frame and a 5M or magnum for soft dotwork fills where depth is needed. Visually it creates a slightly gritty, nostalgic texture, good for anyone who prefers graphic blackwork over color. Healing shows a lot of tiny scabs that soften into soft gray texture, so plan for a two-week visual transition. I bring a box of stencil transfer paper with me when coordinating custom flash so the artist nails placement on skin curves.
Style/Technique: Dotwork Patch
Pain Level: 4/10
Session Time: 45 to 75 minutes
Best For: Outer forearm, flat skin that holds detail
Mistake to Avoid: Picking a 2 cm size for stippling that will read as a muddy gray after healing.
5. Blocky 90s Pixel Heart
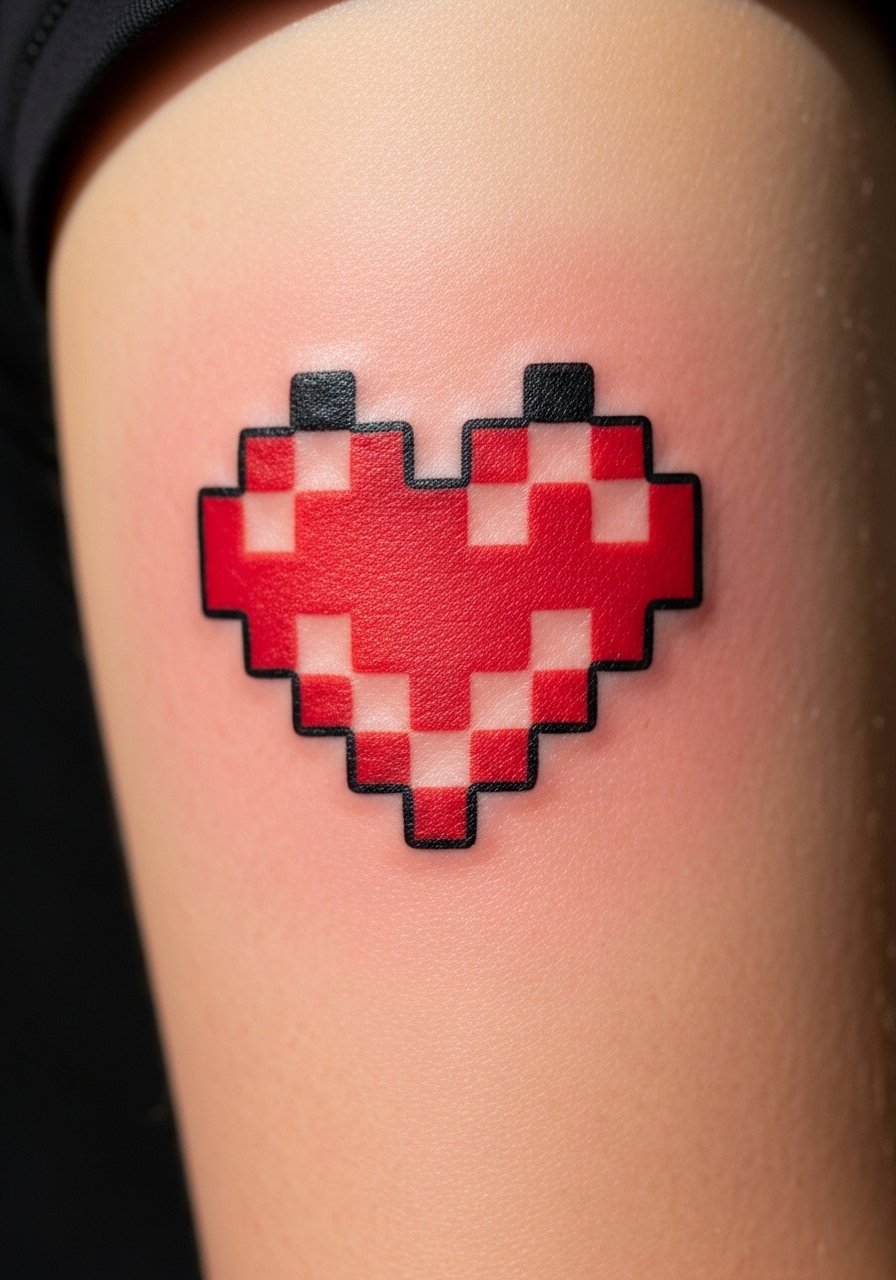
Pixel hearts depend on crisp square blocks. Design it at 2.5 to 4 cm so each square sits at least 1.5 mm. A 5RT or small magnum packed gently gives even color blocks without oversaturating. The feeling is youthful and graphic, it fits anyone who wants an easy-to-hide arm or chest accent. Color choices matter, a slightly muted red reads older rather than fluorescent. Ask for lower pigment load in the ink toward the edges so the squares keep defined negative space during healing. Bring a tube of fragrance-free healing ointment for the first week.
Style/Technique: Geometric Color Block
Pain Level: 3/10
Session Time: 30 to 50 minutes
Best For: Upper arm, chest, coverable placements
Mistake to Avoid: Requesting extremely bright neon reds which can blow out and feather into the squares.
6. Neon Rollerblade Ankle Accent
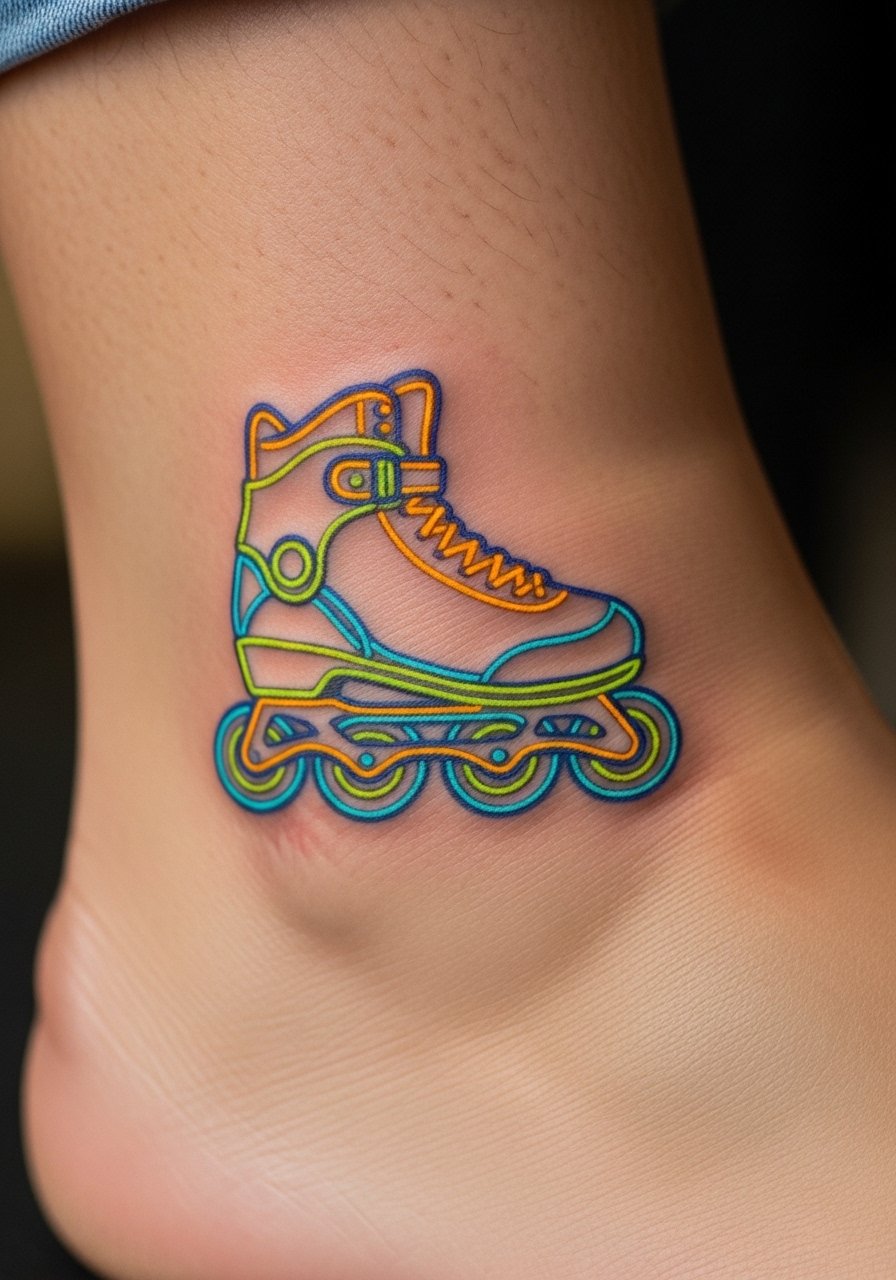
A small neon rollerblade works as a linear outline with one pop color, sized 3.5 to 5 cm for leg placement. Use a 3RL for clean lines and a thin 5RT color wash to give the neon a soft glow. This design reads playful and movement-focused, good for ankles and calves for people who like visible accents. UV glow elements are optional, but regular colored ink ages more predictably. Healing can reveal a slightly raised line that flattens after month two, so expect initial crispness to soften. Pack a small aftercare balm stick if you wear socks or boots while it heals.
Style/Technique: Linework With Single-Color Wash
Pain Level: 4/10
Session Time: 40 to 60 minutes
Best For: Ankle, calf, visible weekend wear
Mistake to Avoid: Picking heavy saturation for small color washes that will scab and flake unevenly.
7. Smiley Face Logo Behind Ear
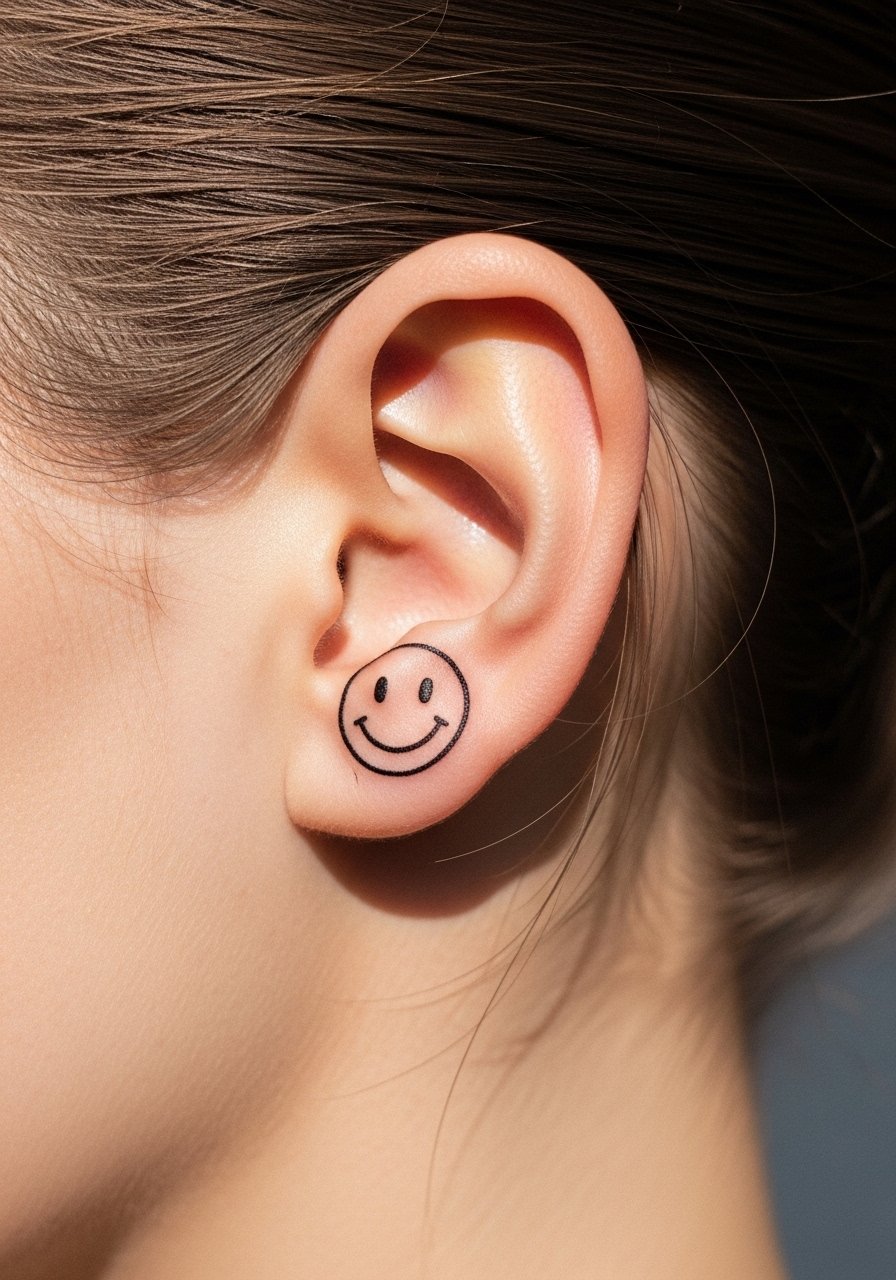
A behind-the-ear smiley is discreet and iconic. Keep it 1.2 to 1.8 cm for the best coverability, use a 3RL for the outline and skip shading. It creates a playful, near-invisible accent when hair is down and a secret pop when hair is up. Behind-ear skin tends to thin and moves with hair, so expect a slightly uneven scab stage that heals into a soft dot. For sensitive placements I recommend a numbing option if available and a mild fragrance-free cleanser for gentle washes. If you work in conservative settings this placement is easy to hide.
Style/Technique: Minimal Line Icon
Pain Level: 5/10
Session Time: 15 to 30 minutes
Best For: Behind ear, discreet visible charm
Mistake to Avoid: Demanding micro-shading around the eyes which will not remain distinct on such thin skin.
If any of these ideas have you scribbling on paper, here are the items I actually rely on when I plan a small flash piece.
90s Flash Tattoo Essentials
Aftercare:
- Unscented tattoo aftercare balm (~$8-15), gentle and keeps small pieces soft.
- Fragrance-free healing ointment (~$7-14), for first 48 hours.
Stencil & Prep:
- Tattoo transfer paper (~$10-20), helps test placement.
- Disposable razor sensitive skin (~$5-10), for small prep areas.
Clean & Protect:
- Green soap tattoo cleanser (~$6-12), for the studio rinse.
- Aftercare balm stick (~$6-12), handy for pockets.
8. UV Neon Flash For Nightclubs
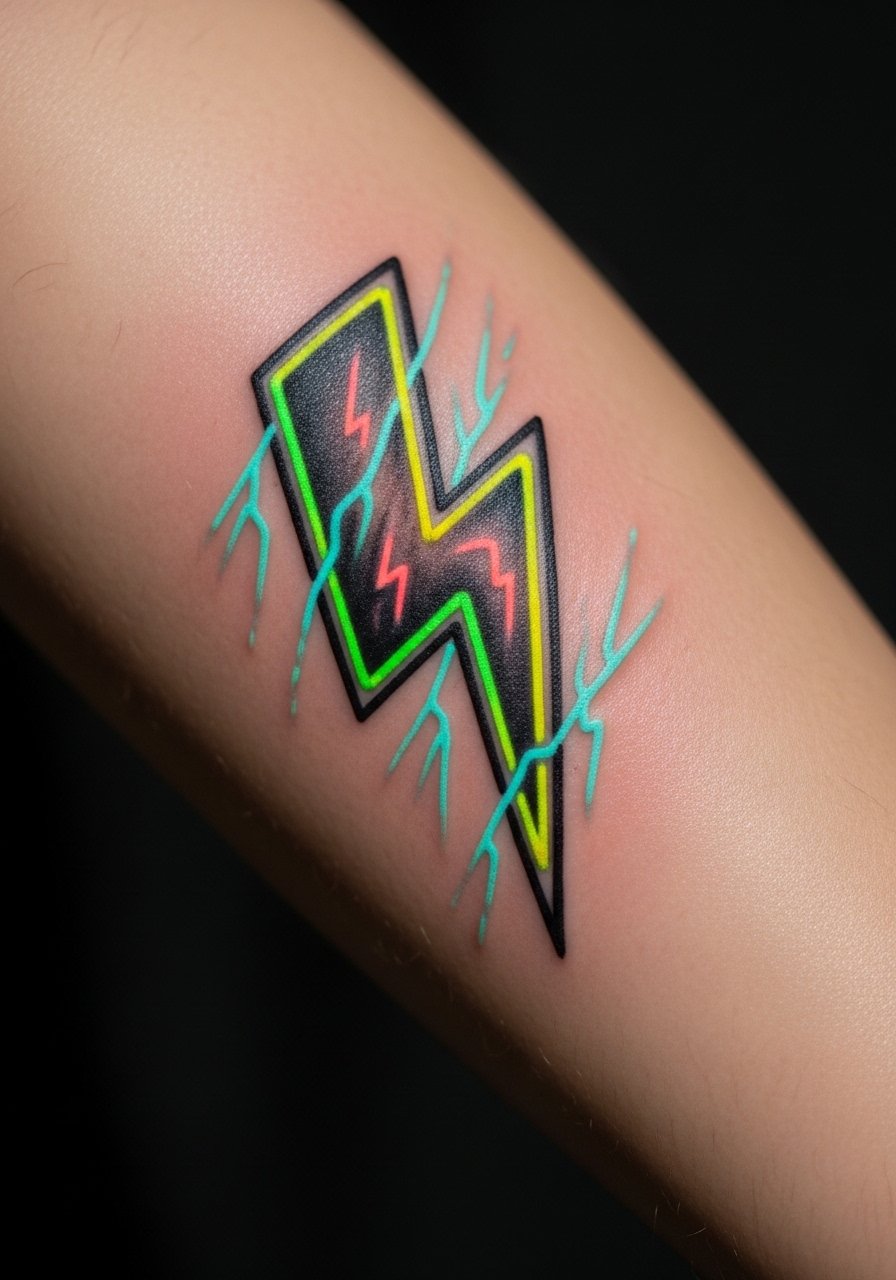
UV ink gives a true 90s club vibe but it needs honest troubleshooting. Use only a small UV accent, under 3 cm, combined with regular pigmented outlines so the piece reads in daylight. UV ink tends to sit shallower and fade faster, so plan touchups at year one. For nightlife pieces request a healed-test approach where the artist leaves bolder black edges, then places UV inside. Expect a different healing look, often lighter during scab stage and then bright under blacklight only after full healing. I learned this after trying UV accents across a couple of shops, and bringing fragrance-free cleanser helps keep UV areas from dulling.
Style/Technique: UV Accent With Black Outline
Pain Level: 4/10
Session Time: 30 to 60 minutes
Best For: Forearm, night-out visible areas
Mistake to Avoid: Relying on UV ink alone without a standard pigment outline that reads in daylight.
9. Cover-Up Friendly Flash Band
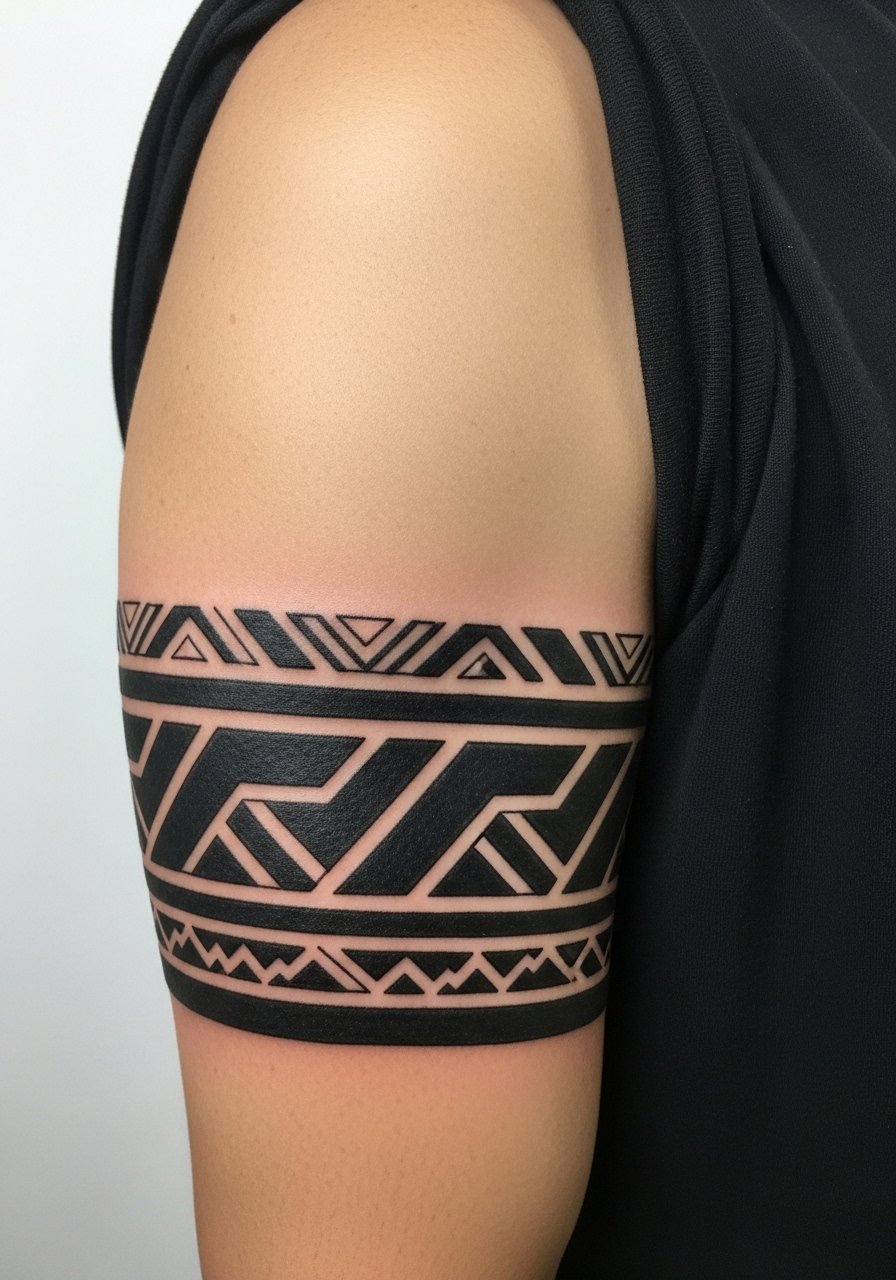
If you have an older scabby piece that needs life, a band-style flash with bold black line weight and filled color is a strong solution. Use 6RL for the outer lines and layered color passes with a 9RT to mask old ink. The key is size, aim for a minimum 6 cm band width to give the artist room to hide old lines. This reads as a deliberate 90s bracelet rather than a patch job. Healing will show heavier scabbing in first two weeks if pigment load is dense, so plan for extended aftercare. I recommend bringing a product like high-pigment cover-up ointment for photos while it settles.
Style/Technique: Bold Cover Band
Pain Level: 5/10
Session Time: 60 to 120 minutes
Best For: Upper arm, cover-up applications
Mistake to Avoid: Choosing a narrow band that forces the artist into tiny touchups which show through quickly.
Keeping 90s Flash Bright
Bold line beats tiny detail. Small icons stay readable when the outline is the focus, and packs of stencil transfer paper help you test placement before committing.
Grab unscented tattoo aftercare balm. Apply a thin layer twice a day for the first week, less is better than too much.
If most of your day involves water or friction, skip placements like fingers and go for inner wrist or behind the ear. A fragrance-free cleanser keeps early scabs clean without drying.
UV accents fade faster, so budget for a top-up. A small bottle of aftercare balm stick in your pocket helps when you travel or switch climates.
