
I kept asking artists for more detail and ending up with a flat mess until I learned that a spider sleeve is about placement and texture, not just a scary silhouette. The moment an artist mapped the web to the arm’s natural lines, the whole piece read like it belonged there.
These ideas lean practical and varied, for guys who want sleeves that age well and still read from a distance. Expect a mix of quick sessions and multi-visit builds. If you are new to sleeves, budget for touch-ups and pick pieces you can cover for work when needed. I learned across five shops I have visited that the right placement saves hours and touch-up money.
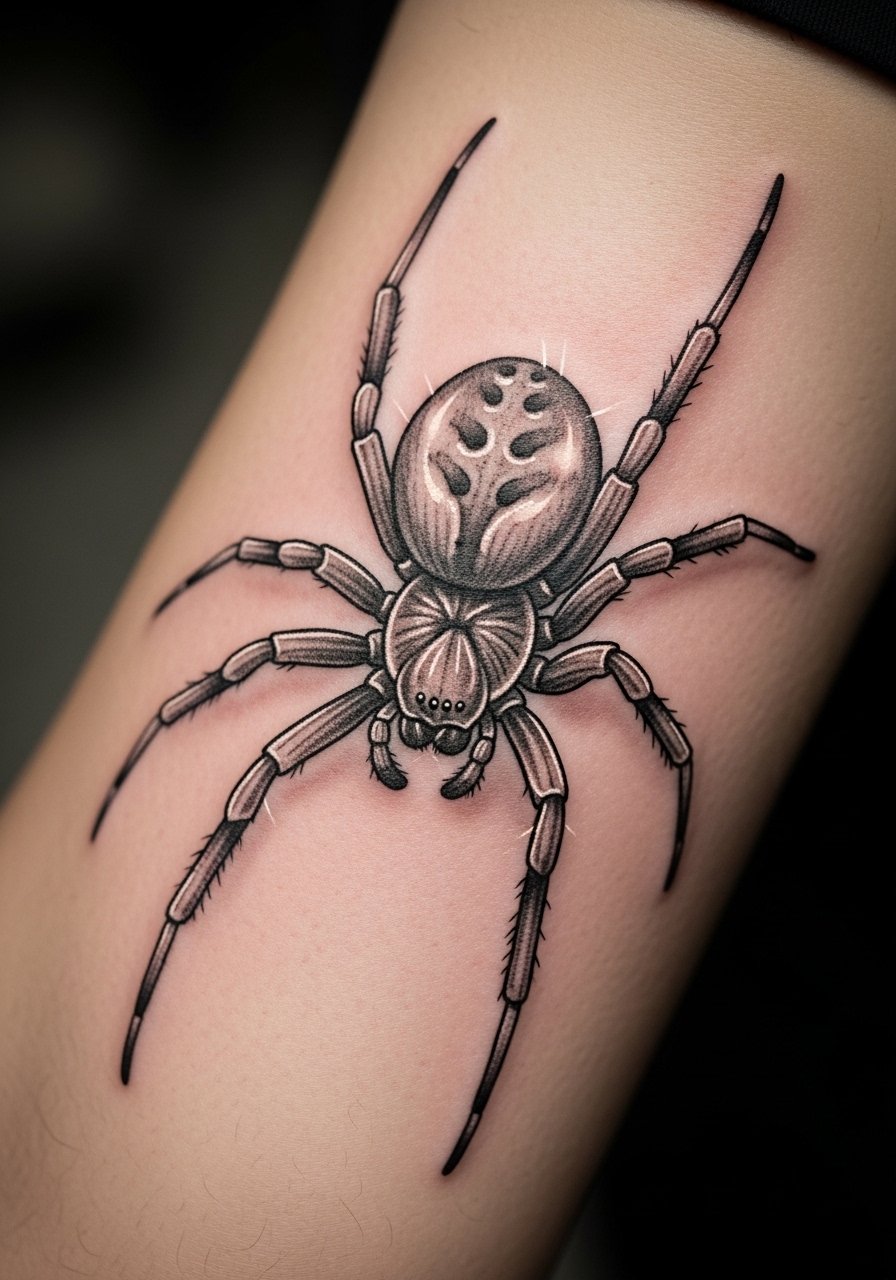
1. Black-and-Gray Realism Spider
Style/Technique: Realism, fine shading
Pain Level: 6/10
Session Time: 2 to 5 hours
Best For: Forearm to upper arm, men wanting dramatic but classic work
A black-and-gray realistic spider sells depth through gradients, soft shadows, and tiny white highlights near the legs. It works because the gray washes create roundness and the fine white pinpoints fake light reflection. This fits someone who wants a sleeve that looks photographic without color maintenance, and it is approachable for most budgets in two shorter sessions. I recommend using fragrance-free healing ointment in the first week and sunscreen after healing. For touch-ups, ask for 1.0 to 1.5 mm line refreshes for the legs. Grab a gentle unscented soap to keep the area clean during healing.
Mistake to Avoid: Asking for every detail too small for the scale, which reads muddy once the arm moves.
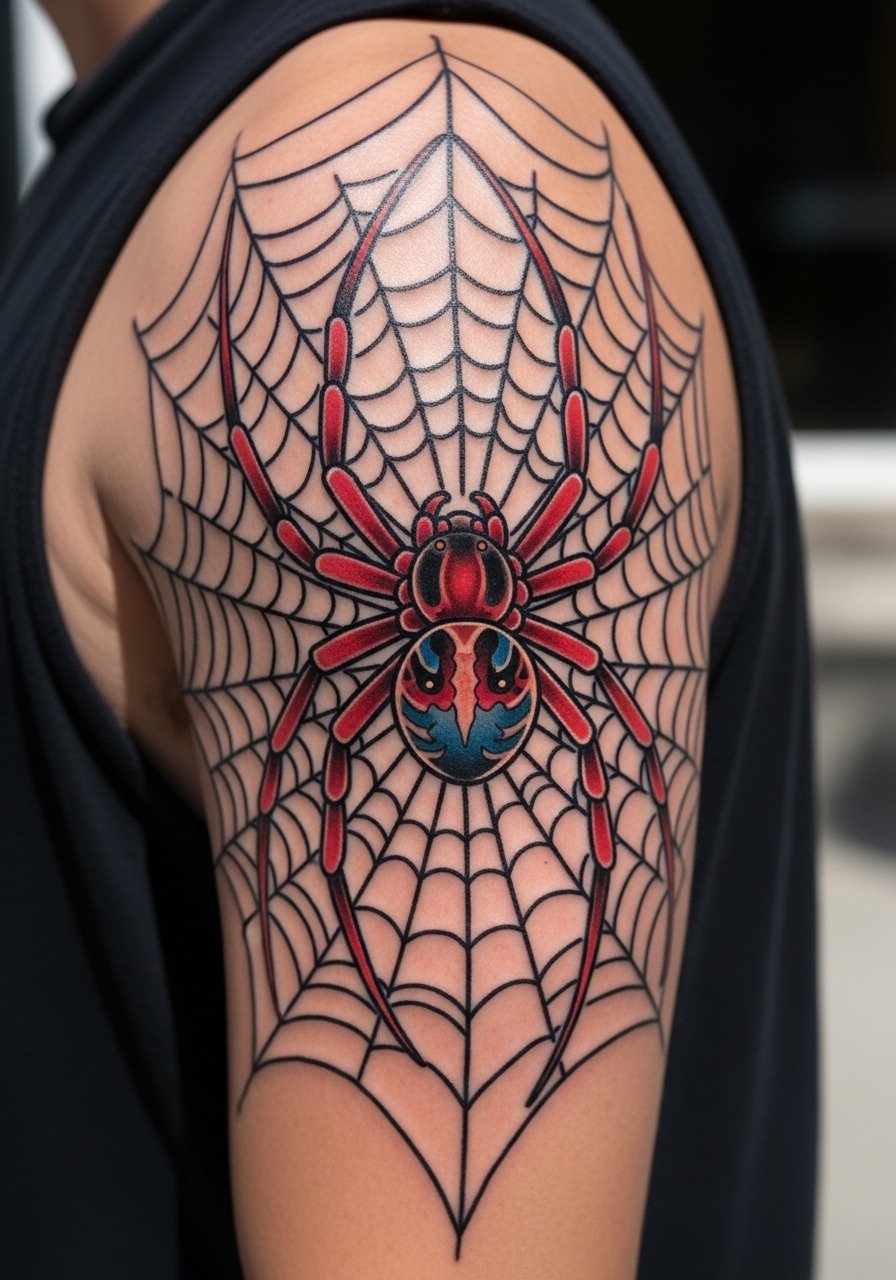
2. Neo-Traditional Spider with Bold Color
Style/Technique: Neo-traditional, bold color packing
Pain Level: 7/10
Session Time: 2 to 6 hours across sessions
Best For: Upper arm or full sleeve, men who want vivid contrast
This approach pairs a chunky spider silhouette with saturated color fills in the web and background florals. What makes it pop is heavy color packing next to thick outlines, so the spider reads from a distance even as small details hold up close. It gives a wearable comic-book vibe while staying masculine. Budget for longer sessions because color needs layering. Use a mineral sunscreen after healing to slow fading. I like recommending a travel-size SPF mineral sunscreen for daily protection.
Mistake to Avoid: Picking neon or pastel colors that fade fast on inner-arm placements.
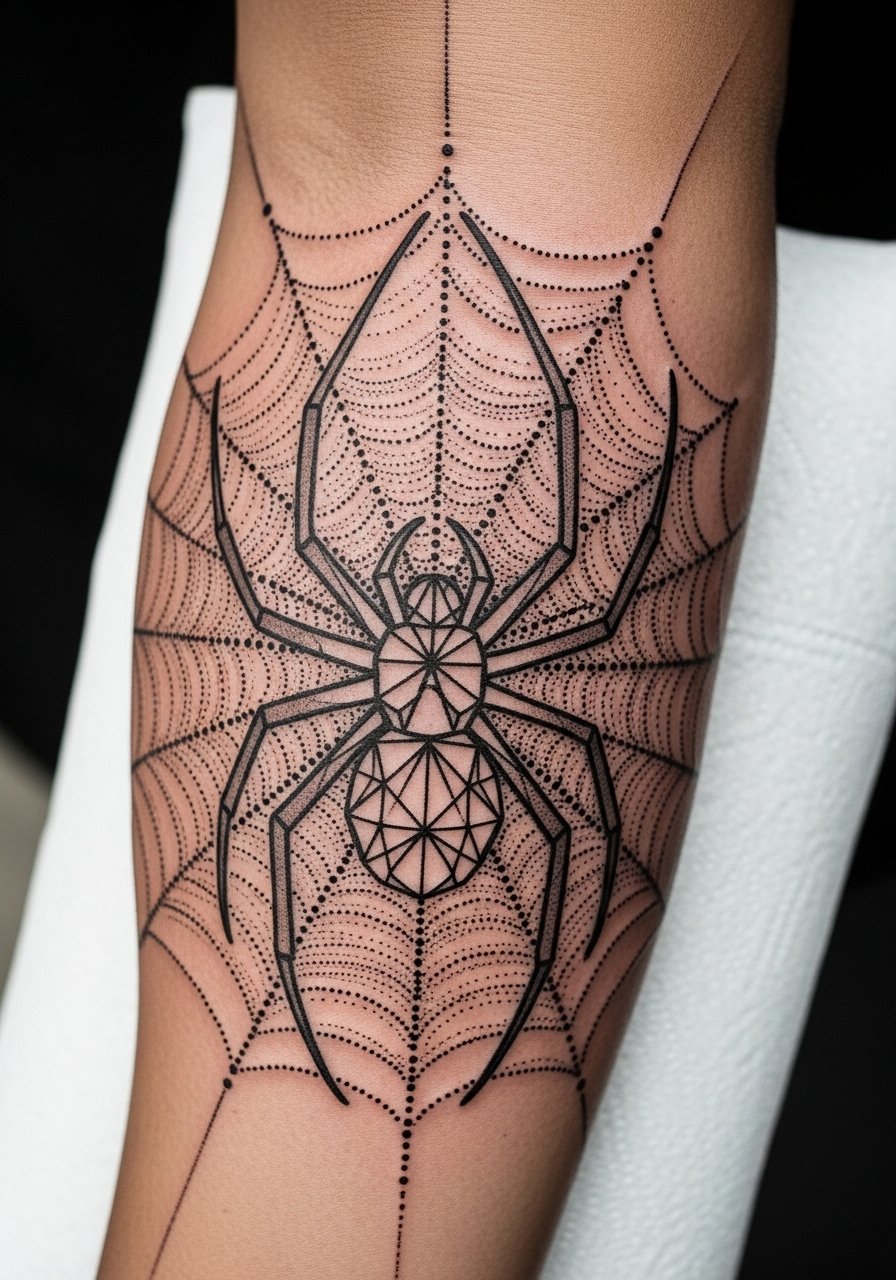
3. Geometric Spider and Dotwork Web
Style/Technique: Geometry and dotwork
Pain Level: 5/10
Session Time: 3 to 6 hours
Best For: Men who prefer modern, patterned sleeves
Geometric spiders use crisp shapes and stippled shading to suggest mass without realism. The dot density is what sells it, so expect clusters of 2 to 4 mm spacing in shaded areas for a soft gradient effect. Visually it feels modern and deliberate, great for someone who wants a sleeve that reads architectural. Dotwork ages predictably if you keep contrast high at the start. For stencil crispness, pick a quality transfer paper and ask your artist to check line weight at 1 mm for primary outlines. I usually bring a spare roll of tattoo transfer paper for stencil prep sessions.
Mistake to Avoid: Letting the artist use overly dense dots near joints, which blurs with movement over time.
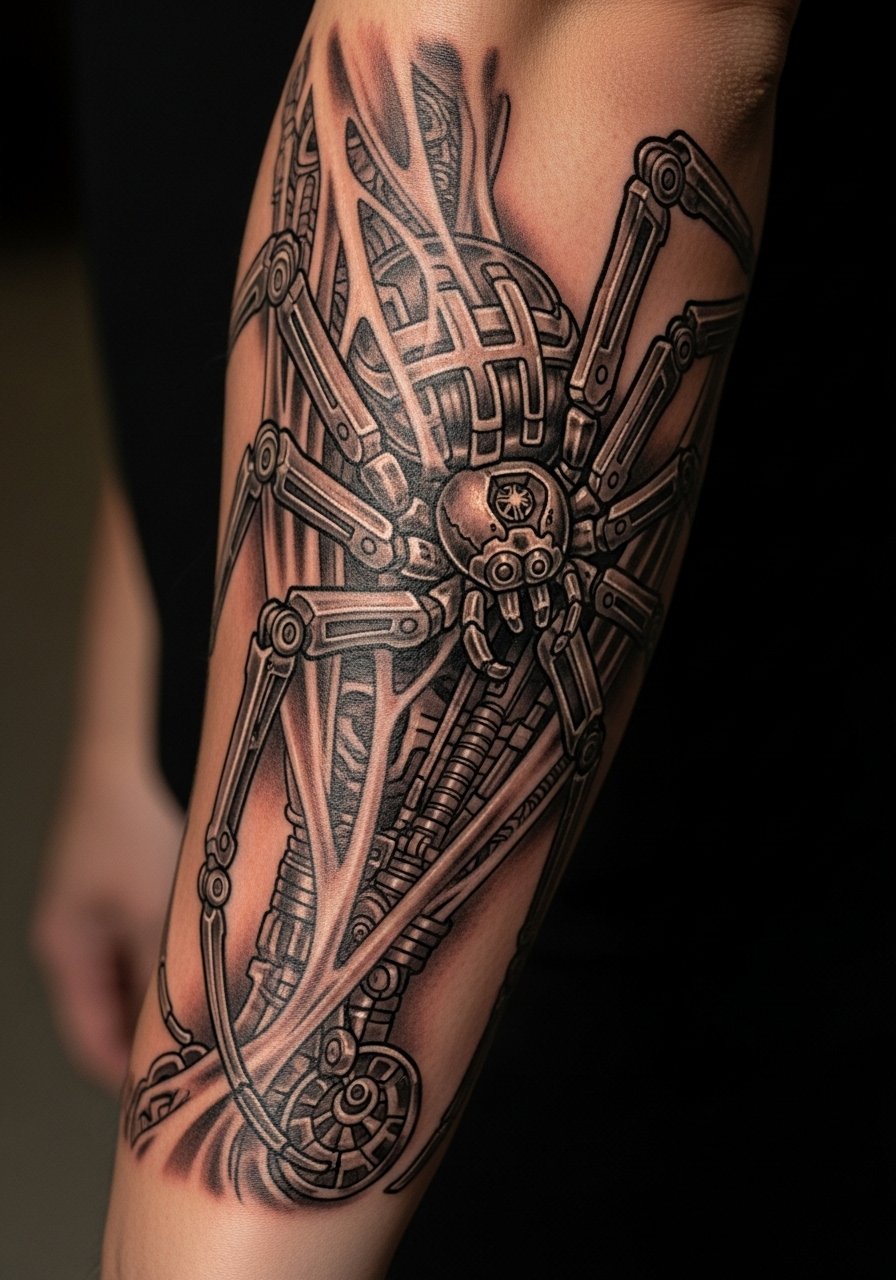
4. Biomechanical Spider Sleeve
Style/Technique: Biomechanical realism
Pain Level: 8/10
Session Time: 4 to 8 hours across sessions
Best For: Men who want an industrial, tech-inspired sleeve
A biomechanical spider fuses mechanical parts into anatomy to create a half-organic, half-machine look. It works visually because the negative space becomes part of the design, giving the illusion of depth. This is more advanced and often needs layering across sessions to let shading settle. Mention your job visibility needs since inner forearm pieces can be hard to hide. For aftercare, a breathable film during the initial 24 hours can protect crisp highlights. I recommend a barrier film like tattoo bandage film for the first day after in-studio application.
Mistake to Avoid: Overcomplicating tiny mechanical parts that will lose definition when the skin stretches.
5. Fine-Line Minimal Spider Wrap
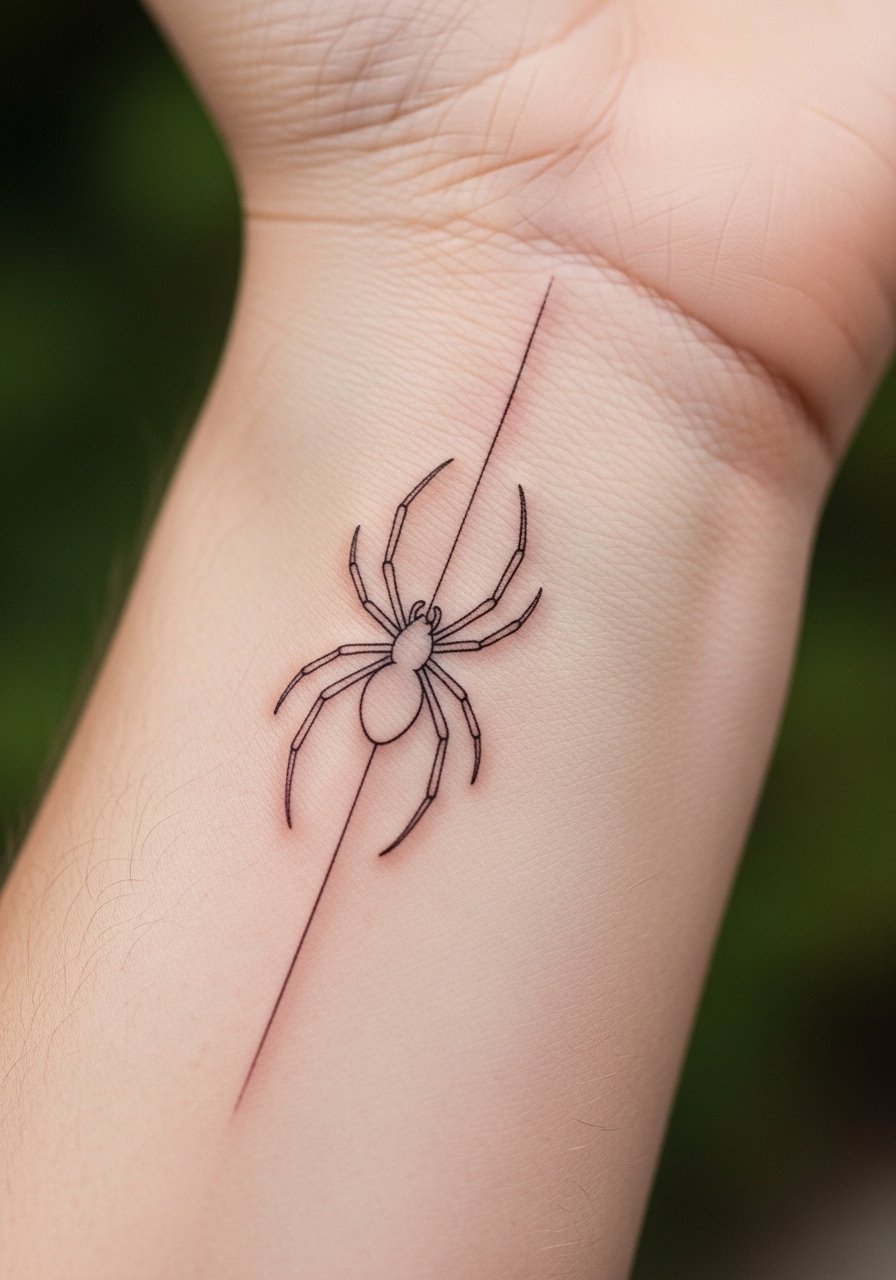
Style/Technique: Fine-line, single-needle
Pain Level: 4/10
Session Time: 1 to 2 hours
Best For: Men wanting subtle sleeves that can be hidden or extended
Minimal spiders use single-needle line work and negative space to imply legs and web. The charm is subtlety; at arm scale, keep primary lines between 0.6 and 1.0 mm so they stay crisp but not delicate to the point of fading. This suits people who need work-coverable ink or first-timers testing a sleeve direction. It is lower budget and often done in one session. Use a thin-film aftercare ointment for the first 48 hours and then switch to fragrance-free lotion. A small tube of healing ointment is handy for the first week.
Mistake to Avoid: Asking for ultra-thin hairlines across the whole sleeve, which disappear after healing.
6. Tribal Band Spider Wrap with Respect
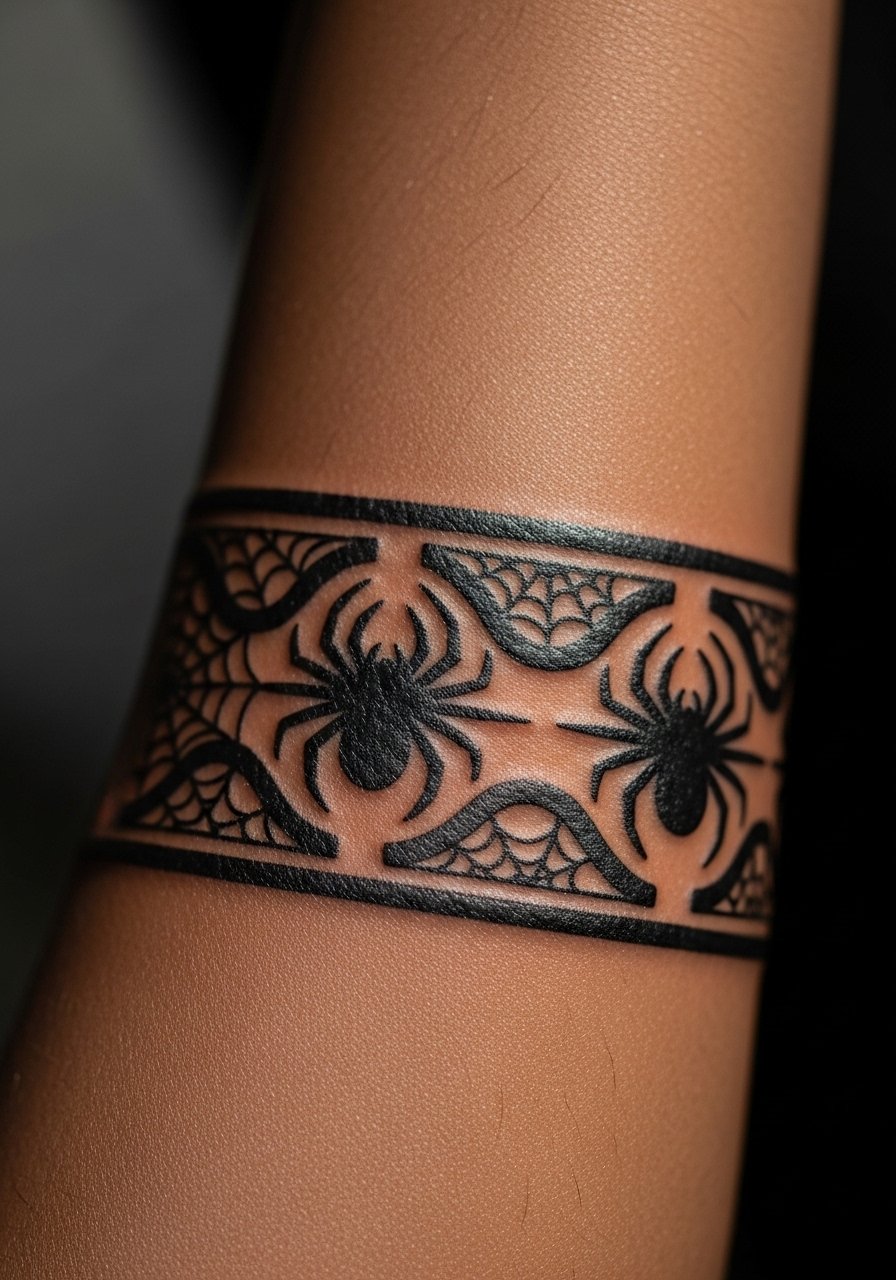
Style/Technique: Blackwork tribal-inspired
Pain Level: 6/10
Session Time: 2 to 4 hours
Best For: Men who prefer strong silhouettes and statement bands
A banded spider wrap in heavy blackwork reads well on all skin tones and ages gracefully. If you choose tribal motifs, be explicit with your artist about not copying sacred symbols from living cultures. The power of this piece is the high-contrast black filling and clean negative-space legs. It is low-maintenance and hides small aging issues. For application, expect solid passes to avoid patchy fill. Bring a pair of long, loose sleeves for the first week to avoid rubbing. Consider packing a tube of fragrance-free moisturizer for the later healing phase.
Mistake to Avoid: Using actual ceremonial or cultural patterns without permission, which can offend and age poorly visually.
7. Hourglass Spider for Dark Accents and Cover-Ups
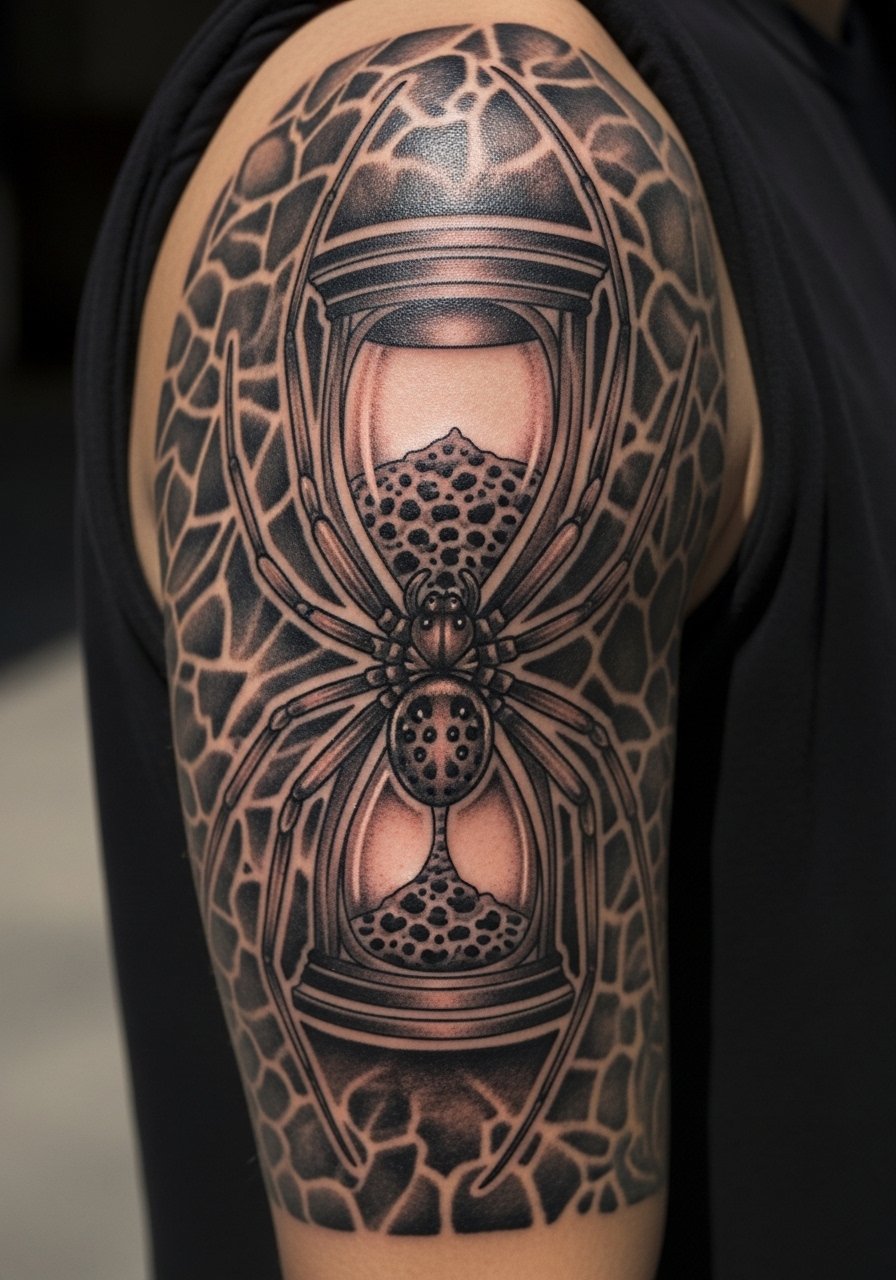
Style/Technique: Blackwork cover-up with realism
Pain Level: 7/10
Session Time: 3 to 6 hours across sessions
Best For: Men covering old tattoos or wanting high-contrast sleeves
Using a spider with an hourglass body lets you build dense black around problem areas to mask older ink. Cover-ups rely on scale, so the spider often needs to be slightly larger than the old piece. The trick is mapping new dark zones to the old tattoo and using textured shading to distract. After three sessions I learned to space cover-up ink with at least four weeks between visits to let scabbed layers settle. A good aftercare balm keeps the new layers supple during healing.
Mistake to Avoid: Expecting a single short session to fully cover saturated old color without planning multiple visits.
If any of these ideas have you ready to actually try something, here is everything worth picking up.
Spider Sleeve Starter Kit
Aftercare Essentials:
- Unscented antibacterial soap (~$6-12) for daily cleansing.
- Tattoo aftercare balm (~$10-20) to keep new ink moisturized.
- Breathable tattoo bandage film (~$8-15) for initial protection.
Protection & Touch-Ups:
- SPF mineral sunscreen for tattoos (~$12-20) to slow fading.
- Fragrance-free lotion (~$8-18) for ongoing hydration.
Studio Prep:
- Tattoo transfer paper (~$10-20) if you want stencil experiments.
- Disposable razors (~$5-12) to prep the area without irritation.
- Nitrile gloves (~$12-20) for clean at-home touch-ups preparation.
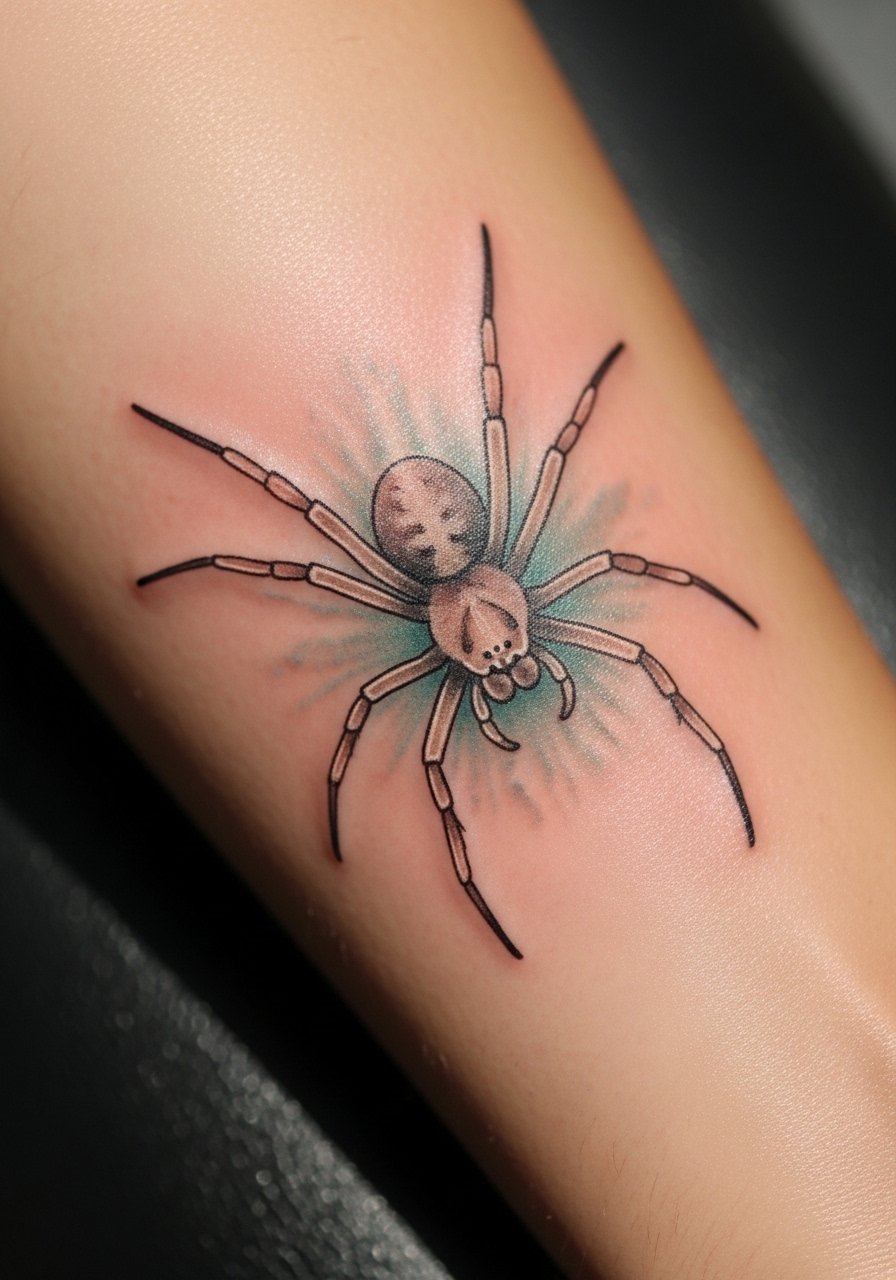
8. Hyperreal 3D Spider That Pops
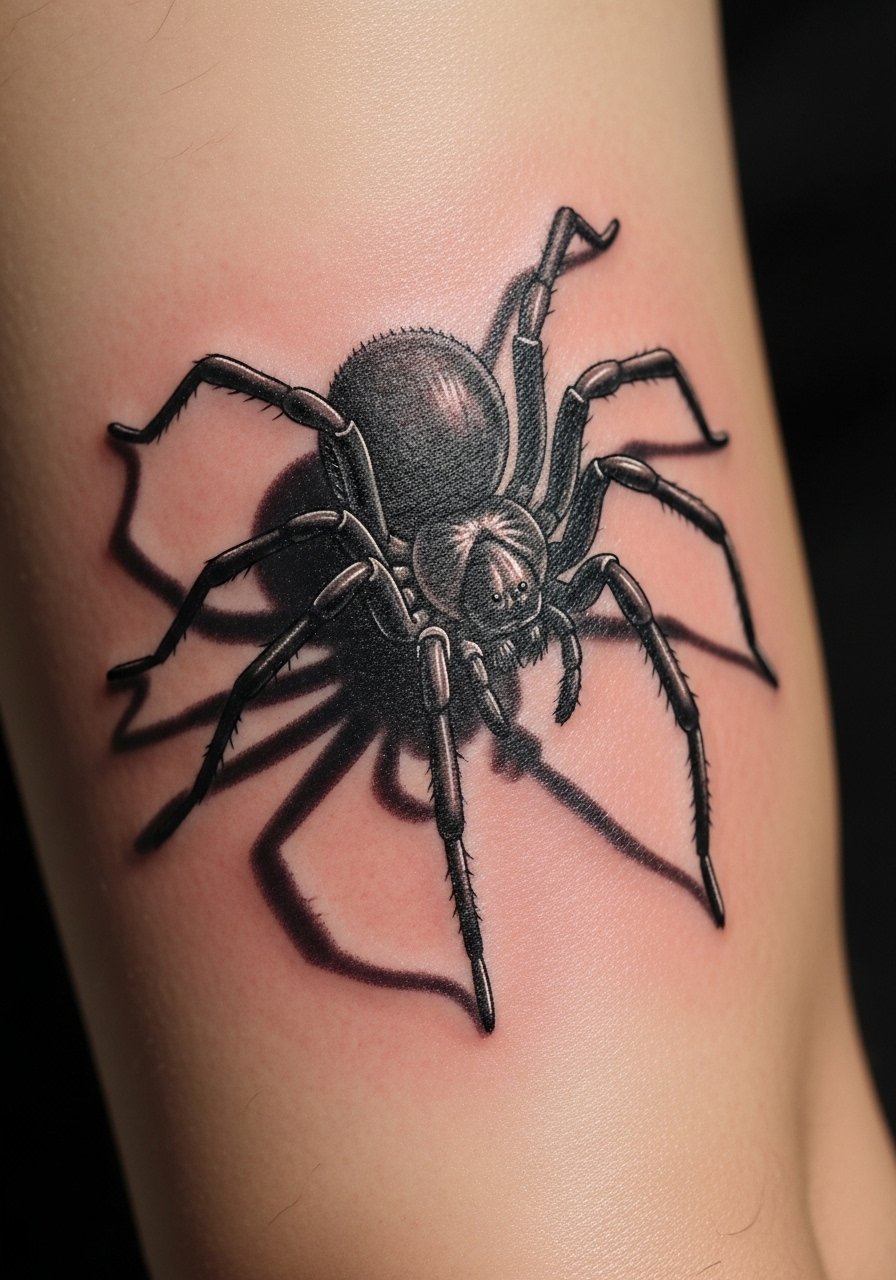
Style/Technique: 3D realism with cast shadows
Pain Level: 8/10
Session Time: 3 to 6 hours plus touch-ups
Best For: Men who want a dramatic, tactile illusion
3D spiders rely on precise highlights and a convincing cast shadow to look like they are sitting on skin. The illusion falls apart if highlights are too heavy or placed incorrectly, so expect the artist to mark light direction on your arm before inking. It creates a creepy and impressive look from a distance and reads dynamic in photos. Healing can mute white highlights a bit, so plan for a touch-up. Keeping the area out of direct sun during the first month helps. I usually recommend a small tube of white tattoo touch-up ink assistance product for artist reference kits.
Mistake to Avoid: Pushing for extra white highlights in the very first session, which can scar or blow out.
9. Ornamental Mandala Web with Spider Center
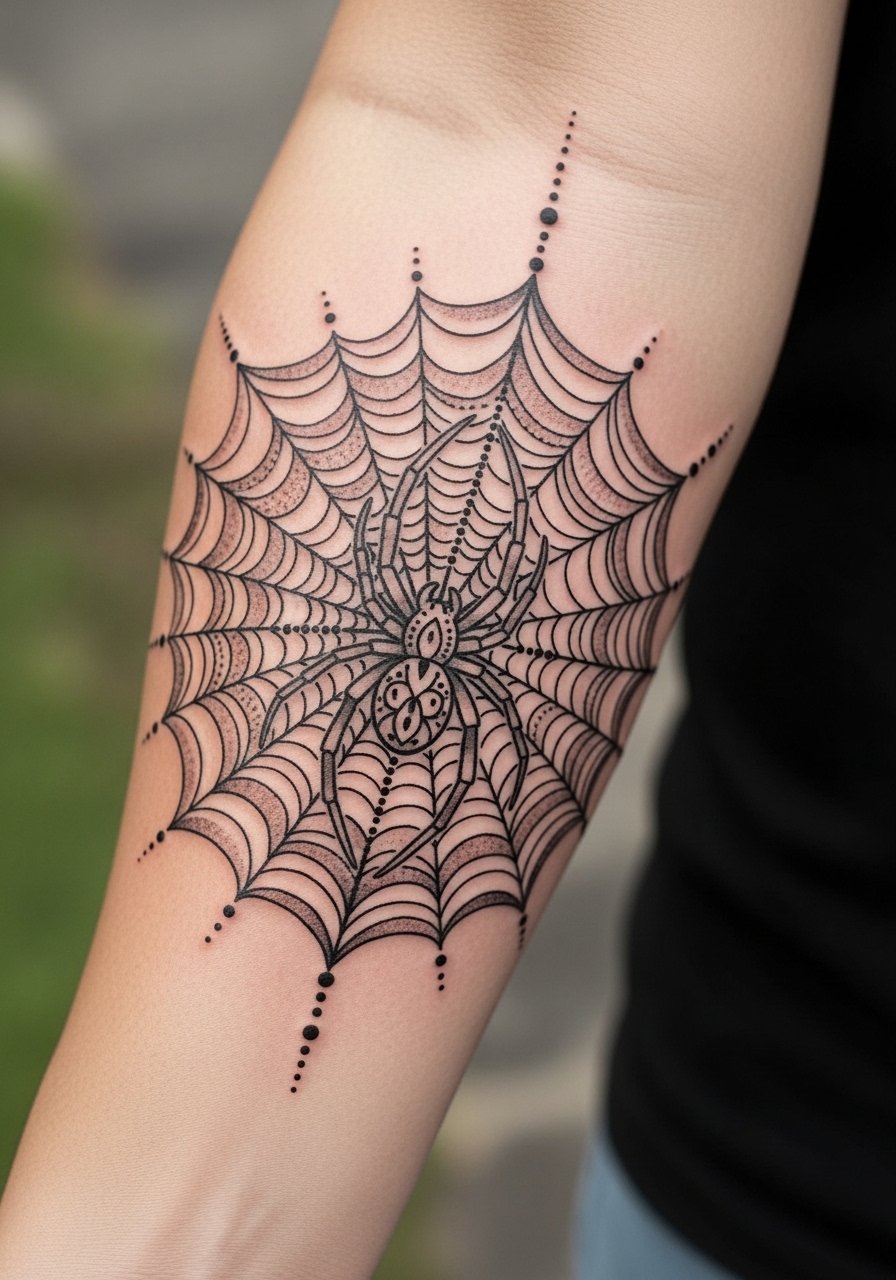
Style/Technique: Ornamental, mandala integration
Pain Level: 6/10
Session Time: 2 to 5 hours
Best For: Men who like symmetrical sleeves with decorative detail
Centering a spider in a mandala web blends decorative line work with creature imagery. It reads like a patterned sleeve and works well for someone who wants symmetry along the arm. Be mindful that mandalas can carry spiritual meaning, so discuss cultural sensitivity with your artist and avoid sacred iconography unless you have a personal tie. This style ages nicely because the bold radial lines anchor the composition as dots soften. Use a fine liner for touch-ups in tight mandala zones. I keep a pack of fine needle detail reference sheets to show artists the scale I want.
Mistake to Avoid: Treating a mandala like filler instead of a central design that needs balanced spacing.
10. Classic Spider and Rose Neo-Realism
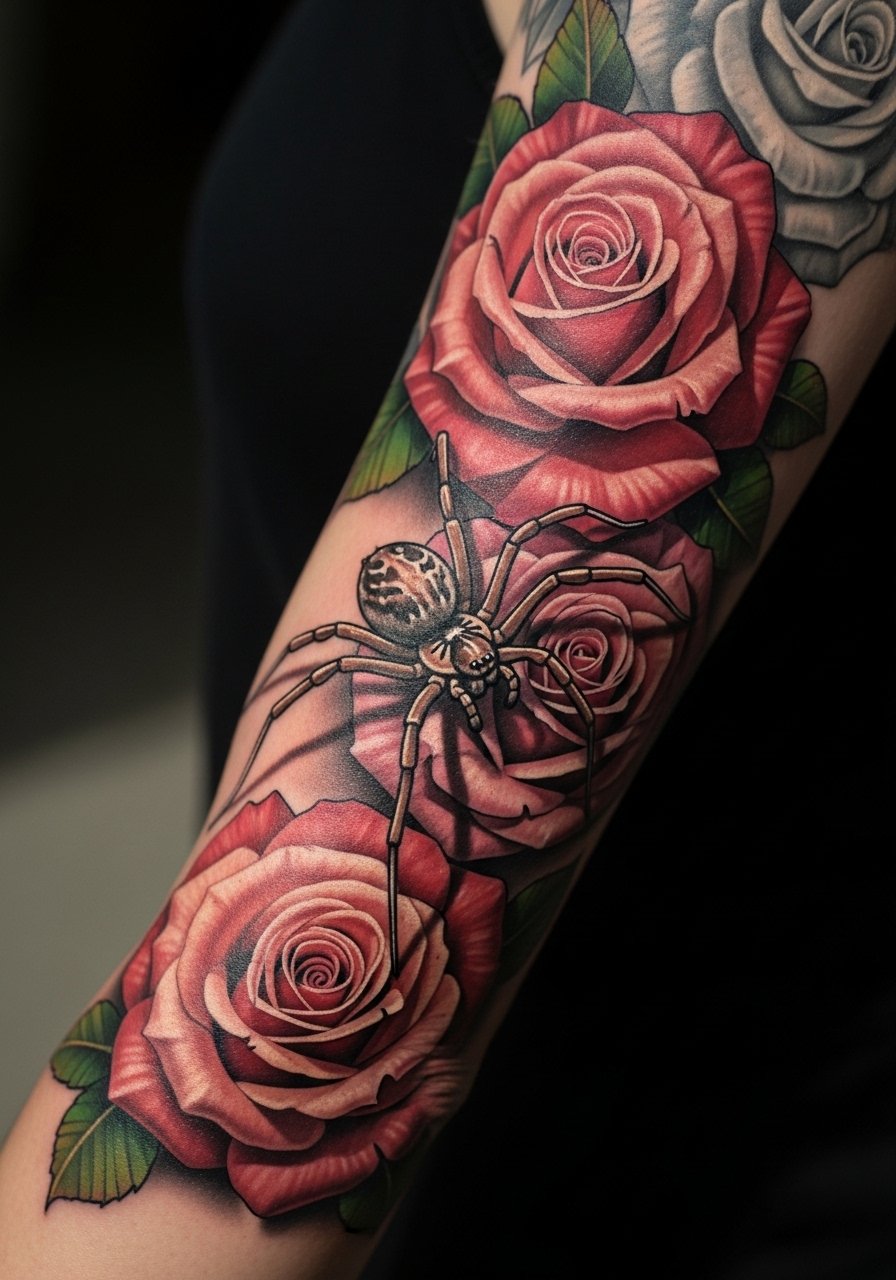
Style/Technique: Neo-realism with florals
Pain Level: 6/10
Session Time: 3 to 6 hours across sessions
Best For: Men who want soft contrast and natural motifs
Combining a spider with roses softens the theme and adds color or gray-scale texture to a sleeve. The rose petals act as negative-space cushions around legs and body so the spider does not get lost. This approach fits guys who want a balance of menace and classical tattoo motifs. Petal shading should be layered to avoid patchiness, and color work benefits from cool-to-warm transitions in two passes. A mild aftercare lotion helps petals stay vibrant through healing.
Mistake to Avoid: Placing roses too close to joints where petals fold and blur over time.
11. Crawling Spider Toward the Hand
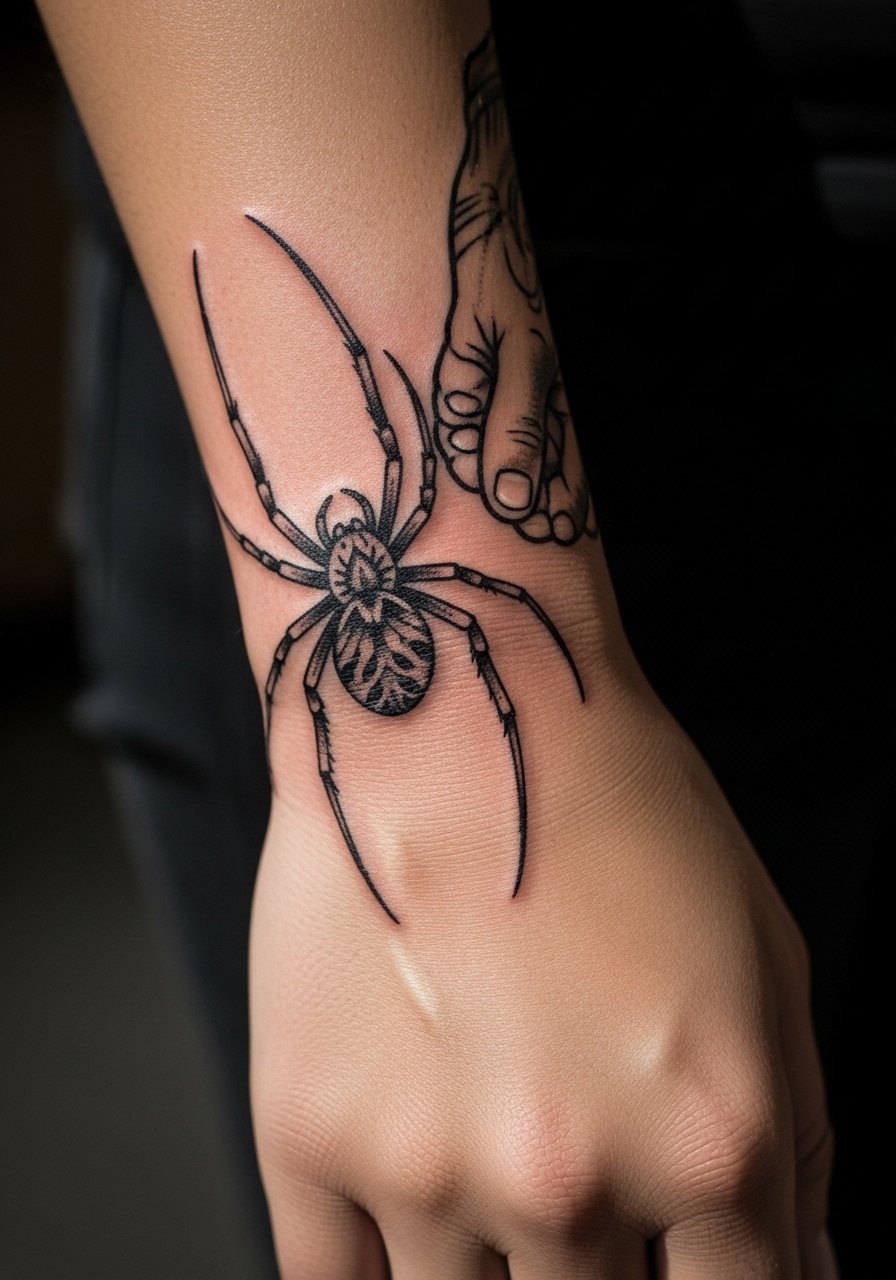
Style/Technique: Blackwork, directional flow
Pain Level: 7/10
Session Time: 2 to 4 hours
Best For: Men who want visible sleeves and gradual reveal
A spider moving toward the hand is a bold choice that maximizes visibility. It reads dynamic when you gesture and is a good option if you plan to show ink off. Keep in mind hand and knuckle areas fade faster and need touch-ups. For work-visible concerns, place the spider slightly higher on the forearm and let legs taper toward the wrist so you can conceal easily with sleeves. A small tube of hand-friendly SPF helps protect exposed pieces long term.
Mistake to Avoid: Extending heavy black right onto knuckles without budgeting for regular refreshes.
12. Clockwork Mechanical Spider with Gears
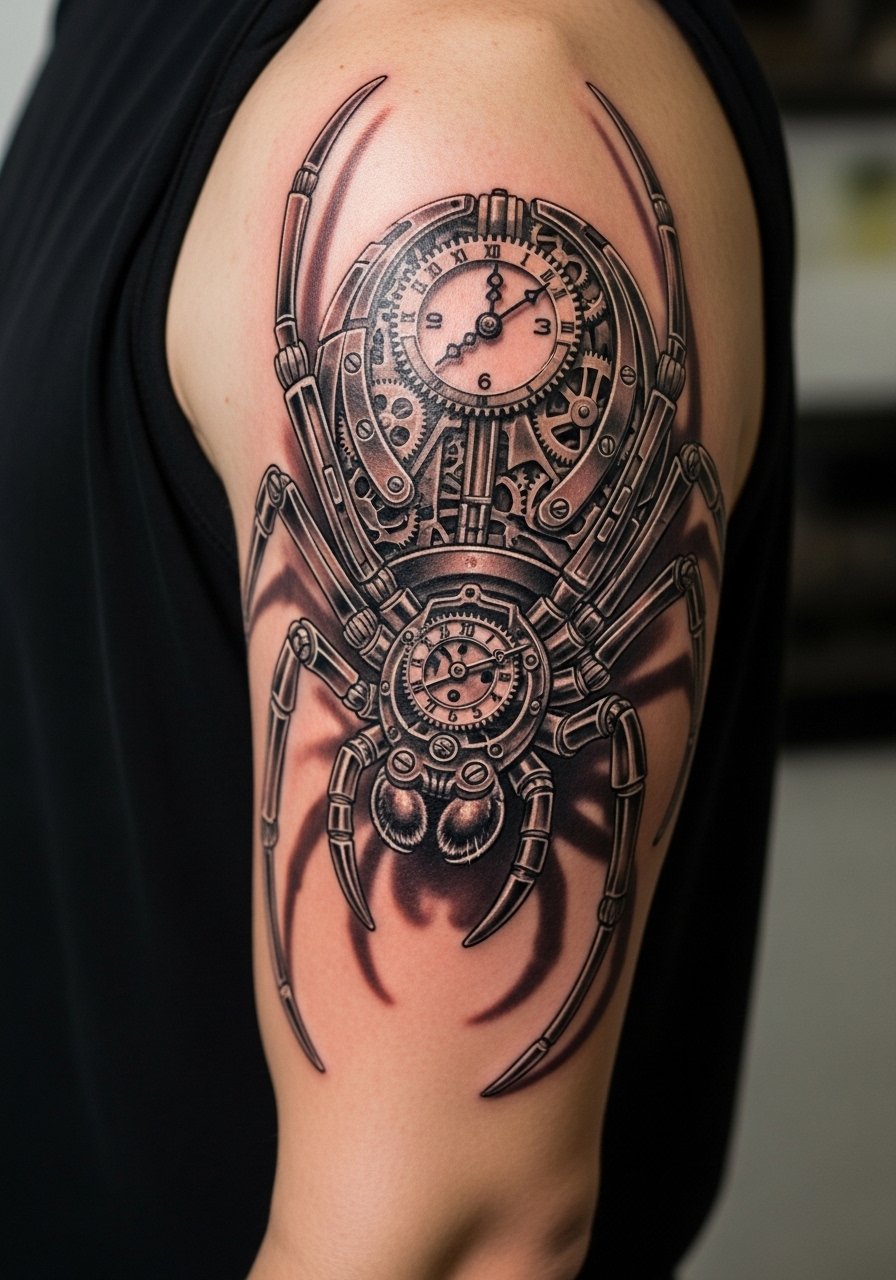
Style/Technique: Steampunk mechanical realism
Pain Level: 7/10
Session Time: 3 to 7 hours across sessions
Best For: Men who like narrative, mechanical sleeves
Integrating gears into a spider creates a narrative sleeve that looks like something out of a graphic novel. The metallic glare requires crisp whites and tight contrast to sell the metal texture. It is a higher-skill design, so pick an artist with experience in metallic shading and consistent line tones. Because metal effects rely on surrounding darks, only place them where you are fine with heavier black fill. For shine reference during design, bring photos or a small metallic texture reference book for the artist.
Mistake to Avoid: Crowding too many tiny gears into the same plane, which reads messy when photographed.
13. Subtle Color Wash Spider That Ages Softly
Style/Technique: Color wash, soft saturation
Pain Level: 5/10
Session Time: 2 to 4 hours
Best For: Men wanting color that does not scream bright and is low maintenance
A muted color wash uses diluted pigments to tint shadows and background fields without bold color blocks. It reads tasteful and avoids the fast-fade look of bright pigments. The key is low-saturation pigment and layering in two thin passes so the color sits rather than cakes. This suits men who want subtle personality in a sleeve with minimal upkeep. After healing, use mineral sunscreen and light touch-up at year one for freshness. I recommend keeping a small container of color-safe moisturizer to prolong hue longevity.
Mistake to Avoid: Choosing high-saturation bright pigments for color wash techniques, which contradicts the whole aesthetic.
Spider Sleeve Care Habits
Thin coats heal better. Three thin layers of healing ointment spread thinly protect without suffocating the skin.
Carry breathable tattoo bandage film for the first 24 hours. It keeps friction down and is better than heavy gauze.
Plan touch-ups after the first year, not the first month. A light touch-up session and a tube of fragrance-free lotion maintain contrast.
If you work outdoors, rotate your SPF mineral sunscreen into daily routine to slow fading and protect dark blacks.
When in doubt, talk placement with your artist and bring reference photos. A small tattoo transfer paper sample can help you test scale before the needle.
