
I kept pulling my messy bun too tight until it looked like a helmet. After a week of fried ends and two ruined date-night attempts, I learned to leave tension out of the process, let the pieces breathe, and accept a little frizz. These are the updos I finally stopped overworking, the ones that survive humidity, bangs, and shoulder-grazing layers.
These 13 looks are for medium hair that needs forgiving structure, low effort, and real-life wear. Most are beginner friendly, many can be done heat-free or with one 1-inch curling iron pass, and I tested versions across four hair textures I have styled to make sure they read messy instead of sloppy.
1. Low Twisted Knot
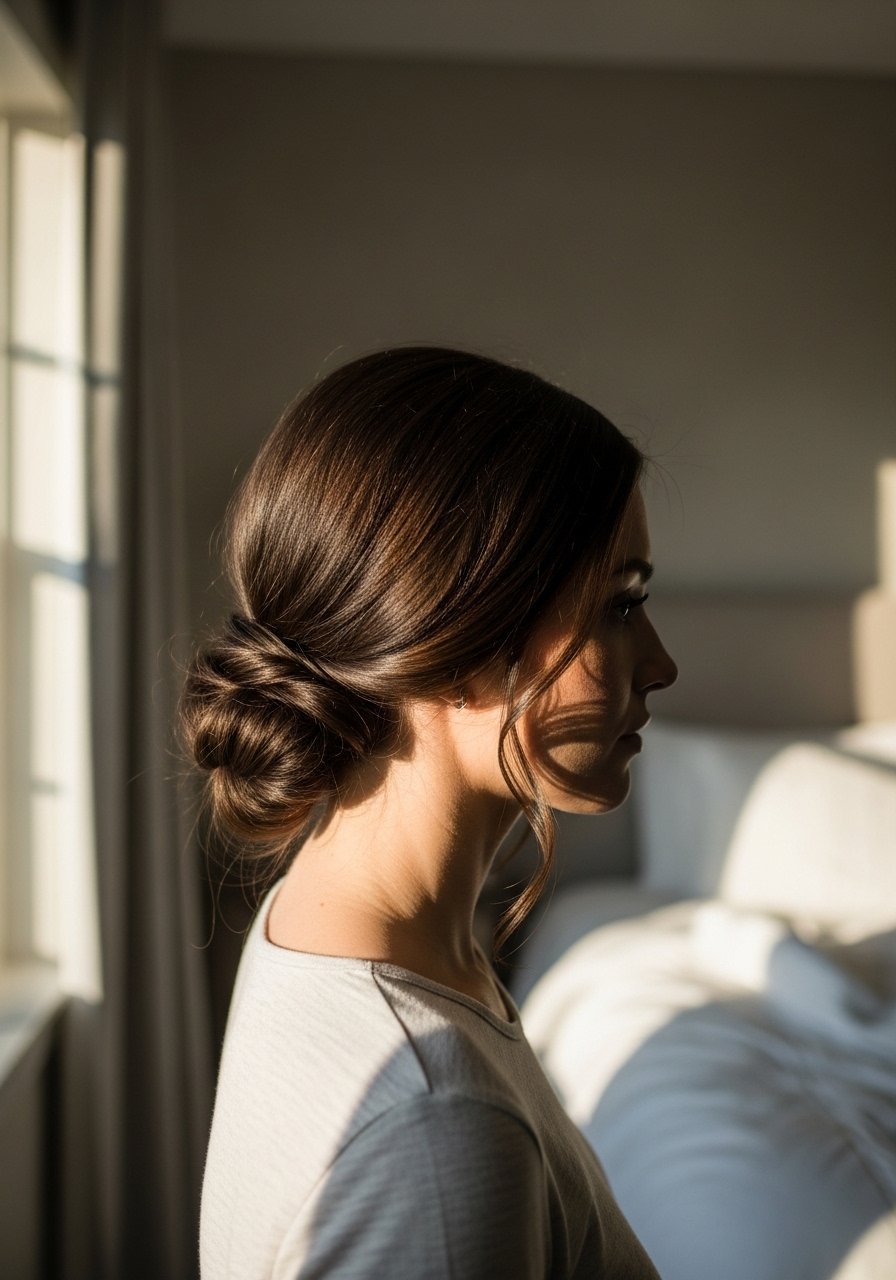
Twist each side toward the center, loop once, then pin the loose ends under the knot so the ends peek out. It works visually because the twists create soft movement along the neck, and it is forgiving for layered cuts. For medium-fine hair, mist a texturizing spray for grip, like texturizing spray, then wrap the elastic twice loosely. Plan on 3 to 6 minutes. Avoid slicking everything down or you lose the lived-in shape.
Mistake to Avoid: Twisting too tightly so the knot looks flat and strained.
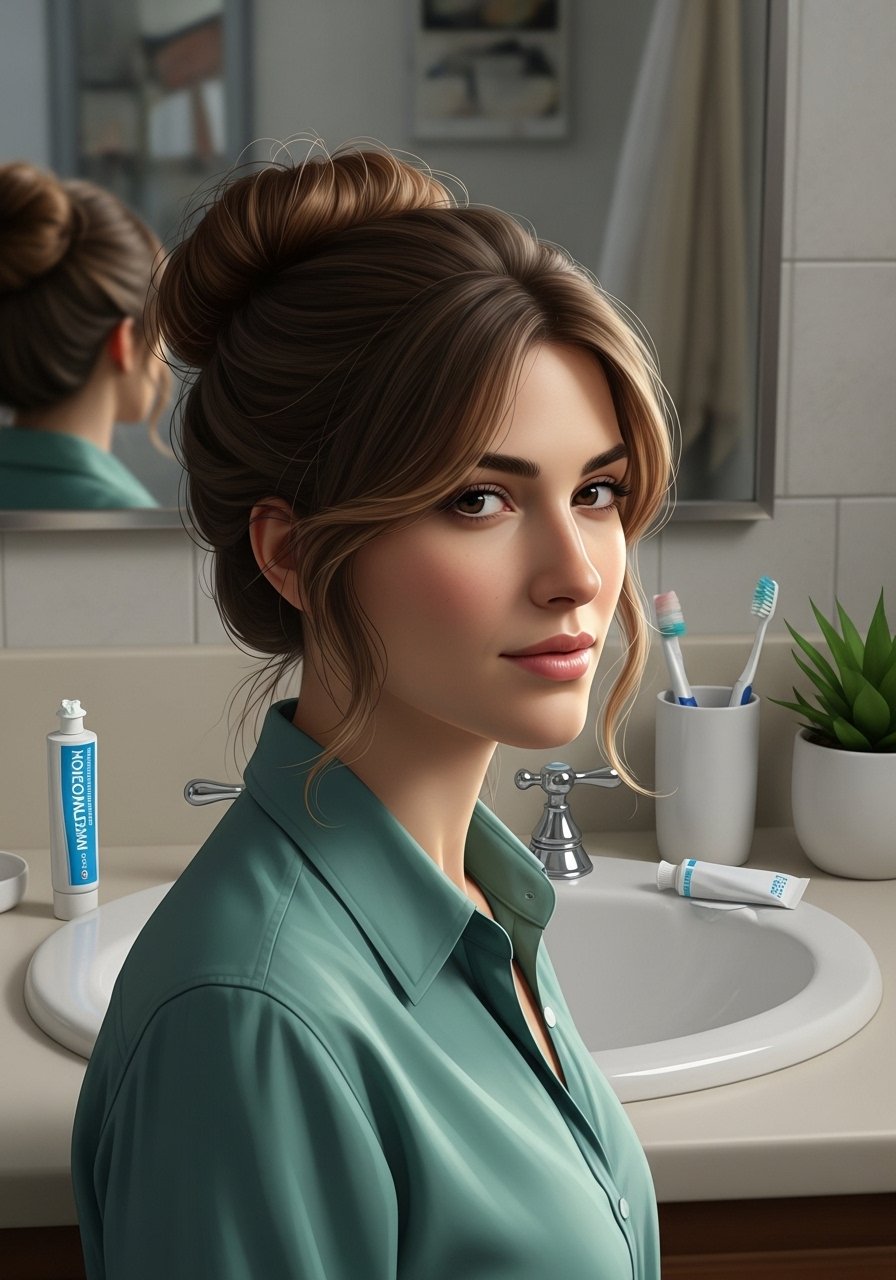
2. Half-Up Messy Knot With Blunt Bangs

Gather crown hair into a small pony, twist into a knot and pin, letting the ends fall. Blunt bangs balance the volume up top, and leaving a 1-inch gap between bangs and the knot keeps the proportions right. Use a light-hold cream for flyaways, such as smoothing cream, applied sparingly to palms. This style reads intentional and relaxed, good for days you want hair out of your face but not fully up.
Mistake to Avoid: Applying product to the bangs so they clump together instead of staying soft.
3. Twisted Halo From the Side

Take 1.5-inch sections from each temple, twist toward the back, and pin them where they meet. The visual works because the twists frame the face and the back stays messy and textured. It fits someone who wants a polished front with a relaxed back, and it takes under 5 minutes once you know the rhythm. For extra hold on fine hair, add one mist of light-hold hairspray before pinning.
Mistake to Avoid: Pinning twists too flat against the head, which kills the halo shape.
4. Messy Chignon With Scarf Wrap
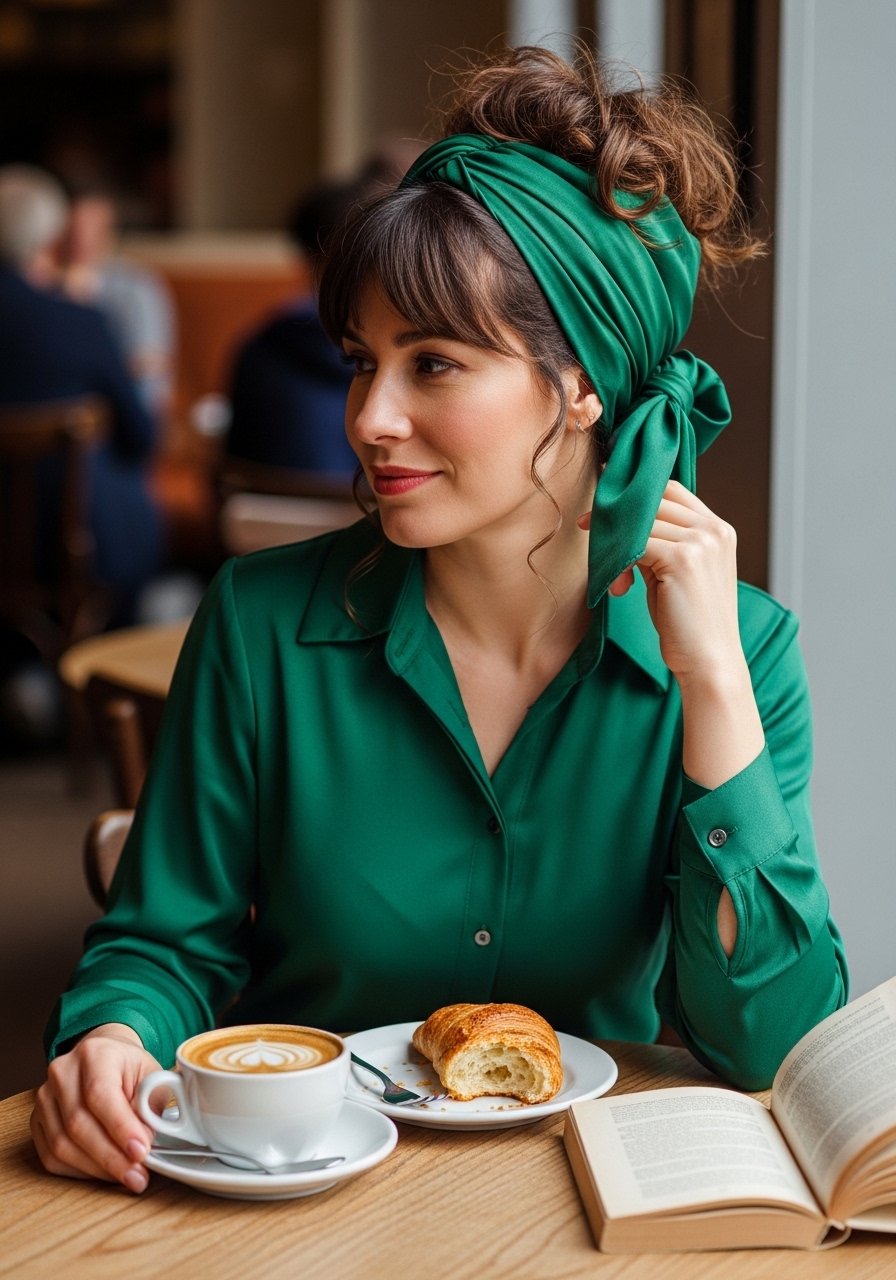
Form a loose chignon at the nape and thread a narrow silk scarf through the bun, tying it to one side. The scarf adds polish and hides pins while keeping the messy vibe. It works for second-day hair especially, and the silk helps reduce friction on porous ends. I use about a two-finger-wide scarf strip and tuck the ends under instead of knotting tightly. Try silk scarf options for color.
Mistake to Avoid: Tying the scarf too tight so the bun compresses and loses its shape.
5. Rolled-In French Twist Lite
Instead of a sleek classic French twist, roll the hair up and secure with pins, then tug gently at the roll to loosen it. The result is elevated but not stiff, good for events that ask for neat hair without hours of styling. For medium-thick hair, insert pins at a 45-degree angle and use 6 to 8 pins total for security. A dab of firm hairspray finishes the look.
Mistake to Avoid: Over-smoothing the surface, which turns a lived-in roll into a helmet.
6. Quick Braided Bun

Braid a 1.5-inch section from one side, pull the rest into a low pony, wrap the braid around the base, and pin. The braid gives detail without taking long, and it helps hold layers in place. This is great for textured hair and for a windy day because the braid anchors the shape. Use an elastic to secure the pony, then hide it with the braid, and finish with a spritz of sea salt spray for texture.
Mistake to Avoid: Making the braid too tight so it clashes with the loose bun.
7. Knotted Pony With Volume
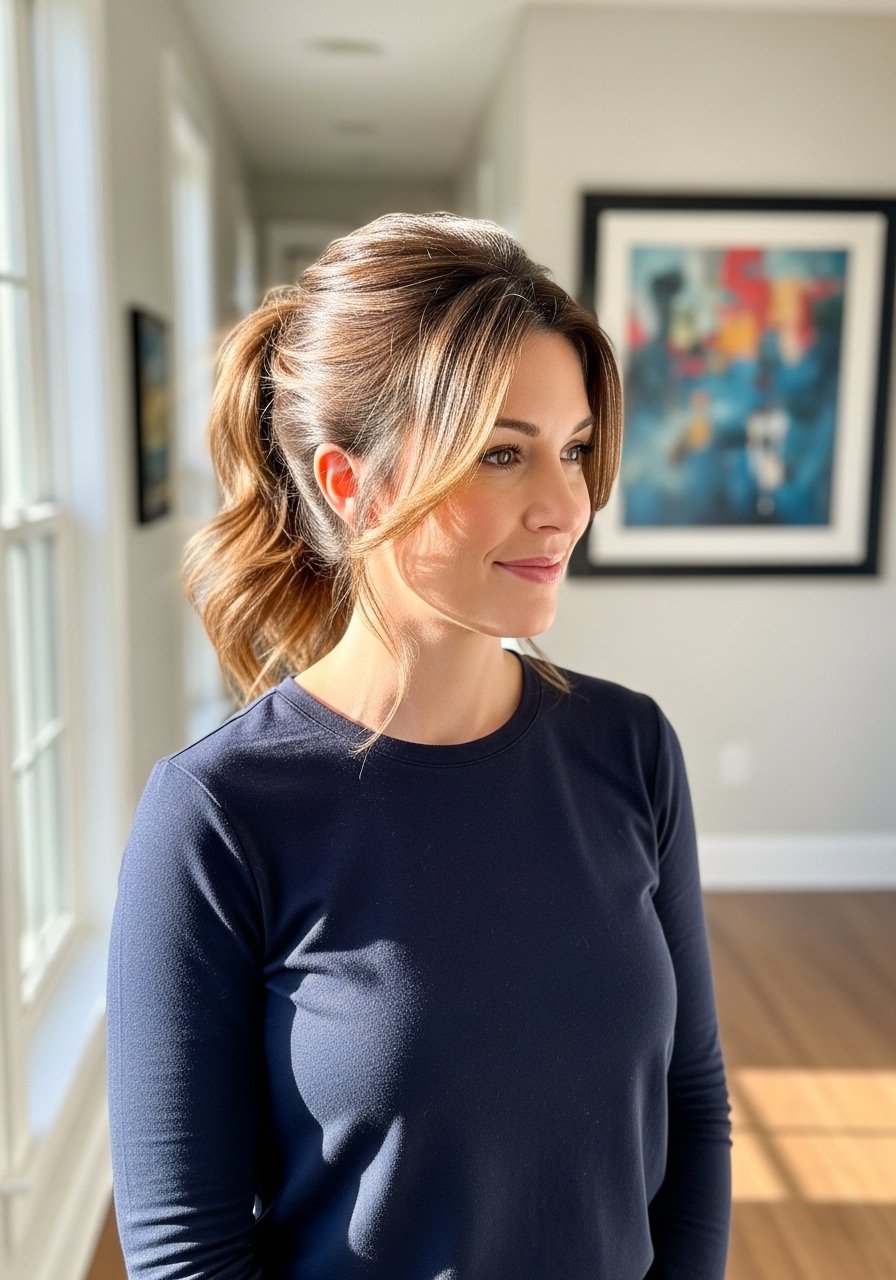
Create a soft bump at the crown by backcombing a 1-inch section, smooth the top lightly, then tie a low pony and knot it once by looping the pony through an elastic. Pull pieces free around the crown to blend the bump. This works for casual days when you want hair up but not in a sleek high pony. For longevity, spray the bump with volumizing powder at the roots.
Mistake to Avoid: Backcombing all the way to the ends, which causes bulky knots and visible damage.
If any of these ideas have you ready to actually try something, here is everything worth picking up.
Tools And Products For Messy Medium Updos
Tools:
- bobby pins (~$4-8). I keep three types and never run out.
- small clear elastics (~$4-7). Great for invisible anchoring.
- 1-inch curling iron (~$25-60). One pass adds texture fast.
Products:
- texturizing spray (~$10-20). My go-to for grip.
- light-hold hairspray (~$6-12). Keeps movement without stiffness.
- smoothing cream (~$8-18). Use a pea-sized amount on ends.
Accessories:
- silk hair scarf (~$10-25). Ties into buns or wraps a knot.
- metal claw clip (~$6-15). Fast, secure, and stylish.
- volumizing powder (~$12-18). For quick root lift.
8. Loose Sock Bun Revision
Use a cut toe of a nylon or a rolled sock as a base, pull hair through, and spread hair over it loosely so ends tuck under. The sock gives roundness without a stiff donut silhouette. For medium-thin hair, wrap the elastic just twice and then spread hair across the base to fake volume. The finish feels tidy but lived-in. Add a 2-second rough mist of dry shampoo before shaping if hair is silky.
Mistake to Avoid: Hiding all ends under the sock so the bun looks synthetic instead of soft.
9. Wrapped Top Knot With Strategic Pins

Gather hair at the crown, twist into a loose coil, and secure with decorative pins that double as anchors. Visible pins read purposeful and hold curls better than buried ones. For curls, rough-dry with a diffuser and then pin while still slightly damp so shape sets. I like using six pins spaced like compass points to stabilize the knot. Finish with a light mist of curl-defining spray.
Mistake to Avoid: Burying pins horizontally where they slide out later.
10. Wrapped Band Pony

After securing a low pony, wrap a braided band or thin scarf around the elastic and pin the ends inside the wrap. The band disguises the elastic and creates a pulled-together finish while the pony remains messy and relaxed. This suits someone who wants a refined casual look with minimal effort. Use one 30-second wrap and a single hidden pin to keep it neat. Try braided hair wrap options for texture.
Mistake to Avoid: Wrapping too tightly so the pony flattens against the skull.
11. Sectioned Roll With Texture
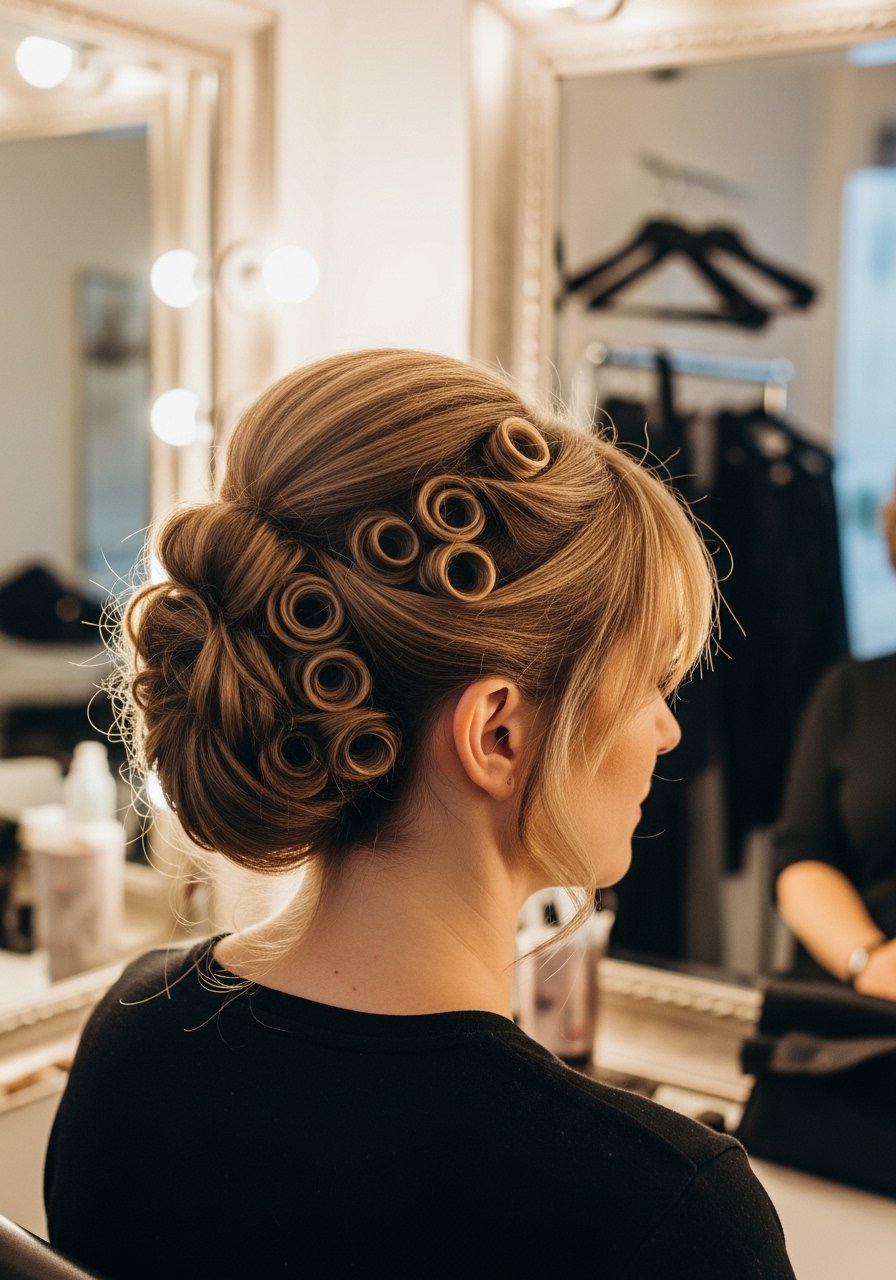
Divide hair into 3 to 5 vertical sections, roll each toward the center and pin loosely. The small rolls create visual interest without a single focal point. It works well for hair with layers because each roll hides shorter pieces while letting ends peek out. Use a powder or texture mist between sections for grip. This takes 10 to 12 minutes but scales down if you do three larger sections.
Mistake to Avoid: Rolling everything the same size so the style reads repetitive instead of textured.
12. Twisted Low Bun for Curtain Bangs
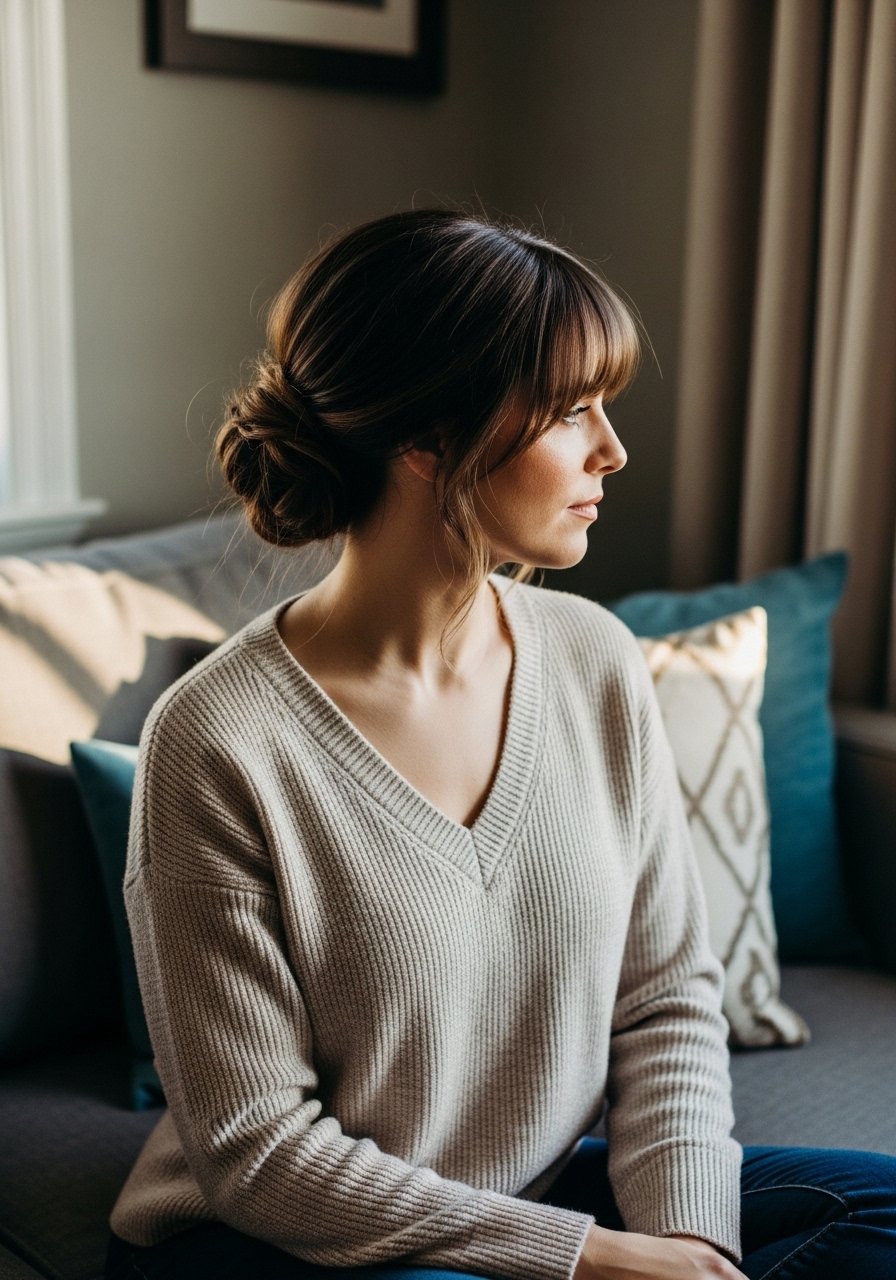
Sweep hair into a low pony, twist upward toward the center, and secure as a messy tuck-in bun. Curtain bangs soften the face and let the bun sit low without looking heavy. Leave 0.5 to 1 inch of hair out around the ears to blend bangs into the style. A tiny dab of light pomade tames flyaways without flattening the curtain pieces.
Mistake to Avoid: Over-smoothing the sides so curtain bangs lose their bounce.
13. Rope Braid Into Messy Updo

Make a rope braid with two strands rather than three, wrap it into a low side bun, and let tail pieces drape for a romantic undone look. Rope braids show twist detail and hold better on second-day hair. For medium hair, braid until there is about 4 inches left, then wrap and pin those ends to create layers. Finish with light-hold hairspray to keep pieces soft.
Mistake to Avoid: Braiding too tightly so the final updo looks rigid instead of relaxed.
Messy Updo Habits I Keep
Let your hair rest between heavy styles. I leave at least one wash day between tight updos. That tiny break keeps ends from fraying and makes messy styles look intentional. Grab dry shampoo for day-two grip.
Use a few long pins not a bunch of short ones. Long pins anchor better and mean fewer fiddly pieces. Try long bobby pins for around $5.
Curly and textured hair holds messy shapes with less product. For curl types, skip heat and use a creamy leave-in to define before pinning.
If you need volume at the crown, tease only a 1-inch strip down the middle. Over-teasing creates a helmet look. Finish with light-hold hairspray to settle pieces.
