
My first attempt at a "simple" streamer backdrop left a heap of tape on the floor and a couch full of wrinkled crepe paper. After three hours I realized the pretty photo on my phone assumed a crew, a ladder, and a game plan. That afternoon I started stripping each idea back to one clean move that actually works in small spaces, and the second party looked like I knew what I was doing.
These ideas are not blowout installations or only-for-professionals, they are small edits that read modern and hold up in real life. Expect mostly renter-friendly setups, projects that take 10 to 90 minutes, and a mix of low-cost and splurge pieces so you can pick your comfort level. I tested many of these in two small apartments and one townhouse, so the notes on scale and durability come from packing them away and reusing them.
1. Neutral Balloon Cluster Anchored to Furniture
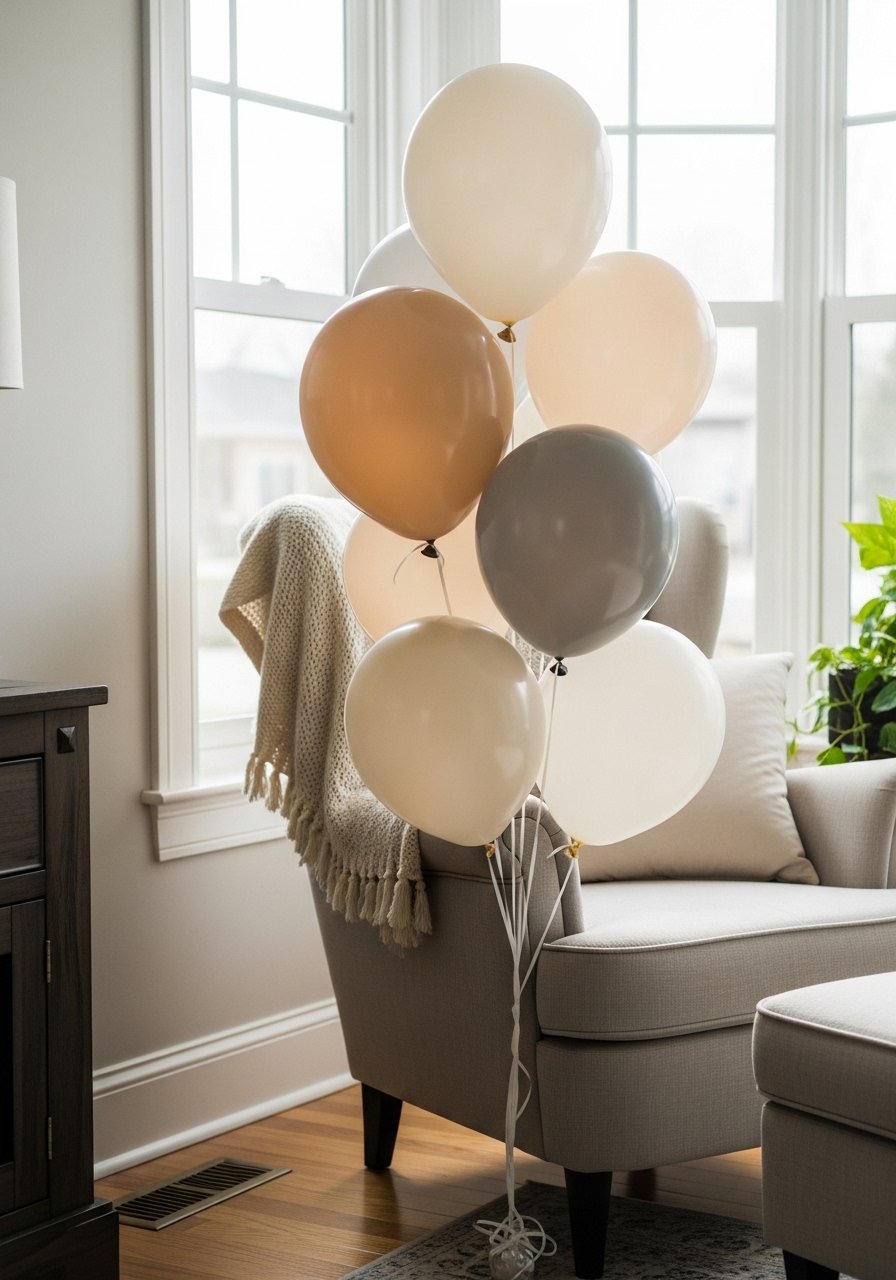
A balloon cluster looks modern when the colors are limited and the heights staggered. Use 5 to 7 balloons in three different sizes, tie them on a single weighted ribbon, and anchor to existing furniture legs so nothing has to be taped to walls. I used a small handheld pump and a matte latex set for a grounded look, and the cluster read more intentional than a full arch while taking 10 minutes to assemble. The result feels casual and elegant, good for living rooms and small dining nooks, beginner friendly and budget friendly. Pair with neutral latex balloons and a handheld balloon pump.
Mistake to Avoid: Don’t inflate every balloon the same size, identical balloons make the cluster look cheap and flat.
2. Minimalist Streamer Wall With Layered Textures
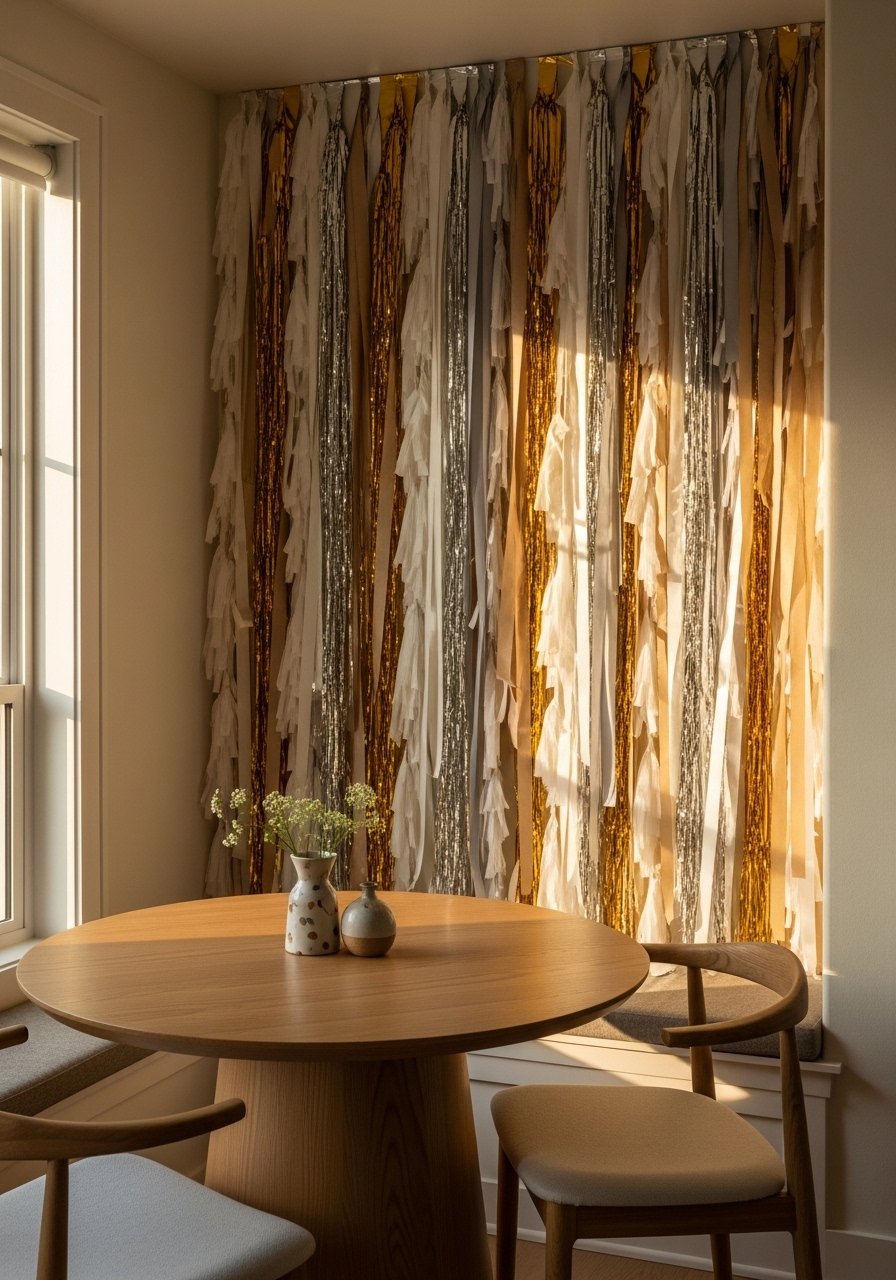
Layering paper and fringe streamers gives depth without a giant backdrop. Cut kraft paper into 6 to 8 foot lengths, hang the heaviest texture at the back, then add metallic fringe and thin satin ribbon in front. Hang the assembly from a removable tension rod across a window or between two command hooks, keeping the bottom 6 to 12 inches off the floor so guests can still sit comfortably. This works for renters and is easy to scale. I used a ratio of one heavy strip to two lighter strips to avoid sagging. Try metallic fringe curtain and kraft paper rolls.
Mistake to Avoid: Don’t drape streamers directly behind food without a gap, greasy splatters are impossible to clean.
3. Modern Cake Table With Layered Heights
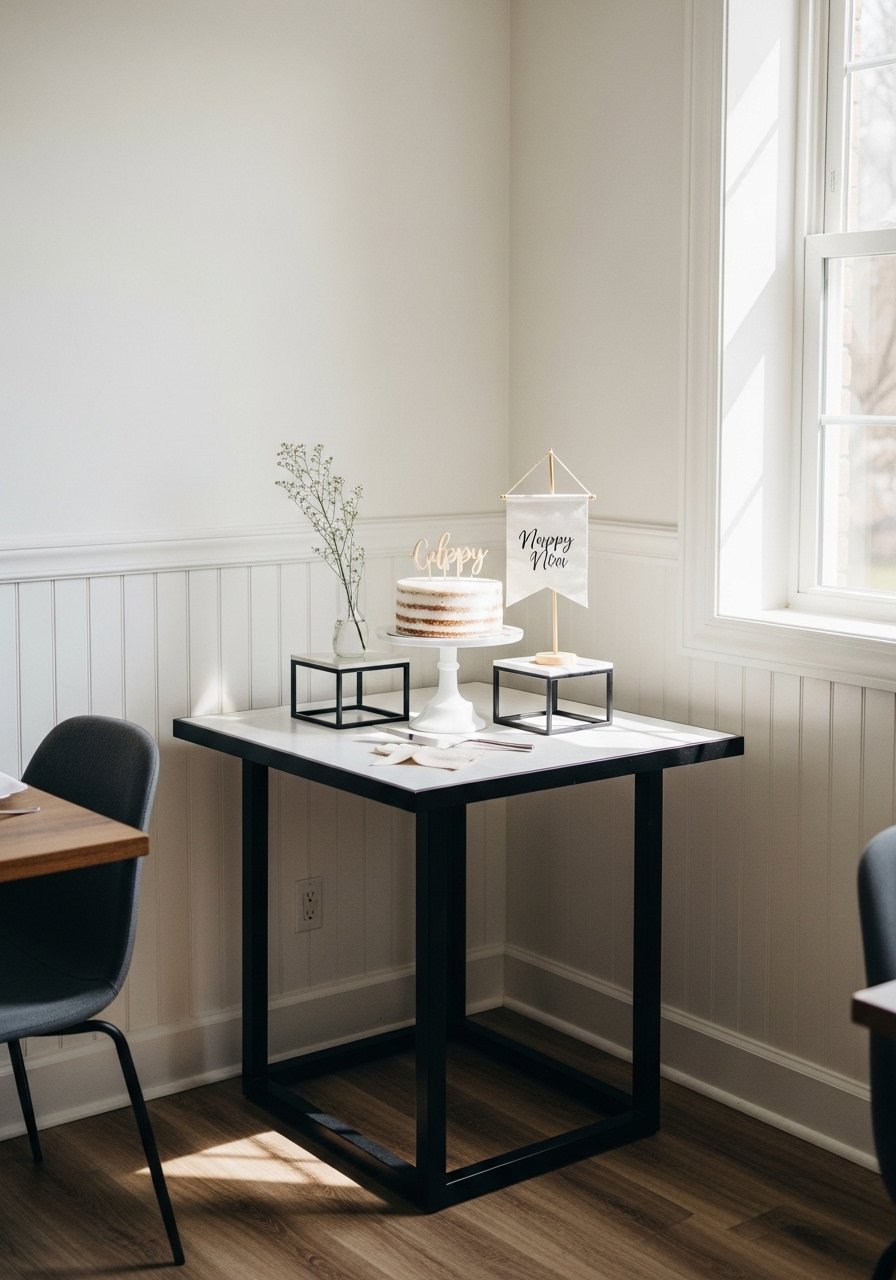
A cake table reads modern when it uses three heights, negative space, and one small splash of color. Use a low cake stand, one medium pedestal, and a taller stack from an unexpected item like a footed bowl. Place the cake slightly off-center and add a single ceramic vase with a sprig. Keep linens clean and pared back, one runner instead of a full cloth looks more current in small spaces. This is a fast setup that looks curated, suitable for adults and kids depending on the cake styling. I used a ceramic stand and an inexpensive riser as my third height. Try a ceramic cake stand and an acrylic riser set.
Mistake to Avoid: Avoid over-accessorizing the cake table with too many small items, clutter kills the modern feel.
4. Photo Timeline Garland With Wooden Clips

A timeline garland turns pictures into decor without holes in walls. Print 4×6 photos, use wooden clips on thin twine, and attach the twine to command hooks high enough to clear furniture. Keep photos spaced 4 to 6 inches apart and include a name card or a year tag for clarity. Add a strand of battery LED lights woven through for evening photos. It feels personal and modern, and it packs flat for storage. This is excellent for mixed-age guests and fits hallways or above a couch. Use wooden photo clips and battery string lights.
Mistake to Avoid: Don’t hang the twine too low, photos should be at eye level to read easily.
5. Low-Key Neon With Framed Art Alternate

Neon signs can read modern if you avoid loud colors and scale them down. Instead of a mounted neon, lean a framed LED neon-style sign on a console or shelf, surrounded by ceramic vessels and one plant. Choose warm white or soft amber light for daytime photos and plug it into a discreet extension cord routed behind furniture. This is renter friendly and gives the vibe without installation work. I preferred a framed option because it stores flat and travels well. Try a framed LED neon sign and a ceramic bud vase.
Mistake to Avoid: Don’t pick a neon color that clashes with dinnerware or guest outfits, it will dominate photos.
6. Floating Centerpieces in Glass Vases
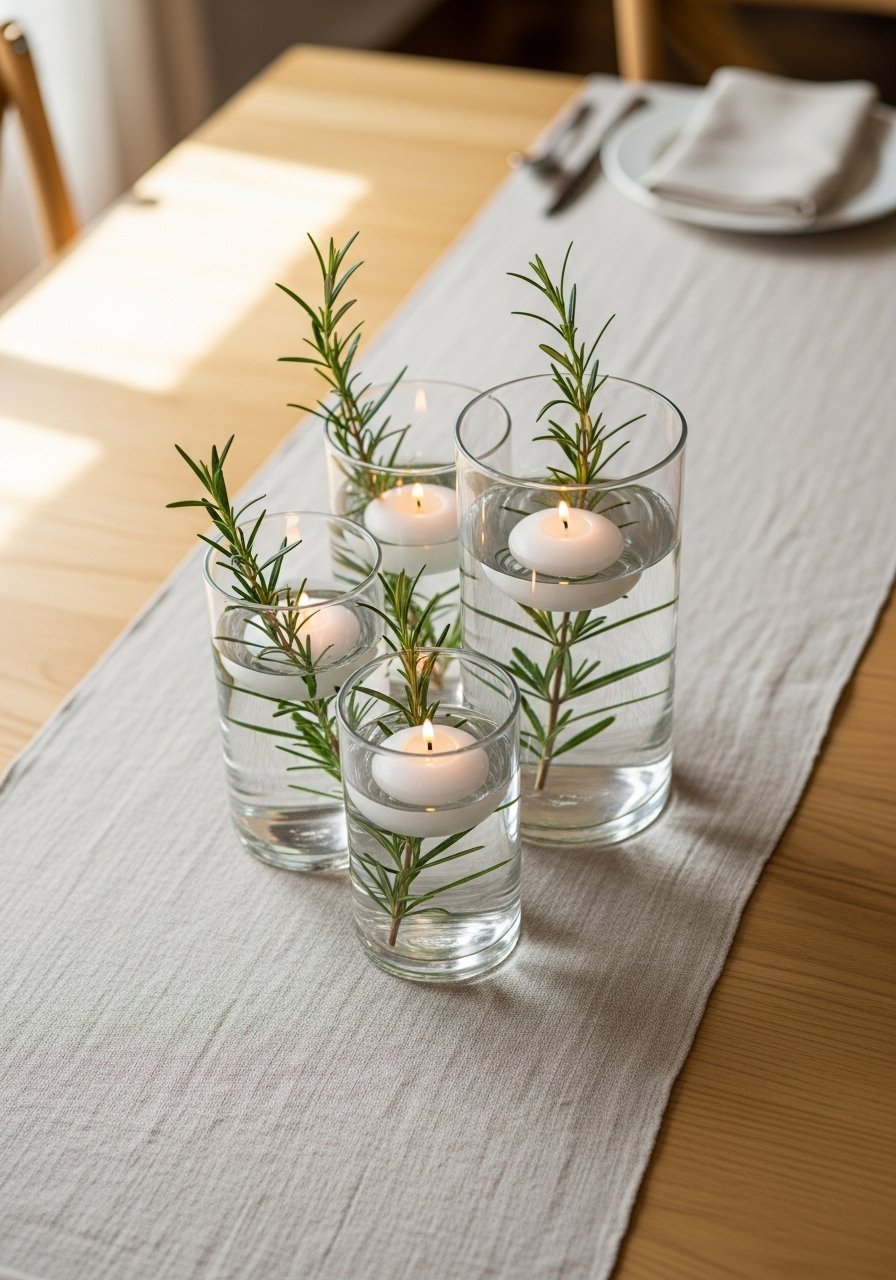
Floating candles feel modern when paired with clear glass and minimal foliage. Use one vase per two guests and vary heights by using vases that differ by 2 to 4 inches. For safety pick battery-operated floating candles for family gatherings. Keep the runner narrow and let the vases breathe around place settings. It looks upscale without being fragile, works well in long tables and small round setups. I swapped real tea lights for LED floating candles to avoid wax on linens. Find clear glass vases and battery floating candles.
Mistake to Avoid: Don’t cram too many vases together, that blocks sight lines across the table.
7. Ribbon Curtain Backdrop for Photos
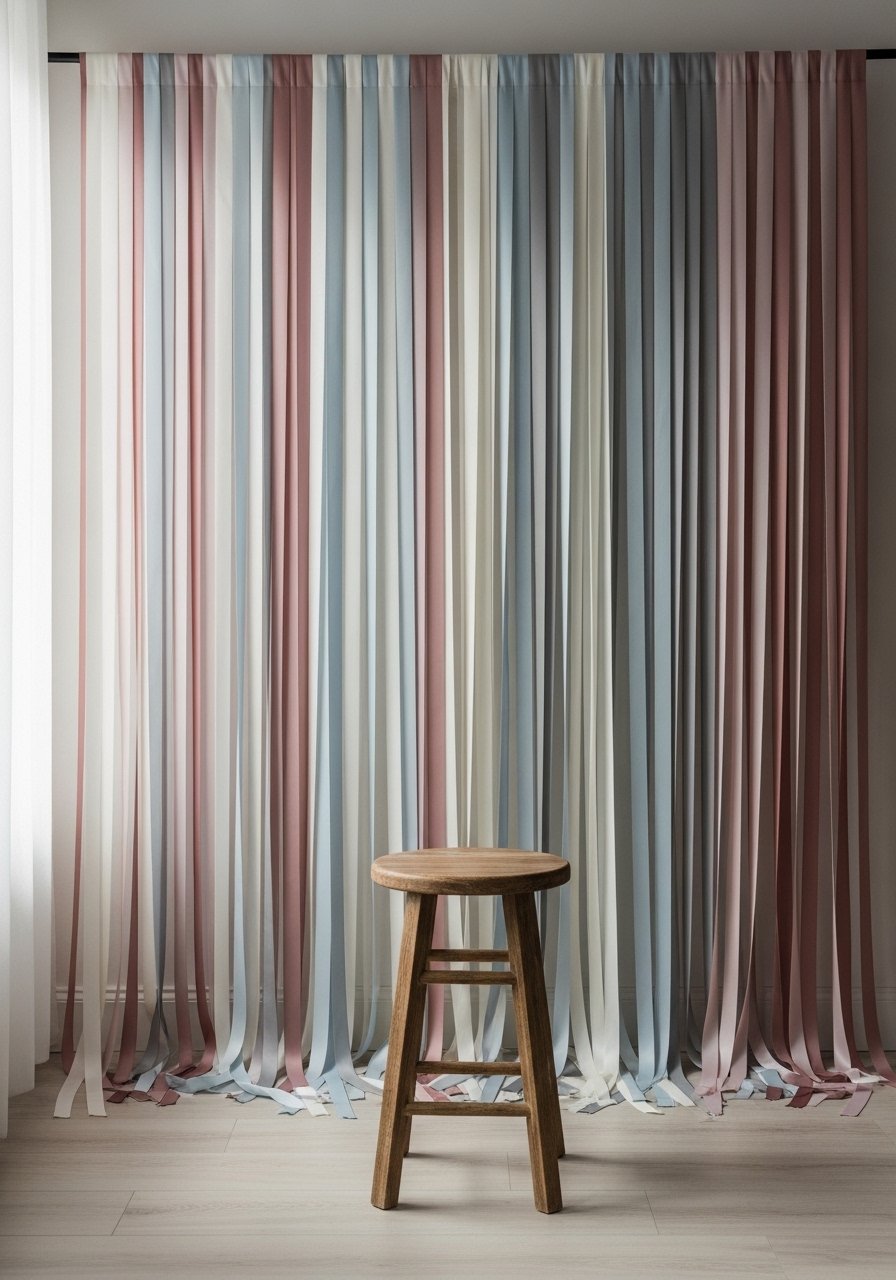
A ribbon curtain feels festive but lightweight to install. Cut ribbon in three coordinated colors and tie them to a removable tension rod that spans a door frame or window. Keep ribbon lengths uniform at around 6 to 7 feet and trim ends evenly for a clean line. Add a small stool for seated portraits and a single floor pouf for kids. This setup stores in a drawer and costs under $30 if you shop ribbons by the yard. Use satin ribbon rolls and a tension curtain rod.
Mistake to Avoid: Don’t mix too many ribbon textures, keep one shiny and two matte at most to avoid visual noise.
If any of these ideas have you ready to actually shop, here are the items I reach for most.
Essentials for A Modern At-Home Birthday
Textiles & Tabletop:
- Neutral linen runner (~$15-30). My go-to for modern tables.
- Ceramic cake stand (~$20-40). Clean lines photograph well.
- Ceramic bud vase (~$8-15). Small sprigs read as styled, not fussy.
Lighting & Ambience:
- Battery string lights (~$10-20). Soft evening glow.
- Framed LED neon sign (~$35-70). Modern vibe without a drill.
Hanging & Hardware:
- Command hooks clear (~$6-12). Wall-safe hanging.
- Tension curtain rod (~$10-25). Perfect for temporary backdrops.
Decor Basics:
- Neutral latex balloons (~$8-15). Mix sizes for modern clusters.
- Clear glass vases (~$12-30 for set). Versatile for flowers or candles.
8. Doorway Balloon Garland, Small-Scale
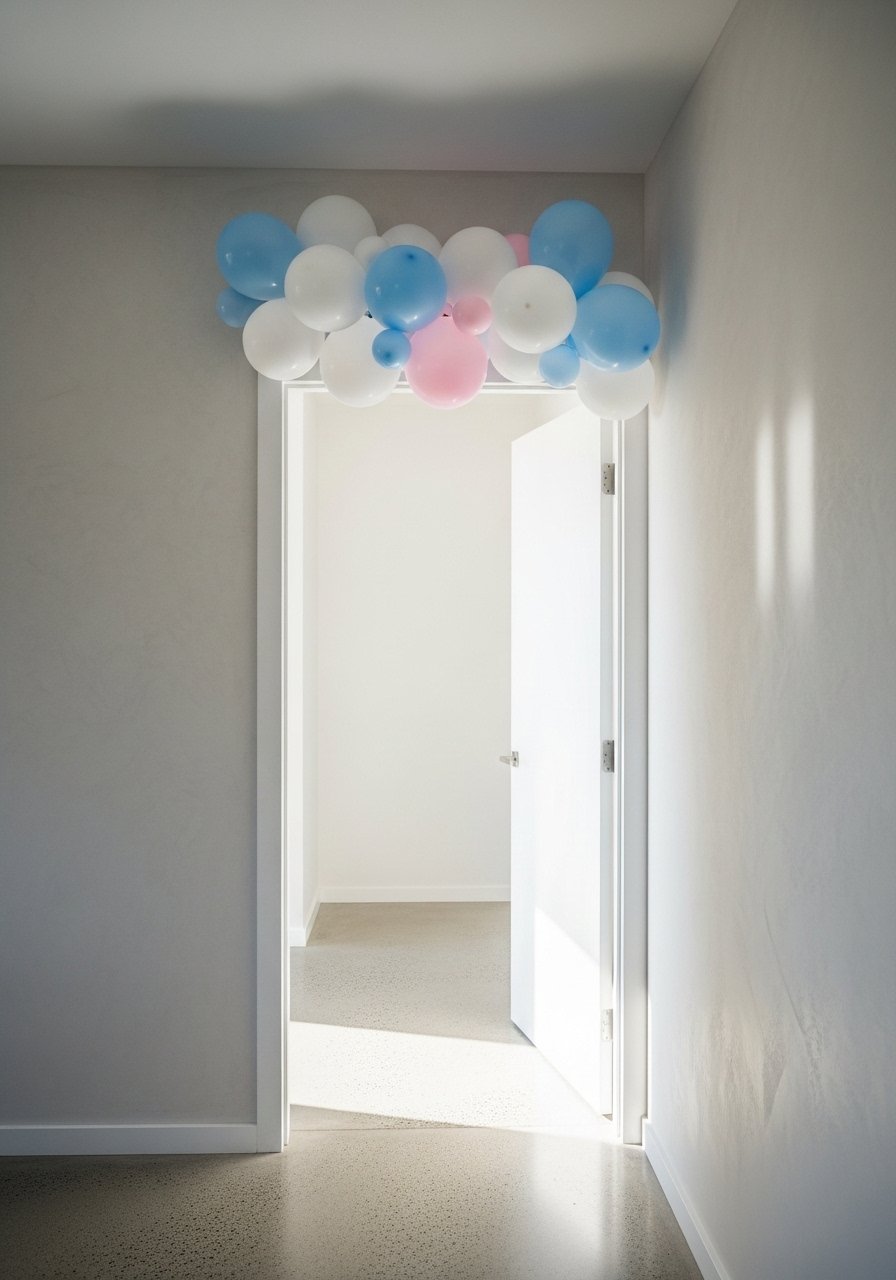
A full balloon arch is overkill in small homes, so keep the garland to the top third of a doorway and one side. Use 30 to 40 balloons in mixed sizes and fill gaps with small faux eucalyptus sprigs for a modern touch. Anchor to command hooks and use a light, short fishing line to keep it taut. This method uses fewer balloons and still reads celebratory in photos when guests enter. It is renter friendly and best for quick installs. Use balloon decorating strip and faux eucalyptus stems.
Mistake to Avoid: Don’t overload the doorway with balloons that block movement, leave at least 30 inches of clearance.
9. DIY Gift Station Using a Console Drawer
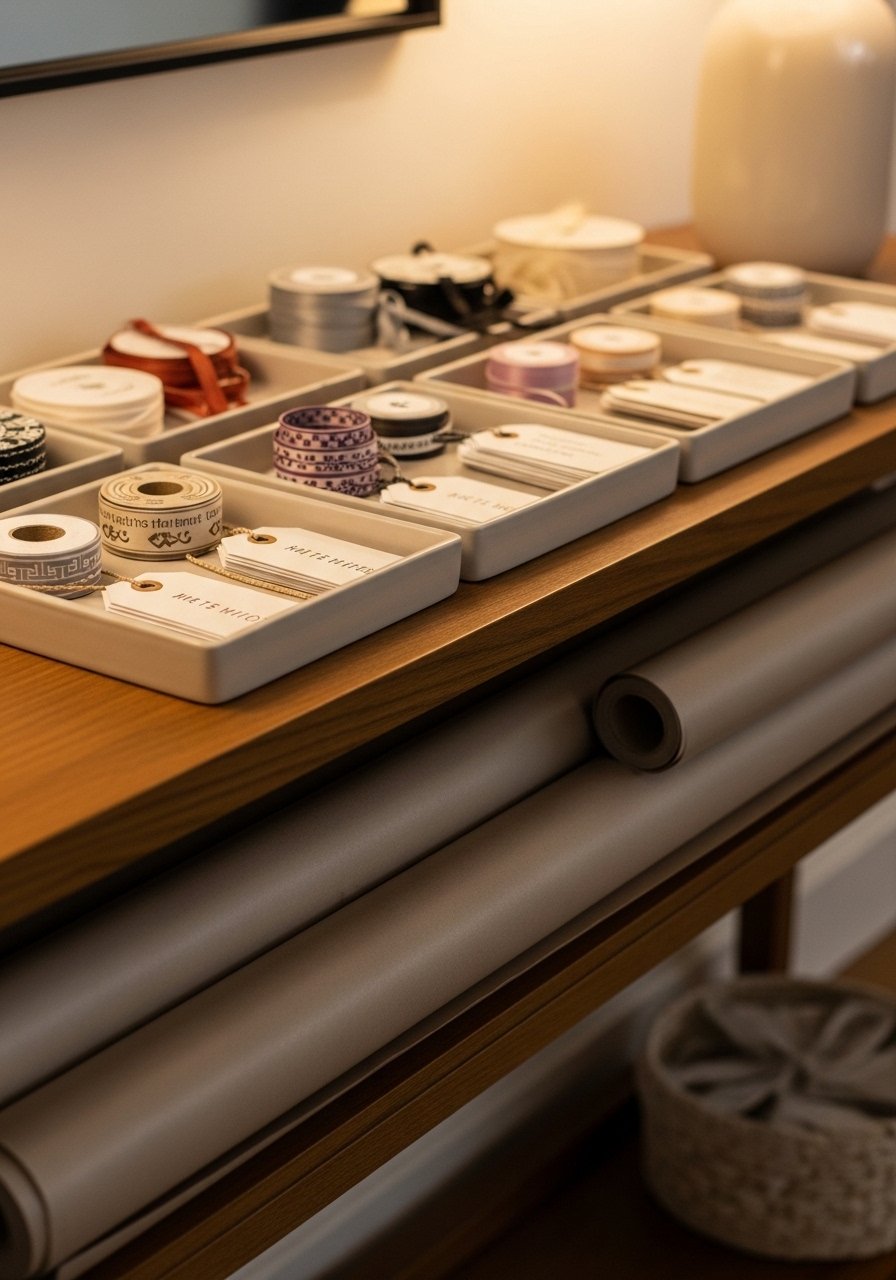
Turn an unused console or side table into a gift station with drawer organizers. Lay two rolls of kraft and one roll of patterned paper under the table, set ribbon spools in a tray, and a small bin for cards. Guests can drop gifts neatly, and the table doubles as a staging area for presents. This keeps the main table decluttered and gives the entryway a purposeful look. I keep a spare pair of scissors and tape in a labeled tin for quick fixes. Try kraft paper rolls and wooden tray organizer.
Mistake to Avoid: Don’t leave loose tape and scissors where kids can reach them, use a small lidded box.
10. Tiered Snack Ladder Instead of a Single Table
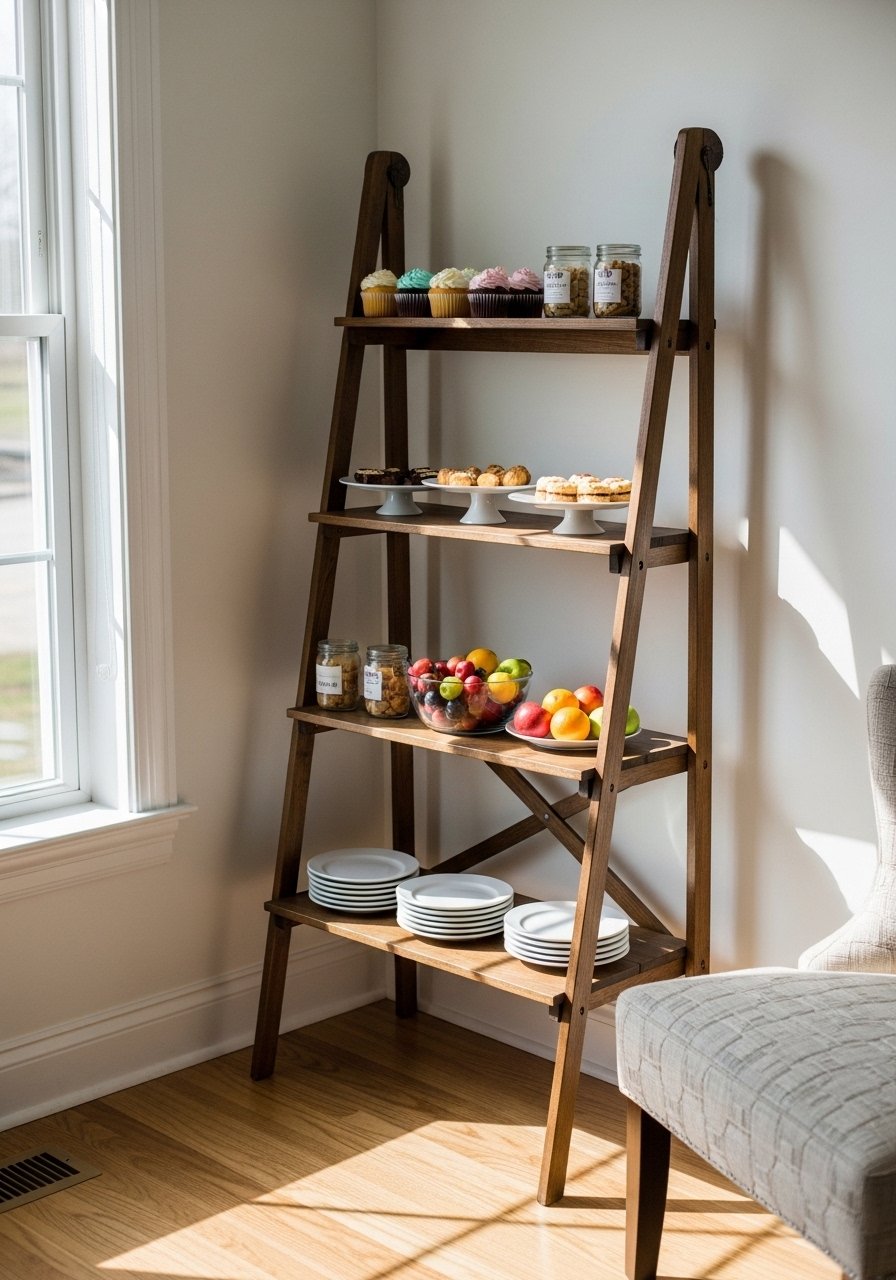
A tiered ladder display saves floor space and creates visual levels for snacks. Place larger items on the bottom, finger foods in the middle, and smaller sweets on top. Use uniform plates or small boards for a cohesive look and leave a small placard for dietary notes. This setup suits casual gatherings and feels intentional without a lot of extra tabletop. It is renter friendly and easy to dismantle. I use 3 heights and follow a top-to-bottom decreasing size rule. Use a wooden ladder shelf and small dessert plates.
Mistake to Avoid: Don’t crowd the ladder shelves, leave negative space so each item reads.
11. Reusable Photo-Memory Box Display
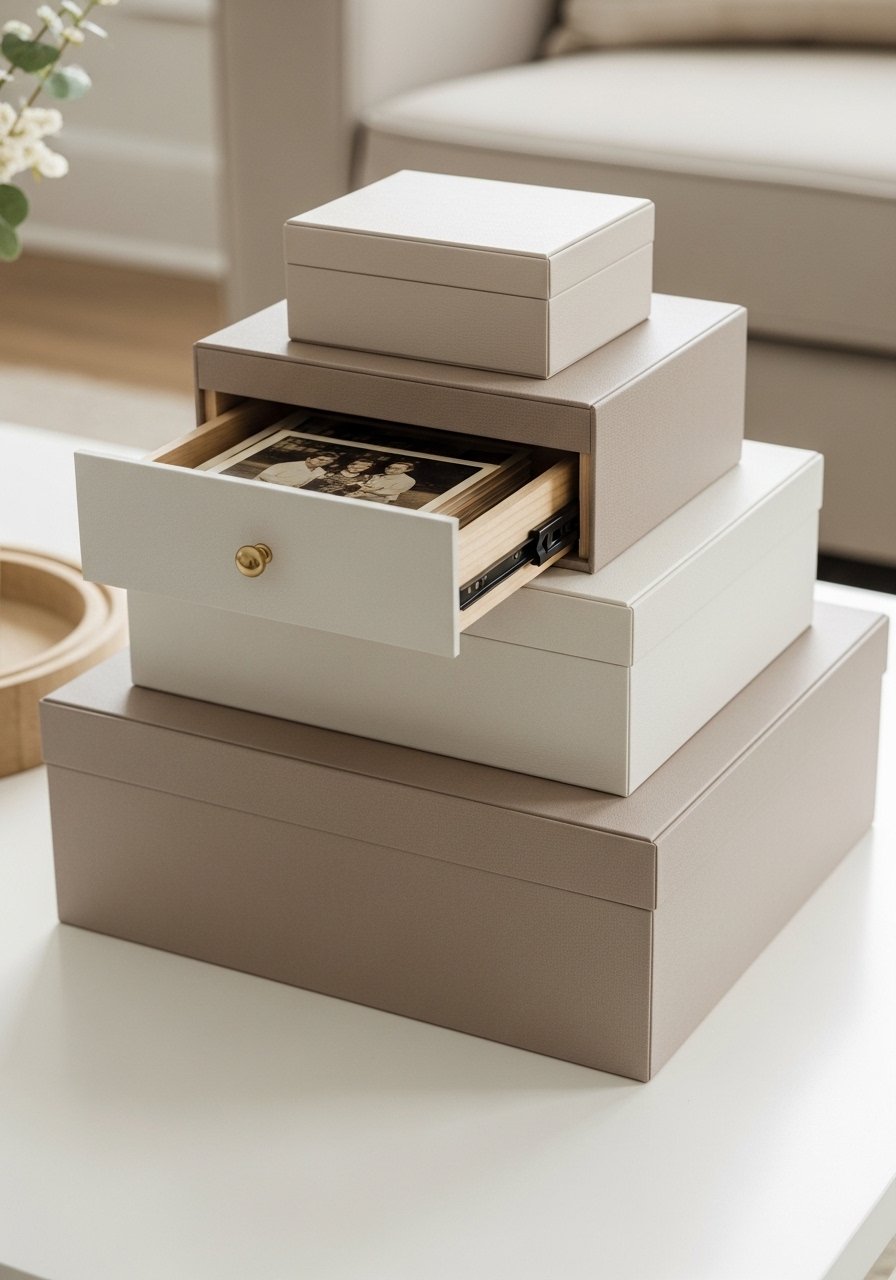
Turn keepsakes into decor with a reusable memory box display. Stack two or three flat decorative boxes, leave the top slightly open with a polaroid-style photo on display. Guests can add a note to the box throughout the party. This is a slow-decor element that feels personal and modern, perfect for intimate gatherings. It packs flat for reuse and is gentle on renters. I used archival-safe envelopes for long-term storage. Try decorative storage boxes and archival photo envelopes.
Mistake to Avoid: Don’t use flimsy boxes that crease under weight, pick sturdy boxes that stack cleanly.
12. Paper Pom Cluster for Ceiling Interest
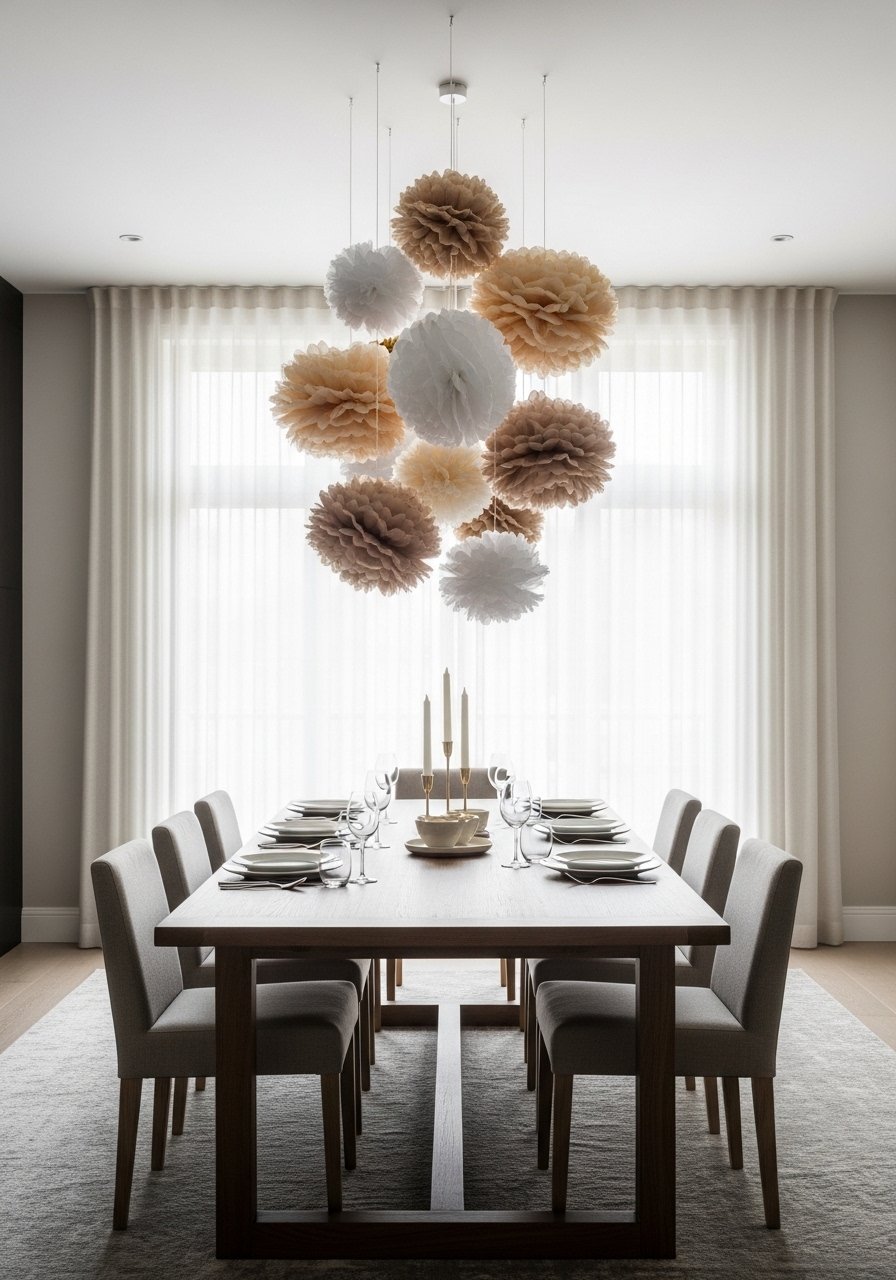
Paper poms add soft texture overhead and photograph well from slightly below. Use 3 to 5 poms in one spot, varying sizes by about 6 inches. Hang them with clear nylon string and attach to a ceiling hook or tension rod. Keep them above head height for safety and pick shades that read together when photographed. This is inexpensive and renter safe if using removable hooks. I use a center cluster rule: odd numbers read friendlier. Try tissue paper pom poms and clear nylon string.
Mistake to Avoid: Don’t hang poms too low, they get bumped and lose shape quickly.
13. Chalkboard Easel for a Welcome Message
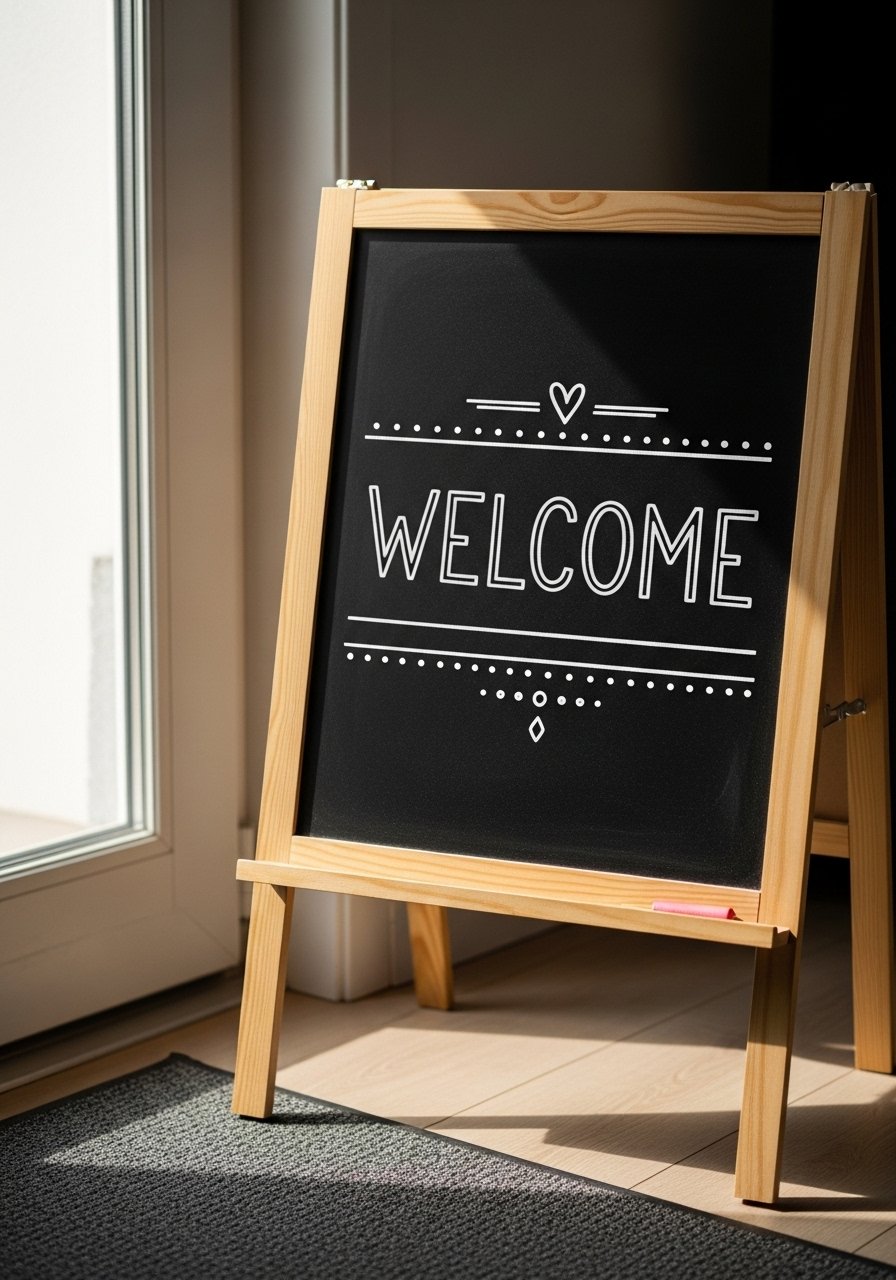
A chalkboard easel looks modern when the handwriting is clean and the message is short. Use one large line of script and one small note underneath with a metallic chalk pen. Place it where arriving guests can see it without blocking traffic. It doubles as a directional sign for food or a schedule. This is low-cost, reusable, and great for mixed-age crowds. I keep a few template phrases on my phone for quick lettering. Grab a chalkboard easel and metallic chalk markers.
Mistake to Avoid: Don’t overcrowd the board with info, one clear line reads best.
14. Confetti-Filled Clear Balloons for Dessert Reveal
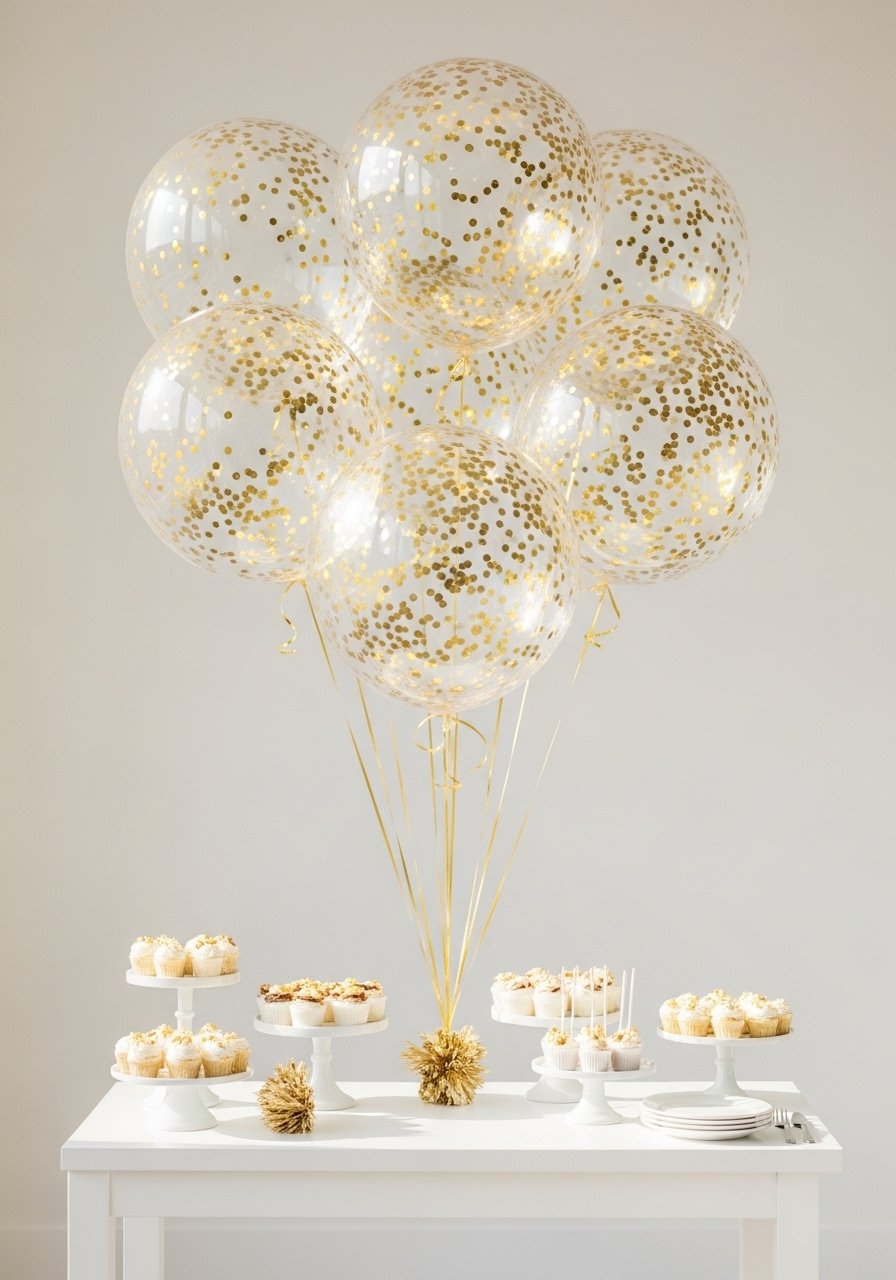
Clear confetti balloons add a celebratory pop during a dessert reveal. Use choose-your-moment and pop one or two over the cake for photos. To keep it modern, fill balloons with metallic confetti in one color and use balloon weights in neutral tones. Inflate with a hand pump and add a small dot of glue at the bottom so confetti sticks for better photos. This creates a single unforgettable photo moment and is cheap to set up. Use clear confetti balloons and balloon weights.
Mistake to Avoid: Don’t fill the table with popped confetti, plan cleanup with disposable trays.
15. Kid Craft Corner That Doubles as Party Activity
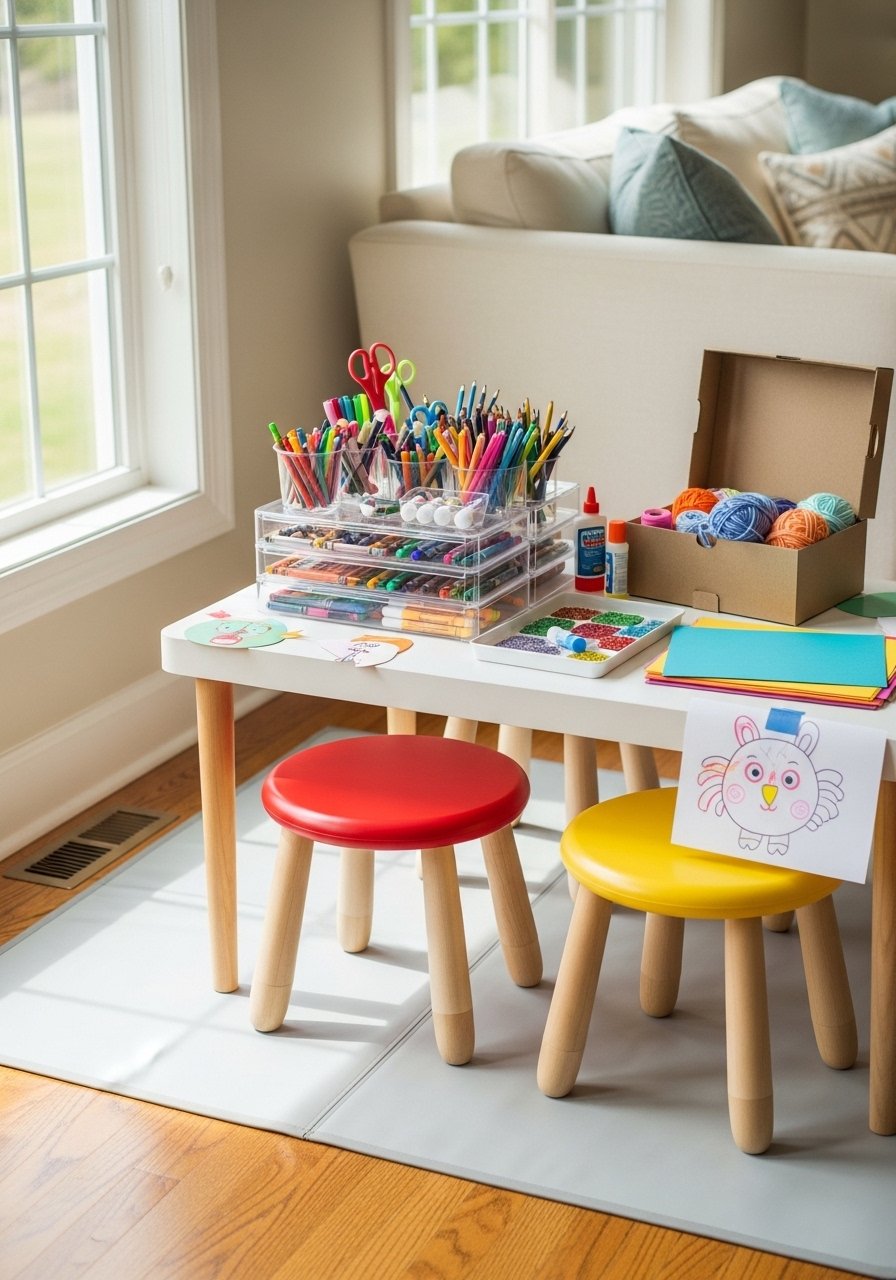
A craft corner keeps kids occupied and becomes part of the decor when it is tidy. Use stackable trays for crayons, stickers, and small crafts, cover the table with a wipeable vinyl mat, and set out a finished example as inspiration. Keep seating low and materials non-messy for indoor parties. It reads intentional when supplies are in matching containers and colors coordinate with the party palette. I bring one extra tray for "finished projects" to avoid clutter. Try stackable storage trays and a vinyl table mat.
Mistake to Avoid: Don’t leave glitter or tiny beads out for young kids without supervision, they scatter and are hard to reclaim.
Quick Setup Tricks I Use Every Time
Start with a one-line plan. I sketch a single sentence floor plan before shopping, then add only what fits that sentence. Grab a roll of kraft paper to map furniture and decor placement.
Match one metallic with two neutrals. Pick a metallic for accents and two neutral tones for main pieces. Use a metallic fringe curtain as your accent, and keep the rest matte.
Use command hooks in multiples. Buy a pack and place them symmetrically for backdrops and garlands. A pack of command hooks clear solves most hanging problems.
Contain confetti and glitter. Serve messy elements in disposable trays or bowls to speed cleanup. A set of disposable serving trays saves time and stress.
Rotate one reusable piece. Keep one framed LED sign or a ceramic stand you reuse across parties, it pays for itself quickly. A framed LED neon sign stores flat and travels easily.
