
I kept scrunching my 3A curls while they were still dripping wet, and the frizz won every single time. After ruining more outfits and photos than I care to admit, I started timing products and shrinking steps down to what actually worked on my hair, not on a salon model. These are the easy styles I kept going back to when I wanted a quick, tidy look that still reads like actual curls.
These styles are for anyone with 3A curl pattern who wants low-fuss, realistic results in 5 to 30 minutes, on a budget or with a small tool kit. Most looks are heat-free or offer a no-heat alternative, and I mention porosity where it matters. Think quick morning routines and one-sock sleep hacks that actually preserve clumps instead of flattening them.
1. Pineapple with a Twist
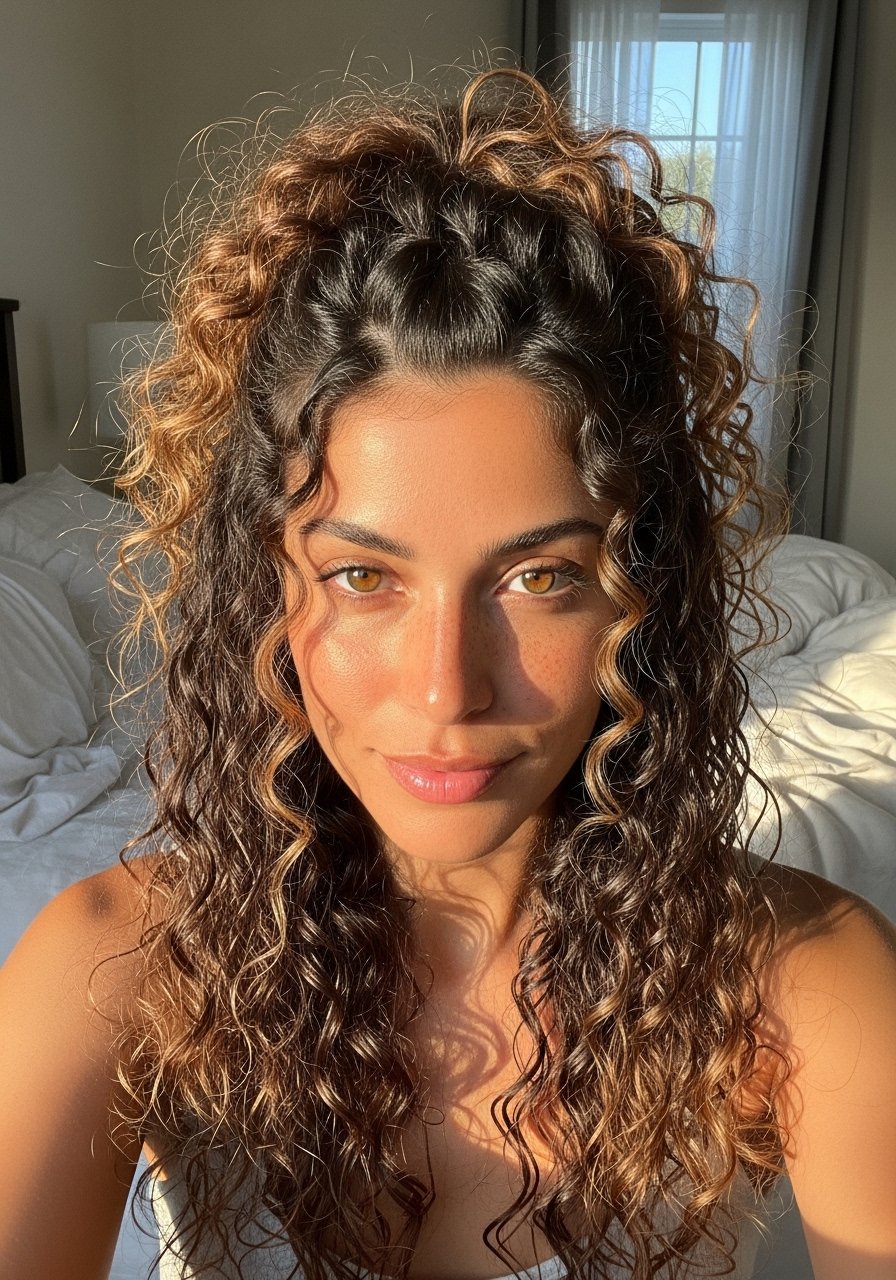
Do this when you want daytime volume but hate the stray frizz. Gather hair loosely at the crown using fingers, secure with a satin scrunchie, then take a 1-inch front section on each side and twist it back into the pineapple for a framed look. Use a pea-sized amount of leave-in per palm, rake through mid-lengths, and scrunch upward to keep clumps intact. The twist keeps face-framing pieces tame while preserving bounce. Works best on medium porosity hair. Finish with a light mist of spray for hold if you need it for more than eight hours.
Mistake to Avoid: Wrapping the scrunchie too tight, which flattens the crown and breaks clumps.
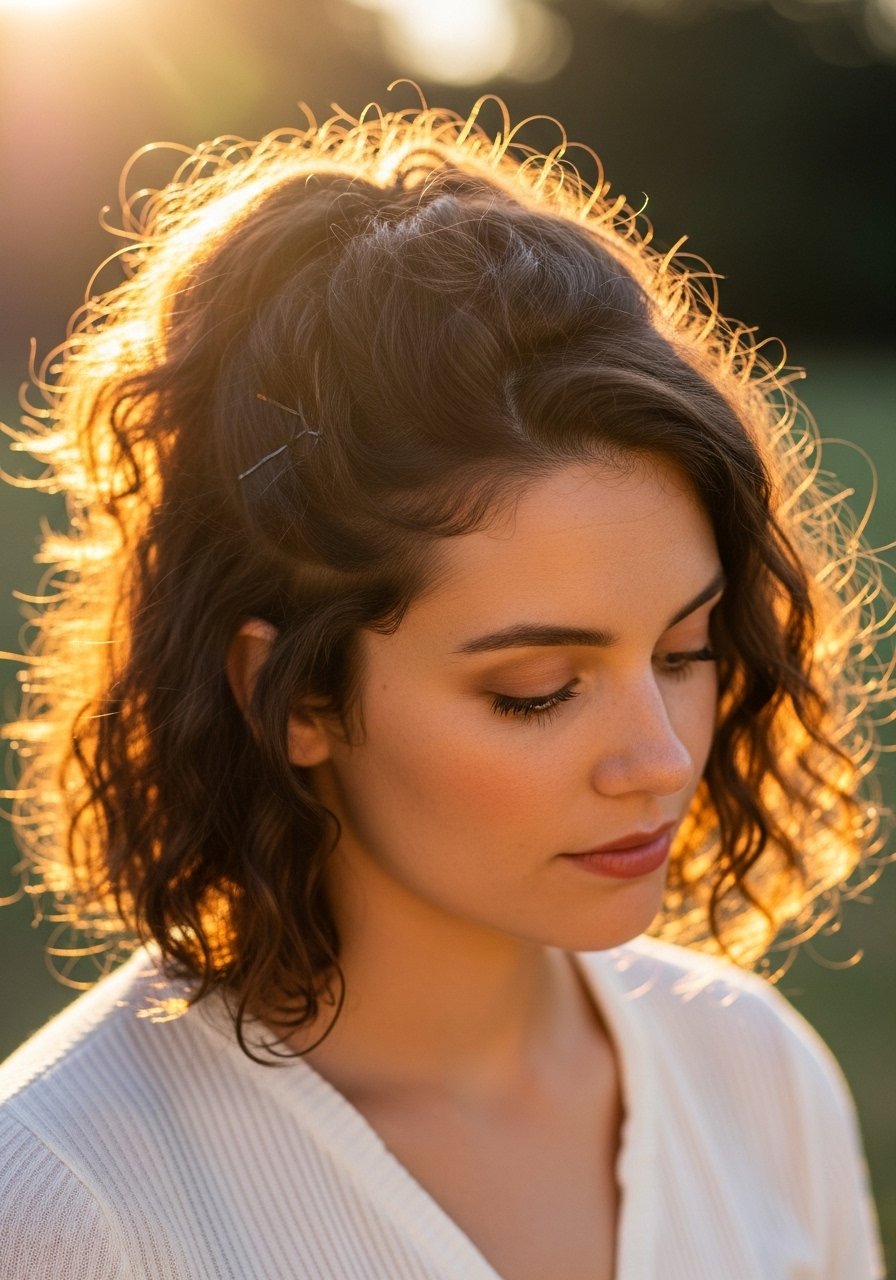
2. Low Slide-Back Pony

This is the go-to when your roots feel heavy but you still want curl movement. Smooth only the hair at the crown with a fingertip of lightweight curl cream, leave the mid-lengths and ends untouched so the curl pattern stays natural. Use a low tension elastic so the pony slides instead of pulling, and pull out one or two tendrils for softness. Makes second-day hair look intentional. If humidity is high, add a dime-size of styling gel to the nape area for extra hold without crunch. Total time five minutes.
Mistake to Avoid: Applying product to the entire length, which kills natural clump and creates stiffness.
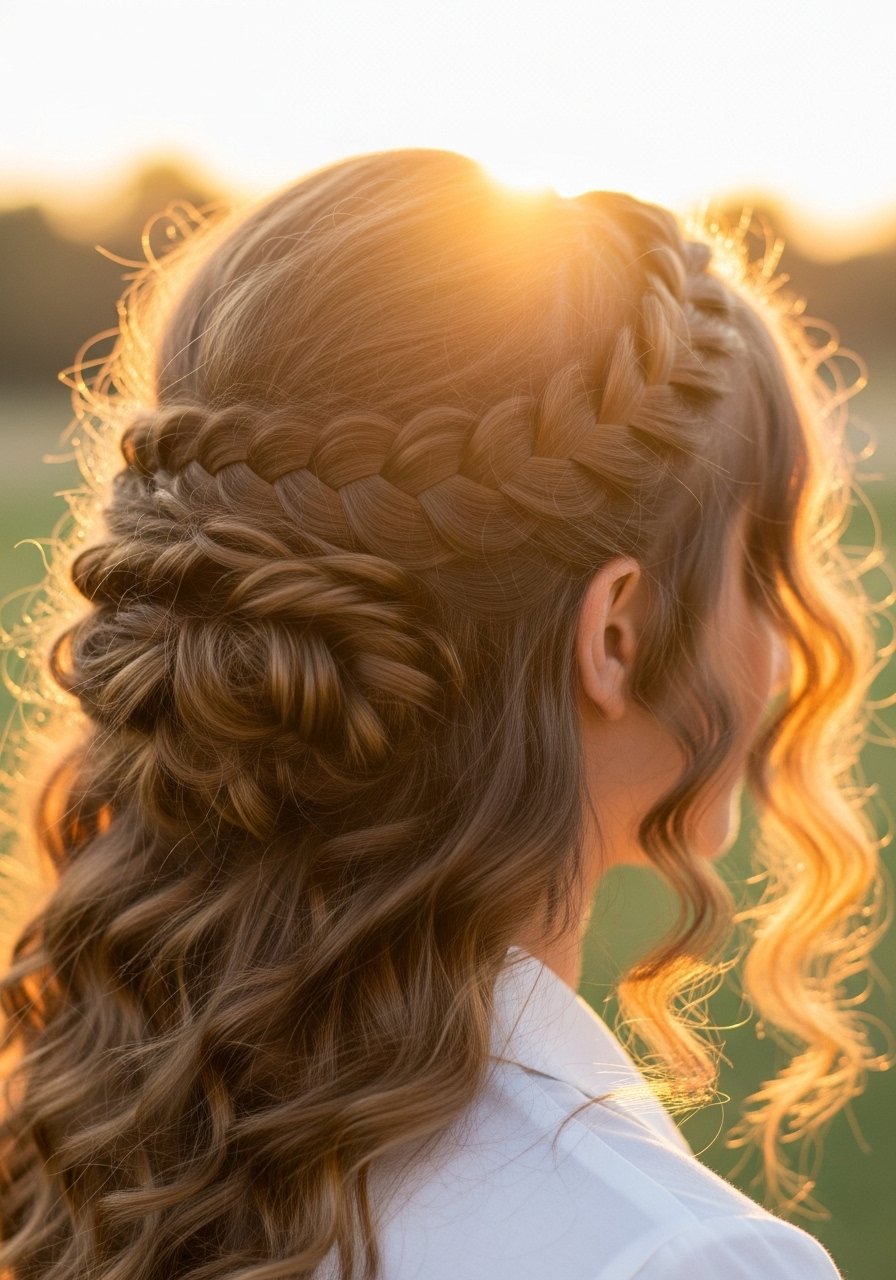
3. Half-Up Rolled Crown
Roll a front band of hair back toward the crown and pin it so the top has a soft lifted band. I use two duckbill clips to hold while the pins set for five minutes. Apply a 1:2 ratio of cream to gel on damp hair when doing this so the front pieces stay smooth but the ends remain textured. It reads polished without looking slick. Great for work or a casual date because it keeps hair off the face while still showcasing curl shape.
Mistake to Avoid: Over-brushing the front band, which blows out the curl and leaves a hollow gap.
4. Mini Pin-Twist Updo
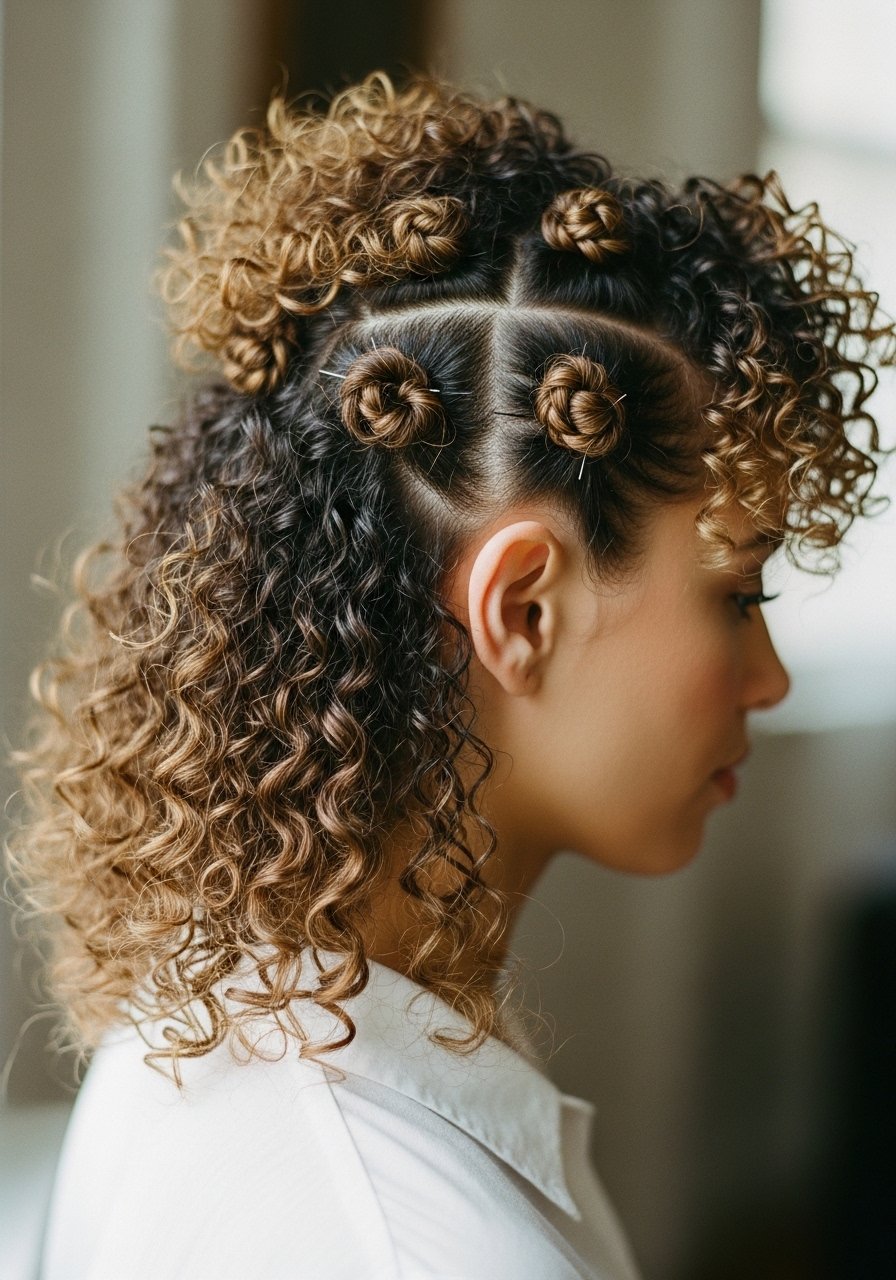
This looks more complex than it is. Take 1.5-inch sections, twist toward the back, and pin with U-pins. Work from ears back and use a dab of holding cream on each twist to reduce frizz. The result is textured, secure, and stays put through wind or running around. It takes about 15 minutes for medium-length hair. Best for those with layers who need control without a slick look. For looser hold, skip the cream and use pins only.
Mistake to Avoid: Twisting too tightly, which shortens curls and makes the updo look cramped.
5. Satin-Scarf Side Sweep

Fold a square satin scarf into a band, place it at the nape, and sweep hair over one shoulder before tying. The scarf tucks gently under a few curls to anchor the look. Use a fingernail-sized drop of oil on ends if your hair leans porous so it does not drink all the scarf's slip. This is a three-minute style that looks intentional for brunch or errands. Works on wet or dry hair. Low heat needed only if you want the ends smoothed.
Mistake to Avoid: Using cotton scarves, which catch and frizz delicate 3A curl surfaces.
6. Clip-Back Curtain
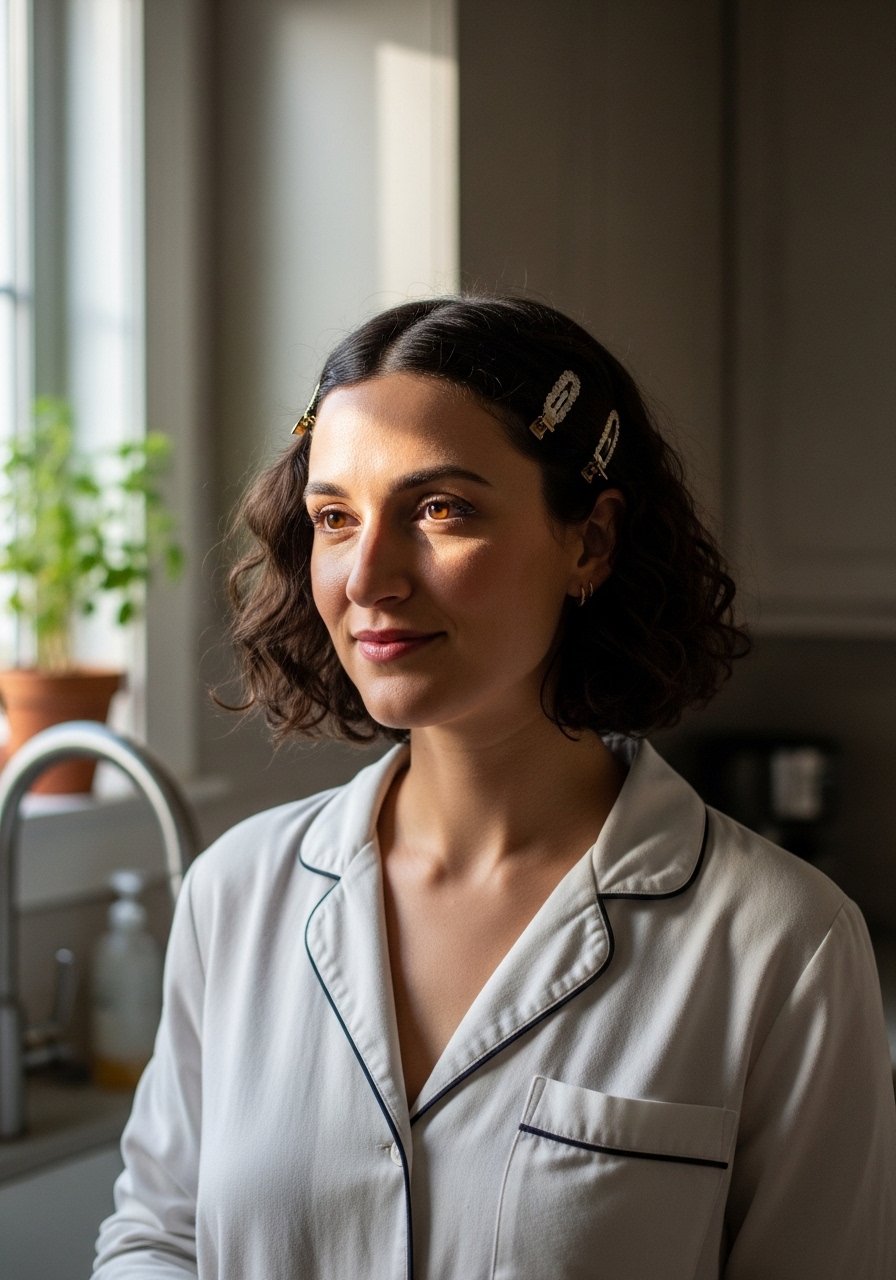
Part hair in the middle and take two front sections, clip them back just above the ears to create a curtain effect. This opens the face and lifts the front without touching the rest of the hair. Use small duckbill clips or embellished clips for an elevated finish. If your bangs are growing out, twist the sections before clipping to avoid awkward angles. The whole look takes under three minutes and works great for short to medium lengths.
Mistake to Avoid: Clipping too close to the hairline, which makes the clips pull and creates dents.
7. Diffused Half-Flip
This is my answer when I want root lift without full drying. Flip hair forward, diffuse for 60 to 90 seconds at the roots on low, then flip back and rough-scrunch. Use a diffuser attachment and a medium-hold gel applied in an amount roughly the size of a nickel distributed in three vertical sections. It adds volume while preserving the curl pattern. For porous hair, mist with a leave-in before diffusing to reduce frizz. Takes 10 minutes if you are going for bouncy roots.
Mistake to Avoid: Diffusing on high heat, which puffs curls into frizz instead of clumping them.
If any of these ideas have you ready to actually try something, here are the products I reach for most.
Curly Routine Essentials to Buy
Tools:
- wide-tooth comb (~$6-12), for detangling on conditioner
- diffuser attachment (~$12-25), fits most travel dryers
Styling & Care:
- microfiber hair towel (~$10-16), for plopping without frizz
- lightweight curl cream (~$10-20), use a quarter-size for shoulder length
- medium-hold styling gel (~$8-18), for hold without crunch
- satin pillowcase (~$12-25), protects curls overnight
- duckbill clips (~$6-12), for sectioning and pin styles
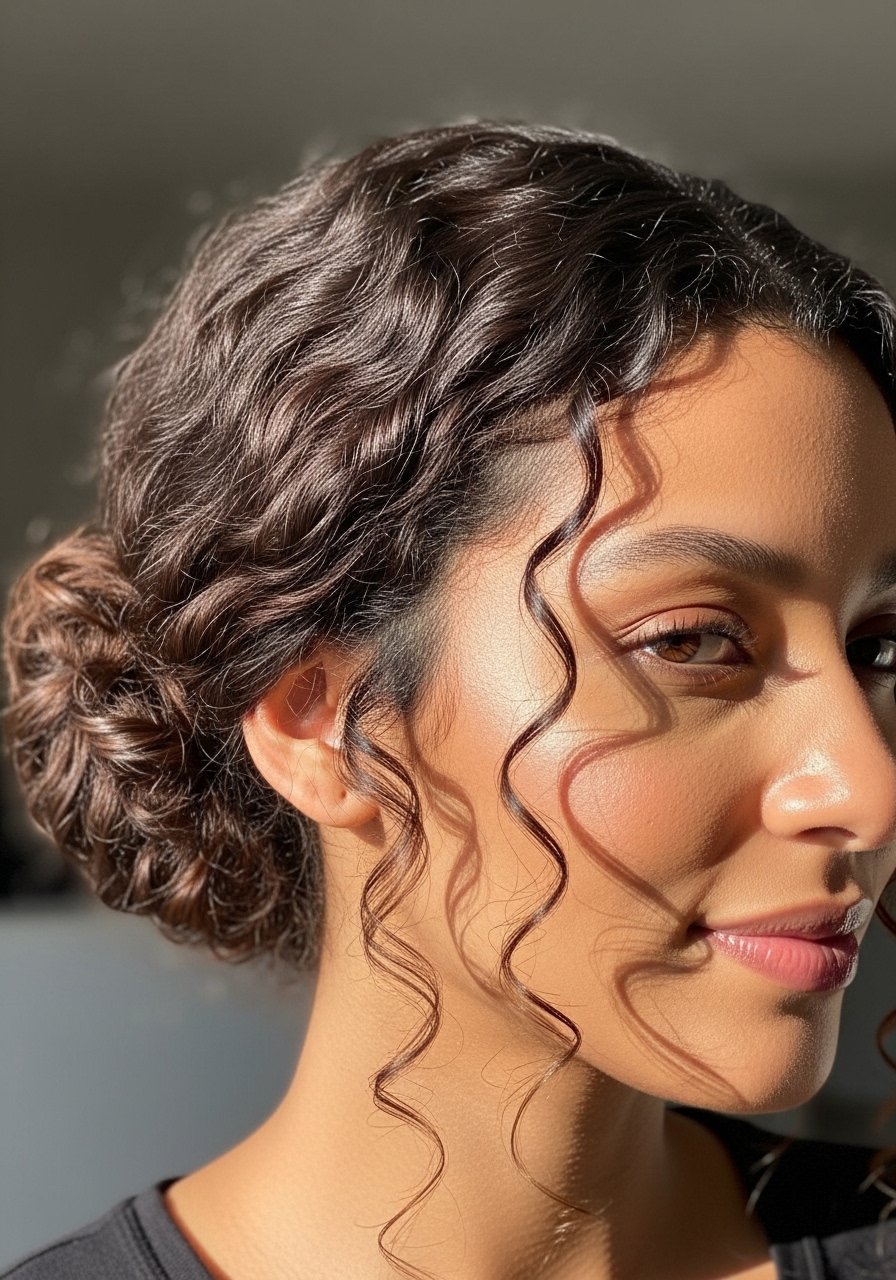
8. Rope-Braided Side Bun
Start with two vertical sections on one side, twist each section toward the back while wrapping them around each other to create a rope braid. Coil the braid into a low side bun and pin. Use a dime-sized amount of cream through ends before twisting to keep definition and reduce flyaways. The rope braid preserves curl pattern and creates a chic bun in under 12 minutes. Ideal for medium to long hair and humid days. Pair with the low slide-back pony idea for days when you want more control.
Mistake to Avoid: Using slippery oil on the scalp area, which makes the braid slide apart.
9. Finger-Coil Half Halo
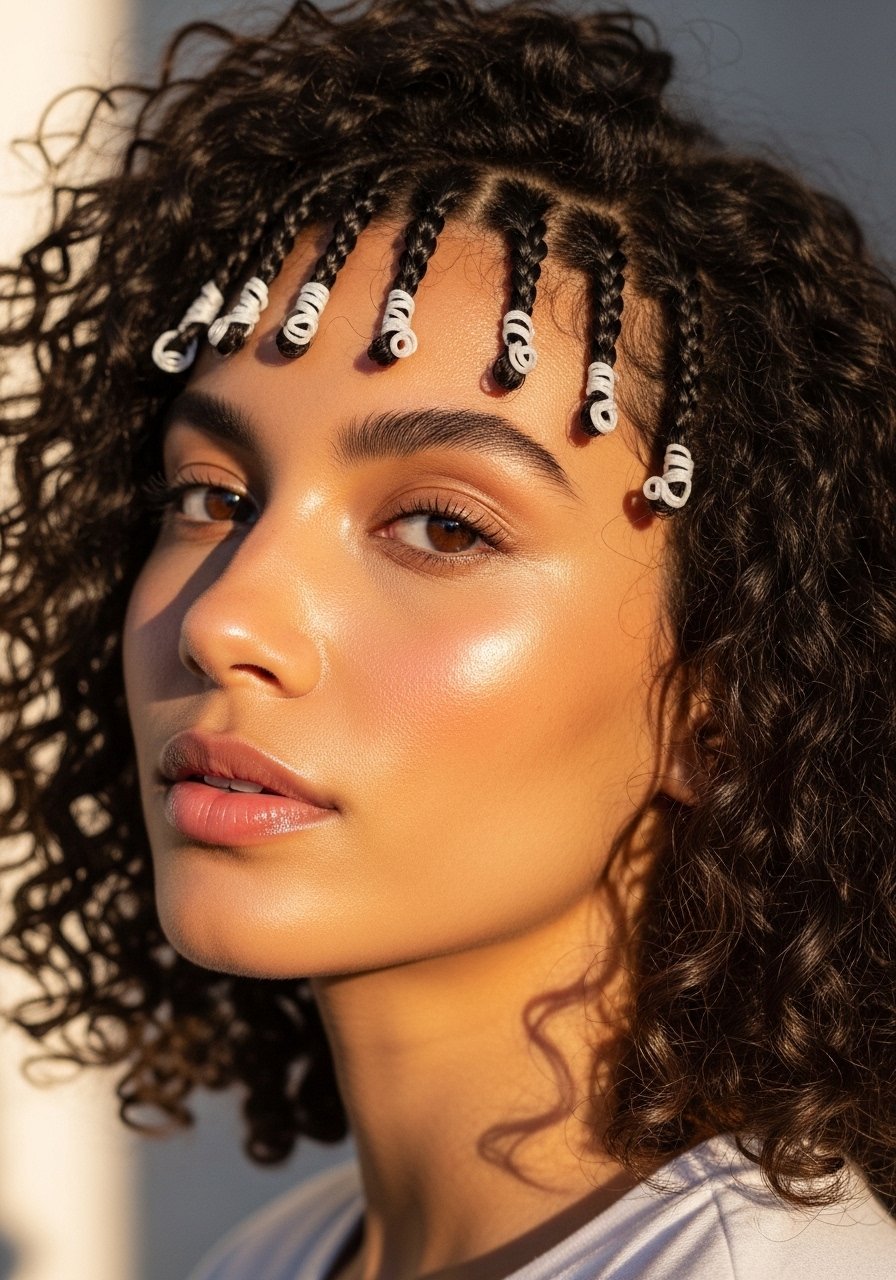
This is the detailed look that reads deliberate without heat. Take 0.5- to 1-inch sections around the hairline, twirl each around your finger, and pin the coil back into a half halo. Use a tiny pea of gel per coil to set the shape. It takes patience but pays off for events or photos. If you have fine hair, do fewer coils spaced wider apart. Works particularly well on freshly washed, soaking wet hair so coils set firmly as they dry.
Mistake to Avoid: Over-coiling large sections, which makes the halo look bulky and unnatural.
10. Sock Bun with Defined Ends
Use a soft sock bun foam and place it at the nape. Twist hair around the form but leave the last two to three inches free so natural curls show instead of a smooth donut. Apply a ratio of three parts cream to one part gel on the wrapped lengths for a lived-in finish. This hybrid keeps the bun tidy while preserving curl ends that soften the silhouette. Great for formal settings that still need texture.
Mistake to Avoid: Tucking all ends into the form, which hides curl definition and looks overly uniform.
11. Overnight Twist-and-Plop Refresh

Before bed, on damp hair, make four to six loose two-strand twists, plop into a microfiber towel or loose satin bonnet, and sleep. In the morning, untwist, scrunch with a small amount of lightweight oil, and finger-separate. If you need volume, flip and fluff at the roots for 10 seconds. This gives a refreshed second-day style with minimal effort. Low heat alternative: if you wake with flat roots, diffuse for 30 seconds on low only at the crown.
Mistake to Avoid: Leaving twists too tight overnight, which creates kinks instead of soft clumps.
Curl-Maintenance Moves I Keep Using
Thin coats beat one thick coat every time. Apply products in thin layers to wet hair so each layer absorbs and clumps curls, instead of sitting on top. Grab microfiber hair towels for plopping, they cut dry time and reduce frizz compared with cotton.
Give a satin pillowcase a try. It costs about $15 and meaningfully extends how long clumps last overnight. I have used one across four hair textures I have styled and it consistently helps reduce morning breakage.
Most people over-apply oil at the roots. Instead, warm a rice-grain amount between palms and tap only the ends. A lightweight hair oil keeps ends shiny without pulling down the crown.
