
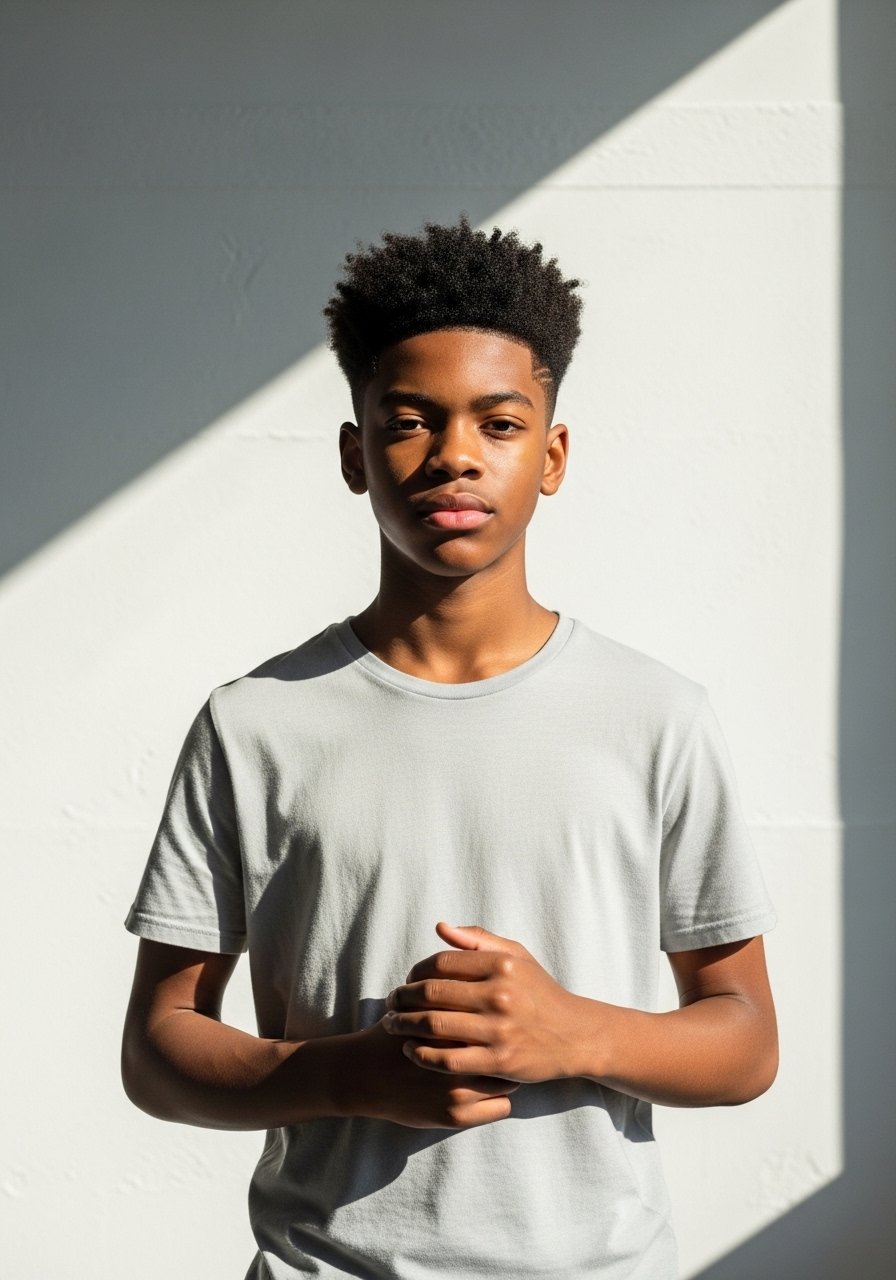
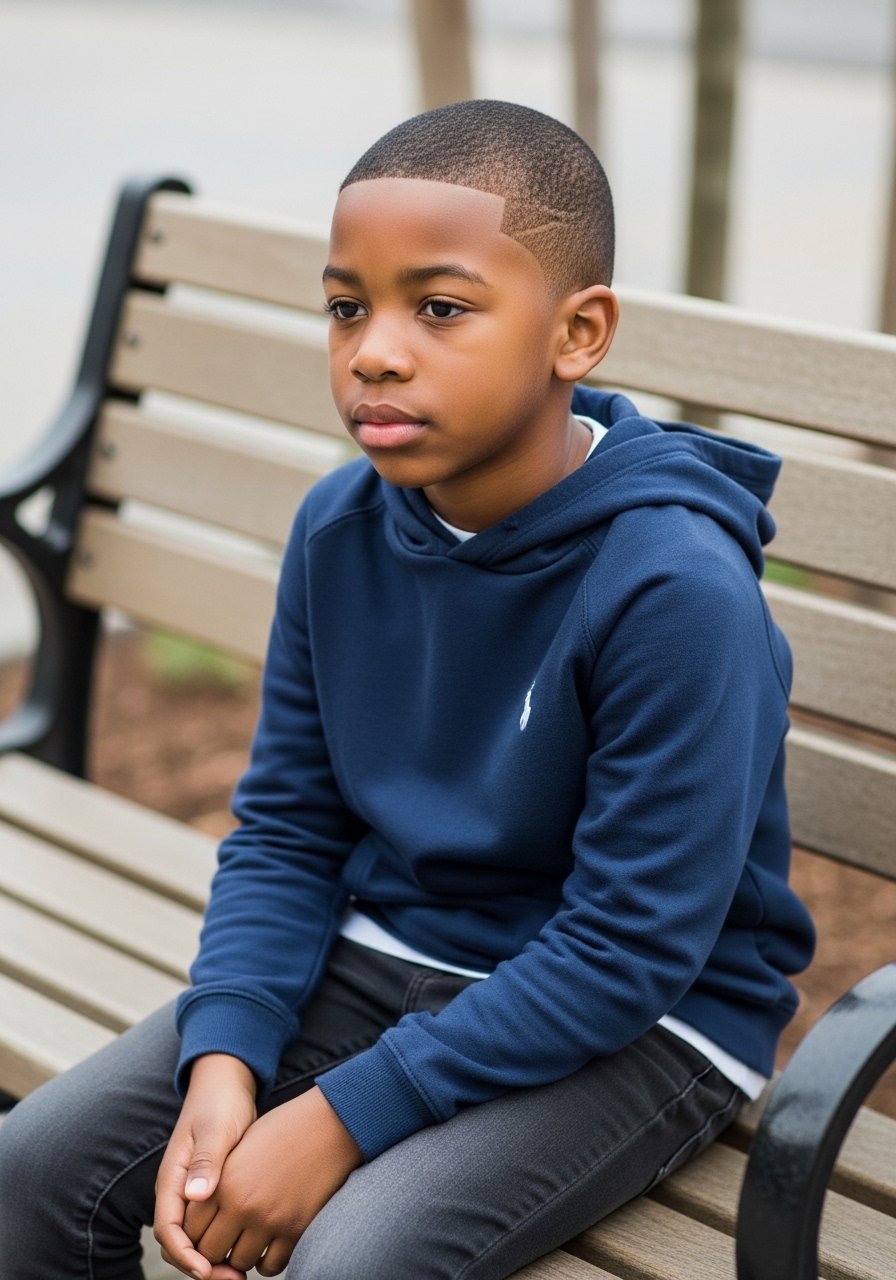
I kept asking my barber for "the same cut" and walking out with a shape that flattened my curls and made my crown disappear. After one haircut where the top was shaved too close, I learned to ask for measurements and to show a photo of the exact curl density I wanted. These nine looks are the cuts and small routines that actually read like the photos, not the versions that fell apart by recess.
These picks are for caregivers and teens who want low-fuss styles that hold up through gym class and hats, budget options included. I tested variations across four hair textures I have styled, so expect notes for coily 4A to looser 3B curls, plus quick timing and skill hints. Most require one short barber visit or 10 extra minutes of morning styling, not an entire morning routine.
1. Low Taper With Defined Coils
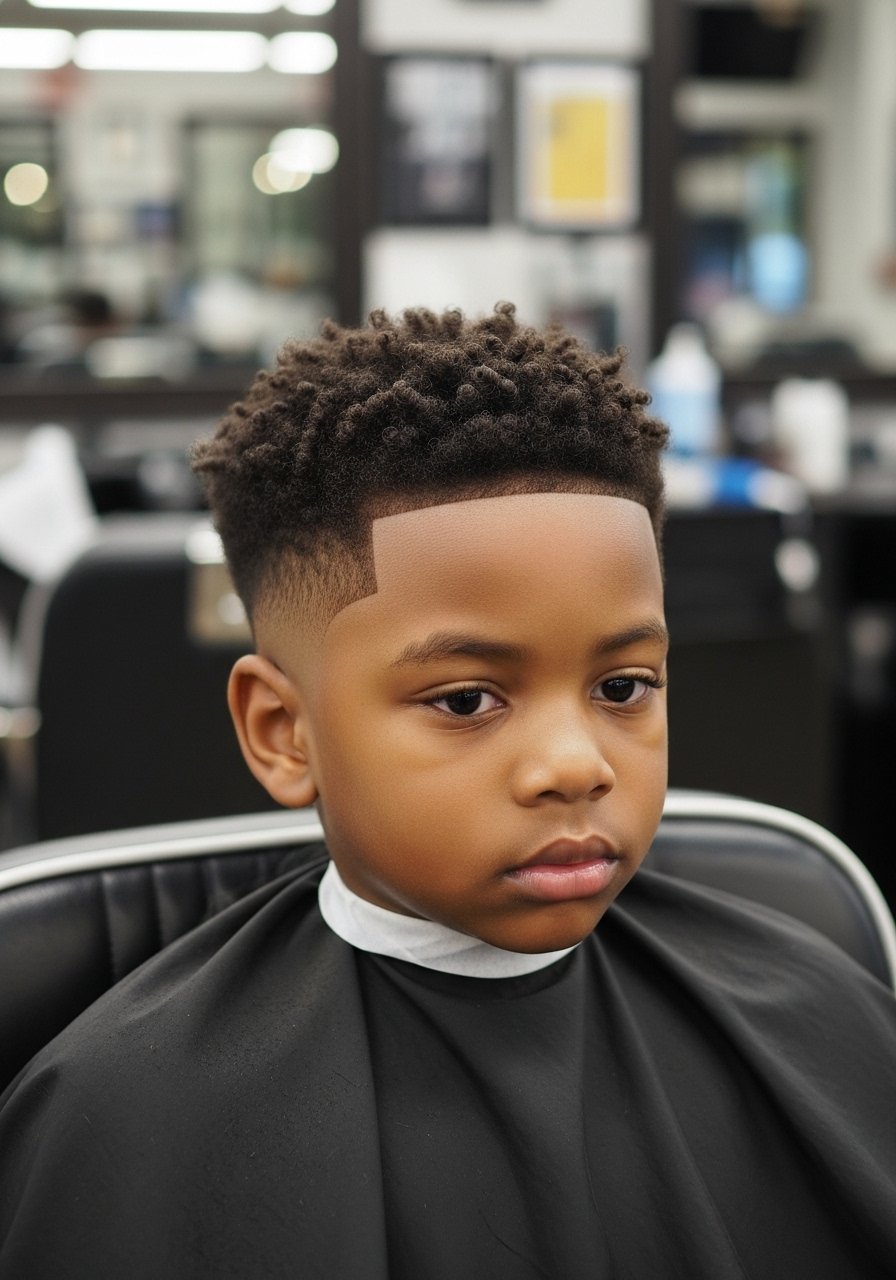
Ask for a low taper that keeps one inch on top and a 1.5 clipper guard at the nape for a smooth blend. What makes this work visually is the contrast between tight sides and textured crown, which reads tidy in photos and real life. For styling, mix one part water to three parts lightweight leave-in in a spray bottle, spritz through, then rake a lightweight leave-in and finish with a pea-size of curl cream. This fits busy mornings and low maintenance parents. Photo-vs-reality note: coils look smaller on camera, so keep them a touch longer than you think.
Mistake to Avoid: Asking the barber to cut "a little shorter" without specifying guard numbers, which often removes too much top texture.
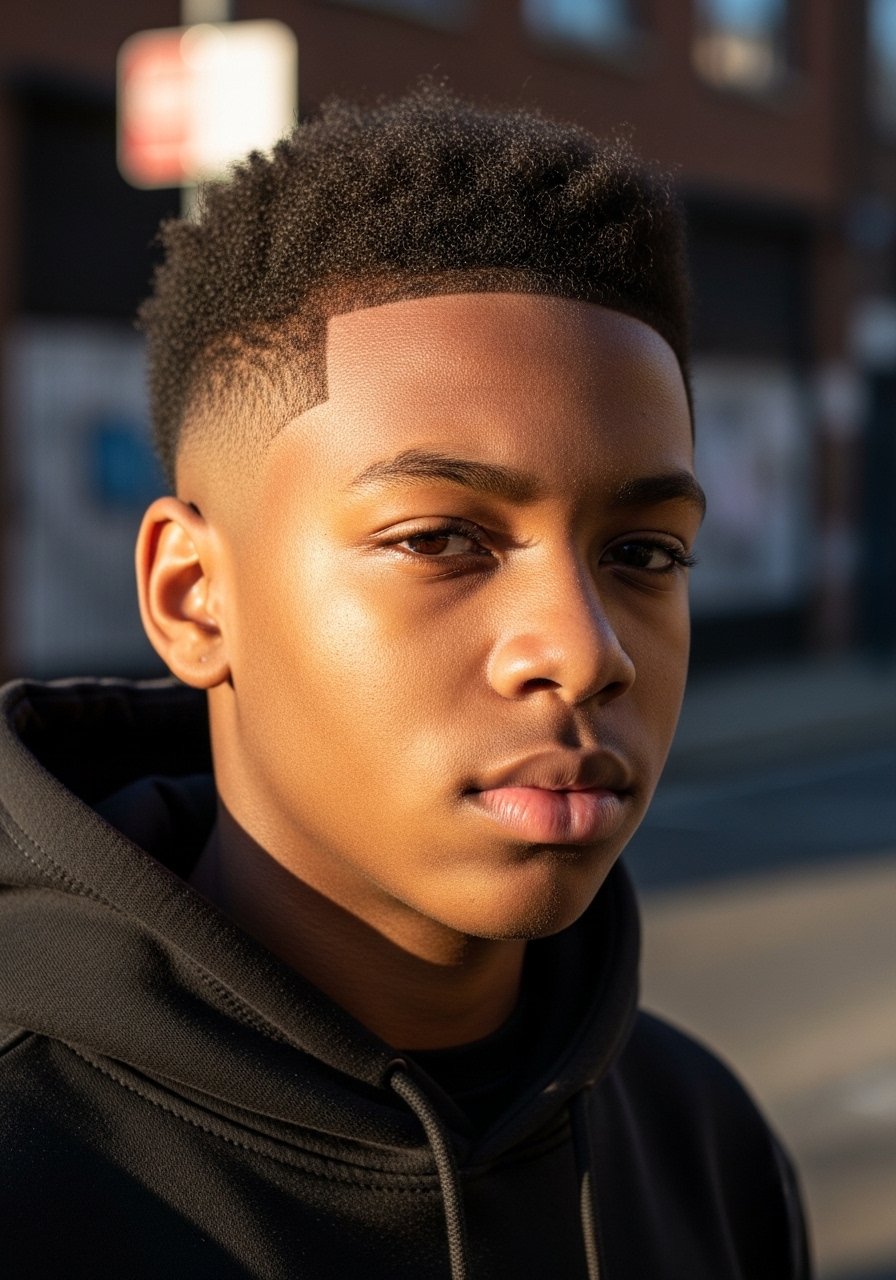
2. High Fade Curly Crop
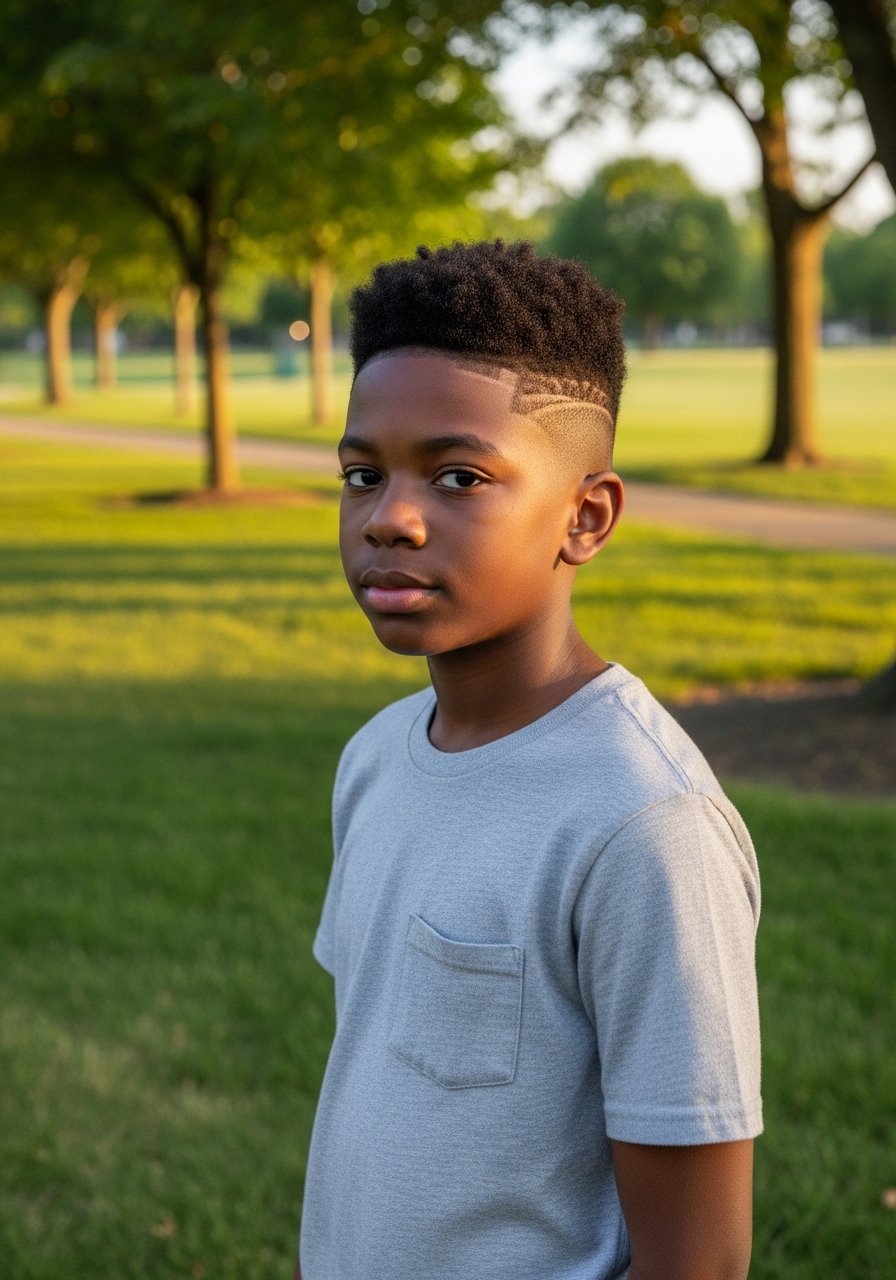
A high fade opens the face and makes a short crop feel modern. The key is a 0.5 to 1 guard fade and 0.75 to 1 inch left on top for curl motion. Use a curl-defining cream on damp hair and finger-scrunch sections about the size of a quarter for consistent coil size. This style suits athletic kids and works with short daily upkeep. Pair with a light-hold pomade for defined edges when you need a sharper look. For pictures, tilt the head slightly forward so the curl pattern reads in natural light.
Mistake to Avoid: Overloading with product, which clumps curls and makes the fade look greasy in photos.
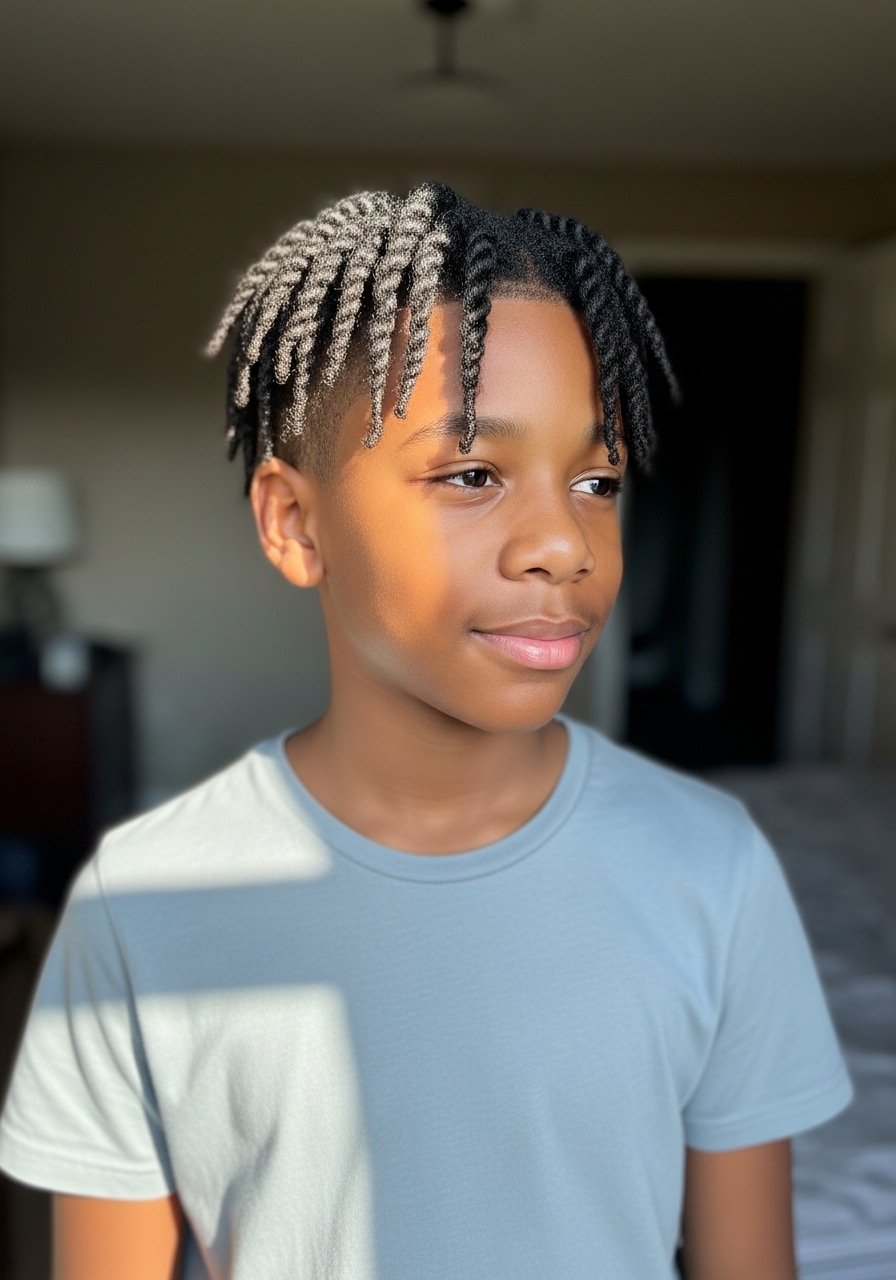
3. Mini Twist-Out for School Days
Mini twists give a controlled, classroom-friendly volume that lasts several days. Section hair into 8 to 12 small parts, apply a dime-sized amount of curl cream per section, then two-strand twist. Let air-dry or use a hooded dryer for 20 minutes to set faster. Untwist gently and separate no more than twice to avoid frizz. This is a medium-skill at-home option that beats daily styling, and it photographs as defined texture rather than fluff. Try a rat-tail comb for clean parting and a lightweight oil for tip sealing.
Mistake to Avoid: Pulling twists apart while still damp, which causes premature frizz and uneven volume.
4. Short Textured Fro With Line Up
A short textured fro with a crisp line up reads intentional and neat. Keep the overall length around 1.25 inches and request a soft scissor blend at the temples so the fro keeps a rounded silhouette. Use a 2:1 mixture of water to styling cream in a spray bottle to refresh texture in the morning, and pat with a microfiber towel to preserve shape. This suits fuller curls and looks balanced across different face shapes. Use a soft edge brush for the hairline and a little pomade for lasting hold in photos.
Mistake to Avoid: Overly sharp clipping at the crown, which removes the rounded silhouette that makes the fro read well.
5. Buzz Cut With Shadow Fade
A buzz cut with a shadow fade is the ultimate low-maintenance option, great for hot months and sports. Ask for a consistent 1.5 guard all over, with a 0.5 guard for the shadow at the sides, creating a soft gradient. This style shows scalp texture cleanly in photos, so scalp care matters. Use a lightweight scalp oil once a week and a gentle exfoliating shampoo every two weeks to avoid flakiness. It is an excellent beginner barber instruction and an affordable way to keep things tidy between trims.
Mistake to Avoid: Skipping scalp hydrating steps, which makes the buzz look dry and uneven close-up.
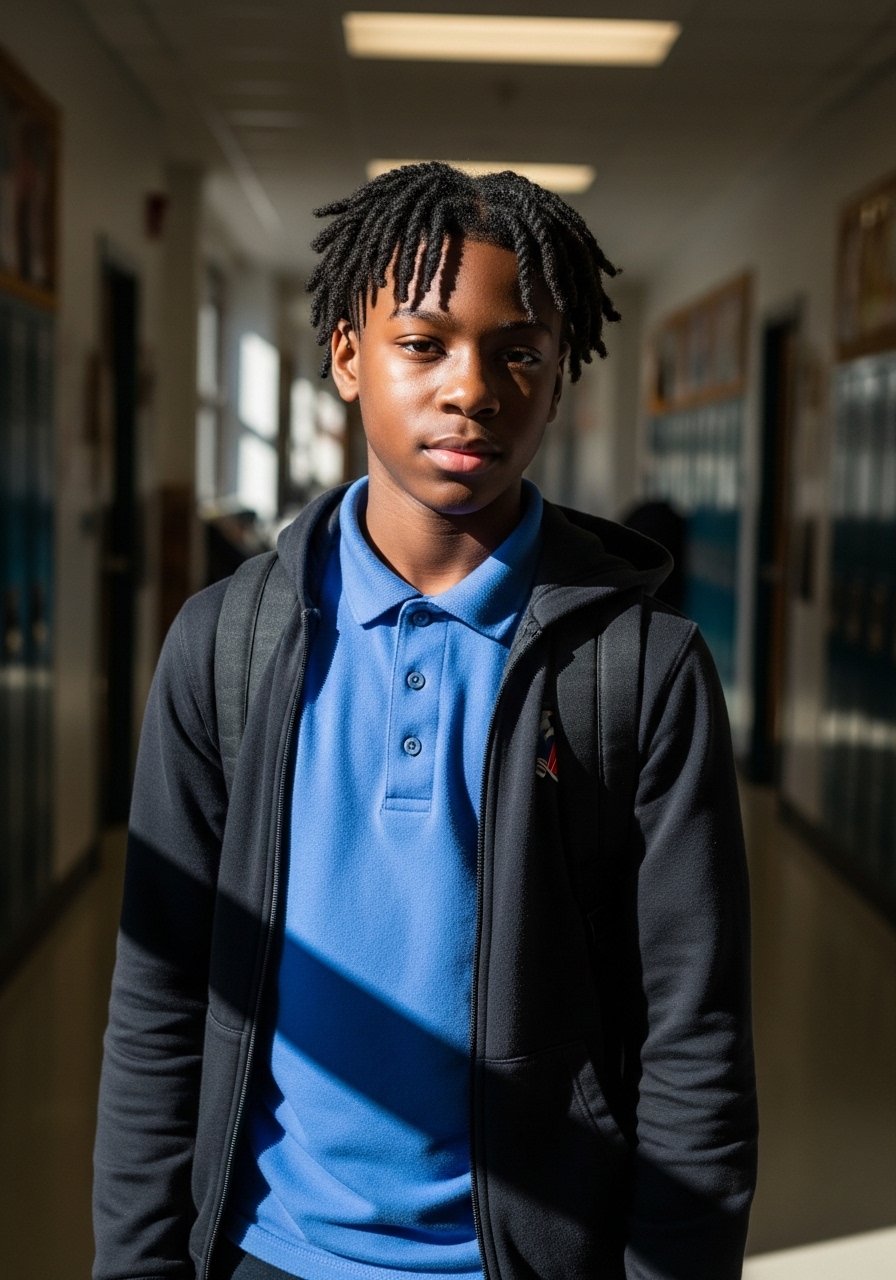
6. Two-Strand Twists With Tapered Sides
Two-strand twists hold definition and are lower frizz than loose styles. Work in small sections, apply a pea-size of twisting gel, and twist clockwise for consistency. Leave twists in for two nights wrapped in a satin scarf to set and reduce frizz. Tapered sides with a 1 to 1.5 guard keep the shape youthful. This look suits parents willing to spend 15 to 30 minutes twice a week and photographs with good shadow play when dried fully. For touch-ups, a light spritz of water and cream is enough.
Mistake to Avoid: Tugging on the roots when twisting, which can cause stress and early unraveling.
7. Hoodie-Friendly Tapered Cut
Kids who wear hoodies need a cut that survives being pulled up and down. This tapered cut leaves about 0.75 to 1 inch on top, with a 1.5 guard at the temple. Shorter, more uniform top texture avoids flattened patches after the hood comes off. Use a small amount of matte paste to restyle after the hood and a satin-lined hood insert for special occasions. This approach is practical for school days and quick photos. The measurement rule of keeping top length at least twice the side guard keeps the shape intact.
Mistake to Avoid: Leaving the top too long, which collapses into flat spots after wearing a hood.
If any of these tools make you want to try a style, here are the actual items I reach for before booking a cut.
Starter Kit For Black Boy Hair
At-Home Styling:
- spray bottle for leave-in mix (~$4-8). Cheap and indispensable for consistent damp styling.
- wide-tooth comb (~$6-12). Gentle on coils when detangling wet hair.
Products:
- lightweight leave-in conditioner (~$10-18). Use diluted for even coverage.
- curl defining cream (~$12-22). A little goes a long way.
- matte paste (~$8-15). For afternoons when you need a quick restyle.
- satin-lined hoodie insert (~$10-20). Keeps hairstyles intact under hoods.
Tools for Maintenance:
- clipper guard set (~$8-20). Bring guard numbers to the barber so both of you mean the same thing.
School Morning Styling Moves
Thin layers last longer than one heavy dab. Use a little curl defining cream across damp hair and spread it in thin coats rather than globbing on one thick layer. Grab curl defining cream to keep hold without stiffness.
Apply product with a spray dilution for even coverage. A spray bottle for leave-in mix costs under ten dollars and prevents patchy damp spots.
Curly crowns photograph best when shaped with fingers, not a comb. A wide-tooth comb detangles wet hair but fingers keep the natural pattern.
If the barber misunderstands guard numbers, show a ruler or use a clipper guard set photo on your phone. A clipper guard set image helps avoid miscuts.
Swap heavy oils for light oils on days you need a quick refresh. Dab a drop of lightweight hair oil on the ends and pat, not rub.
