
I kept overfiling my natural nail thinking more curvature meant longer wear, and every builder gel set peeled off by day four. The moment I stopped chasing shape with the file and started placing tiny 0.5 to 1 mm apex beads where the nail needed support, my short nails lasted two weeks without lifting. That change is what most people screenshot and forget to copy.
These ideas are for people who want short, hard-wearing builder gel looks without salon-level tools or hours of filing. Expect beginner to intermediate techniques, kit-friendly product swaps under $40, and looks that work for office-friendly wear or weekend polish changes. Most takes here assume short nail length, LED curing for 30 to 60 seconds per thin layer, and a simple two-step aftercare.
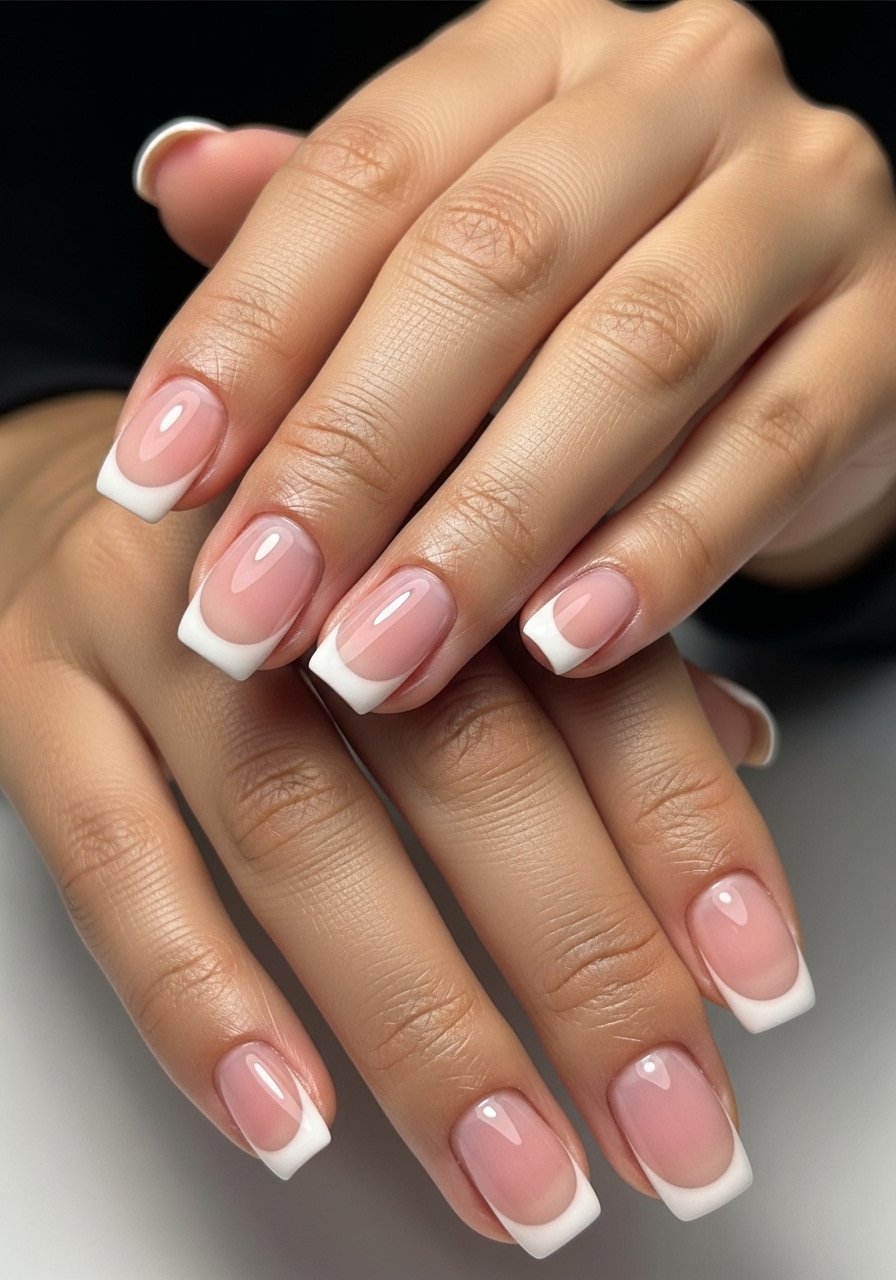
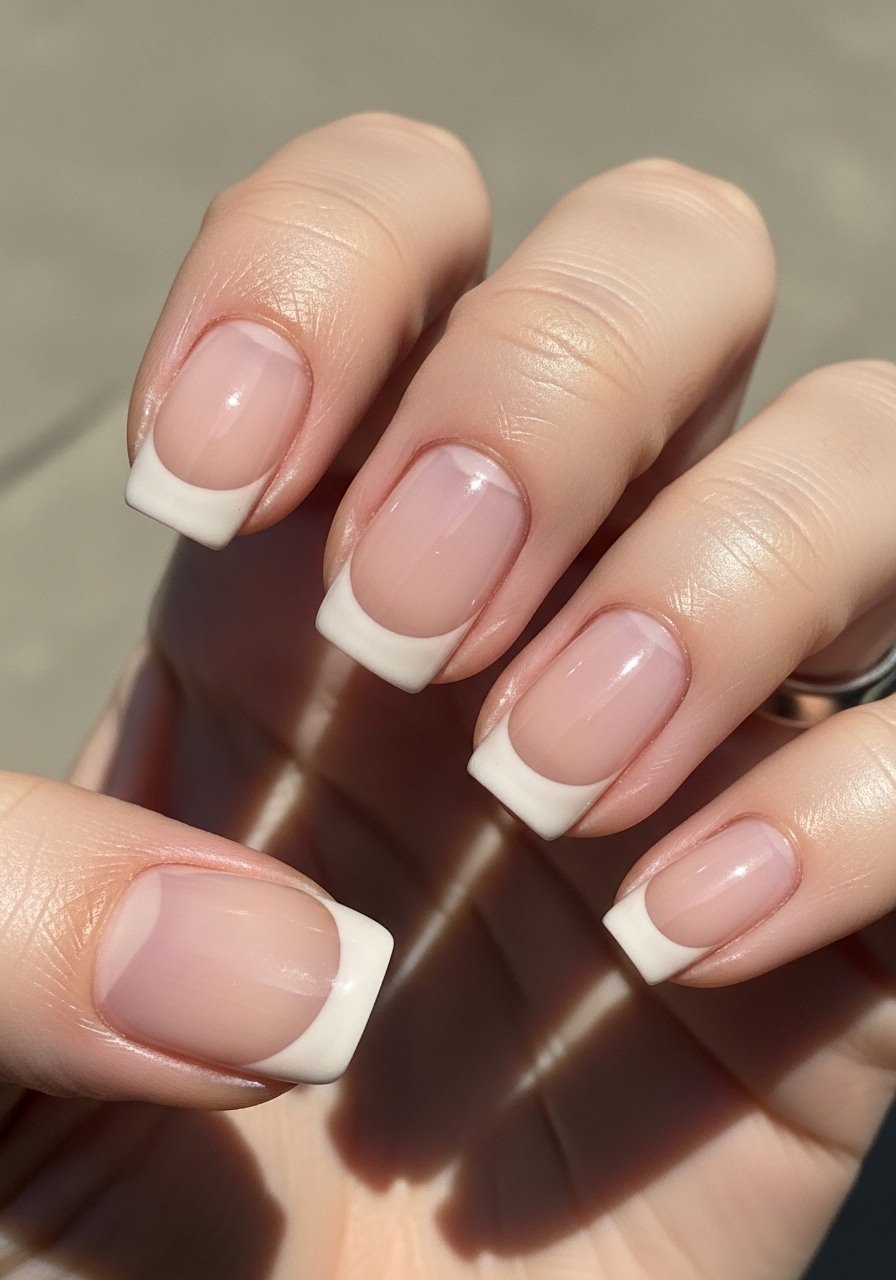
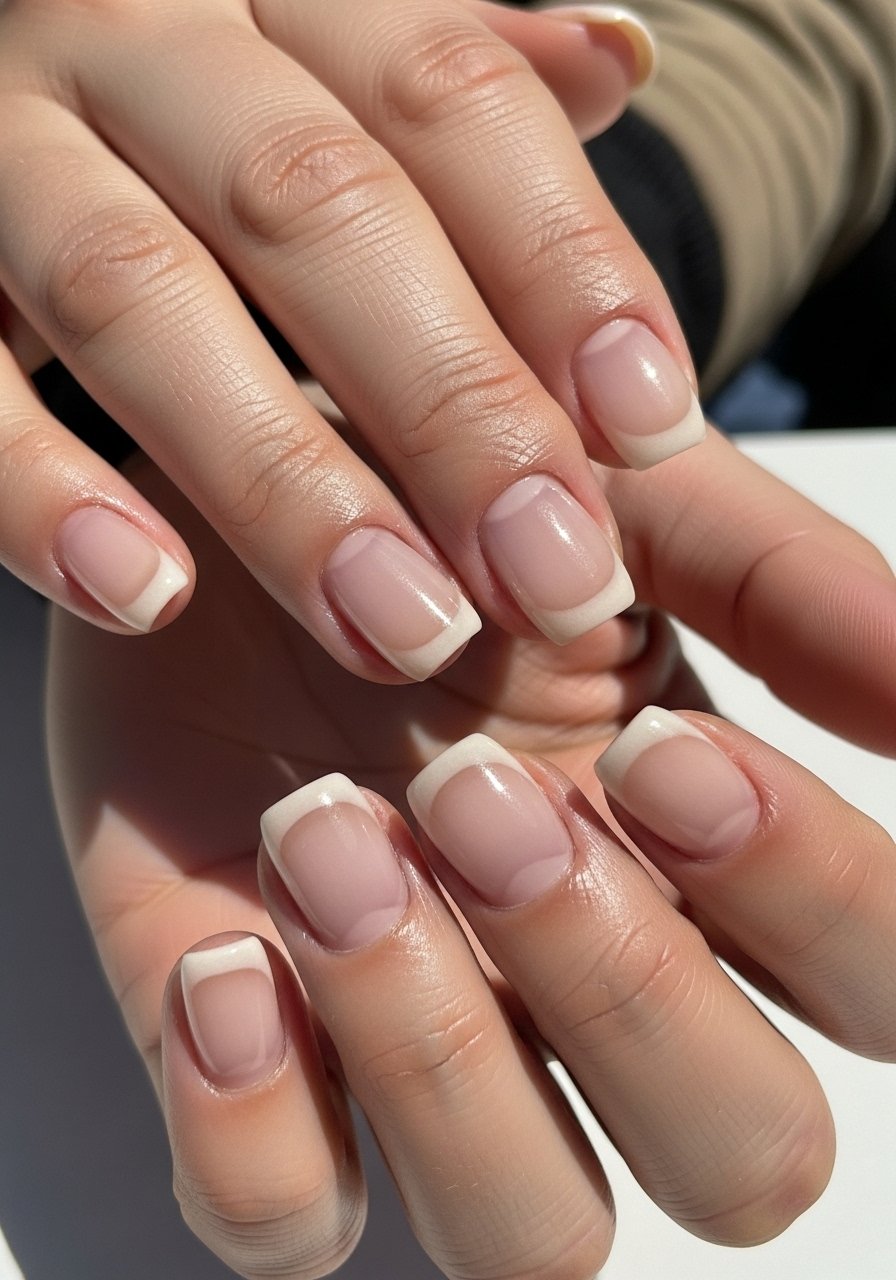
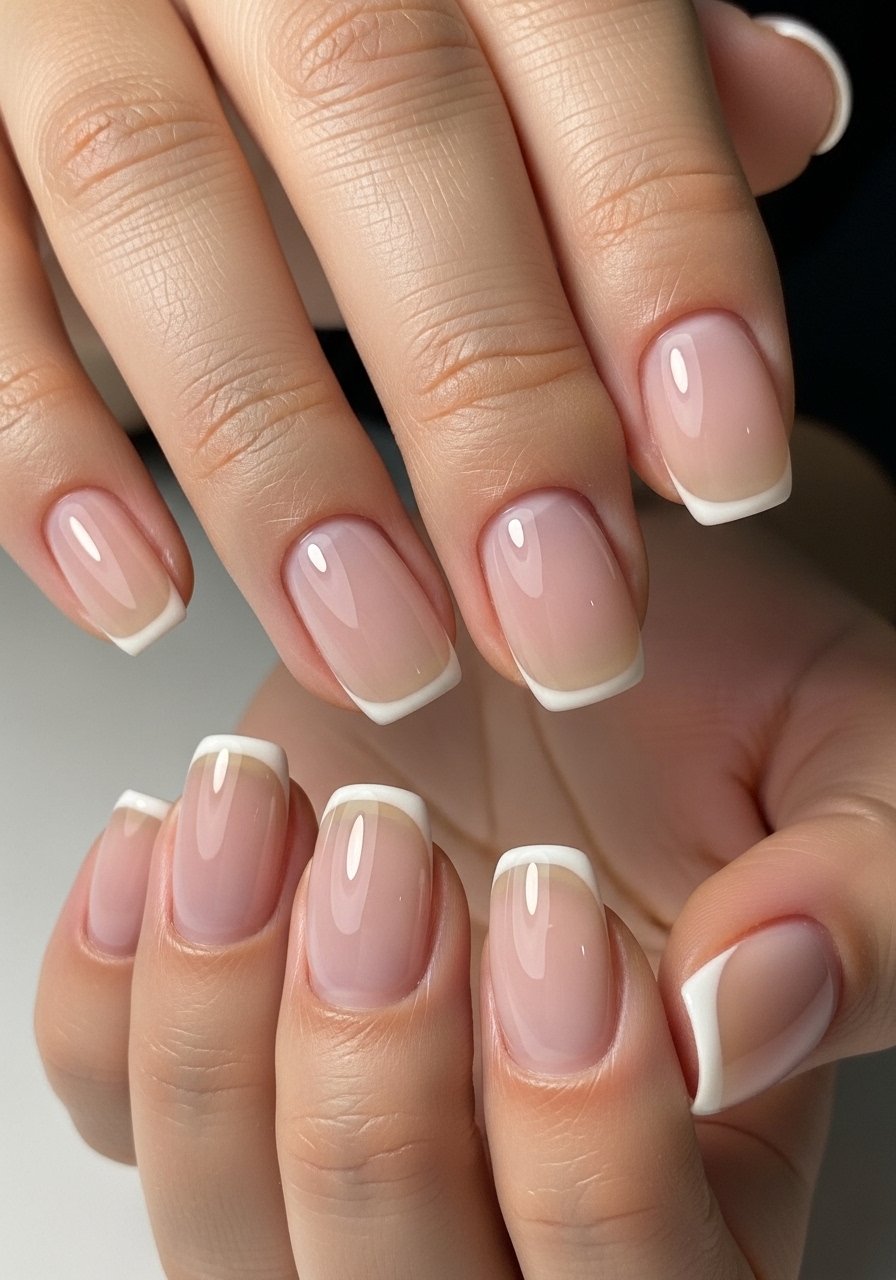
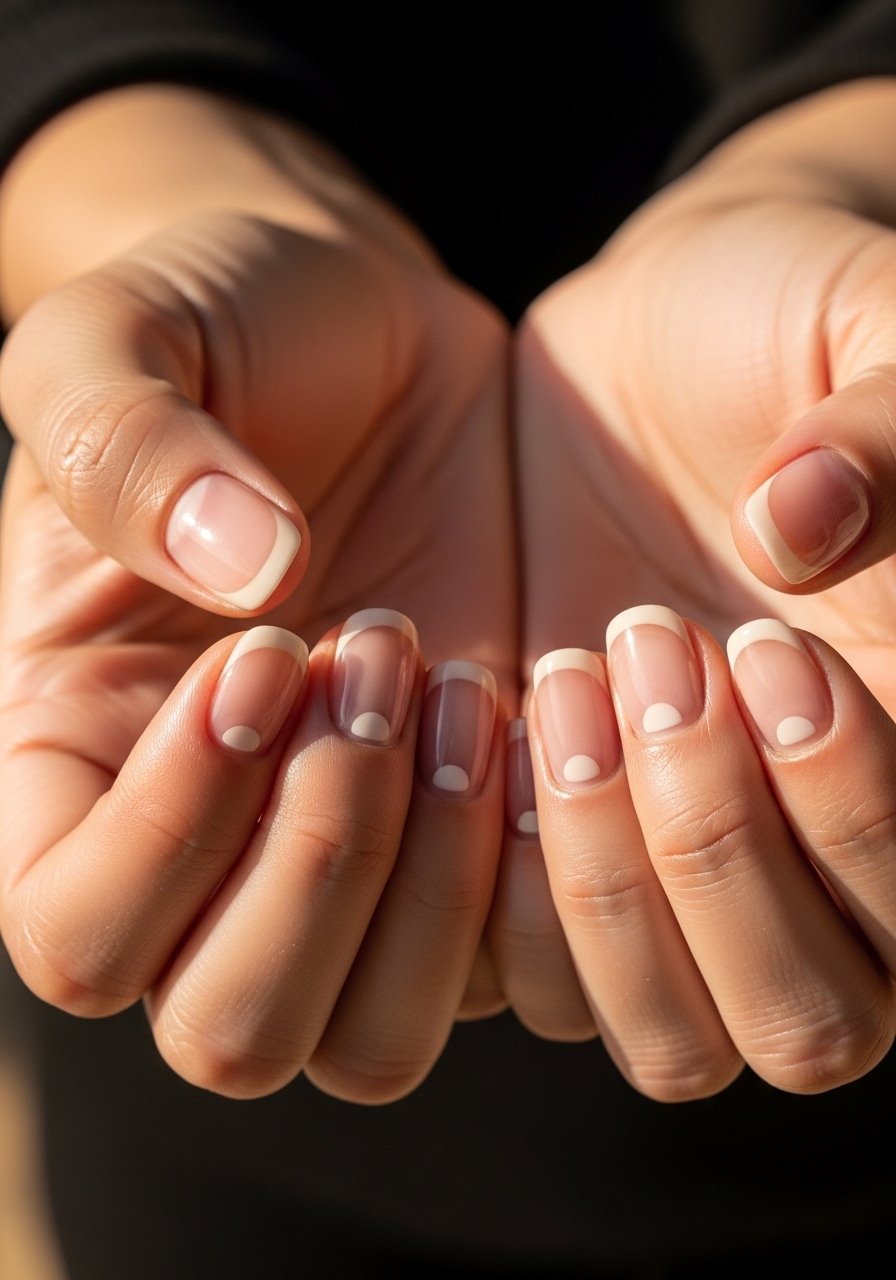
1. Clean French With Built-In Reinforcement
Style/Vibe: Minimal French, structural
Best For: Short nails / everyday wear
Skill: Beginner to intermediate
Start by painting a tiny smile line in thin builder gel, cure for 30 seconds, then add a sheer cover layer that builds a 0.5 mm apex over the stress zone. The built-in white tip removes the edge weakness you see when a painted French chips first. I use a small flat brush and the soft builder gel brush for placement, and finish with a glossy top coat. This look reads polished and keeps the free edge protected without lengthening the nail.
Mistake to Avoid: Rushing the apex placement and expecting one thick layer to hold, which causes lifting.
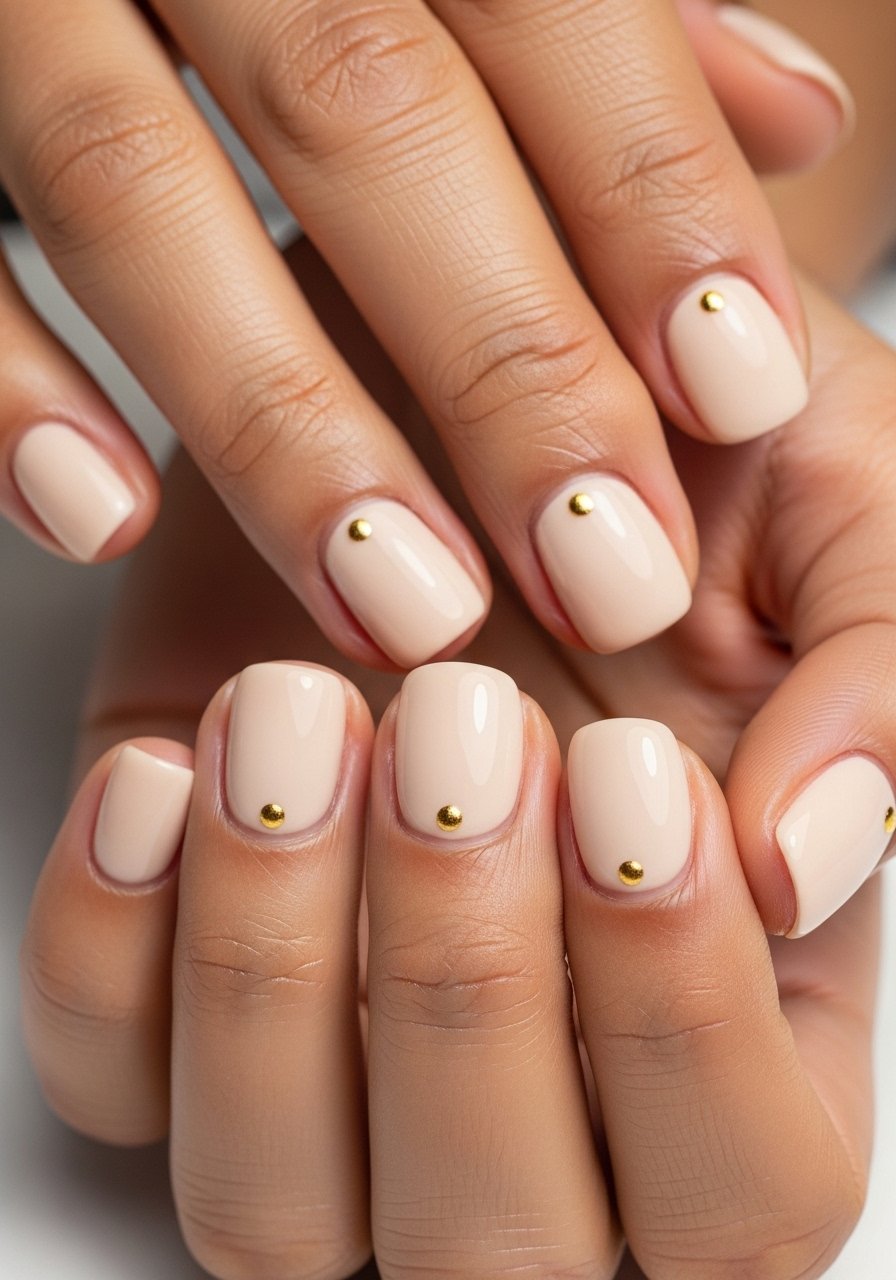
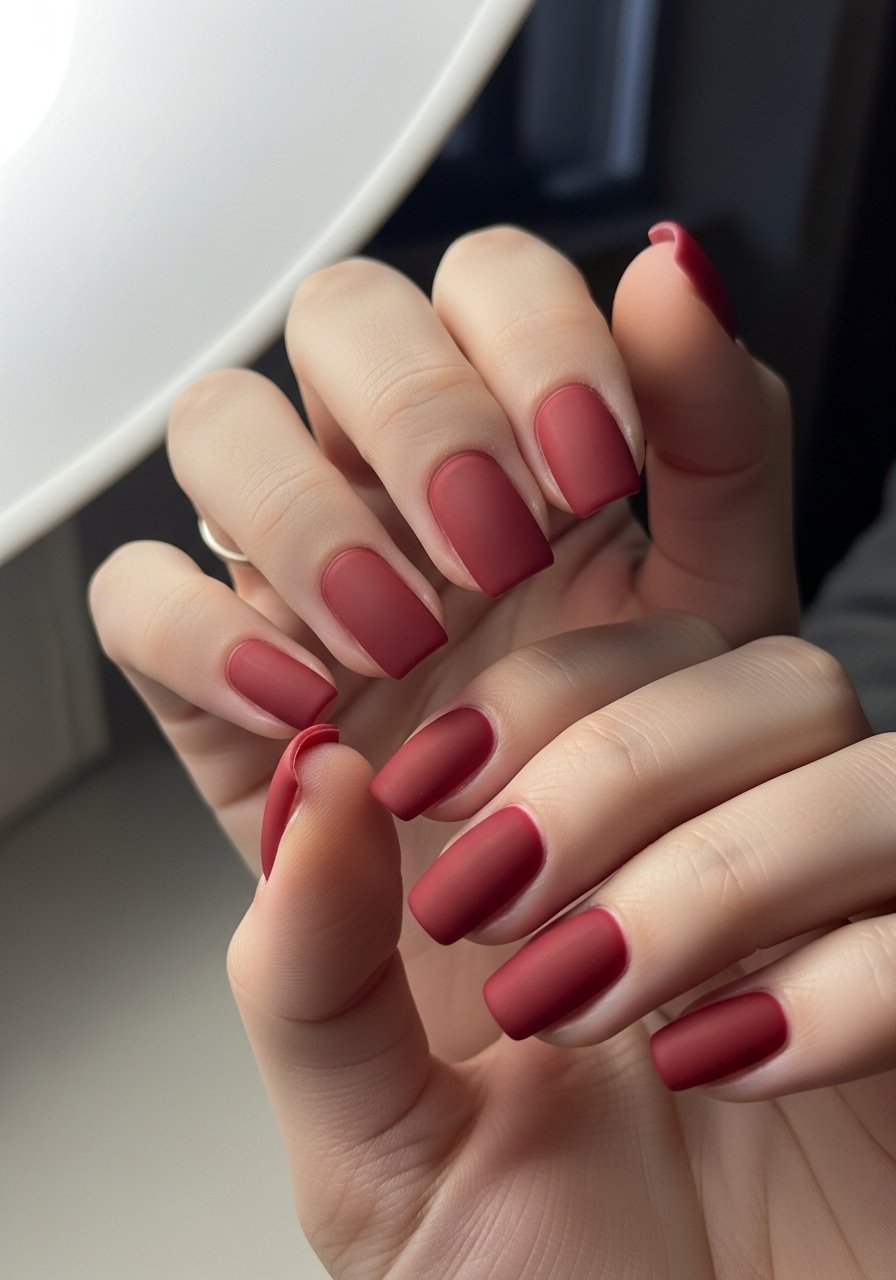
2. Matte Neutral With Tiny Gold Accent
Style/Vibe: Modern, quiet luxe
Best For: Short nails / brunch to evening
Skill: Beginner
A matte finish hides tiny filing mistakes and looks intentional on short nails. Apply two thin coats of builder gel, cure each layer, then buff the tacky layer lightly and apply a matte top coat cured for 60 seconds. For the accent, press a 1 to 2 mm gold foil piece into the tacky layer before the final cure. I learned the foil trick from a tech who works at a salon downtown and it reads expensive without fuss. Use matte top coat for the finish.
Mistake to Avoid: Applying foil to a dry surface so it flakes off instead of embedding in the tacky layer.
3. Short Almond Illusion With Minimal Free Edge
Style/Vibe: Soft almond illusion
Best For: Short nails that want shape without length
Skill: Intermediate
You can create the illusion of almond tips on short nails by shaping the builder gel on the sides only, leaving the center with a 0.5 mm apex. Work in 0.3 to 0.5 mm thin layers, cure 30 seconds for each, and file very sparingly. The visual shrink-wrap of the gel makes the nail read longer without adding free edge. For this I like a medium-viscosity builder and a dual-ended shaping brush to feather the sides precisely.
Mistake to Avoid: Over-filing the free edge to force the shape, which shortens the nail instead.
4. Micro-Glitter Tip For Subtle Sparkle
Style/Vibe: Festive but subtle
Best For: Short nails / special events
Skill: Beginner
Keep the glitter minimal by mixing a tiny pinch into a single 0.3 mm layer of builder gel and applying it to the tip only. Cure for 30 to 45 seconds and then cover with a thick glossy layer for a glassy look. The micro-glitter catches light without feeling chunky, which is key on short nails where texture reads loud. I use a small angled brush and a nail glitter pot for control.
Mistake to Avoid: Packing glitter into multiple layers so the surface becomes rough and top coats peel.
5. French Reverse With Negative Space Crescent
Style/Vibe: Modern French, graphic
Best For: Short nails / creative office looks
Skill: Intermediate
Instead of a classic tip, paint a small crescent of builder gel at the cuticle, cure, then apply a sheer cover. The negative space at the free edge makes short nails look more intentional, not truncated. Use 0.5 mm apex placement over the nail bed to avoid a domed crown that looks fake in photos. For crisp crescents I rely on a micro dotting tool to place gel precisely.
Mistake to Avoid: Making the crescent too large, which overwhelms the nail and reads clumsy.
6. Sheer Jelly Pink With Hidden Strength Layer

Style/Vibe: Fresh, wearable
Best For: Short nails / everyday polish chameleons
Skill: Beginner
A thin, slightly tinted builder gel acts like a protective soak-off shell under whatever polish you want. Apply a single thin reinforcement layer across the stress zone, cure 30 seconds, then add two sheer jelly layers of color. The result is glossy and durable, and it photographs like a salon soak-off. I pair this with a clear builder gel base so color sits evenly.
Mistake to Avoid: Using opaque builder in thick layers that masks natural nail movement and causes lifting.
7. Minimalist Line Art With Gel Pen
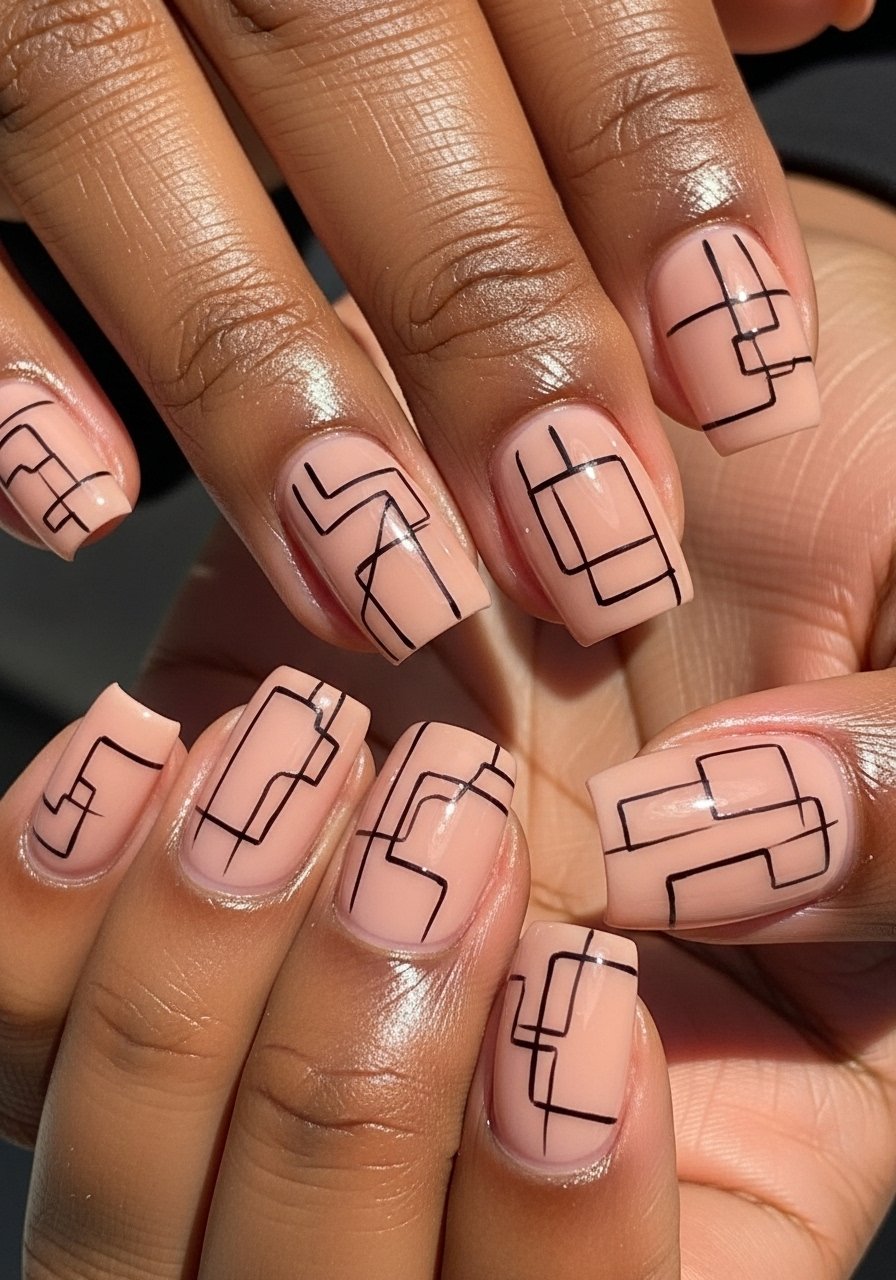
Style/Vibe: Graphic, tiny-detail
Best For: Short nails / creative types
Skill: Intermediate
Tiny line art reads neat on short nails because the negative space makes the lines pop. After your gel base cures, use a fine gel pen to draw one or two strokes, then seal with a gloss top coat. Keep lines thin, about 0.5 mm, and avoid crossing the nail. The controlled contrast makes a small canvas look considered. I use a fine gel art pen for this and cure each drawing with a 30-second blast.
Mistake to Avoid: Over-complicating the art, which makes the short nail look crowded.
If any of these ideas have you ready to actually try something, here are the products doing most of the work.
Builder Gel Essentials For Short Tips
Basic Tools:
- LED nail lamp (~$25-45), reliable 30 to 60 second cures
- soft builder gel brush (~$8-15), small flat head for apex placement
- dual-ended nail file (~$6-12), 180/240 grit for gentle shaping
Gels & Finishes:
- clear builder gel (~$15-30), medium viscosity
- sheer pink builder gel (~$12-25)
- matte top coat (~$8-14)
- gloss top coat (~$8-14)
Finishing Details:
- nail dotting tool set (~$6-10), tiny accents and crescents
- micro glitter pot (~$5-12), for controlled sparkle
- cuticle oil (~$6-15), daily hydration that lengthens wear
8. Tinted Builder Ombre That Photos Like Gel Polish

Style/Vibe: Photo-friendly ombre
Best For: Short nails / salon-look at home
Skill: Intermediate
Create a second-skin ombre by placing two colors of thin builder gel in the same layer and blending with a tiny brush before curing. Work fast in 0.3 to 0.5 mm layers so colors meld without creating ridges. Cure 30 seconds, then add a glossy top coat. This method avoids the thick look of acrylic ombre and photographs evenly. I use a micro blending brush to soften the line between shades.
Mistake to Avoid: Blending after the gel is tack-free, which makes a visible seam.
9. Builder Over Wraps For Zero Filing
Style/Vibe: Fast, low-damage
Best For: Short nails / renters who avoid filing
Skill: Beginner
If you hate filing, apply nail wraps first and then lay a thin builder gel shell over them for strength. Cure each thin layer for 30 seconds and finish with a gloss coat. The wrap gives an even base and the gel locks it in. This is one of the competitor gaps I kept seeing skipped, and it makes short nails look neat without reshaping your natural edge. Try a neutral nail wrap pack for easy matching.
Mistake to Avoid: Using opaque builder in a thick coat that wrinkles the wrap instead of smoothing it.
10. Micro-French With Metallic Thread
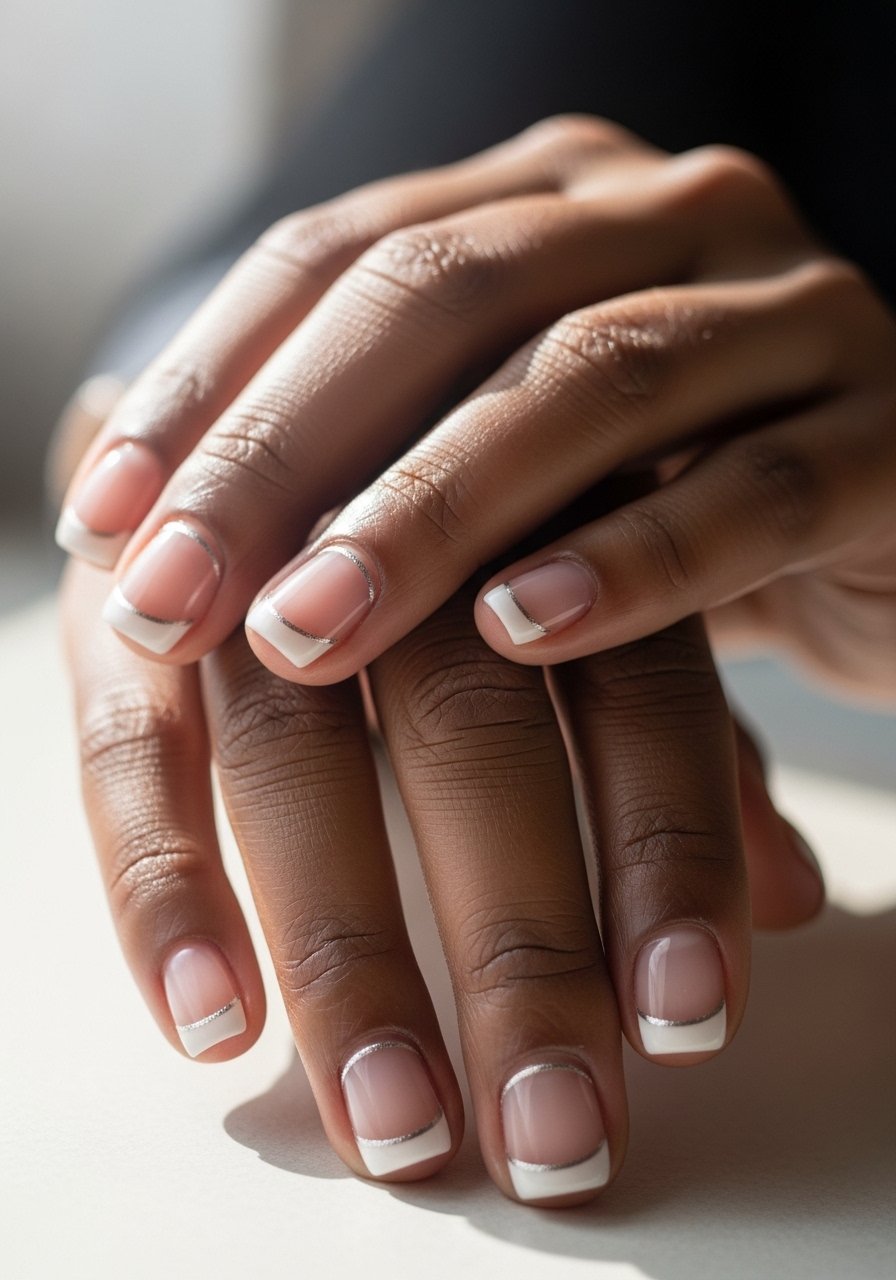
Style/Vibe: Tiny shine, minimal effort
Best For: Short nails / date night
Skill: Intermediate
Metallic thread is easier to manage than foil when you want a thin line. Lay a hair-thin thread into the tacky layer, cure for 30 seconds, then seal with a thin top coat. The thread stays flush and reads delicate rather than chunky. Use tweezers and a nail art metallic thread set for precision.
Mistake to Avoid: Pressing the thread into uncured gel so it lifts when you wipe the tacky layer.
11. Clear Hard Shell With Micro-Edge Highlight
Style/Vibe: Clean, modern
Best For: Short nails / work-friendly
Skill: Beginner
A clear builder shell plus a micro white line on the very edge gives the impression of a crisp tip without adding length. Apply two thin clear layers, cure 30 to 60 seconds, then use a toothpick with a dab of white gel to draw a 0.5 mm line at the free edge. Seal with gloss. The trick is to keep the white line incredibly thin so the nail reads neat not fake. I keep a white gel liner on hand for this.
Mistake to Avoid: Thickening the white line so it looks pasted on in close-up photos.
12. Sheer Beige With Micro-Matte Cuticle Zone
Style/Vibe: Soft contrast, tactile
Best For: Short nails / hands-on work
Skill: Intermediate
Create subtle contrast by matting only the cuticle crescent and leaving the rest glossy. Apply builder gel, cure, then mask the crescent area with a thin layer of matte top coat and cure. The tactile difference hides faint ridges and gives a lived-in look that photographs well from a phone. A precision matte top coat works best.
Mistake to Avoid: Marring the glossy area while applying the matte, which ruins the clean edge.
13. Quick Dip-Style Builder Finish For Busy Schedules
Style/Vibe: Durable, low-maintenance
Best For: Short nails / minimal upkeep
Skill: Beginner
If you need a fast, durable finish, thinly layer builder gel to mimic the depth of dip powder. Use 0.4 to 0.6 mm layers, cure each for 30 seconds, and finish with a glossy top coat. This gives the hard, dense look of dip without needing powders, and it is easier to remove with soak-off when you are ready. For speed I keep a rapid soak-off remover kit in the drawer.
Mistake to Avoid: Trying to replicate the dip thickness in one pass, which never cures properly and peels.
Short Gel Mani Habits
Thin coats beat one thick coat every time. Three thin layers of clear builder gel look smoother and last longer than one gloopy layer.
Grab a soft builder gel brush. Using the right brush saves forty minutes of filing because you place product where it belongs instead of forcing it with a file.
If you have very short nails, keep the apex around 0.5 to 1 mm. That tiny bead concentrates strength where nails bend, and an LED lamp cured for 30 to 60 seconds per layer seals it without overheating.
Most people buff the entire surface to a shine after curing. Stop at the free edge and buff only the sides if you want less lifting. A 180-240 grit buffer is all you need and it protects the nail plate.
