
My first attempt at caramel highlights on dark hair looked like someone had taken a highlighter to stripes, not like anything wearable. After the third redo I learned to think in soft, blended strokes, not slabs of light. That small change stopped the brass, made the color last, and finally made me stop apologizing for my hair in photos.
These ideas are not full-head bleaches. They are accessible caramel touches you can ask for at the salon or attempt at home if you know a few rules. Across four hair textures I have styled, the looks here are low to medium effort, mostly budget friendly, and focused on placement so they read natural instead of painted on.
1. Thin Money Pieces at the Face
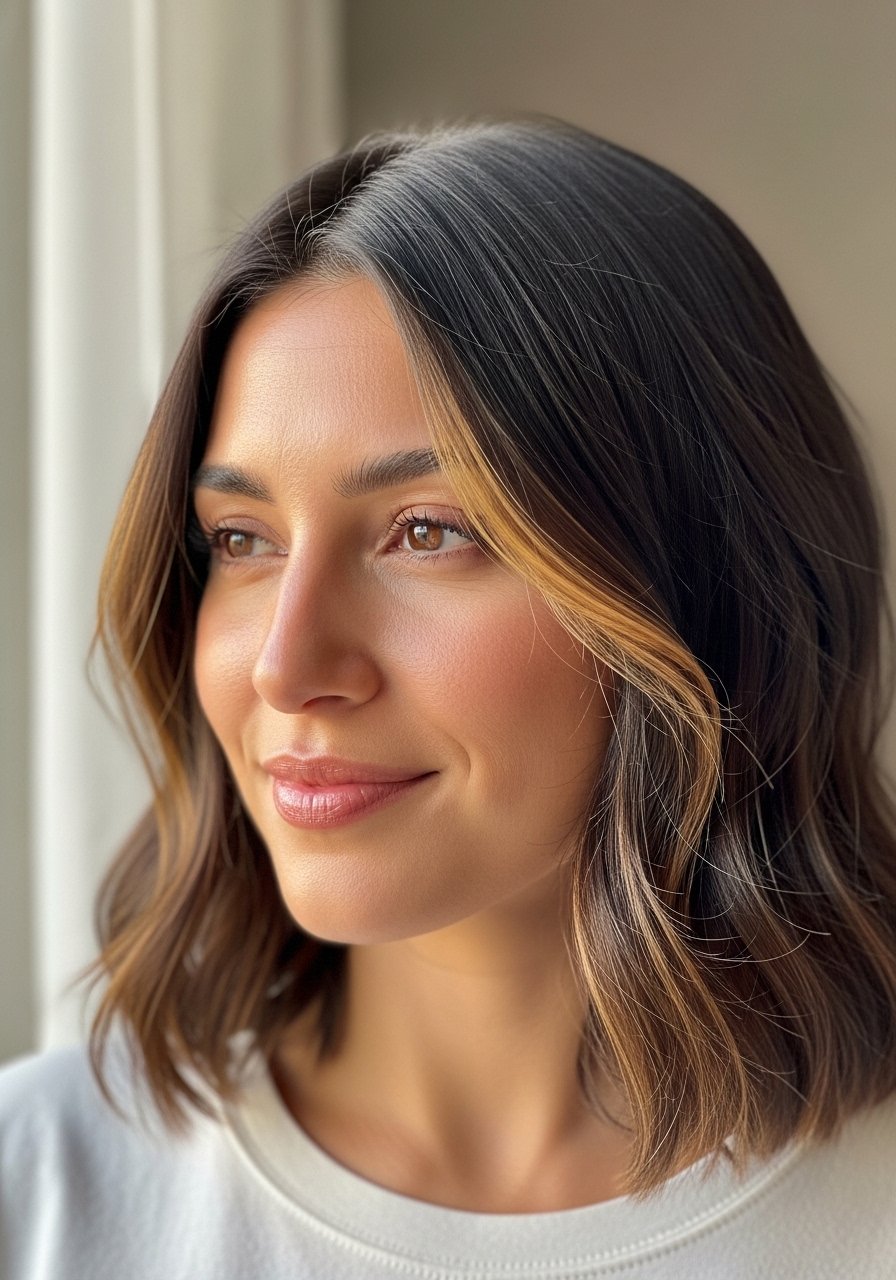
The point of money pieces is a bright, narrow strip by the face that opens features without needing a full color reset. What makes it work is keeping the slice to 5 to 10 percent of the front section and using a gentle lift, about one to two levels with a 10 to 20-volume developer, so the glow blends into your base. It feels modern and intentional, great for anyone who wants a face-lift effect without daily styling. Try a demi-permanent caramel gloss after lightening to tone and add shine.
Mistake to Avoid: Painting thick sections at the hairline, which reads obvious and ages the look.
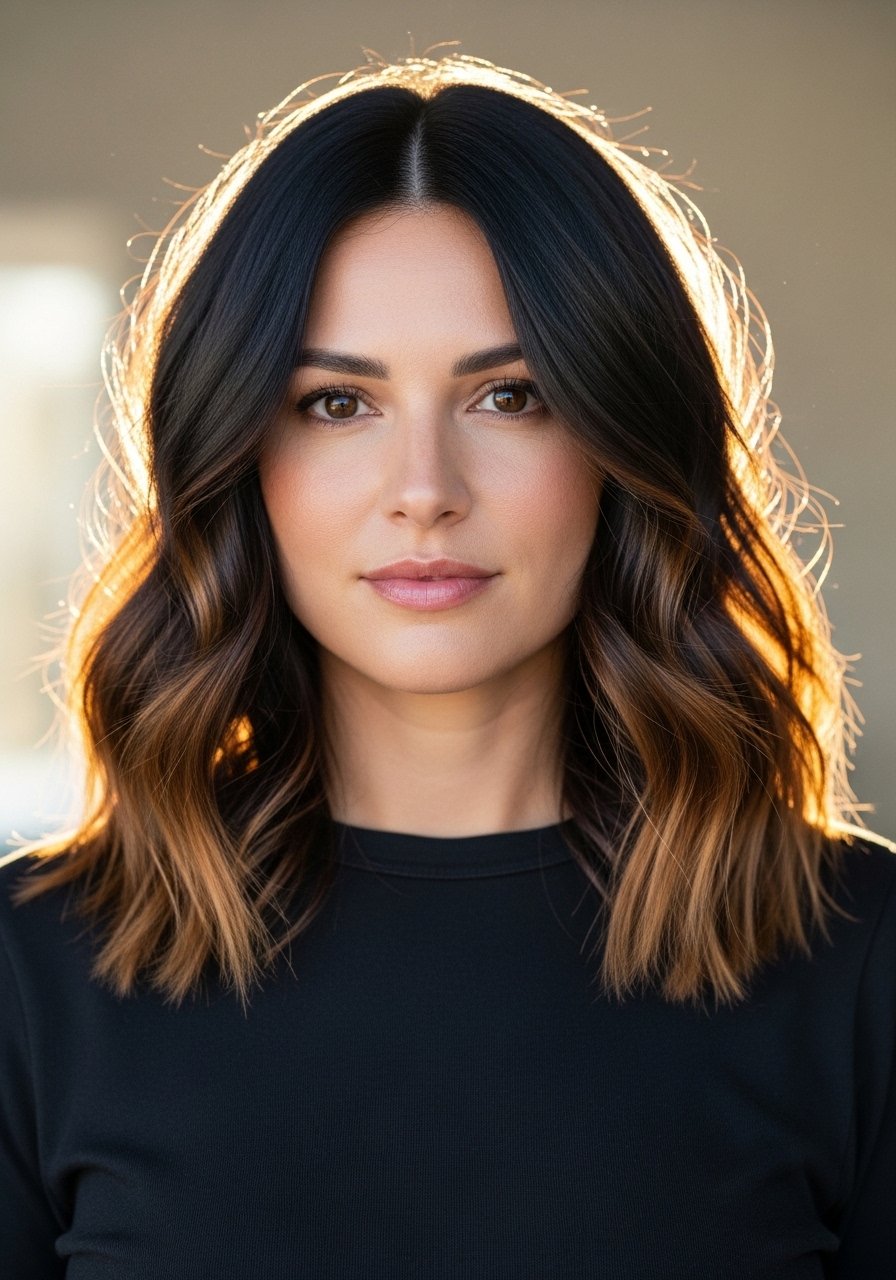
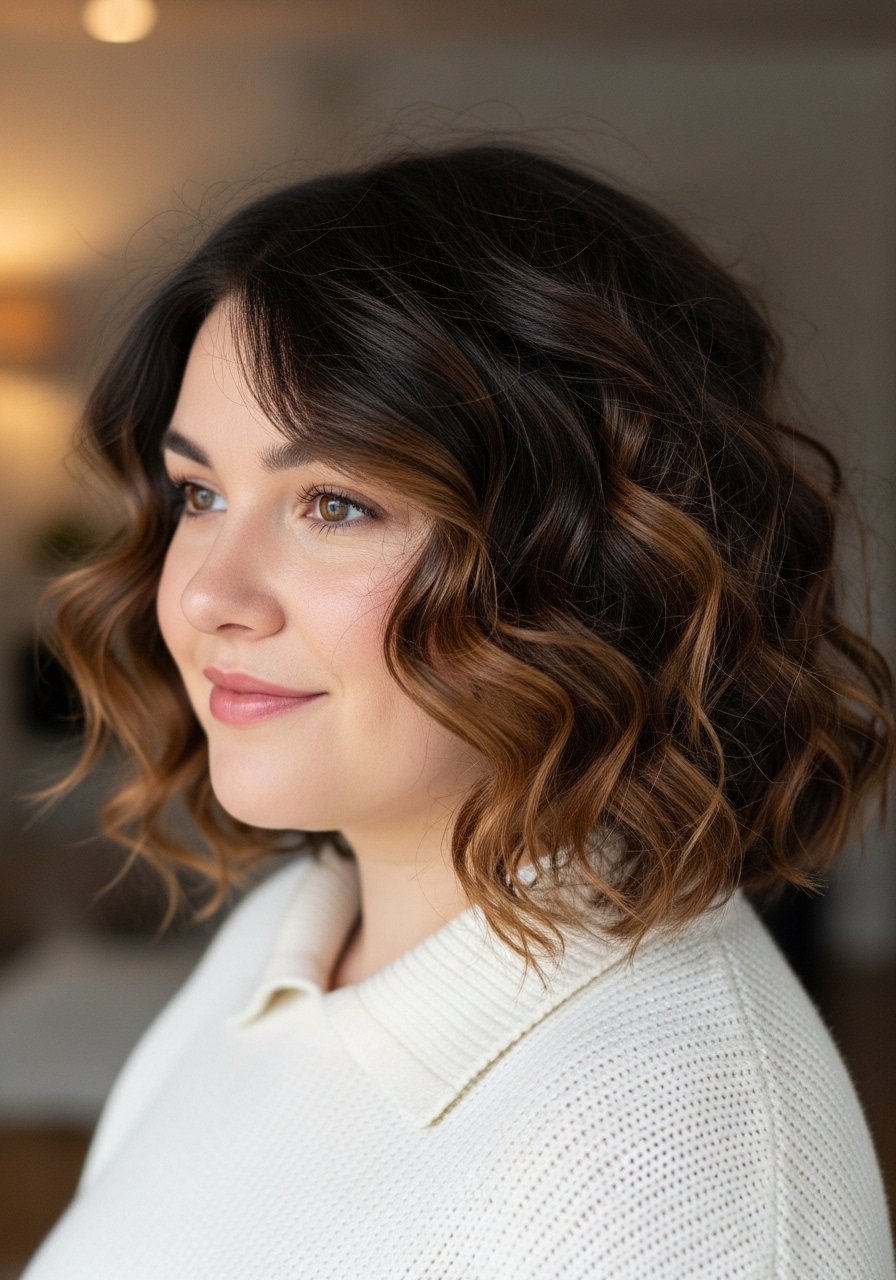
2. Babylights Melted Into Root Shadow

Babylights work when you scatter tiny, fine hits of light and then smudge the root so nothing reads striped. The trick is working in thin 1/8-inch slices, placing highlights every other slice, and blending the roots with a mixing brush and a 2:1 ratio of color to developer for a subtle lift. The result is a lived-in warmth that suits low-maintenance schedules and wavy or straight hair. Use a small balayage brush for precise painting.
Mistake to Avoid: Foiling every piece tightly, which creates harsh lines instead of a soft melt.
3. Rooted Caramel Babylights for Low Maintenance
If you want light hair that hides regrowth, add a root shadow about two shades darker than your highlight and keep babylights concentrated from the eye line down. I often use a glaze at the end to warm the mid-lengths and keep the root area soft. This approach is forgiving for anyone who skips monthly touch-ups. For at-home refreshes, a gentle color-depositing conditioner works when you want to avoid peroxide between salon visits.
Mistake to Avoid: Lifting the root area to match highlights, which forces constant maintenance.
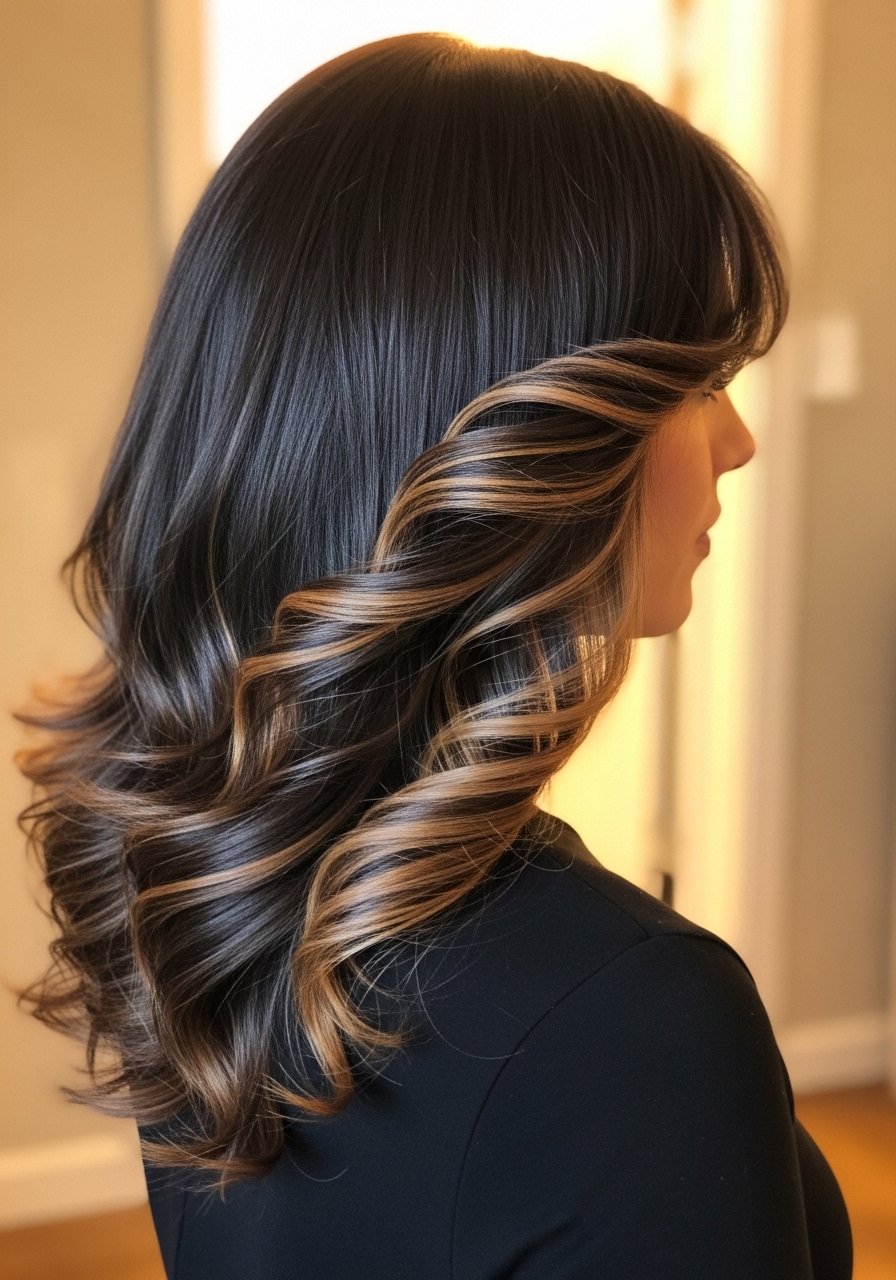
4. Chunky Sun-Kissed Slices for Statement Warmth
Chunky slices are not about subtlety, they are about movement. The visual works because larger pieces fall and catch light in waves, giving a warm, bouncy feel. Use 1/2- to 1-inch sections, weave through with a paddle brush, and lift only the mid-lengths. This is a weekend salon look that suits straight to wavy textures. A warming toner or a short 5-10 minute glaze session keeps the caramel from going brassy. I use a lightweight heat protectant spray before styling.
Mistake to Avoid: Overprocessing the ends in one session, which leaves dry, straw-like tips.
5. Honey Balayage With Minimal Lift
For darker bases that resist lift, paint honey balayage on the lengths only and avoid the scalp entirely. Visually it reads warm without the shock of bright blonde. I mix a low-volume cream lightener with a 1:2 powder-to-developer ratio and work in feathered strokes. It gives a smoother grow-out and suits someone who wants warmth without frequent toning. For at-home care, a nourishing hair mask used weekly keeps the gloss.
Mistake to Avoid: Trying to match salon lift times at home by leaving bleach on too long.
6. Gloss-Only Caramel Refresh for No-Heat Days
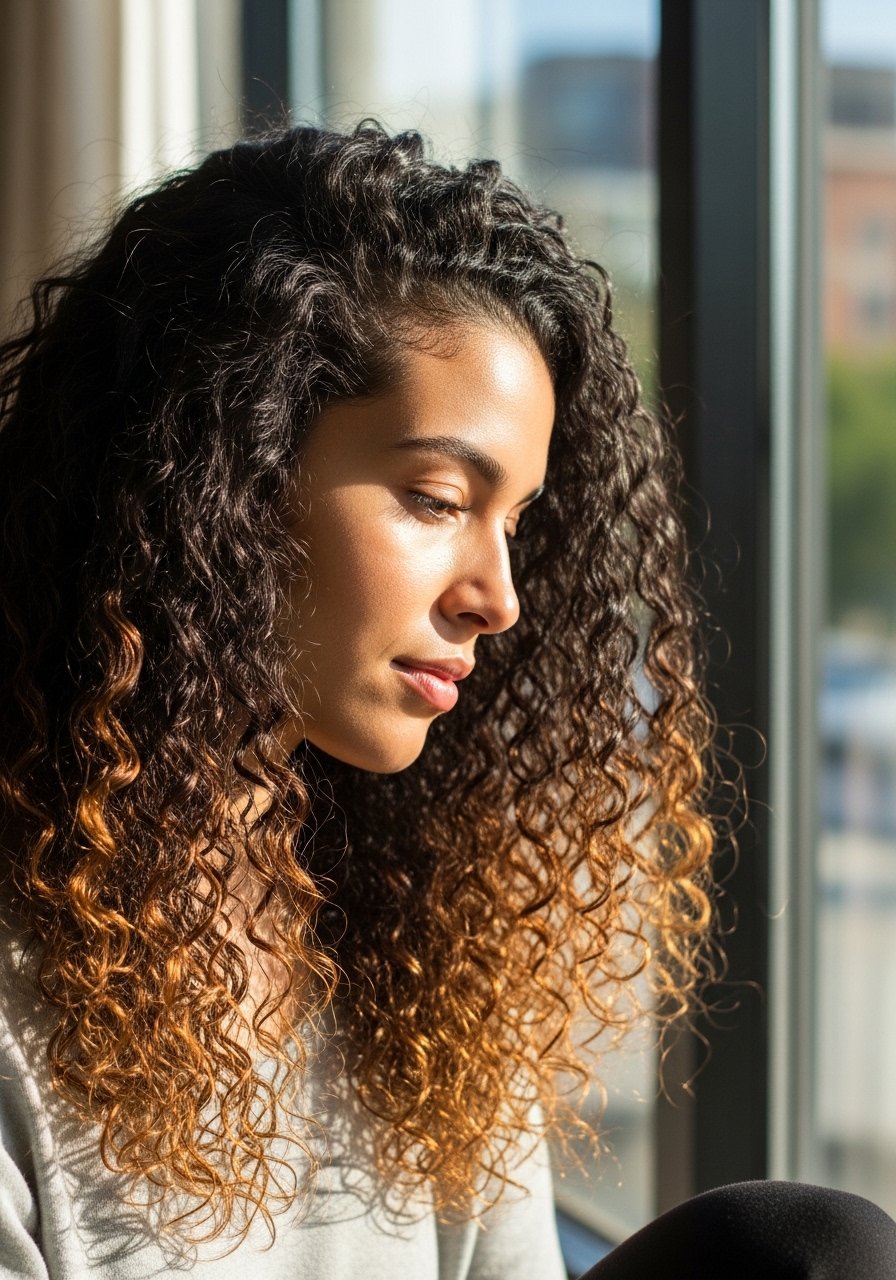
When your hair resists lightening or you want to skip peroxide, a caramel gloss layered over your natural color brightens and deepens warmth. It does not lift, but it smooths tone and adds reflective shine. Use a demi-permanent gloss and leave for 10 to 20 minutes, depending on porosity. This is great for curly and coily textures where minimizing damage matters. Finish with a small amount of shine serum to enhance the mirror finish.
Mistake to Avoid: Expecting glosses to lighten hair; they only tone and add shine.
7. Hidden Caramel Underlights for Dimension

Underlights are painted on the underside so color appears when hair moves or when worn up. This creates depth without changing the everyday base. I place 1- to 1.5-inch panels under the crown and use a slightly brighter caramel to create pop. It is a good option for conservative workplaces and for people who want color with low visibility. Add a quick touch of a color-safe shampoo to prevent fading.
Mistake to Avoid: Lightening the entire underside too pale, which reads disconnected from the rest of the hair.
If any of these ideas have you ready to actually try something, here are the stuff I reach for most.
Essentials For Caramel Touch-Ups
Tools & Application:
- Balayage brush (~$8-15), for painting thin babylights and money pieces.
- Fine tail comb (~$6-12), for precise sectioning.
- Clips for sectioning (~$7-14), simple but essential.
Lighteners & Developers:
- Cream lightener (~$12-20), gentler on ends.
- 20-volume developer (~$6-10), good for one level of lift.
Aftercare & Styling:
- Caramel gloss (~$10-18), tones and boosts shine.
- Color-depositing conditioner (~$10-20), for in-between salon refreshes.
- Deep conditioning mask (~$8-25), repairs and maintains bounce.
- Wide-tooth comb (~$5-12), detangles without breaking highlighted strands.
8. Micro Highlights at the Hairline for Soft Brightness
Micro highlights at the hairline brighten the face subtly without full-on money pieces. The visual works because tiny hits of light mimic natural sun exposure. I space them micro distances apart and use a lifting cream in a 1:2 powder-to-developer mix, watching every 5 minutes. This is a quick salon add-on and flattering on all face shapes. For at-home upkeep, dab a little color-depositing serum between washes.
Mistake to Avoid: Grouping micro pieces too close together, which looks like a streak rather than a freckle effect.
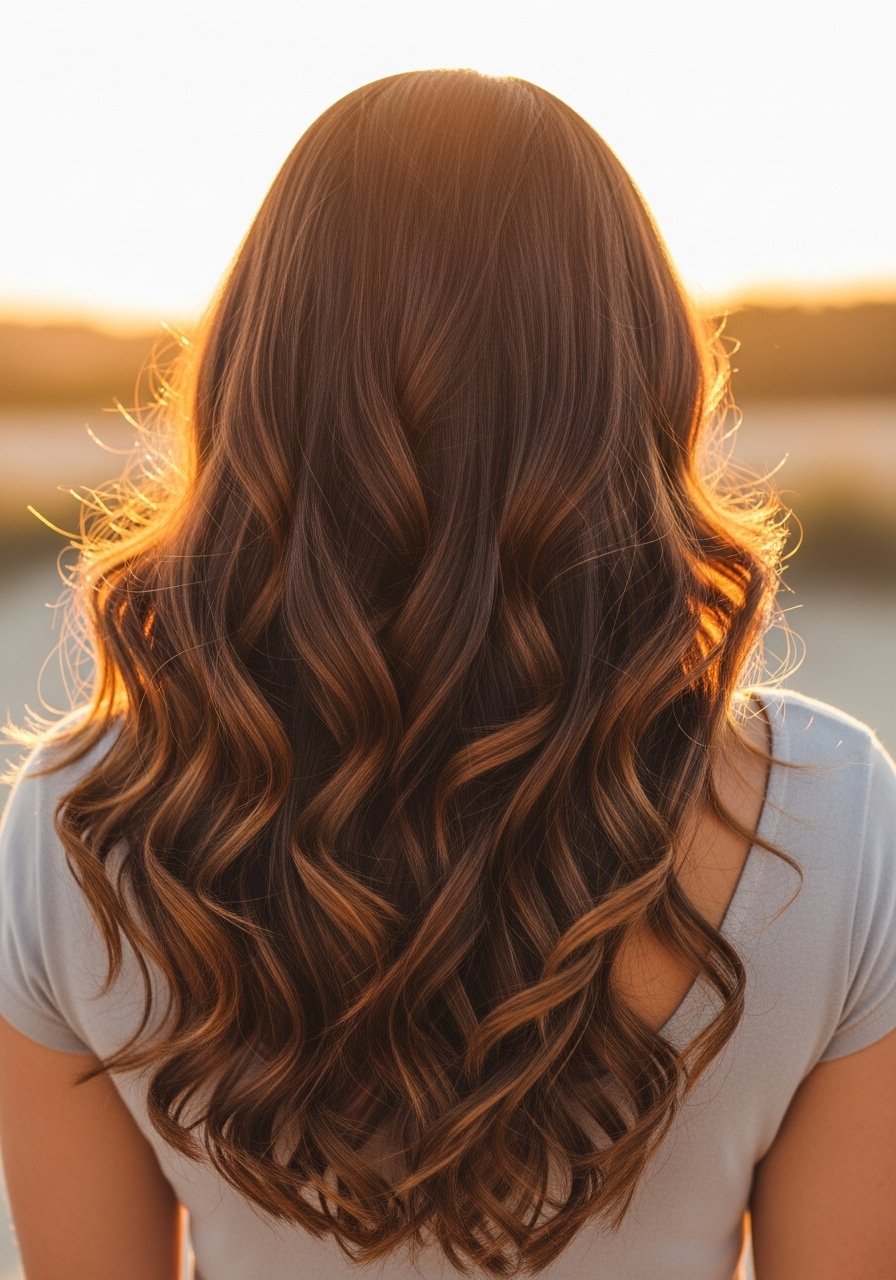
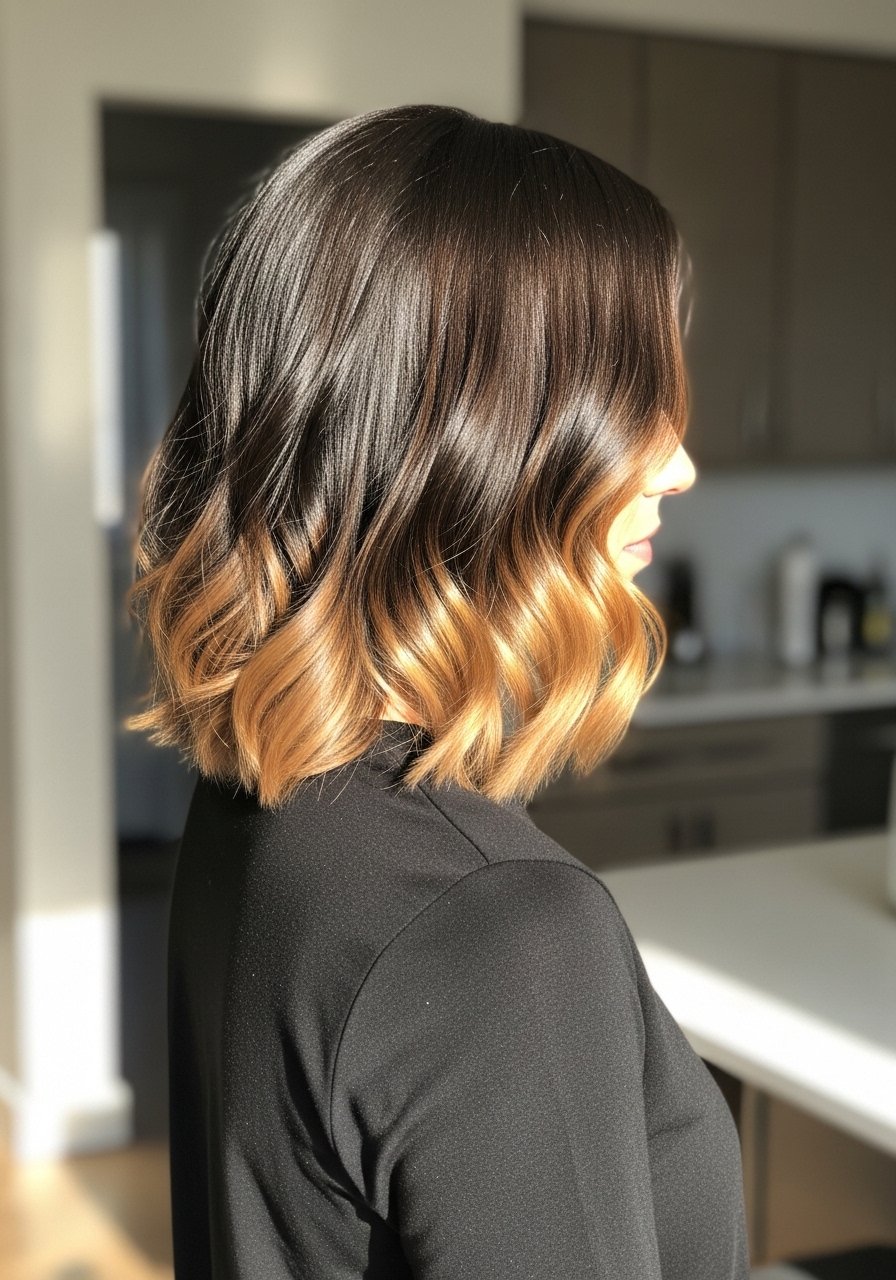
9. Deep Chocolate Toffee Ombre
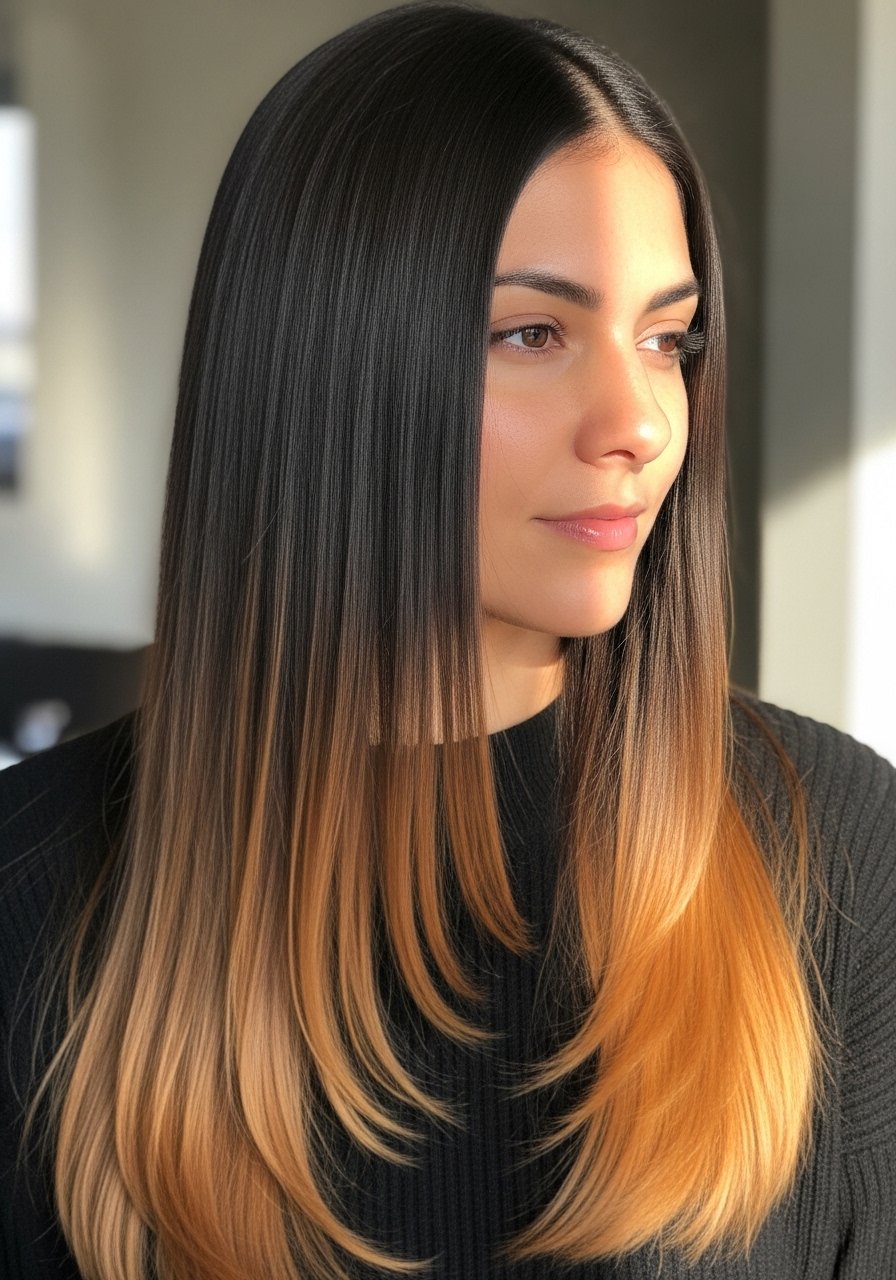
Ombre gives the illusion of lighter ends without touching the scalp. The success factor is a soft blend zone about two to three inches long so the transition reads natural. I paint the mid-lengths with a feathering motion and use a 10 to 15 percent dilution of developer for a subtle lift. This fits someone who wants visible contrast but only visits the salon every four to six months. Use a nourishing leave-in conditioner to protect the lighter tips.
Mistake to Avoid: Creating a hard line between dark and light instead of a gradual blend.
10. Chunked Slices for Thick Hair Movement
Thicker hair can swallow fine highlights, so larger chunked slices give definition and movement. Take wider sections and weave the color through the mid to ends, keeping contrast moderate so the pieces read natural. This styling feels bouncy and works well on long and very thick textures. I usually recommend professional placement and a deep conditioning oil for ends after processing.
Mistake to Avoid: Doing many tiny slices on thick hair, which disappear once dried.
11. Caramel Babylights That Respect Curly Texture
Curly hair needs highlights placed on curls, not flat sections. I paint highlights following the curl pattern, which avoids patchy light when the hair shrinks up. Use a lower lift and avoid foiling tightly, instead wrap processed curls in foil loosely to keep bounce. This approach is best for medium to tight curls and keeps the color integrated. For maintenance, a gentle sulfate-free shampoo preserves tone.
Mistake to Avoid: Flattening curls for placement, which produces uneven color once hair dries.
12. Teeny Bits of Warmth Behind the Ear
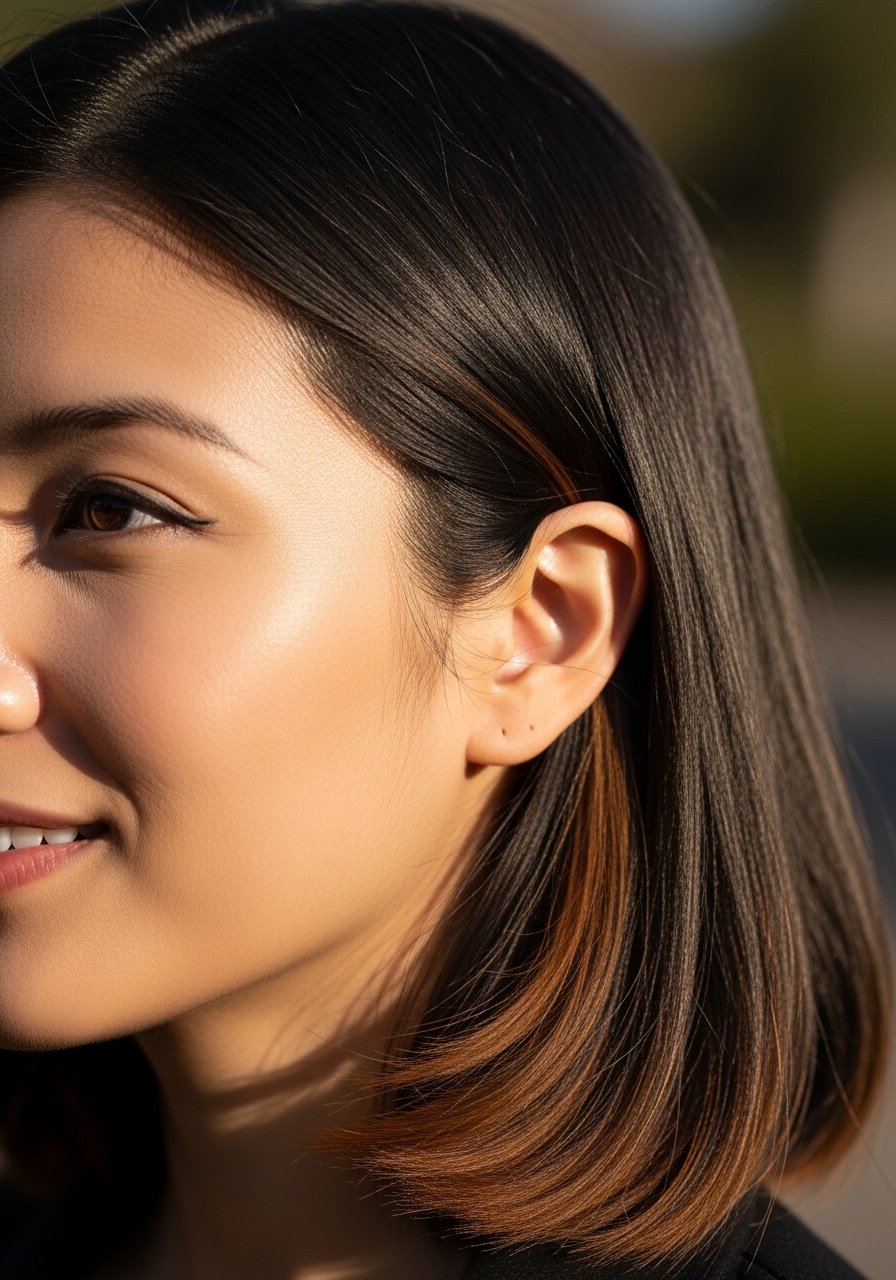
This small placement is a competitor gap I keep using because it adds personality without a visible commitment. Paint tiny, half-inch slices behind one or both ears and feather the paint toward the back to avoid a hard edge. It reads like a whisper of color when hair is down and flashes when tucked back. It suits anyone cautious about color and is perfect for first-timers. A targeted spritz of dry shampoo keeps the area fresh between washes.
Mistake to Avoid: Making the pieces too large, which turns a subtle accent into an obvious stripe.
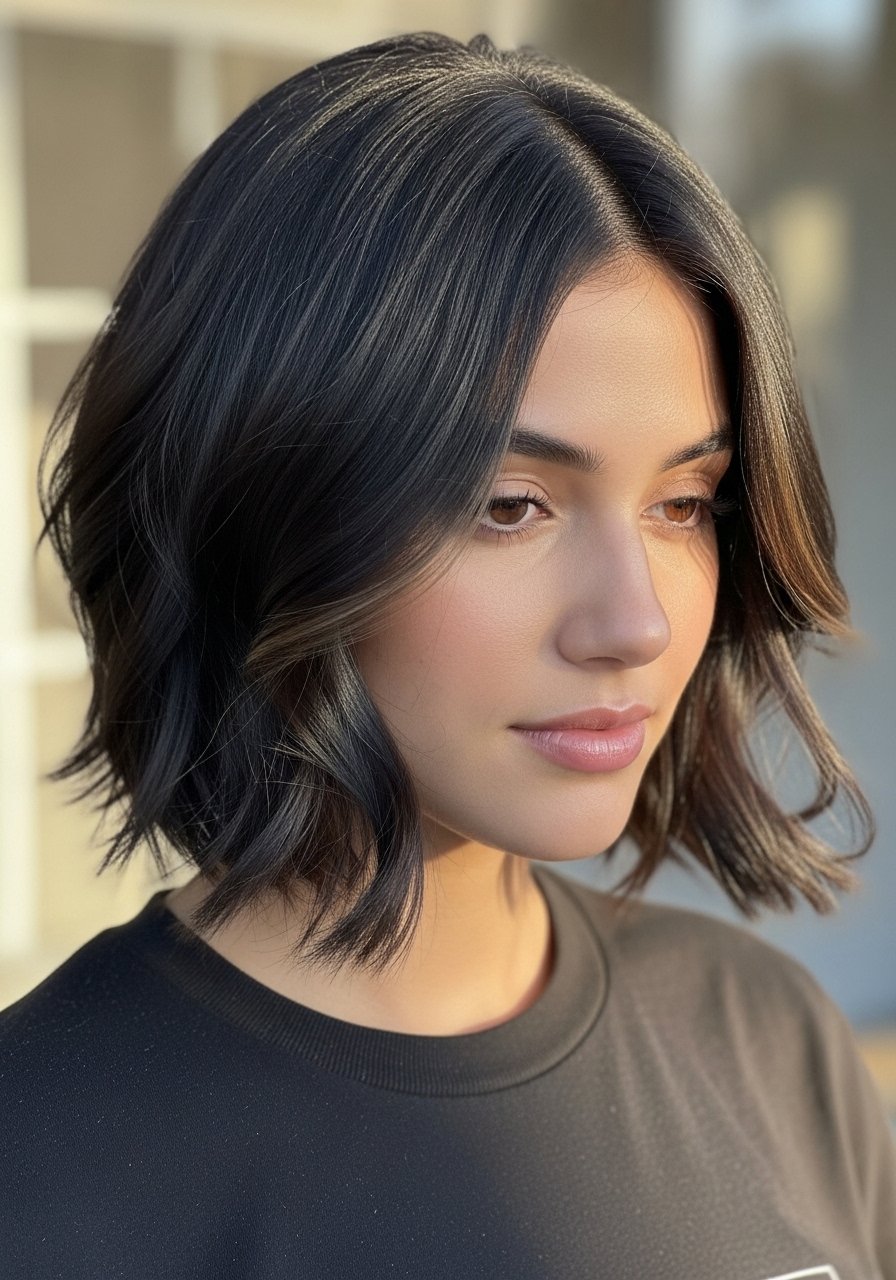
13. Soft Curtain Caramel Highlights for Movement
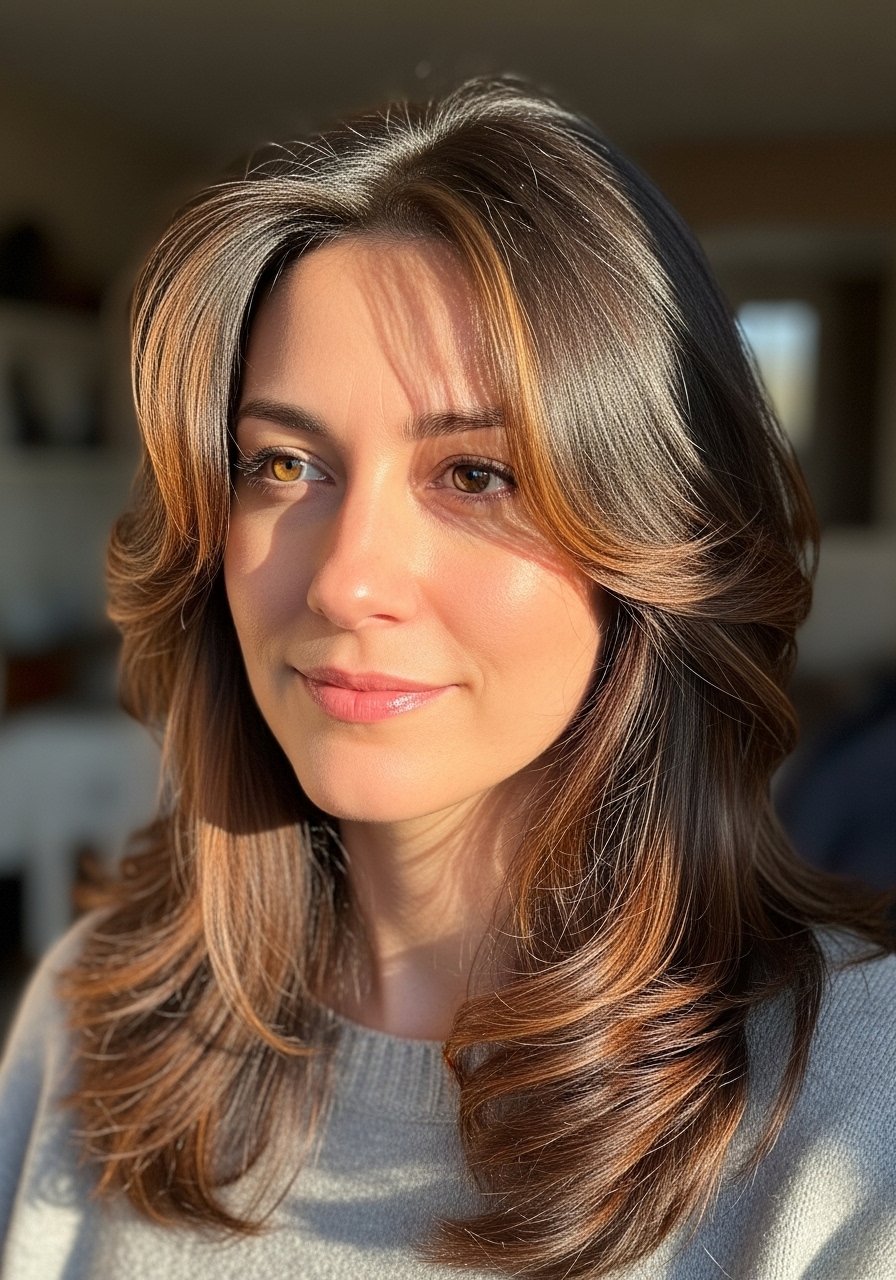
Curtain highlights are painted to fall into natural layers, giving a framing effect that moves. What makes it feel modern is keeping the pieces soft at the root with a melt technique and slightly brighter ends. It is flattering for layered cuts and gives a cozy, warm vibe without high maintenance. For styling days, a textured sea salt spray helps the pieces catch light and separate.
Mistake to Avoid: Painting curtains too symmetrical, which looks contrived instead of lived-in.
Keeping Caramel From Going Brassy
Thin coats beat one thick coat every time. When toning at the end, use several short passes of gloss instead of one heavy layer, and try a glossing product to maintain warmth.
Reach for a purple shampoo only once a week. Overuse dulls warmth and can make small highlights look ashy instead of caramel.
Use a microfiber towel, not a cotton bath towel, to dry highlighted hair. A microfiber hair towel reduces friction and keeps ends from frizzing.
If you are trying at home, time your lightener in short checks. Start checking at 5 minutes and every 3 to 5 minutes after. An extra check prevents overshoot.
For porous ends, mix your lightener slightly weaker and add more gloss at the end. A small bond-building treatment during processing saves color and texture.
