
The tube of dye lived under a stack of half-used serums until the fall I finally asked myself why I kept buying warmer things that washed me out. I mixed a shot of gloss, painted a few face-framing pieces, and the color stopped looking flat in phone photos. That one small tweak made me stop overcomplicating every appointment, and it turned the color into something I actually wanted to keep up.
I am writing these ideas for busy people who want a warm, wearable brown without a salon budget or an all-day appointment. These looks work across four hair textures I have styled, from fine straight to dense coils, and the skill level ranges from simple at-home glosses to a salon-style balayage. Expect low- to medium-maintenance options, a few tools under $30, and techniques that account for porosity so color sinks in evenly.
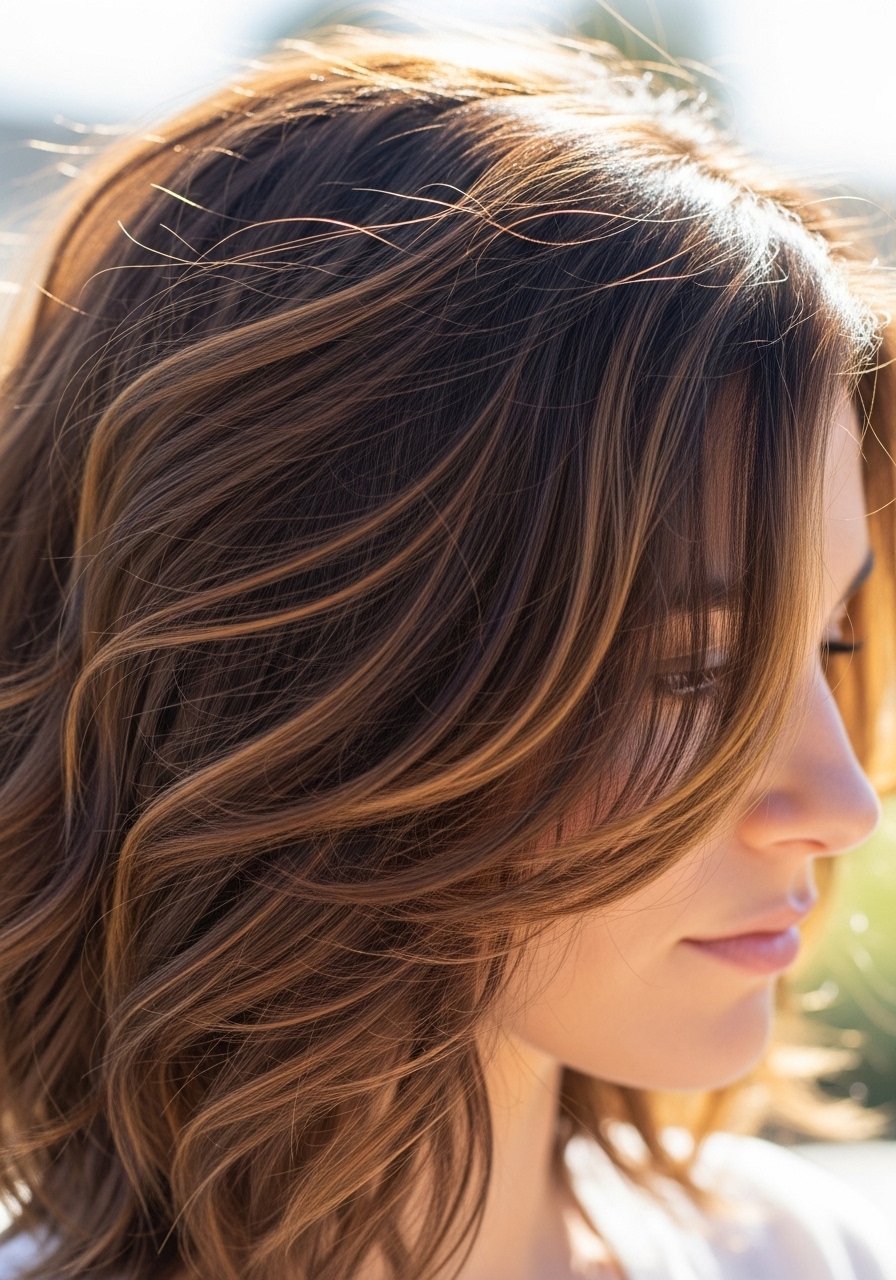
1. Warm Melted Balayage For Soft Dimension
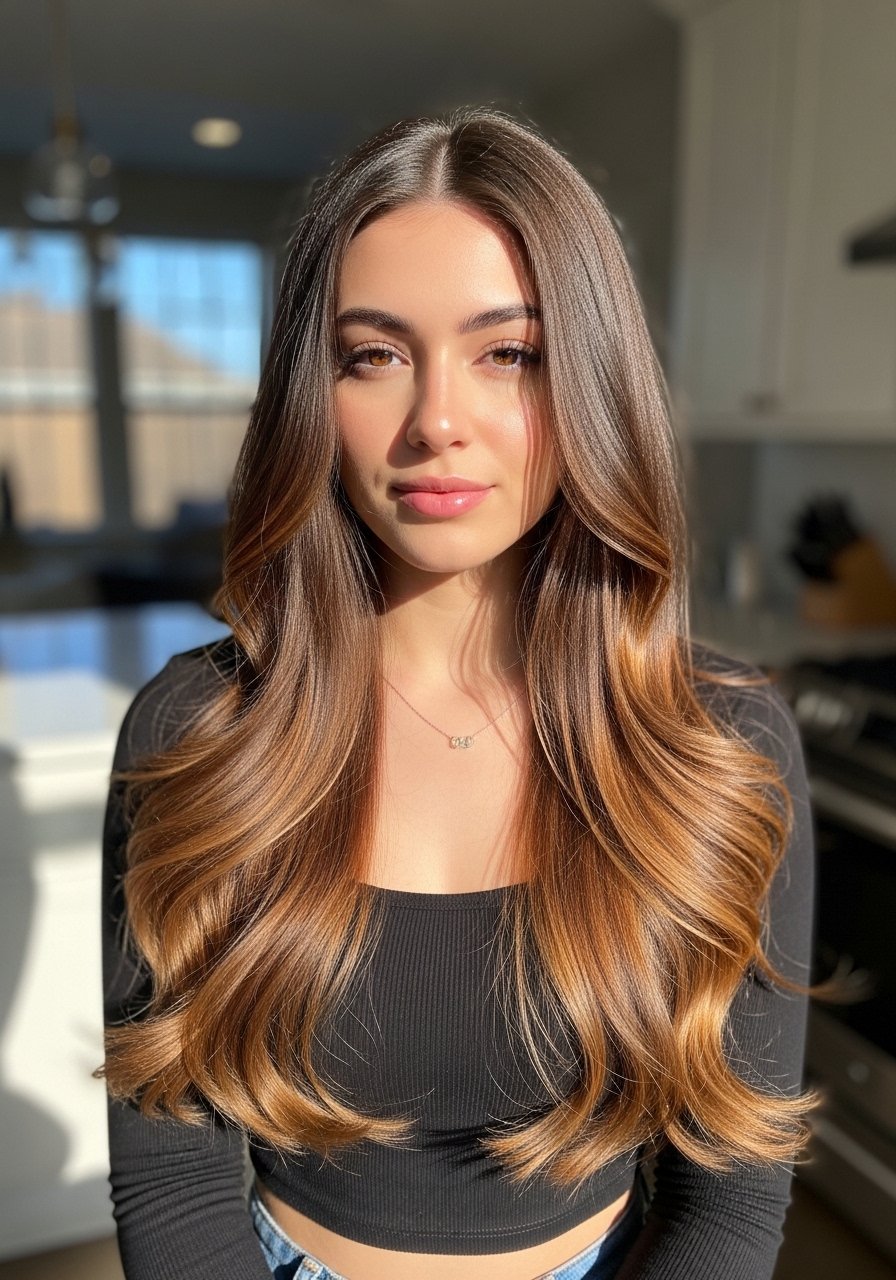
The secret here is painting the lightness in at about 30 percent density so the base reads rich while movement picks up warmth. It creates the look of depth even when you wear your hair in a loose ponytail. This suits anyone who hates high-contrast regrowth, and it is salon-level without full foil time. If you DIY, use a low-lift powder with a 20-volume developer and rinse when the mid-lengths hit a warm honey, not pale blonde. I like finishing with a clear hair gloss treatment and a few drops of a lightweight shine oil for a lived-in sheen.
Mistake to Avoid: Painting too much lift near the roots, which makes regrowth obvious and the color look striped.
2. Cool Chocolate With Ash Balance For Olive Skin
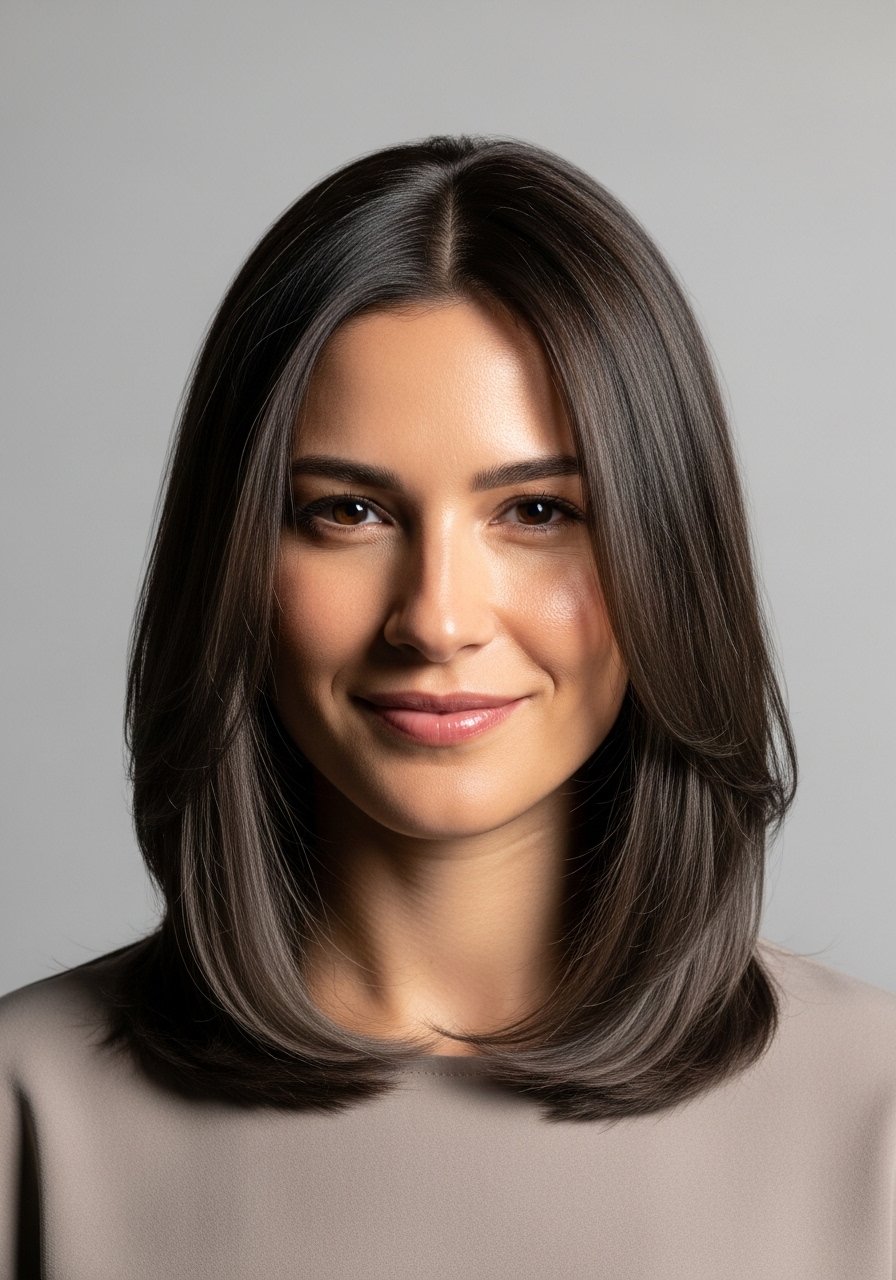
Cool chocolate keeps greenish undertones from popping on olive skin. The approach is to start with a base that is one level darker than your target, then deposit ash tone in a 1:1 tint-to-developer ratio for targeted pieces. That prevents the whole head from going flat and keeps dimension. This is a good fit for someone who prefers polish over warmth. Pair a demi-permanent ash dye with a color-depositing conditioner like a cool brown conditioner for weekly refreshes. Low-porosity hair benefits from a five to ten minute warm towel wrap to help absorption.
Mistake to Avoid: Using heavy lift when you only need a tone change, which creates brass and damages the cuticle.
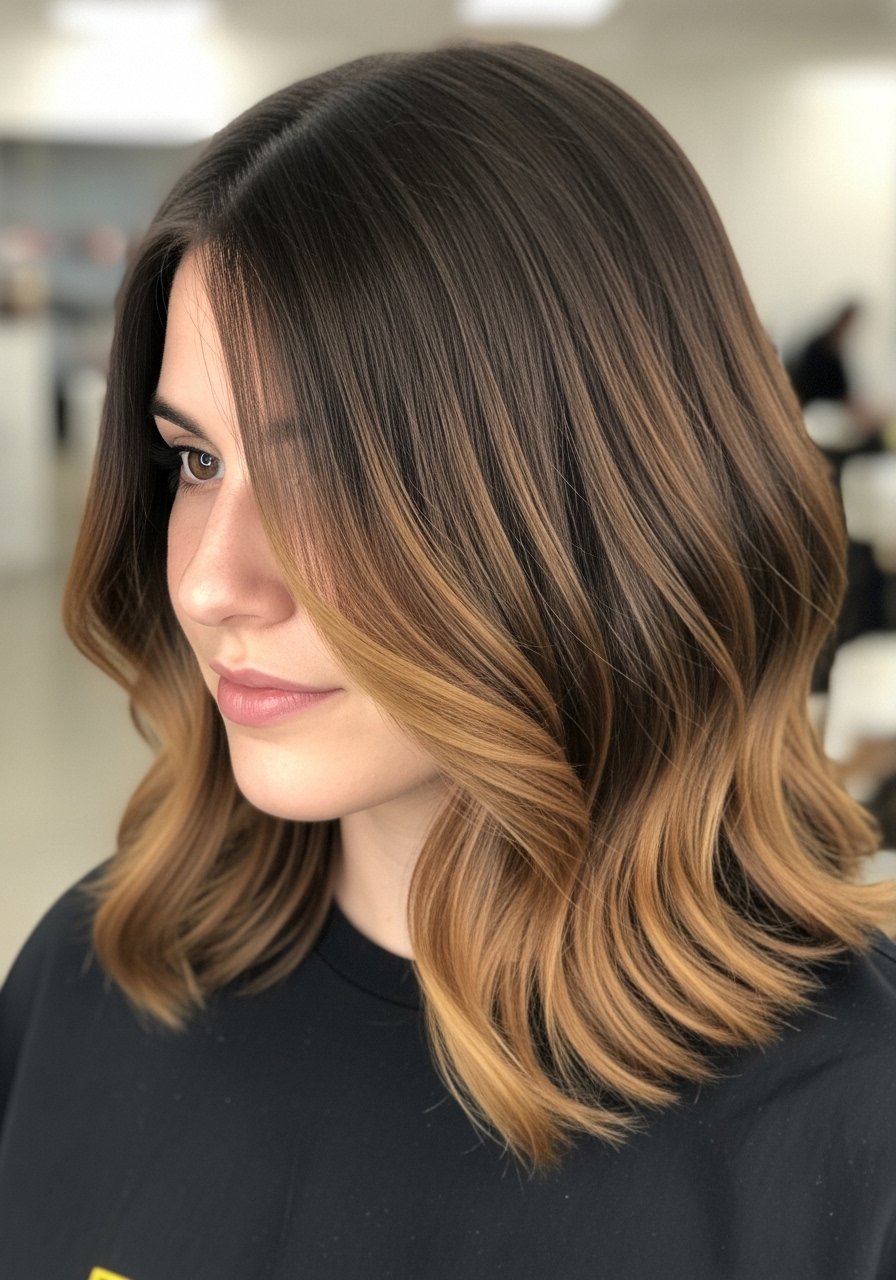
3. Copper-Ribbon Accents Over Chocolate Base

This one reads like fall in a handful of snapshots because the copper ribbons catch sun on the face. Keep ribbons narrow, about 2 to 4 millimeters, and place them on alternating sections so movement looks natural. It is for someone who wants warmth without committing to full red. Use a low-volume lift on just those slices, then tone to a warm copper and seal with a color mask. I like adding a mid-week wash-in tint such as a copper color-depositing mask to keep the ribbons lively without overloading your shampoo routine.
Mistake to Avoid: Foiling large chunks, which reads dated and makes upkeep more expensive.
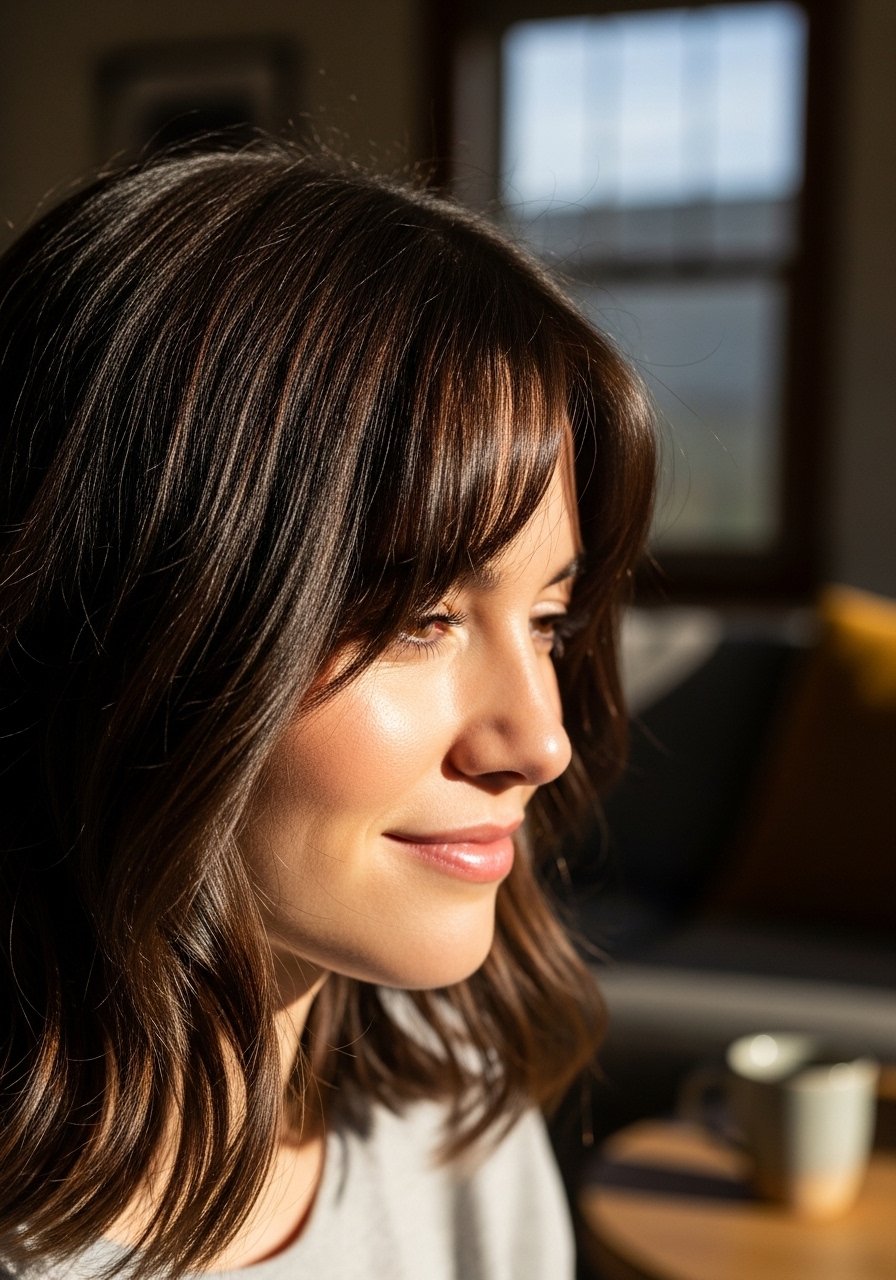
4. Low-Maintenance Espresso With Gloss-Only Refreshes

If you hate frequent appointments, this is the most forgiving option. Start with a deep espresso base then top up with a glossy clear or subtly warm gloss every six to eight weeks. The gloss smooths porosity differences and adds a superficial shine that photographs like an expensive salon finish. It suits someone with darker natural hair or anyone who wants to push appointments longer. For home glosses, a clear gloss and a sulfate-free wash are enough, I find a clear gloss treatment costs less than a single salon visit and gives a similar sheen.
Mistake to Avoid: Skipping a clarifying wash before glossing, which can leave deposits that weaken the result.
5. Mahogany Chocolate For Rich Red Hints
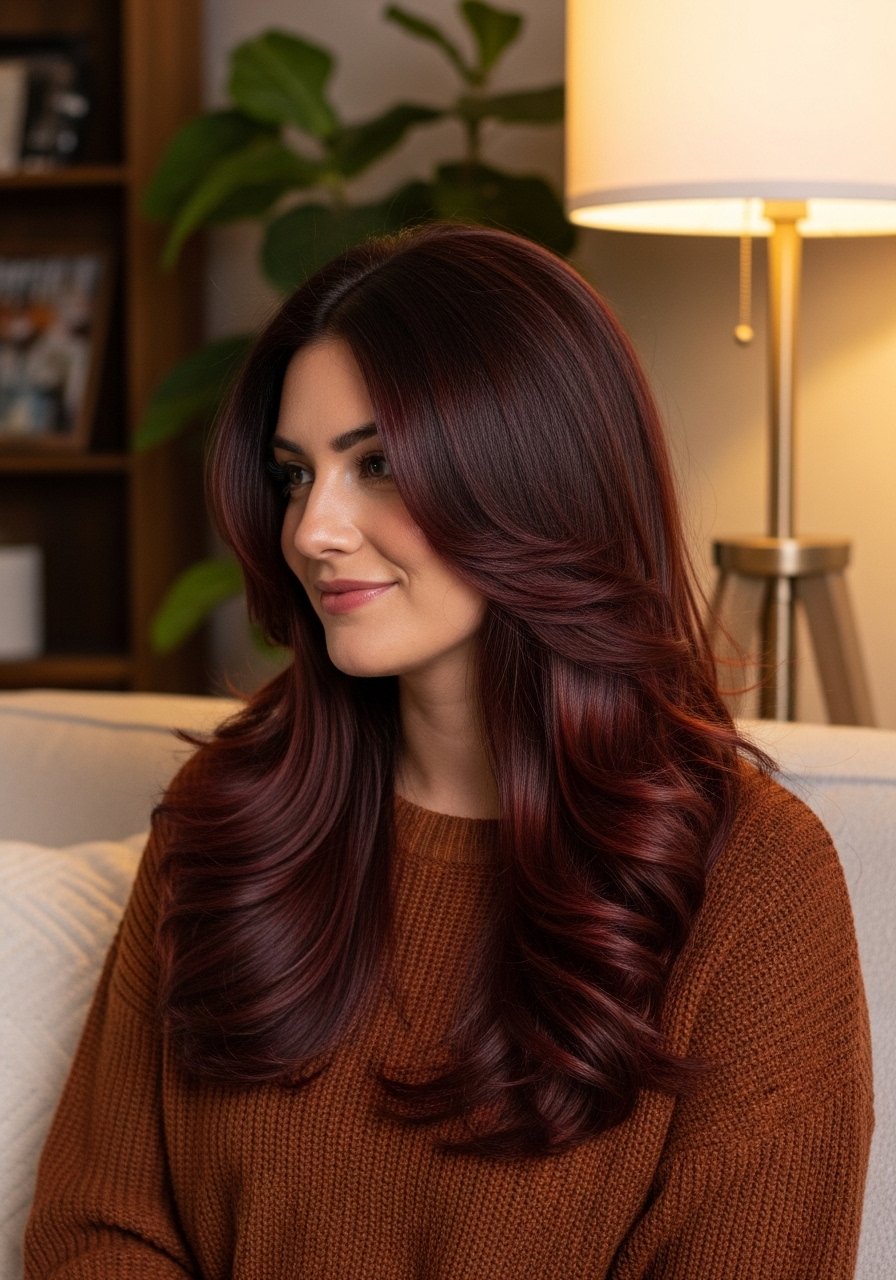
Mahogany sits between red and brown without looking like a true red. It flatters warm and neutral skin tones and makes brown look intentional rather than faded. The trick is a semi-permanent mahogany glaze left on for 15 minutes so the red sits on the surface, not deep in the cortex. That means the tone fades evenly instead of patching. Use a weekly color-depositing mask in mahogany and a sulfate-free color-safe shampoo to stretch the vibrancy. This suits mid-length to long hair because the depth reads better with movement.
Mistake to Avoid: Overprocessing with permanent red dye, which can leave the color brassy and hard to remove.
6. Face-Framing Caramel Babylights For Brightening
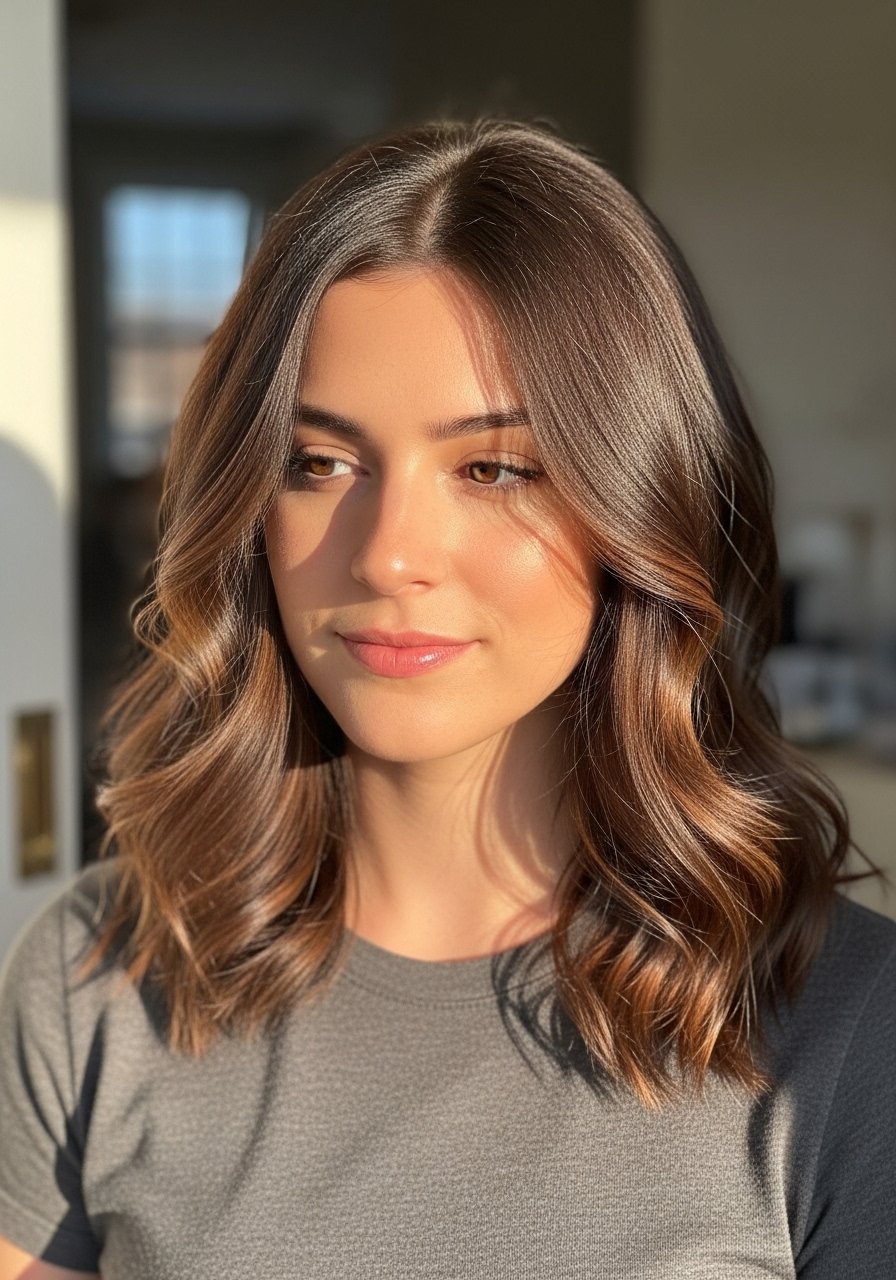
Babylights are tiny, delicate highlights that lift the face without a full-blown highlight. For fall, keep them warm and light by only lifting two to three levels and placing them within the front 20 to 30 percent of the hairline. They add light to skin without needing daily styling. This is a good option if you want an easy brightness upgrade. At-home maintenance includes a warm gloss and a few drops of heat protectant when styling. A small kit like a precision highlighting kit helps when you need a touch-up between salon visits.
Mistake to Avoid: Making the babylights too heavy, which ages the look and forces quicker touch-ups.
7. Lived-In Chunky Chocolate Highlights
Chunky highlights read modern when they are strategically placed towards the top layer and ends, not over the whole head. They create a bold, lived-in contrast that looks good grown out. This suits someone who styles often and wants a more editorial vibe. Use a lightener on wider slices and blend the edges with a warm glaze. For safety, add a bond builder in the mix and finish with a nourishing mask. If you want to do it at home try a reputable bond-building lightener kit and plan for a patch test.
Mistake to Avoid: Highlighting every section for uniform lightness, which looks flat and makes regrowth obvious.
If any of this has you ready to actually try something, here are the products I keep reaching for.
Fall Chocolate Color Kit Picks
Color & Care:
- ammonia-free hair color (~$12-25). Great for gentle refreshes and less scent.
- hair-gloss-treatment (~$15-30). Use this for quick at-home shine between visits.
- color-depositing-conditioner (~$12-20). Keeps undertones consistent week to week.
Tools & Maintenance:
- precision-highlighting-kit (~$20-40). Useful for subtle babylights without a salon.
- bond-building-lightener-kit (~$30-60). For safer lifts if you try chunky highlights.
- color-safe-shampoo (~$8-18). Sulfate-free, helps colors last longer.
- clear-gloss-treatment (~$12-25). A quick at-home salon finish.
8. Ombre Chocolate With Subtle Caramel Tips
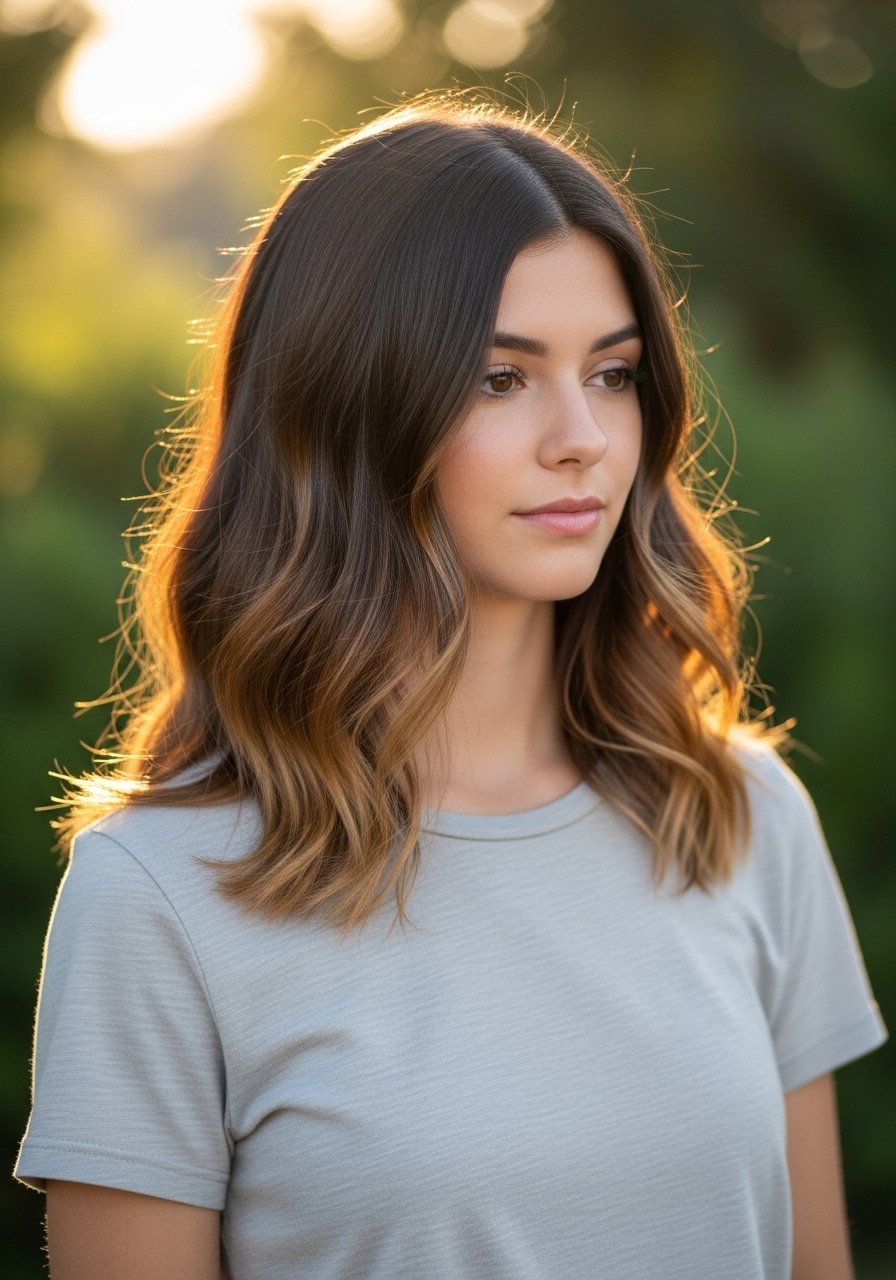
Ombre feels intentional when the transition zone is feathered for roughly three to four inches and the ends are only lifted three to four levels. That keeps the look warm and seasonal without stark banding. It suits people who want an easy grow-out and like wearing low buns or long layers. At-home touch-ups focus on the ends, using a demi-gloss and a weekly repair mask. For lightening, use a controlled lift product and tone immediately, I recommend pairing with a bond-building lightener kit to protect the hair when lifting ends multiple levels.
Mistake to Avoid: Lifting the mid-lengths too much, which makes the head read two separate colors instead of a blended gradient.
9. Subtle Chocolate Face-Framing For Photo-Friendly Skin Tone
Face-framing strands change how a color reads in photos because they hit cheekbones and jawlines directly. Keep them two shades lighter than the base and use fine slices. This creates a flattering halo effect that brightens the complexion without altering the rest of the hair. It is great for anyone who appears in a lot of photos or works with camera-facing jobs. Product-wise, a small leave-in cream and a glazing rinse are enough to keep the pieces glossy. I like using a tiny amount of color-depositing-mask after washes to refresh those bits.
Mistake to Avoid: Making the face-framing too chunky, which competes with makeup and looks intentional in every shot.
10. Root Shadow For Seamless Regrowth
Root shadowing blends the natural root into the colored lengths with a slightly darker glaze applied on the root zone and feathered down about half an inch. The effect is lived-in and extends time between salon visits. This is perfect for those who want low upkeep but still a polished finish. Use a root shadow kit or a tinted powder for very quick touch-ups, and follow with a glossy rinse to seal. I use a root touch-up powder for a two-minute fix before events.
Mistake to Avoid: Painting a harsh line at the root, which creates a regrowth band rather than a blended shadow.
11. At-Home Gloss, Heatless Styling, and Color Longevity
Ending on maintenance is intentional because any warm brown looks best with a little upkeep. Gloss treatments every four to six weeks, weekly color masks, and swapping to cool water washes add weeks to vibrancy. For heatless styling, try braiding slightly damp hair or using foam rollers overnight so you do not fatigue the color with daily heat. Silk pillowcases and a mild, color-safe shampoo matter more than an extra serum. My go-to small routine includes a microfiber hair turban for drying, a color mask for once a week, and a lightweight thermal protectant spray when I do use heat.
Mistake to Avoid: Using hot water and strong clarifying shampoos after color, which strips tone and leaves the color dull.
Keep-Fresh Color Habits
Thin coats beat one thick coat every time. When applying gloss at home, two short sessions give a smoother finish than one long one, and a hair-gloss-treatment spreads easier across damp hair.
Grab a silk pillowcase. It reduces friction overnight, which keeps the color and cuticle smoother, and extends the time between glazing sessions.
Curly and coily textures love low-heat absorption methods. Wrap gloss in a warm towel for five to ten minutes instead of blasting with a blow dryer, and use a color-depositing-conditioner that’s designed for porous strands.
Start trims every eight to twelve weeks. A fresh edge prevents split ends from making color look uneven, and a good cutting-shear set keeps you honest between appointments.
