
I kept asking my colorist for “warm but subtle” and getting army-salute stripes instead, until I learned to stop saying what I wanted and start showing the exact spacing I could live with. The pattern I sketch now is specific, a 1/8-inch baby light at the hairline and wider ribbons through the mid-lengths. That tiny change fixed the streaky grow-out and let me actually wear darker clothes without the highlights yelling at me.
These ideas are for anyone with a dark brown base who wants warm chocolate tones without high maintenance. Expect a mix of salon and budget-friendly options, quick fixes for coarse or curly textures, and at least three heat-free alternatives you can do at home. I wrote these after styling across four hair textures and learning which placements survive waiting rooms and gym hair.
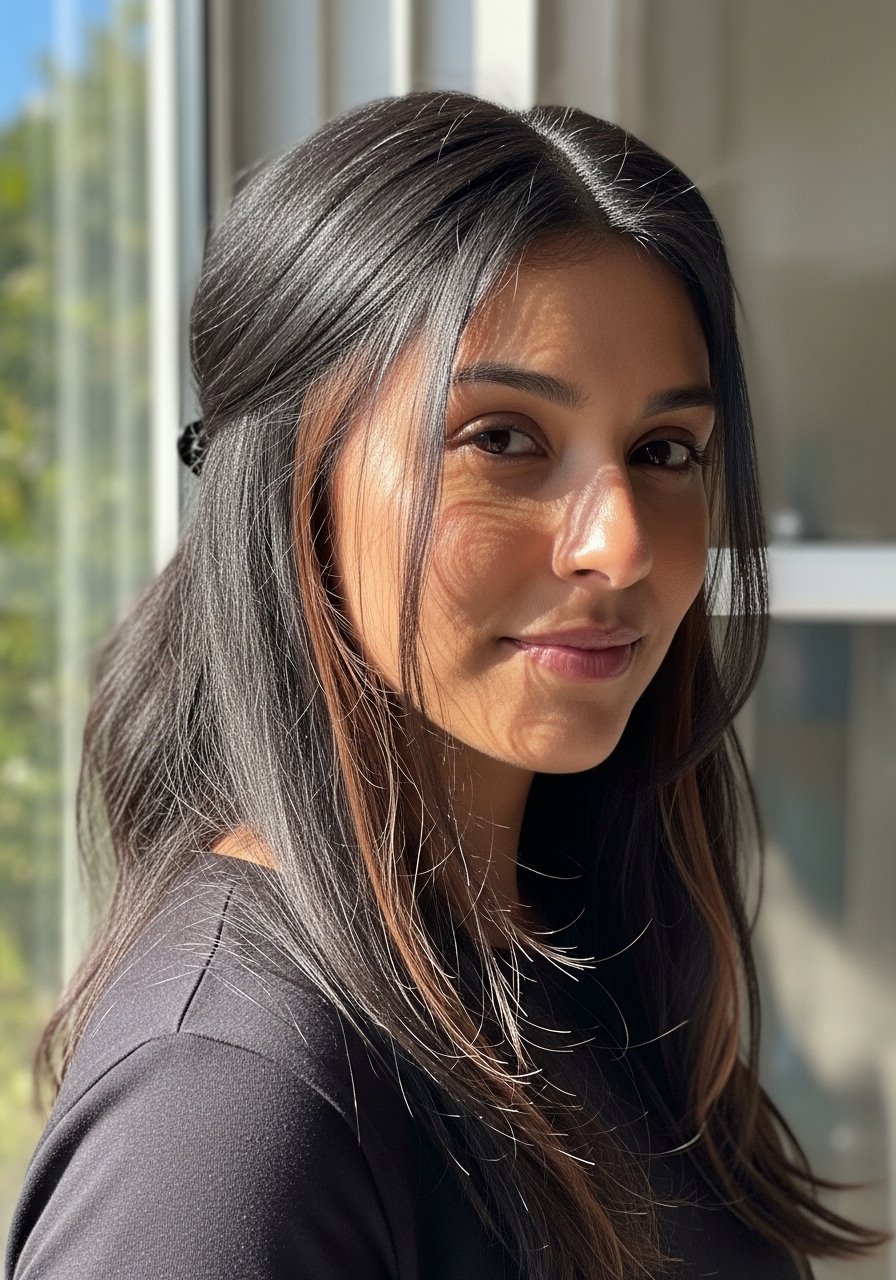
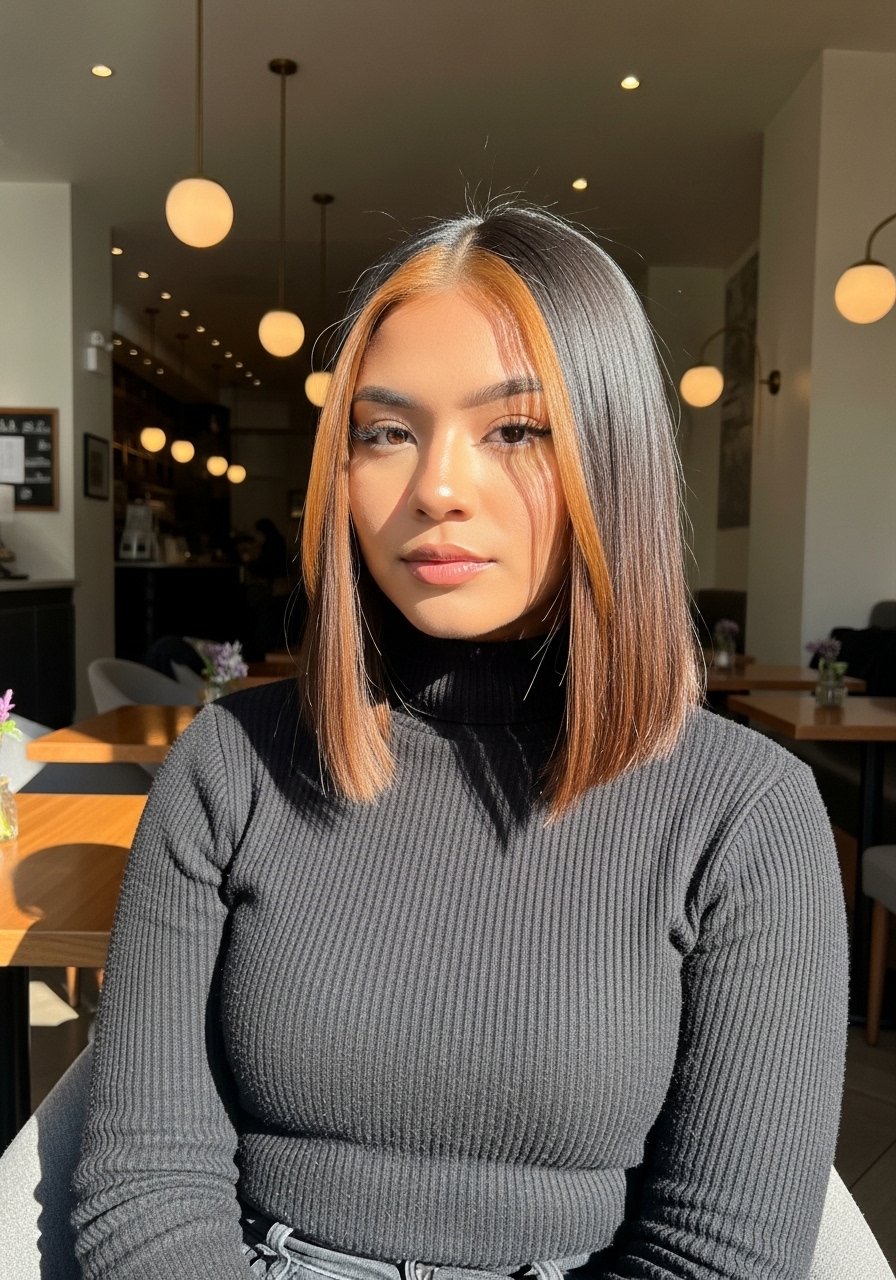
1. Subtle Babylights for Natural Warmth
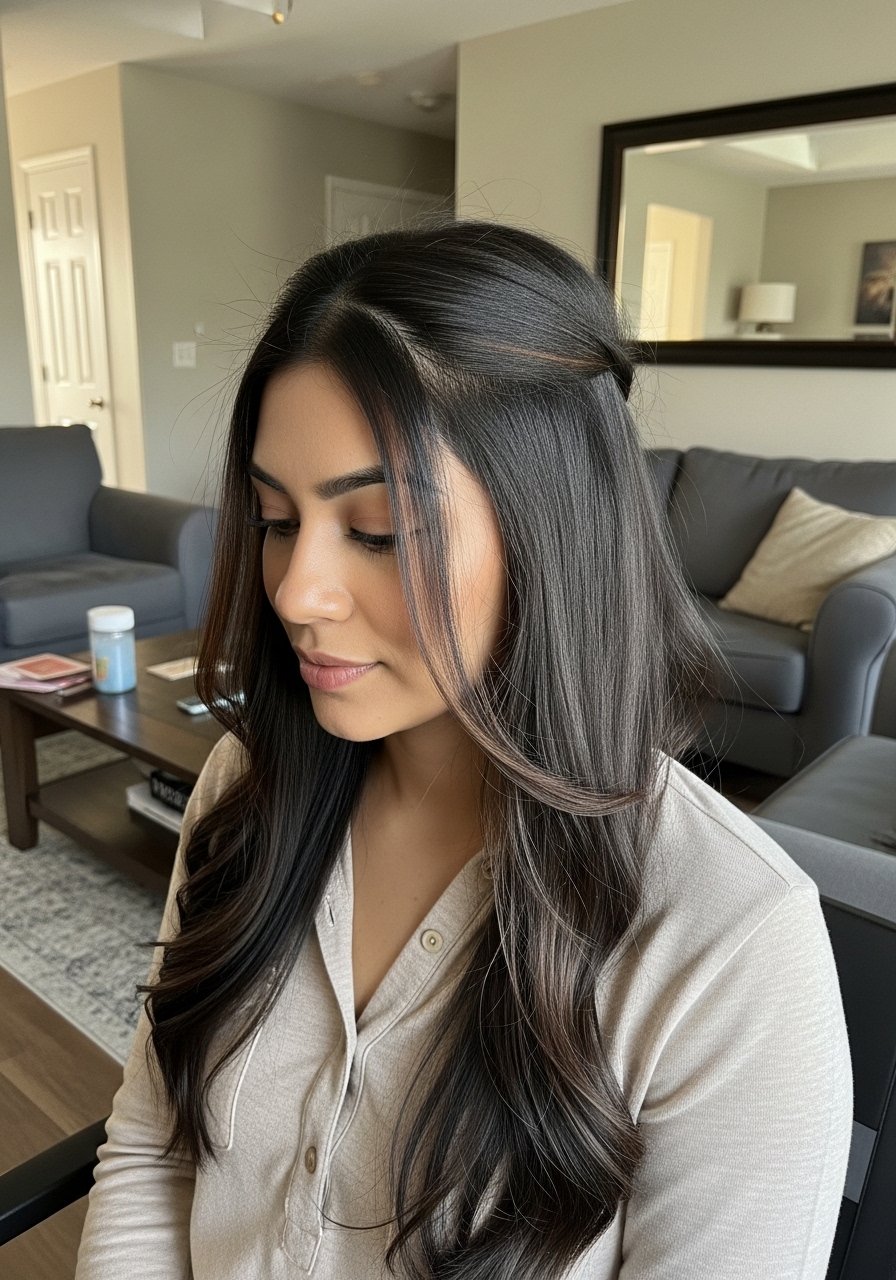
Babylights are thin, closely spaced foils that give warm shimmer without obvious bands. They work because the narrow slices catch light in motion, which creates a lived-in glow instead of hard stripes. Best for straight or fine hair that needs brightness, they take 2 to 3 hours in salon time and usually use 9 to 10-volume developer for a 1 to 2 level lift. For upkeep, a clear gloss every 4 to 6 weeks keeps the chocolate tone shiny. Try pairing with a color-safe sulfate-free shampoo and a weekly protein-lite mask for porosity balance, especially if you swim.
Mistake to Avoid: Requesting “lots of light” and ending up with thick slices, instead ask for 1/8-inch slices and tighter spacing.
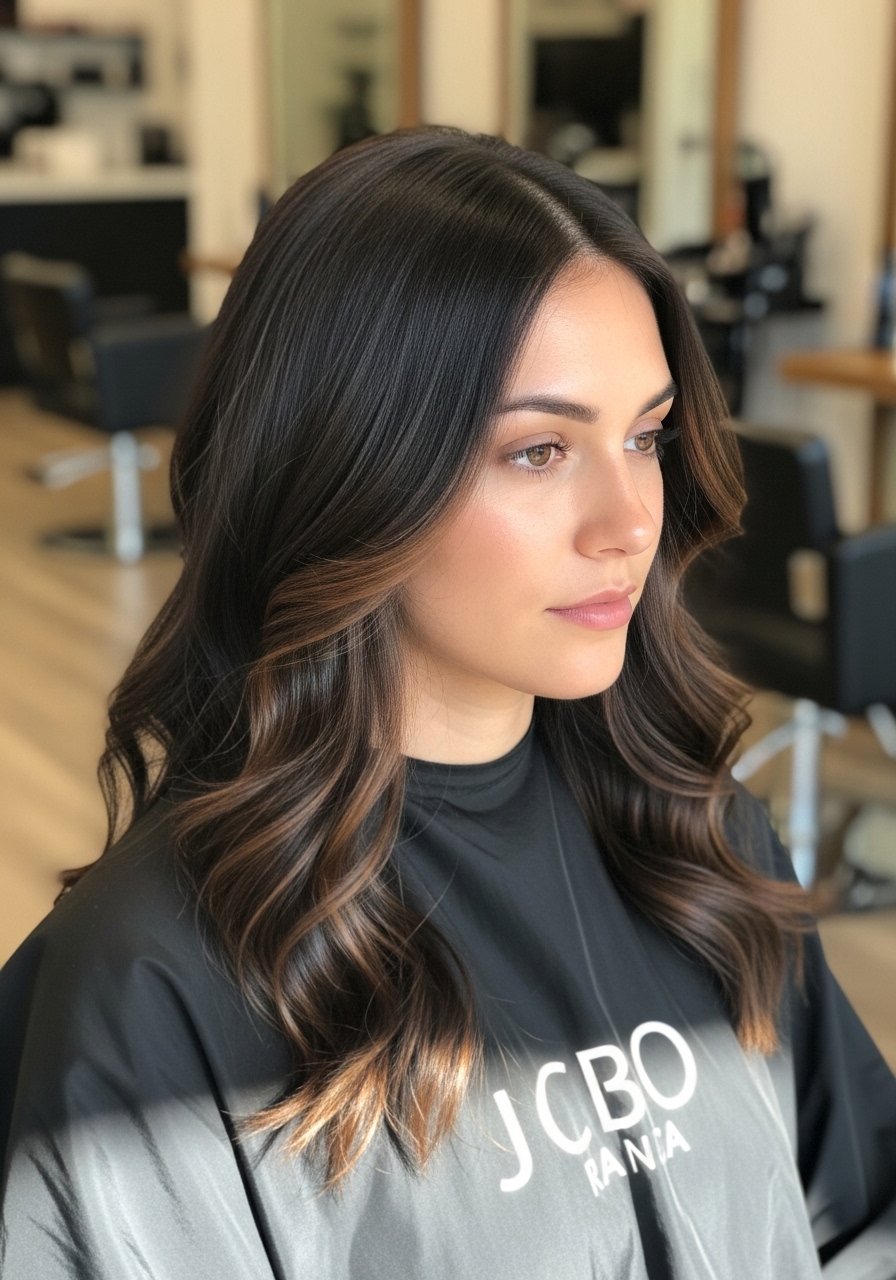
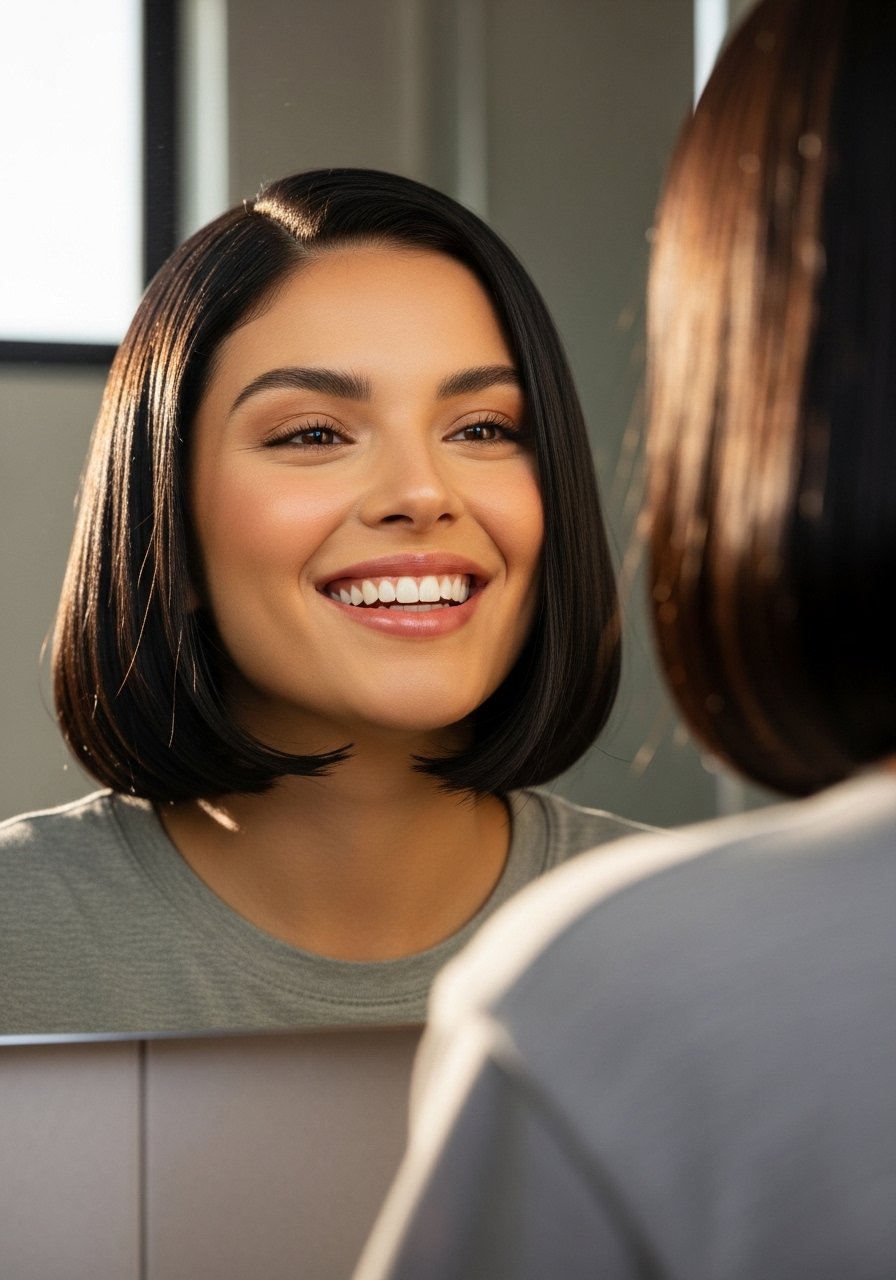
2. Soft Face-Framing Chocolate Pieces

Face-framing highlights are about intentional placement, not heavy contrast. Place 3 to 5 thin ribbons around the forehead and along the jawline to warm the complexion. The effect reads fresh and framed in photos without needing a full-head session. Works well for anyone with medium or thick hair who wants immediate lift. Processing time is shorter, often 10 to 15 minutes for a tonal glaze after a quick lift. Pair with a small barrel curling iron to blend the pieces into the rest of the hair, or braid overnight for a heat-free wave.
Mistake to Avoid: Lining the entire front hairline with thick highlights, which looks dated and overly obvious.
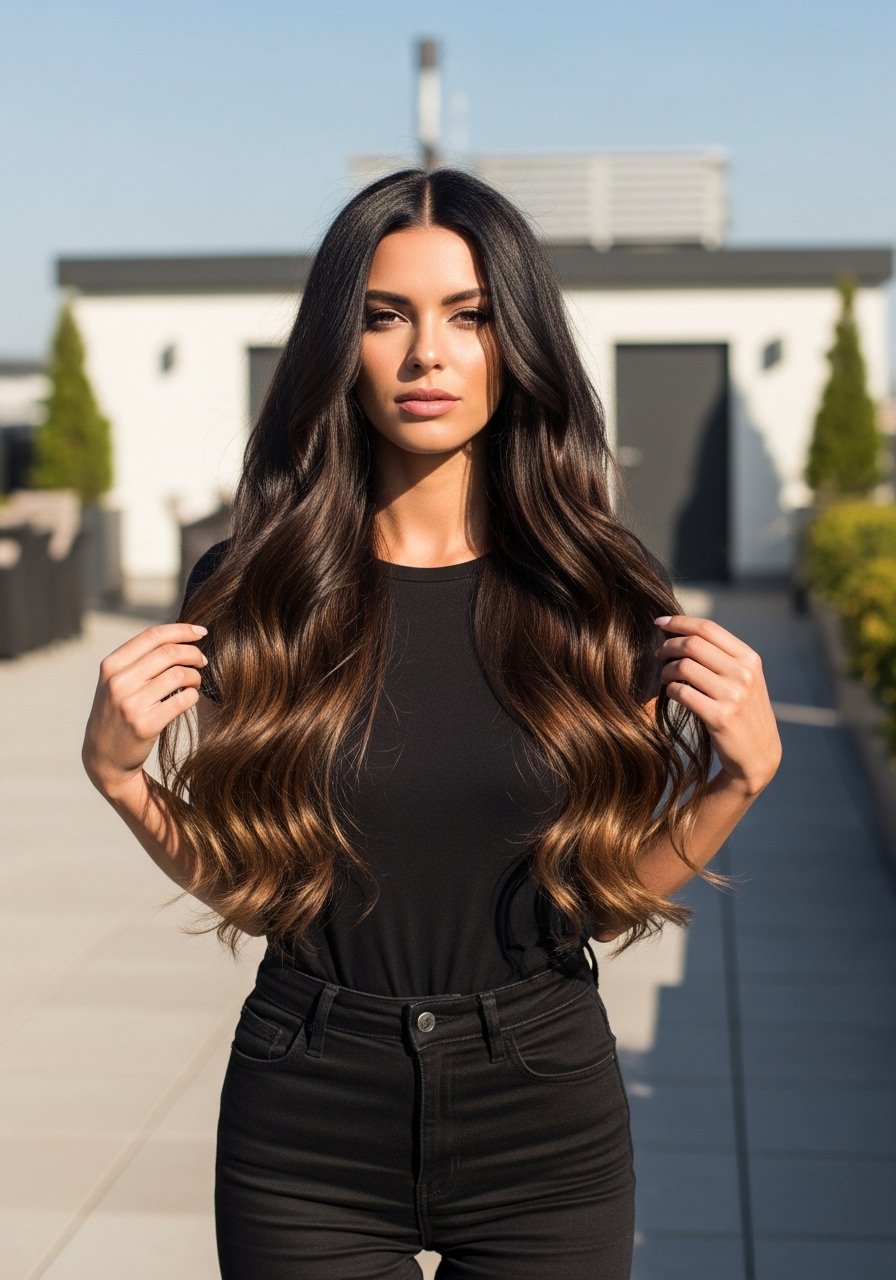
3. Chocolate Balayage With Dimension
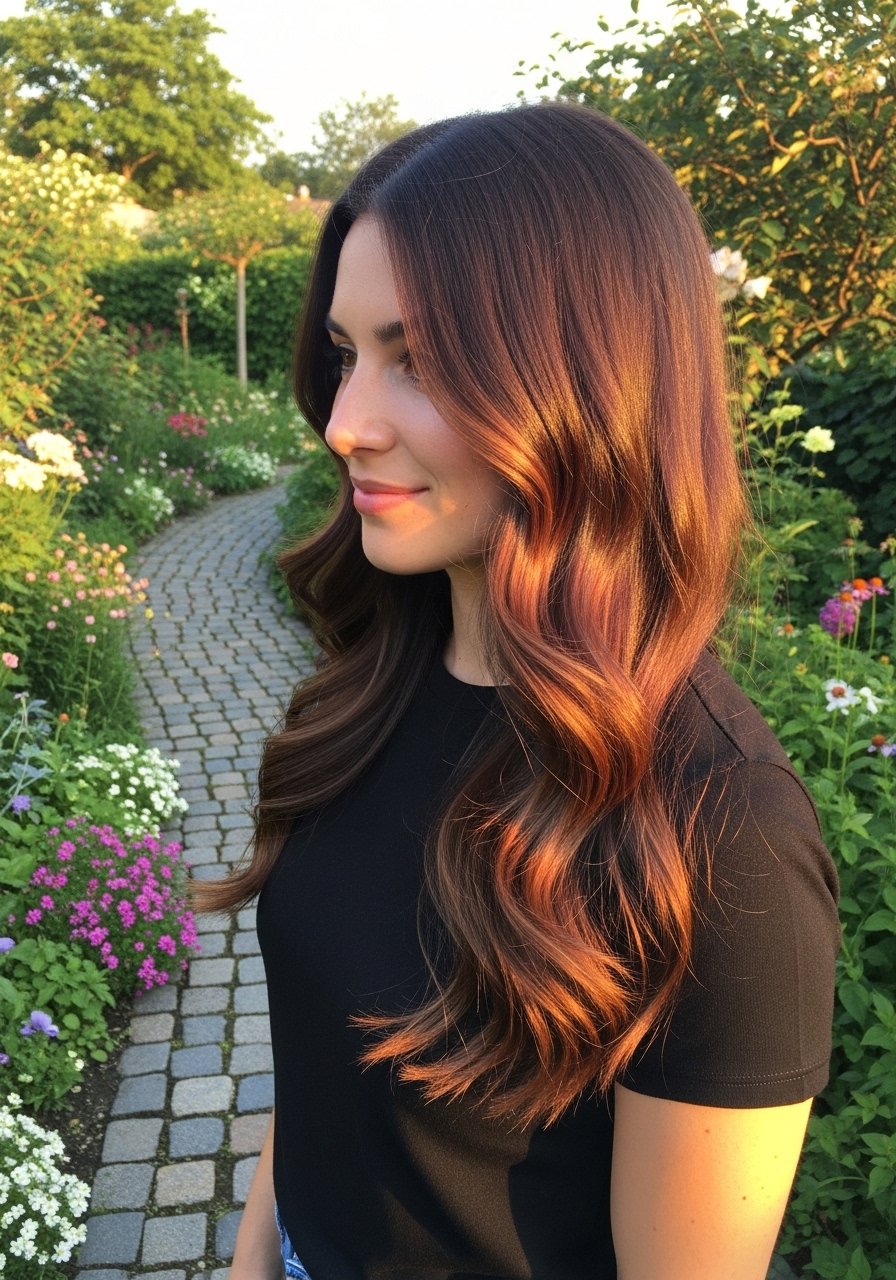
Balayage painted darker-to-chocolate tones anchors lighter ends with softer contrast. It works visually because the hand-painted strokes follow hair growth, so grow-out is gradual and not stripy. This suits wavy and thick hair especially well. Ask for a 50-50 blend between base and highlight at the mid-lengths, and for the colorist to feather the paint 1 to 2 inches from the root. Use a color-depositing conditioner at home to keep the chocolate warm without brass. Expect salon time around 2 hours and a gloss finish to seal the tone.
Mistake to Avoid: Asking for full-coverage bleach and then wondering why your dark roots look like a line.
4. Micro Highlights for Low Maintenance
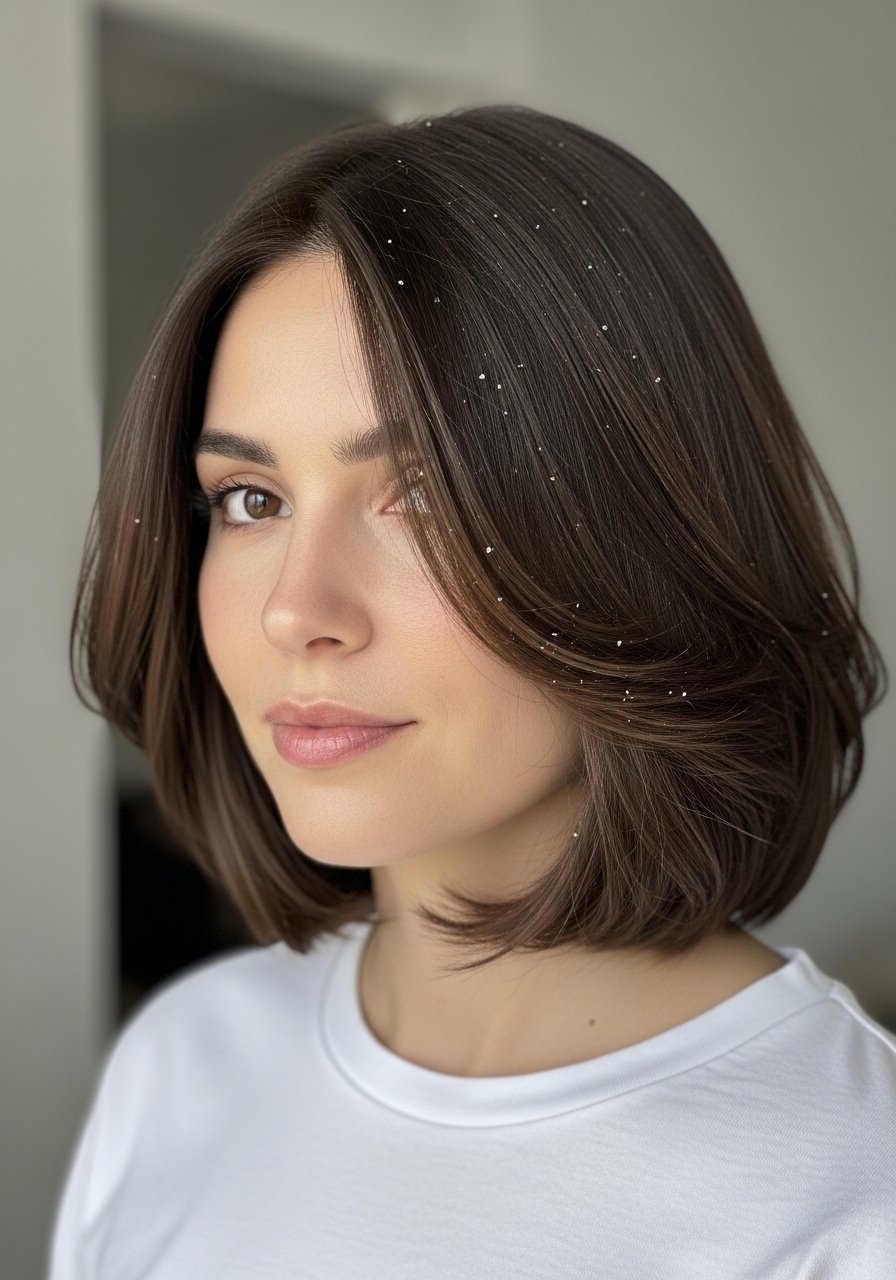
Micro highlights, aka baby lights, are the lowest-contrast route to chocolate shimmer. Tiny slices placed throughout the crown and part give a subtle brightness that photographers often blow out but in person reads very natural. Ideal if you hate frequent touch-ups. They require about 1/8-inch foil slices and often a 9-volume developer for minimal lift. Finish with a demi-permanent chocolate gloss that deposits pigment without heavy lift. This is a good budget-friendly salon option if you skip full lightening and opt for toner-only appointments every 8 to 12 weeks.
Mistake to Avoid: Choosing micro lights on coarse, highly porous hair without a protein step, which can make them look patchy.
5. Gloss-Only Chocolate Refresh
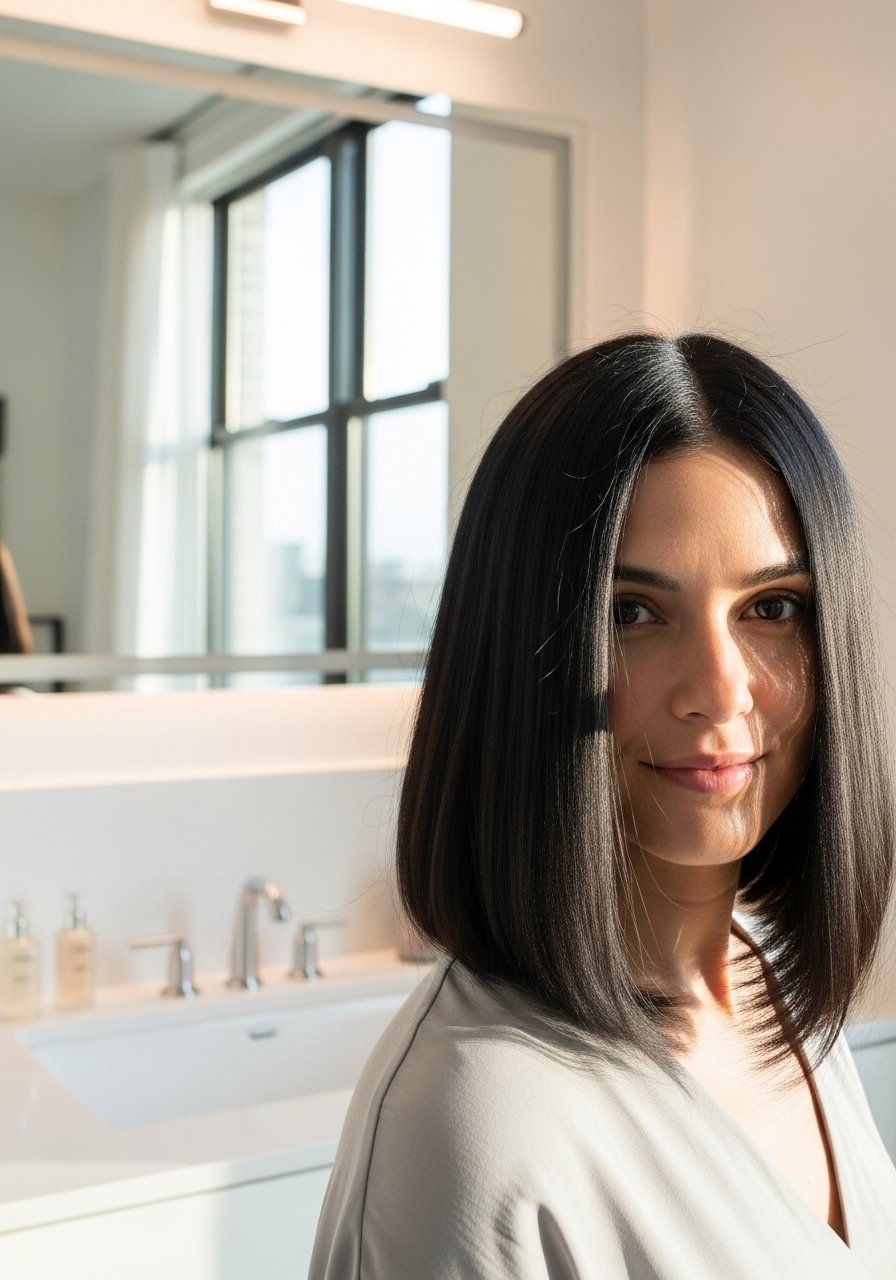
If your base is already dark and you want richer chocolate without lift, a gloss or glaze is the fastest fix. A 20 to 30-minute demi-permanent gloss deepens tone and adds shine, and it is the least damaging option. Good for anyone nervous about bleach, and ideal between highlights to keep brass at bay. Use a color-depositing gloss at home monthly for maintenance. Glosses fade evenly so grow-out looks cleaner. This approach is quick, cheaper than full highlighting, and works across straight, wavy, and curly textures as a sheen treatment.
Mistake to Avoid: Asking for a gloss and treating it like permanent color, which makes you expect unrealistic longevity.
6. Chunky Slices Blended With Soft Balayage
Chunky slices give a statement look but they age poorly if not softened. The trick is to alternate wider slices with hand-painted balayage ribbons, spacing chunky pieces 1.5 to 2 inches apart and blending the edges with a brush. This hybrid reads current in photos and still moves naturally. Best for thick, coarse hair where chunky pieces survive styling. Budget option: ask your colorist to lift only mid-lengths and add a demi-gloss to the ends to harmonize. Expect styling time to blend the pieces into waves for a lived-in finish.
Mistake to Avoid: Getting chunky slices all the way to the root, which creates harsh contrast as the hair grows.
7. All-Over Chocolate Lowlights for Depth
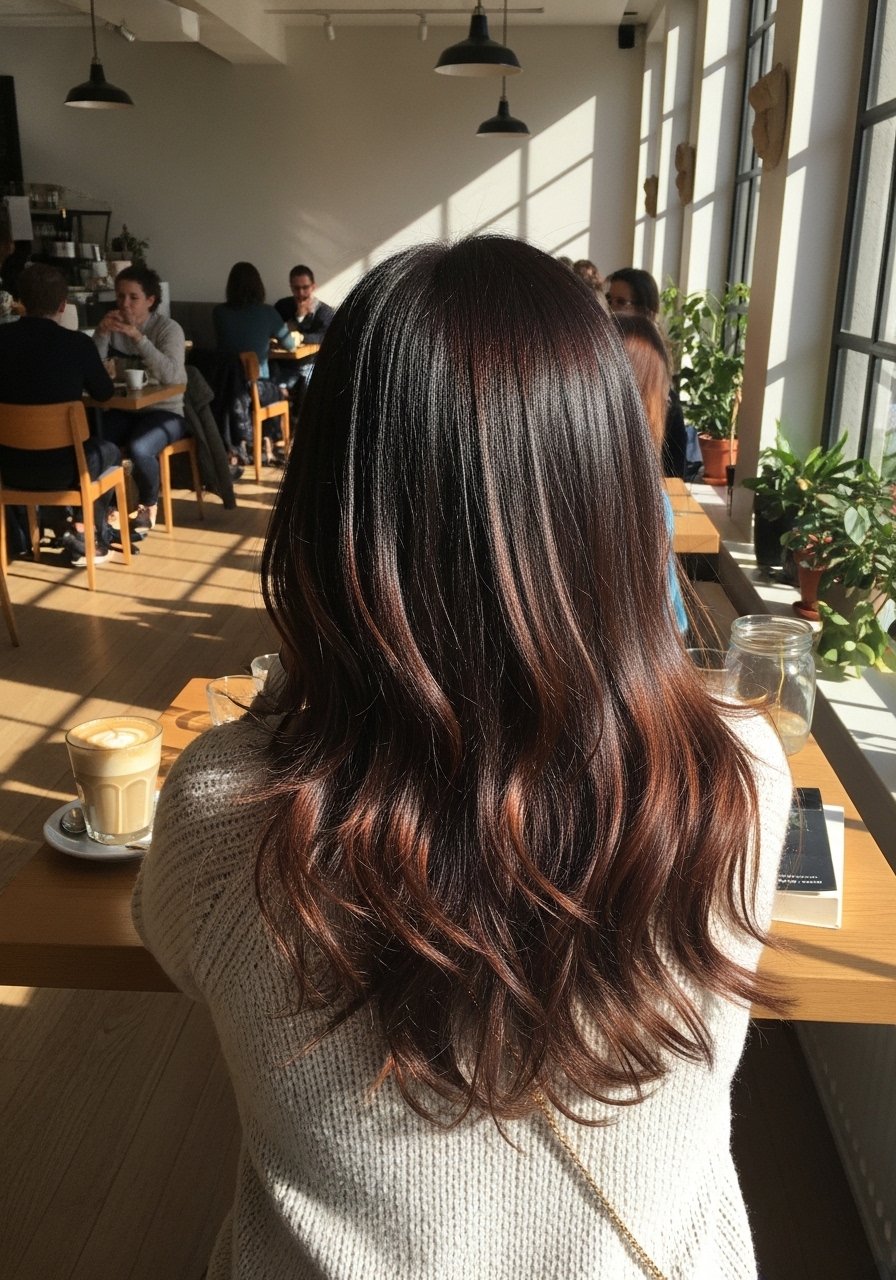
All-over lowlights deposit chocolate tones into a very dark base to create movement without bright highlights. It is the choice when you want dimension but need low upkeep. Colorists use 2 to 3 sections of lowlight, placed around the face and crown, which gives the hair visual depth in photos that often flatten dark bases. This approach suits professional dress codes where subtlety is required. Maintain with a nourishing oil and schedule gloss appointments every 10 weeks to keep the chocolate from dulling.
Mistake to Avoid: Using lowlights to hide damage instead of treating the hair first, which makes color sit unevenly.
If any of these ideas have you ready to actually try something, here are the essentials worth picking up.
Essentials For Chocolate Brown Highlights Kit
Color Prep & Protection:
- Color-safe shampoo (~$12-20). Use from wash one to keep highlights glossy.
- Bond-building treatment (~$20-50). Do one in-salon follow-up and weekly at home.
At-Home Glosses & Touch-Ups:
- Color-depositing conditioner (~$10-18). A slow fade between appointments.
- Demi-permanent gloss (~$15-30). Salon-quality sheen without heavy lift.
Styling & Tools:
- Wide-tooth comb (~$6-12). For detangling wet hair without pulling out color.
- Microfiber hair towel (~$10-15). Cuts dry time and reduces friction.
Maintenance Extras:
- Heat protectant spray (~$8-18). Use before any hot tool.
- Sulfate-free dry shampoo (~$10-16). Extends color from one wash to the next.
- Glossing serum (~$12-25). One pump smooths frizz and amps shine.
8. Root Melt Shadow For Seamless Grow-Out
A root melt, or shadow root, softens the contrast between dark roots and lighter lengths by applying a darker glaze at the line of demarcation. It works because it visually blurs the root, making grow-out forgiving for 8 to 12 weeks. Great for busy lifestyles or those who sweat in the gym. Ask for a glaze 1 to 2 shades lighter than your base to avoid a floating top. Pair this with concept 5 glosses for even tone. This technique is low-commitment and inexpensive compared with full root touch-ups.
Mistake to Avoid: Asking for a root melt that is too close to your natural base shade, which can read flat instead of blended.
9. Hidden Peekaboo Chocolate Panels
Peekaboo panels tuck chocolate tones under the top layer so they only show when you move or pin hair up. The visual is playful and easy to hide for conservative workplaces. Place panels behind the ears and at the nape for the most movement. This option is low-damage because the limited area needs less lift. Home gloss touch-ups work well to refresh the panels without visiting the salon. Works across curl types, though on tight coils you may want slightly larger slices for visibility.
Mistake to Avoid: Placing peekaboo too low so it never shows, making the session feel wasted.
10. Money Piece Chocolate For Framing
The money piece is a bolder front highlight that brightens the face. For chocolate tones, ask for a warm, toasted shade that complements your skin undertone rather than a blonde face strip. One to two 1/2-inch ribbons at the front is enough to frame without overpowering. This look is high-impact in photos and daily life, and it takes one short root touch-up appointment every 6 to 8 weeks. Use a light-hold styling cream to keep the pieces from separating in humid weather.
Mistake to Avoid: Requesting the brightest blonde money piece on a dark base, creating harsh contrast.
11. Soft Ribbon Highlights For Curly Hair
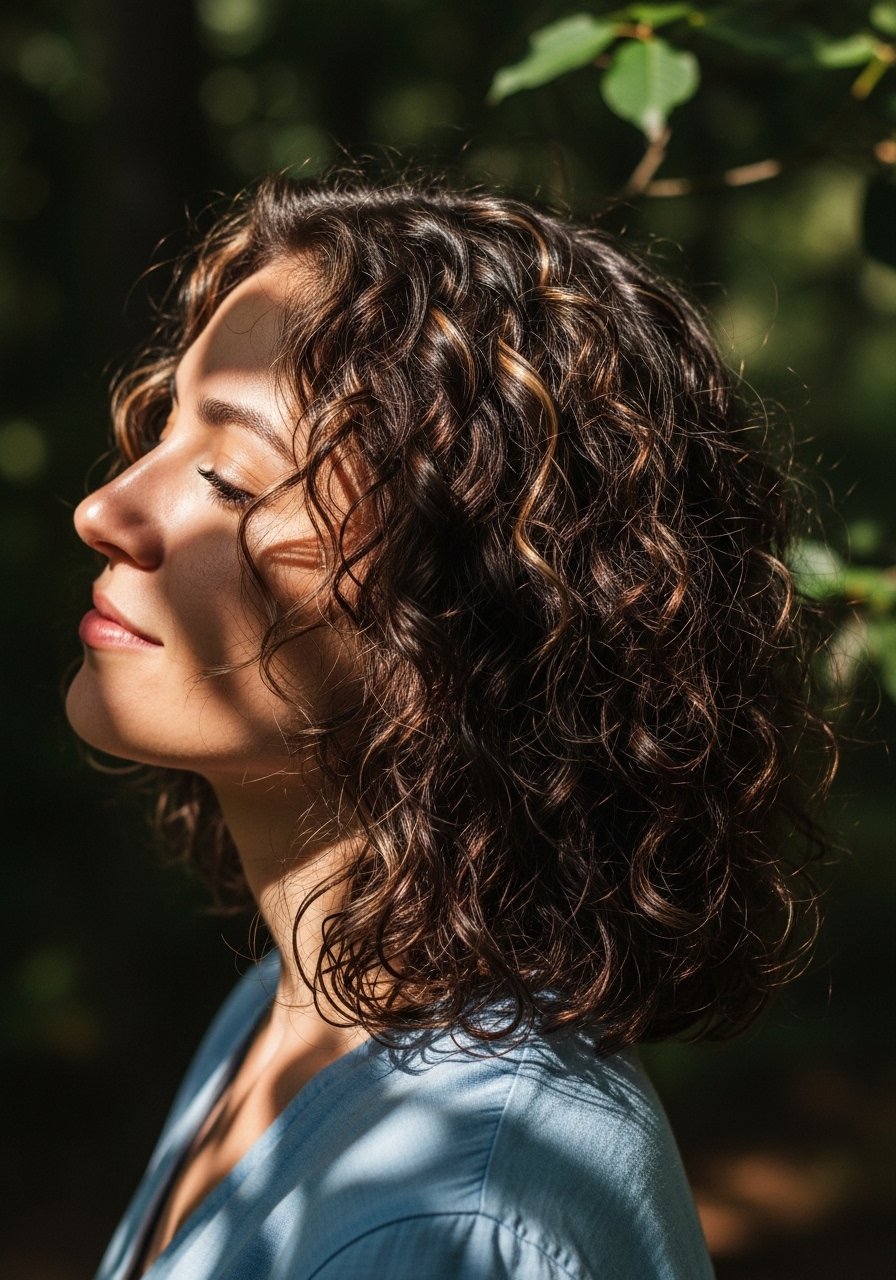
Curly hair benefits from wider, softer ribbons of color rather than thin straight-line foils. Place ribbon highlights with 3 to 4 fingers of width so curls display chunks of chocolate tone when they move. This method reduces banding and plays nicely with shrinkage. Use a deep conditioning treatment once a week to keep porosity even, because curls absorb color differently. For a heat-free option, try a strand test and glossing conditioner to see how the pigment sits before committing to lift.
Mistake to Avoid: Applying micro lights the same way you would on straight hair, which can read patchy when the curl pattern shrinks.
12. Warm Chestnut Lowlights for Richness

Chestnut lowlights add warmth and make chocolate tones feel deeper without brightening. They work best on someone with a naturally dark base who wants richer dimension. Use two to three lowlight shades within the same family to avoid flatness, and ask for placement around the mid-lengths and ends rather than the crown. This saves on maintenance and keeps the scalp area low-contrast. Use a moisturizing mask biweekly to retain gloss and prevent the lowlights from appearing dull in flash photography.
Mistake to Avoid: Using a lowlight shade that is too red for your skin tone, which can clash in sunlight.
13. Weekend Try-On With Temporary Color Glosses
Temporary color glosses and washes are the easiest way to test placement and tone before a full appointment. They rinse out in one to three shampoos and let you experiment with money pieces or panels without commitment. Use this if you are worried about brass or how chocolate will read in photos. Apply on damp hair, leave for 10 to 20 minutes, and check results in daylight. This is the cheapest way to fail fast and try again until you find the exact chocolate ratio you like.
Mistake to Avoid: Leaving a temporary gloss on too long at home, which can yield a darker result than expected.
How I Keep Chocolate Highlights Alive
Thin coats beat one thick coat every time. Three thin layers of a quick-dry gloss treatment look smoother and refresh color without weighing hair down.
Grab a microfiber hair towel for about $12. It reduces friction and helps colored hair retain shine while drying faster.
Curly hair benefits from a protein-lite weekly mask, not heavy protein. Try a balanced moisturizing mask to keep porosity even and color consistent.
Most people over-wash. Use a sulfate-free dry shampoo to stretch days between washes and protect the chocolate gloss.
