
I kept picking the busiest reference photo and wondering why a delicate geisha line looked cluttered on my wrist. After the third cover-up I stopped blaming placement and started measuring, sketching in single strokes, and treating empty skin as part of the design. What changed is small choices, like a 3 millimeter maximum visible width and where negative space sits, not a more complicated drawing.
These ideas are for people who want the geisha motif without a full sleeve, for first-timers who need coverable options, and for anyone on a modest budget. I pulled these styles from sketches I tested across five shops I have visited, and from two years of watching heal cycles on my own pieces. Expect straightforward sessions, most designs fit a 3 to 6 centimeter height range, and plan for simple aftercare rather than extended touch-ups.
1. Single-Line Geisha Silhouette
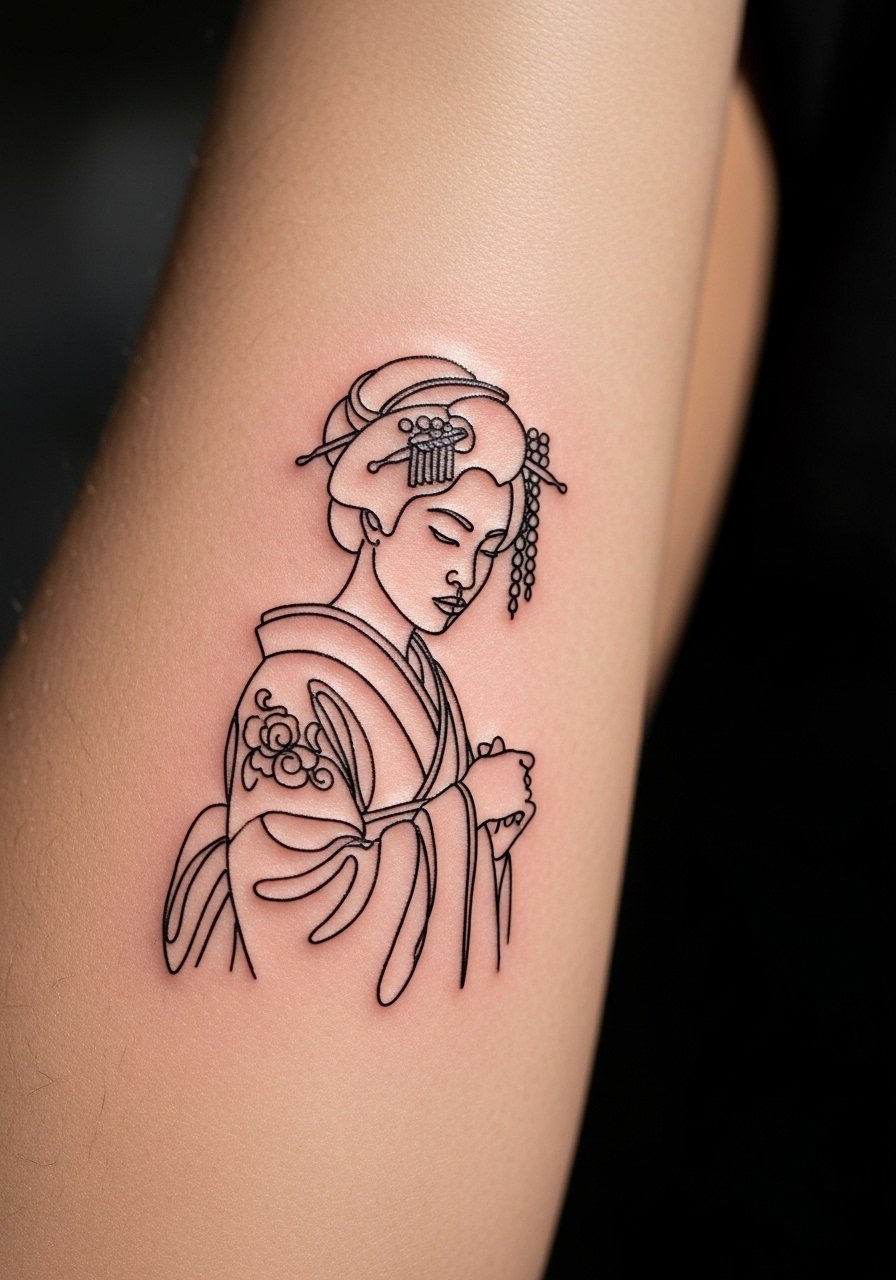
A single continuous line reduces visual clutter and looks modern on small placements. The trick is keeping the line weight steady, about a 3 millimeter visible stroke, so hairpin details do not disappear as it heals. This suits someone who wants a work-coverable piece that still reads from a distance. I use a vegan black ink for crisp edges and a single-needle cartridge for consistent 0.25mm entry. Try vegan-black-tattoo-ink for cleaner fades and single-needle-cartridges for fine lines.
Mistake to Avoid: Pushing thick outlines into a single-line idea, which makes the silhouette lose its delicate shape.
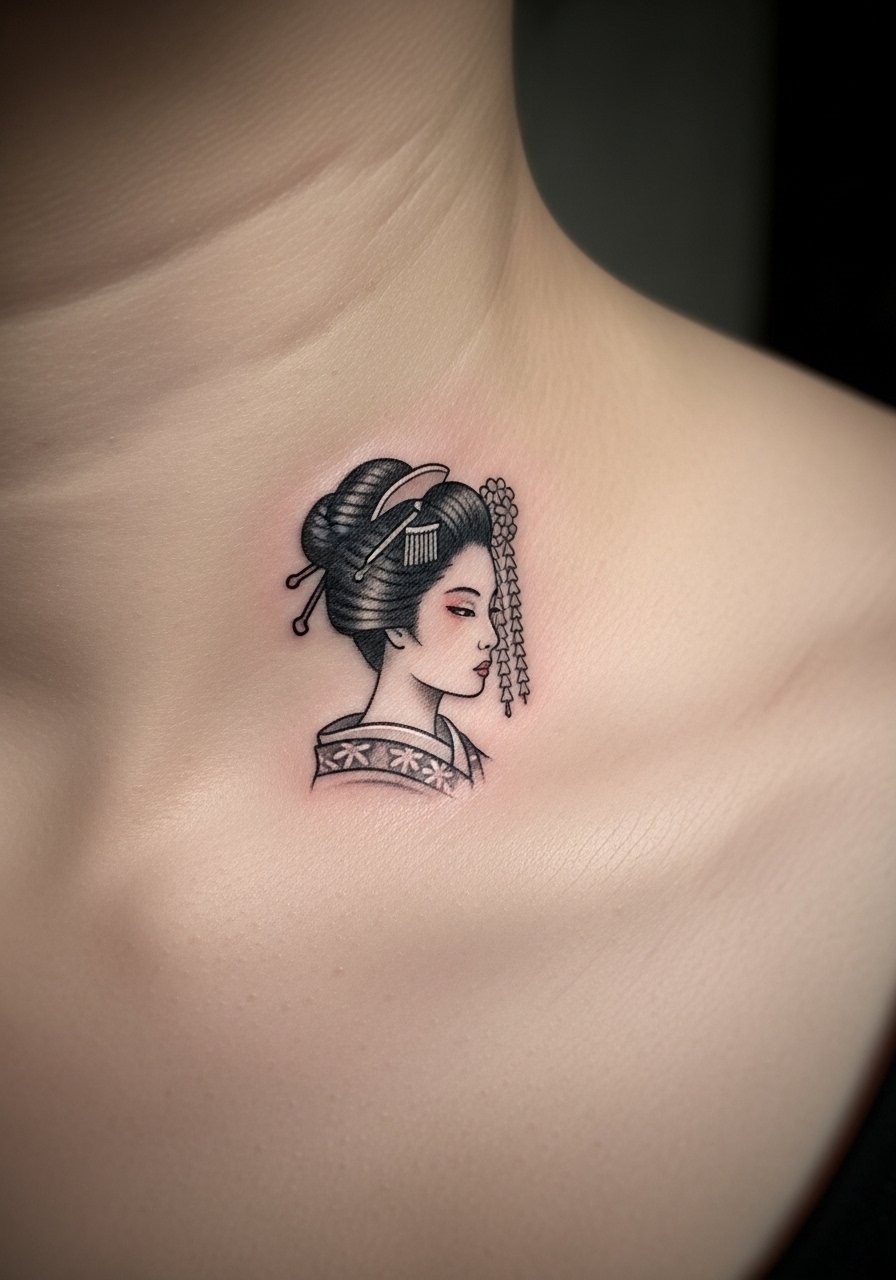
2. Micro Geisha Behind Ear
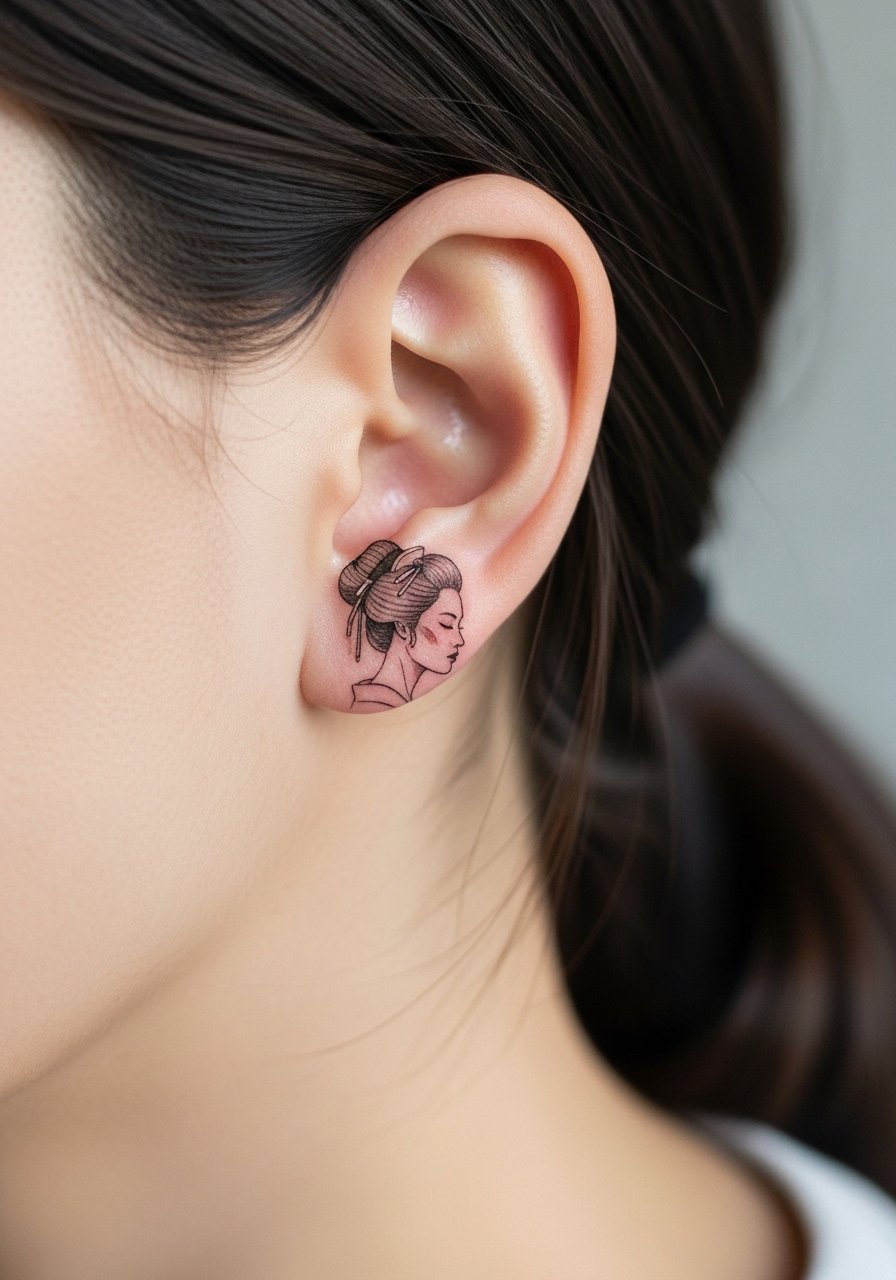
Everything shrinks down for behind-ear placements, so plan for a 1.2 to 1.8 centimeter height so hair details do not blur. This placement is near-invisible for conservative workplaces and fits short sessions. Expect stinging around a 4/10 and a 20 to 40 minute dot-and-line session. For stencil transfer that survives skin oil in that area, I like tattoo-transfer-paper. Small designs often look flatter in photos, so ask for a 1:3 spacing ratio between face line and hair to keep depth once healed.
Mistake to Avoid: Making the design too small to accommodate even one clear facial line, which disappears during healing.
3. Geisha Fan Negative Space
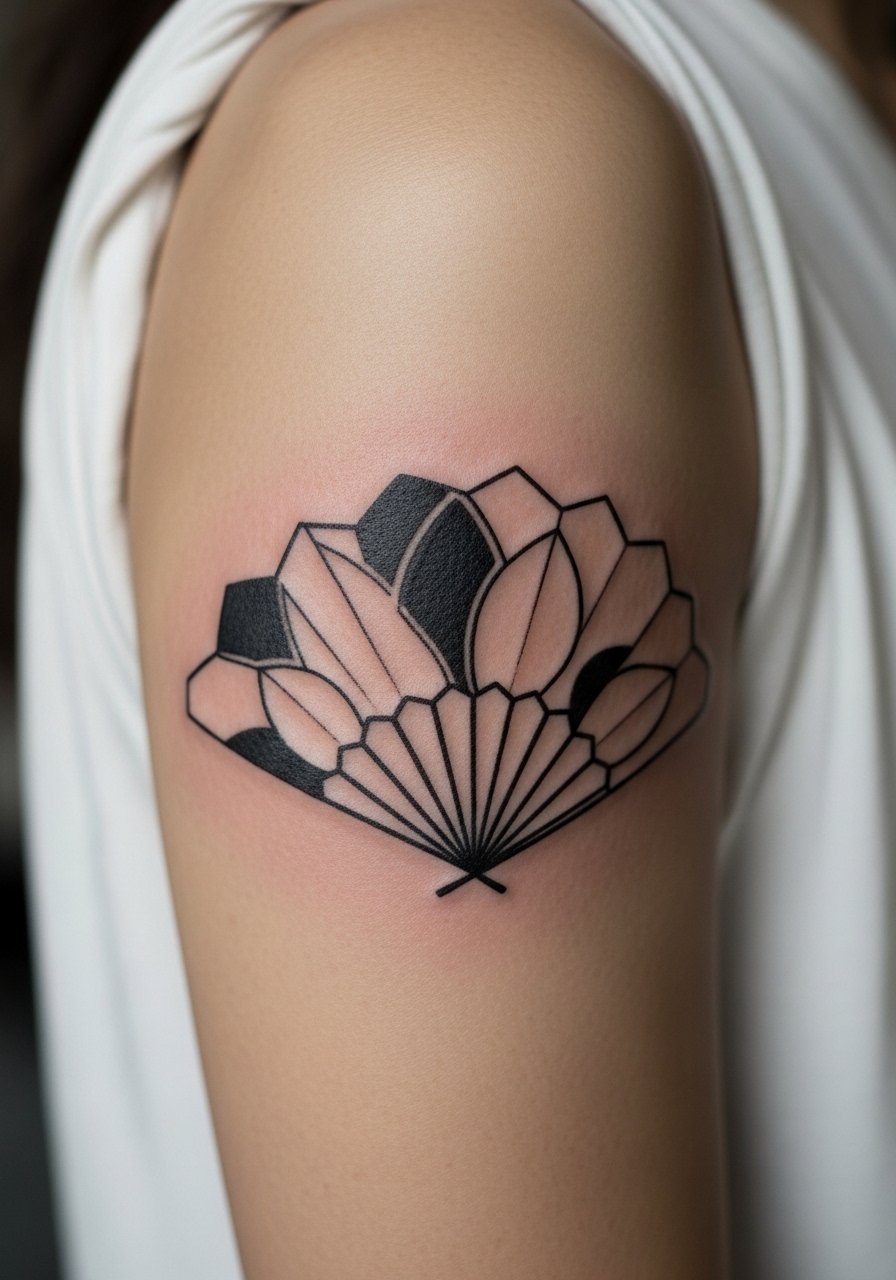
Using negative space inside the fan gives the eye places to rest and keeps the design from feeling busy. Aim for a fan width around 5 centimeters so the carved-out petals register as empty areas rather than scarred gray. This works well on the outer upper arm and is suitable for medium skill levels. For crisp contrast, pair a steady black ink with a 7-point stencil print. I recommend tattoo-stencil-paper to preserve that 1:2 positive-to-negative space balance.
Mistake to Avoid: Filling every petal with tiny dots or shading, which negates the intended negative space effect.
4. Partial Face With Sakura Petals

A cropped geisha face plus a few sakura petals feels intimate and wearable on the collarbone. Keep the facial features to two or three lines and scatter only three to five petals for balance. The piece ages into a soft gray if you use low-saturation shading rather than solid fill. For subtle petal shading try a tiny round shader and a diluted ink wash. I carry diluted-black-tattoo-ink when testing low-contrast details.
Mistake to Avoid: Over-defining the mouth and eyes, which makes the partial face look like a different character.
5. Geisha Kimono Pattern Band
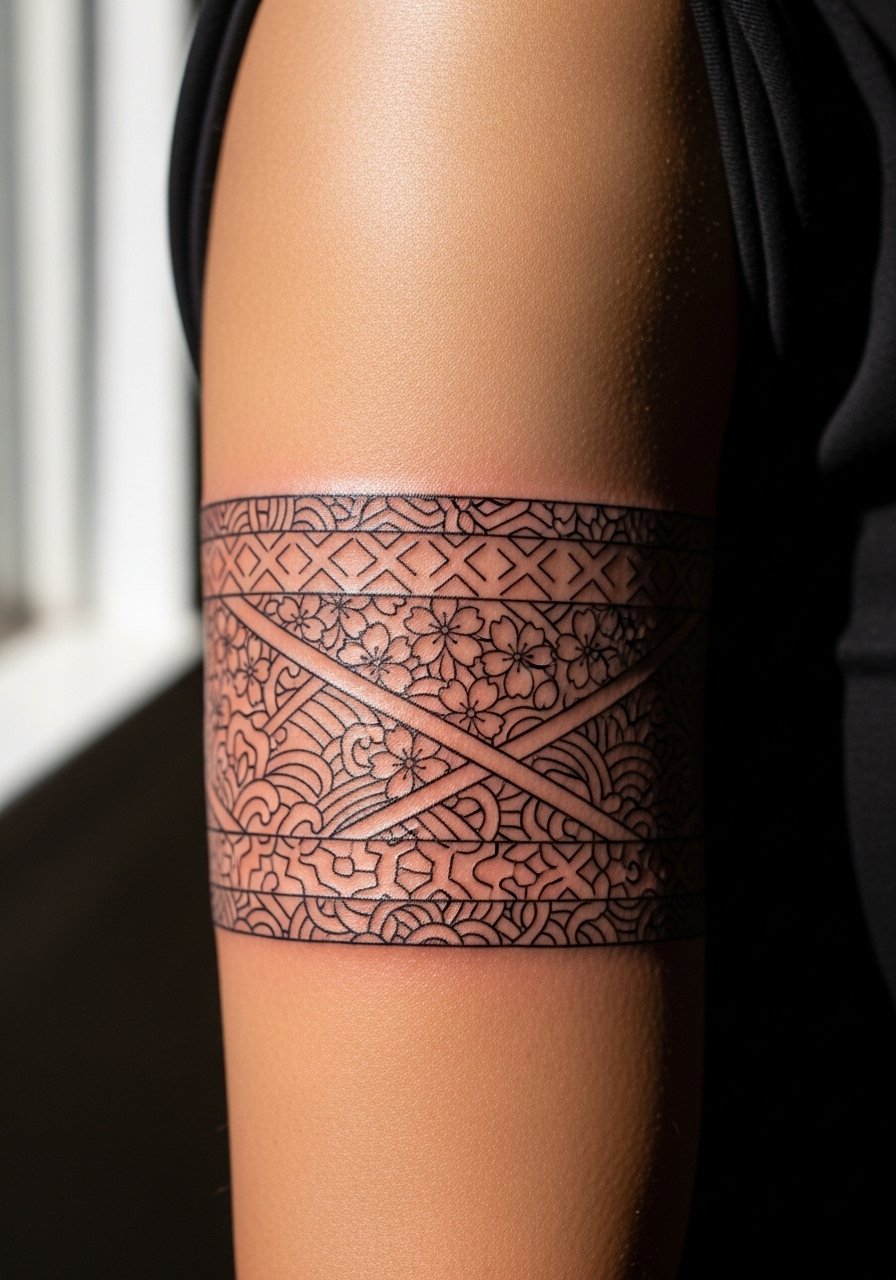
Instead of a full figure, repeat a small kimono motif as a band. Keep each motif 2 to 3 centimeters wide and leave equal spacing, 1:1 motif-to-skin ratio, so the pattern breathes. This is a great option for someone wanting cultural reference without a portrait. Use a fine liner needle and a steady 2 pass shading at low pressure for a crisp repeat. For practice stencils try transfer-paper-for-templates.
Mistake to Avoid: Copying a crowded fabric photo directly, which does not translate at tattoo scale.
6. Single-Needle Hairpin Accent
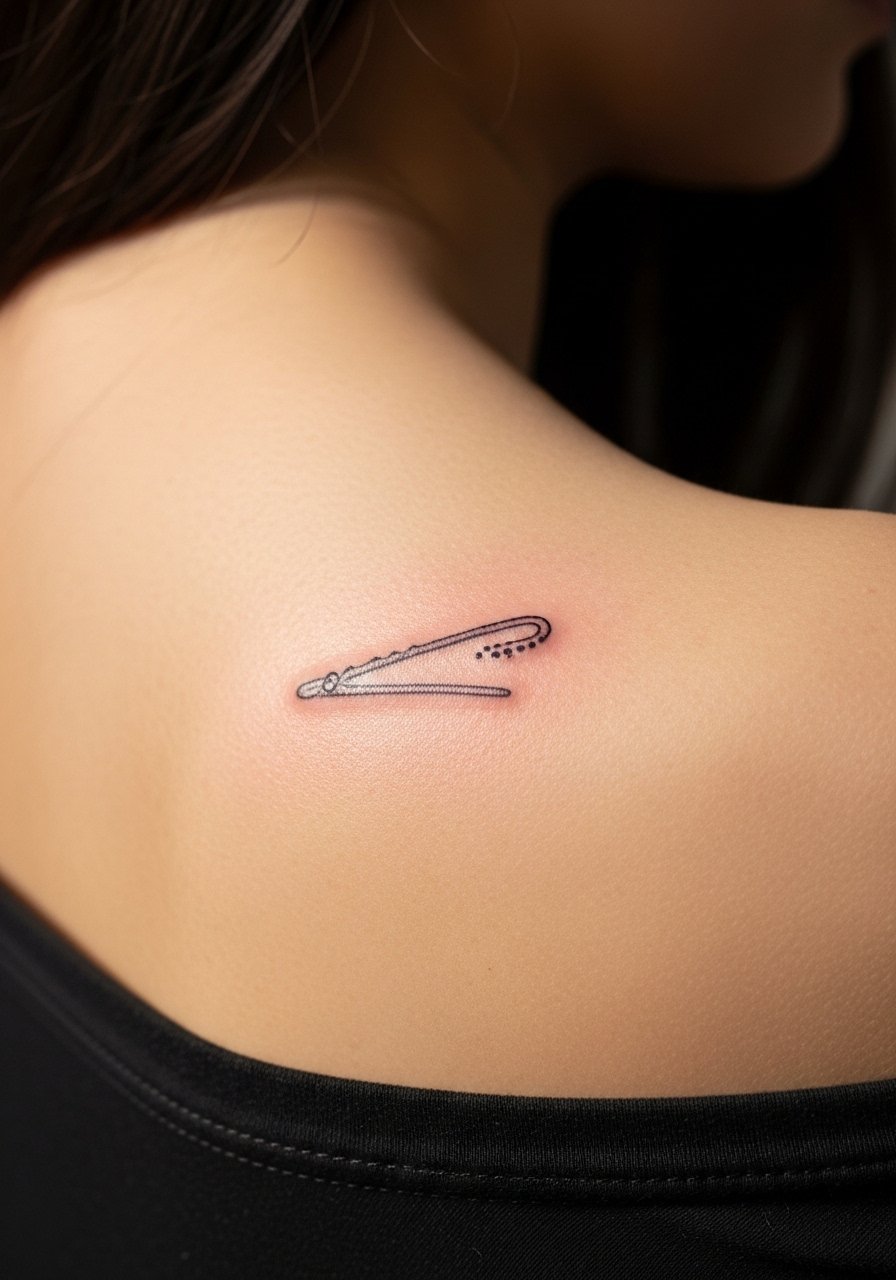
A hairpin or kanzashi motif is an easy way to reference geisha aesthetics while staying minimal. Use single-needle technique, 0.25mm line weight, and place it where a 2 to 3 centimeter length will sit naturally. It is quick to tattoo and tends to heal with clean edges if the artist avoids heavy shading. For supplies I recommend single-needle-cartridges and an antibacterial soap for aftercare. Note cultural sensitivity, keep designs stylized and avoid direct copies of identifiable family crests.
Mistake to Avoid: Turning a single accent into a crowded ornamental cluster that loses its delicate impact.
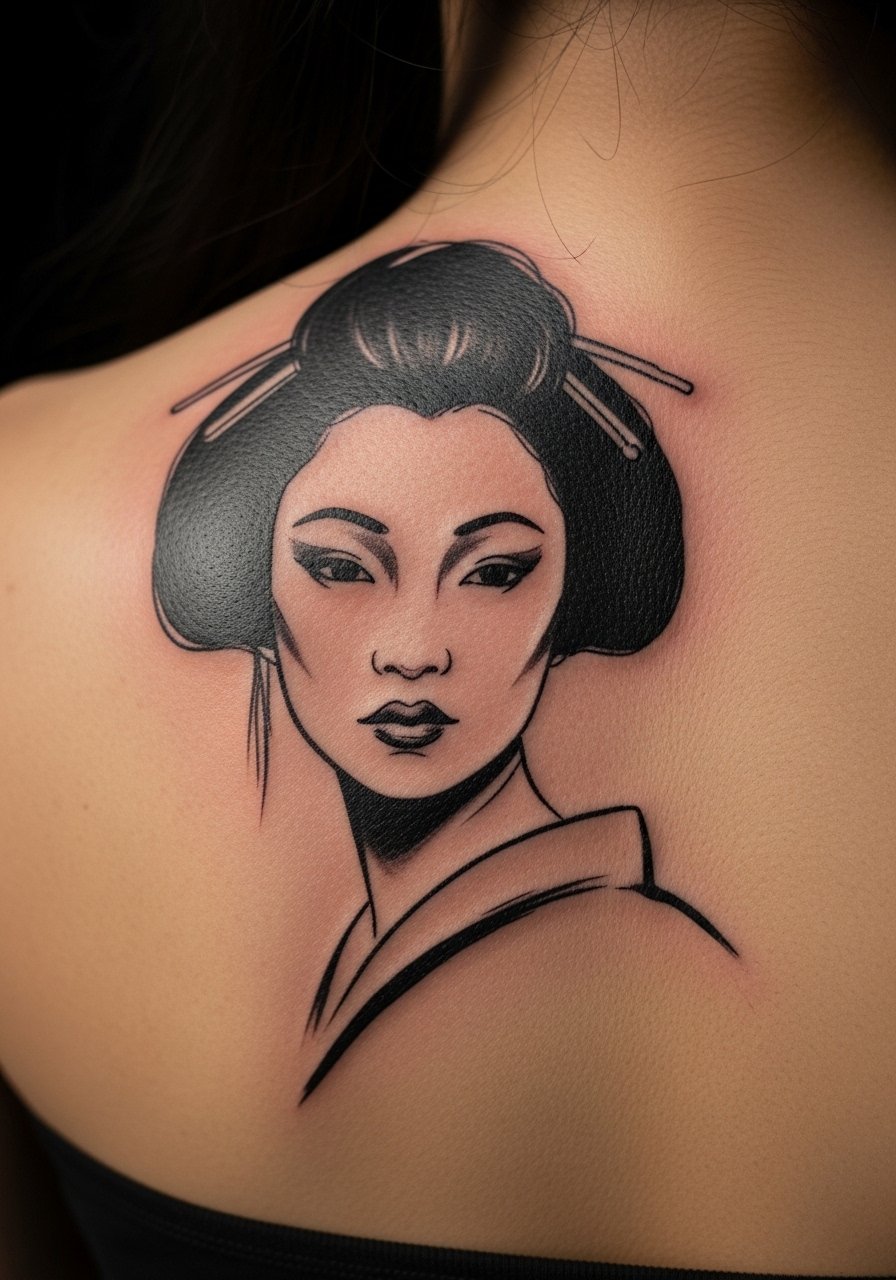
7. Minimal Geisha Profile On Rib

Rib work breathes but moves, so keep the vertical height between 6 and 8 centimeters to follow the natural curve. Lines should be slightly looser than a forearm piece because skin stretches during breath. Expect session time around 1 to 1.5 hours and pain near 6 to 7/10. Use a breathable dressing during the first 24 hours and a fragrance-free balm afterwards. I pack breathable-tattoo-dressings for ribs when I travel.
Mistake to Avoid: Asking for tight, photo-perfect symmetry on the ribs, where natural movement will soften edges.
If any of these ideas have you bookmarking designs, here are the actual products I reach for before booking a session.
Minimal Geisha Tattoo Essentials
Needles & Machines:
- single-needle-cartridges (~$10-25). For fine-line detail work.
- rotary-tattoo-machine (~$60-120). Lightweight and steady for line work.
Inks & Aftercare:
- vegan-black-tattoo-ink (~$8-20). Cleaner fades for minimal pieces.
- tattoo-aftercare-ointment (~$6-15). Fragrance-free healing.
- tattoo-sunscreen-stick (~$8-12). Protects delicate lines after healed.
Supplies & Prep:
- tattoo-stencil-paper (~$7-15). Keeps transfers crisp on oily areas.
- surgical-gloves-powder-free (~$10-20). Basic hygiene.
- breathable-tattoo-dressings (~$12-25). For sensitive placements like ribs and collarbone.
8. Geisha Outline On Forearm
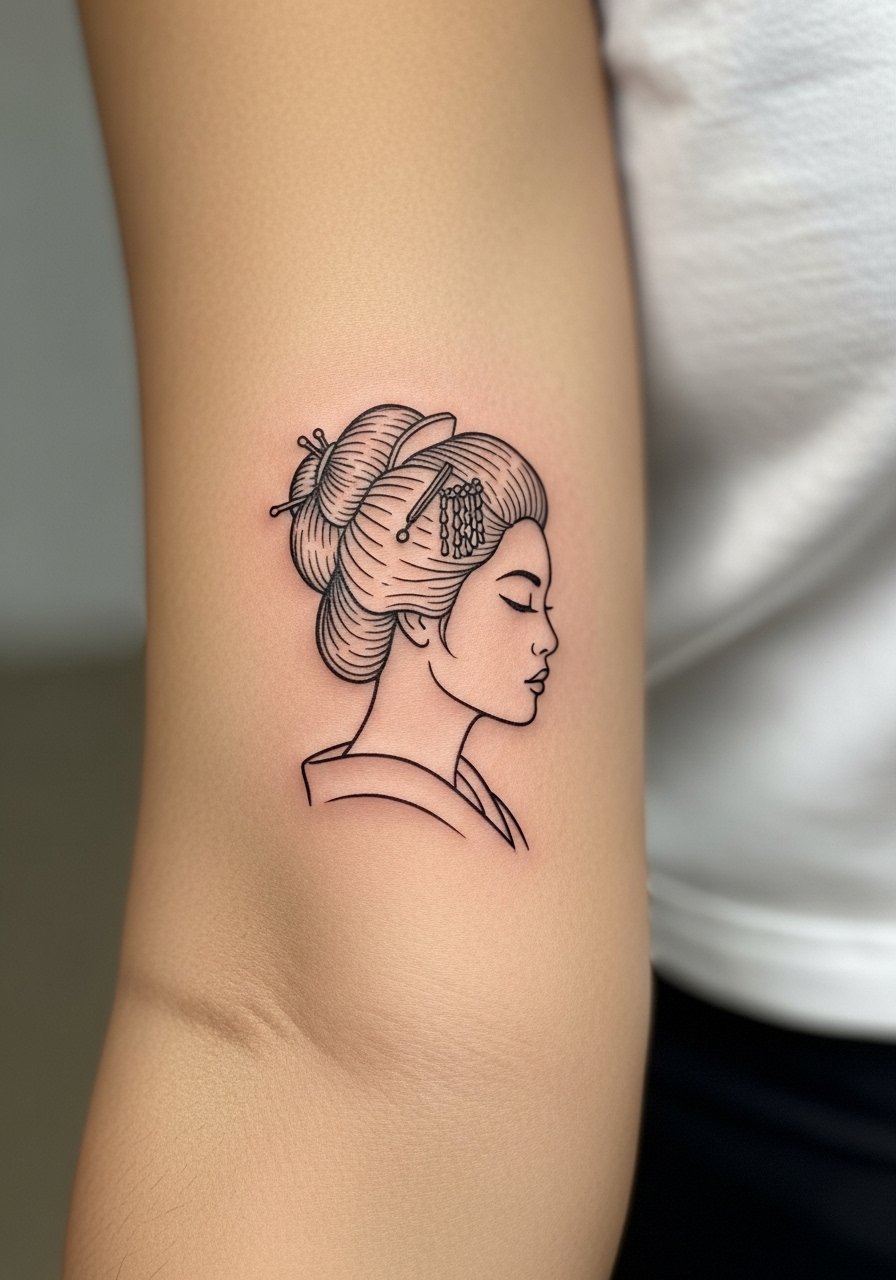
An outlined geisha down the forearm reads well at arm length when kept to a 4 to 6 centimeter height. The benefit is a clear silhouette you can easily cover with long sleeves. Use a liner grouped at 3 to 5 needles to keep the outline slightly bolder than single-needle, about 0.5mm visible width, so it ages consistently. I sometimes use grouped-liner-cartridges when anticipating touch-ups down the line.
Mistake to Avoid: Choosing a fence-thin outline that ghosts out into an uneven gray patch after healing.
9. Tiny Geisha On Finger Side
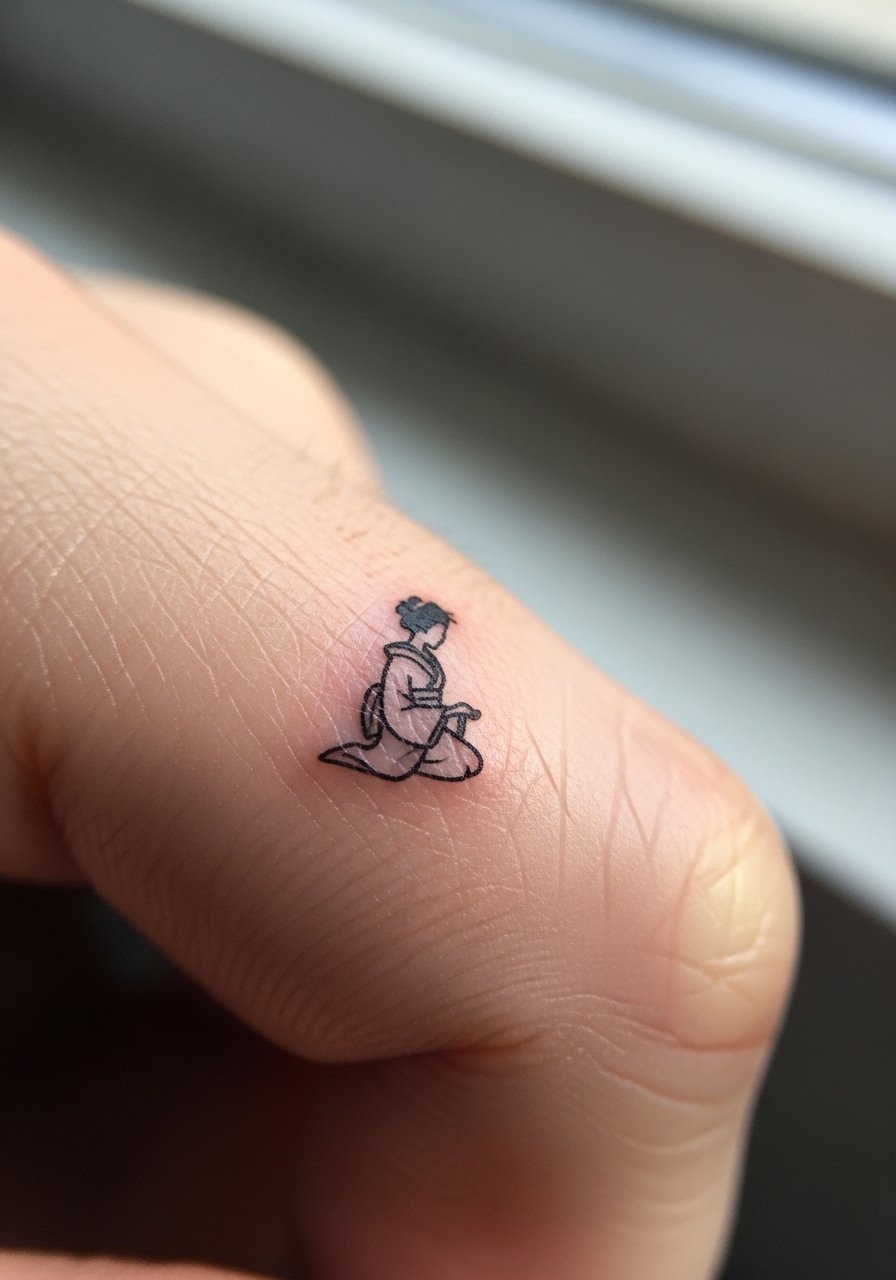
Finger tattoos are fussy but distinctive. Keep the design under 1.5 centimeters and avoid heavy shading. Expect faster fading and a probable touch-up after a year. Use a single-needle for crispness and a low-profile ink to minimize blowout. I recommend tattoo-aftercare-ointment for topicals during the first two weeks. This is for someone comfortable with higher maintenance in exchange for immediate visibility.
Mistake to Avoid: Putting dense shading on a finger tattoo, which almost always wears away unevenly.
10. Geisha With Wave Motif
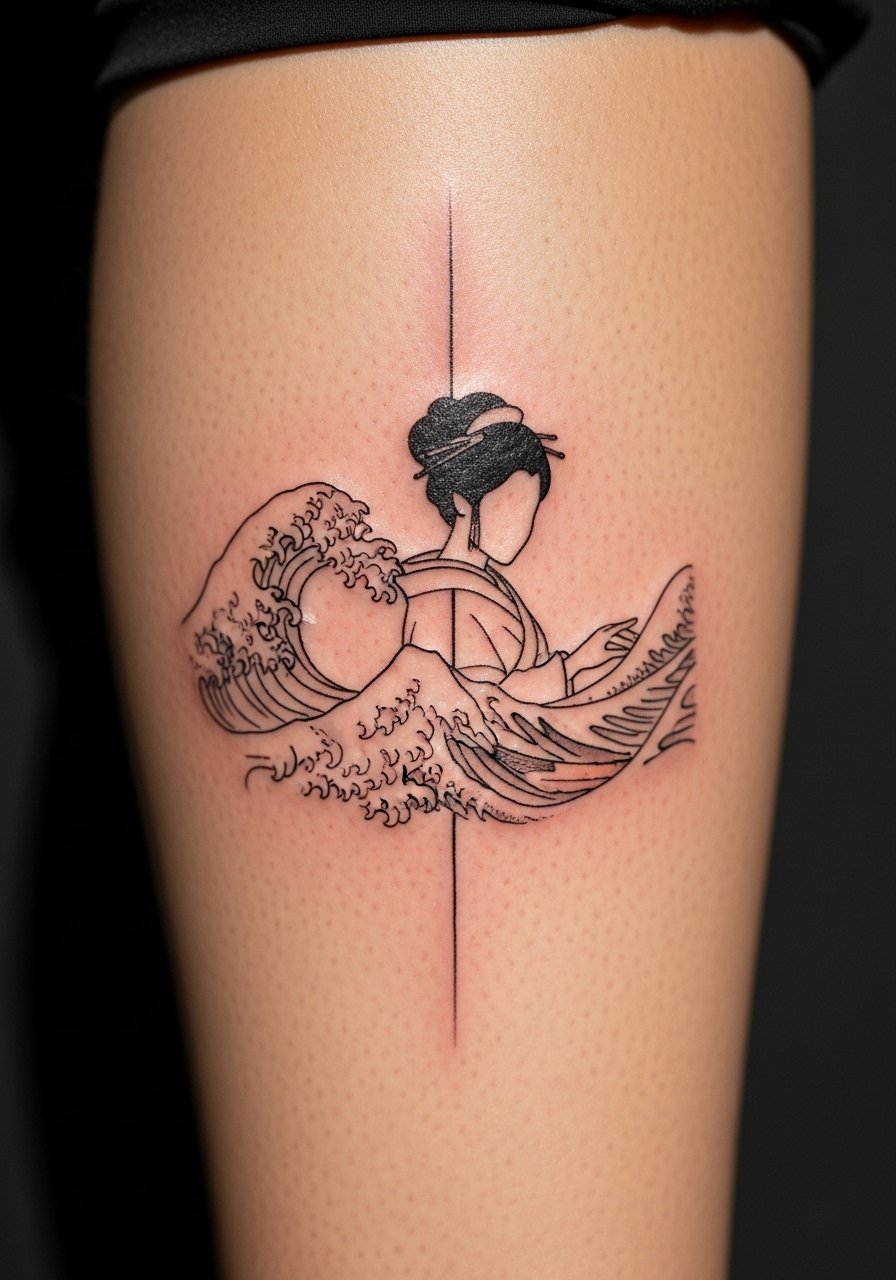
Pairing a small wave motif with the geisha silhouette gives movement without color. Keep the waves at a 1:2 scale so the geisha remains focal. This is friendly for people who want a small narrative but not a portrait. Use a thin shader for wave gradients and a single-needle for the face line. For blended washes, I use diluted-black-tattoo-ink to keep contrasts gentle.
Mistake to Avoid: Balancing waves and figure at the same visual weight, which causes the scene to compete rather than complement.
11. Abstract Geisha With Gold Leaf
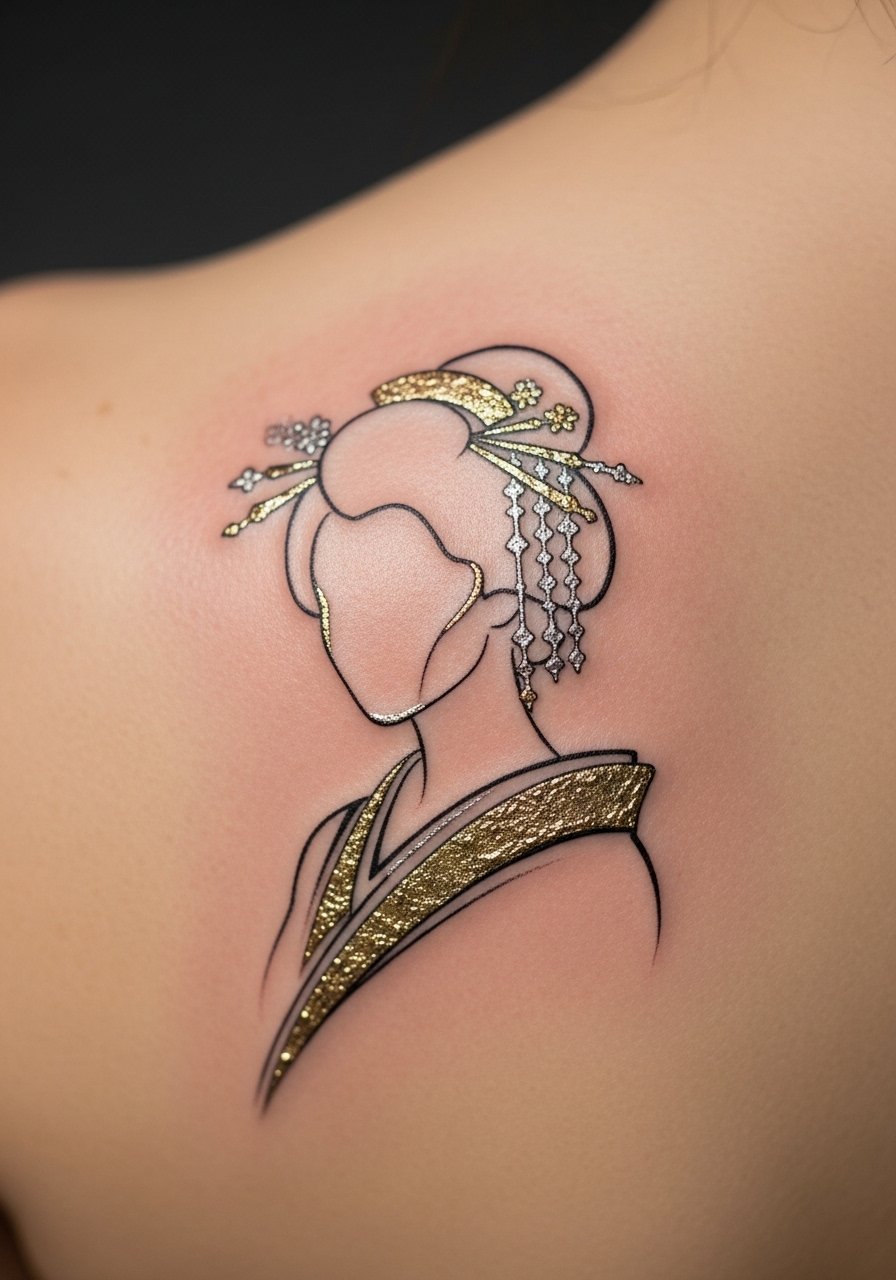
If you want a luxe hint, a tiny metallic temporary foil or a metallic-ink accent can read as gold without heavy color. Metallic tattoo inks vary in longevity, so treat them like an accent that will soften to a warm sheen after months. Reserve metallic for highlights no larger than 0.5 square centimeters. For safe application try a cosmetic-safe metallic foil for photography and a standard ink for the line work. Look at cosmetic-metallic-foil for photo accents rather than permanent heavy metals.
Mistake to Avoid: Expecting metallic accents to behave like solid color tattoos over many years; they fade differently.
12. Geisha Brushstroke Backpiece
A single brushstroke that suggests a geisha figure reads as artful and modern. Make the primary stroke 8 to 12 centimeters long for back placement so it follows the shoulder blade. Use broader needles for the brush texture and keep facial lines minimal, just enough to anchor the idea. This is a higher-skill piece, expect 2 to 3 hours and a medium pain level. For experimental textures I bring rotary-tattoo-machine options and a variety of needle groupings.
Mistake to Avoid: Trying to fit too much facial detail into a brushstroke concept, which undermines the painterly effect.
13. Geisha Collarbone Miniature
A delicate collarbone miniature sits flat and feels intentional when aligned with the bone. Keep the height around 2 to 3 centimeters and the main line weight consistent so it does not scatter across movement. This placement is visible and elegant for everyday wear. I suggest a two-week aftercare routine with a fragrance-free balm and sunscreen after healed. For protection I recommend tattoo-sunscreen-stick once the piece is fully healed.
Mistake to Avoid: Crowding the collarbone with extra motifs that fight the natural bone line.
Minimal Geisha Tattoo Habits
Thin coats beat one thick coat every time. When you apply ointment after the first wash, use a pea-sized amount spread in thin layers, and try tattoo-aftercare-ointment to avoid smothering the scab.
Grab tattoo-stencil-paper before your appointment. A clear, accurate stencil is the difference between a readable 3 centimeter profile and a blurred mess.
Most people expect a minimalist piece to be instant. Plan for touch-ups. Keep a lightweight balm like breathable-tattoo-dressings on hand for the first two weeks if a dry patch shows up.
Don’t skip sun protection. After a month, swipe a tattoo-sunscreen-stick on exposed lines before heading out, especially for collarbone and forearm pieces.
If you are uncertain about cultural motifs, ask the artist how they approach respectful reference. A short conversation before the stencil saves a lot of regret, and a vegan-black-tattoo-ink option keeps the look modern while minimizing pigment complications.
