
I kept using the same two-tone heart I saw on Instagram and wondering why the photos came out flat, like the color had vanished under flash. After ruining one reveal shoot and then trying a few tiny technical changes, the nails finally read as joyful on camera and in person. These nine gel looks are the ones I actually screenshot and send to my tech before a reveal.
These are playful but realistic gel designs for a party or a quiet surprise at home. Most are doable with basic salon tools and a small budget for one or two specialty gels. Expect 10 to 20 minute prep per hand and a 30 to 60 minute full mani time depending on layering and curing steps. These ideas suit short to long nails and beginners who can follow cure times.
1. Hidden Reveal Peel-Off Half Moon
Style/Vibe: Playful secret
Best For: Short nails, reveal party
Skill: Beginner
Start with a thin nude base, cured for 30 seconds under an LED lamp, then apply a peel-off latex base in the crescent at the cuticle. Paint two thin coats of your reveal color over the rest of the nail and finish with one coat of glossy top gel. The trick is a 5 mm gap at the cuticle when placing the peel layer so the reveal lifts cleanly. I like pairing this with a sheer shimmer to keep photos soft. Try a peel-off base coat for easy removal.
Mistake to Avoid: Skipping the gap between the peel layer and cuticle, which makes the reveal tear and look ragged.
2. Confetti Encapsulated Reveal
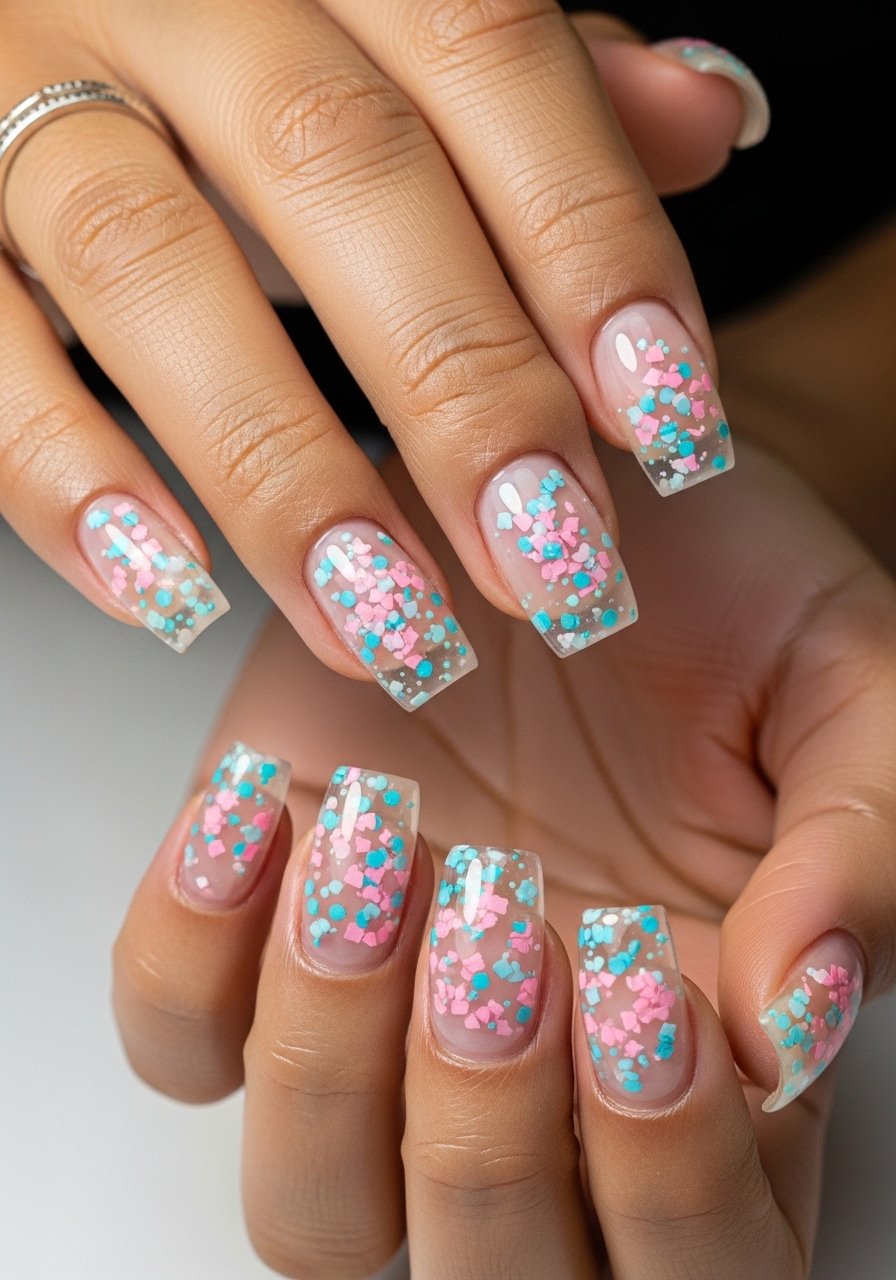
Style/Vibe: Party-ready clear cap
Best For: Medium to long nails, confetti reveals
Skill: Intermediate
This uses a clear builder gel to trap micro confetti so the reveal is protected and photo-proof. After two thin color coats on the nail bed, scatter confetti between a 0.5 mm layer and a 1 mm sealing layer of builder gel, then cure for 60 seconds. The visual is glossy and dimensional because the confetti sits under the top layer. Use a fine nail art stick for placement and a clear builder gel that self-levels. It reads playful on camera without flaking off.
Mistake to Avoid: Adding confetti into wet polish where it can sink and create uneven bumps.
3. Color Block Photo Strip
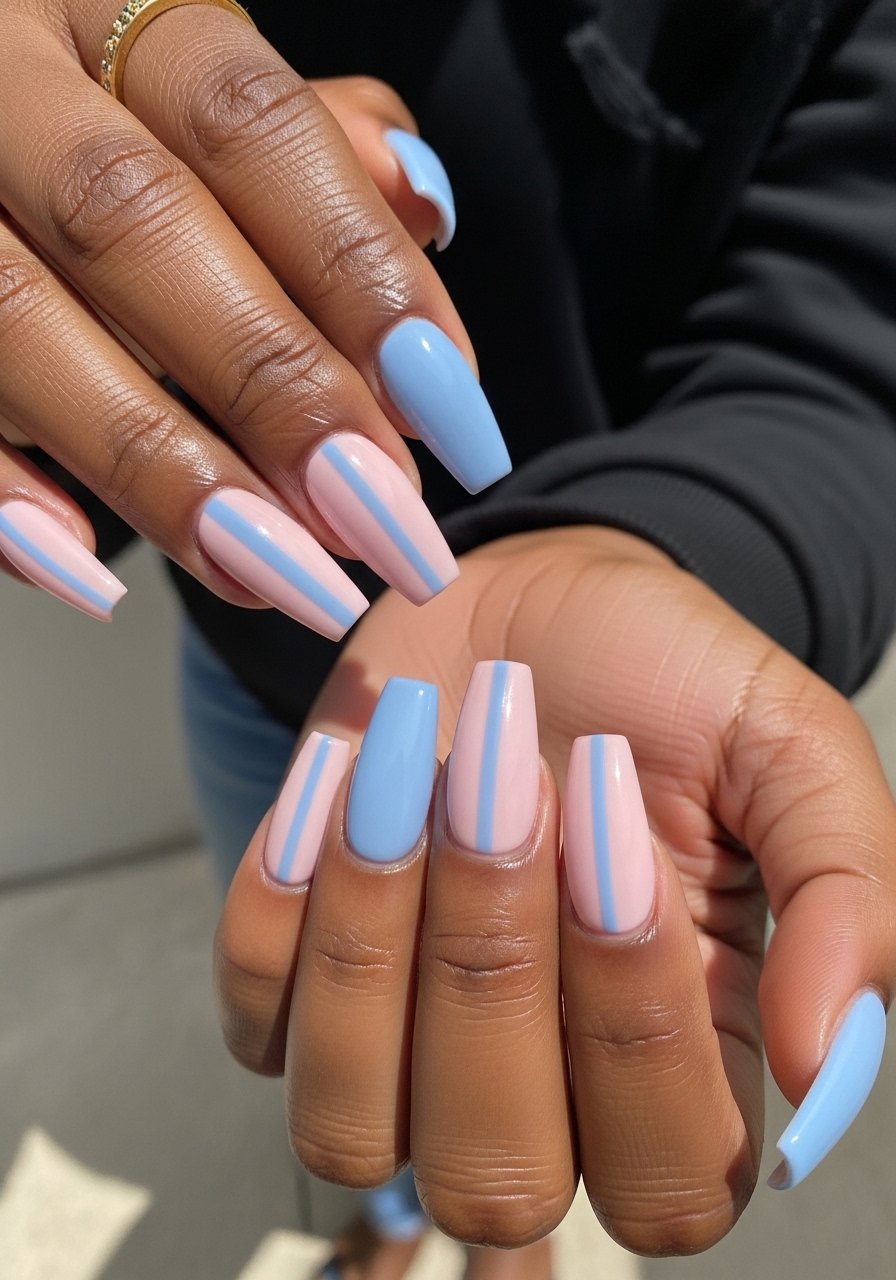
Style/Vibe: Graphic and modern
Best For: Long nails, bold photos
Skill: Intermediate
Paint vertical color blocks with a thin strip of bare nail between them for contrast. Use striping tape and press down firmly to prevent bleed. The visual pops in photos because the negative space gives the colors room to read, especially under flash. Cure blocks separately in 30 second bursts to keep edges crisp. I use a fast-curing LED lamp and wipe tack resin off with a 50/50 isopropyl cleaner for true shine. This one feels staged but still playful.
Mistake to Avoid: Not sealing striping tape edges, which lets polish seep under and ruins the crisp line.
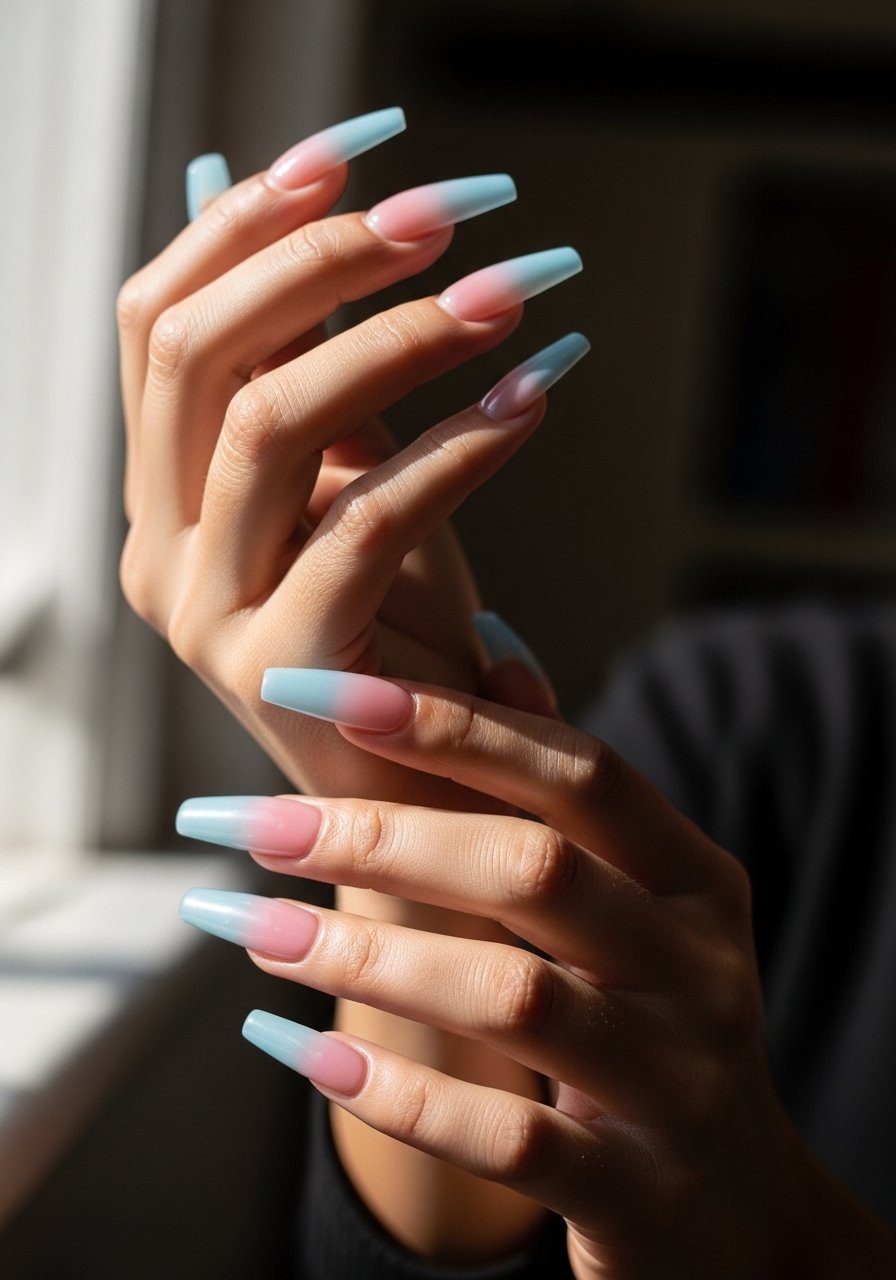
4. Pastel Marble with a Hint
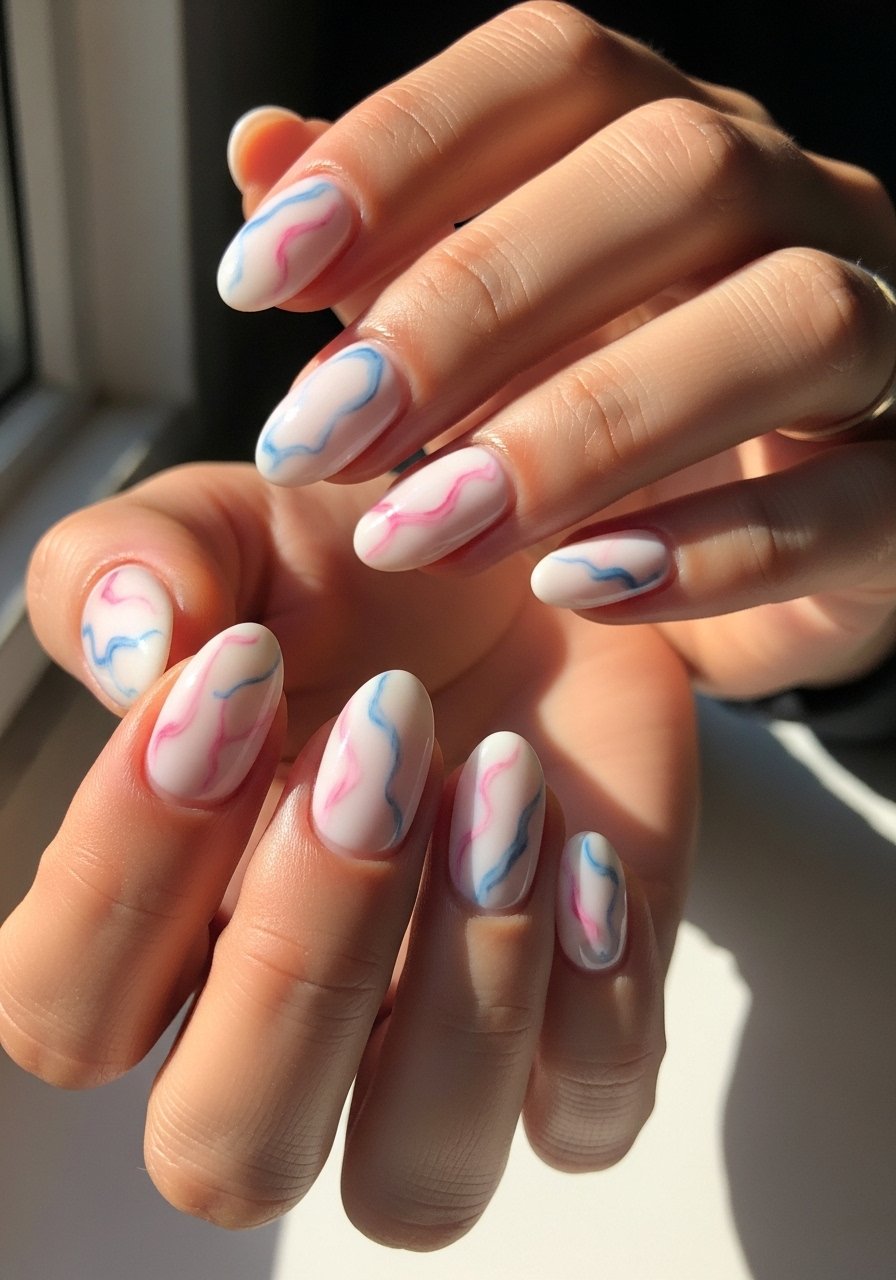
Style/Vibe: Soft painterly
Best For: Medium nails, gender-neutral reveals
Skill: Intermediate
Create a milky white base and work tiny drops of diluted pink and blue alcohol ink or gel polish into the wet layer, swirling gently with a thin brush. Use 70 percent isopropyl to feather edges for a cloudy look. Seal with a high-gloss top gel after a 60 second cure. I like adding a single micro dot of full-strength color on the ring finger to read as the actual reveal. Use a fine detail nail brush set for control.
Mistake to Avoid: Overworking the marble so the colors blend into mud instead of veins.
5. Glitter Fade with Reveal Strip

Style/Vibe: Sparkle gradient
Best For: Short nails, camera-friendly shimmer
Skill: Beginner
Layer a micro-glitter mix starting at the tip and fade inward with a sheer clear gel. For the reveal, place a thin strip of opaque white or nude on the ring finger and paint over with the reveal color, then peel for one clean dramatic moment. Use two thin glitter layers and a final 60 second cure to avoid texture. A loose fine glitter with clear gel binder works best. I use a small fan brush to sweep excess before sealing with a glossy top coat. Find a budget-friendly cosmetic glitter mix.
Mistake to Avoid: Dousing the brush in glitter and creating a lumpy, heavy line at the tip.
6. Negative Space Question Mark
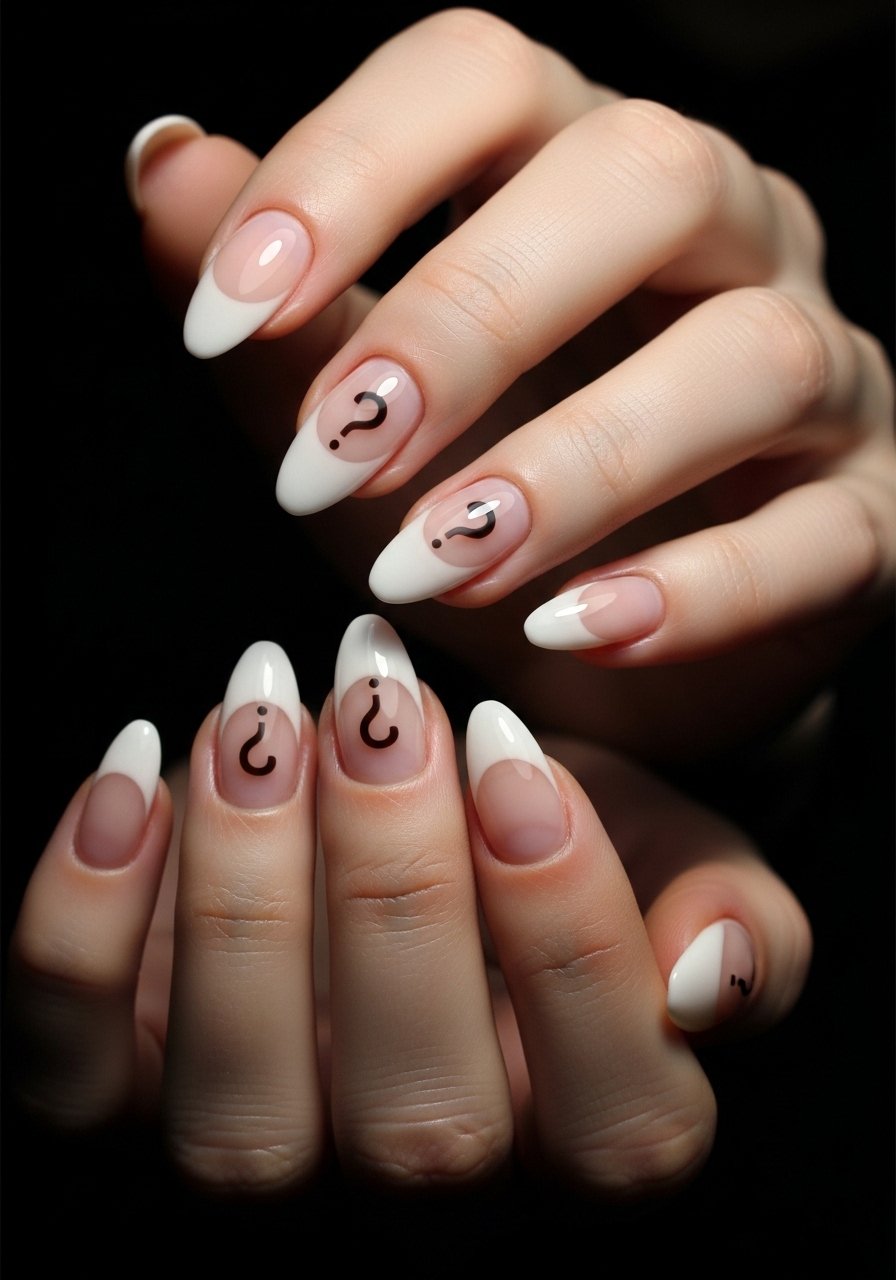
Style/Vibe: Cheeky and minimal
Best For: Medium nails, gender reveal photo prop
Skill: Beginner
Paint the nail a neutral translucent base and stencil a small question mark using a dotting tool and a fine brush. Keep the question mark no larger than 3 to 4 mm so it reads delicate in photos. Top with a glossy gel and cure for 30 seconds. The charm is in restraint here. Use a precision dotting tool set so the curve looks smooth. This works for short nails and for anyone who wants a low-fuss reveal.
Mistake to Avoid: Making the mark too big so it dominates the nail and looks cartoonish.
7. Sheer Jelly Peek
Style/Vibe: Glossy see-through
Best For: Long nails, subtle reveals
Skill: Advanced
Build a jelly look with two to three thin tinted layers of transparent gel color, curing each for 30 seconds. On the reveal nail, embed a solid opaque color under a final clear jelly layer so the reveal reads saturated when peeled or chiseled. The transparency creates depth for photos and keeps the mani wearable. I use a thin 0.8 mm final cap of clear builder to protect the embedded color and cure for 60 seconds. A versatile tinted jelly gel polish set can handle this.
Mistake to Avoid: Applying thick jelly layers that look cloudy instead of glassy.
If any of these looks have you ready to try one, here are the exact products you will want in your kit.
Gender Reveal Mani Essentials
Lamps & Tools:
- LED nail lamp (~$25-50) for reliable 30 to 60 second cures.
- Nail art brush set (~$8-20) for marble and detail work.
Base & Color:
- Peel-off base coat (~$10-15) for hidden reveals.
- Clear builder gel (~$12-25) to encapsulate confetti.
Embellishments & Finish:
- Fine cosmetic glitter mix (~$6-12) for fades.
- Dotting tool set (~$6-10) for tiny marks.
- Quick-dry glossy top gel (~$8-18) to seal everything.
Reveal-Day Nail Moves
Thin coats beat one thick coat every time. Three thin layers of gel color with a 30 second cure each look smoother and avoid bubbling compared with one thick layer.
Use a 70 percent isopropyl bottle for tack wiping and clean lines. It keeps the surface clear before top gel.
If you want a peel reveal that lifts cleanly, prep with an orangewood stick and a small file edge, not your fingers. An orangewood stick pack costs under $8 and saves a messy reveal.
Most reveal photos benefit from one glossy shot right after top coat and a second shot after five minutes. Grab a quick mini fan to speed surface drying without dulling the finish.
