
I kept booking sessions to fix fillers that read muddy two weeks later, until one artist pointed out the real problem, the wrong density for the skin type. I had been asking for "more black" and getting a blur. After that conversation I started paying attention to line weight, dot spacing, and how a design would sit when it faded.
If you like low-contrast, tidy ink that reads like a graphic on skin, these fillers are for you. They are low-maintenance and usually budget friendly, made to age without turning into a blob. Expect single-session additions in most cases, and consider coverability if you work in conservative environments. I learned across five shops I have visited that tiny changes in spacing and angle make the biggest difference.
1. Micro-Line Hatch Fill
Style/Technique: Micro-line hatch
Pain Level: 4/10
Session Time: 0.5 to 1 hour
Best For: Forearm, calf, coverable areas
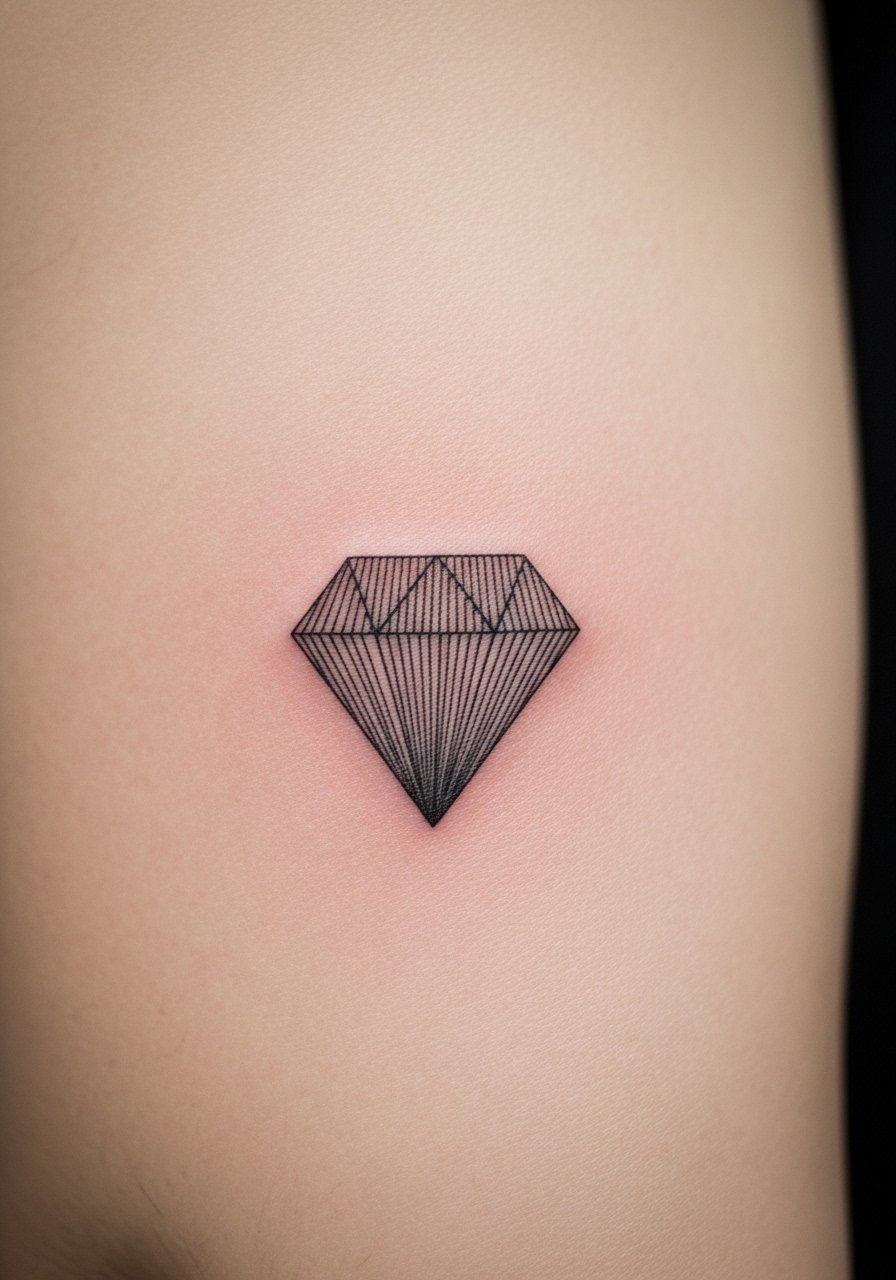
The hatch fill is rows of hair-thin lines layered at 45-degree angles, usually with 2 to 3 mm spacing between passes. It reads crisp from a distance and breathes when you get close. The result feels architectural and calm, good for someone who wants their tattoo to sit with clothes as easily as on bare skin. For artists I trust a single 3RL needle or fine cartridge, and I bring fragrance-free soap for gentle aftercare. This works well on medium skin tones because the line contrast stays balanced.
Mistake to Avoid: Packing the lines too close, which makes the hatch blur into a block as it heals.
2. Fine Dot Gradient
Style/Technique: Stipple gradient dotwork
Pain Level: 3/10
Session Time: 0.5 to 1.5 hours
Best For: Thigh, shoulder, sections of larger pieces
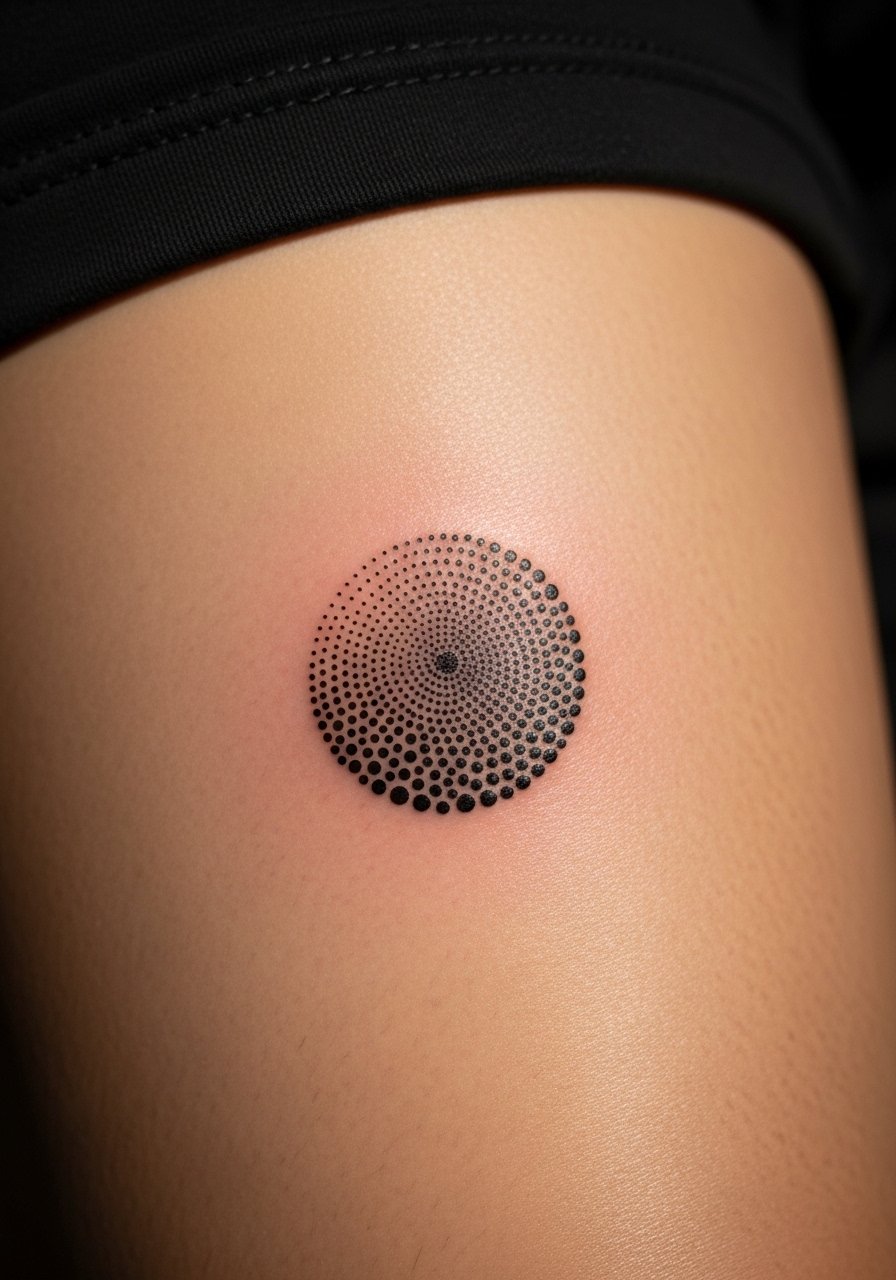
A dot gradient uses clusters of single dots with increasing density, usually 1.5 to 2 mm apart at the edges and as tight as 0.5 mm near the center. The visual result is soft shading that never reads solid, which keeps the piece feeling minimal and modern. It is forgiving for first-timers who want subtle depth without heavy black. I ask artists to plan a fade so the edge sits at 1.5 mm spacing. Pack a light healing balm like tattoo aftercare ointment for the first week.
Mistake to Avoid: Asking for "all the dots" and ending up with clumps that scar.
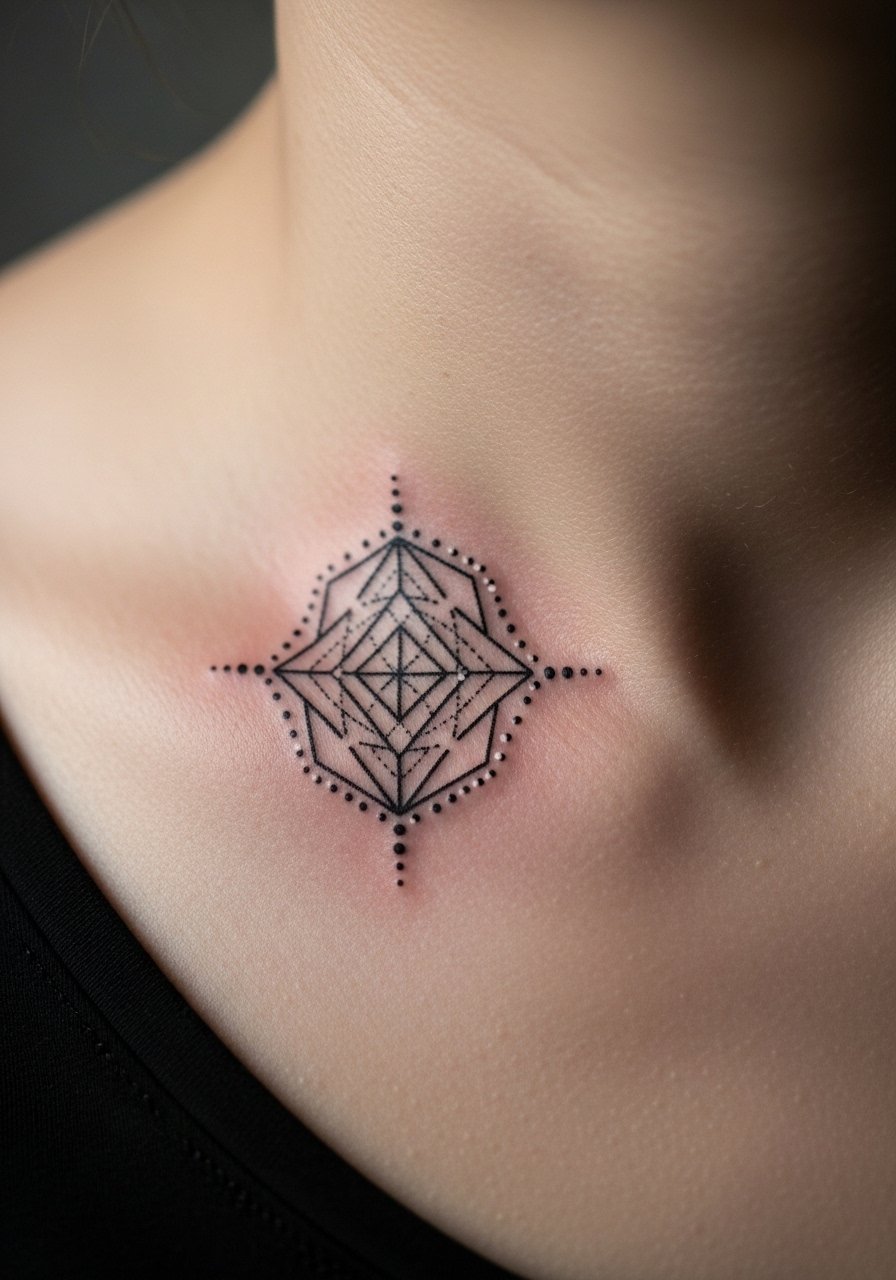
3. Negative Space Triangle Cluster
Style/Technique: Negative space geometric
Pain Level: 2/10
Session Time: 0.25 to 0.75 hours
Best For: Wrist, inner forearm, hand-hidden designs
Negative space triangles are tiny black outlines or partial fills arranged so the skin becomes part of the pattern. Visually they feel airy and intentional because the skin tone becomes a calculated hue in the composition. This is a good pick if you want something office-friendly yet graphic. Design around movement so the negative areas do not sit on top of joints that stretch. Bring a single-use transfer paper if you want to preview placement at home.
Mistake to Avoid: Placing negative space over high-stretch skin, where the triangle will warp as it heals.
4. Micro Solid Triangle
Style/Technique: Micro solid fill
Pain Level: 5/10
Session Time: 0.25 to 0.5 hours
Best For: Hand edges, finger bases, visible spots
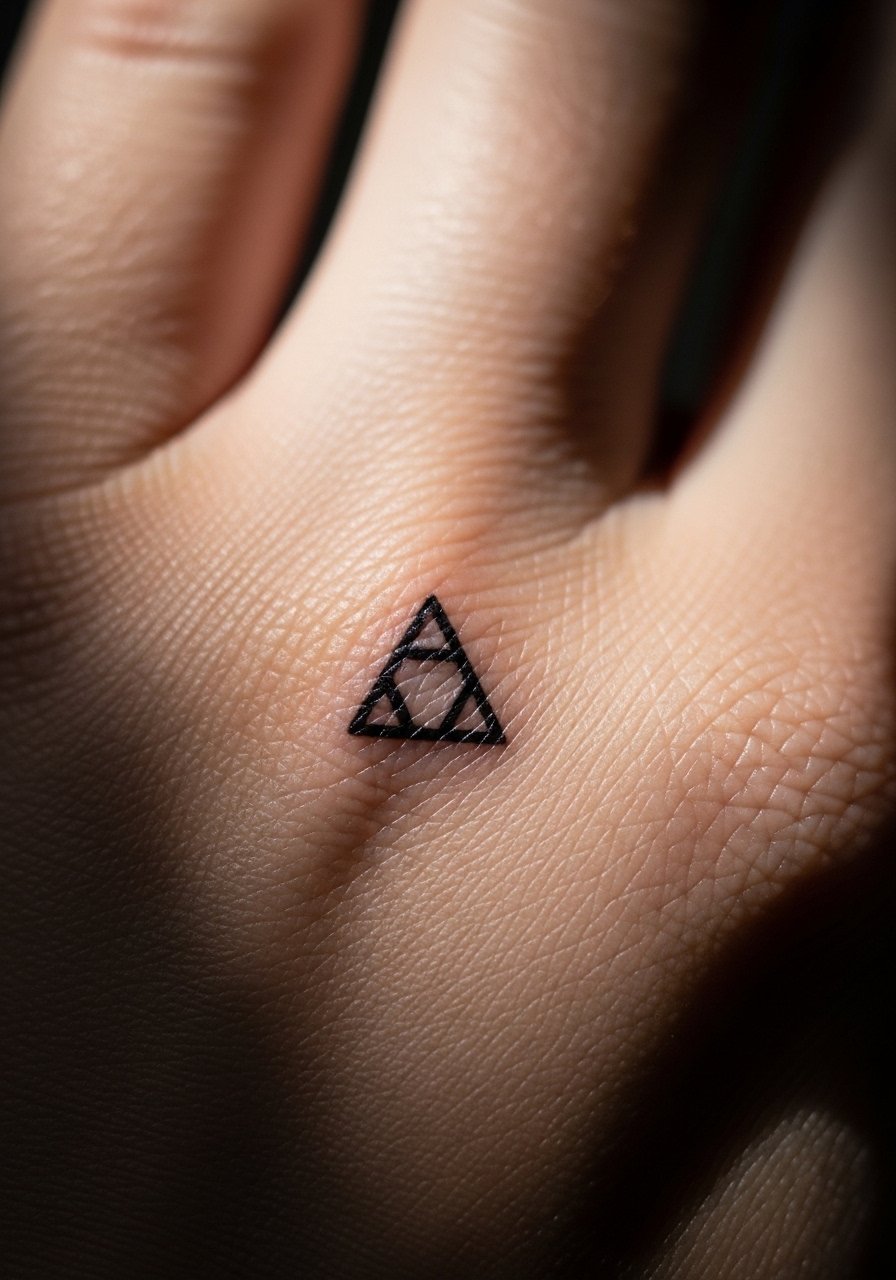
A single micro solid triangle is about shape and scale, not volume. When done with a clean, packed edge and a 3 to 4 mm base, it looks like a stamped icon rather than a blob. I prefer a 7RL or a tight mag for crispness, and the feel is sharp and contemporary. Expect faster fading on hands, so touch-ups every few years are normal. Keep a small tube of broad-spectrum sunscreen on rotation to slow pigment loss.
Mistake to Avoid: Asking for a "darker triangle" and getting overworked skin that heals patchy.
5. Thin Cross-Hatch Texture
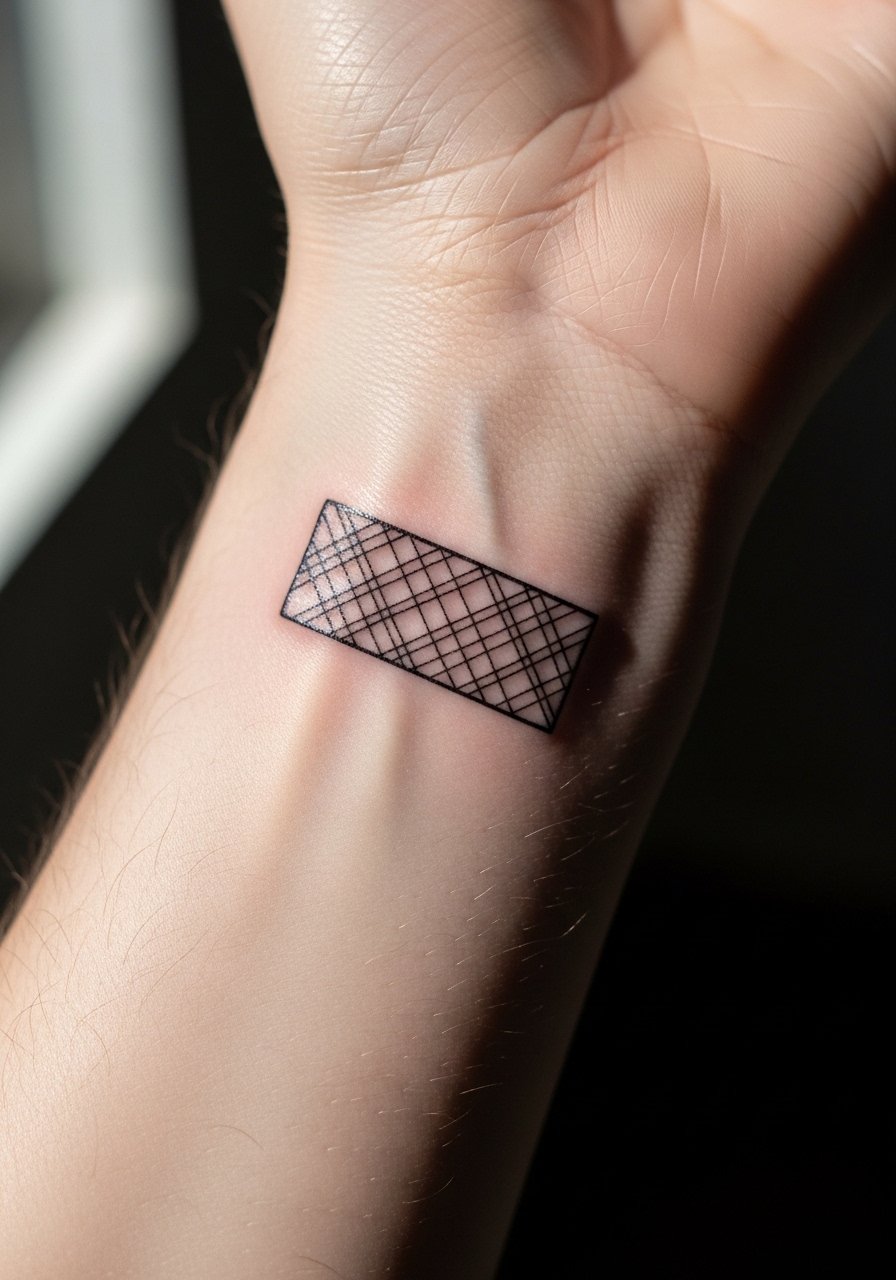
Style/Technique: Cross-hatch micro texture
Pain Level: 4/10
Session Time: 0.5 to 1 hour
Best For: Inner wrist, collarbone, low-movement areas
Cross-hatching is layered perpendicular lines that create a woven texture. Keep line weight to 0.2 to 0.3 mm to preserve the weave and avoid a heavy block. It reads handcrafted and subtle, like a tiny etching. This suits people who like tactile-looking ink without heavy black. I often pair this with a single-line outline from an earlier idea for contrast. A small sterile bandage helps protect the crisp lines during the first night.
Mistake to Avoid: Having lines cross at inconsistent angles, which makes the fill look sloppy as it settles.
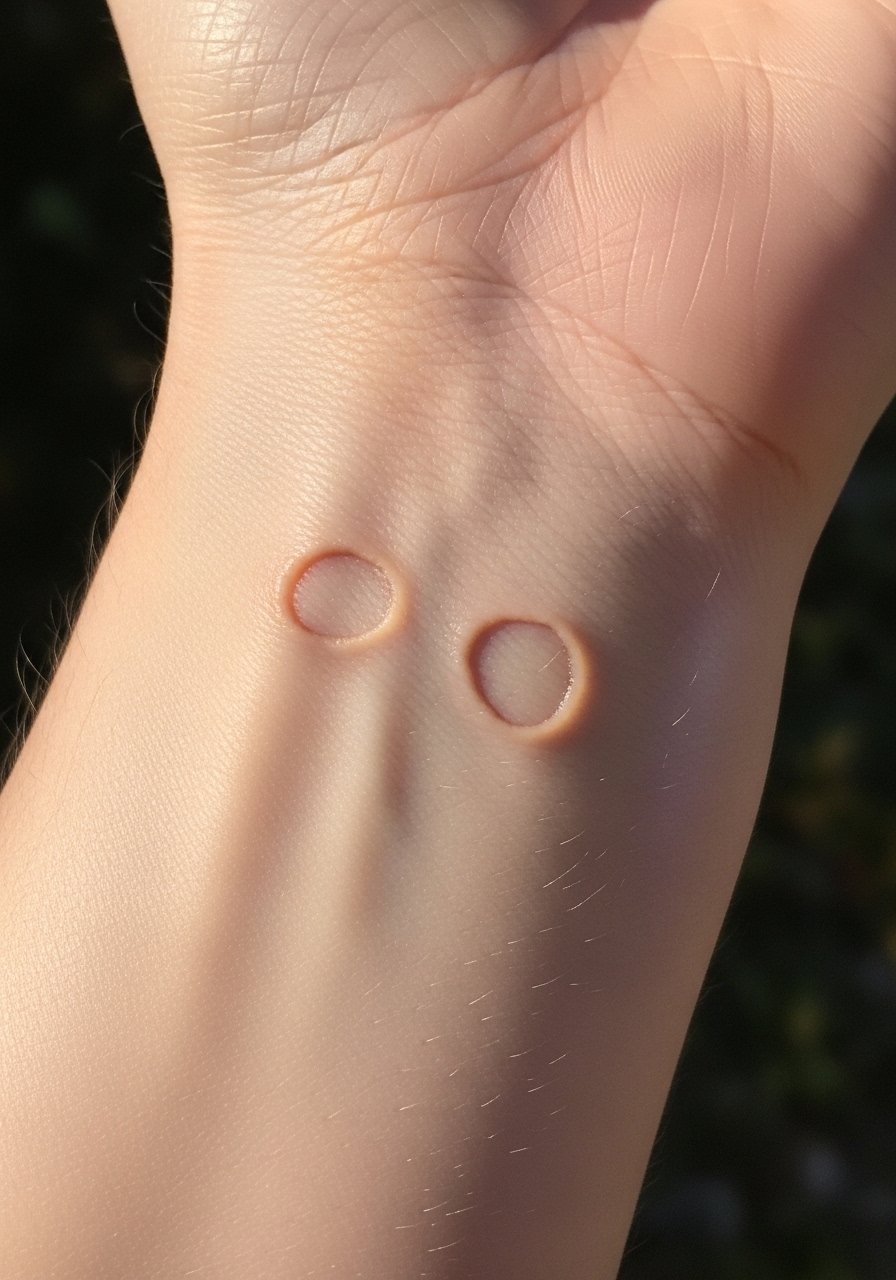
6. Tiny Concentric Rings
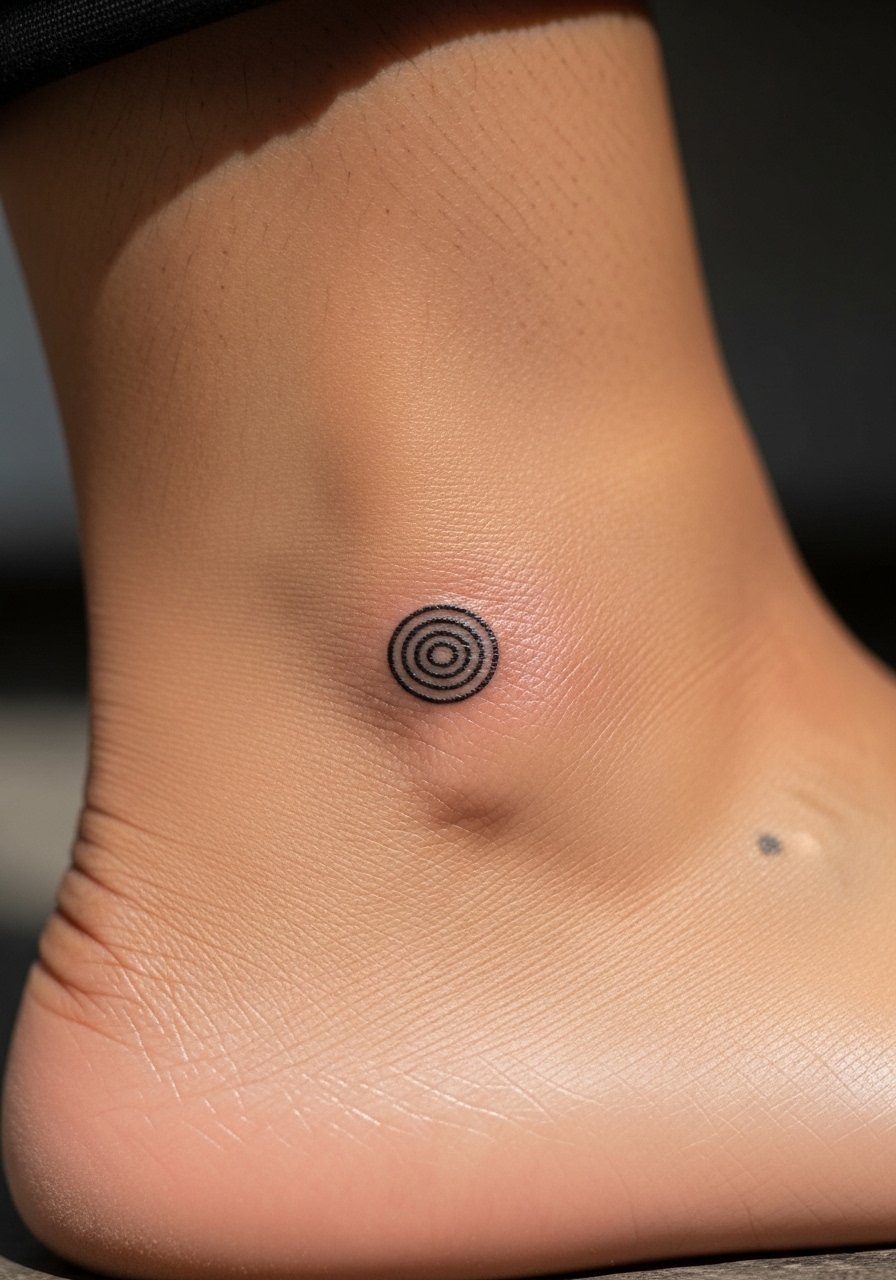
Style/Technique: Concentric micro rings
Pain Level: 3/10
Session Time: 0.25 to 0.5 hours
Best For: Ankle, behind ear, subtle placements
Concentric rings are several tiny circles layered with exactly 0.5 to 1 mm separation, creating a ripple effect. The look reads meditative, like a minimal target, and it ages into a soft halo instead of a flat patch. It is a compact option for people who want a focal point without weight. If you tan frequently, ask the artist to space rings slightly wider to account for pigment spread. Use a gentle moisturizing lotion for a month.
Mistake to Avoid: Letting the artist use an overly fat needle that eliminates the ring distinction.
7. Sparse Grid Fill
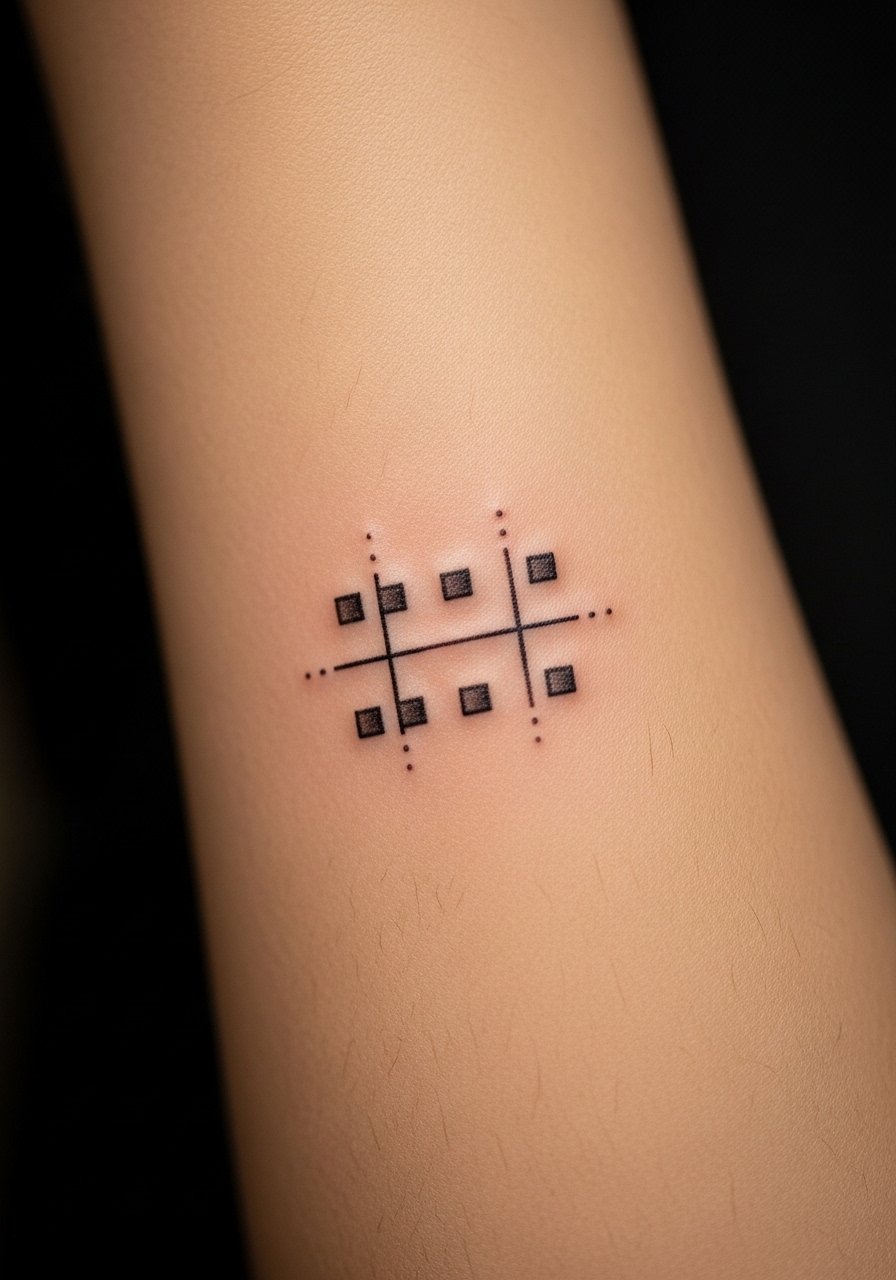
Style/Technique: Sparse geometric grid
Pain Level: 3/10
Session Time: 0.5 to 1 hour
Best For: Forearm, shin, large small-scale panels
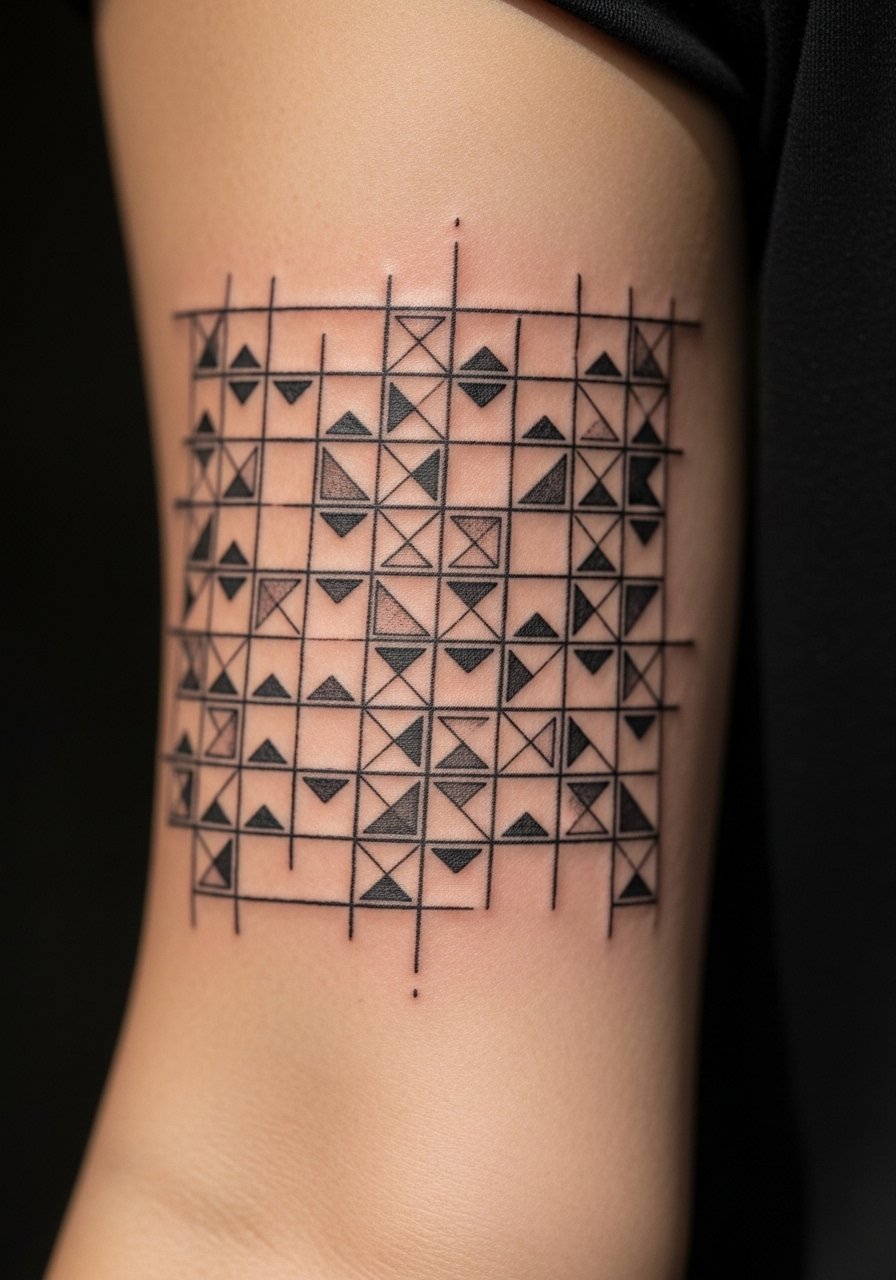
A sparse grid alternates filled and open squares at a 2 by 2 mm module, giving a graphic checker that breathes. It feels modern and deliberate from across a room. This works well for people who want pattern without mass. Ask for a mock stencil to check spacing against your body lines. For touch-ups, a fine shader and a slow hand keep the squares even. Pack a thin layer of healing balm for the first 48 hours.
Mistake to Avoid: Starting the grid too close to joints, which warps the pattern when you move.
If you are ready to shop for what actually keeps these fills sharp, here are the essentials I reach for when booking a session or patching a fresh piece.
Minimalist Geometric Tattoo Kit
Tools & Prep:
- Tattoo transfer paper (~$8-15). I use this to preview composition at home.
- Single-use sterile bandages (~$6-12). Useful for first-night protection.
Aftercare:
- Fragrance-free soap (~$5-10). Gentle cleansing without stripping.
- Tattoo aftercare ointment (~$6-14). A light layer for the first days.
- Fragrance-free moisturizer (~$8-18). For ongoing hydration.
- Broad-spectrum sunscreen (~$10-20). Prevents premature fading.
Artist Extras:
- Fine tattoo needles (~$12-25). Ask your artist if they prefer cartridges.
- Practice stencils and sketch pad (~$10-20). Helpful when refining small geometry.
8. Parallel Hairline Bars
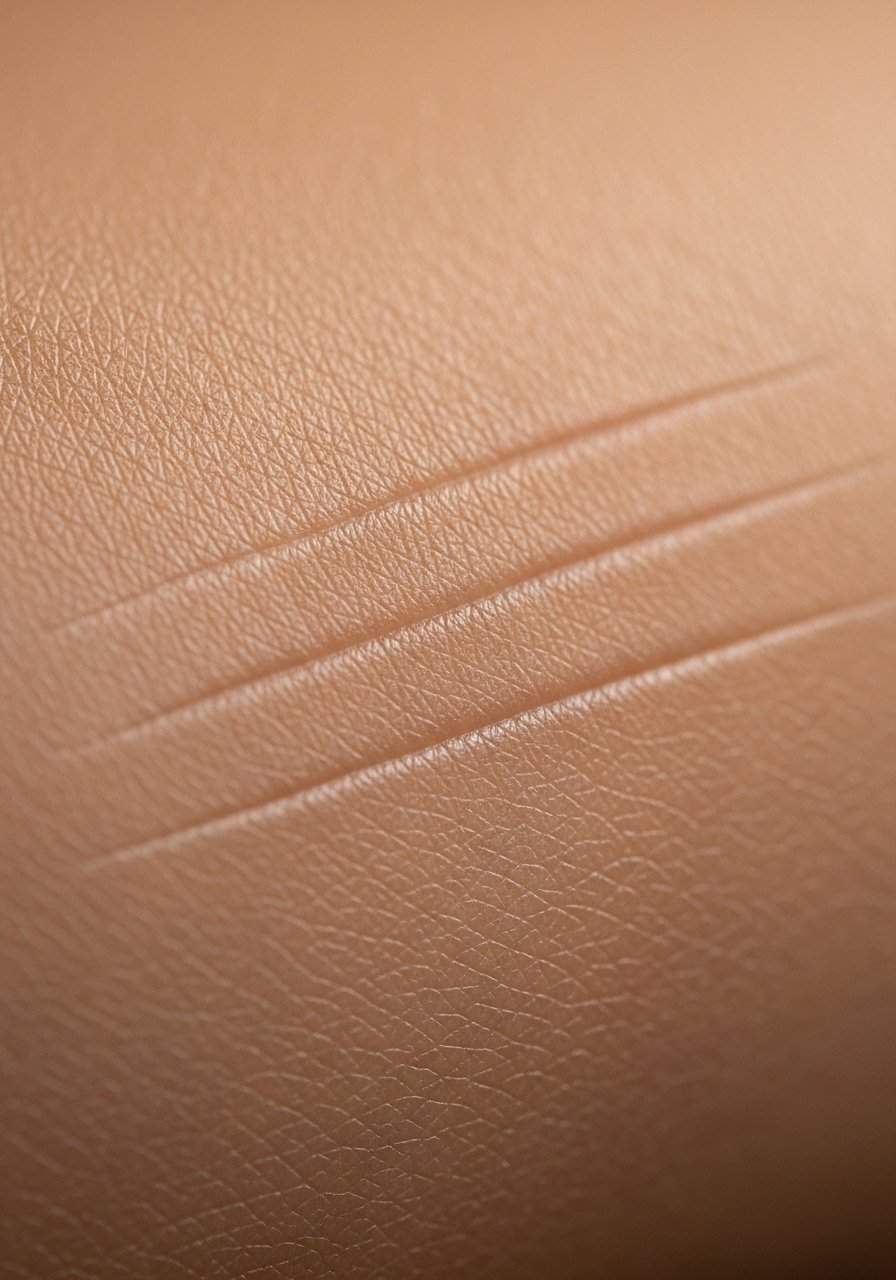
Style/Technique: Parallel hairline bars
Pain Level: 2/10
Session Time: 0.25 to 0.5 hours
Best For: Wrist, behind ear, finger side
Three hairline bars are a quiet signature, spaced about 2 mm apart and run with the grain of the limb. The bars create motion and can lengthen or shorten depending on placement. This is a great option if you want something very coverable. Line consistency is everything here, so pick an artist comfortable with fine cartridges. Keep a travel-size fragrance-free soap handy for quick cleans.
Mistake to Avoid: Letting bars cross a crease where they will kink as you flex.
9. White Ink Micro Accents
Style/Technique: White ink accents
Pain Level: 4/10
Session Time: 0.25 to 0.75 hours
Best For: Collarbone, shoulder, light skin tones
Tiny white ink accents add a touch of lift when layered over black or dotwork. They read as highlights rather than solid pigment. White ink can fade faster, so expect touch-ups and test a small spot if you tan heavily. Use a thin application and let it sit above healed black work for contrast. I keep a small tube of broad-spectrum sunscreen to protect these fragile highlights.
Mistake to Avoid: Requesting heavy opaque white, which often turns translucent or yellow as it heals.
10. Micro Geometric Lace
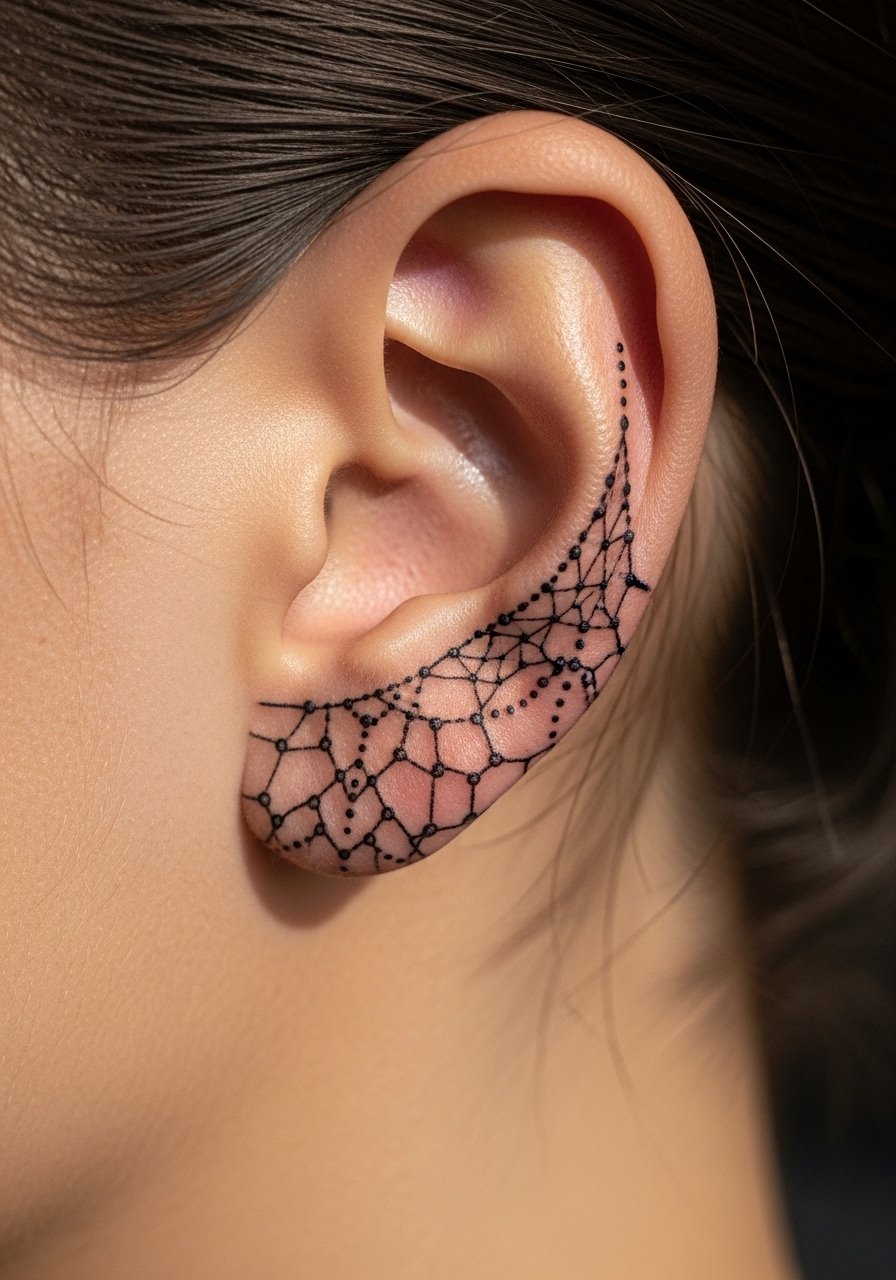
Style/Technique: Micro lace netting
Pain Level: 3/10
Session Time: 0.5 to 1.25 hours
Best For: Behind ear, nape, ankle
Micro lace is an interlocking net of fine lines and tiny negative spaces. The effect is delicate and reads like tiny fabric. It is a higher-skill filler that requires careful spacing at roughly 1 to 2 mm modules. It suits people who want an ornamental feel without heavy black. I usually plan for a single longer session and a short follow-up touch-up.
Mistake to Avoid: Letting the artist rush the spacing, which collapses the lace into an indistinct mass.
11. Tiny Checkerboard Field
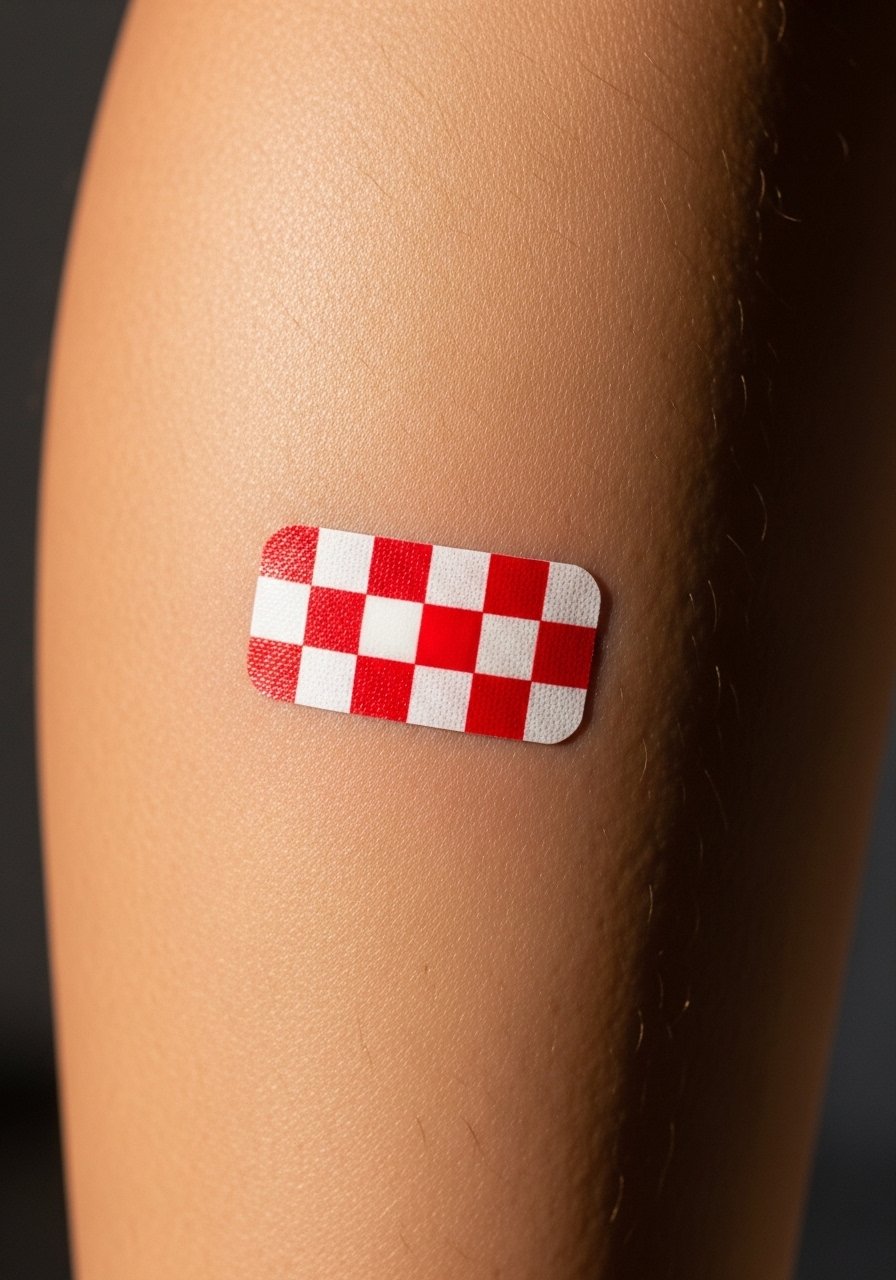
Style/Technique: Mini checkerboard fill
Pain Level: 3/10
Session Time: 0.5 to 1 hour
Best For: Calf, forearm, larger panels
Mini checkerboards use alternating filled and open squares, but at a micro scale. Keep the module at 1.5 to 2 mm so it stays readable. It has a retro, graphic feel while remaining minimalist. Good for someone who wants pattern but limited coverage. A light touch in shading around the grid can make it feel intentional. Bring a sterile bandage for transportation after the session.
Mistake to Avoid: Choosing a module too tiny, which becomes muddy after a year.
12. Gradual Bar Fade
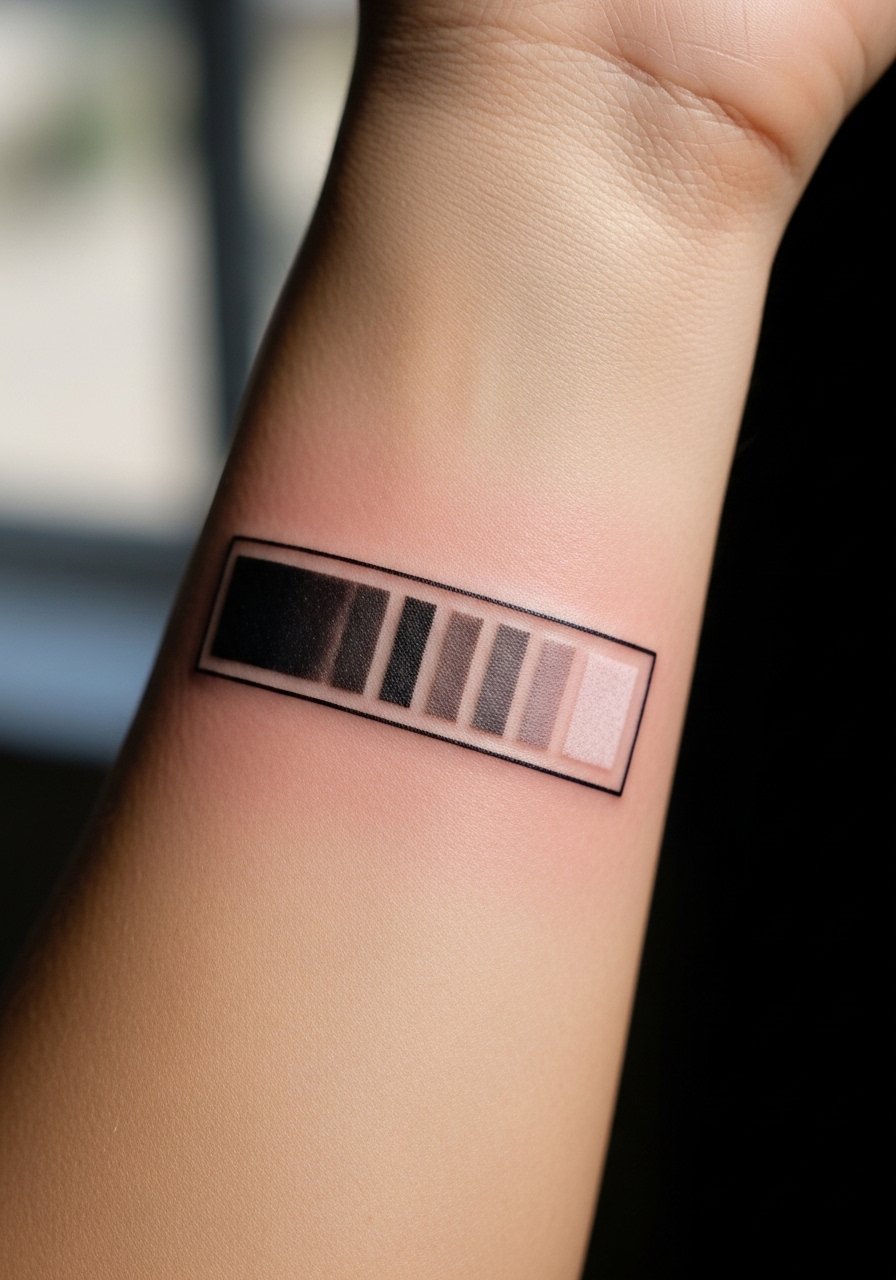
Style/Technique: Gradual bar shading
Pain Level: 4/10
Session Time: 0.5 to 1.25 hours
Best For: Forearm, rib, oblique panels
A bar fade is a row of small bars that step down in density, creating a directional fade. It feels kinetic and balanced and is useful for elongating limbs visually. The secret is keeping the densest bar at 1 mm dot spacing and easing out to 2.5 mm. It pairs well with simple line work from earlier ideas. Use a dab of tattoo aftercare ointment in the first 72 hours.
Mistake to Avoid: Starting the dense end too close to the edge of the design, which looks top-heavy.
13. Mirror-Cut Negative Shapes
Style/Technique: Mirror negative cutouts
Pain Level: 3/10
Session Time: 0.25 to 0.75 hours
Best For: Inner wrist, behind knee, symmetrical placements
Mirror cuts use paired negative shapes facing each other to create a conversation between skin and ink. The effect is modern and wearable. Placement symmetry matters more than size here, so plan with the artist and check for natural body asymmetry. This is a good option for someone who wants an elegant visible piece that can be covered by sleeves.
Mistake to Avoid: Relying on the body centerline without checking how clothes and movement will hide the symmetry.
14. Micro Baseline Band
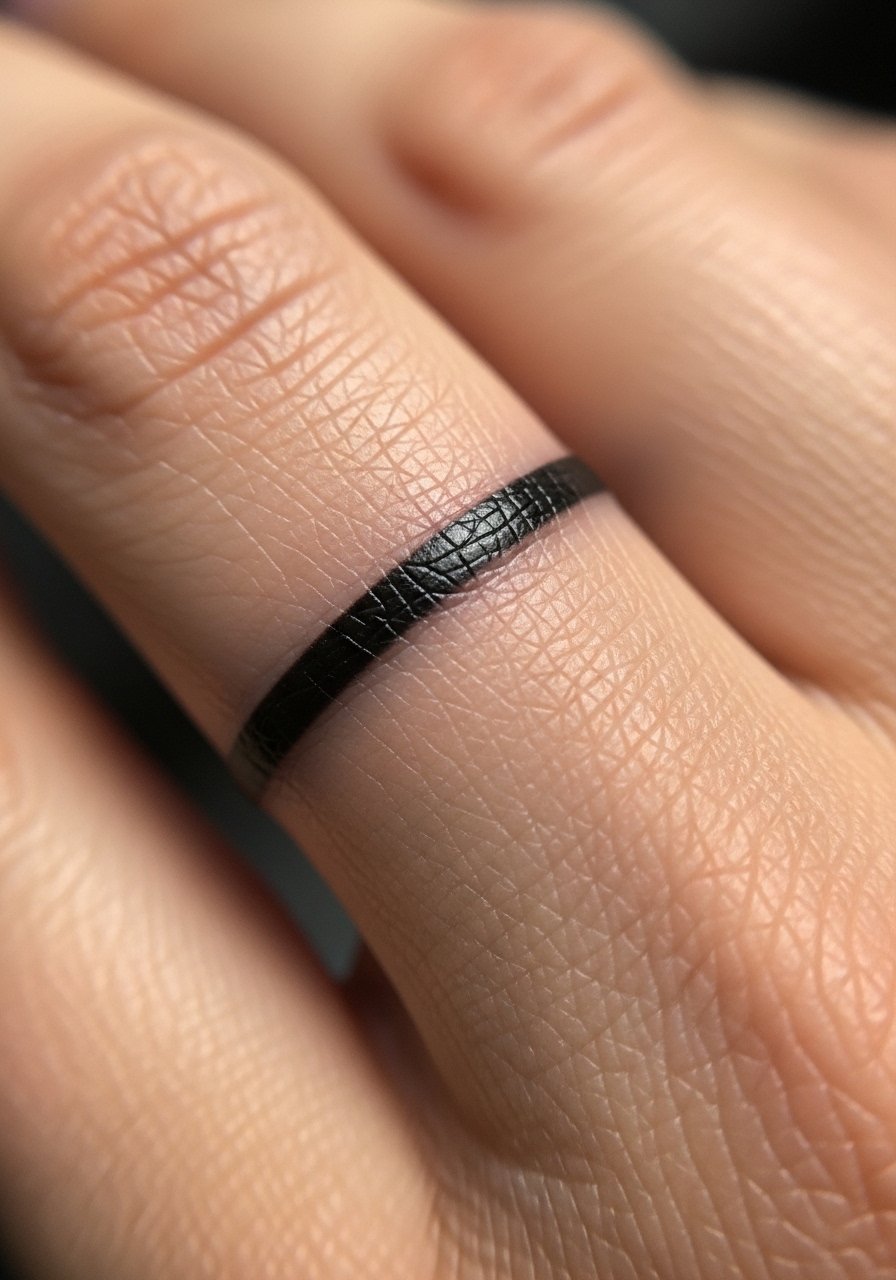
Style/Technique: Micro baseline wrap
Pain Level: 6/10
Session Time: 0.25 to 0.75 hours
Best For: Fingers, knuckles, narrow wraps
A micro baseline band is a thin solid line or stacked micro lines that wrap partially around digits. It reads like jewelry but requires frequent touch-ups on fingers. Keep the line 1 to 1.5 mm to reduce spread over time. If you work with your hands, consider inner or outer finger placement rather than the joint.
Mistake to Avoid: Expecting a finger line to be permanent without yearly touch-ups.
15. Tiny Clustered Prisms
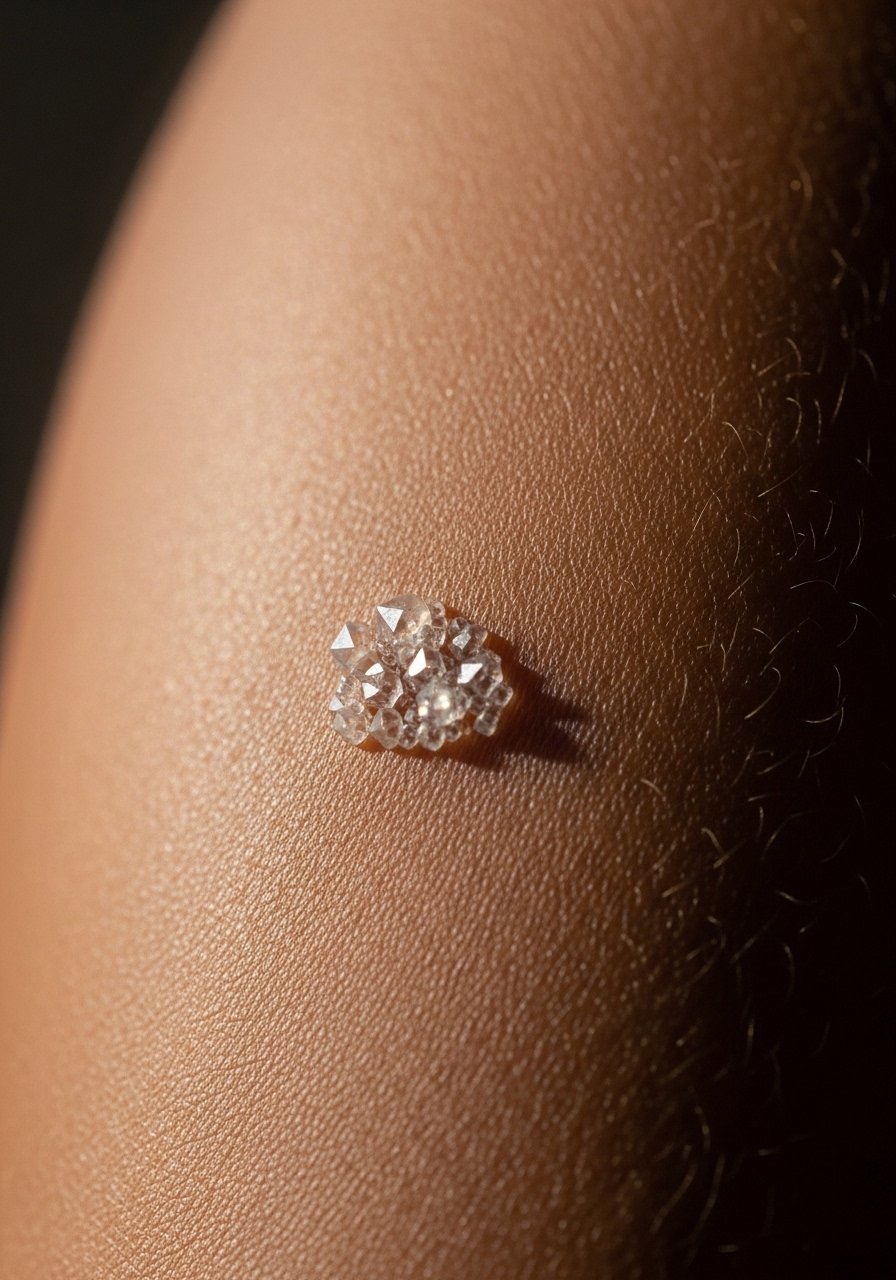
Style/Technique: Clustered minimal prisms
Pain Level: 4/10
Session Time: 0.5 to 1.5 hours
Best For: Upper arm, shoulder cap, visible panels
Clustered prisms are small geometric solids arranged so negative space makes facets. They feel architectural and tactile. Use varied density for a low-contrast 3D hint rather than heavy shading. This is one of the more design-forward fillers that benefits from a brief sketch session with your artist. I usually plan for a single session and one touch-up.
Mistake to Avoid: Requesting heavy 3D shading, which defeats the minimalist intention.
Geometric Tattoo Aftercare Habits
Thin, regular cleansing beats heavy scrubs. Wash gently with fragrance-free soap twice daily and pat dry. Overwashing or scrubbing will drag pigment during the first week.
Grab tattoo aftercare ointment for the first 48 hours, then switch to a fragrance-free moisturizer. Keeping the skin hydrated prevents scabbing that obscures tiny geometry.
Most people make the mistake of sun exposure after healing. Use broad-spectrum sunscreen on healed fills to slow fading and preserve crisp edges.
If your design is on fingers, expect more frequent color loss. Schedule a light touch-up after six to twelve months for micro finger work.
When comparing artist options, I ask to see healed photos, not just fresh work. Healed shots show whether their micro spacing holds up, and that is the only way a minimalist geometric stays clean over years.
