
I kept trimming almond tips too short because I thought a shallow curve hid chips. The set that finally lasted seven days kept its shape and still looked pointed, which is when I realized length and the polish finish were doing more work than I thought. One small change to how I layer color fixed the whole thing.
These ideas are for someone who likes a wearable statement mani without salon-level fuss, mostly medium- to long-length almond shapes, and a mix of budget and splurge options. A tech who works at a salon downtown showed me a few tricks here, so you get salon logic with at-home hacks. Expect some two-step glitters and a couple of gel-friendly tips, but every look can be done as regular polish if you allow slightly more dry time.
1. Moss Marble With Subtle Veins
Style/Vibe: Organic marble
Best For: Long almond nails, date night or weekend wear
Skill: Intermediate
Marble reads expensive because of the depth created by layering. Start with a sheer celery base, then add two semi-diluted forest green drops and pull them with a clean brush to make veins. Use a tiny liner brush and light pressure to drag a 30 percent opaque white for veins and immediately feather with a clean bit of acetone to soften. I like pairing this with a satin top coat for a museum finish. For products try a reliable forest green polish and a fine liner brush. The trick is two thin color passes, each cured or dried fully, so the marble does not bleed.
Mistake to Avoid: Rushing one saturated blob of polish, which makes the marble look flat and smudged.
2. Satin Sage With Gold Leaf Accent
Style/Vibe: Soft luxe
Best For: Medium almond nails, work-friendly glam
Skill: Beginner
Satin finishes count as grown-up green because they mute high shine while keeping color vivid. Apply two thin coats of a sage cream, then set the accent by pressing a small piece of gold foil into tacky polish and seal with a semi-matte top coat. I like a quick 15-second LED cure after each thin layer when using gel polish, but regular polish dries fine if you wait three minutes between coats and finish with a light dusting of top coat. The gold stops the look from feeling too muted, especially against a satin finish.
Mistake to Avoid: Laying foil on fully dry polish, which causes lifting and peeling at the edges.
3. Forest French Fade, Narrow Smile
Style/Vibe: Modern French
Best For: Short to medium almond nails, minimalist lovers
Skill: Beginner
Instead of a classic white tip, fade the green into the free edge with a tiny sponge and a sheer base. Paint two thin stripes of the green at the tip, dab with a makeup sponge once to blur, then clean the line with a tiny brush soaked in remover. This technique uses less polish and makes a long nail illusion on short almonds. Pair with a durable quick-dry top coat so the soft gradient keeps its edges. It is fast and flattering for work or weekend plans.
Mistake to Avoid: Using a saturated sponge without thinning polish, which creates a chunky, obvious stamp instead of a smooth fade.
4. Olive Matte With Gloss Crescent
Style/Vibe: Contrast play
Best For: Medium-long almond nails, fashion-forward wear
Skill: Intermediate
Matte plus gloss is subtle but dramatic when the glossy area is small, like a crescent by the cuticle. Paint a matte olive base and, after it dries, use a small round sticker to mask that crescent and paint it with a high-shine gloss top coat. For gel, cure the matte base first then add a gel gloss crescent and cure again. This look reads intentional and modern and is forgiving on natural nail texture. Two thin coats on the base keep the matte velvety and prevent brittle edges.
Mistake to Avoid: Rubbing matte top coat over a glossy crescent before it fully sets, which dulls the shine.
5. Jelly Pistachio Sheer Stack

Style/Vibe: Fresh layered jelly
Best For: Long almond nails, subtle statement
Skill: Intermediate
Jelly layers are all about translucency and depth. Use a clear jelly base tinted with a dab of pistachio polish, then build up three super-thin layers, curing or drying fully between each. Add a whisper of fine gold glitter to the tip on the final layer to catch light without heavy sparkle. I use a clear jelly polish for the base and a sheer pistachio tint for control. The finish looks wet and glass-like, which makes almond length feel more elegant than extreme.
Mistake to Avoid: Applying thick jelly coats that puddle around the cuticle and ruin the almond silhouette.
6. Minimal Emerald Line Art
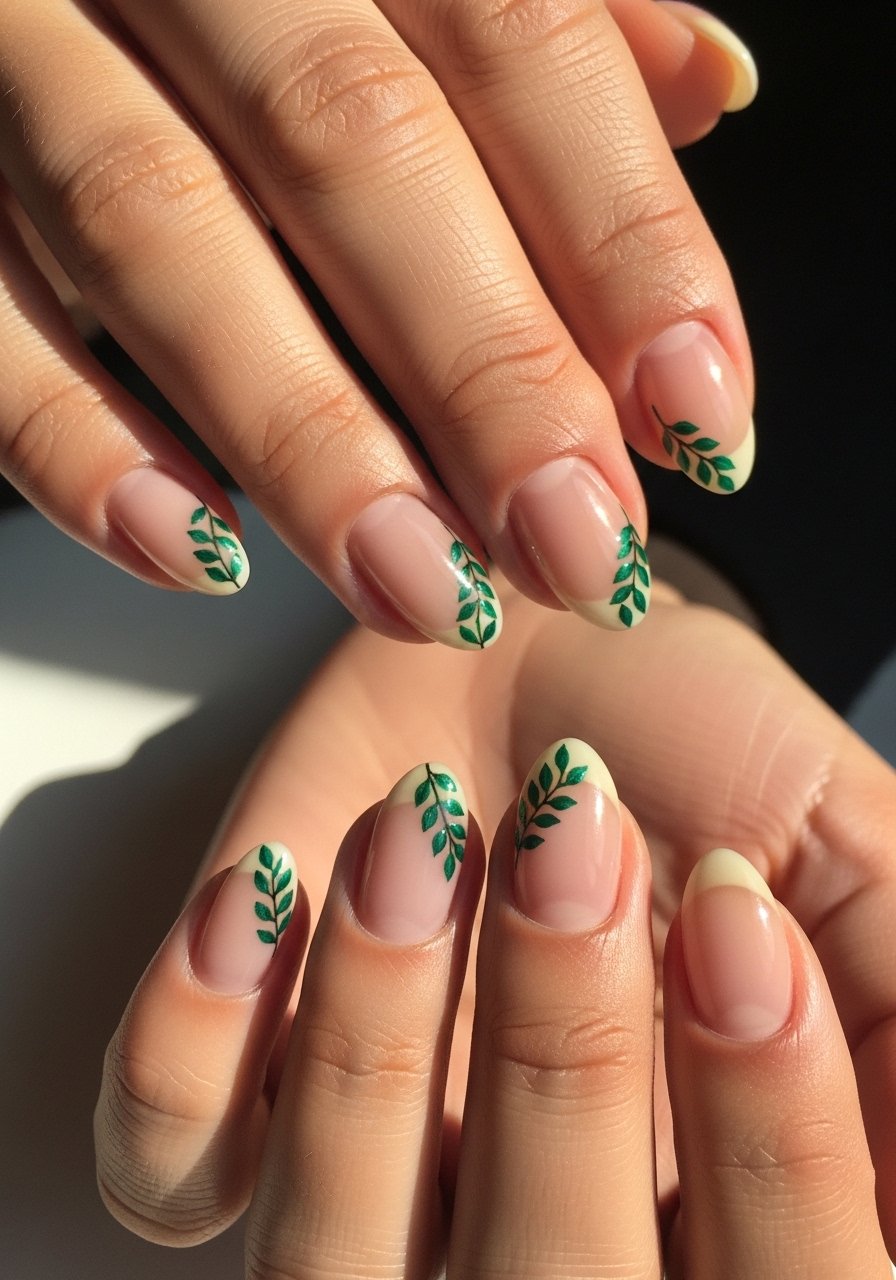
Style/Vibe: Graphic minimalism
Best For: Short almond nails, low-key art
Skill: Beginner
A single fine line can read as a full design when placed precisely. Paint a neutral or very light green base, then use a steady hand and a striping brush to paint a thin emerald line like a leaf or curve on one side. This is a fast, salon-looking detail that works on short almonds and holds up if you seal it with a long-wear top coat. The optical trick is to keep the line about one third from the free edge so the almond shape still reads.
Mistake to Avoid: Centering the line, which flattens the design and competes with the nail shape.
7. Olive Chrome Edge Accent
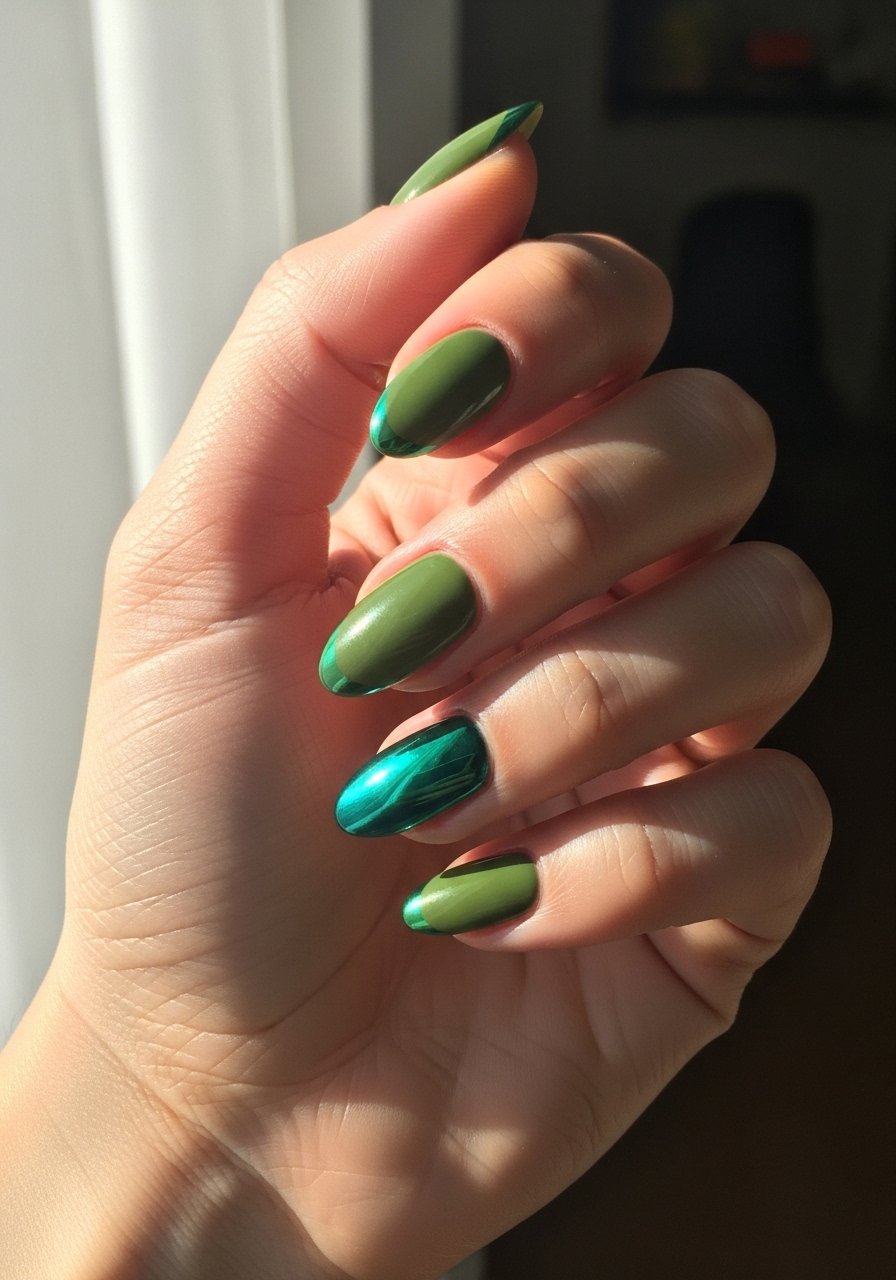
Style/Vibe: Reflective edge
Best For: Medium almond nails, evening wear
Skill: Intermediate
Chrome powders are for tiny, precise shine. After a matte or satin olive base, buff a 1 mm rim on the free edge with a micro sponge, then press on a green chrome powder using a silicone applicator. Seal with a no-wipe gel top coat if you can, or a high-shine top coat for regular polish. The chrome rim reads luxe but keeps the rest of the nail calm. On longer almonds it reads editorial, on medium almonds it stays wearable.
Mistake to Avoid: Over-rubbing chrome across the whole nail which removes the subtle rim effect.
If any of these looks have you ready to buy tools and colors, here are the essentials I use most.
Green Almond Mani Essentials
Polishes & Powders:
- Forest green polish (~$6-18), a deep base for contrast.
- Sage cream polish (~$6-14), perfect for satin looks.
- Clear jelly polish (~$8-16), for layered translucency.
- Green chrome powder (~$8-15), for thin reflective edges.
Tools & Finishers:
- Fine liner brush (~$5-12), for veins and tiny art.
- Striping brush (~$6-12), for single-line accents.
- Gold nail foil (~$4-10), for a luxe accent.
- Quick-dry top coat (~$6-14), to seal thin layers fast.
Almond Manicure Shortcuts
Thin coats beat one thick coat every time. Three thin layers of a color cure smoother and last longer than one full-coverage swipe. Grab quick-dry top coat to speed this up.
Grab a fine liner brush and test your stroke on paper before the nail. Practicing the motion reduces fussy corrections and saves polish.
If you are working with chrome or foil, press it onto slightly tacky gel or top coat and cure immediately. A no-wipe gel top coat gives the cleanest mirror finish.
Most people try to hide the cuticle line with thick polish. Instead, gently push the cuticle back and paint two millimeters from the skin for a crisp almond silhouette. Use a cuticle pusher like this silicone cuticle tool.
Rotate between matte and glossy top coats to make the same base color feel new. A satin top coat stretches the life of a mani and hides tiny chips longer.
