
The Pinterest photo showed a wall of perfectly spaced plates and copper pans, glossy and effortless. My first attempt looked like a thrift store threw up on my backsplash. Once I stopped trying to copy the exact layout and started thinking in 2-inch gaps, odd-numbered clusters, and balance by weight, it finally read like a designed wall instead of clutter. That click happened after rehanging the same kitchen three times.
After trying this in three rentals I learned what actually works: these ideas lean low-to-medium budget, most finish in an afternoon, and almost all are renter friendly with removable fixings. Expect tools like a drill and a stud finder for permanent options, painter's tape and command strips for temporary solutions, and one simple spacing rule I use, hang art so the center sits about 57 inches from the floor for most kitchens.
1. Cast Iron and Copper Pan Gallery
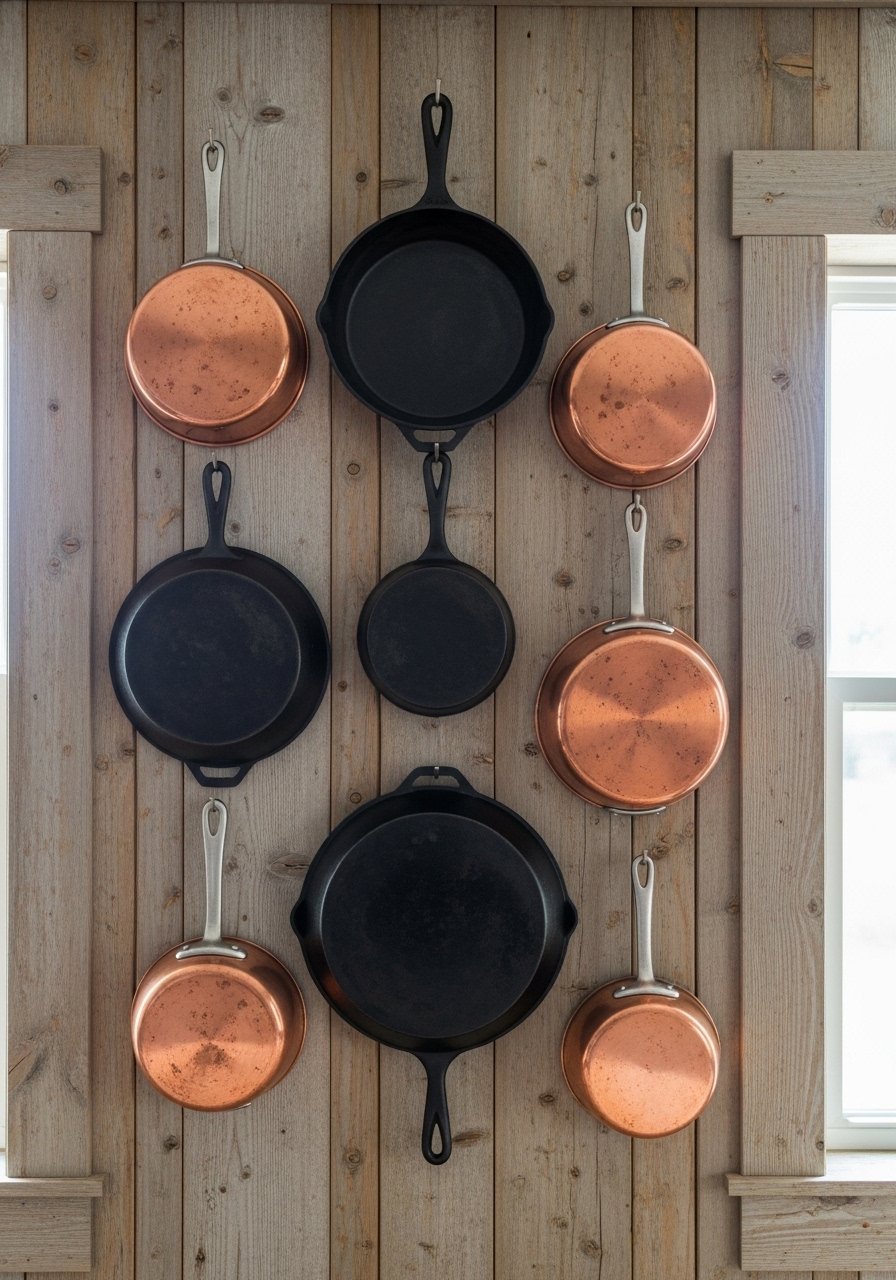
Hanging pans as art makes sense because they are both decorative and useful. The visual works when you vary sizes and finishes, then space each piece about 2 to 3 inches apart so the cluster breathes. This is budget friendly if you shop thrift stores and it is renter friendly if you use keyhole hangers or picture hooks into studs. I pair the layout with a small shelf below clamped to wall studs to hold utensils. For hardware, I reach for a set of heavy-duty picture hangers and a leveling tool to avoid a crooked gallery.
Mistake to Avoid: Using identical spacing for every piece, which makes the display look staged instead of layered.
2. Modular Pegboard Organizer Wall
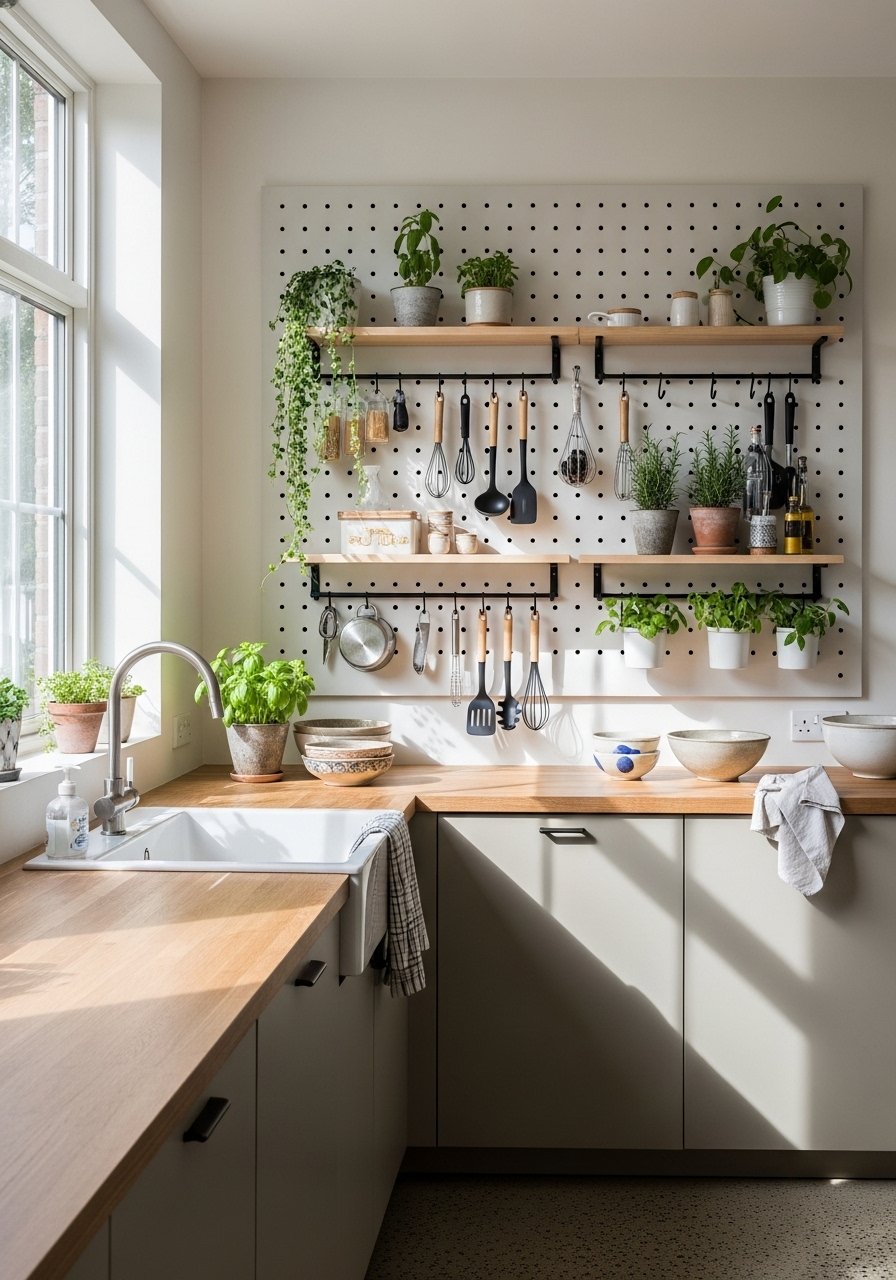
Pegboard is the flexible option nobody mentions enough, because it adapts as your needs change. Drill into studs for the base and then mix wooden shelves for plants with metal hooks for mugs, keeping heavier items lower. I mark a 1-inch grid and plan elements in odd-numbered groupings so it never reads flat. This is very renter friendly if you use a thin backed pegboard and toggle anchors. Add a pegboard kit and a set of S-hooks and utility baskets to get started.
Mistake to Avoid: Filling every hole right away, which creates visual noise and defeats the point of modularity.
3. Narrow Floating Spice Ledge
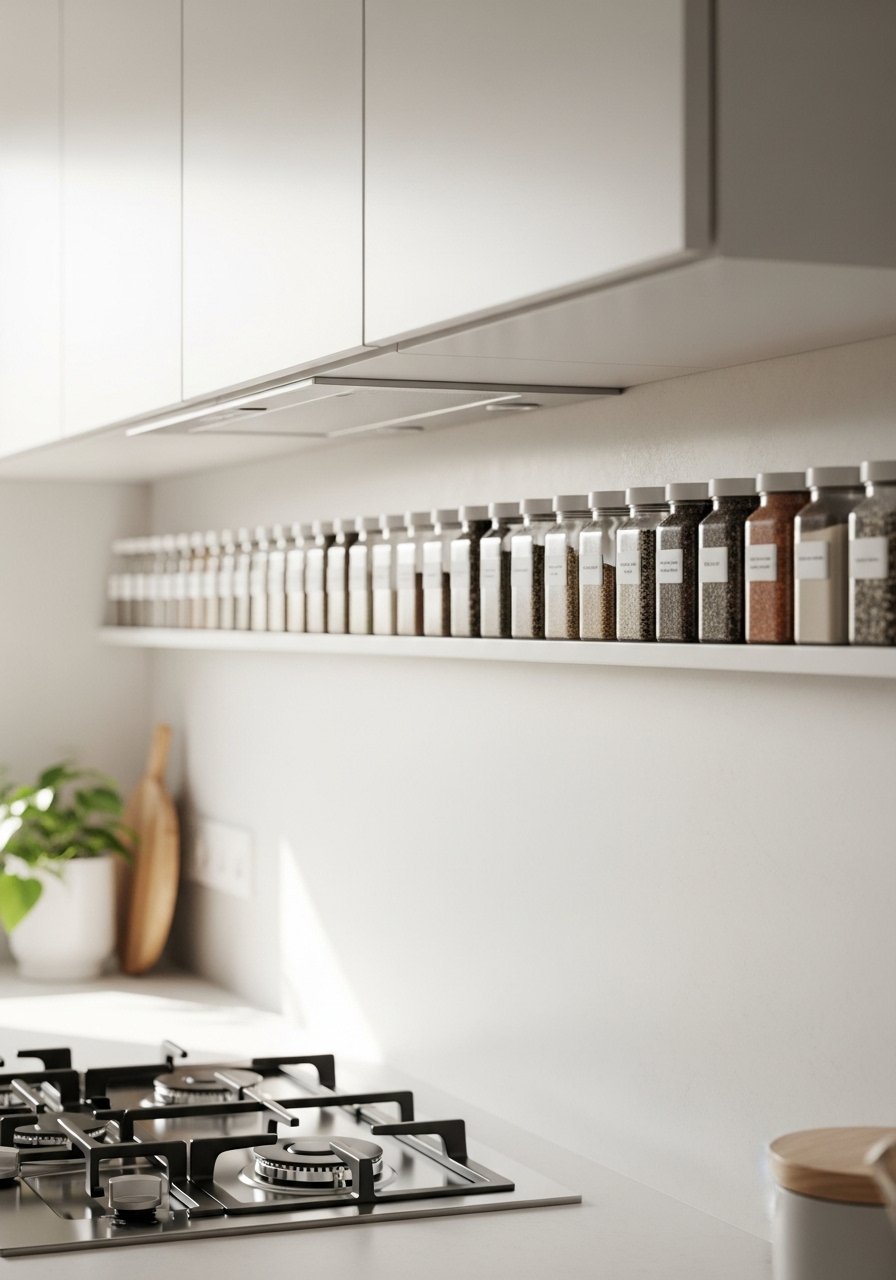
A shallow floating shelf about 3 to 4 inches deep keeps spices visible and decorative without taking counter space. Use uniform jars and label tops so the shelf reads like a horizontal line, which helps small kitchens look organized. I reserve the center for pantry staples and place stronger colored jars at the ends to anchor the run. This takes under an hour, and it is renter friendly if mounted with high-capacity anchors. Grab clear glass spice jars and a floating shelf bracket kit.
Mistake to Avoid: Mixing jar sizes, which makes the shelf look messy and unplanned.
4. Chalkboard Menu Wall With Frame
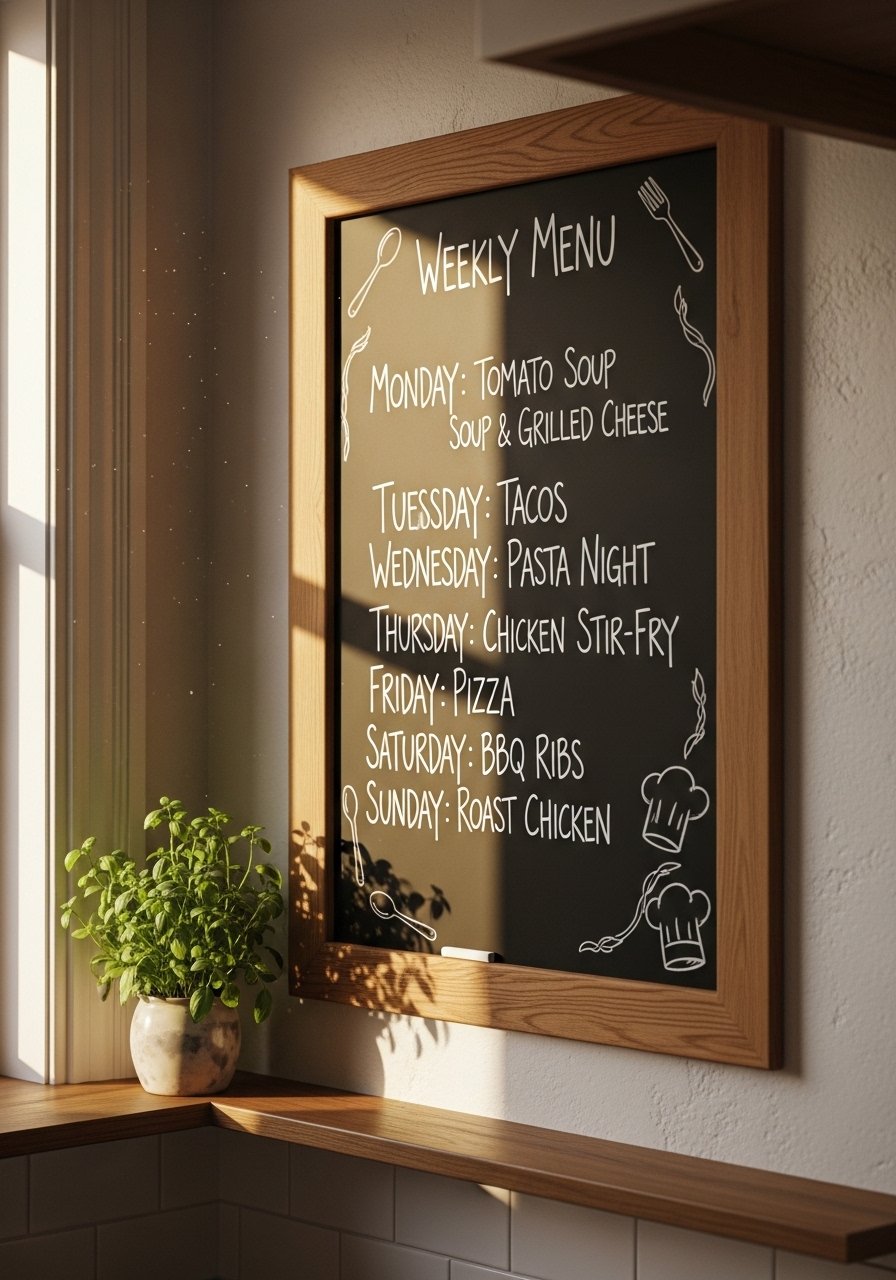
A framed chalkboard section solves communication and adds texture. Paint a 3-foot wide rectangle with washable chalkboard paint and frame it with trim for a finished look. I measure the area so the top sits 4 inches under upper cabinets or hood, and I keep one line for the day and one for notes. This idea is quick and perfect for renters if you use a large framed chalkboard panel that hangs with picture wire. I like a narrow chalk marker set and a magnetic chalkboard sheet if you want removable options.
Mistake to Avoid: Using permanent markers or matte paints that stain, making future removal impossible.
5. Negative Space Botanical Stencil
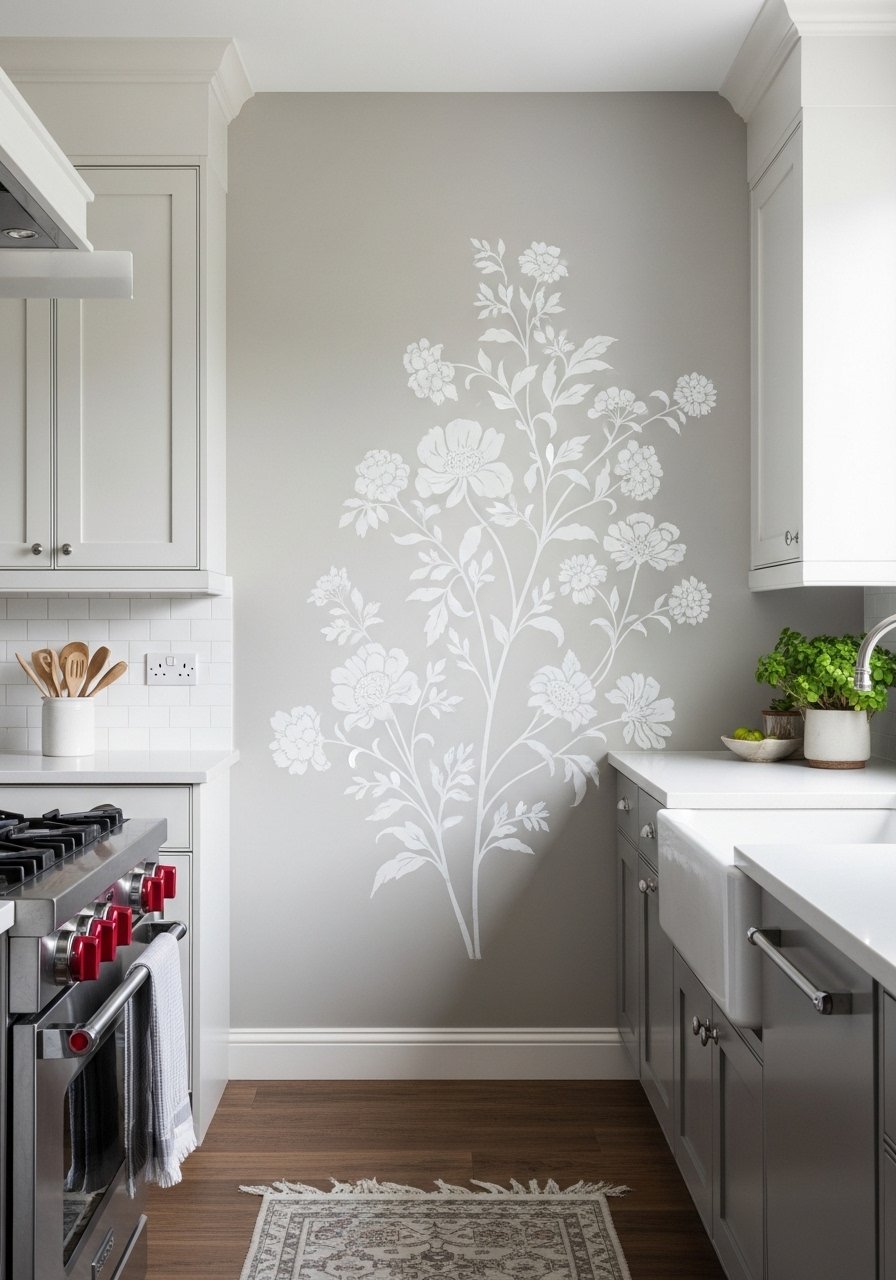
Instead of a full-on mural, a negative space botanical stencil creates a calm painterly effect. Stenciling takes time but only one coat for subtle contrast. I position the design so it hugs one corner and scales to two thirds of the wall to keep it balanced. This works for renters when you choose mild-contrast paint that can be painted over. Use a stencil kit and a high-density foam roller to avoid bleed.
Mistake to Avoid: Overloading the stencil with paint, which causes fuzzy edges and a cheap look.
6. Magnetic Herb Planter Strip
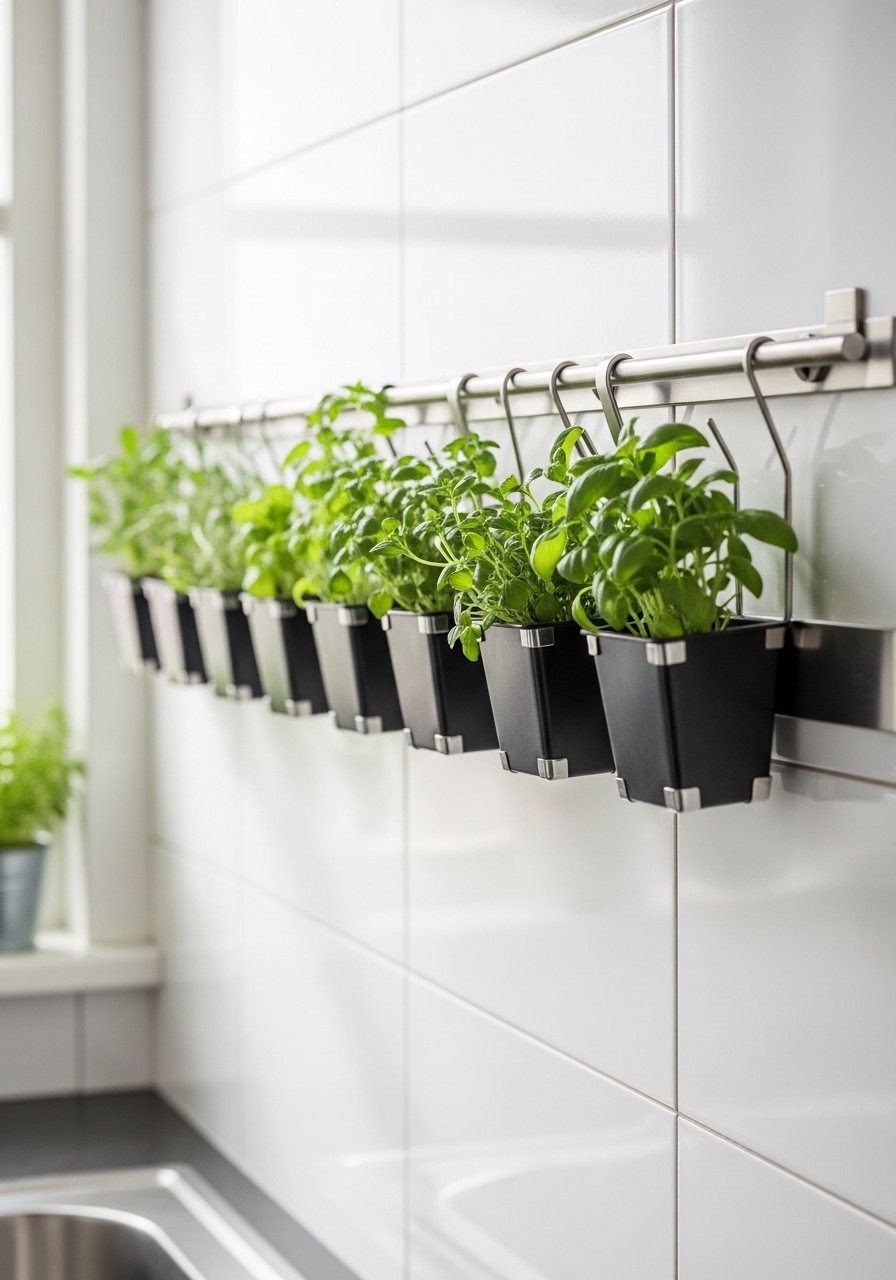
Magnetic planters let you bring greenery right where you cook, and they read tidy when aligned in a vertical column. Use a magnetic strip anchored at least into studs, and space each planter 4 to 6 inches apart to allow growth. This is partially renter friendly if you choose removable magnetic planters that cling to a freestanding metal board rather than the wall. I pair this with a set of magnetic planters and a heavy magnetic strip.
Mistake to Avoid: Using tiny planters that dry out too fast and create constant upkeep.
7. Peg Rail for Towels and Tools
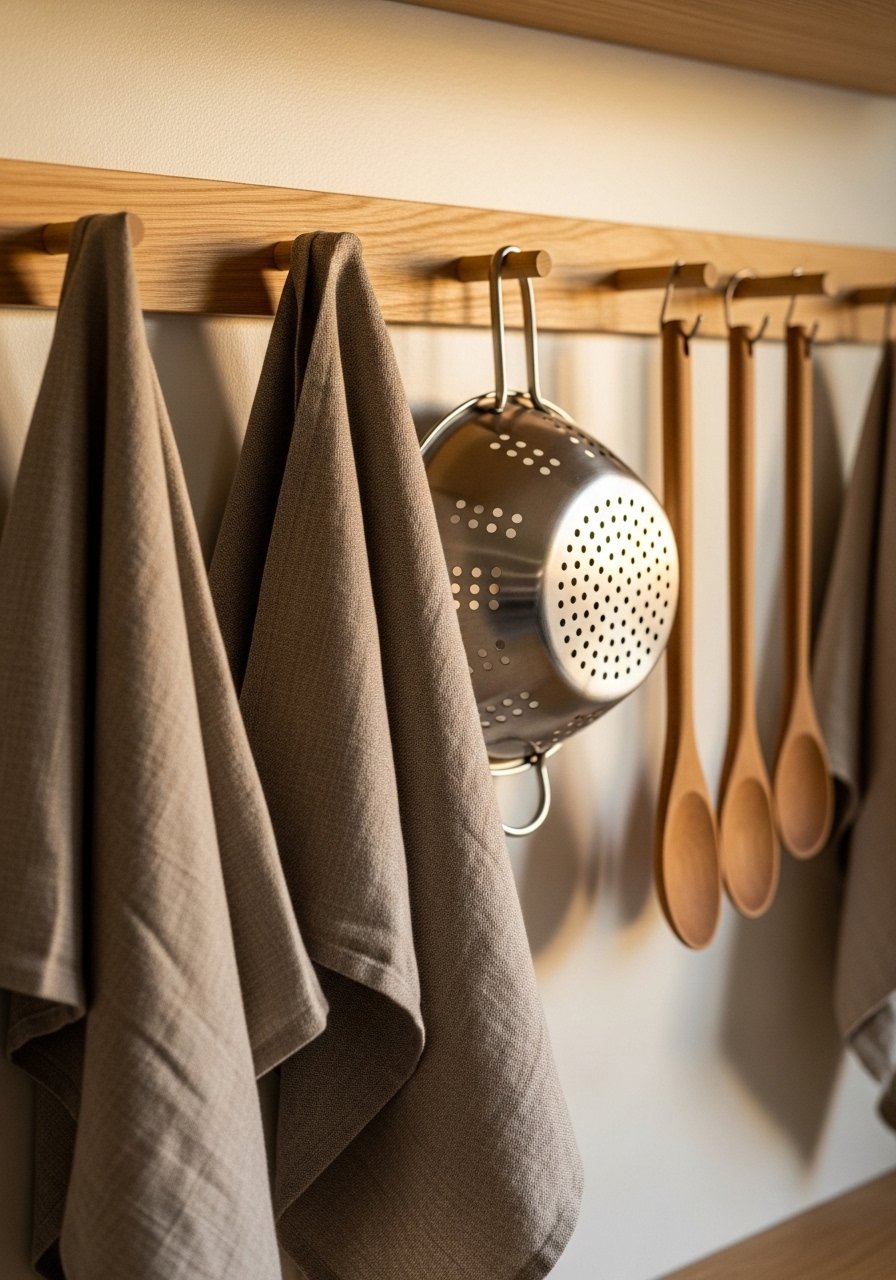
A peg rail gives you immediate access to towels, aprons, and a hanging colander. Mount it about 57 inches from the floor so pegs are reachable and stagger pegs every 6 to 8 inches to keep things tidy. This is very renter friendly when installed with toggle anchors or attached to a slim rail that clips over upper cabinet sides. For materials, I prefer a simple wood peg rail and linen kitchen towels.
Mistake to Avoid: Putting pegs too close together, which prevents larger items from hanging without overlapping.
If any of these ideas have you ready to shop, here are the pieces I reach for most.
Wall-Mount Essentials For Kitchens
Hardware & Hanging:
- Heavy-duty picture hangers (~$10-18). Use these for heavier pans and framed pieces.
- Floating shelf brackets (~$12-25). Invisible support for spice ledges.
- Stud finder and level (~$25-40). Essential for secure mounts.
Organizers & Planters:
- Pegboard wall organizer kit (~$30-55). For flexible storage.
- Magnetic planter set (~$20-35). For herb walls.
- Clear glass spice jars (~$15-30). Uniform jars read cleaner.
Finishing Tools:
- Stenciling kit (~$12-22). For subtle murals.
- Chalk markers set (~$8-15). For menu walls.
- S-hooks and utility baskets (~$10-20). For pegboard organization.
Hanging And Care Shortcuts
Thin coats give cleaner edges. When stenciling or painting a negative space mural, multiple thin layers beat one thick one. Use a high-density foam roller to avoid drips and get crisp lines.
Grab command strips and picture hooks if you are in a rental. They remove cleanly and hold surprising weight when used per package instructions.
Start with a small mockup on cardboard before committing. Painter's tape and a scrap board help you test spacing and layout at true scale.
Most kitchens read better with odd-numbered groupings. Use three to five items in a cluster, then step back and adjust each by 1 to 2 inches until it feels balanced. A magnetic tape measure makes quick work of spacing.
If you have curious pets or kids, mount fragile items higher and lock jars or small planters in place with removable museum putty. I keep a tube of museum putty on hand for peace of mind.
