
I kept getting tiny script tattoos that blurred into a smudge after a year, and each time I blamed the artist or the placement. The moment it clicked was when someone at a shop measured my line weight, said aim for 3 to 4 millimeter strokes, and redraw the phrase in a looser hand. That small change saved the next three pieces I got.
These ideas are for people who want subtle, wearable wording that can be coverable for work, low-budget to mid-range, and quick sessions. I tested variations across five shops I have visited and include tiny technical notes like suggested line weight and session time so you can tell your artist exactly what you want. Most options are beginner-friendly and heal in one to two weeks with basic aftercare.
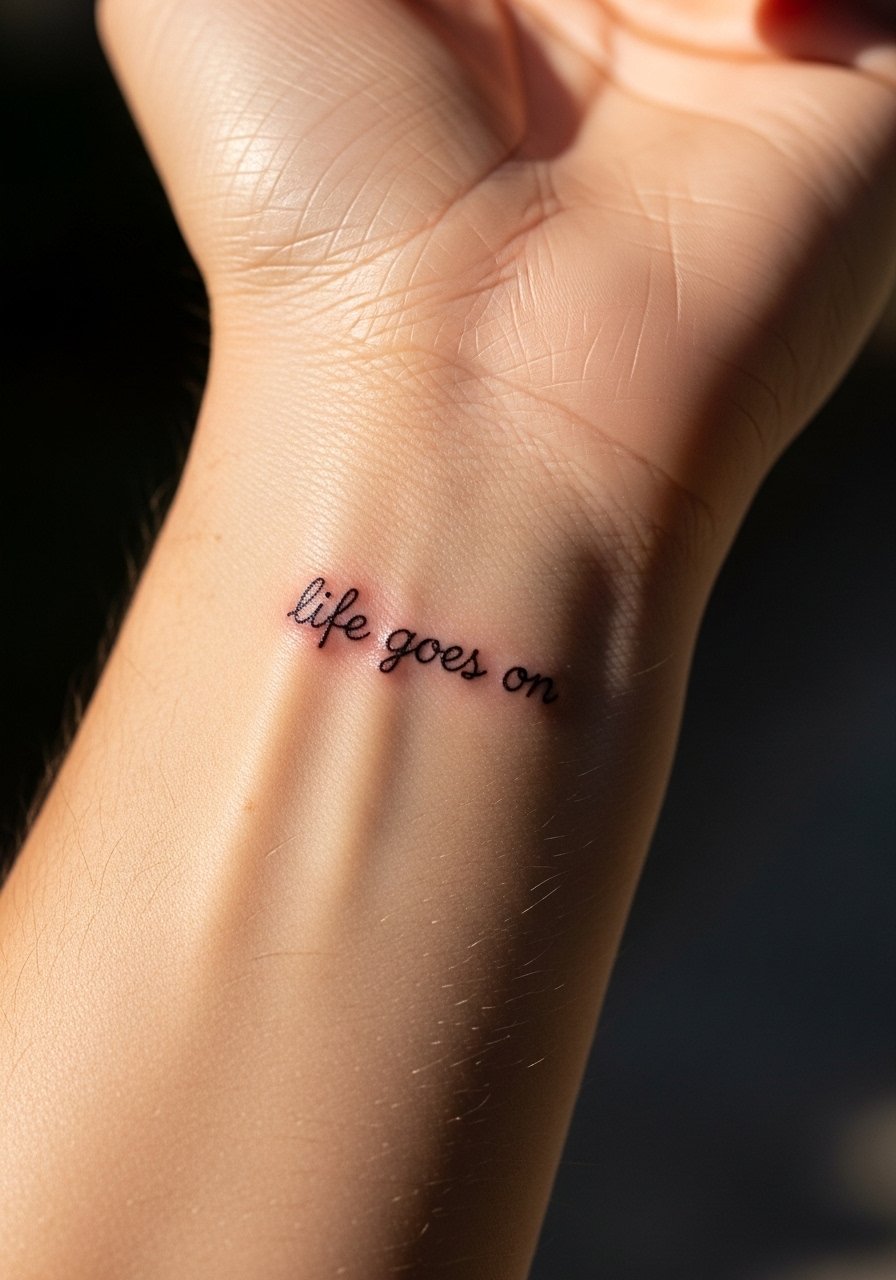
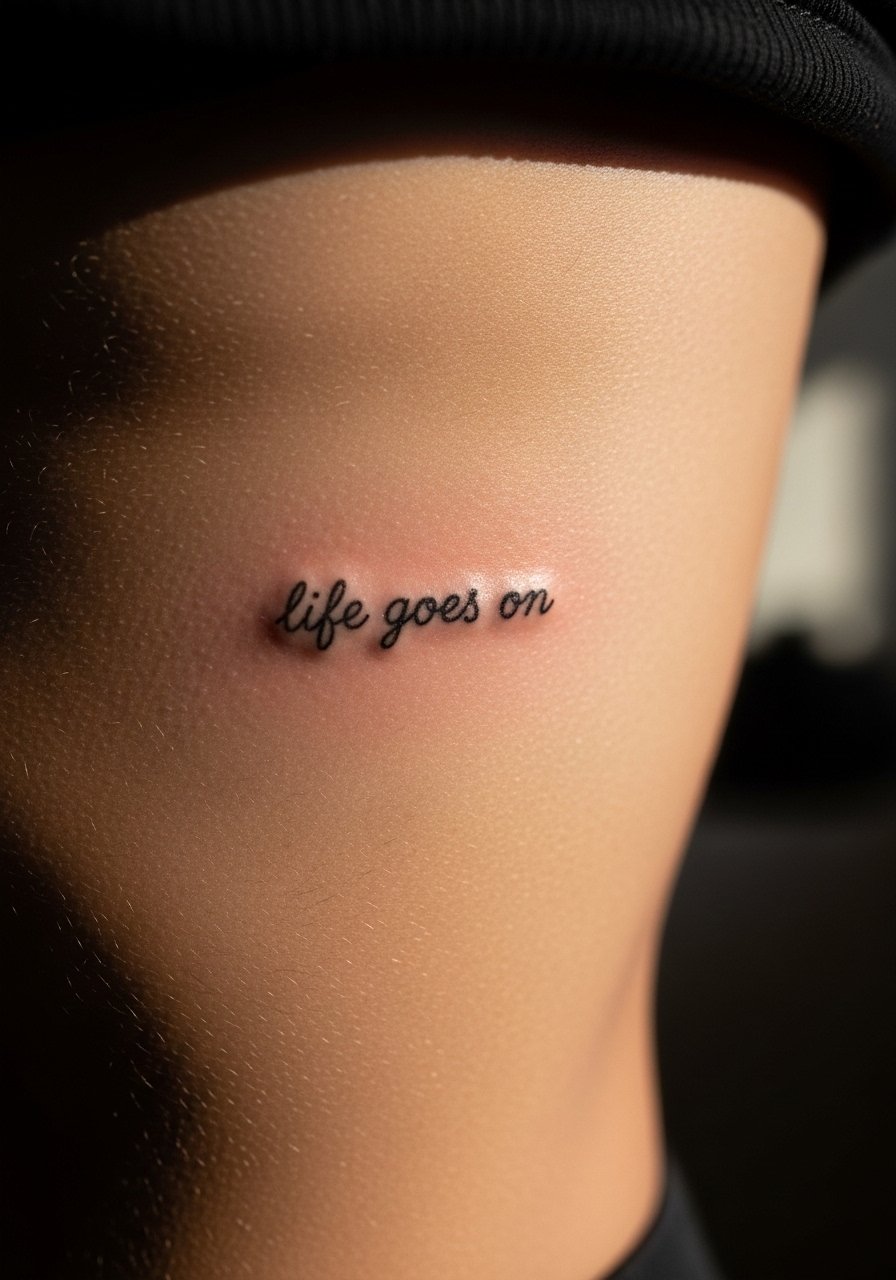
1. Inner Wrist Micro Script
Style/Technique: Fine line script
Pain Level: 3/10
Session Time: 20 to 40 minutes
Best For: Visible but easy to cover with a watch or sleeve
A thin inner wrist script works because the skin sits flat and the letters read clean at arm length. Ask your artist for 3 to 4 millimeter line weight so the letters do not bleed together over time, and pick a slightly looser cursive so the ink has room to age. This style reads intimate and gentle, good for people who want a daily reminder without a bold statement. Budget is low since a single short line fits into a 30-minute slot. Pair aftercare with a fragrance-free healing balm like fragrance-free healing ointment for the first week.
Mistake to Avoid: Asking for ultra-thin hairline strokes that will blur within months.
2. Collarbone Tiny Typewriter Script

Style/Technique: Micro typewriter lettering
Pain Level: 4/10
Session Time: 30 to 50 minutes
Best For: Collarbone placement, visible with low tops
Typewriter lettering gives a small phrase a vintage, deliberate feel. The character spacing keeps each letter distinct, so the design ages cleaner than tight cursive. It reads crisp in photos and layers well with jewelry. This one is slightly more time intensive because each tiny serif needs precise dotting. For budget, expect a single-session touch-up chance if you want the edges extra sharp. Bring a reference photo and ask for 1.5 to 2 mm negative space between characters. Use a thin film bandage for the first 24 hours, like transparent tattoo bandage.
Mistake to Avoid: Letting the artist crowd letters together which makes the type look muddy later.
3. Inner-Elbow Heartbeat Script Combo

Style/Technique: Minimal line with script integration
Pain Level: 5/10
Session Time: 30 to 60 minutes
Best For: Mid-arm visibility, expressive but tuckable under sleeves
A tiny heartbeat that flows into the phrase reads like a sentence, not two separate motifs. The visual motion gives the phrase a purpose, and the thin line keeps the design delicate. This placement moves with the arm so ask for slightly thicker lines at hinge points, about 3 to 4 mm, so the motion does not break the stroke. It creates an understated emotional energy and is medium skill, so pick an artist experienced with micro-continuous lines. Keep it covered for a few days and use a gentle antibacterial soap like mild tattoo soap during the peel.
Mistake to Avoid: Choosing too fine a line where the elbow flex will cause early breakage.
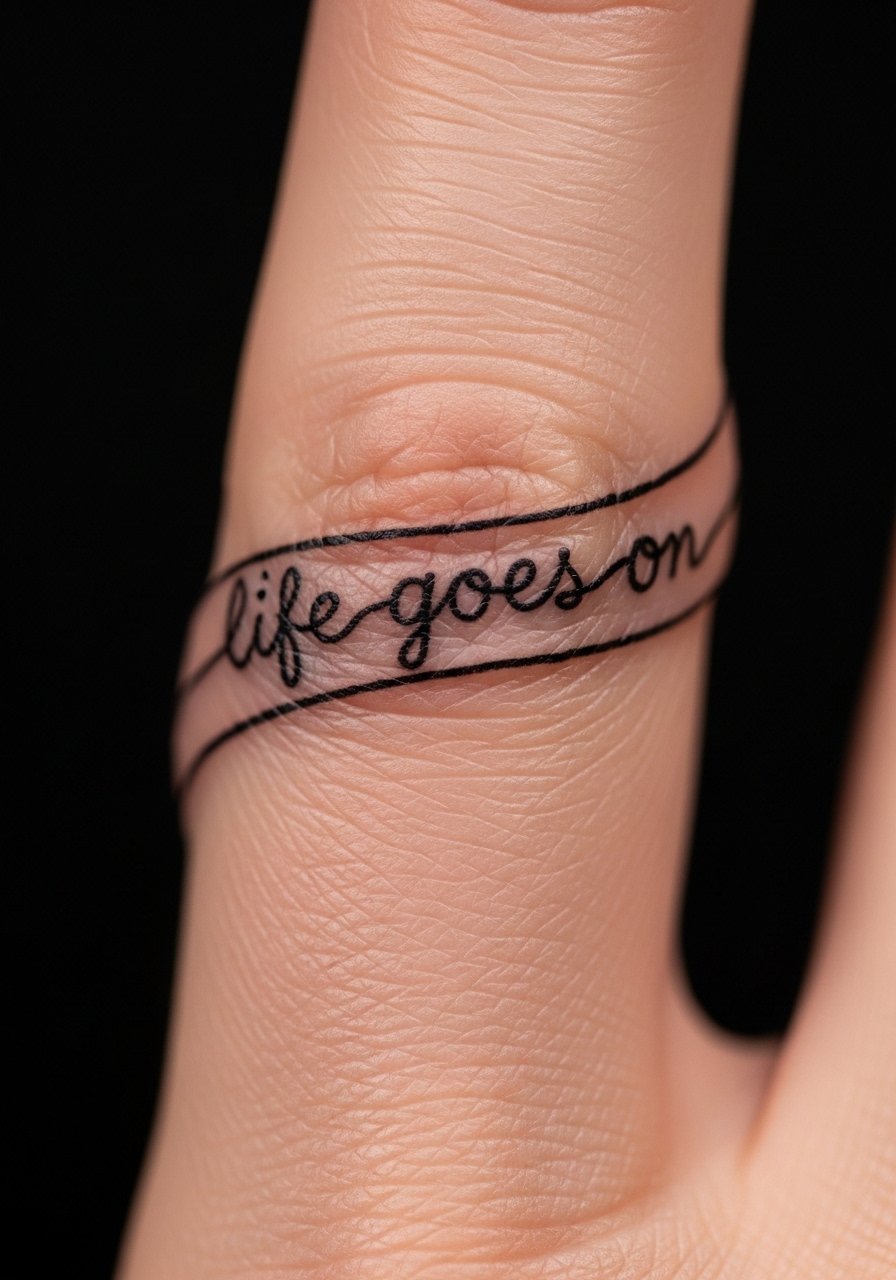
4. Finger Wrap Single-Line Script
Style/Technique: Continuous single-line ring script
Pain Level: 2/10
Session Time: 15 to 30 minutes
Best For: Small, discreet statements, ring finger or pinky
Finger scripts age differently because of constant friction and washing. A continuous single-line wrap that avoids tight junctions looks clean for longer, especially when the line weight is bumped up to 1.5 to 2 mm. This is a very low-cost option and often heals quickly. Expect more frequent touch-ups if you wear rings or do lots of hand work. A quick tip is to keep the first week free of heavy soaps and use a small stick balm like portable tattoo balm stick for spot moisturizing.
Mistake to Avoid: Insisting on hairline lettering for a finger where rubbing is constant.
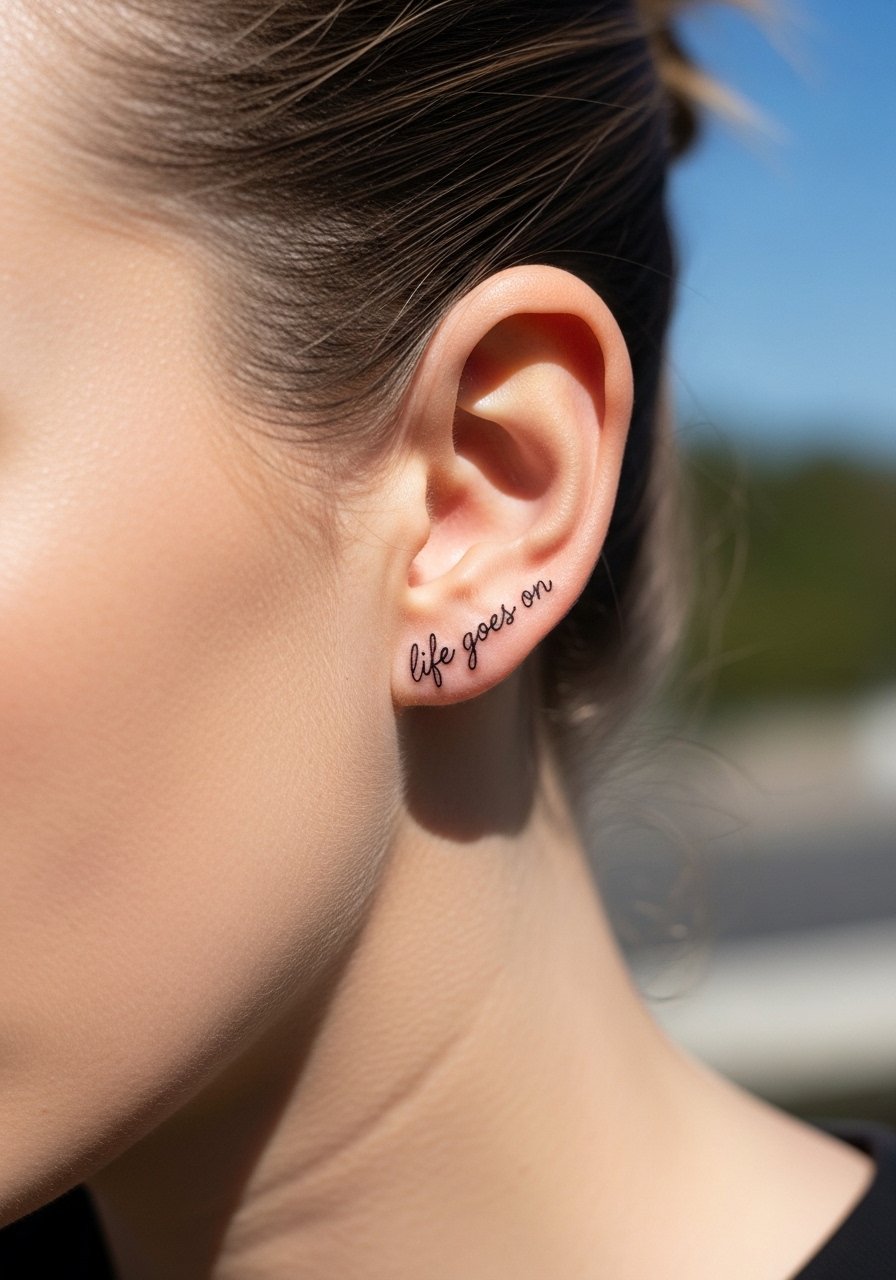
5. Behind-The-Ear Tiny Script
Style/Technique: Micro tucked placement
Pain Level: 2/10
Session Time: 10 to 25 minutes
Best For: Coverable statement, discreet placement
Behind-the-ear script reads as a secret. The skin there is thin so small lettering reads soft and private. Choose a rounded script instead of sharp serifs so the healing scab pattern is less noticeable. This placement is perfect for someone who wants a personal reminder but needs to keep work-visible areas clear. It is budget-friendly and usually done in a quick slot. Aftercare means keeping hair away and using a hypoallergenic adhesive patch while shampooing, like small medical bandages.
Mistake to Avoid: Letting hair trap moisture against the new tattoo during the first week.
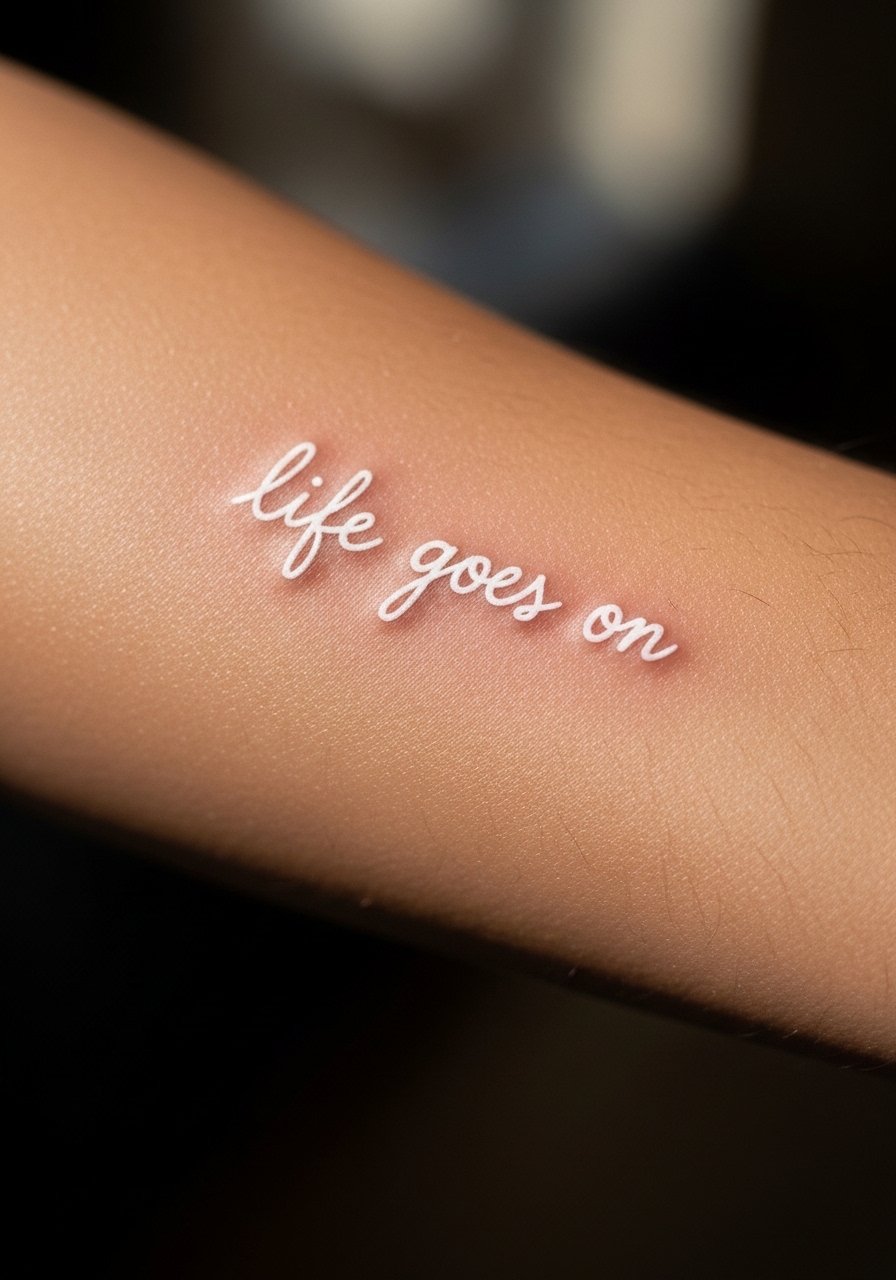
6. White Ink Subtle Script
Style/Technique: White ink lettering
Pain Level: 4/10
Session Time: 30 to 60 minutes
Best For: Subtle visibility, pale-to-medium skin tones
White ink gives a whisper of a tattoo that shows differently across skin tones and ages into a soft scar-like mark. It works visually when the letters are slightly bolder, around 3 mm, since pure hairline white can vanish. This is a more experimental choice and sometimes the pigment needs a touch-up once healed. If you want subtlety and have fair to medium skin, it creates an intimate, quiet feeling. Use sunscreen after healing because white ink can change under the sun. Try a sunscreen designed for tattoos like broad-spectrum tattoo sunscreen.
Mistake to Avoid: Choosing an ultra-fine white line that becomes invisible after healing.
7. UV Ink Hidden Script
Style/Technique: UV-reactive ink lettering
Pain Level: 4/10
Session Time: 30 to 50 minutes
Best For: Hidden meanings, night visibility, club or stage settings
UV ink disappears in daylight and glows under black light so it is playful and very private. The trick is pairing UV with a thin black outline about 1.5 to 2 mm so the phrase reads in normal light but brightens under UV. This approach is niche and some shops do not carry UV, so call ahead. Expect slightly higher cost for specialty ink and plan for a touch-up because pigment density matters for glow. A good aftercare routine is the same as a regular tiny script, using a gentle healing ointment like fragrance-free healing ointment.
Mistake to Avoid: Ordering UV-only ink with no visible outline so it is invisible in regular light.
If any of these aftercare and tool suggestions would be useful, here are the items I actually reach for when I get small work done.
Small Aftercare And Ink Picks
Aftercare Essentials:
- Fragrance-free healing ointment (~$8-18), reliable for the first 3 to 5 days.
- Portable tattoo balm stick (~$7-15), great for spot application on fingers.
- Mild tattoo soap (~$6-12), unscented and gentle.
Protection & Tools:
- Transparent tattoo bandage (~$10-20) for the first day.
- Small medical bandages (~$6-12) to keep shampoo off behind-ear pieces.
- Broad-spectrum tattoo sunscreen (~$12-22) for long-term color preservation.
Studio Prep:
- Stencil transfer paper (~$8-15) if you plan to bring your own mockup.
- Disposable gloves (~$10-20) for hygiene-conscious touch-ups.
- Microfiber towel (~$6-14) to pat dry gently after rinses.
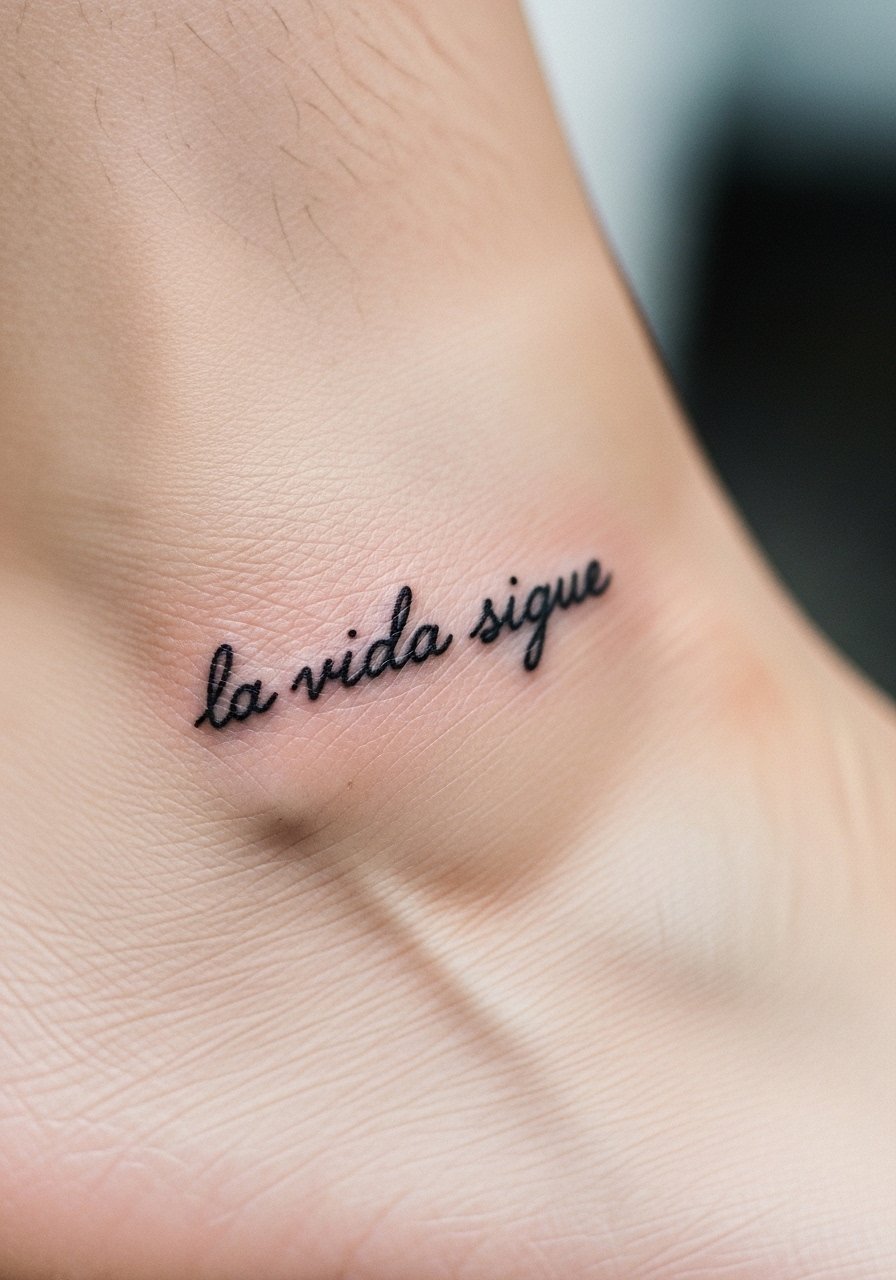
8. Ankle Script In Spanish
Style/Technique: Cursive translation script
Pain Level: 2/10
Session Time: 15 to 30 minutes
Best For: Ankle placement, travel-friendly visibility
Using a different language like Spanish gives the phrase a new cadence and can feel more private if you want a slightly removed translation. Short ankle scripts sit nicely along the bone and wear well with a thicker 2.5 to 3 mm line so shoes and socks do not abrade the ink. This is a low-cost option and looks modern with sandals. Bring a clear reference of the exact spelling you want to avoid translation errors. Keep the area dry right after sessions and use a small bandage while showering, like transparent tattoo bandage.
Mistake to Avoid: Relying on a phone translator without checking native spelling or accents.
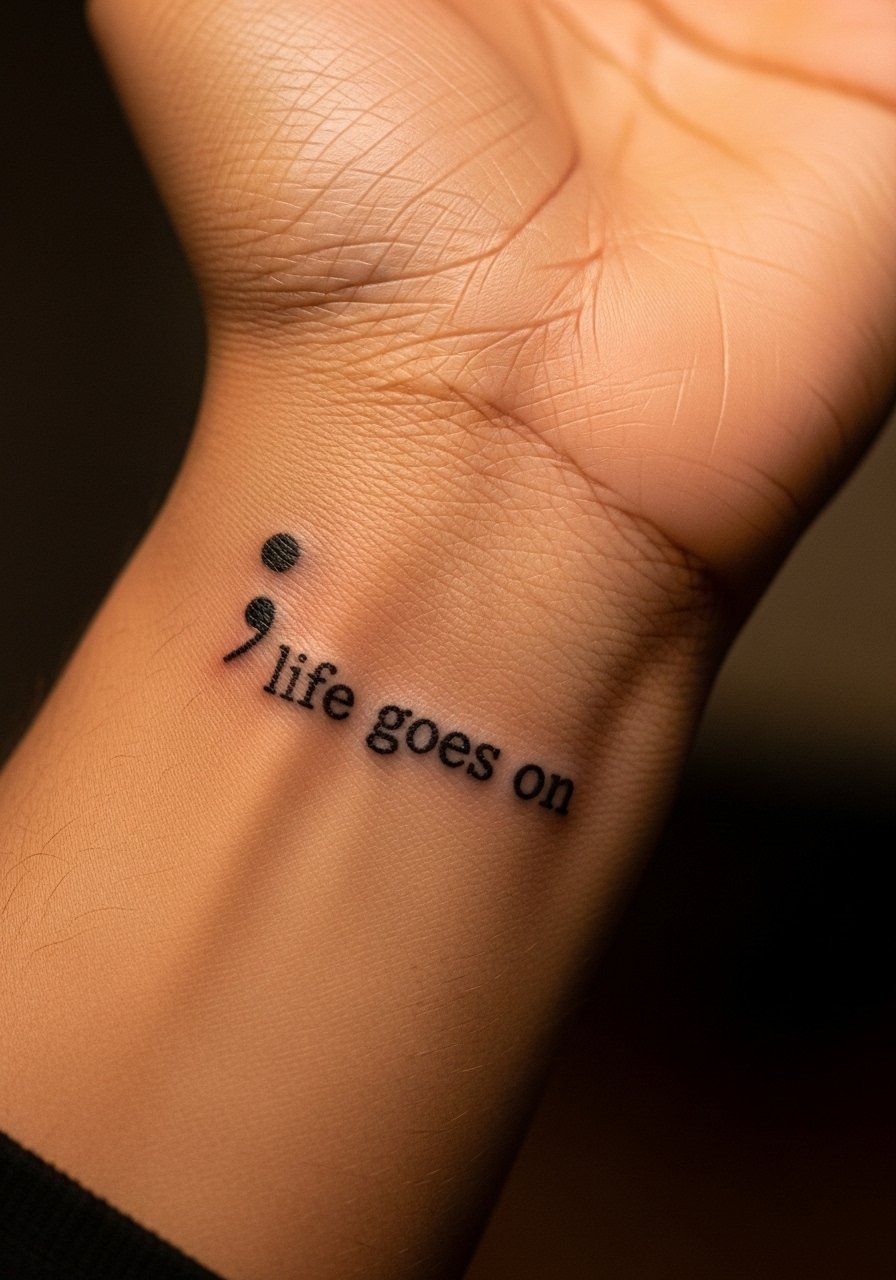
9. Semicolon Plus Phrase On Side Wrist
Style/Technique: Symbol plus micro script
Pain Level: 3/10
Session Time: 20 to 35 minutes
Best For: Supportive symbolism, visible personal reminder
Combining a semicolon with the phrase creates a compact emblem. The semicolon reads as a clean dot and tiny stroke, so balance it with a 2 to 3 mm script that follows. This design is quick and low budget. It also layers well with bracelets if you want to dress it up. Be explicit with your artist about spacing so the mark and the letters do not bleed into each other when healed. A small dab of balm during the first week keeps the dot crisp.
Mistake to Avoid: Placing the symbol too close to the script so both elements compete visually.
10. Micro-Realism Wave With Script On Rib

Style/Technique: Micro-realism icon with script
Pain Level: 6/10
Session Time: 45 to 75 minutes
Best For: Rib placement, artistic statement that can be covered
A micro-realism icon like a small wave paired into the phrase gives a pictorial anchor that photographs well. Because rib skin can move with breathing, ask for slightly thicker starts and ends at 3 to 4 mm so the piece reads as continuous when you inhale. This is a mid-range session and often more expensive than a wrist script. It looks intentional and a little cinematic. Aftercare includes sleeping on the opposite side for a few nights and using a soft garment to avoid rubbing, plus gentle soap like mild tattoo soap.
Mistake to Avoid: Picking ultra-fine details for a rib area that will distort with movement.
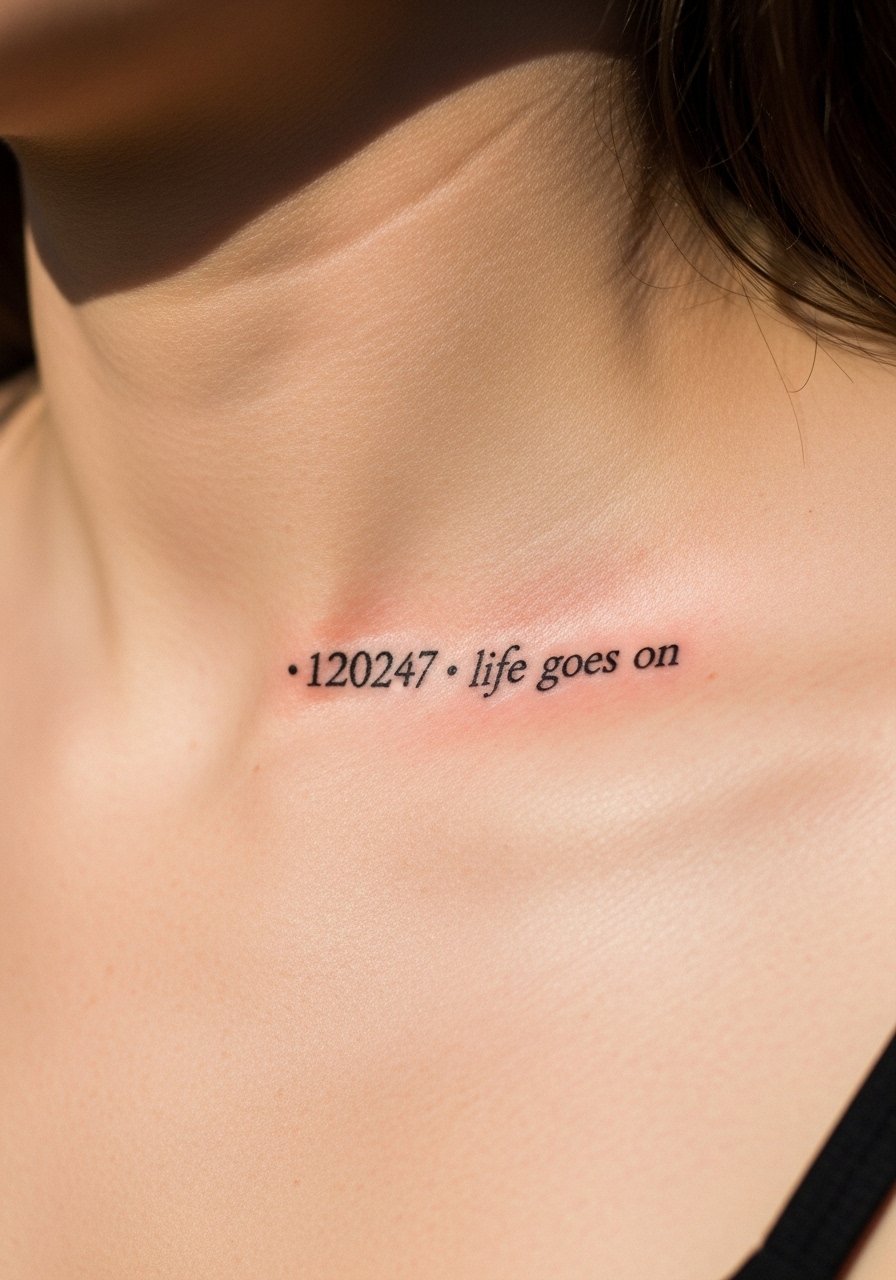
11. Date Dot With Micro Script Under Collar
Style/Technique: Tiny dot-date with script
Pain Level: 3/10
Session Time: 20 to 40 minutes
Best For: Commemorative pieces, subtle placement
Turning the phrase into a minimal date line adds a personal timestamp without full words. The micro script below the date should be slightly bolder, around 2.5 mm, so it stays legible as the year wears. This style is sentimental and easy to tuck under shirts. It usually fits a short appointment and low cost. Bring exact numerals and spacing preferences so the dot separators are consistent. A portable balm like portable tattoo balm stick is handy for touch-ups during the first week.
Mistake to Avoid: Using numerals too close together which can blur into one shape over time.
12. Tiny Constellation Dots With Script Shoulder Blade

Style/Technique: Pointillist dots with micro script
Pain Level: 3/10
Session Time: 30 to 50 minutes
Best For: Back placement, artful but coverable
A small constellation built from dots paired with a short script offers texture and breath in the design. Pointillist dots age very gracefully, so place them with a bit of negative space of about 2 mm between points. The script beneath should be slightly curved to follow the shoulder blade line. This is medium skill and takes a careful hand. It reads editorial in photos and stays low-key under clothing. Use a soft cotton shirt while healing to avoid friction and an aftercare balm like fragrance-free healing ointment.
Mistake to Avoid: Compressing the dots so the whole constellation looks like a smudge later.
13. Vertical Tiny Script Along Finger Side

Style/Technique: Vertical micro-script
Pain Level: 3/10
Session Time: 15 to 30 minutes
Best For: Discreet line that reads in hand gestures
Vertical script along the finger side is discreet and reads only when you turn your hand. Because side skin is thin and rubbed often, use a slightly heavier stroke, about 2 to 2.5 mm, and request the letters be spaced with tiny gaps so they do not run. This placement offers a private vibe and low session time, but expect touch-ups over the years if you use your hands heavily. Keep a small balm on you for the first week like portable tattoo balm stick.
Mistake to Avoid: Choosing a cramped script that will blur from everyday hand use.
Tiny Tattoo Habits That Help
Keep prints for reference. After every session, take a clear close-up photo. Bring that back for any touch-up so your artist matches line weight exactly. A phone macro lens helps, try phone macro lens clip to capture details.
Pat, do not rub. When drying, pat with a microfiber towel. A microfiber towel saves friction and helps scabs form cleanly.
Avoid heavy sun immediately. The first month matters for pigment retention. Use a tattoo-specific sunscreen after healing like broad-spectrum tattoo sunscreen.
Bring exact wording. Print the line in the font weight you want. A simple sheet on transfer paper means fewer surprises. Pick up stencil transfer paper if you plan to bring references.
Ask about line weight. Tell the artist you want 2 to 4 millimeter strokes depending on placement. This small technical detail prevents most of the blurring I used to get.
