I spent an afternoon trying to copy a magazine photo of long square acrylics and ended up with blunt, chipped edges by dinner. The pin had perfect lines and zero lift. What I learned after a few redo sessions is that square acrylics look like a pro job when the base is thin, the free edge is measured, and the art is scaled to the width of the nail. These are simple, repeatable options that keep the shape clean without needing salon-level time or a giant budget.
These ideas are practical, mostly beginner-friendly, and aimed at people who wear long square nails regularly. Expect options you can do at home in 30 to 60 minutes and a few intermediate moves for weekend appointments. I include budget picks for tools and salon-grade options if you want longer wear, plus the small technique notes that make a square nail feel less severe.
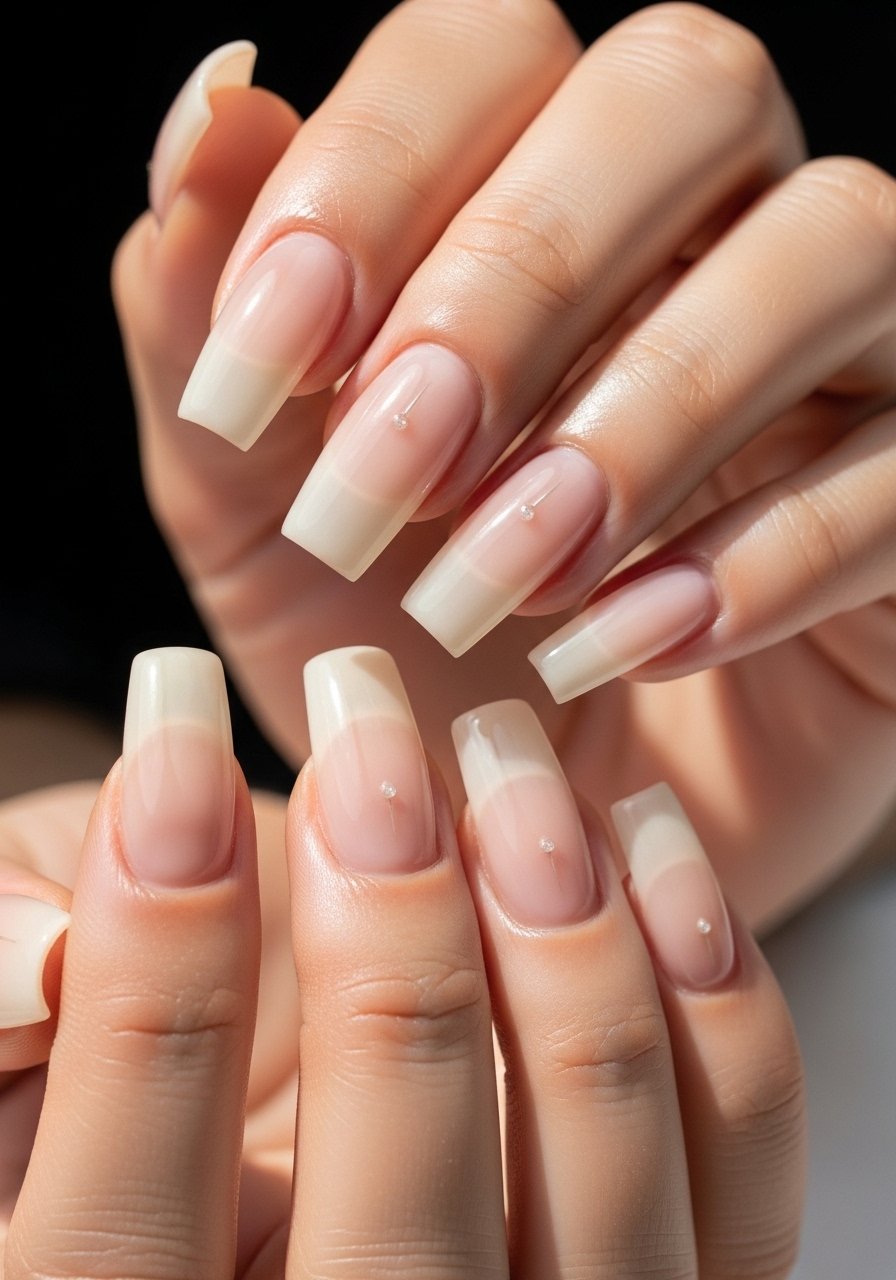
1. Glossy Sheer Nude With Subtle Apex
Style/Vibe: Clean sheer gloss
Best For: Long nails / everyday wear
Skill: Beginner
A sheer nude keeps square tips from reading heavy. After applying a thin clear base, lay a sheer nude acrylic in a 2:1 powder-to-liquid ratio for a soft build and create a gentle apex over the stress point, about a 1.5 mm high. Finish with two thin layers of a high-shine top coat so the edges read crisp instead of bulky. This look feels polished and low-maintenance, good when you need elegant hands without complex art. Try a drugstore clear base like clear base coat in the prep step and seal with a fast-dry top coat.
Mistake to Avoid: Applying one thick bead of acrylic at the apex which makes the nail look domed and heavy.
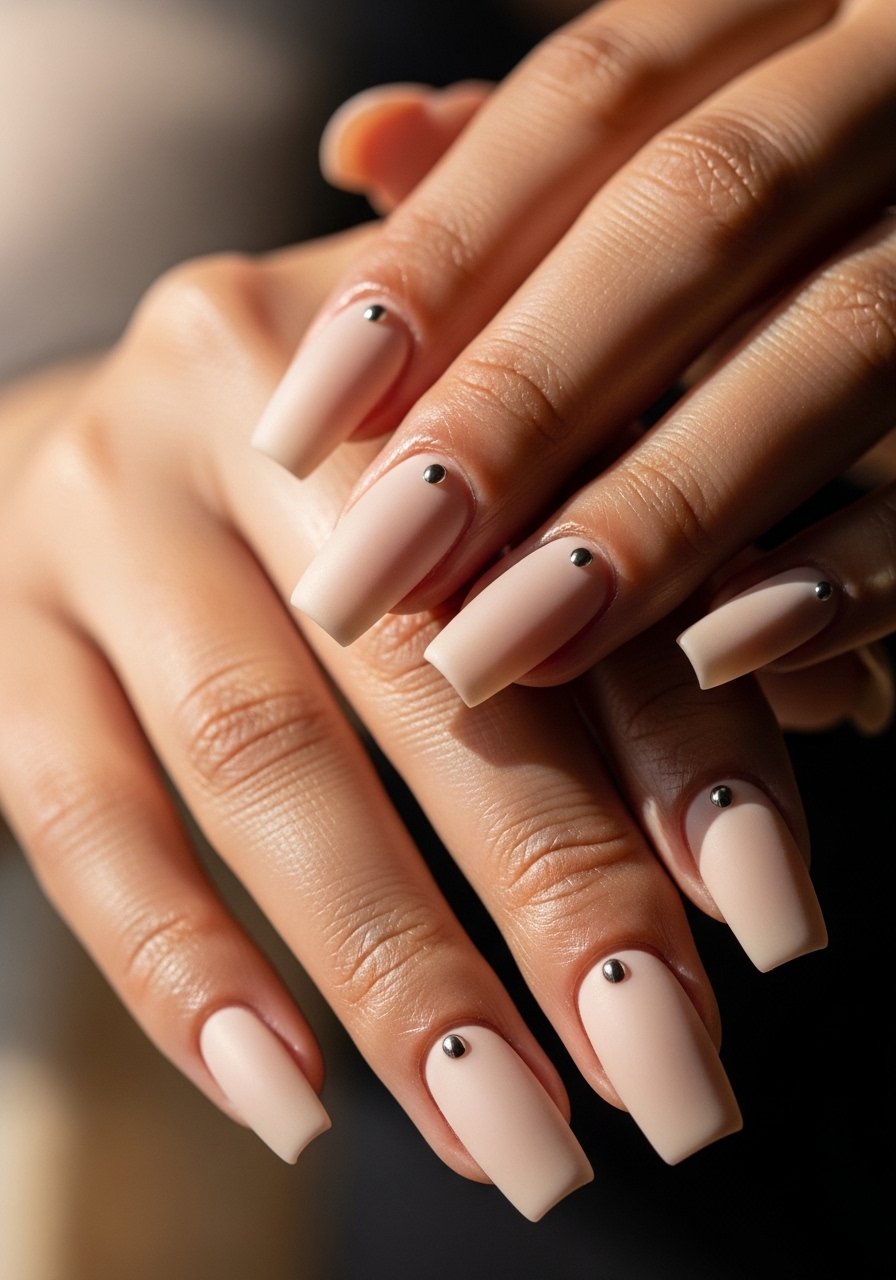
2. Soft Matte Neutral With Tiny Chrome Pinch
Style/Vibe: Modern matte with a hint of shine
Best For: Long nails / office-to-outing looks
Skill: Intermediate
Matte soft neutrals make square shapes feel modern rather than harsh. Apply full coverage acrylic in a warm beige, cure if using gel top coats, then buff lightly before adding a matte top coat. For a small pop, use a chrome powder sparingly, about a 2 mm crescent near the cuticle, then seal with a glossy top only over the chrome spot so it reads reflective. Use a matte top coat and keep a tiny angled brush for placement. A salon tech showed me this selective shine trick and it keeps the overall hand calm.
Mistake to Avoid: Slathering chrome over the whole nail, which exaggerates every chip and lift.
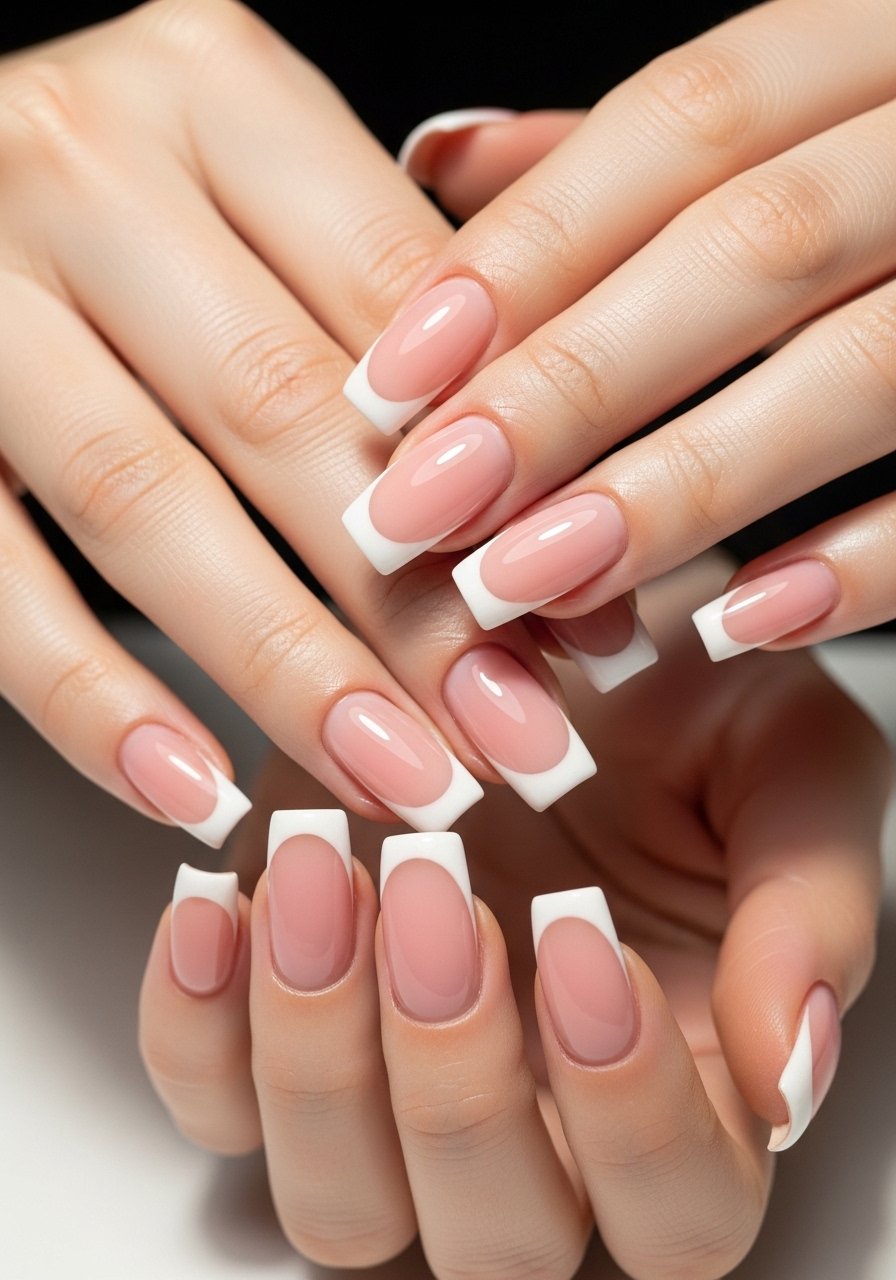
3. Crisp Square French With Thin White Smile
Style/Vibe: Classic precise French
Best For: Long nails / weddings and events
Skill: Intermediate
A thin smile line suits square tips better than a thick white band. Prep with a sheer pink base and mark the smile line at about 1.5 mm from the free edge. Use a fine liner brush and a small amount of white acrylic powder to paint a sharp line, then blend the junction with a soft brush using tiny 1 mm sweeps. Top with a glossy top coat and cure if needed. For home-friendly control, use a fine nail art brush and a reliable white acrylic powder.
Mistake to Avoid: Painting the white line too thick so it competes with the nail width.
4. Negative-Space Crescent With Clean Cut Lines
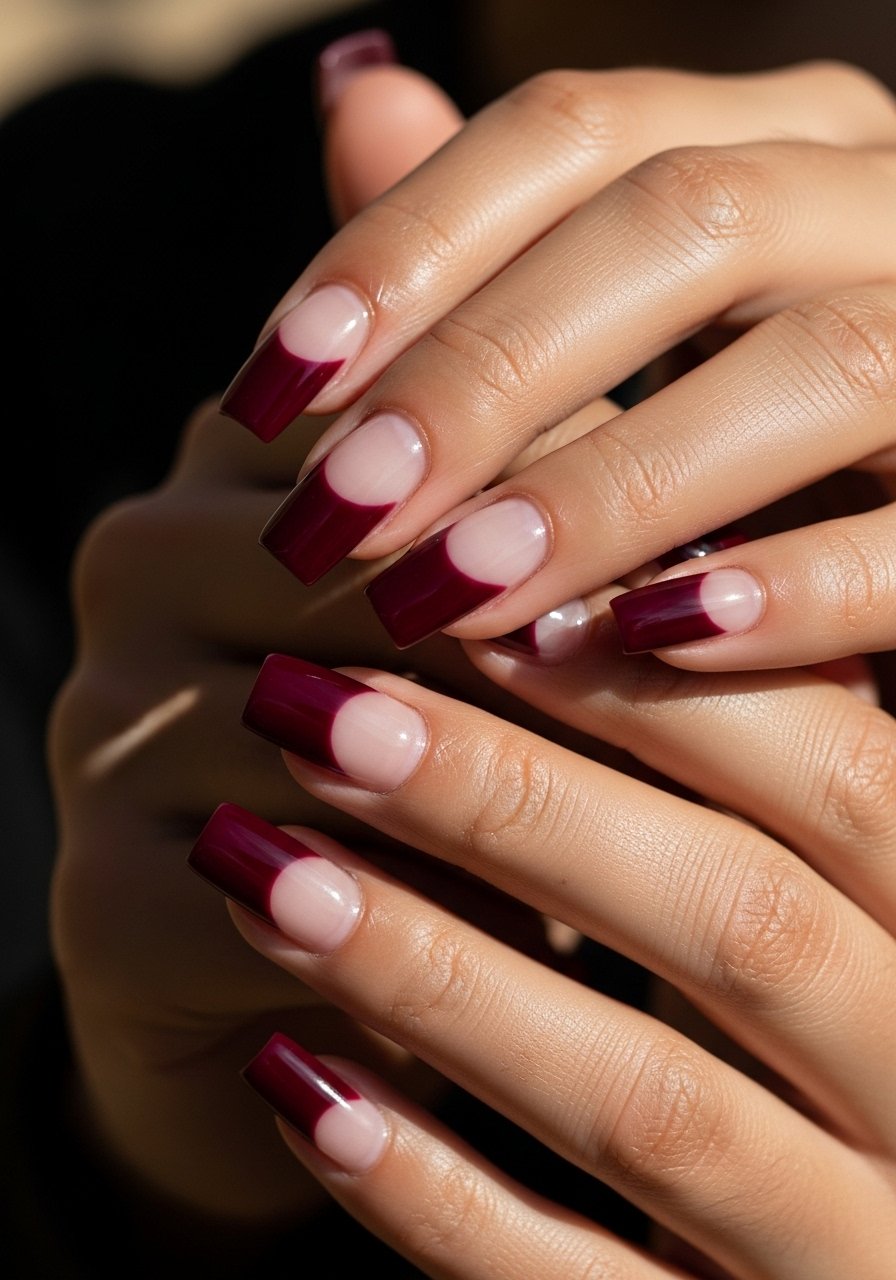
Style/Vibe: Minimal negative-space
Best For: Long nails / casual and chic days
Skill: Beginner
Negative space softens a square silhouette by leaving a narrow crescent of natural nail. After applying a thin clear overlay, place curved nail tape about 2 mm from the cuticle and fill the rest with color or clear acrylic. Remove tape before full curing to keep the edge crisp. The result is modern and breathable-looking while maintaining length. Try a simple nail tape set for clean lines and a clear builder gel if you prefer gel overlays.
Mistake to Avoid: Leaving adhesive residue by not pressing tape edges firmly before filling.
5. Bold Opaque Red With Clean Free Edge
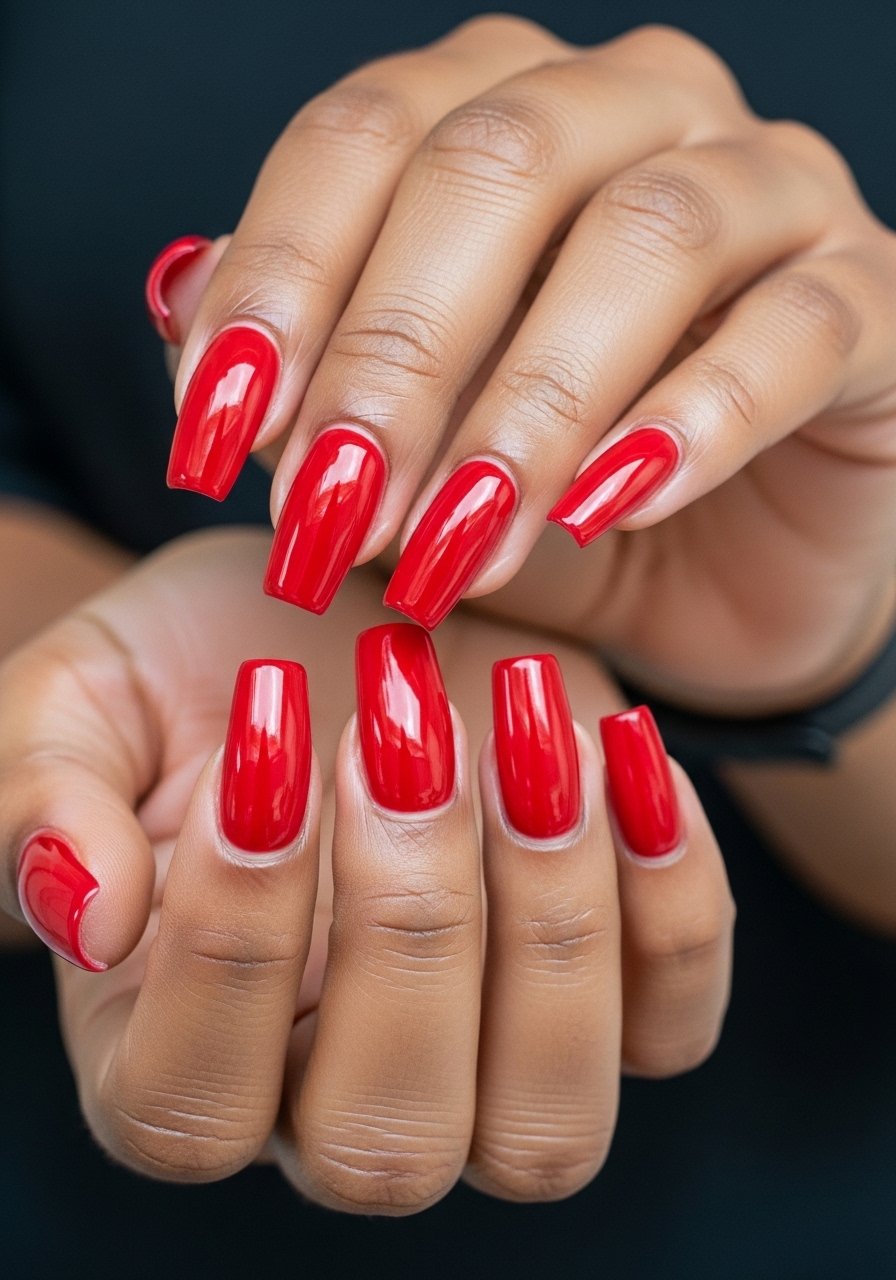
Style/Vibe: Timeless bold color
Best For: Long nails / nights out and photos
Skill: Beginner
A saturated red reads sharp on square nails when the free edge is sharply defined. Apply an opaque red acrylic or gel in thin passes, aiming for two even coats rather than one heavy coat. Keep the sidewalls clean and remove any excess before curing. Seal with a glossy top coat and make sure the free edge extension is uniform across fingers. Use a pigmented red acrylic powder and a dependable high-shine top coat.
Mistake to Avoid: Flooding sidewalls with color which makes the nail look narrower and untidy.
6. Half-Matte With Metallic Foil Accent
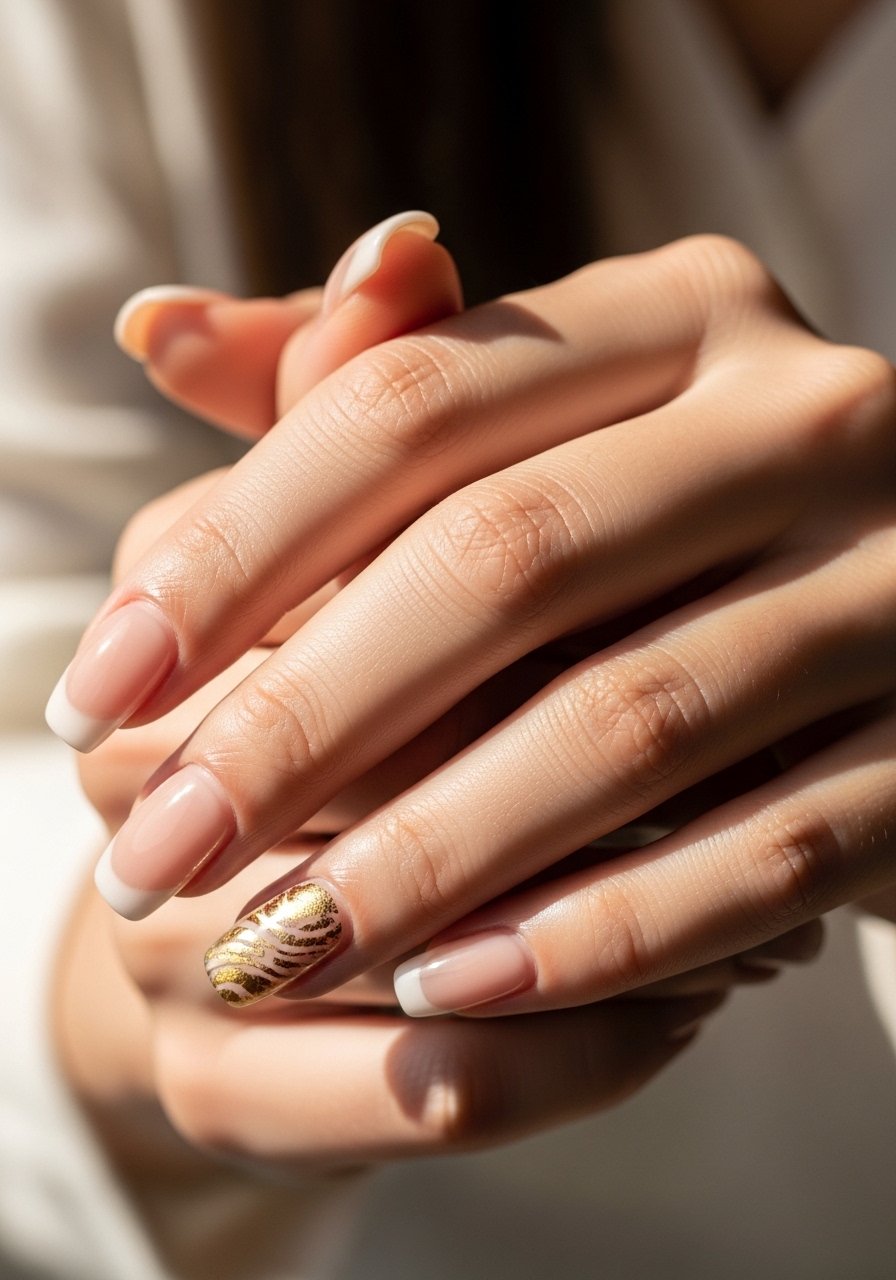
Style/Vibe: Mixed finish contrast
Best For: Long nails / weekend events
Skill: Intermediate
Split finishes take attention off the blunt tip. Paint half the nail matte and leave the other half glossy, then apply a small strip of metallic foil on an accent nail. The key is crisp separation—use a steady strip of tape down the center and buff the matte half lightly after curing. For a salon-feel at home use a tiny dab of foil glue and press foil for a precise fleck. Grab a matte top coat and a gold foil pack.
Mistake to Avoid: Trying to foil over a tacky matte surface which will not adhere cleanly.
7. Sculpted Tip Extension For Natural Flow
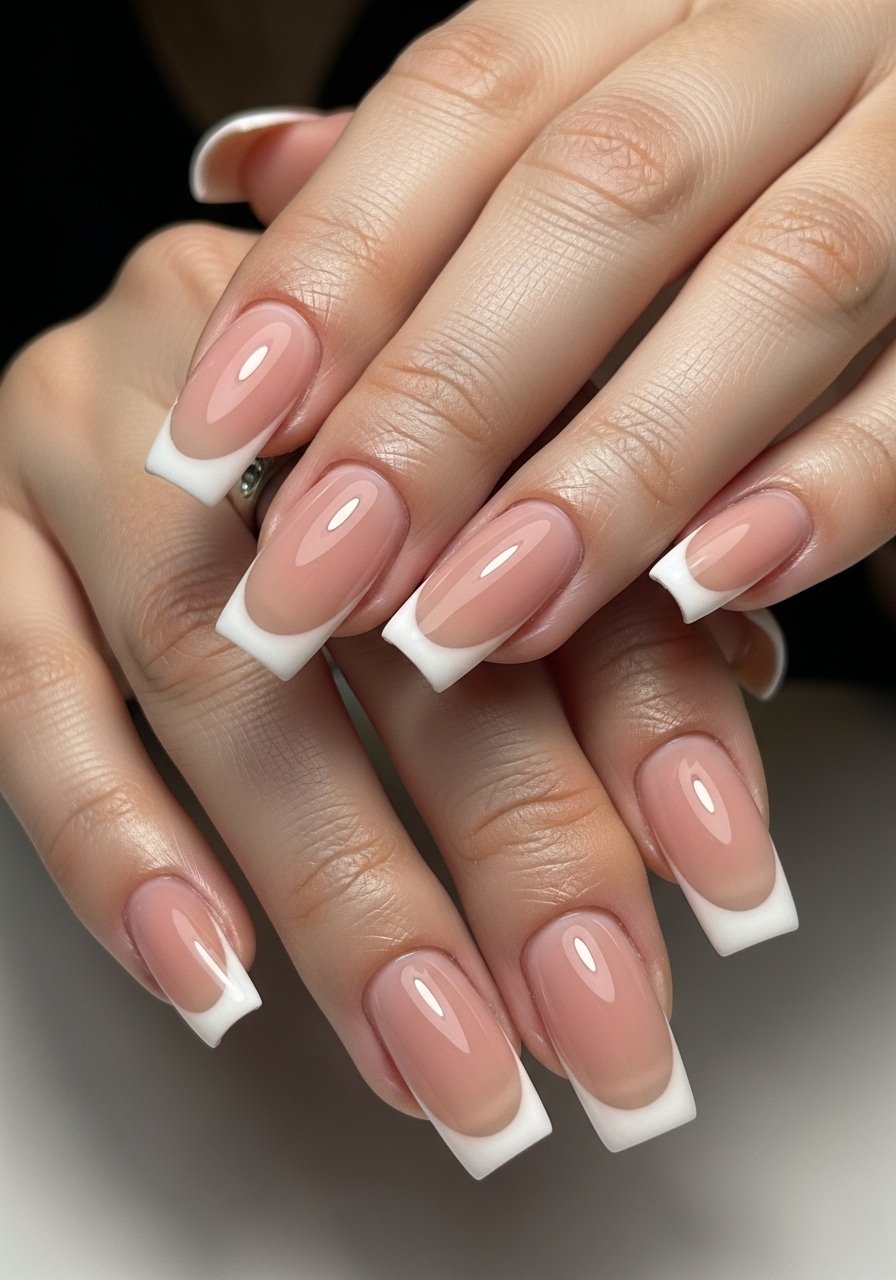
Style/Vibe: Seamless sculpted extension
Best For: Long nails / clients with short natural nails
Skill: Advanced
Sculpted tips keep the square look without a heavy ledge. Use forms and apply acrylic in thin layers, building the apex over the stress point and feathering the overlay toward the cuticle to avoid a shelf. Aim for a 1 mm gap at the cuticle for hygiene and to prevent lift. Finish with a strong file pass along the sidewalls to square the shape evenly. For at-home practice, a beginner-friendly press-on sculpt kit helps, but salons often have the control needed for clean sculpting.
Mistake to Avoid: Leaving a visible shelf at the tip by applying too much bulk at once.
If any of these looks made you want to shop for tools, here are the specific items I use most.
Square Acrylic Starter Picks
Tools & Prep:
- nail-glue (~$6-12). A thin-lipped glue helps set tips without overflow.
- nail-file (~$8-16). Choose a 180/240 grit set for shaping and finishing.
- cuticle-pusher (~$6-12). Clean cuticles mean less lift.
Acrylic & Gel:
- clear-builder-gel (~$18-30). Use for thin overlays and strength.
- white-acrylic-powder (~$12-20). For crisp French lines.
- red-acrylic-powder (~$10-18). High-pigment coverage.
Finishing & Extras:
- fast-dry-top-coat-nail (~$8-15). For quick shine.
- matte-top-coat-nail (~$9-16). For mixed finishes.
- nail-tape-set (~$5-10). For crisp lines and negative space.
8. Builder-Gel Overlay Over Acrylic For Extra Strength
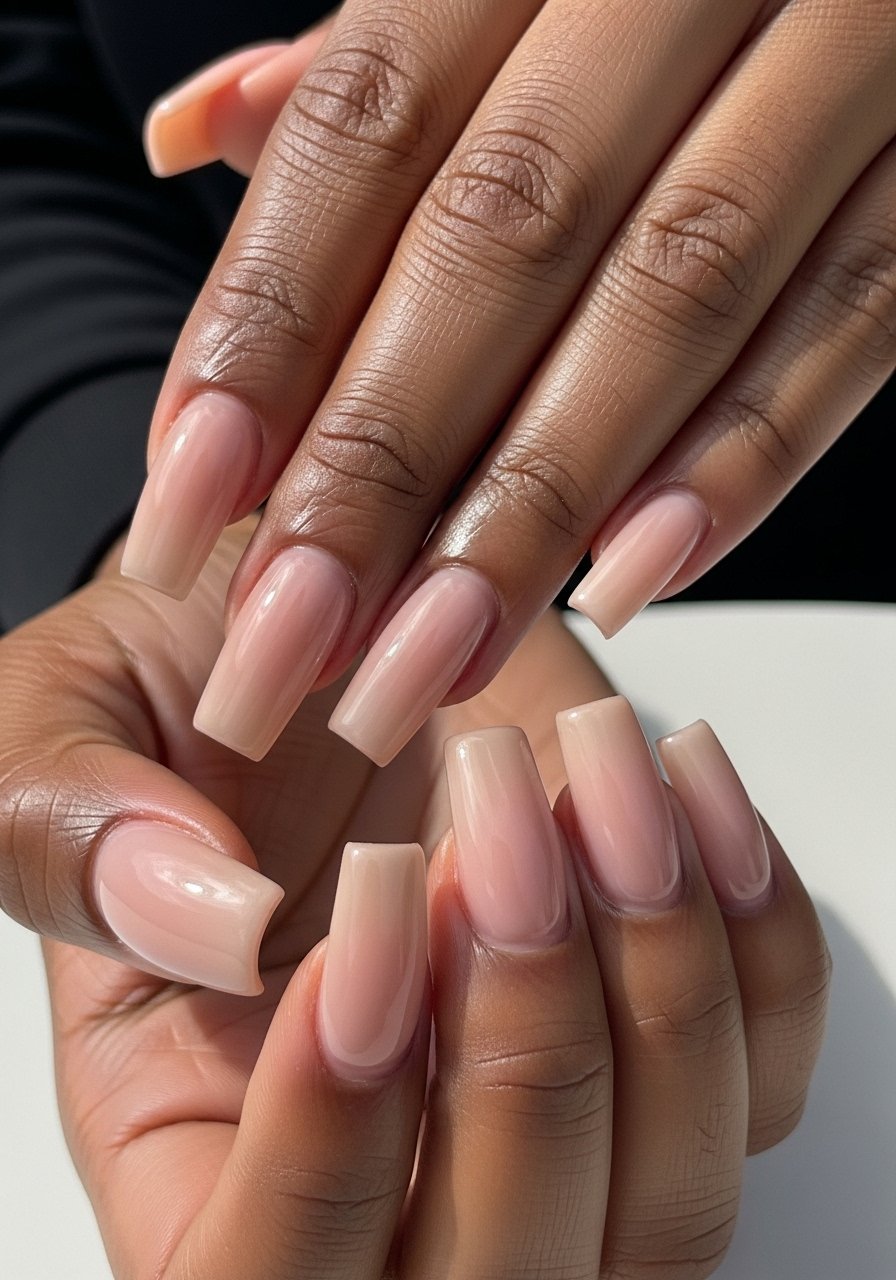
Style/Vibe: Reinforced glassy overlay
Best For: Long nails / heavy-handers or frequent typers
Skill: Intermediate
A builder-gel topcoat over acrylic combines the structure of acrylic with the chip resistance of gel. After your acrylic set has been filed and dusted, apply a thin 1 mm layer of builder gel and cure under an LED lamp for the specified time. The thin layer evens surface imperfections and extends wear by a week or two. Use a 30 to 60 second cure lamp such as a compact LED lamp and a medium-viscosity builder gel.
Mistake to Avoid: Applying builder gel so thick that the square tip loses its sharp profile.
9. Baby-Boomer Ombre Thoughtfully Scaled
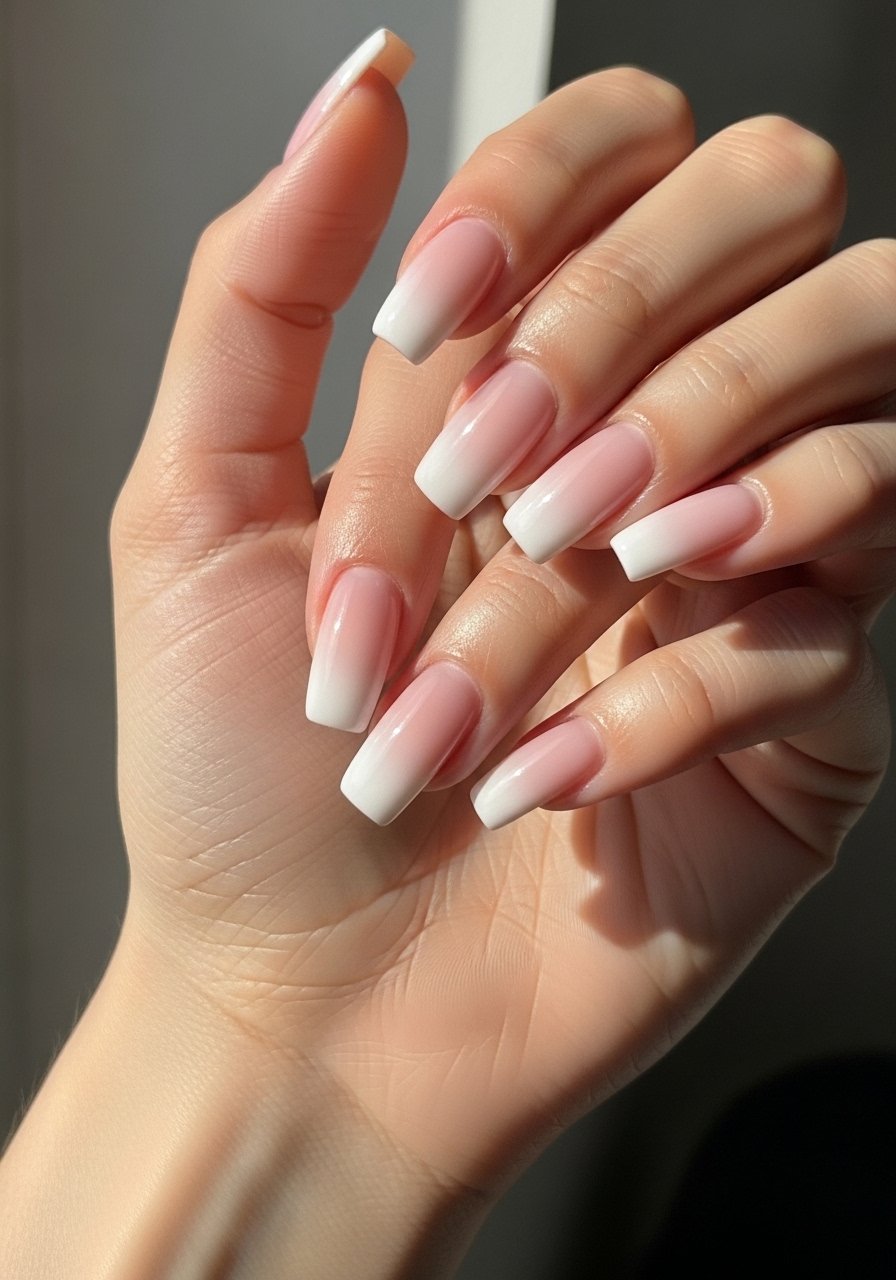
Style/Vibe: Soft ombre for squared tips
Best For: Long nails / bridal and photos
Skill: Intermediate
The baby-boomer ombre is flattering on squares when the white is softened and not a stark white band. Use a soft sponge or brush to blend a pale pink into white at the free edge, keeping the white about 1.5 to 2 mm thinner than on round nails to avoid a chunky look. Seal with a glossy top coat and keep the gradient subtle. Use pink acrylic powder and white-acrylic-powder for durable blend.
Mistake to Avoid: Adding too much white at the free edge so the ombre reads like a stark band.
10. Minimal Line Art Over Clear Base
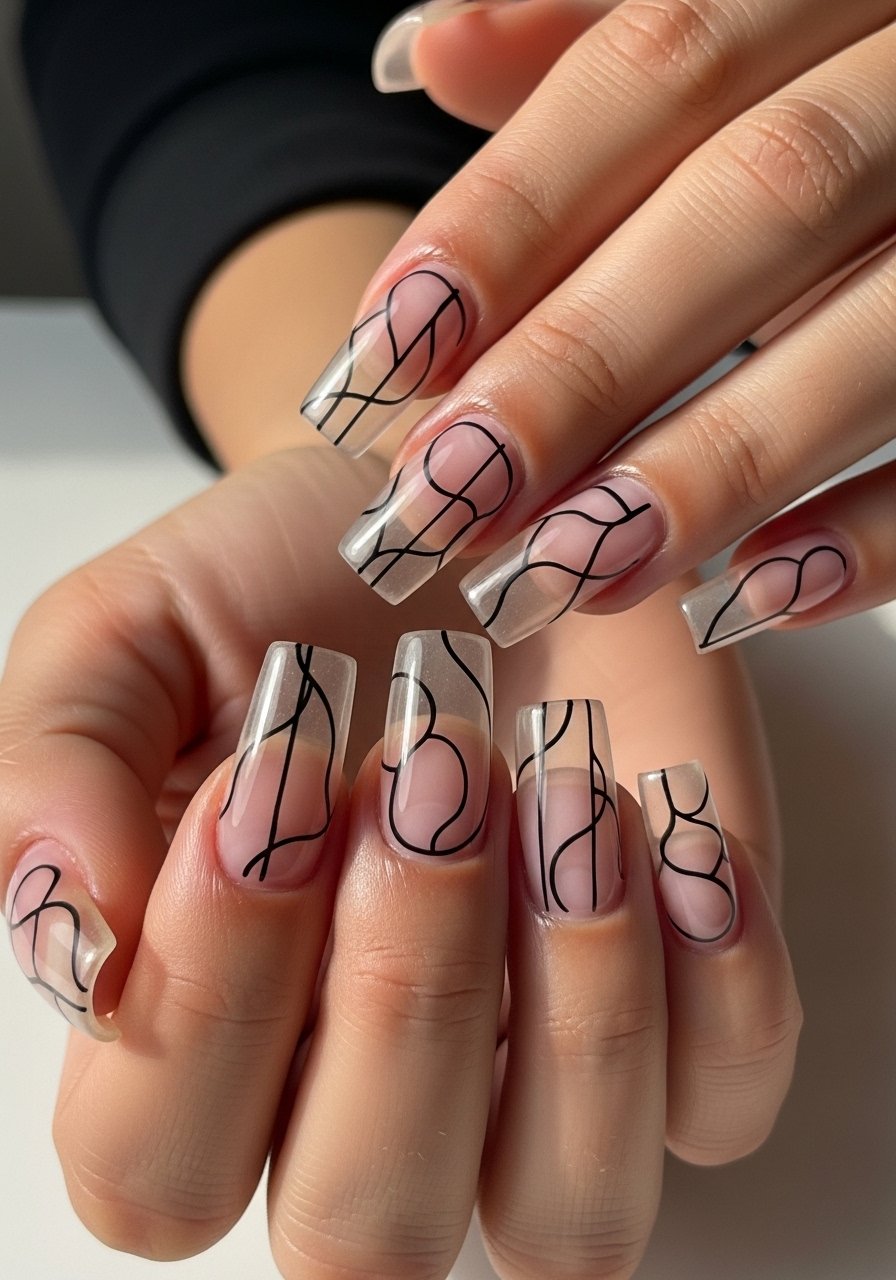
Style/Vibe: Modern minimalist art
Best For: Long nails / editorial and casual looks
Skill: Intermediate
Tiny line art on a clear base gives square nails an editorial edge without heaviness. Start with a smooth clear overlay and use a thin gel liner or a steady hand with a fine brush to draw single-line motifs near the free edge or along one sidewall. Keep strokes no longer than 8 to 10 mm so the design feels intentional on a long square canvas. Seal with a glossy top coat. Try a fine nail art brush for control and a thin black gel polish.
Mistake to Avoid: Drawing long, sweeping strokes that compete with the nail’s square proportions.
11. Holographic Accent Nail For Subtle Drama
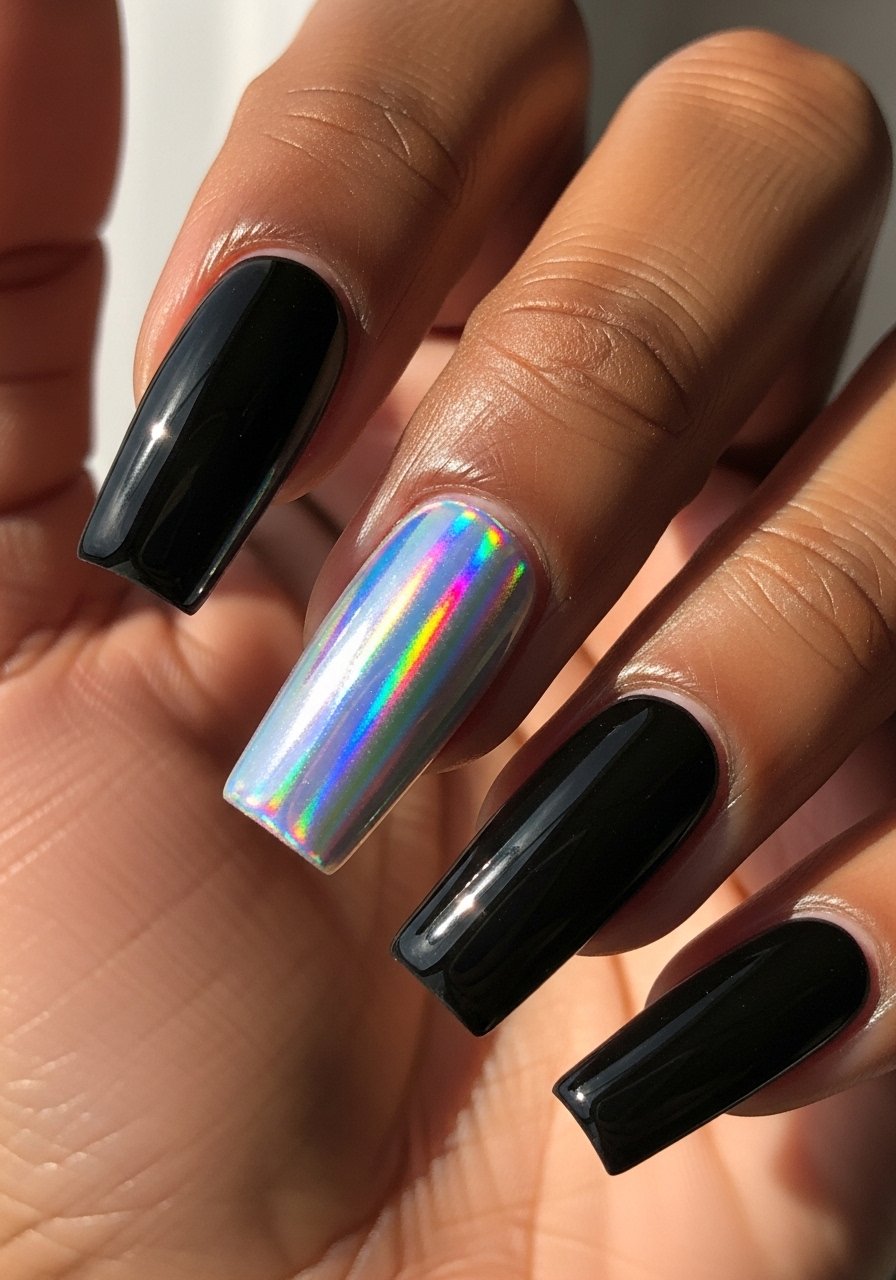
Style/Vibe: Subtle sparkle accent
Best For: Long nails / party and weekend wear
Skill: Beginner
Pick one accent nail and keep the rest neutral to avoid overpowering the square silhouette. Use tiny holographic flakes or a holo powder applied over a sticky layer, then seal with a thick glossy top coat. A single accent reflects light without making all nails feel busy. Place flakes in a 3 to 6 mm cluster near the tip for balance. Use a small jar of holographic flakes and a durable top coat.
Mistake to Avoid: Spreading flakes across every nail which makes chips glaringly obvious.
12. Linen Texture For Soft Dimension
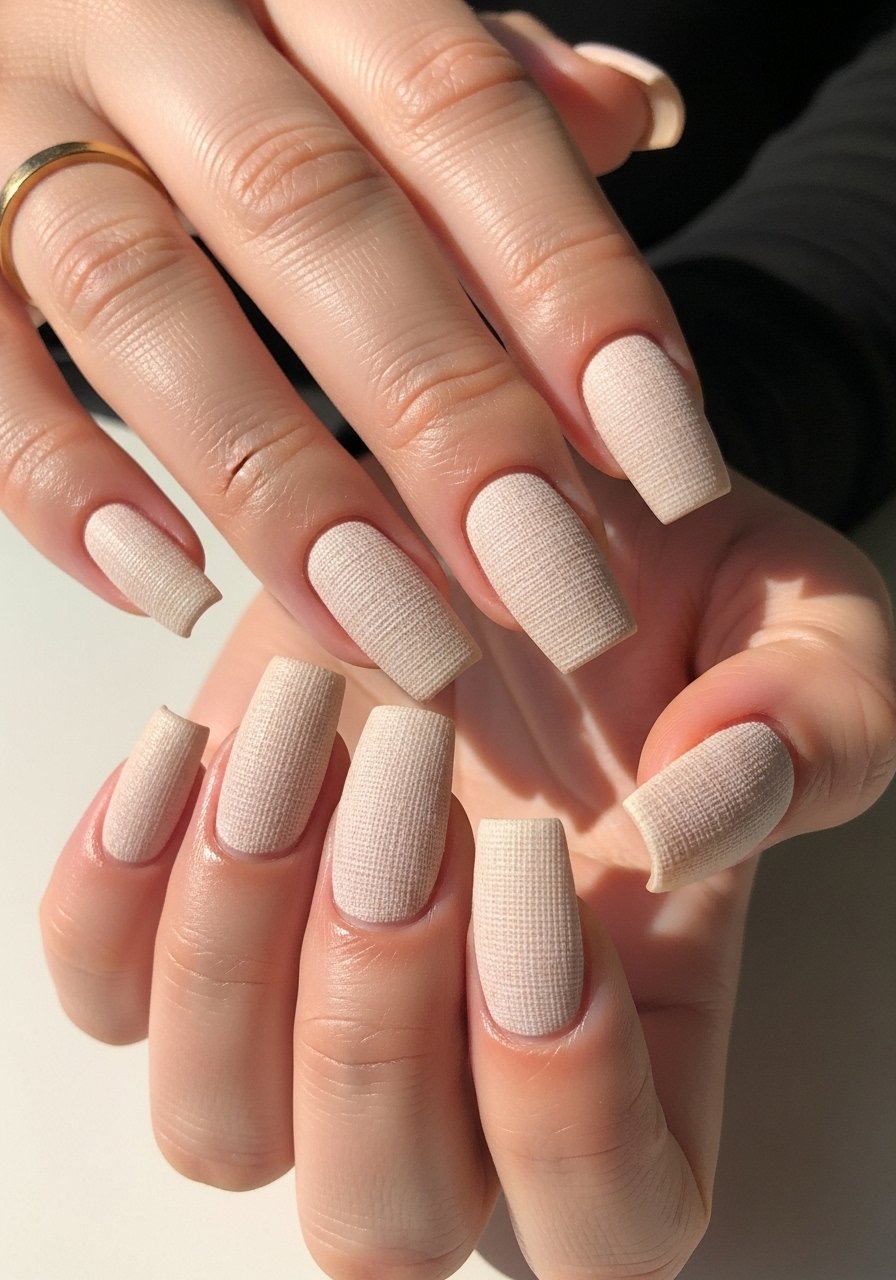
Style/Vibe: Textured soft linen
Best For: Long nails / relaxed weekends and brunch
Skill: Intermediate
A linen texture reads tactile rather than shiny, which can soften a sharp square silhouette. Use a stipple brush or a special texture powder and press lightly into a semi-cured top coat to create fine crosshatch lines. Keep the pattern scale small, about 1 to 2 mm details, so the texture reads like fabric from a normal distance. Seal gently with a satin top coat to keep texture visible without catching on fabrics. A texture powder and a satin top coat are handy.
Mistake to Avoid: Overworking the texture so it becomes rough and snags on clothing.
13. Clear Overlay With Cuticle Care Finish
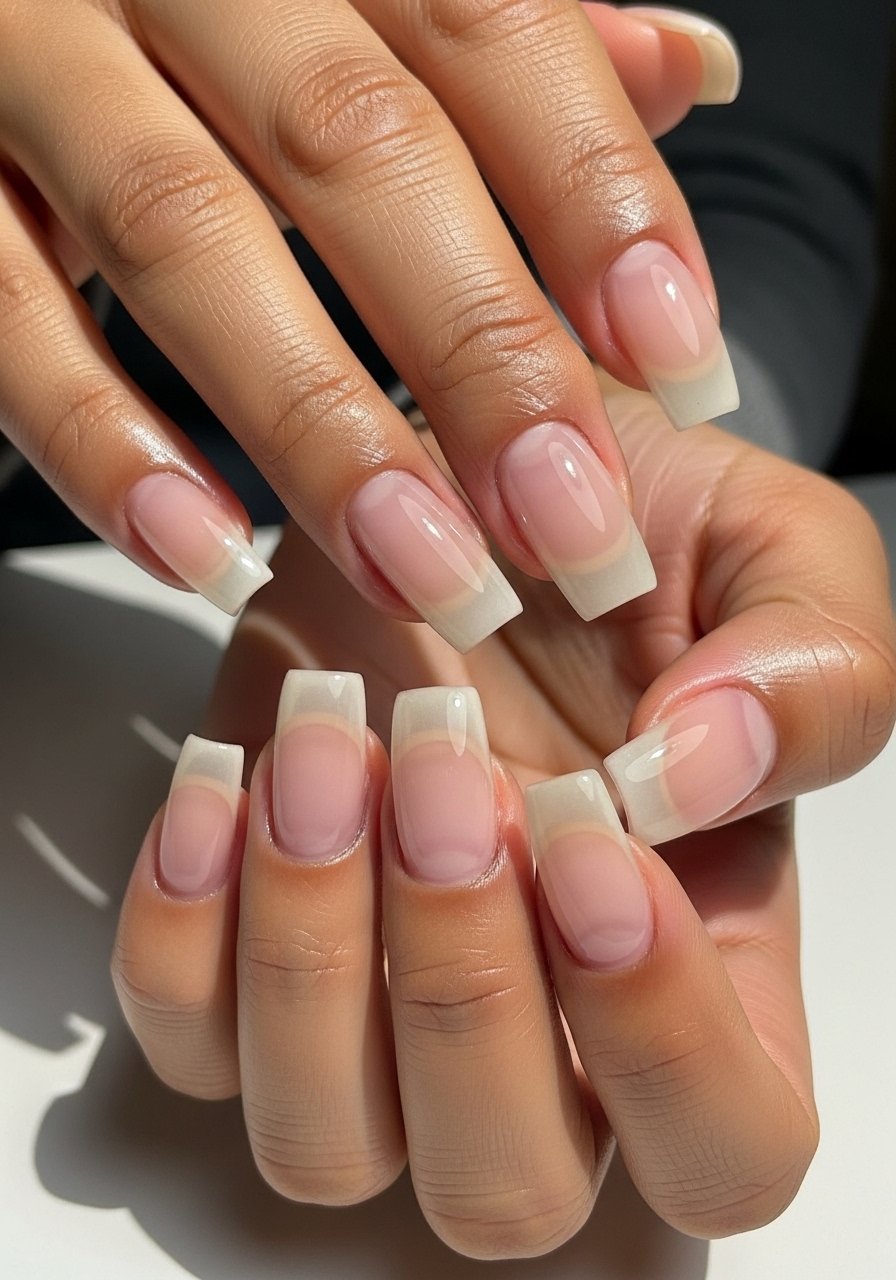
Style/Vibe: Clean clear overlay
Best For: Long nails / natural-looking sets and maintenance weeks
Skill: Beginner
A clear overlay is low-fuss and highlights care more than color. Apply a thin clear acrylic overlay, keep the cuticle area neat with a 0.5 mm gap, and finish with a glossy top that reflects light across the square tip so chips show less. Follow up with a lightweight cuticle oil daily to keep the cuticle line soft and reduce lift. Use a clear overlay powder and a penetrating cuticle oil.
Mistake to Avoid: Sealing product onto dry cuticles which causes lifting and peeling.
Square Nail Care Habits
Tip 1: Thin coats win over thick ones. Three thin layers of a fast-dry top coat look smoother and last longer than one heavy layer.
Tip 2: Grab a nail buffer block. Buff lightly before product so overlays sit flush and adhesion improves.
Tip 3: If you type a lot, try a protective layer of builder gel for added strength. I used this across three clients who report fewer snags.
Tip 4: Keep a small bottle of cuticle oil at your desk. Daily oiling around the 1 mm cuticle gap reduces lift and looks cleaner.
Tip 5: Use nail tape for crisp lines. It also makes negative-space and half-matte tricks manageable at home.