
I kept asking artists for "just a tiny narcissus" and walking out with a faded smudge by the six-week check. It took misreading a healed photo, learning which needle sizes actually hold, and one aftercare product that stopped my scab crunch for me to understand how small floral work really lasts. What follows are the small narcissus ideas I keep saving so the next time you ask for tiny, it stays tiny and clean.
These ideas are for someone who wants delicate botanical tattoos that stay readable, not for bold sleeves or coverups. Most pieces are single-session, budget friendly, and meant to be coverable at work when placed on ribs, behind the ear, or the inside wrist. I refined these across five shops I have visited, and the notes below include placement, how the design ages, which aftercare helps, and small technique details that make the lines hold.
1. Fine Line Wrist Narcissus

Style/Technique: Fine Line
Pain Level: 3/10
Session Time: 0.5 to 1 hours
Best For: Inner wrist, first small floral tattoo
A single-stem fine-line narcissus reads clean on the inner wrist because it follows the arm's natural curve. Artists I trusted used a 3RL liner and a single-pass dot-work technique for the petals, which keeps the white space crisp as it heals. This is a low-cost, low-time choice for someone who wants a minimal, coverable piece. Carry a small tube of tattoo-aftercare-balm for the first week. Small tattoos need consistent thin layers of balm, not globs.
Mistake to Avoid: Asking for thicker lines to "make it last" which causes blowout and blurring over time.
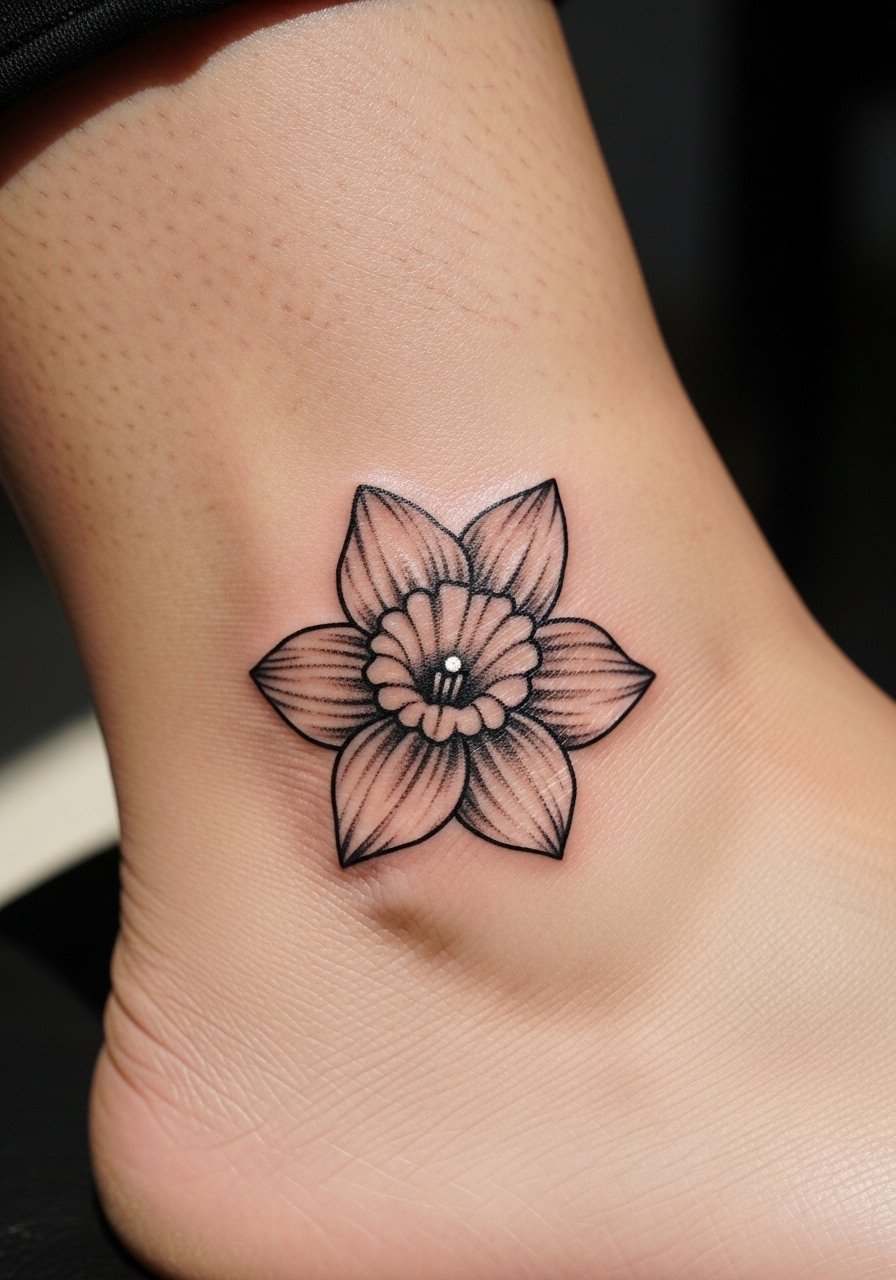
2. Ankle Accent Narcissus
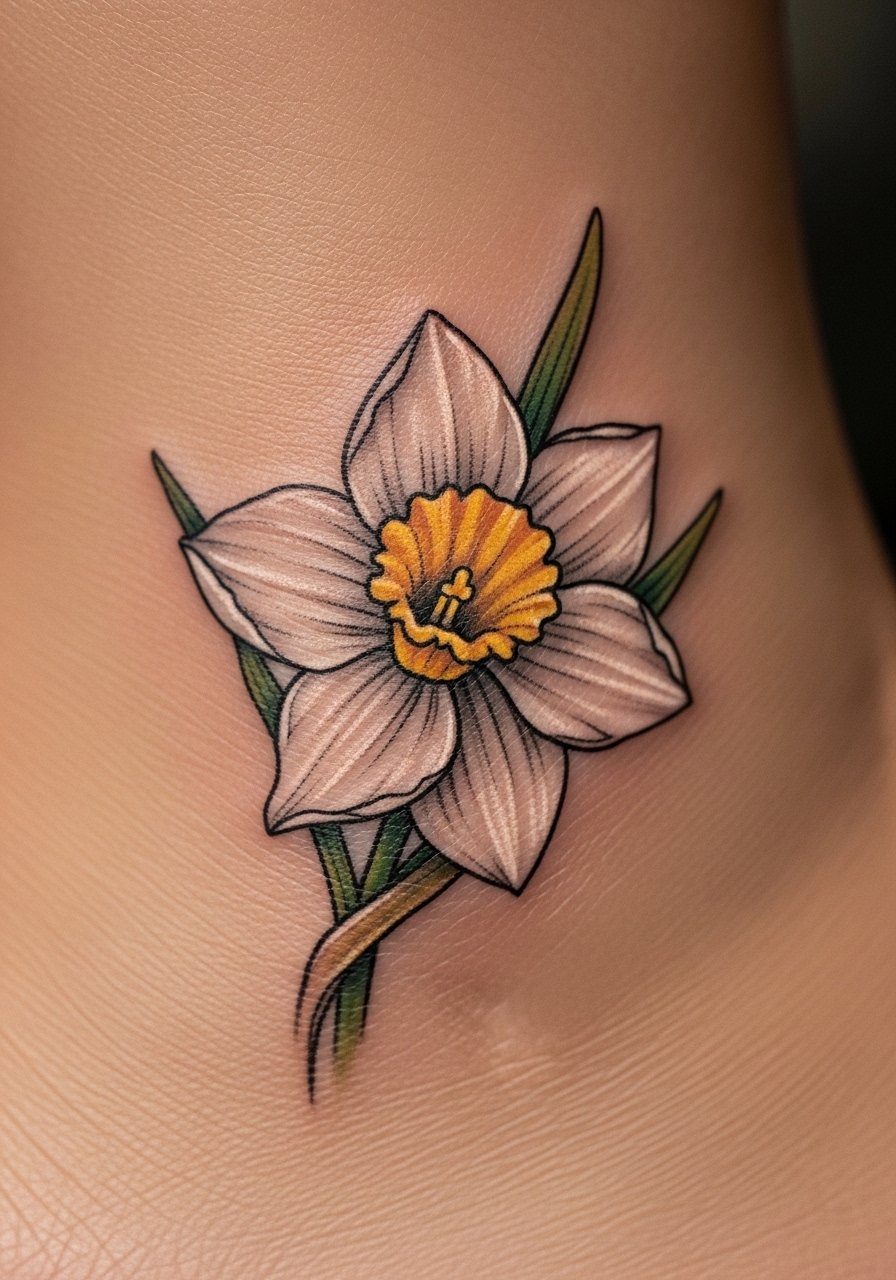
Style/Technique: Micro Realism
Pain Level: 2/10
Session Time: 0.5 to 0.75 hours
Best For: Ankle, casual visibility, sandal season
Placing a tiny narcissus on the outer ankle gives movement when you walk, so the flower reads like a small accent rather than a static symbol. The design uses micro shading with a 5-point stippling pattern in the petals to create depth without solid fill. It feels modern and easy to hide with socks or show with sandals. For healing, switch to a fragrance-free soap like fragrance-free-soap for gentle washes. Budget wise this is a quick session that lets you test placement before committing to larger floral pieces.
Mistake to Avoid: Letting boots rub the fresh tattoo the first week, which causes scabs to lift unevenly.
3. Behind-the-Ear Single Narcissus
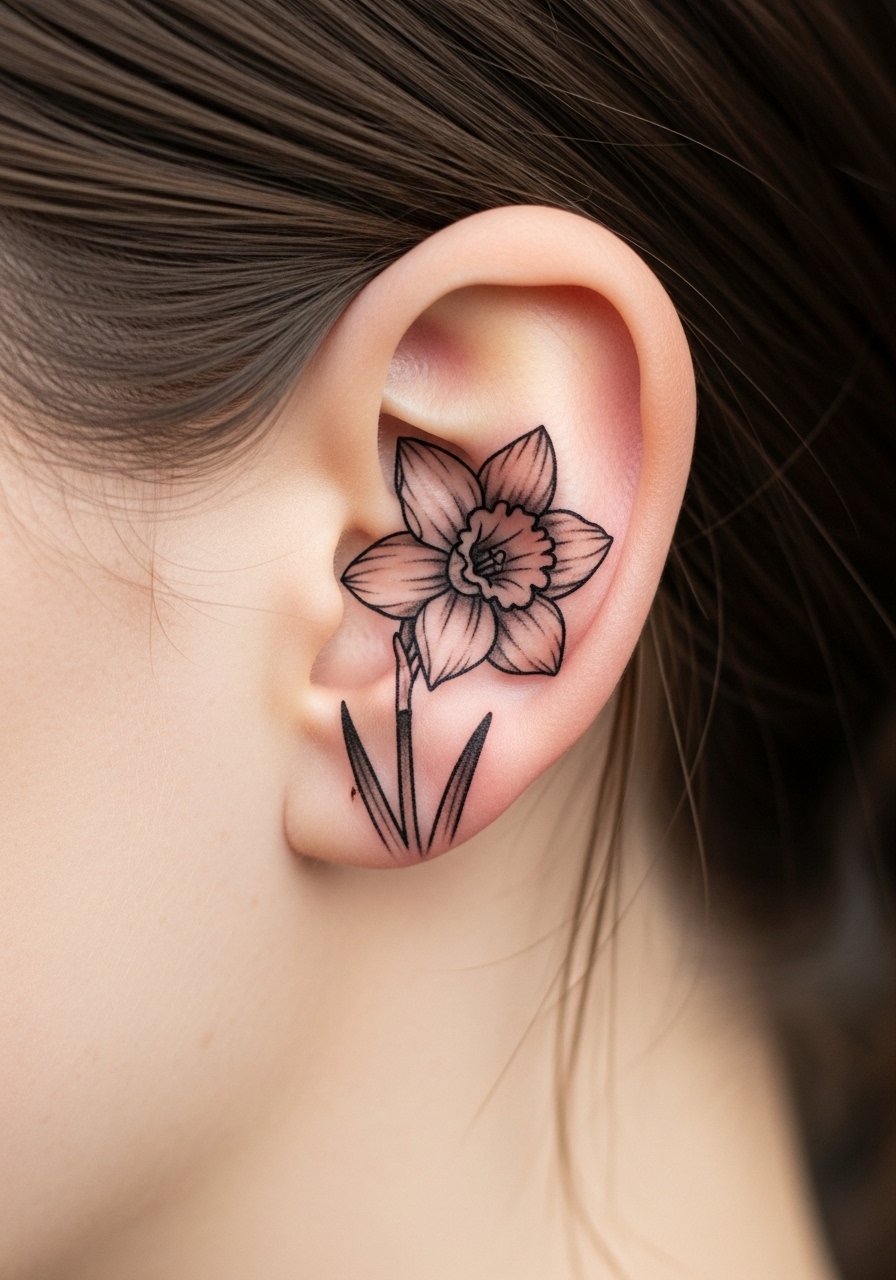
Style/Technique: Minimal Outline
Pain Level: 1/10
Session Time: 0.25 to 0.5 hours
Best For: Behind the ear, easily hidden, subtle
This tiny outline behind the ear is the kind of discreet spot people pick when they want a floral token without workplace visibility. The piece works because it trades detail for silhouette, a thin outline with a single dot center so it ages like jewelry. It pairs well with small studs and heals fast. Keep a pack of transparent-bandage for the first 48 hours if you sleep on that side. Design-wise, the negative space petal is a small detail that competitors often miss.
Mistake to Avoid: Choosing heavy shading behind the ear, which can trap moisture and slow healing.
4. Finger Outline Narcissus
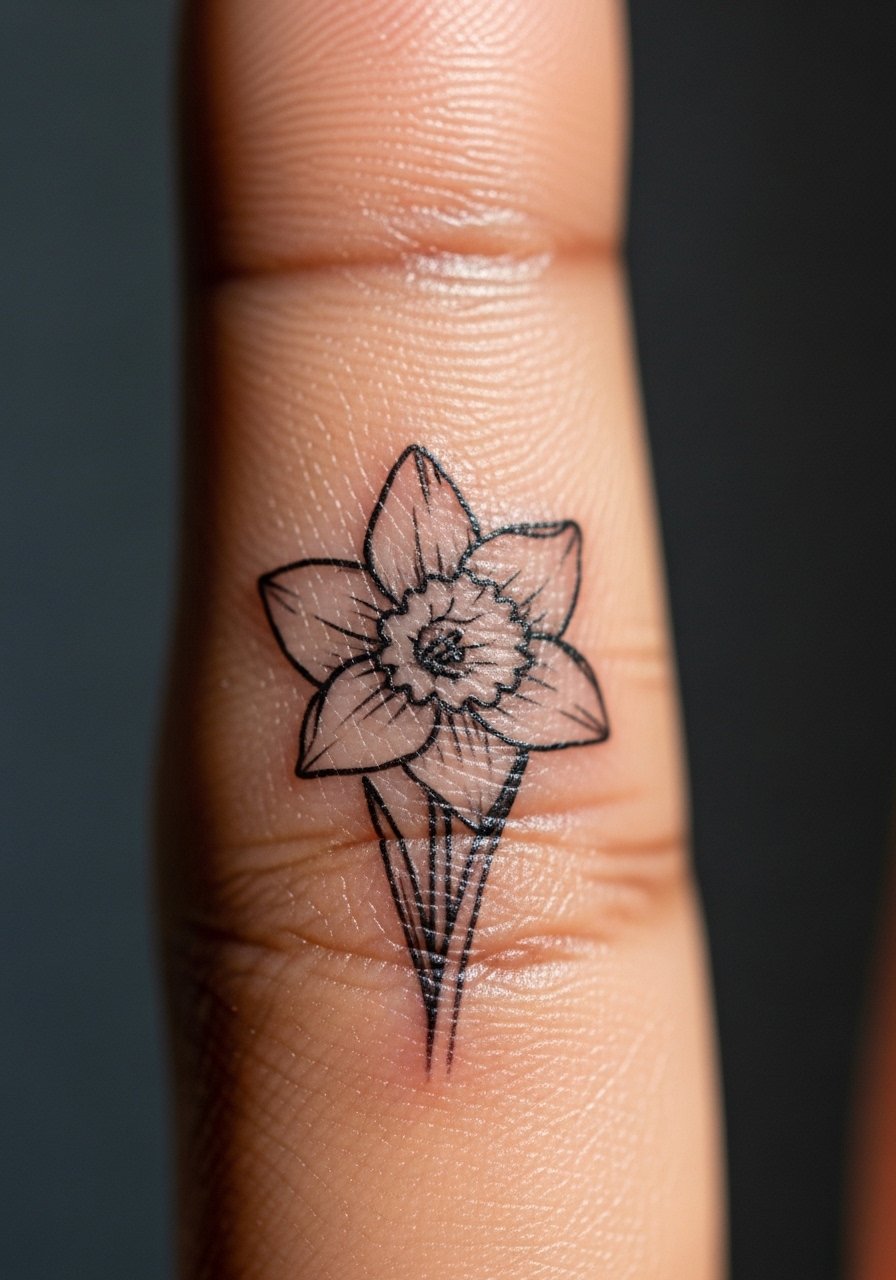
Style/Technique: Single-Line Finger Work
Pain Level: 4/10
Session Time: 0.25 to 0.5 hours
Best For: Finger, ring finger alternative, tactile placement
A narrow outline on the finger wears like jewelry but requires realistic expectations. The trick is to keep lines thin and avoid heavy fill, since fingers blur faster. Ask for a single-pass fine liner and plan for a touch-up within a year. For protection during chores, a breathable barrier like waterproof-bandage helps in the first week. This is an intimate, low-budget choice that reads delicate and intentional when done right.
Mistake to Avoid: Requesting dense black fill on fingers, which leads to fast fading and thickening.
5. Ribcage Pocket Narcissus
Style/Technique: Hidden Placement
Pain Level: 5/10
Session Time: 0.75 to 1.25 hours
Best For: Ribcage, private piece, easy to conceal
A small narcissus on the ribcage is private and ages well because it avoids constant sun exposure. The design often uses soft dot shading for petal texture and a thin stem that follows the rib line for a flattering fit. It feels intimate and personal, a mid-skill session that costs a bit more but stays cleaner long term. During healing, sleep on your back and use a light layer of tattoo-healing-ointment to avoid friction from clothing.
Mistake to Avoid: Tight clothing rubbing the area in the first five days, which causes scabbing and patchy loss.
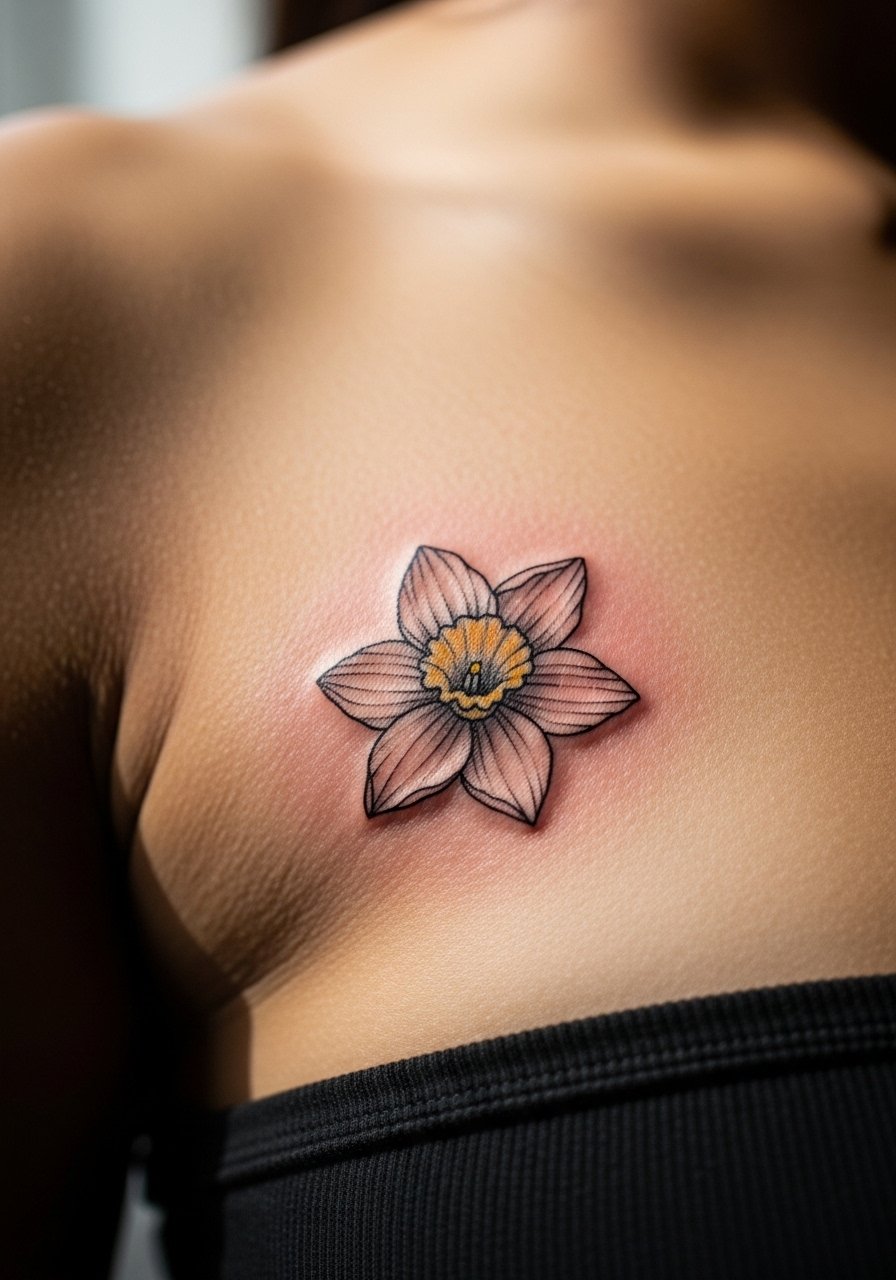
6. Collarbone Sprig Narcissus
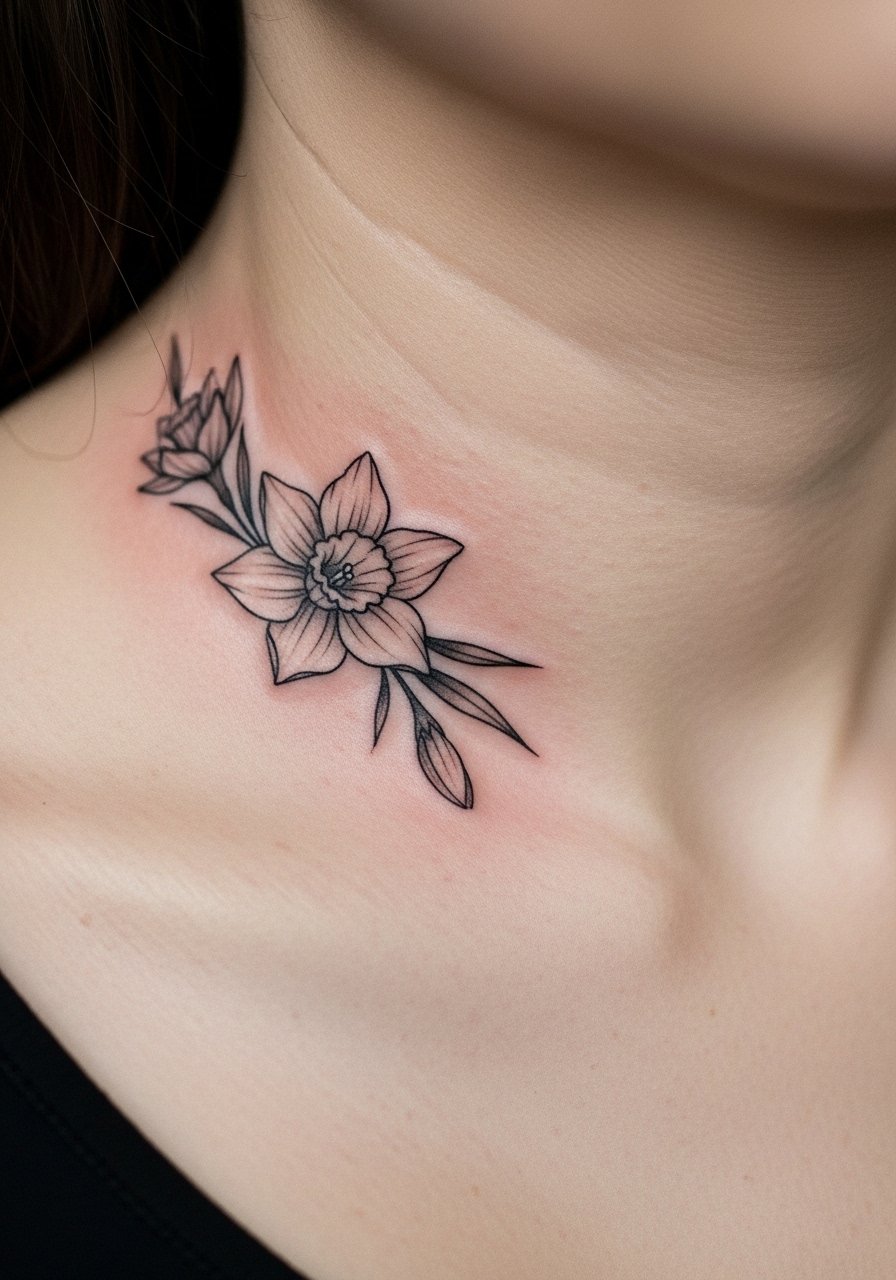
Style/Technique: Placement Flow
Pain Level: 3/10
Session Time: 0.5 to 1 hours
Best For: Collarbone, visible with necklaces, flattering on many body types
A sprig that sits on the collarbone reads like a jewelry accent, especially when the stem follows the bone. The visual success comes from slightly thicker main lines and thin petal veins, which keep the image legible in motion. It suits people wanting visible floral work that still photographs cleanly. Use a mineral mineral-sunscreen-spf-50 once healed to prevent UV fading. This placement is a good middle ground between private and showy.
Mistake to Avoid: Applying sunscreen too early before the skin fully heals, which can trap product under peeling skin.
7. Inner Bicep Narcissus Cluster
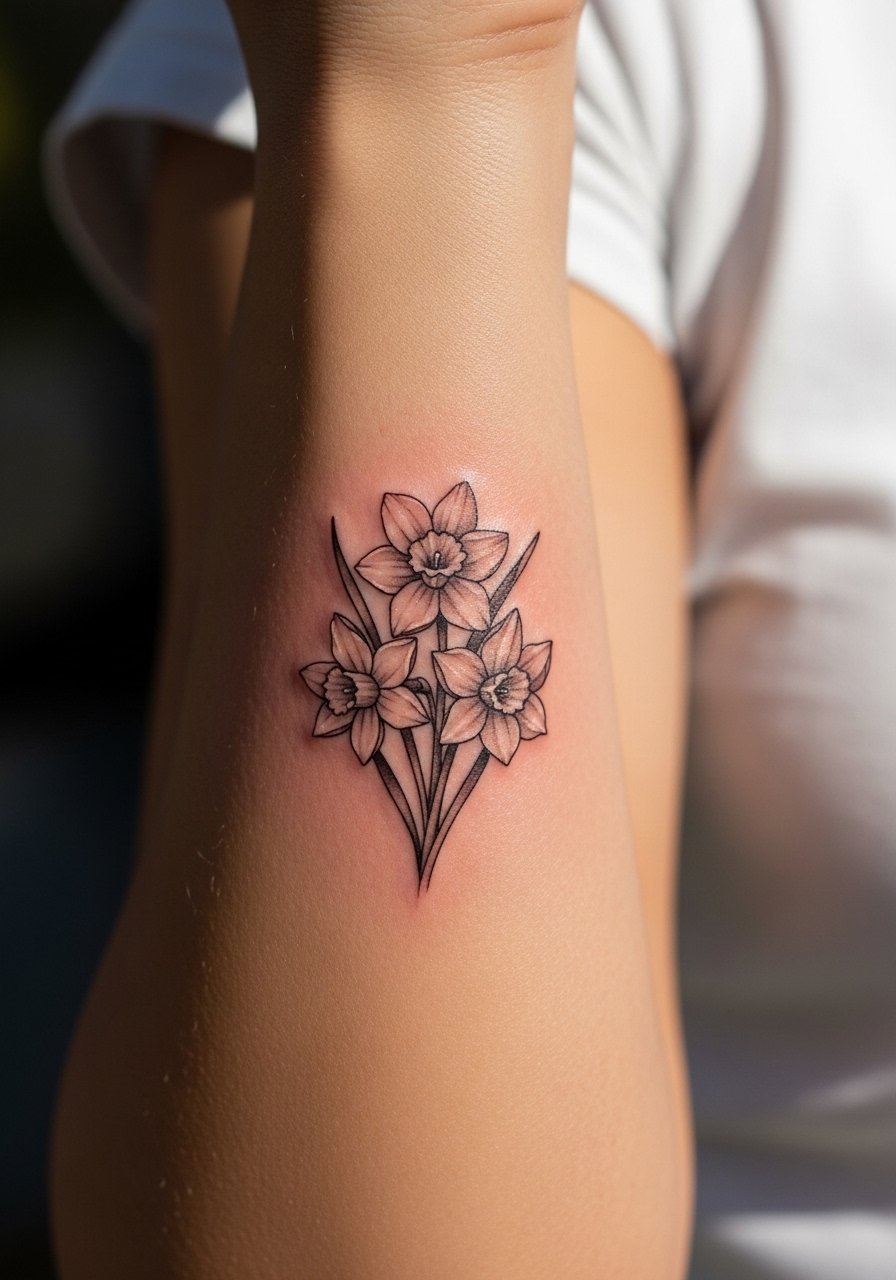
Style/Technique: Small Cluster
Pain Level: 4/10
Session Time: 0.5 to 1.25 hours
Best For: Inner bicep, moderate visibility, pairing with other small florals
A tiny cluster of two or three narcissus blooms on the inner bicep reads like a mini bouquet and gives more visual interest than a single bloom. The cluster approach uses micro shading and a slight overlap so each flower maintains definition as it heals. It suits folks who want a small but slightly denser floral look. For aftercare, blotting with a clean paper towel and small amounts of fragrance-free-heal-cream prevents over-application.
Mistake to Avoid: Overpacking the area with black to "define" the cluster, which creates a dark patch after healing.
If any of these small designs feel like what you want, here are the supplies I actually reach for when I get tiny florals done.
Tiny Flower Tattoo Supplies Worth Keeping
Aftercare:
- Tattoo aftercare balm (~$8-20). Gentle, thin layers only.
- Fragrance free soap (~$6-12). Use for daily cleans.
- Waterproof bandage (~$7-15). For showering in the first 24 hours.
Protection & Conceal:
- Tattoo concealer stick (~$12-20). For quick coverage.
- Mineral sunscreen SPF 50 (~$10-18). Use after the tattoo fully heals.
Comfort & Extras:
- Transparent bandage (~$6-10). For sleeping on sensitive spots.
- Small first aid kit (~$12-25). Keep it simple.
- Tattoo aftercare spray (~$10-18). For clean, even application.
8. Tiny Narcissus with Stem Wrap
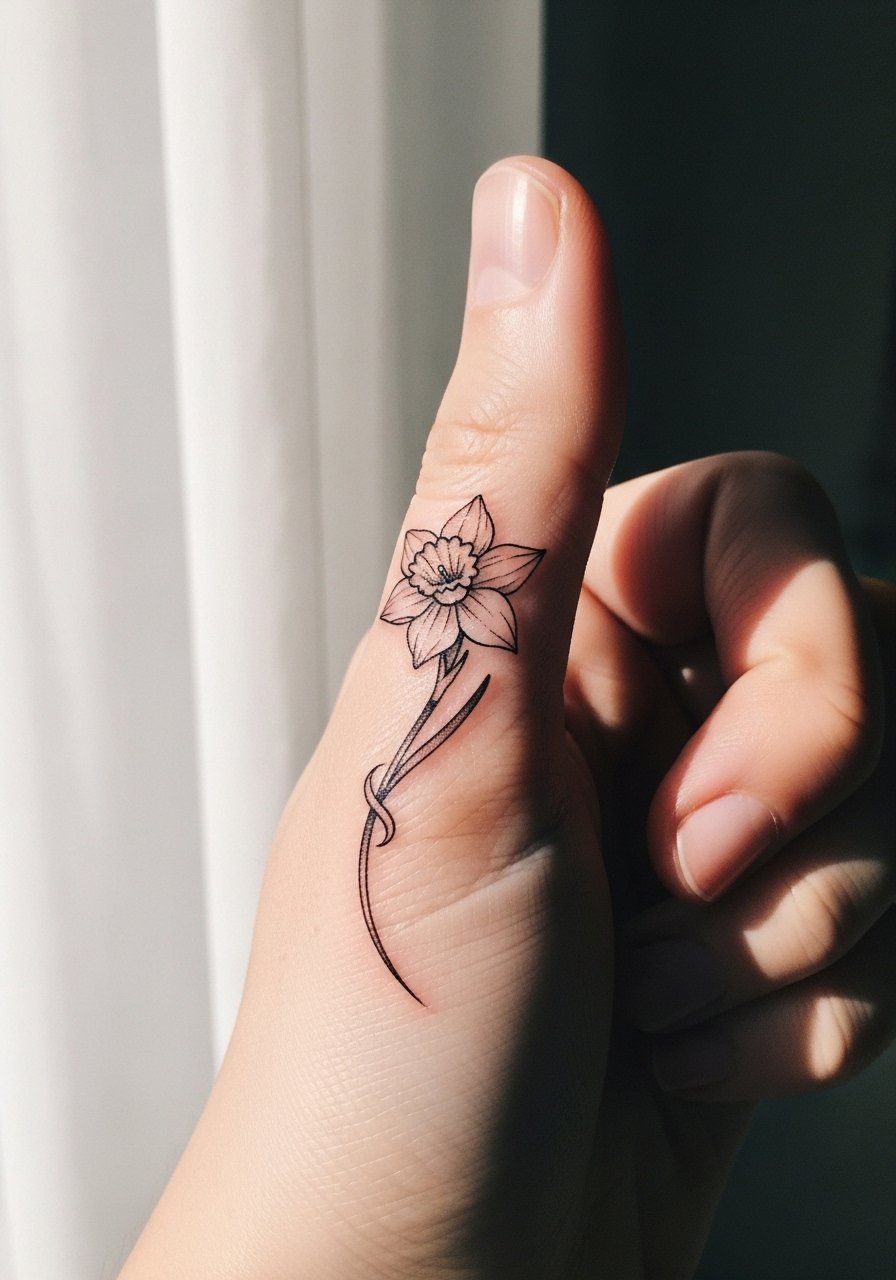
Style/Technique: Wraparound Linework
Pain Level: 4/10
Session Time: 0.5 to 1 hours
Best For: Thumb base, ring alternatives, tactile placement
A stem that wraps slightly creates a feeling of movement and fits unusual spots like the thumb base. The hand area needs single-pass lines and strategic spacing to reduce early blur. Keep the design thin with a small open center in each petal to preserve negative space. After healed, a dab of tattoo-healing-ointment while you are active helps protect against friction. This is a slightly riskier placement but works well for people who prefer visible small art.
Mistake to Avoid: Choosing a closed petal pattern on hands, which fills in and thickens quickly.
9. Tiny Narcissus with Root Detail
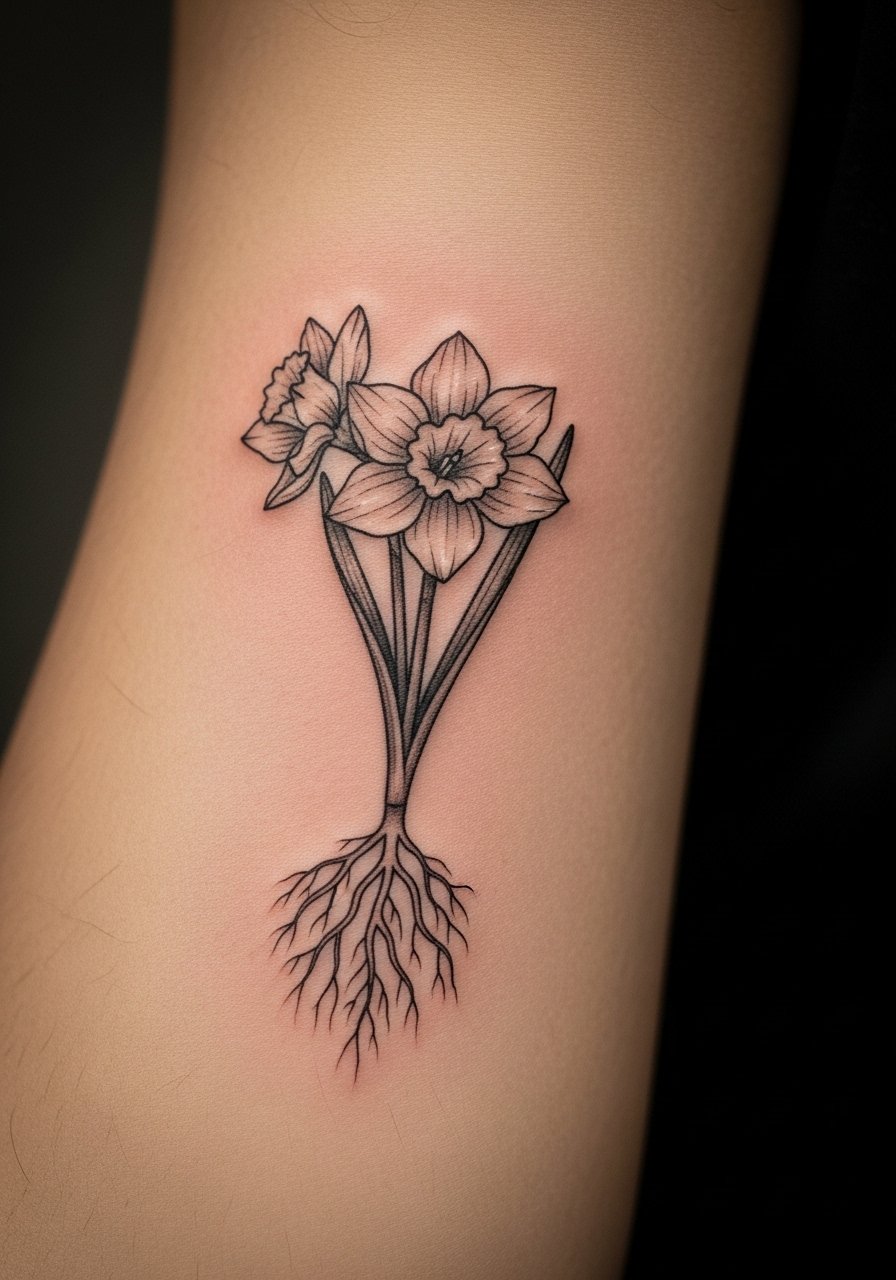
Style/Technique: Botanical Detail
Pain Level: 3/10
Session Time: 0.5 to 1 hours
Best For: Forearm, plant lovers, subtle symbolism
Adding tiny root lines under a narcissus gives the design an earthy feel and age resilience because the roots act as intentional line weight variation. Artists use hair-thin root strokes that contrast with slightly bolder bloom outlines to preserve shape over years. This suits people who want botanical accuracy with personality. For daily care, apply thin balm layers and avoid picking at peeling skin. A small aftercare-salve will keep the texture smooth.
Mistake to Avoid: Overdoing fine root lines so they sit too close and merge as the tattoo heals.
10. Mini Narcissus in Script
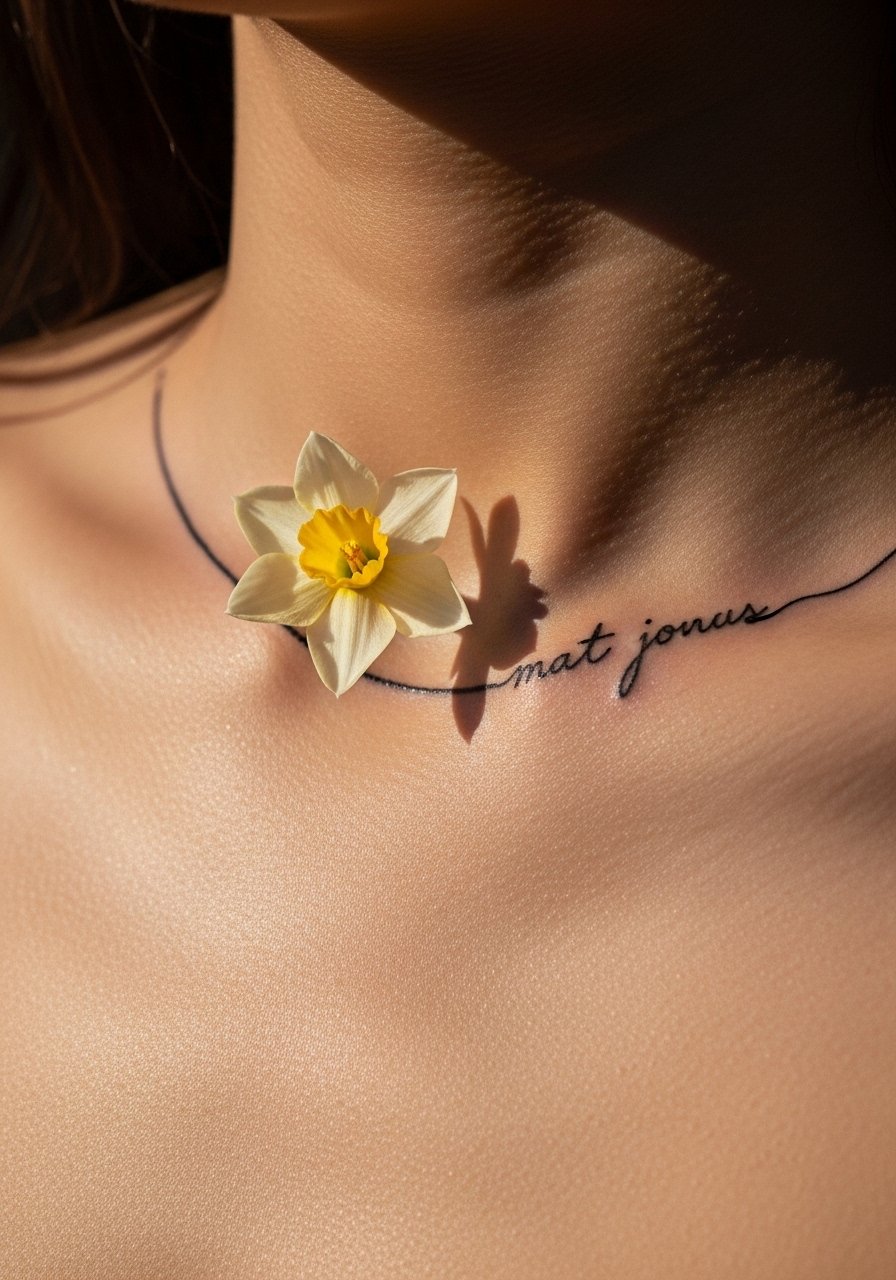
Style/Technique: Botanical Plus Script
Pain Level: 3/10
Session Time: 0.5 to 1 hours
Best For: Collarbone or wrist, sentimental placement
Pairing a tiny narcissus with a short, single-word script gives context without crowding. The important detail is spacing the letters at least the line weight apart from the petals so both elements age separately. Use a thin script font and request your artist map the spacing on skin before finalizing. A neutral concealer-stick can hide it for interviews if needed. This approach reads personal and small, not cluttered.
Mistake to Avoid: Placing script too close to petals, which causes letters to soften into the floral shape over time.
11. Tiny Narcissus with White Ink Center
Style/Technique: Tiny White Accent
Pain Level: 2/10
Session Time: 0.5 to 0.75 hours
Best For: Ankle or wrist, subtle highlights
A micro white ink dot at the center of a narcissus can mimic natural shine, but white ink behaves differently across skin tones and often fades faster. Ask your artist for a healed mock-up and plan for a touch-up. Use the white sparingly as an accent rather than a fill. Store-bought spf-mineral-sunscreen after healing protects white highlights from yellowing.
Mistake to Avoid: Expecting white ink to remain bright forever without honest touch-ups.
12. Mini Narcissus as Couples Match
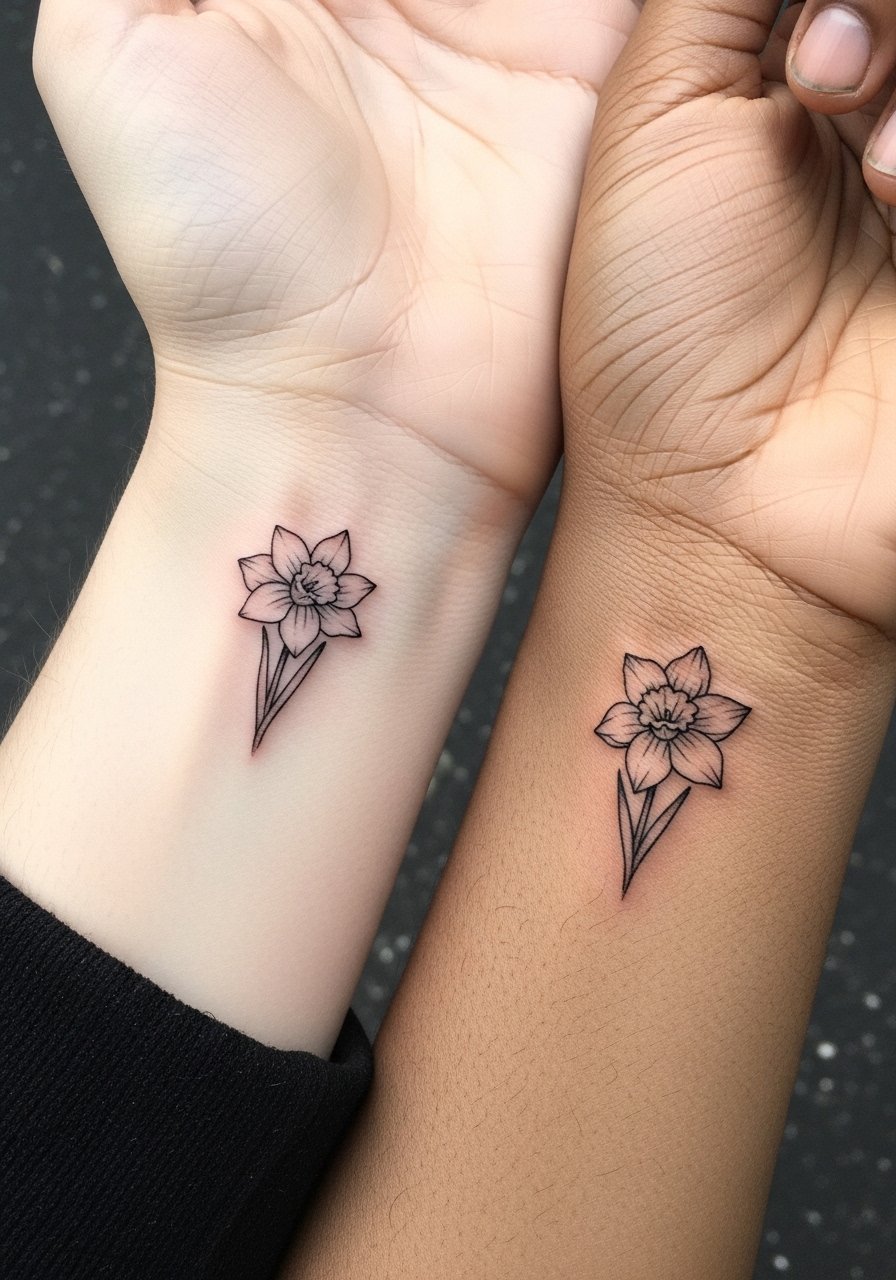
Style/Technique: Matching Tiny Motif
Pain Level: 2 to 3/10
Session Time: 0.25 to 0.75 hours each
Best For: Matching pairs, friendship or partner tattoos
Matching tiny narcissus tattoos are great when both people choose the same scale and placement. The visual success is in matching line weight and spacing, not mirror-perfect detail. If one person prefers slightly thicker lines for skin that heals differently, mention that to the artist so both pieces read cohesive. Keep aftercare identical and compare notes. For quick coverage during meetings, a concealer-stick helps.
Mistake to Avoid: Asking for mirror-image versions without accounting for skin differences and wear patterns.
13. Negative-Space Narcissus
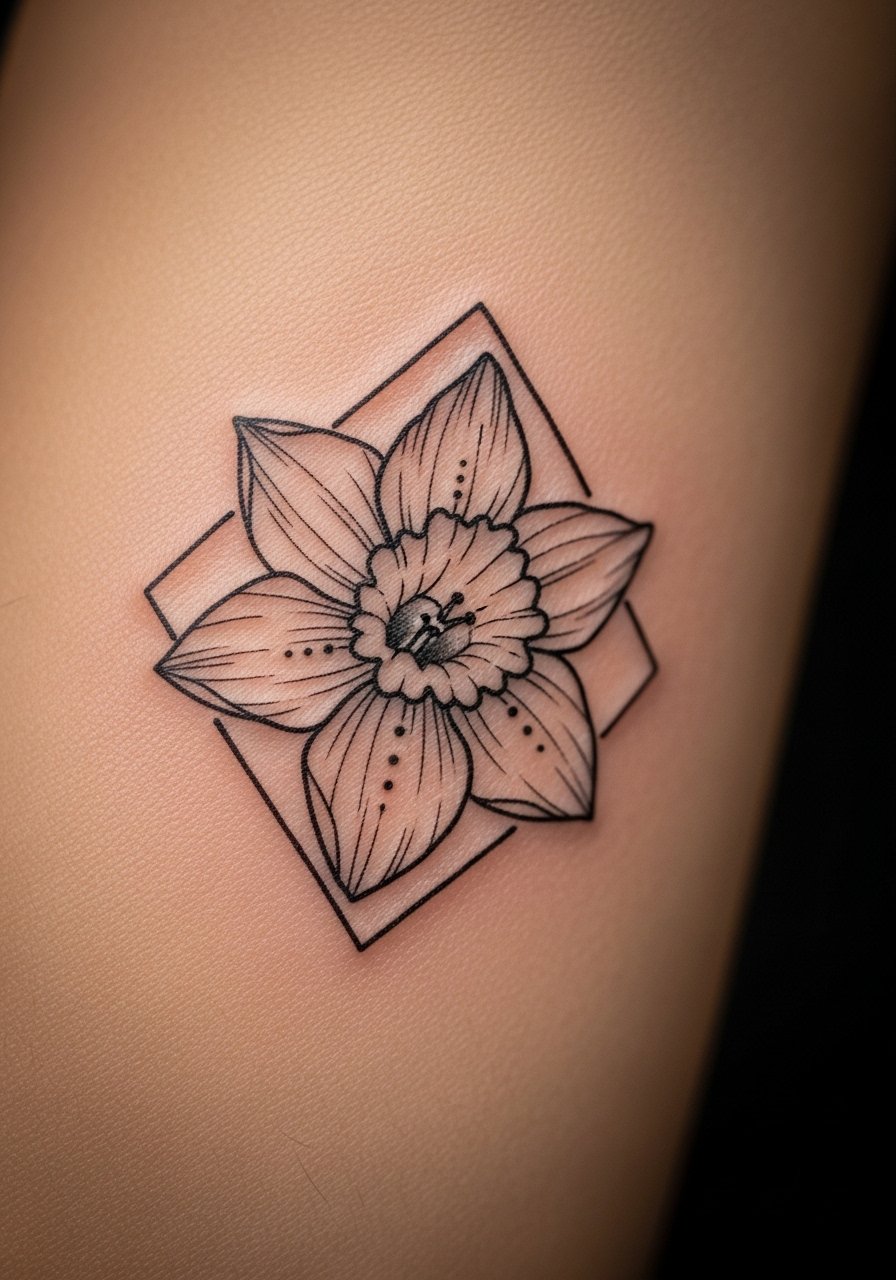
Style/Technique: Negative Space Linework
Pain Level: 3/10
Session Time: 0.5 to 1 hours
Best For: Forearm, visual contrast, graphic look
A negative-space narcissus uses the skin as the petal, outlined with thin black lines. It reads crisp because the artist avoids filling and relies on spacing and the skin tone contrast. This style ages nicely since there is no heavy fill to blur. It suits someone who likes graphic tattoos that look modern and simple. Keep it out of direct sun and use mineral sunscreen after healing to preserve contrast.
Mistake to Avoid: Adding unnecessary dot shading inside negative space, which defeats the clean contrast.
Tiny Narcissus Tattoo Aftercare Habits
Thin layers win every time. Apply a pea-sized amount of tattoo-aftercare-balm three to five times a day, wiping away excess between applications.
Grab fragrance-free soap for the first two weeks. Gentle, lukewarm rinses keep scabs from getting soggy and reduce the chance of patchy loss.
If your job requires concealment, try tattoo-concealer-stick matched to your skin tone. Layer thinly and set with translucent powder.
Avoid tight clothing over new tattoos. A breathable transparent-bandage helps if you must protect the area for a few nights.
Plan for a one-year check-in. Tiny lines often need a small touch-up to restore crispness, especially on hands and fingers.
