
The Pinterest image showed a perfectly balanced gallery, my rental wall did not. After three attempts and one mirror I almost sold, I learned the tiny math that makes a wall stop looking like a pile of stuff and start reading like design, even when you have cheap paint, a plaster wall, and a cat who thinks frames are toys.
These nine ideas are practical, renter-friendly, and budget-aware. I tested them across three rentals and one tiny studio, so I include which ones need a drill and which stick-on fixes work. Expect low-skill swaps for big effect, timing notes for each install, and the exact spacing tricks I use when the photo does not match the wall.
1. Curated Gallery Wall With Mixed Frames

A gallery works because of scale and rhythm, not how many pieces you have. Start with one large anchor and build around it using a 3-to-1 ratio of larger pieces to smaller ones. Hang the whole group so its visual center sits about 57 inches from the floor. Keep frame gaps about 2 to 3 inches for a tight, cohesive look. For hardware try black picture frames and picture hanging strips for plaster or rental walls. Budget option: thrift frames spray-painted to match. Plan 60 to 90 minutes to lay pieces on the floor and map spacing before drilling.
Mistake to Avoid: Hanging frames one by one without mapping the full arrangement first.
2. Oversized Canvas As a Single Anchor
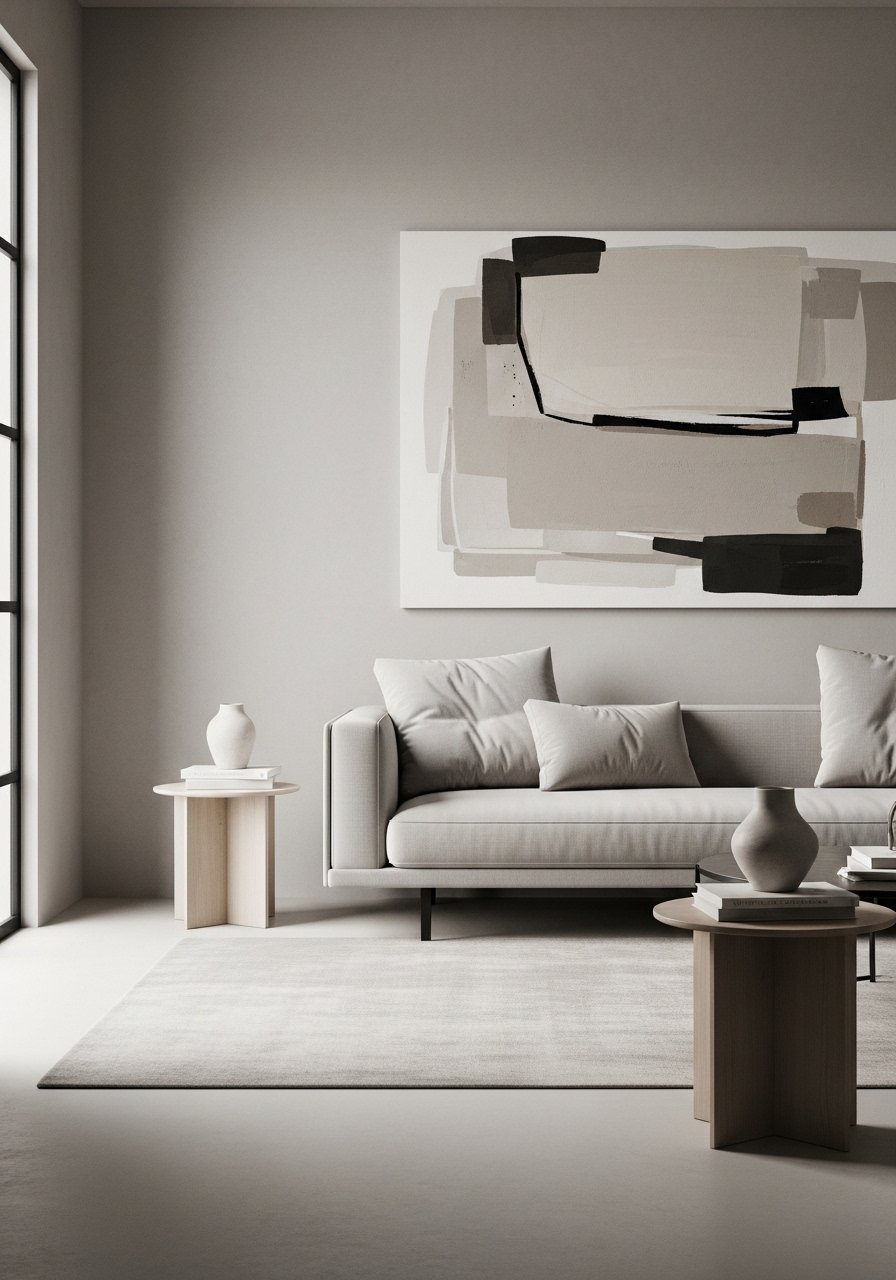
Sometimes one large piece is more intentional than many small ones. Choose a canvas roughly two thirds the width of your sofa, and hang it 4 to 6 inches above the furniture so the composition reads connected to the seating. A stretched oversized canvas print creates a gallery feel with minimal fuss. This is great for renters who can use picture hooks in the stud or heavy-duty removable anchors. Visually, the single piece creates breathing room and makes a small room feel organized rather than cluttered. Allow an hour for positioning and anchoring if you have drywall or plaster.
Mistake to Avoid: Choosing a canvas that is too small for the furniture, which makes the piece look like an afterthought.
3. Textured Peel-and-Stick Wallpaper Accent
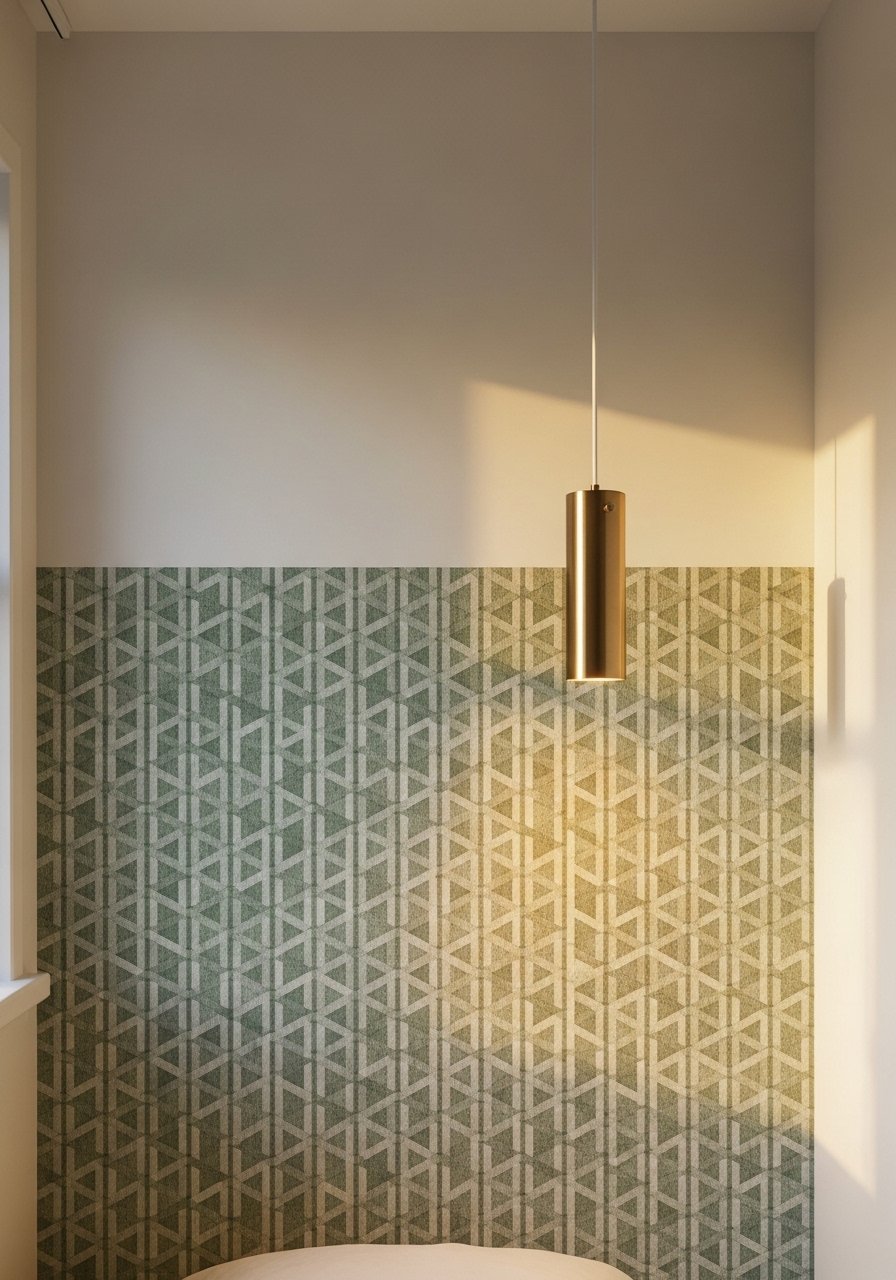
Peel-and-stick makes texture and pattern affordable and removable. Pick a panel width that matches the wall and repeat the pattern vertically to avoid awkward seams. For a small accent wall, plan for the pattern to cover about one third to two thirds of the wall so it reads intentional. Use a smoothing tool and work from top to bottom to eliminate bubbles. I use textured peel-and-stick wallpaper for a rental-safe punch. Installation time is usually two to four hours for a standard bedroom wall. This adds depth without heavy construction and pairs well with framed art or a slim shelf.
Mistake to Avoid: Starting in the middle of a wall without ensuring vertical alignment first, which creates a crooked repeat.
4. Floating Shelves Styled in Rule of Thirds
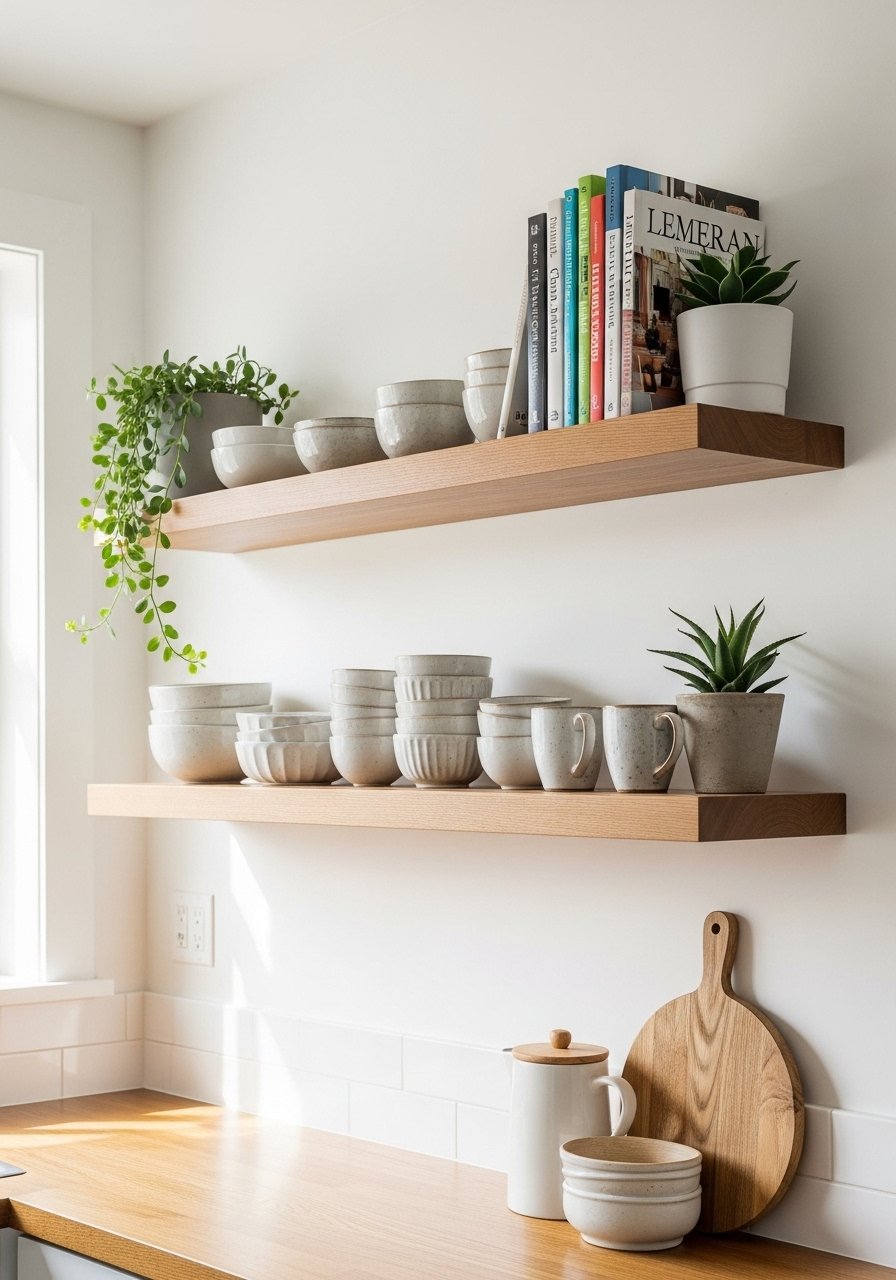
Floating shelves add function and display space, but bad styling looks messy. Use the rule of thirds when arranging objects: group items in threes, anchor one side with a taller object, and leave negative space equal to about one third of the shelf. For depth, pick shelves 8 to 10 inches deep so plates and books sit comfortably. Fast-install floating shelves with drywall anchors if you can drill, or use heavy-duty adhesive brackets on rental-friendly walls. Styling takes 20 minutes, but swap items seasonally for a fresh look. This idea fits kitchens, entryways, and small living rooms.
Mistake to Avoid: Lining small objects in a row across the shelf, which reads cluttered instead of curated.
5. Layered Lighting: Picture Lights and Sconces
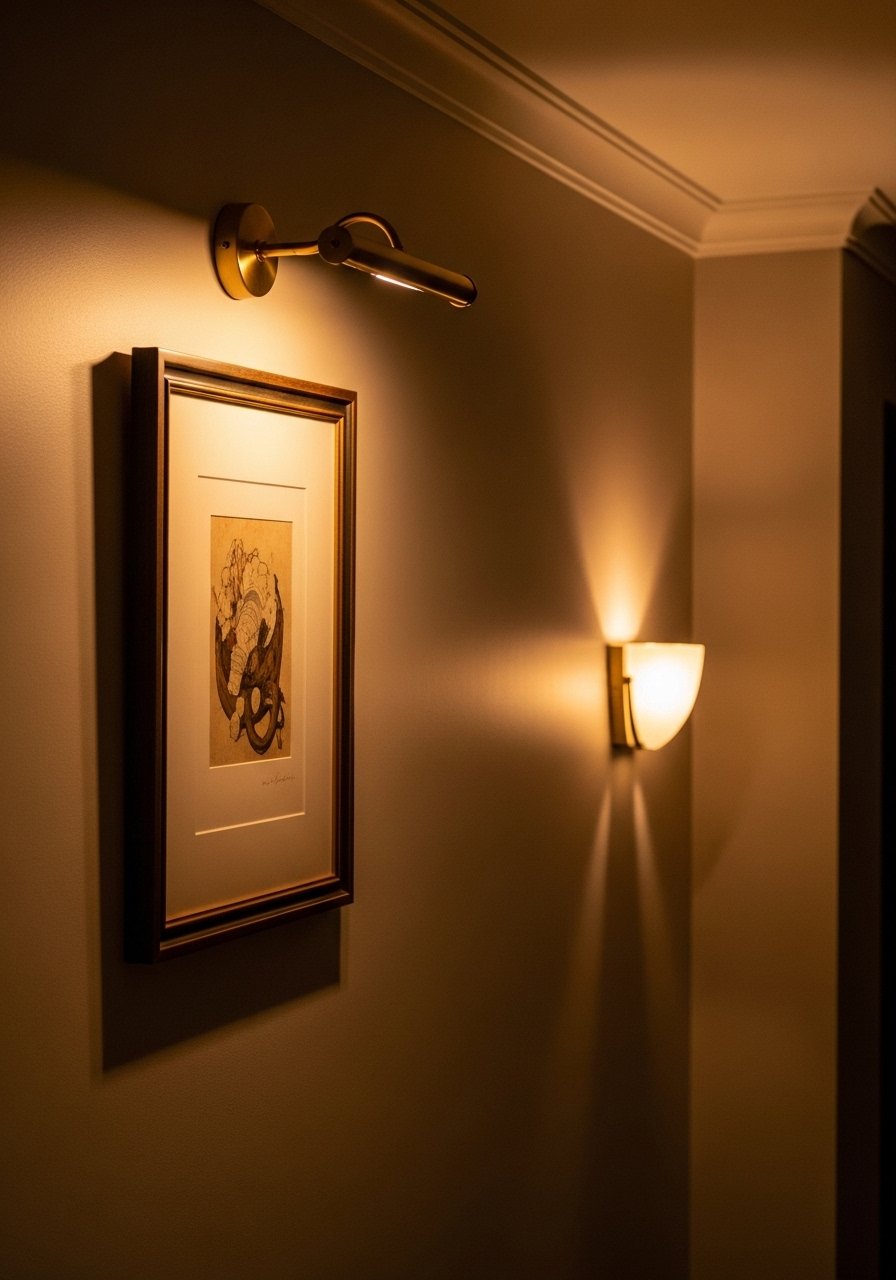
Lighting transforms a wall from flat to dimensional. Add a low-watt picture light about 6 to 8 inches above framed art to bring out texture, and balance it with a wall sconce that provides ambient glow. Aim for warm color temperature around 2700 to 3000K so art tones read warm and lived-in. Try a compact picture light and a small wall sconce. Electrical installs need more time, but battery-powered picture lights are an easy rental alternative. Layered lighting also helps small rooms appear taller and more finished.
Mistake to Avoid: Relying on a single overhead bulb that flattens texture and hides detail.
6. DIY Textile Hangings for Softness
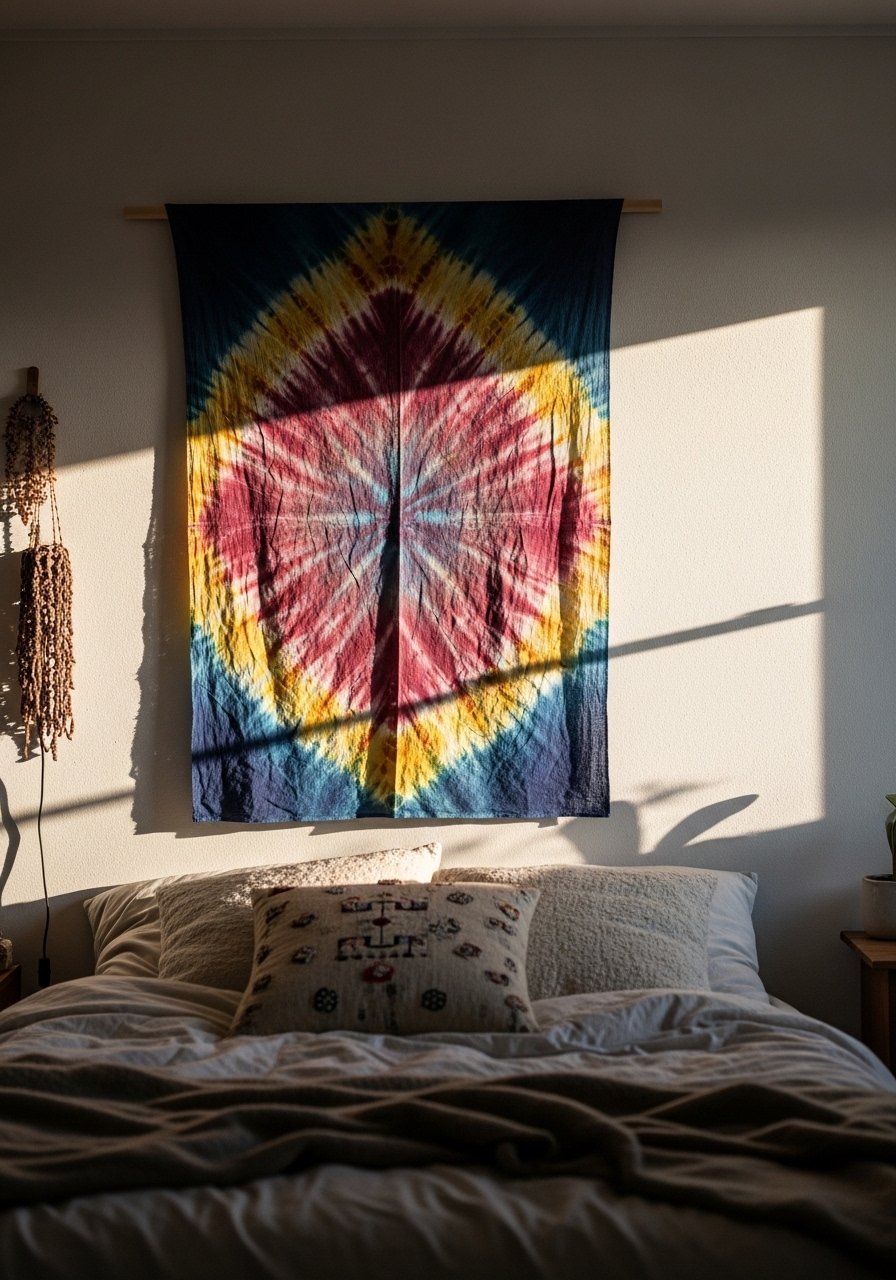
Textile hangings introduce color and acoustic softness without frames. Use a lightweight fabric and a wooden dowel, and attach with two small hooks spaced to keep the fabric flat. Aim for the hanging to cover about one third to one half of the wall height so it reads like an intentional focal point. You can wash most fabrics, so choose cotton or linen for easy care. For hardware-free installs try a tapestry hanger that uses adhesive. This approach is budget-friendly and kid- and pet-friendly if placed high enough.
Mistake to Avoid: Using heavy upholstery fabric without proper support, which sags and looks sloppy.
7. Mirror Cluster to Double Light and Depth
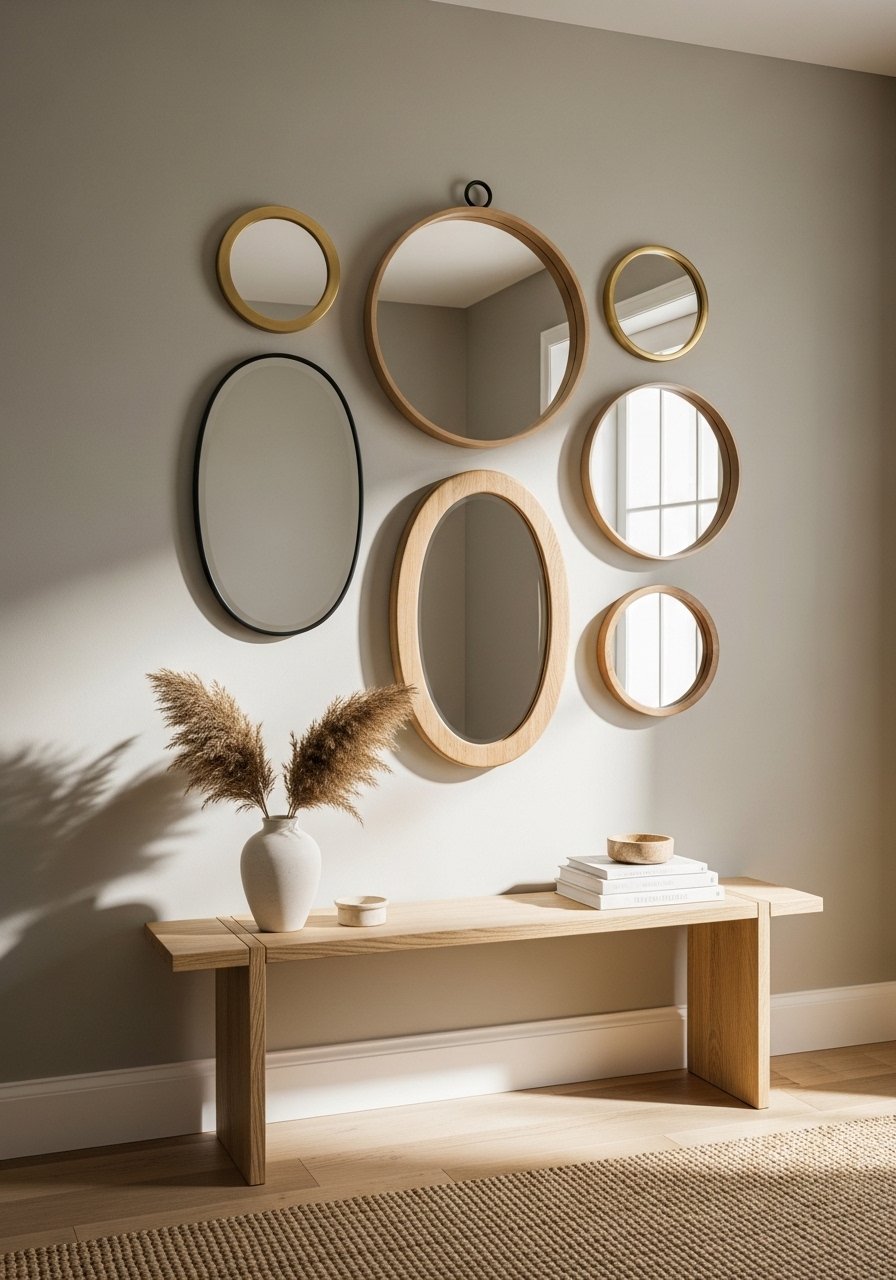
A cluster of mirrors multiplies daylight and opens a tight space. Start with one medium mirror as an anchor and add smaller ones around it, keeping 2 inches between frames. Place the cluster so it reflects a window or light source, and center the grouping over the console at about 60 inches from the floor for balance. Use round decorative mirrors and secure them with removable anchors if needed. Mirrors are fast installs that give a room the sense of more square footage without repainting or major expense.
Mistake to Avoid: Hanging mirrors to reflect a blank wall, which wastes the reflective benefit.
If any of these ideas have you reaching for tools, here is what I reach for when I actually do the installs.
Living Wall Refresh Kit
Hardware & Hanging
- Picture hanging strips (~$10-20), great for plaster or rental walls.
- Heavy-duty anchors (~$8-15), for shelves and mirrors.
Surfaces & Textiles
- Textured peel-and-stick wallpaper (~$30-60 per roll).
- Oversized canvas print (~$50-150).
Shelving & Decor
- Floating shelves (~$25-70).
- Round decorative mirrors (~$30-100).
Small tools I use across projects: a good level, a stud finder, and a smoothing tool for wallpaper. Each item above covers multiple ideas so you do one shopping run and get the biggest return.
8. Framed Plants and Wall Planter Boxes
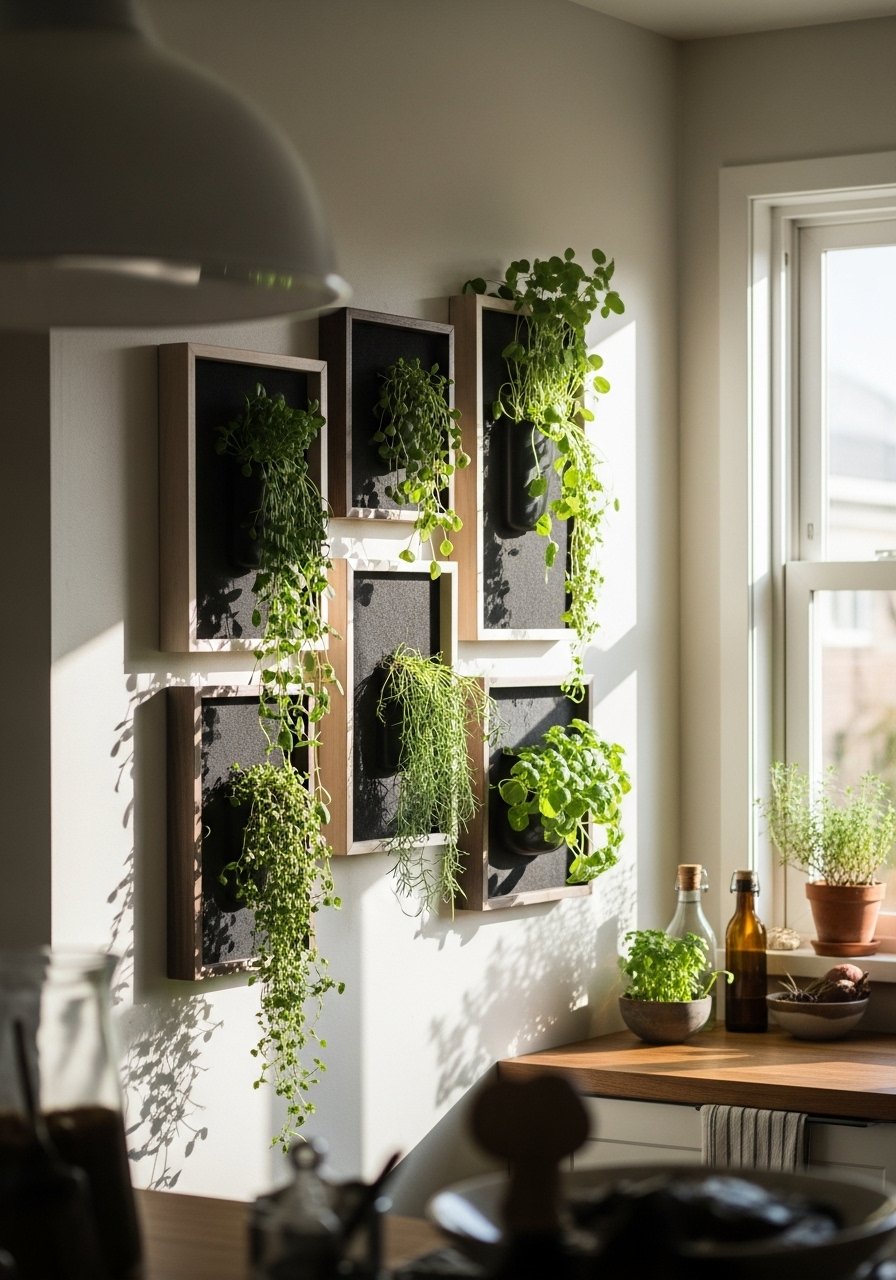
Greenery on the wall adds life and softens hard surfaces. Use shallow wall planters or framed boxes and stagger them vertically for movement. Keep planters small enough that each is easy to remove for watering, about one third the height of the wall if clustered. For low-maintenance homes, choose faux plants or easy-care succulents and secure planters with wall planter brackets or command hooks. If you want live herbs in a rental, pick self-watering options and plan for a small drip tray. This idea works in kitchens, bathrooms with light, and near sunny windows.
Mistake to Avoid: Installing heavy soil-filled planters without a secondary drain catch, which damages surfaces.
9. Acoustic Art Panels That Look Like Art
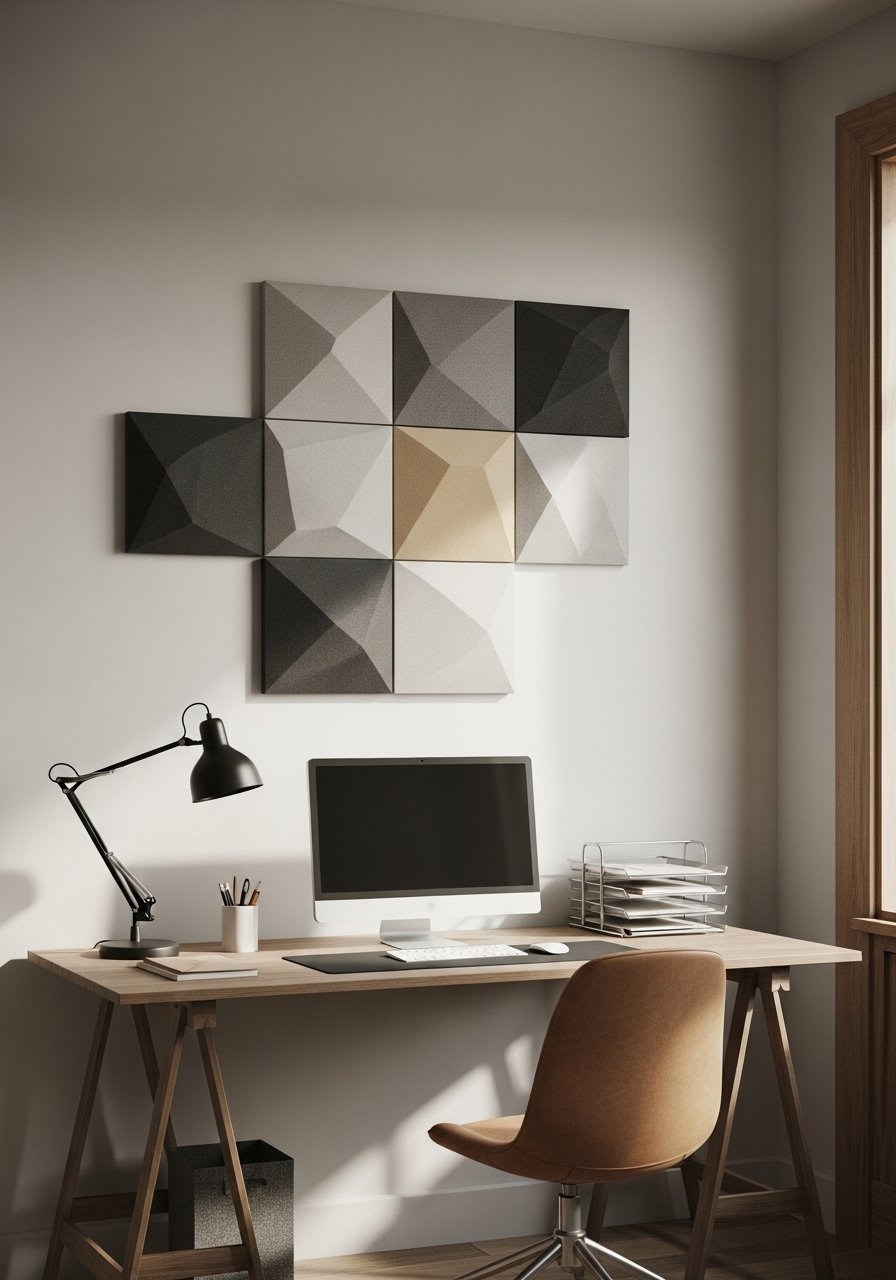
Noise-absorbing panels used well can be both functional and decorative. Pick decorative panels about one inch thick and arrange them in geometric groupings that obey a simple grid or offset pattern. Panels sized to cover one quarter to one third of a wall reduce echo while reading as art. Use peel adhesive or screws depending on wall type. I like decorative acoustic panels that come in fabric finishes so they blend with textiles. This is ideal for open-plan apartments, home offices, or rooms with high ceilings.
Mistake to Avoid: Covering the whole wall with panels, which kills the visual contrast and makes the room feel boxed in.
Fast Fixes For Wall Hangings
Measure twice, mark once. Use a tape measure and a small level, then confirm the arrangement on the floor before you touch the wall. A tape measure saves mistakes and time.
Grab picture hanging strips when drilling is not an option. They hold light to medium frames and avoid patching paint later.
Most people hang art too high. Aim for a 57 to 60 inch visual center and your pieces will connect to the room rather than hover awkwardly.
Start small with textiles. A tapestry hanger and a weekend DIY are cheaper and faster than a framed commission, and they wash.
If you have kids or pets, pick shatterproof mirrors and use secondary fasteners. Mirror hanging kits add safety without changing the look.
