Pinterest promised a tucked, textured pixie that read editorial; my first attempt looked like a hatless shape with frizz. After a handful of retries I learned how to make short hair photograph honest and flattering, not overly styled or overworked.
These images are for people who want quick, repeatable short-hair looks you can recreate on a weekday, not full salon transformations. They are mostly low- to mid-budget, take 5 to 20 minutes each, and work across four hair textures I have styled. I note porosity often matters here, and a pea-size of product on porous hair reads stronger in photos than the same amount on low-porosity hair.
1. Textured Pixie With Side Sweep
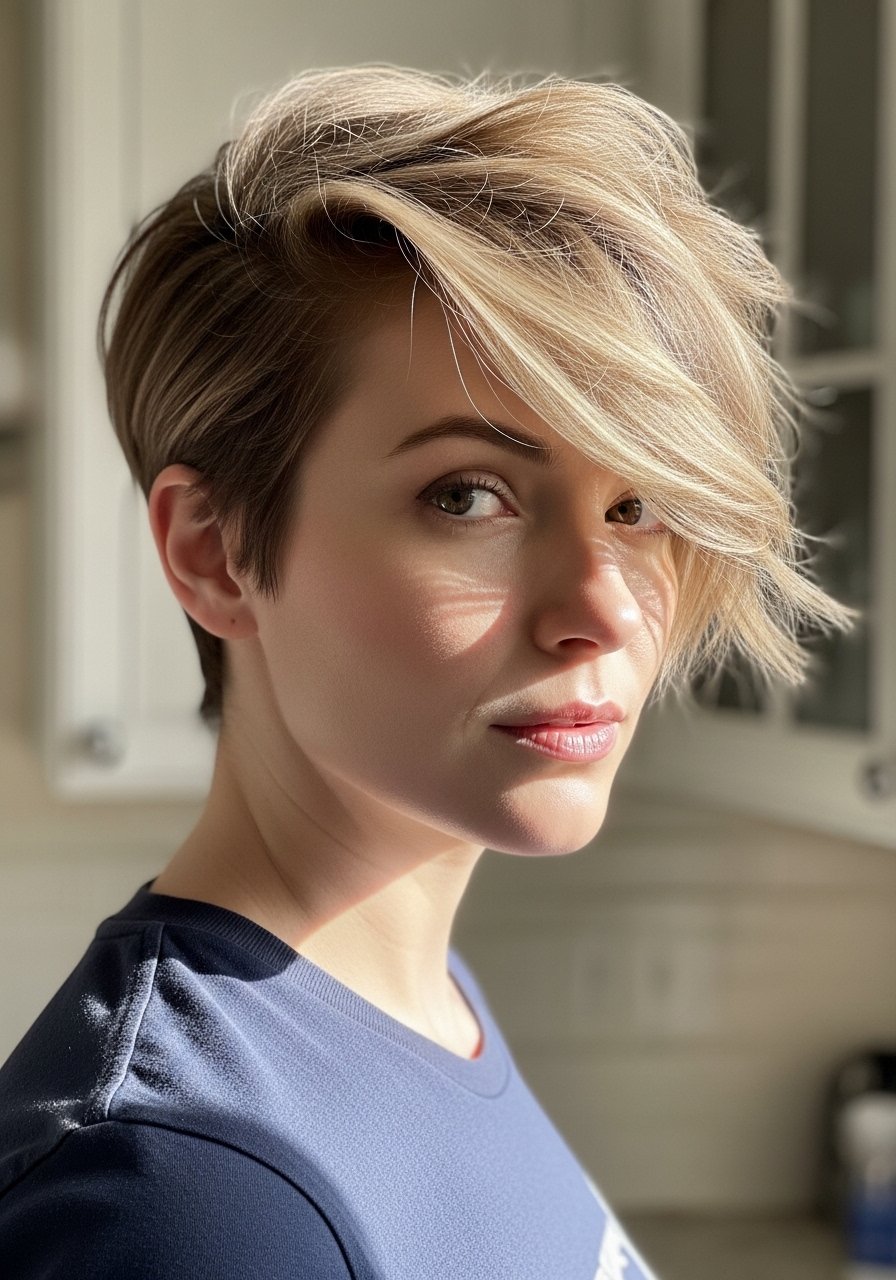
What makes this photographable is contrast: a defined sweep beside volume. I use a dime to pea-size of a matte texturizing paste, warmed between fingers and pushed through the crown in a 1-to-2 motion for separation. The result reads casual and styled, good for oval and heart faces, and suited to straight or wavy hair. For a quick photo touch, mist 12 inches away with a light-hold spray to flatten any stray flyaways without losing texture. Pair with a compact texturizing paste or a travel light-hold hairspray.
Mistake to Avoid: Using thumb-sized product amounts, which make the hair look greasy and flatten the sweep.
2. Sleek Short Bob With Deep Part
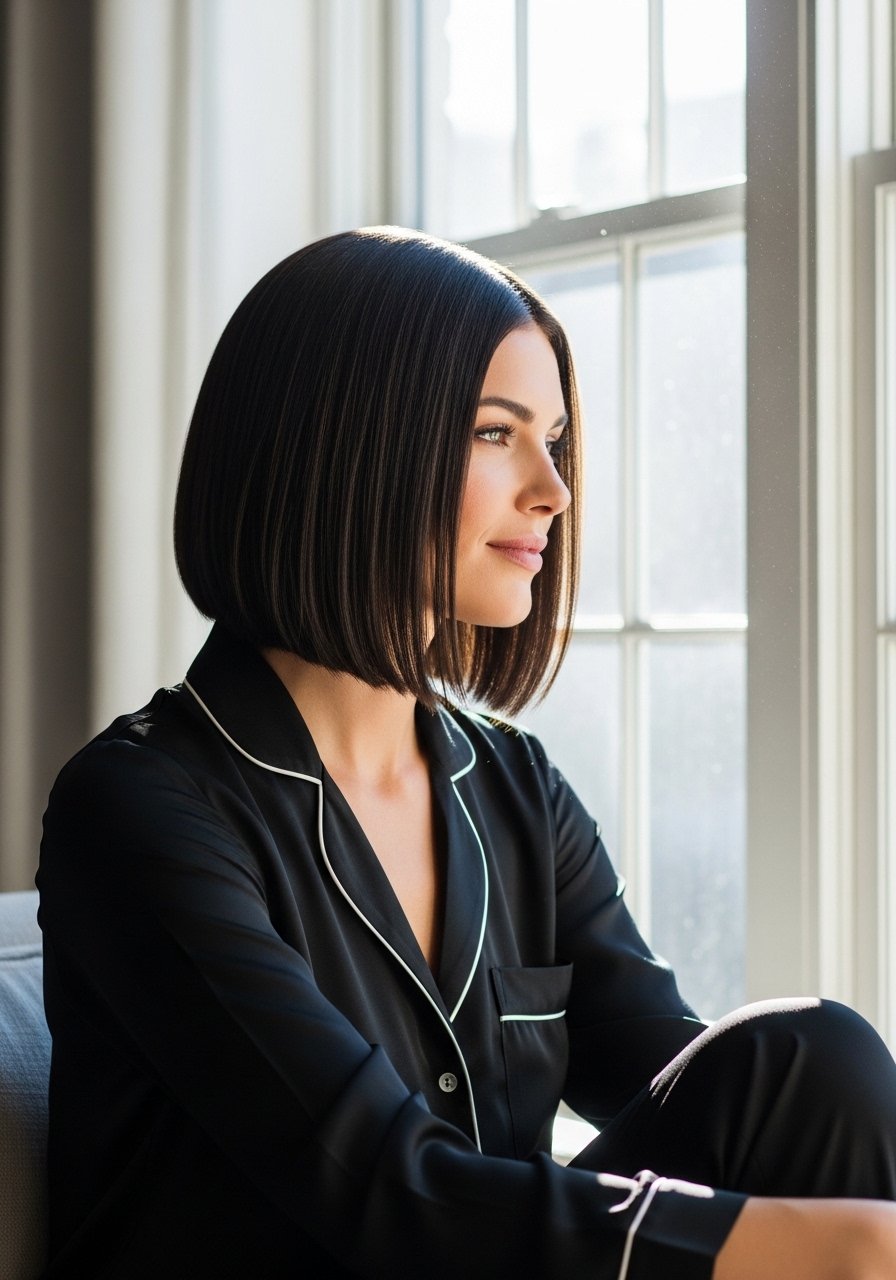
Sharp parting and a glossy finish photograph crisp and modern. For a clean photo, wet the hair slightly, use a comb with about 12 teeth to set a part exactly where the arch of the eyebrow begins, and apply a nickel-sized pump of smoothing serum from mid-lengths to ends. Blow-dry with a small round brush to create uniform bend at the ends, then polish with a tiny bit of shine oil on the tips only. This suits straight and slightly wavy hair, and looks polished for professional headshots. I like a lightweight smoothing serum and a compact flat brush.
Mistake to Avoid: Smearing shine oil at the roots, which makes the scalp look oily in photos.
3. Blunt Crop With Soft Fringe
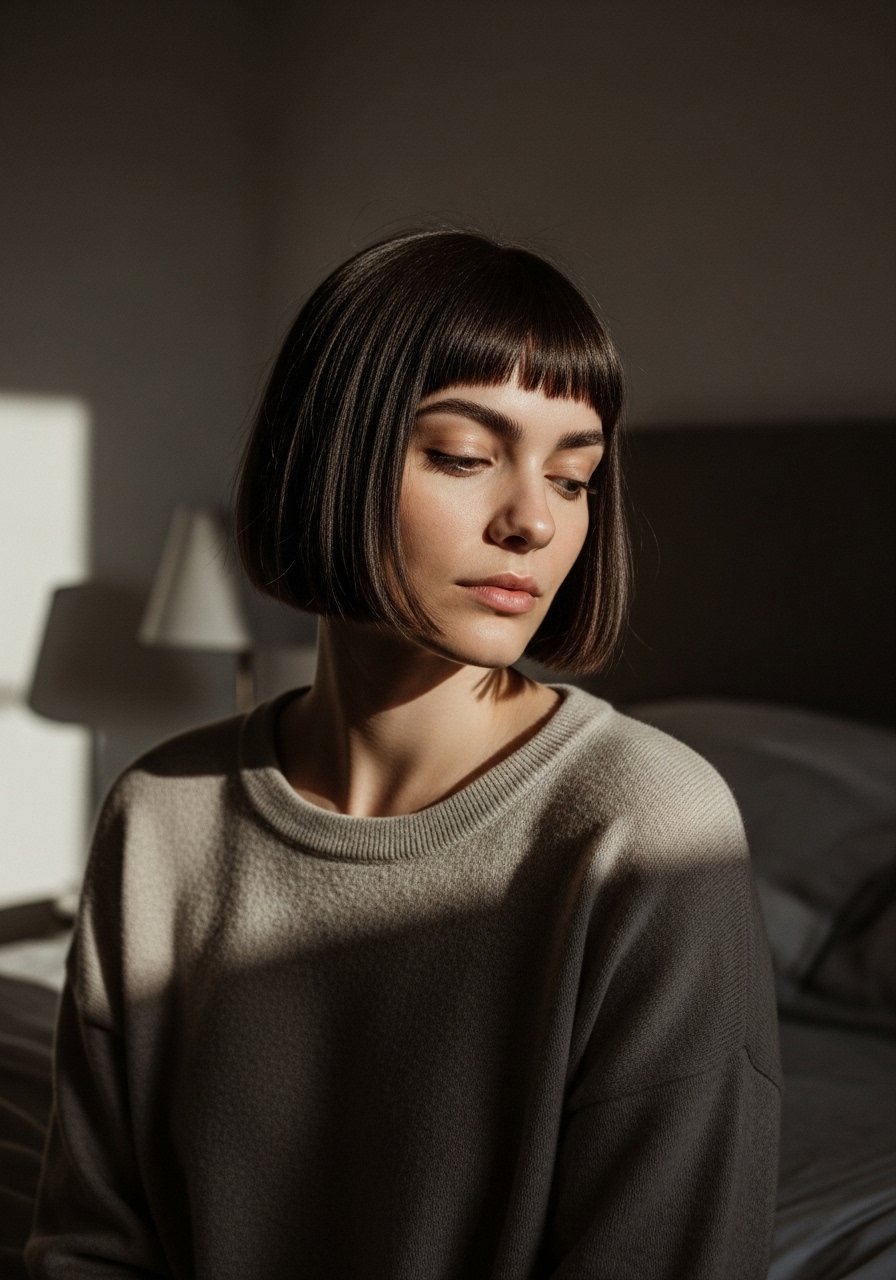
The blunt edge gives a clear silhouette that reads well even on phone cameras. Cut short across the nape with a soft, feathered fringe that frames the face. For texture, use a 50:50 mix of sea salt spray and leave-in conditioner in your palms, scrunching lightly to avoid stiffness. This look suits square and oval faces and works on medium-thick hair. In photos the fringe can cast shadows, so lift slightly at the roots when shooting. Try a travel-size sea salt spray and a small leave-in cream.
Mistake to Avoid: Over-saturating the fringe, which collapses the line and hides facial features.
4. Ear-Tuck Pixie For Profile Shots
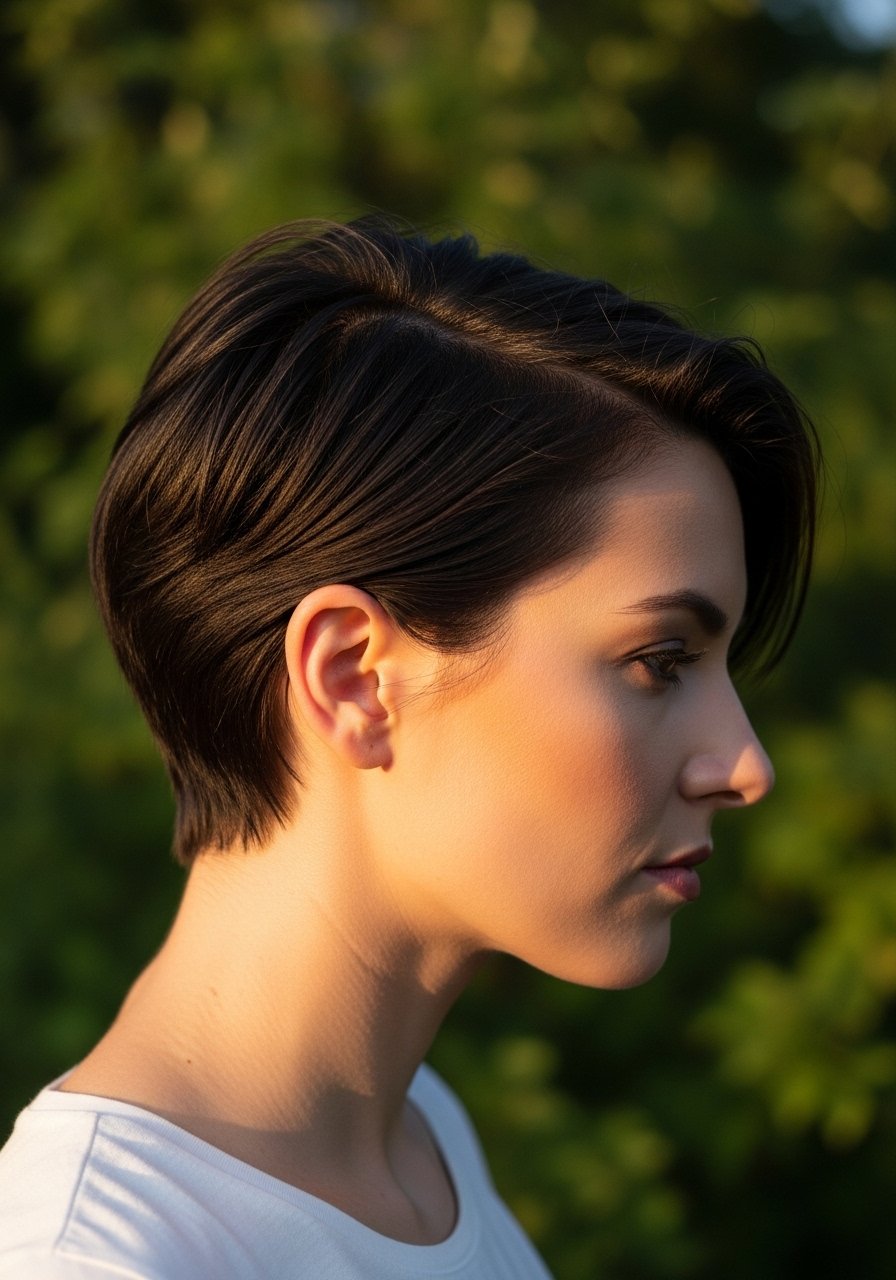
Tucking one side behind the ear creates clean profile lines that photograph like a sculpture. Use a waxy balm the size of a grain of rice to smooth the tucked side, then sweep the other side for volume. This gives a confident, minimalist result, ideal for shorter necklines and people who like low-fuss styling. For second-day texture, refresh with a 1:1 spritz of water and leave-in, then finger-comb. Pair with a small styling balm or a travel mini comb.
Mistake to Avoid: Applying too much balm before tucking, which makes the tuck slip and appear greasy.
5. Beachy Short Shag With Layers
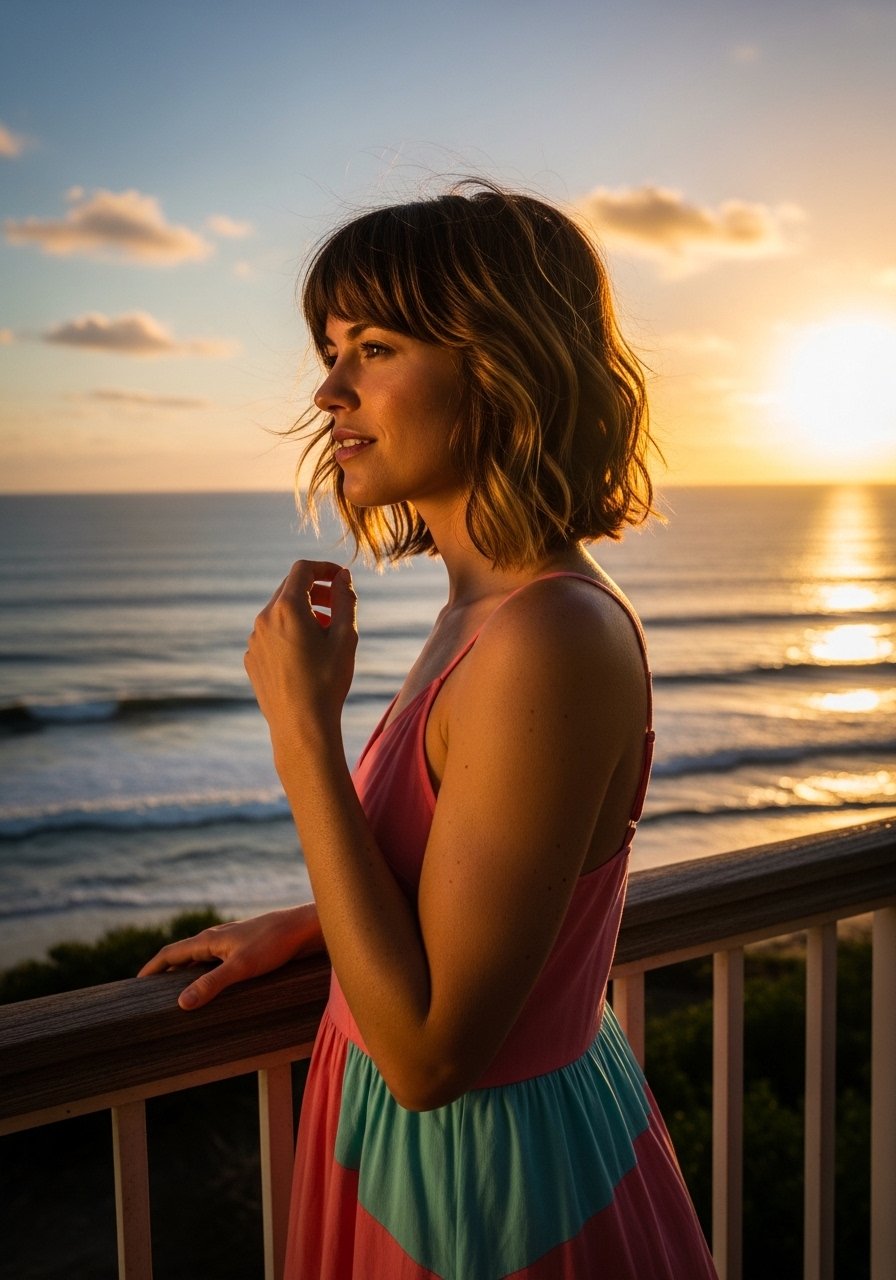
Layers add movement that the camera loves. Use a salt spray with a light gel, roughly one pump per 3 inches of hair length, scrunching from ends to mid-length to encourage separation. For fine hair, tease the crown lightly with a 1-inch section to create a 1/2 inch of lift before texturizing. This style reads playful and relaxed, great for wavy and fine-to-medium hair, and works under casual wardrobe. I often reach for a travel sea salt spray and a small matte texturizer.
Mistake to Avoid: Over-brushing after texturizing, which erases the separation and flattens the shag.
6. Defined Curls On Short Bob
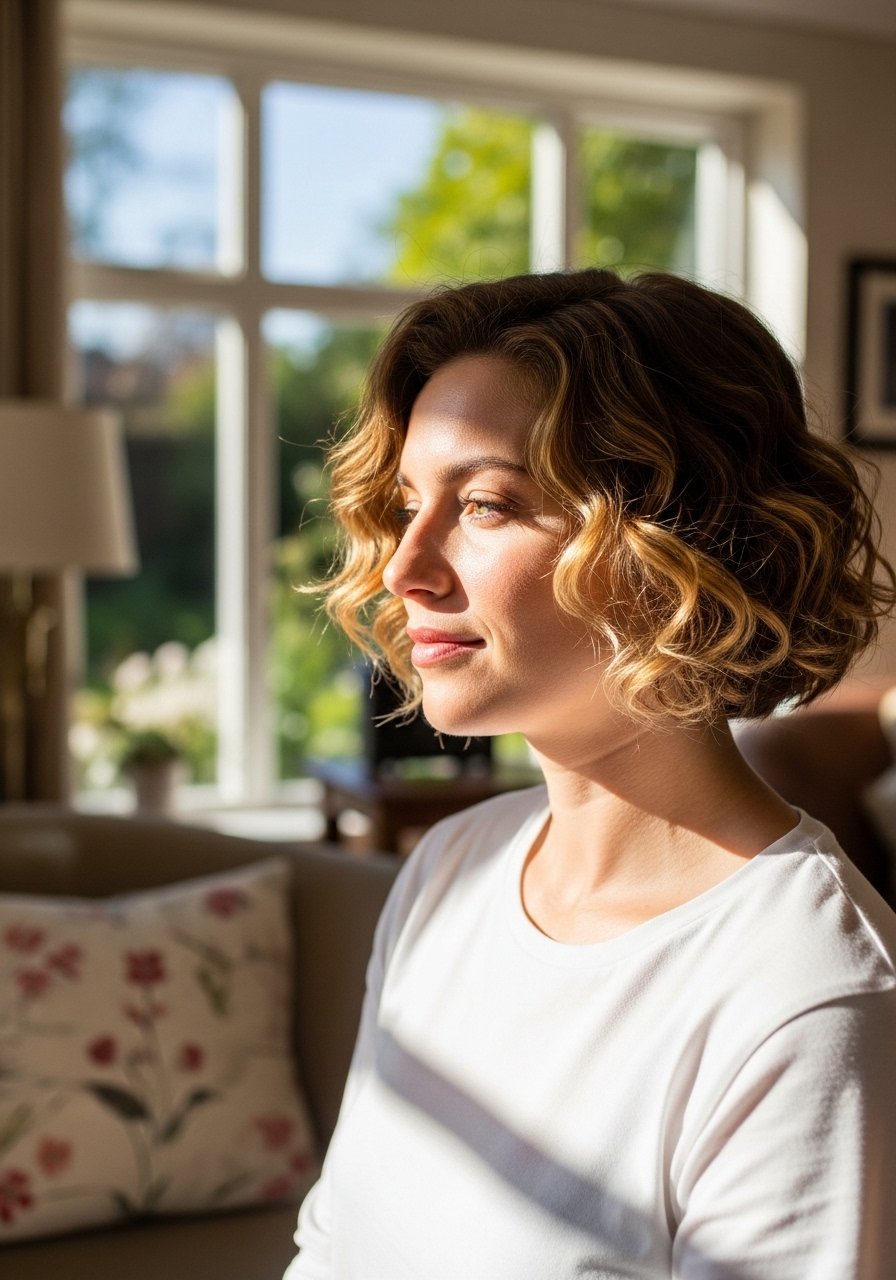
Short curly bobs read dense and intentional when curls are defined. Start with a dime-size of curl cream per section for medium curls, more for coils, and use a wide-tooth finger rake to distribute. For photos, define at least three face-framing curls with a curling wand on low heat to create consistent shape. Porosity matters here, so if your hair is high porosity, use a heavier cream. This gives a lively, tactile feel and suits round to oval faces. Try a curl cream and a wide-tooth comb.
Mistake to Avoid: Raking out curls too early, which causes frizz and undefined shape.
7. Clip-In Bangs For Changeable Looks
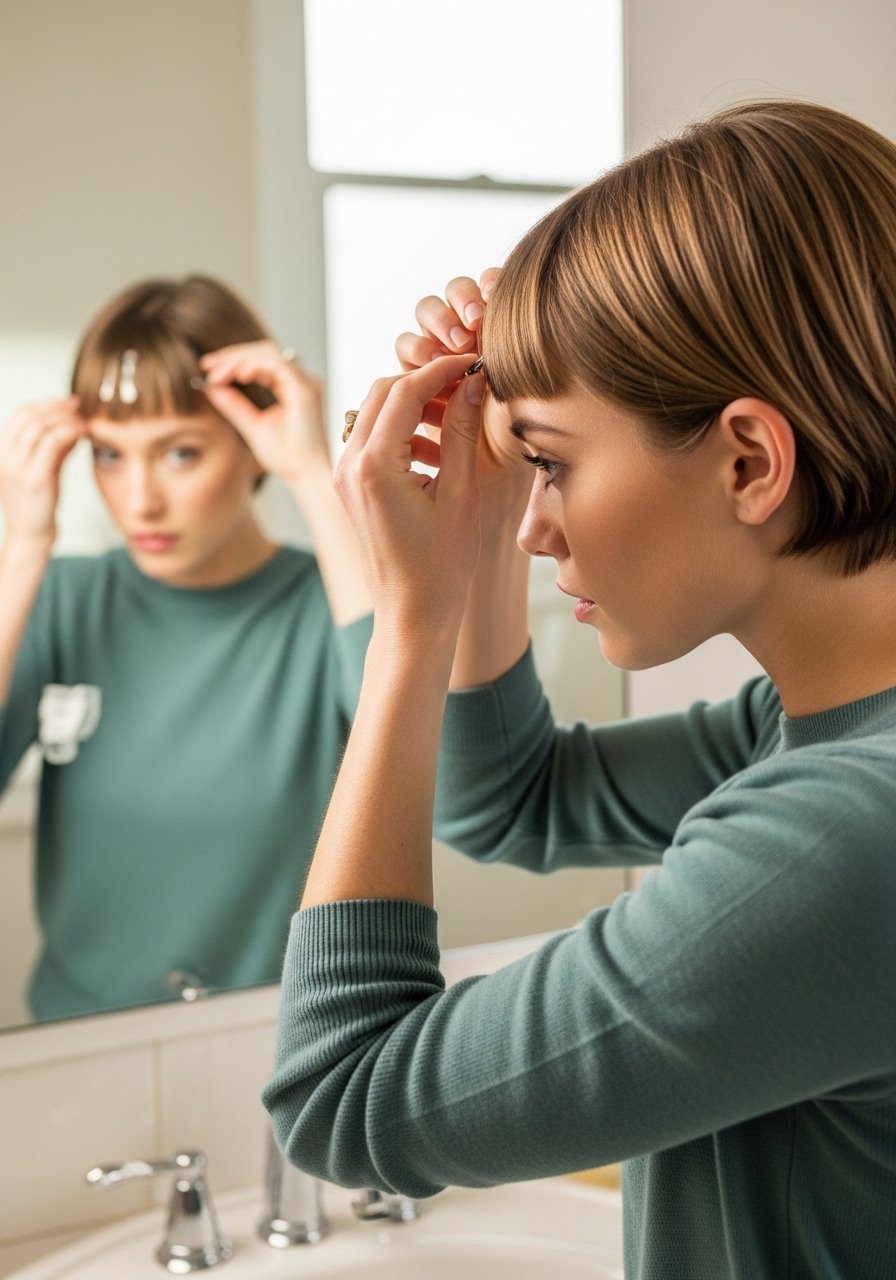
Clip-in bangs let you test a face frame without commitment, and they read coherent in photos if blended. Place the clips under the natural hairline, then trim a millimeter or two if needed to avoid a heavy, fake line. A light mist of setting spray at arm’s length secures the join. This is beginner friendly, low cost, and great for shoots where you want multiple profiles. I keep an invisible clip set and a small setting spray in my kit.
Mistake to Avoid: Clipping the pieces on top of the hair rather than under it, making the seam obvious.
If any of these ideas have you ready to actually try something, here is everything worth picking up.
Short Hair Photo Kit
Baselines:
- Texturizing paste (~$10-25). Good for pixies and shags.
- Sea salt spray (~$8-18). Use 1 pump per 3 inches of length.
- Light-hold hairspray (~$6-15). Spray from 12 inches.
Tools:
- Mini round brush (~$8-20). For small bobs.
- Wide-tooth comb (~$5-12). For distributing product.
- Microfiber towel (~$10-18). For gentle drying.
Extras:
- Clip-in bangs set (~$15-30).
- Silk scarf (~$12-25).
- Small mirror with stand (~$10-35).
8. Pastel Root Smudge For Texture Without Full Color
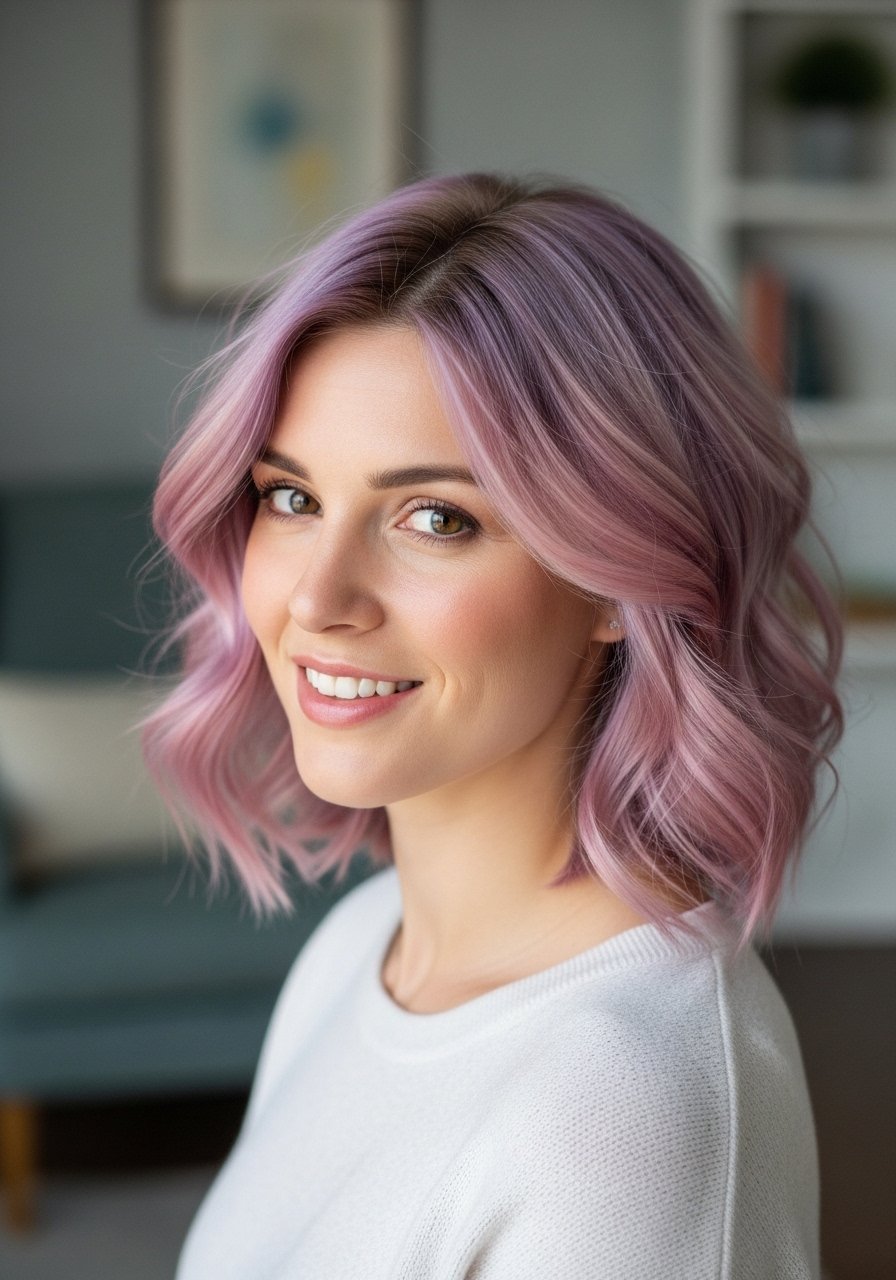
A root smudge adds depth and subtle contrast that photographs like intentional shadow. For short hair keep the smudge within the first half inch of the root and blend with a soft brush to avoid a harsh line. This reads natural on camera, especially in close-ups, and works on fine to medium hair. Use a color-depositing serum sparingly, a rice-grain amount around the part, to add tone. For at-home touch-ups reach for a color-depositing root touch-up stick and a small blending brush.
Mistake to Avoid: Applying color beyond the first half inch, which creates an obvious band in photos.
9. Silk Scarf Headband For Pattern and Frame
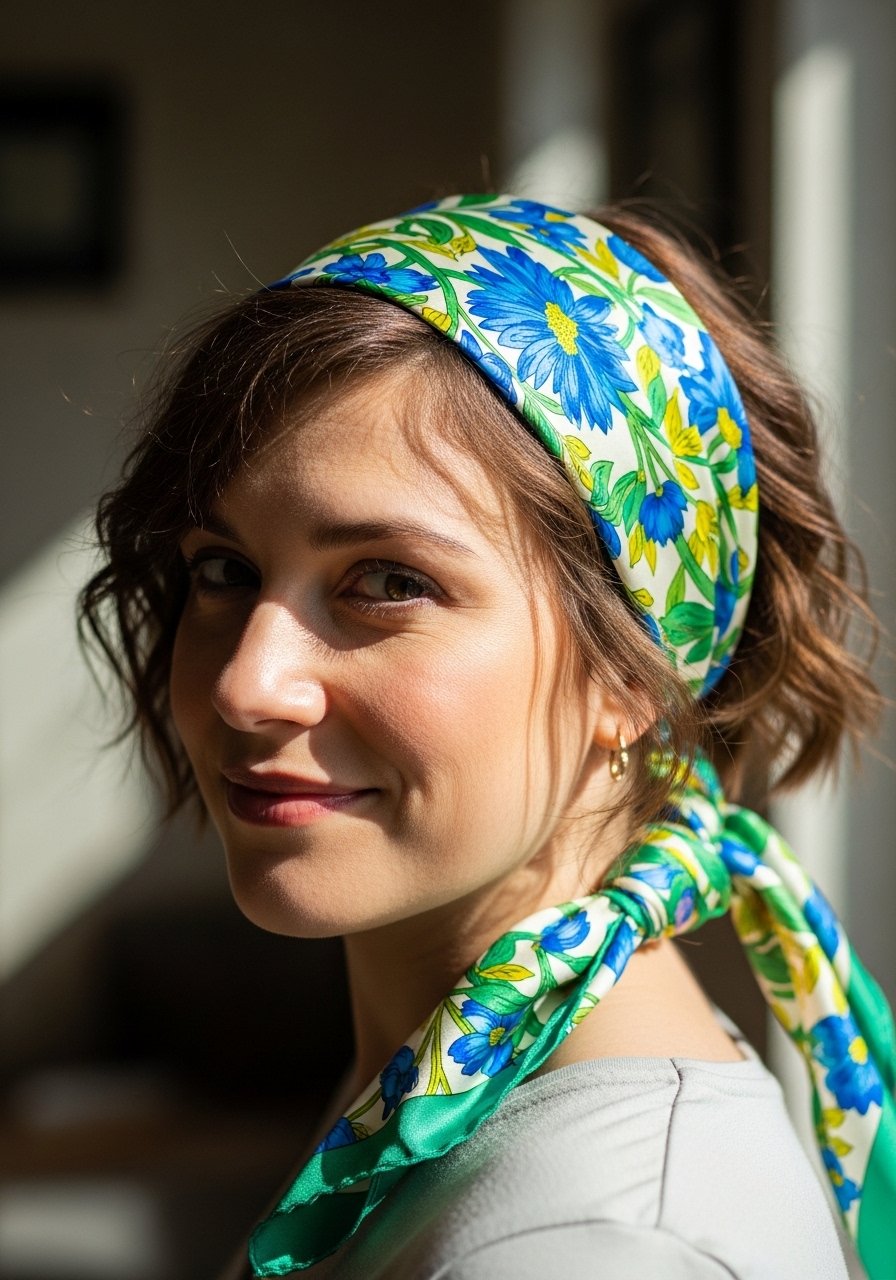
A silk scarf is a simple prop that adds color and immediately frames the face. Fold the scarf to a 1-to-3 width depending on how much forehead you want covered, tie at the nape, and tuck the knot under if you prefer a clean back. The trick for photos is to leave one or two face-framing pieces out for softness. This works for all textures, and scarves are an affordable way to change the mood between shots. I recommend a smooth silk scarf and a set of no-crease pins.
Mistake to Avoid: Wrapping the scarf too tightly, which flattens crown volume and skews the silhouette.
10. Faux Undercut With Tucked Layers
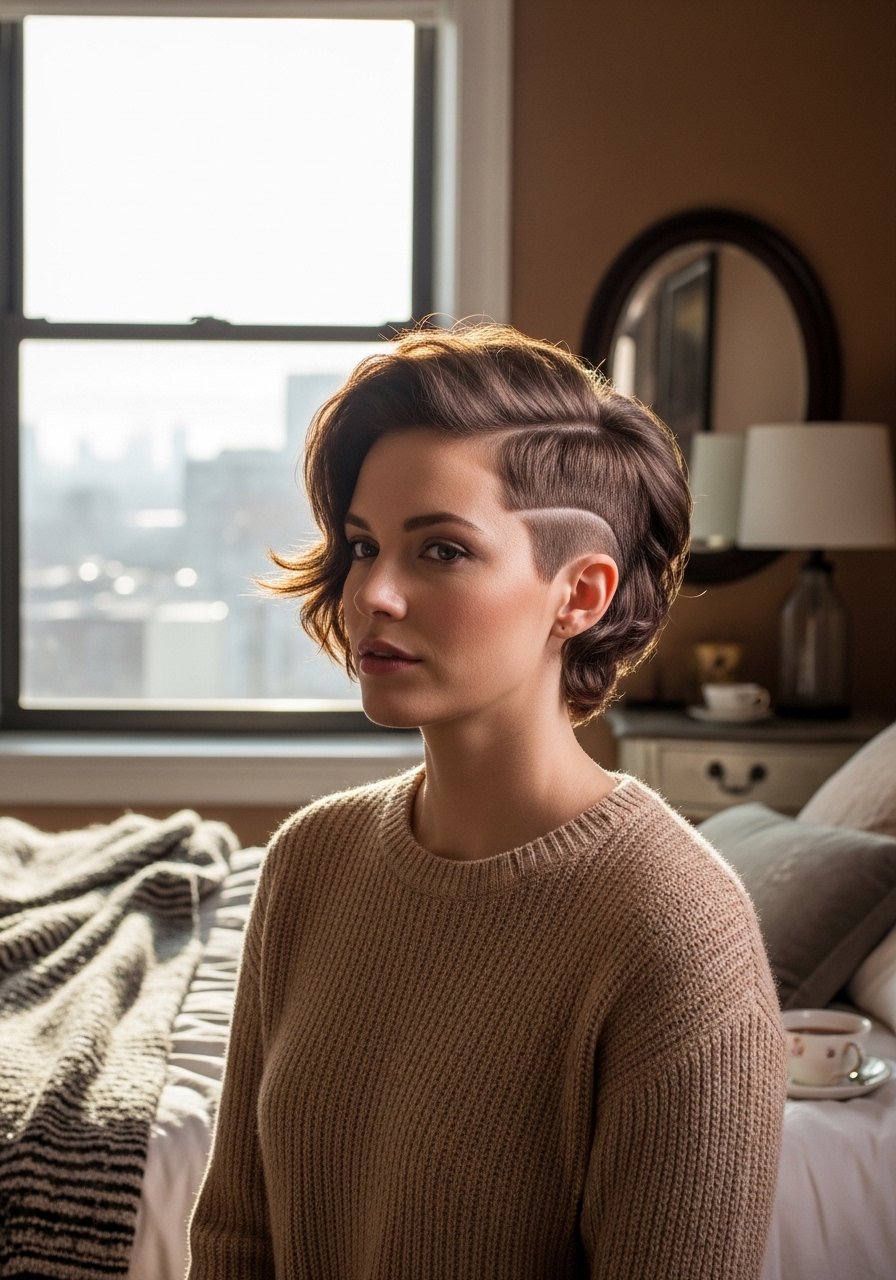
You can fake the visual of an undercut without cutting hair by smoothing the lower nape with a matte paste and pinning the longer top layers to create contrast. Use 1 to 2 bobby pins in an X pattern to hold the tucked section while keeping the top airy. In images this creates a structured edge that reads like an undercut but is reversible. It is good for those hesitant to go short and works with thick or medium hair. Try a compact matte paste and sturdy bobby pins.
Mistake to Avoid: Overpinning, which shows lumps under the top layer in profile photos.
11. Wet-Look Short Crop For High-Gloss Shots
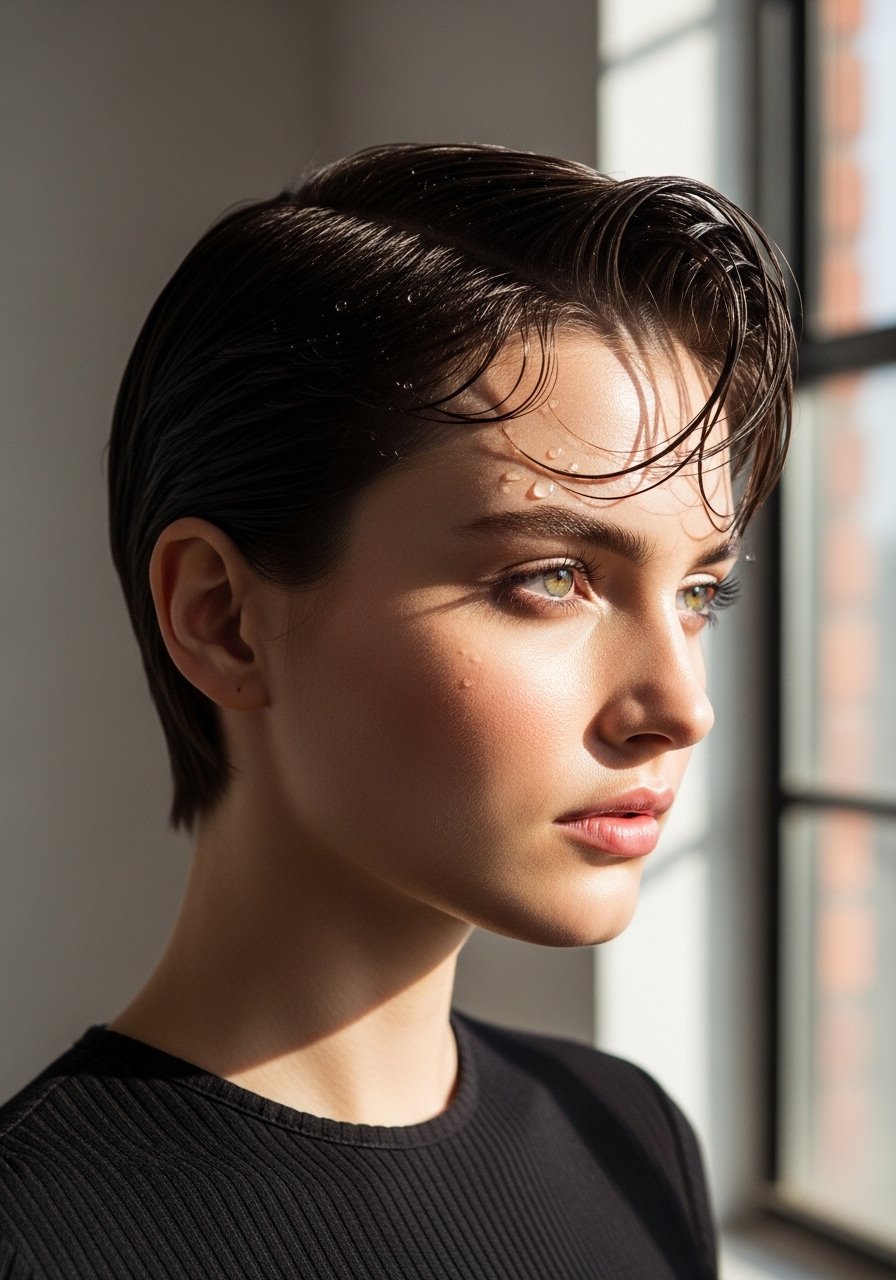
The wet look photographs high-fashion if executed sparingly. Use a pea-size of gel for most short crops and distribute evenly. The light in the shot should be soft to avoid shiny hotspots, and you should comb through for consistent directionality. This works best for straight hair and on portraits where skin retouching is minimal. I often use a strong-hold styling gel and a fine tooth comb.
Mistake to Avoid: Applying too much gel at the roots, which reads greasy rather than glossy.
12. Volumized Crown With Finger Tease
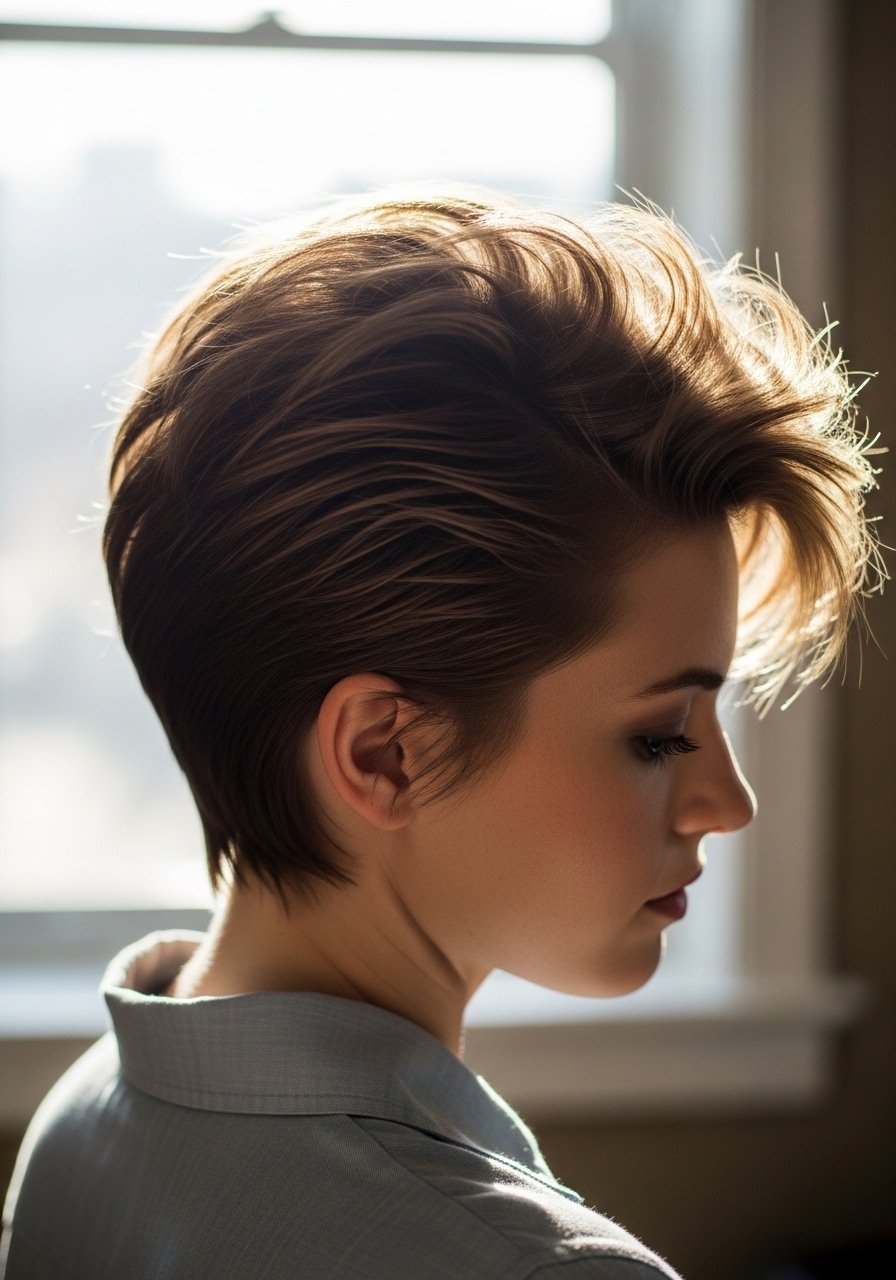
Finger teasing creates believable lift without a backcombing comb. Use a light powder where you want root grip, then pinch 1-inch sections and push upward from the root with your fingers to create a soft cushion. This produces a lived-in height that photographs tall without looking forced. It is fast, renter-friendly, and works on fine to medium hair. I like a small volumizing powder and a pocket mirror.
Mistake to Avoid: Teasing the entire crown evenly, which looks buffet-styled and unnatural.
13. Minimal Accessories For Close-Ups
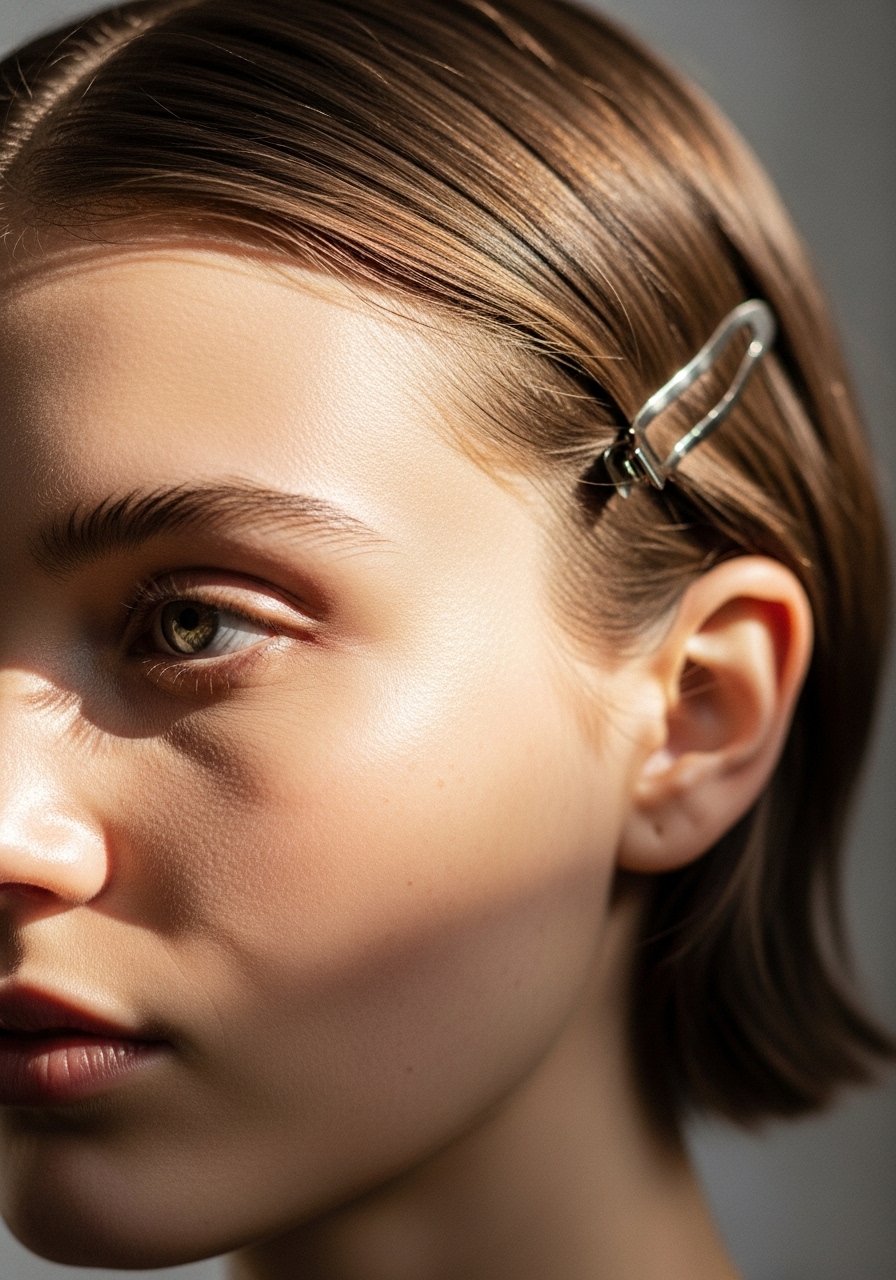
One small accessory anchors a close-up without distracting. Choose a clip that matches your outfit tone, position it slightly off-center, and secure with one pin if needed. In photos the eye reads the clip as a focal point, so keep it subtle for editorial looks or bold for statement images. This suits all face types and is a cheap way to vary shots quickly. Consider a set of simple metal hair clips and a tiny holding spray.
Mistake to Avoid: Choosing multiple small accessories that compete and clutter the hairline.
14. Night-To-Morning Refresh Routine
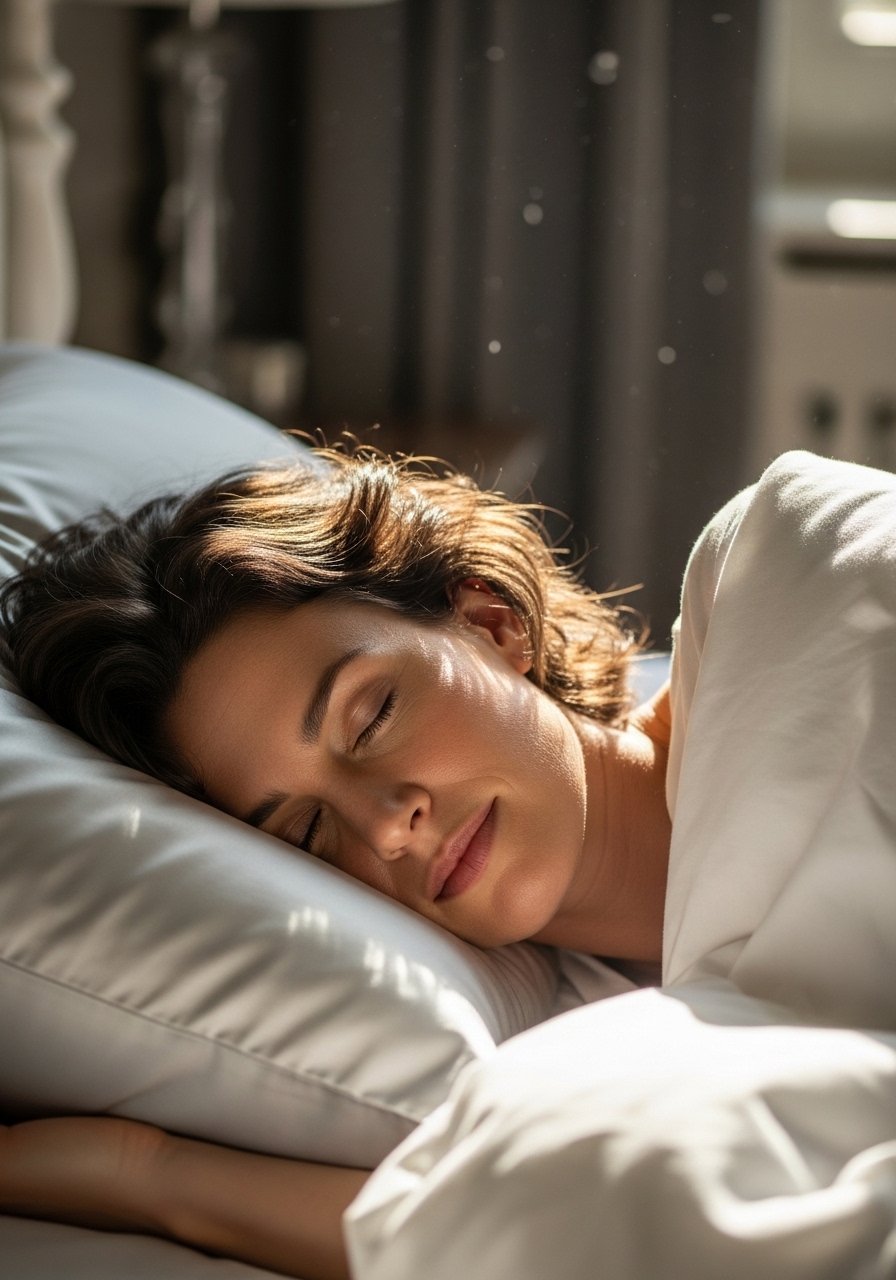
Short hair can go from slept-on to shoot-ready with a two-step refresh. First, sleep on a silk pillowcase to reduce friction. Second, morning, mist roots 50:50 water and leave-in, finger-shape while blow-drying on low for 60 to 90 seconds at the crown. This restores shape without heat styling every day. It is low-effort and keeps texture natural across hair types. I keep a silk pillowcase and a small travel mister on hand.
Mistake to Avoid: Sleeping with heavy product in the hair, which hardens and creases the short shape.
15. Short Hair Styling For Fine Strands
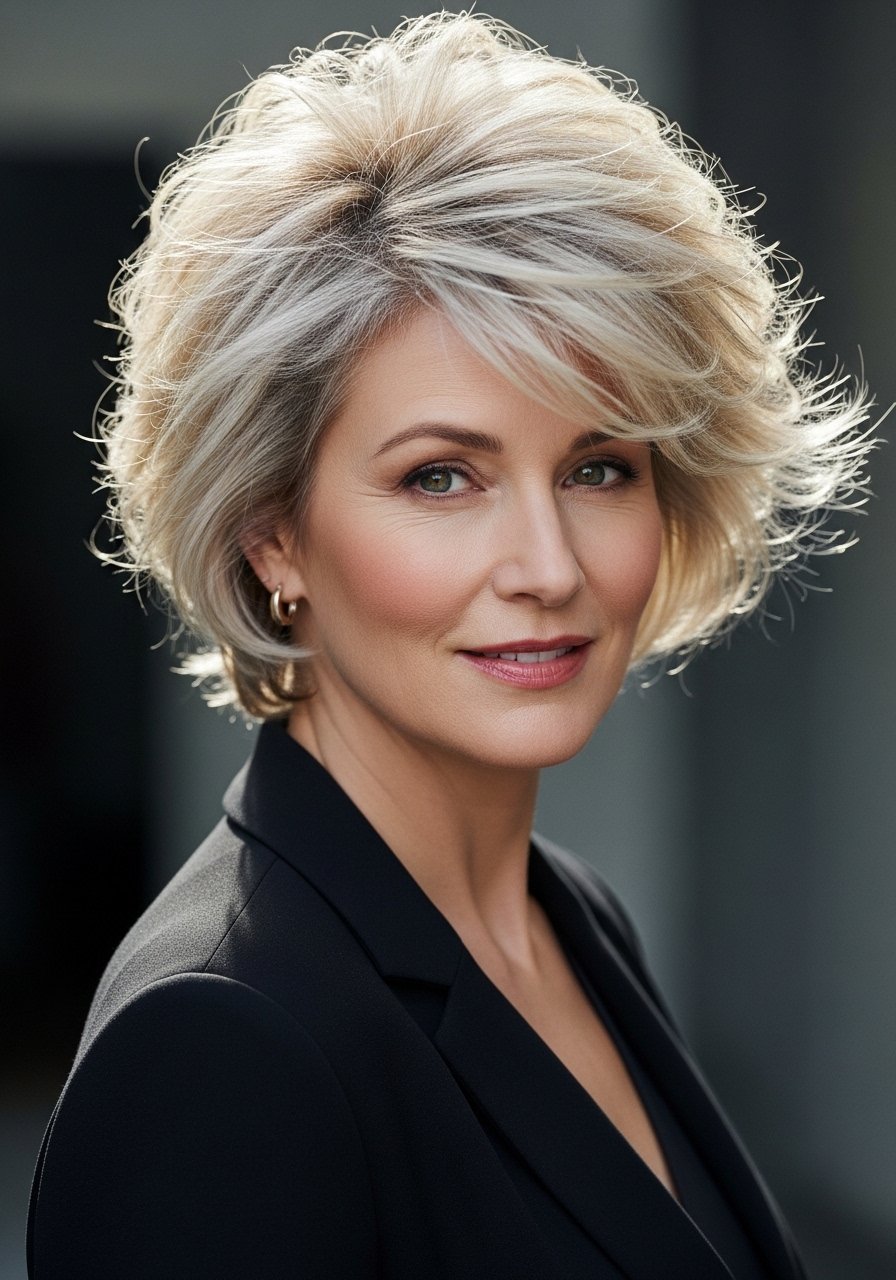
Fine hair needs different math. Use micro doses of product, such as a rice-grain of powder at the roots and a pea-size of lightweight cream on ends only. Layering matters here, a base of lightweight mousse followed by a powder can create 1/2 inch of lasting lift. For photos, angle the light slightly above to catch subtle shadow at the part. This approach is beginner friendly and budget conscious. Try a travel volumizing mousse and a root-lifting powder.
Mistake to Avoid: Using heavy creams at the roots on fine hair, which collapses volume and looks flat in images.
Short Hair Photo Habits
Tip 1: Thin layers photograph better than one heavy pass. Apply a rice-size of texturizing paste to sections instead of slapping a big blob, and you will keep definition without shine.
Tip 2: Grab a microfiber towel for about $12. Blotting instead of rubbing preserves short cut shape and saves twenty minutes of styling.
Tip 3: Use a small clip-in bangs set to preview shapes. They let you test angles for photos and undo in seconds.
Tip 4: Most people overdo the spray. A light mist from 12 inches of a light-hold hairspray gives control without stiffness.
Tip 5: Curate one background for headshots. A neutral wall and a small ring light produce consistent color so the hair reads the same across sessions.