
The moment it clicked I was standing under fluorescent salon lights, frustrated that my spikes fell flat by noon. I pinched a nickel-sized amount of product between my palms, warmed it for 10 seconds, and pushed the hair up from roots to tips. The hold lasted all evening and felt natural, not crunchy. That one tiny change kept me from redoing my whole head every hour.
These picks are for anyone with short hair who wants styles that work fast, cost under a modest budget, and are beginner friendly. Expect a mix of heat-free and heat-assisted looks, notes for straight, wavy, and curly textures, and small technique details you can try in under 10 minutes. Most styles use one to two affordable products and a basic tool or two.
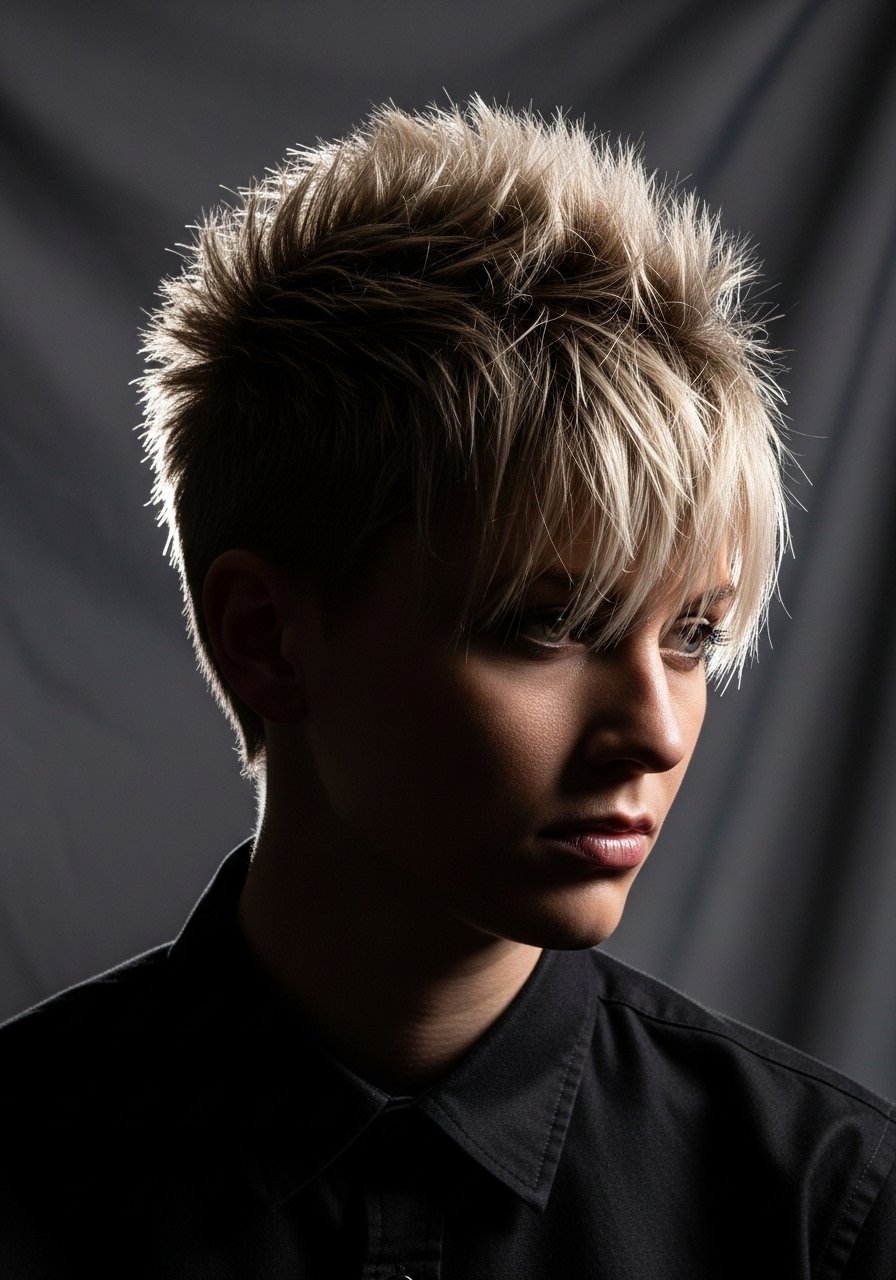
1. Classic Matte Short Spike
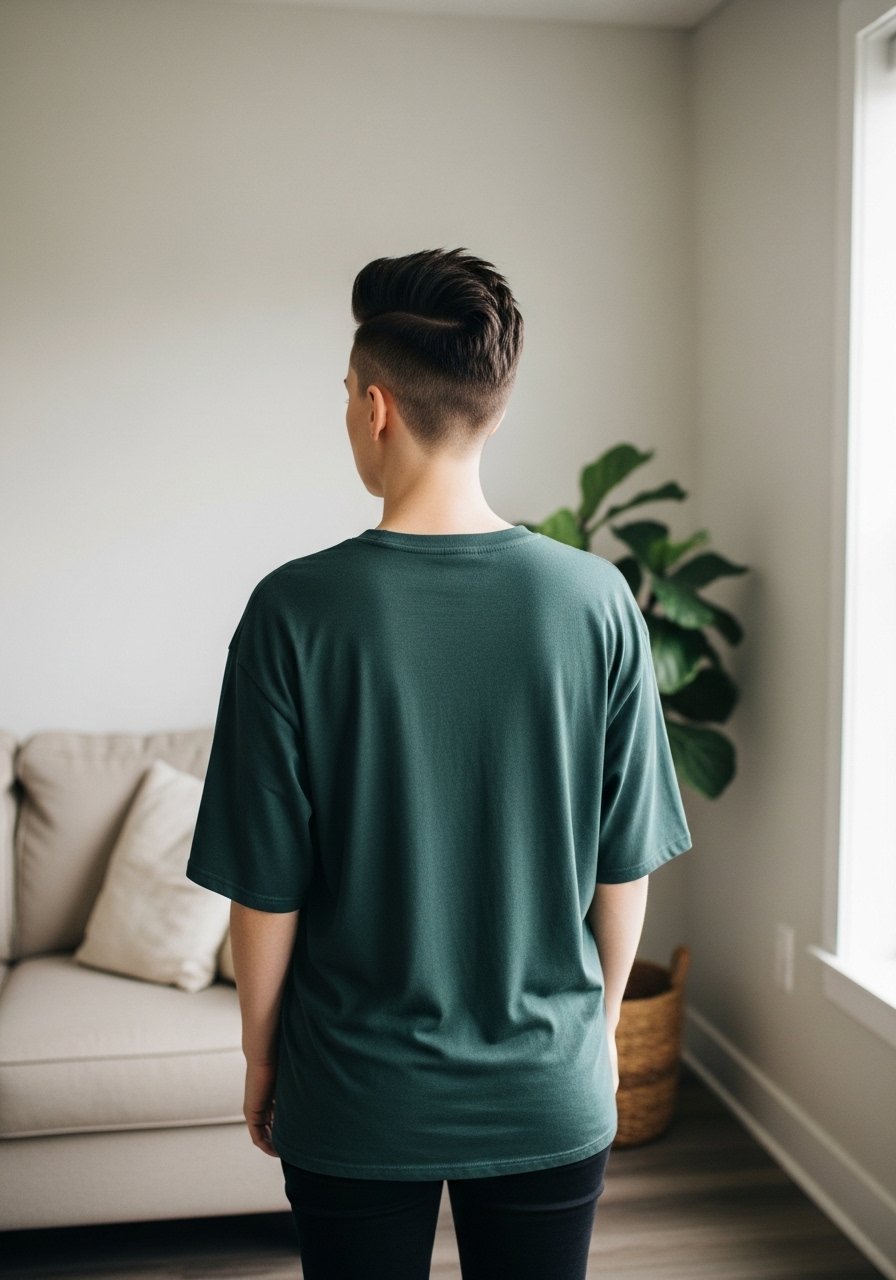
A true go-to, the classic matte spike relies on a small dab of fiber paste worked from crown to front. Use a nickel-sized amount for 1.5 inch hair, warm it in your palms for 8 to 12 seconds, then rake through and pinch the tips. It reads purposeful and tidy, good for work or weekend, and works across straight and low-porosity hair with medium hold. Pair with a lightweight hairspray for all-day hold. Try matte fiber paste for control and light hold hairspray.
Mistake to Avoid: Using a pea-sized scoop for the whole head, which leaves the back flat and the front overloaded.
2. Textured Faux Hawk Spike
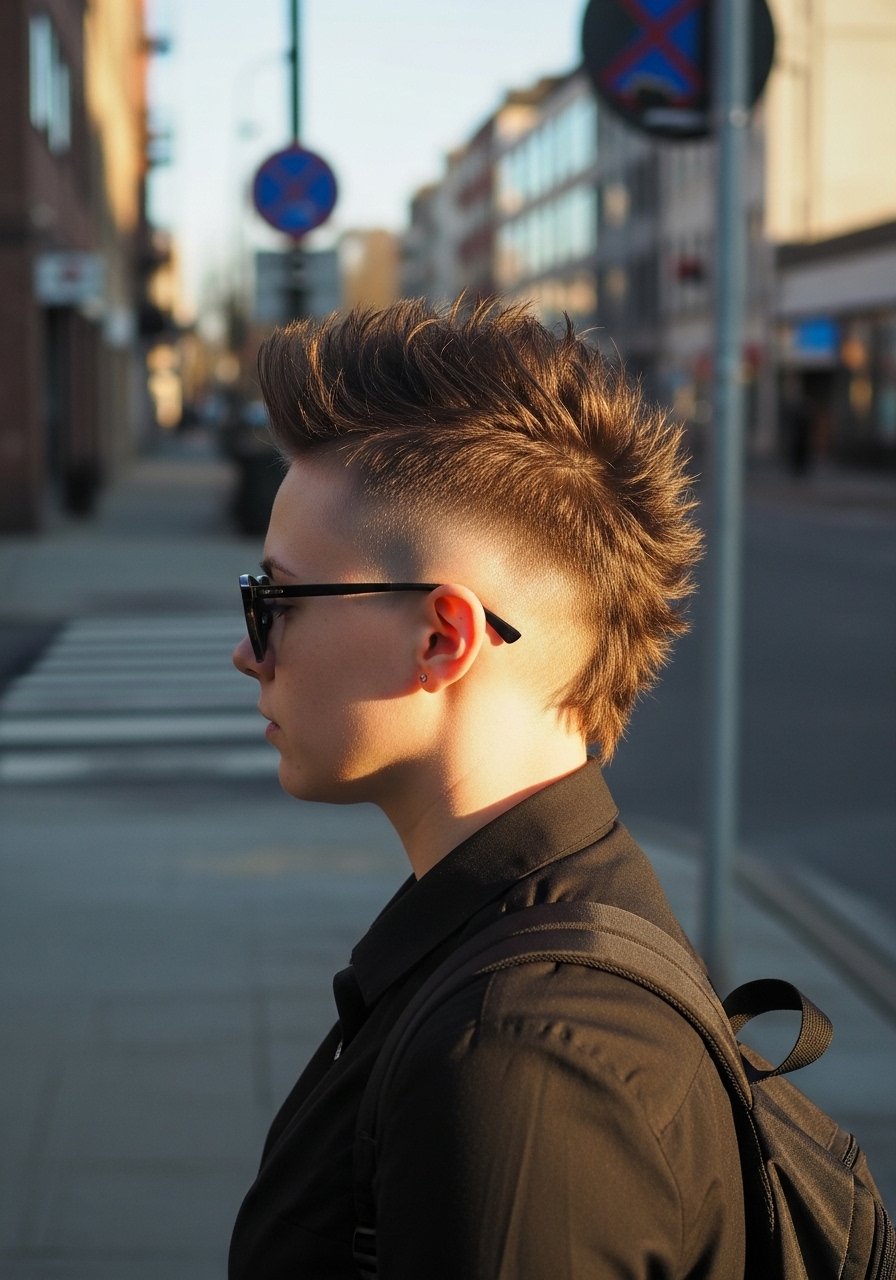
This keeps edge while staying office friendly. Create texture by towel-drying to damp, spritzing a texturizing spray through the mid-lengths, then using a dime-sized matte wax to lift the center line. The goal is vertical movement, not rigid points, so work from roots and twist small sections toward the center. Ideal for straight to wavy hair and for anyone wanting a modern look with low daily upkeep.
Mistake to Avoid: Applying product only to the tips, which makes spikes droop instead of holding at the root.
3. Soft Piecey Spike With Short Fringe

Move away from uniform spikes by keeping the front slightly softened into a fringe. Use a cream styling paste mixed 1:1 with a tiny amount of serum to keep spikes separated but not stiff. This creates a casual, approachable vibe that suits round and oval faces. It takes five minutes and is forgiving if your hair is damp or second day. Try styling cream and lightweight hair serum.
Mistake to Avoid: Over-brushing the fringe, which erases the piecey texture you just built.
4. Curly Short Spike for Natural Texture

For curls, spikes read as small separated clumps rather than stiff points. After shower, apply a pea-size curl cream to damp hair, then use a tiny amount of clay to pinch and lift individual curls at the crown. Across four hair textures I have styled, this method keeps curl definition while adding lift. It is heat-free and low effort, perfect for mornings when you do not want a blowout. Try curl cream and styling clay.
Mistake to Avoid: Scrunching wet curls with heavy product, which flattens the crown and hides the spike shape.
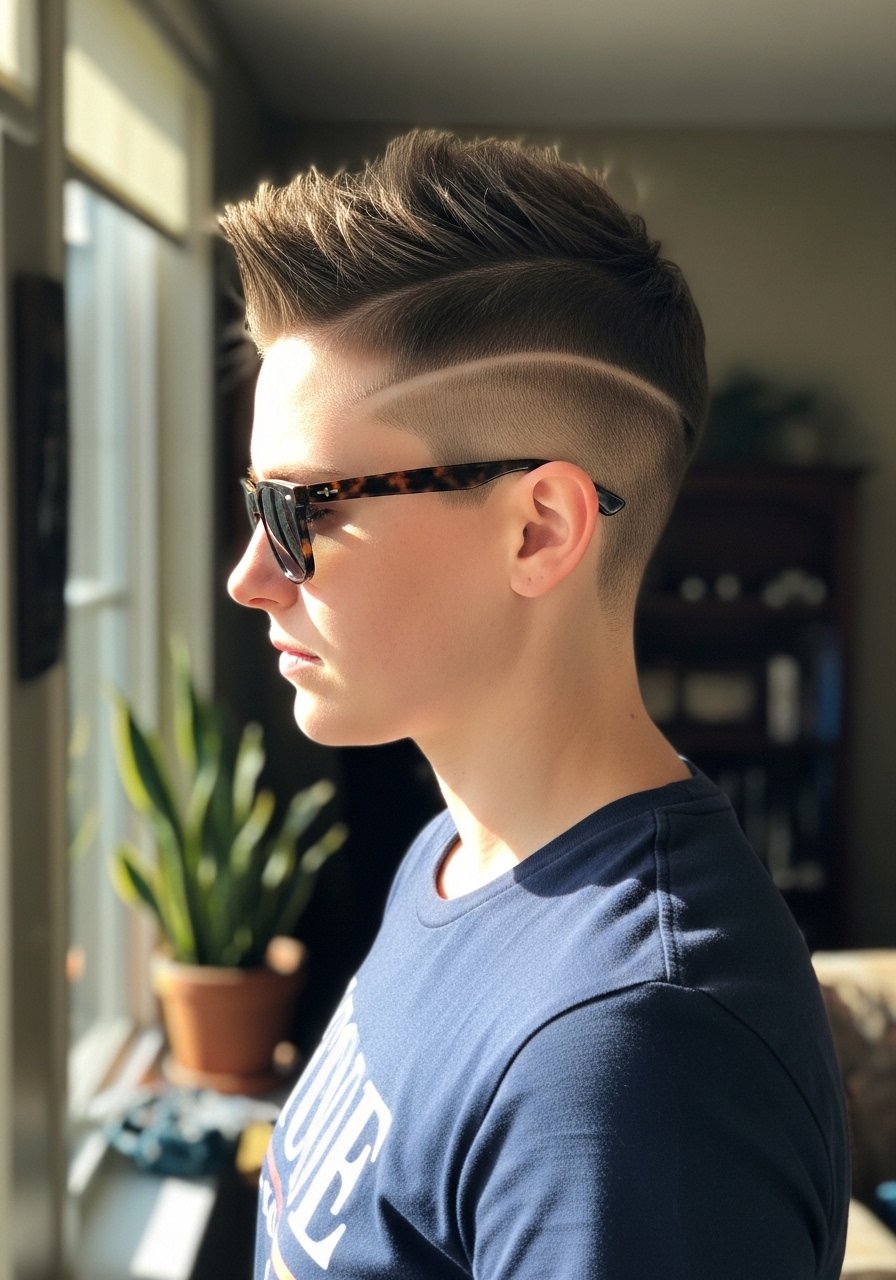
5. Shaved Side Contrast Spike
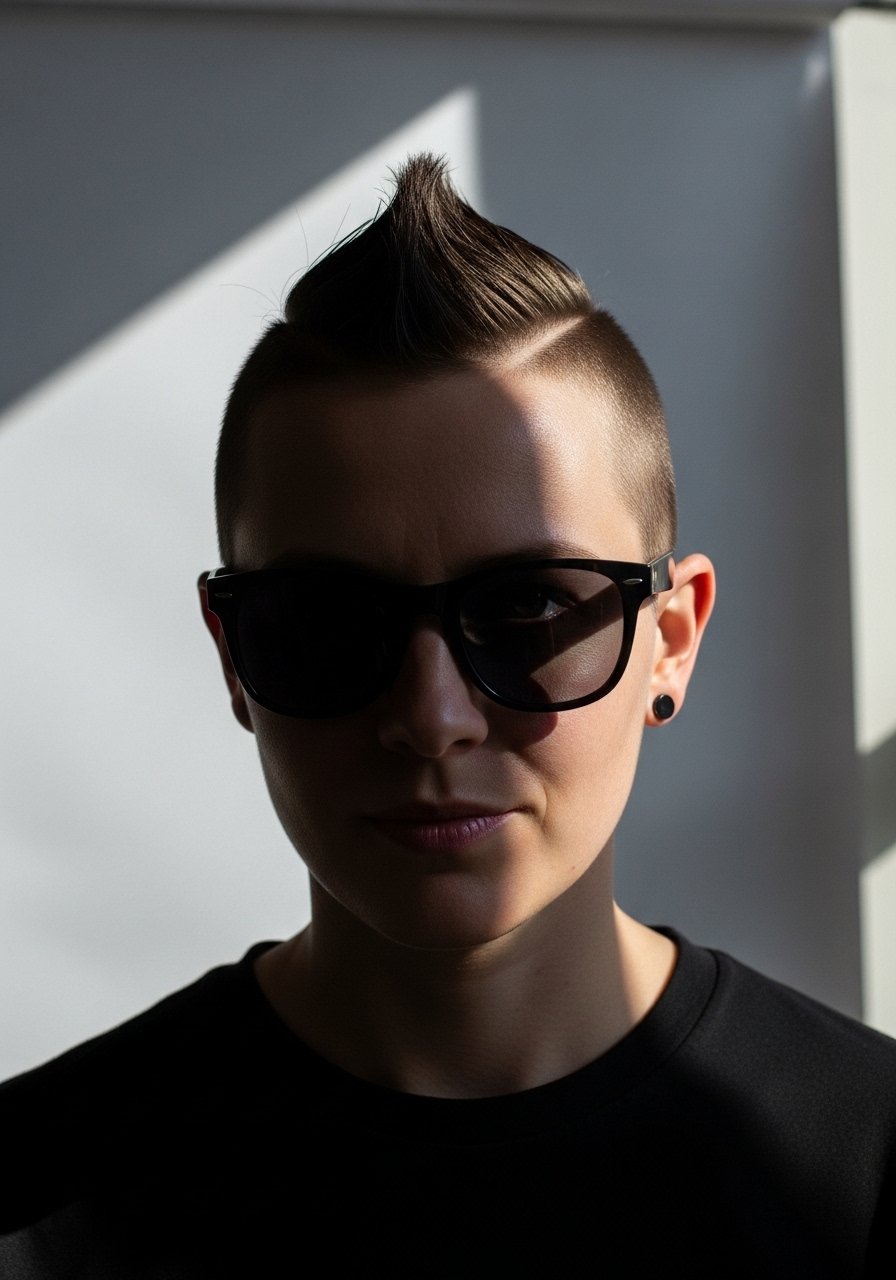
Deliberate contrast makes short spikes pop. Keep the top at about 1 to 1.5 inches and shave one side or use a 1 guard taper. Style the top with a strong matte pomade and use your fingers to define vertical sections toward the shaved line. This fit works well for straighter hair and adds attitude without much daily styling time. A travel trimmer helps maintain the side between cuts. Use matte pomade and a compact hair trimmer.
Mistake to Avoid: Letting the shaved side grow unevenly, which makes the contrast look sloppy fast.
6. Short Spiked Mullet Modern Take

Yes, the mullet lives small and tidy. Keep the top spiked with a firm paste and leave the back at clipper length that blends into the neck. The look reads current when the top is textured and not overly long. It suits people wanting a bit of edge without committing to length. Use a fiber paste on the crown and a small comb to shape the back. Try firm fiber paste and wide-tooth comb.
Mistake to Avoid: Letting the back grow too long between trims, which loses the intended modern silhouette.
7. Low-Maintenance Bedhead Spikes

This is for low-effort days. Work a quarter-sized amount of sea salt spray through towel-dried hair and then scrunch with a small amount of matte paste in your fingertips. Let it air dry or blast with a diffuser for 30 seconds to set. It gives a lived-in, textured finish that hides second-day oil. Good for wavy and fine hair when you want volume without heavy products. Try sea salt spray and light matte paste.
Mistake to Avoid: Using too much salt spray, which can dry out fine hair and make it brittle.
If any of these ideas have you ready to actually try something, here are the essentials I reach for most.
Short Spike Essentials List
Styling Products:
- Matte pomade (~$12-20) for structured spikes and shine control.
- Styling clay (~$10-18) for heavy hold without stiffness.
- Sea salt spray (~$8-15) for texture on damp hair.
- Light hold hairspray (~$6-12) to lock in shape.
Tools:
- Compact hair trimmer (~$25-45) to maintain fades and shaved sides.
- Wide-tooth comb (~$6-12) for detangling and shaping.
- Mini travel blow dryer (~$20-35) for quick root lift.
- Microfiber hair towel (~$8-15) to reduce frizz while prepping.
Finish & Care:
- Lightweight hair serum (~$10-20) for flyaway control.
- Dry shampoo (~$8-18) for second-day spike rescue.
8. Backcombed Mini Spikes
Backcombing creates tiny, controlled spikes that read like volume rather than rigid points. Use a soft bristle brush to tease small sections at the roots, then smooth the surface with a pea-sized amount of paste so the spikes keep lift without frizz. This works on fine hair and on low-porosity hair you want to avoid heavy product on. Backcombing is a quick five-step process and gives the illusion of thicker hair.
Mistake to Avoid: Brushing aggressively after teasing, which collapses the volume you created.
9. Pomade-Gloss Spikes for Night Out
For slicker, more polished spikes use a water-based pomade applied in a thin ribbon from root to tip. Keep the amount minimal, about a pea-size for short hair, and comb through with fingers for separation. The finish looks intentional and works best for straight hair or low-frizz waves. Add a mist of shine spray last if you want a wet-look sheen. Try water-based pomade and shine mist.
Mistake to Avoid: Over-applying pomade at the crown, which flattens spikes and makes the scalp look oily.
10. Salt Spray Sea-Spike (Heat-Free)

No heat required here. Work salt spray into damp hair, scrunch upward, then use fingers to form small spikes in the center. Let air dry or use a 20-second blast from a dryer if needed. This keeps hair feeling flexible and natural, ideal for summer or travel. It is budget friendly and gentle on porous hair. Try beach texture spray.
Mistake to Avoid: Spraying salt spray too close to the roots, which can make scalp flakes more visible.
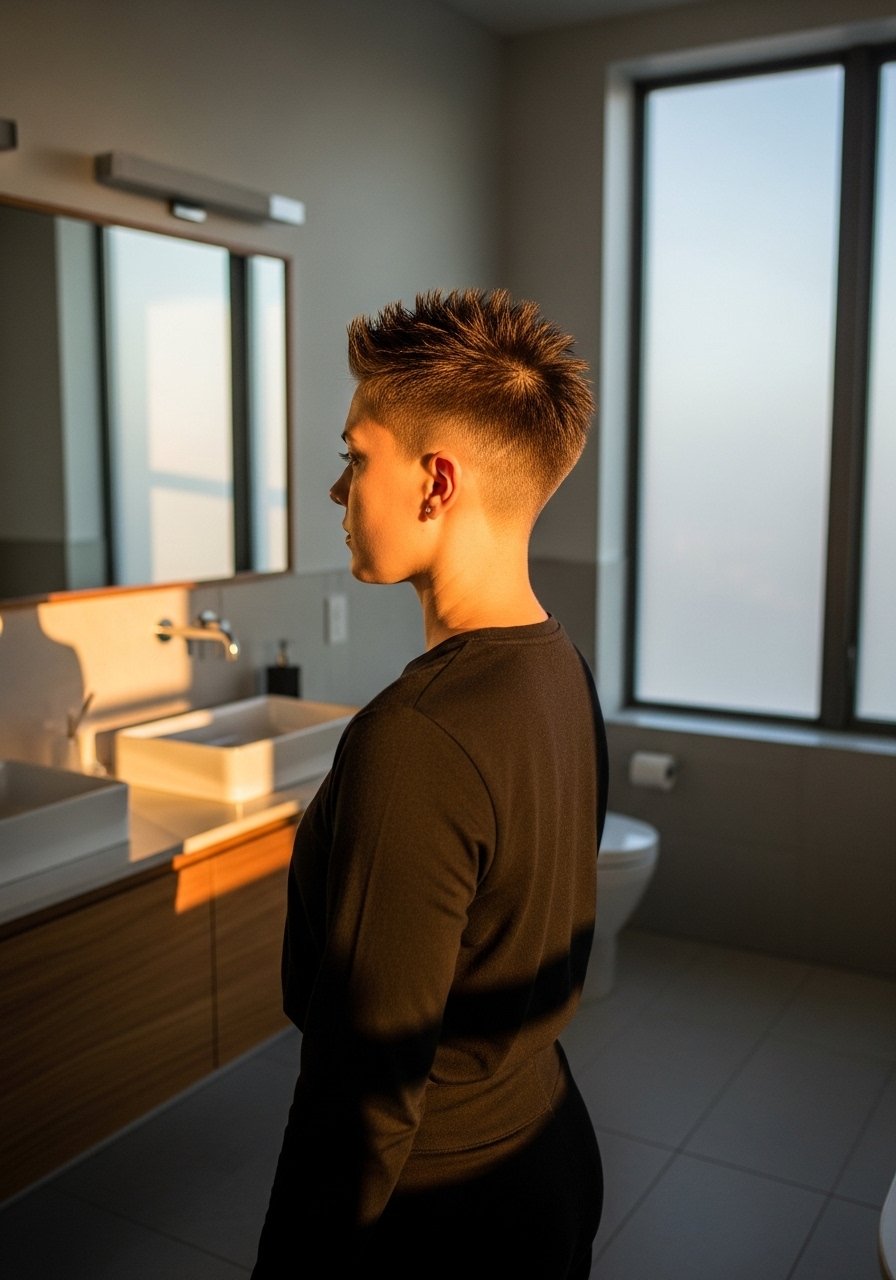
11. Short Spikes With Tapered Fade
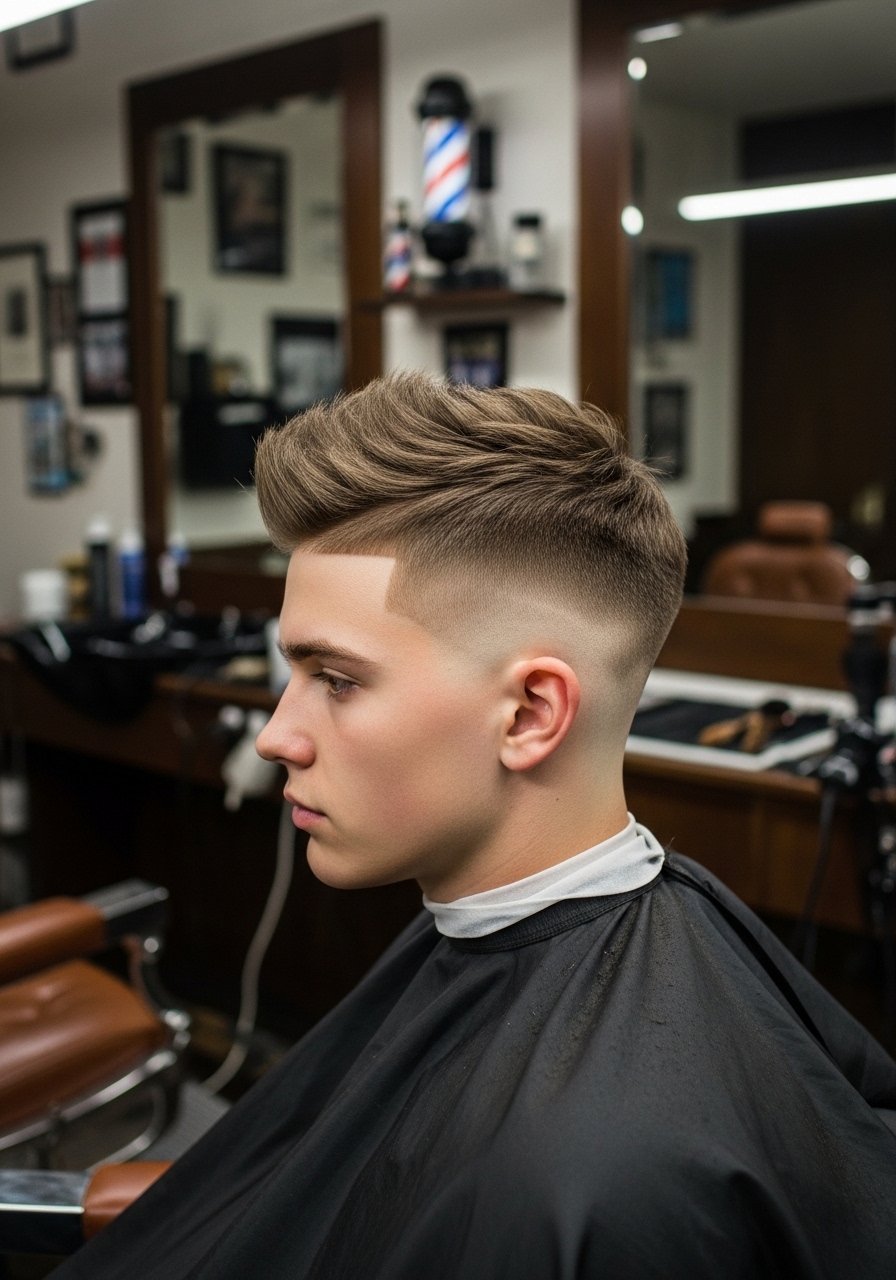
A sharp fade frames spikes and emphasizes the top. Ask for a 1 to 2 clipper fade that blends into the spike length. Use a medium hold paste to lift and define, working section by section for even height. This look suits most hair types and gives a tidy, intentional appearance that is still easy to style each morning. Keep a trimmer on hand for tidy edges between visits.
Mistake to Avoid: Using heavy pomade that hides the fade by clumping hair together.
12. Messy Heavy-Hold Clay Spikes
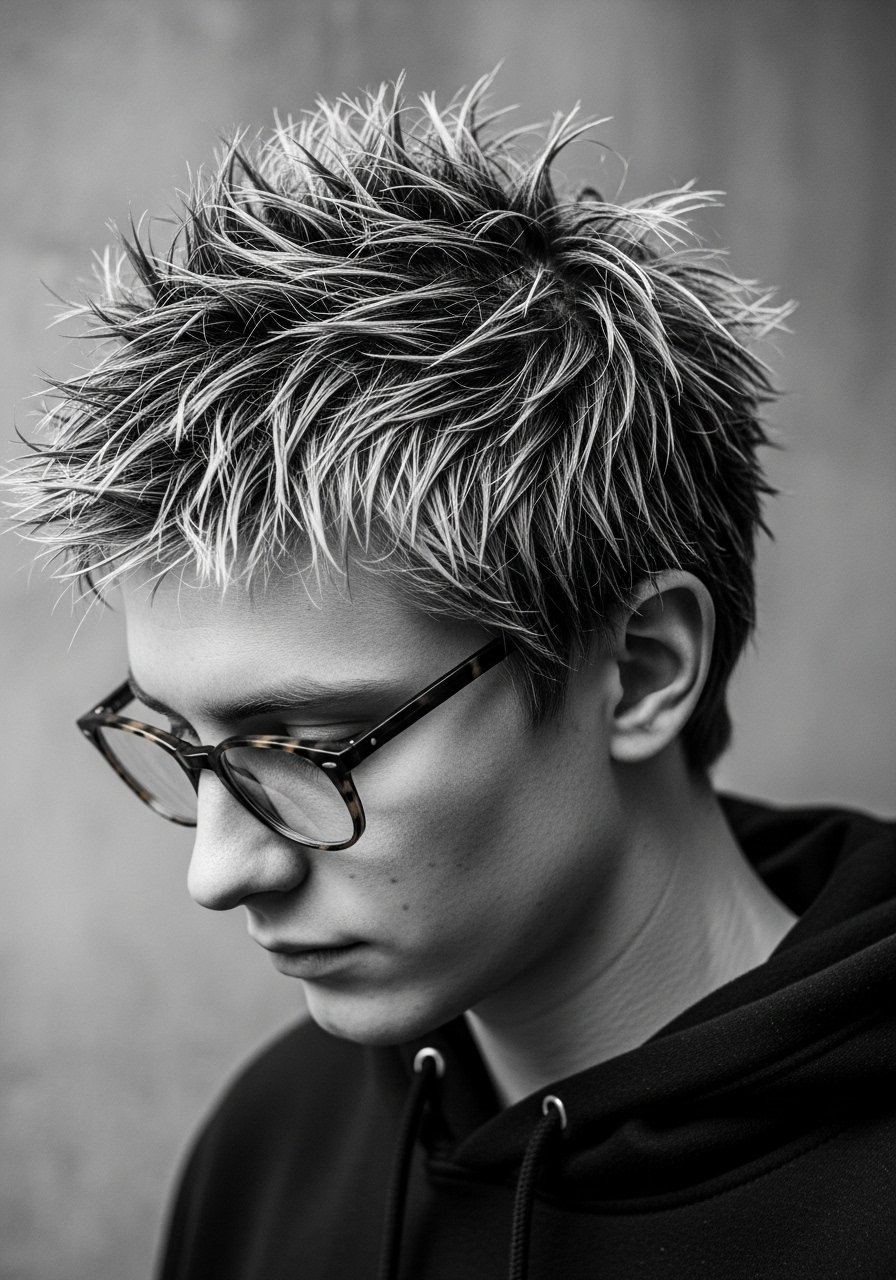
For a day when you want maximum texture, rub a pea to nickel-sized scoop of heavy-hold clay between palms until warm, then push hair up in small, random sections. The result is an undone, lived-in spike that holds through humidity. Best for thicker hair and high-porosity hair that needs extra grip. Work quickly before the clay sets for the most natural finish. Try heavy-hold clay.
Mistake to Avoid: Applying clay to wet hair, which dilutes the hold and creates a greasy look.
13. Spikes With a Hard Part
A hard part adds structure. After creating the part with a razor or trimmer, style the longer side into spikes using a medium paste, while keeping the other side slick or low. The contrast reads sharp and controlled but still quick to do. It suits straight and slightly wavy hair and works well for those who want a precise, maintained style with small daily effort.
Mistake to Avoid: Cutting the part too deep, which makes regrowth look patchy before the next cut.
14. Short Spiked Mohawk Strip

Keep the mohawk narrow for a subtle effect. Style only the center strip into short vertical spikes using a strong paste and pinch each spike to create texture. This is lower maintenance than a full mohawk and versatile for day or night. It is a good option for people who want edge without a full-time commitment. Maintain length at the strip around one inch for best control.
Mistake to Avoid: Letting the strip grow too wide, which turns the look into a bulky shape rather than a refined strip.
15. Second-Day Rescue Spikes With Dry Shampoo
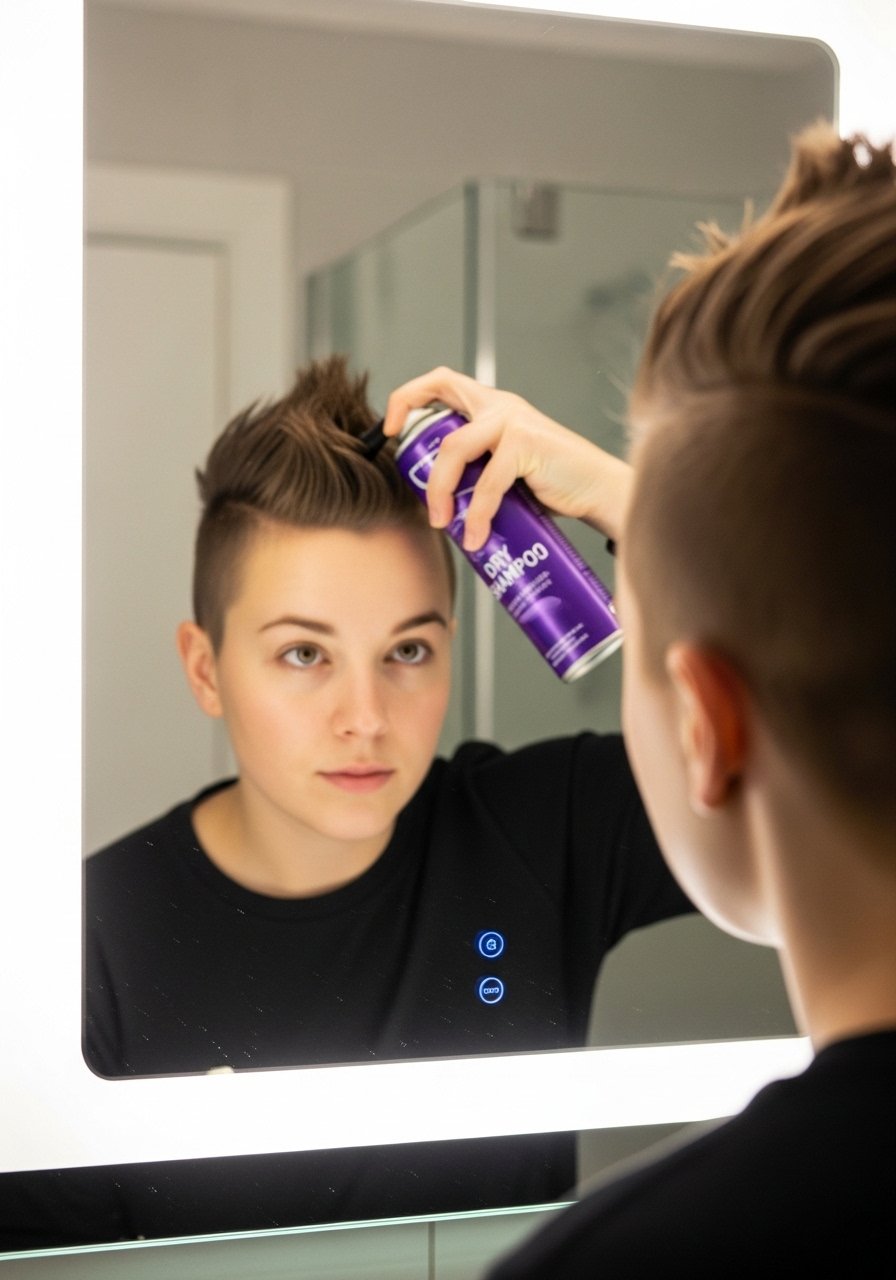
Revive spikes on day two by targeting the roots with dry shampoo, massaging it in, then using a tiny dab of paste to reshape spikes where needed. Dry shampoo absorbs oils and gives powdery texture that paste can grip. This trick stretches time between washes and is ideal for busy mornings. Use sparingly at the crown to avoid visible residue. Try volume dry shampoo and multi-use paste.
Mistake to Avoid: Spraying dry shampoo too close to the scalp, which leaves white spots that are hard to hide.
Spike Care Shortcuts
Thin coats beat one thick coat every time. Three light layers of light hold hairspray set spikes without crunch.
Grab dry shampoo if you plan to skip a wash. Apply at the roots and wait one minute before massaging to avoid visible residue.
When possible air-dry with a microfiber towel instead of rough toweling. A microfiber hair towel reduces frizz and saves styling time.
Most people pile product at the crown. Use a little at the roots and a dot at the tips instead, which gives lift and prevents weighed-down spikes.
