
I kept asking for a dragon that fit inside a passport photo and then wondering why the lines blurred after a year. I learned the hard way that scale, needle choice, and how you care for the piece matter more than a complicated composition. These are small dragon ideas that read clean from across a room, heal predictably, and still feel like a quiet personal emblem instead of full armor.
These nine picks are for the person who wants a compact, wearable dragon that works with a normal job, fits under a sleeve if needed, and does not demand endless touch-ups. Most designs are one-session or quick two-session work, they run budget-friendly for line-based pieces, and aftercare is simple. If you want something flashy, this list is not for you. If you want something subtle, read on.
1. Tiny Line Dragon Along the Collarbone
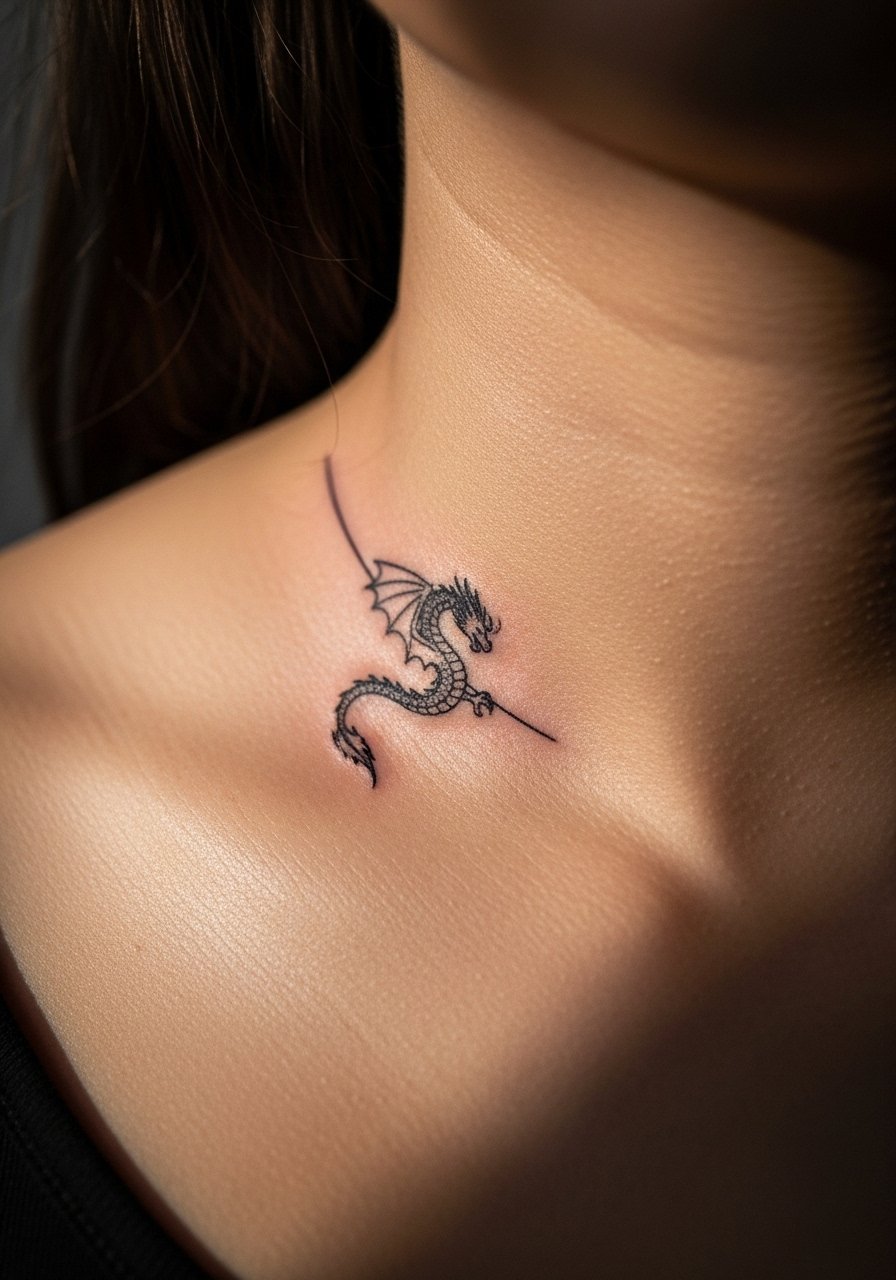
A single, continuous thin line tracing a dragon form along the collarbone reads elegant and discreet. The visual trick is using a single flowing stroke with micro-variation in line weight so the head and tail read clearly at small scale. This suits someone who wants a visible but coverable piece for work. For aftercare I use a thin layer of tattoo aftercare ointment for the first three days, then switch to a fragrance-free lotion. A fine liner needle and steady hand make the shape crisp; demand that from the artist when booking.
Style/Technique: Fine-line continuous line
Pain Level: 3/10
Session Time: 30 to 60 minutes
Best For: Collarbone, people who wear button-up shirts
Mistake to Avoid: Picking a blocky dragon sketch at this scale instead of a single-line design that preserves detail.
2. Micro Dragon on the Side of a Finger
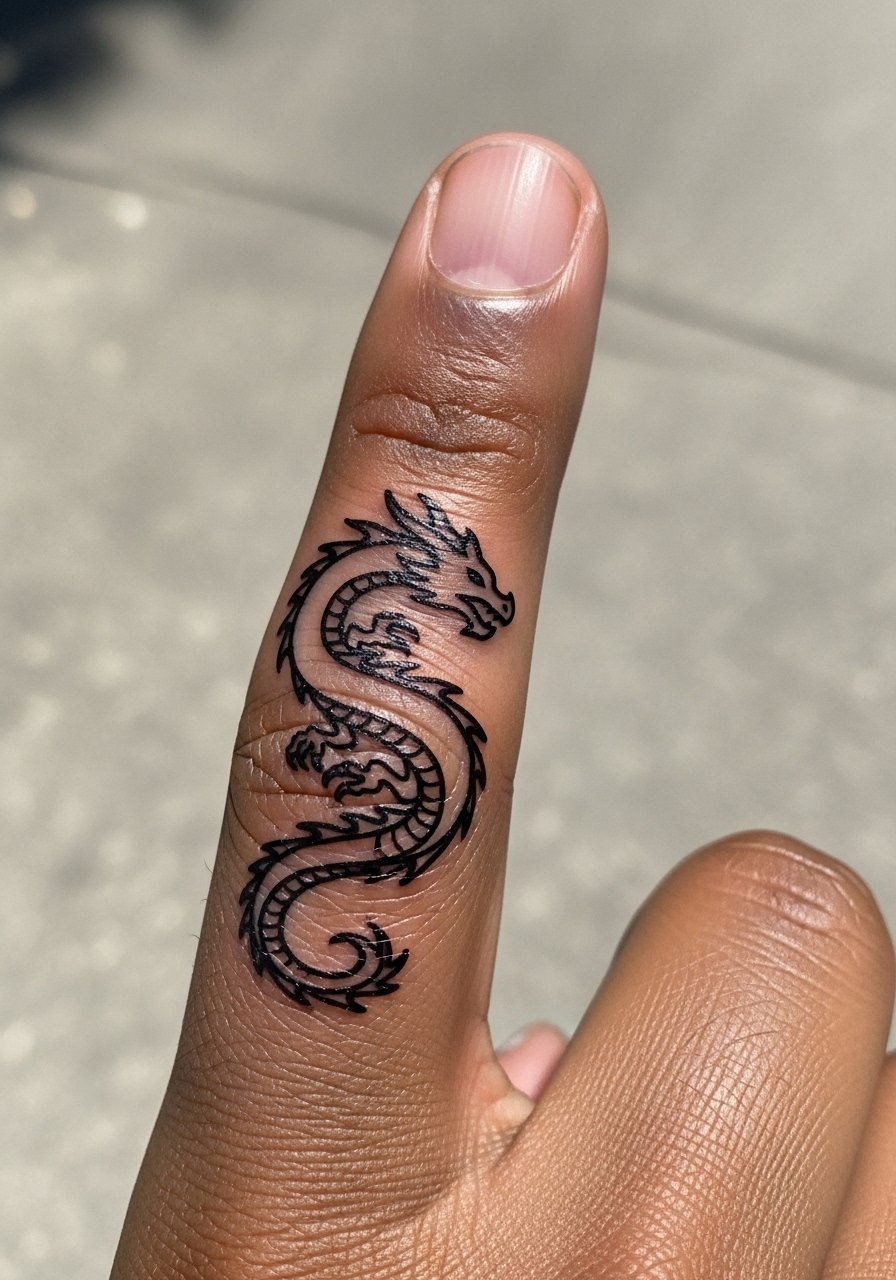
A dragon that hugs the finger works because the curve of the bone gives the tail motion. Keep it strictly outline, tiny, and positioned on the side where daily wear is lighter. Expect faster fading on fingers, so plan a touch-up at nine to twelve months. Use a breathable liquid bandage like tattoo aftercare film for the first 24 hours to prevent scabbing. This is an excellent choice for someone wanting a playful, background tattoo that still reads as an intentional symbol.
Style/Technique: Micro outline
Pain Level: 4/10
Session Time: 20 to 40 minutes
Best For: Finger placement, people who wash hands frequently
Mistake to Avoid: Asking for heavy shading on a finger tattoo which causes fast blurring.
3. Minimal Dragon Silhouette Behind the Ear
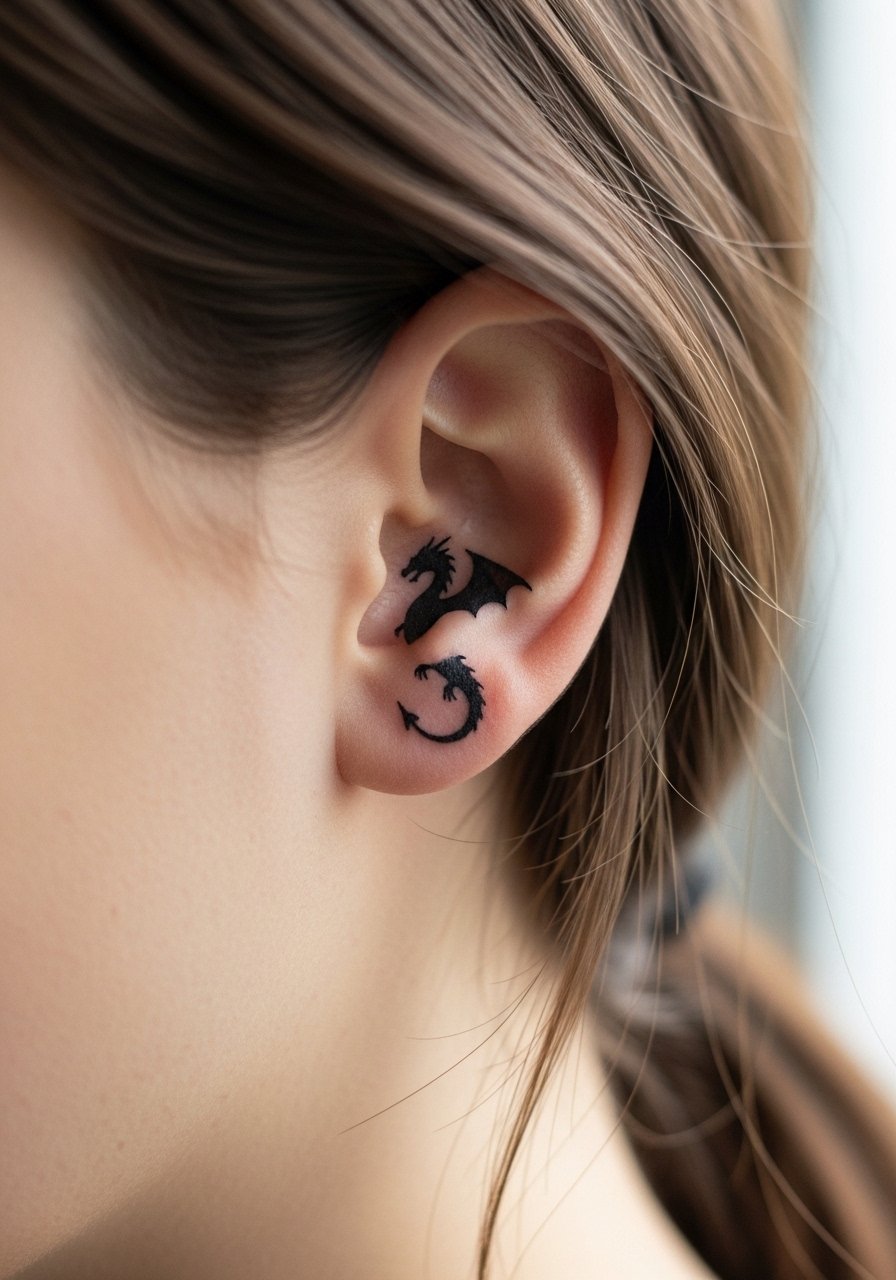
A tiny filled silhouette fits perfectly behind the ear and reads as a private mark when hair is down. The trick is a compact silhouette no wider than a thumb nail so the shape stays solid as it ages. This placement is low-maintenance and easy to hide for conservative workplaces. For sensitive skin near the hairline I recommend an unscented cleanser and a light healing balm like fragrance-free healing balm. Expect the healed look to soften; a crisp silhouette requires a single bold pass rather than layered tiny dots.
Style/Technique: Small silhouette fill
Pain Level: 2/10
Session Time: 15 to 30 minutes
Best For: Behind-ear, those who want coverability
Mistake to Avoid: Requesting tiny interior detail which disappears as the tattoo settles.
4. Origami-Style Dragon on the Ankle
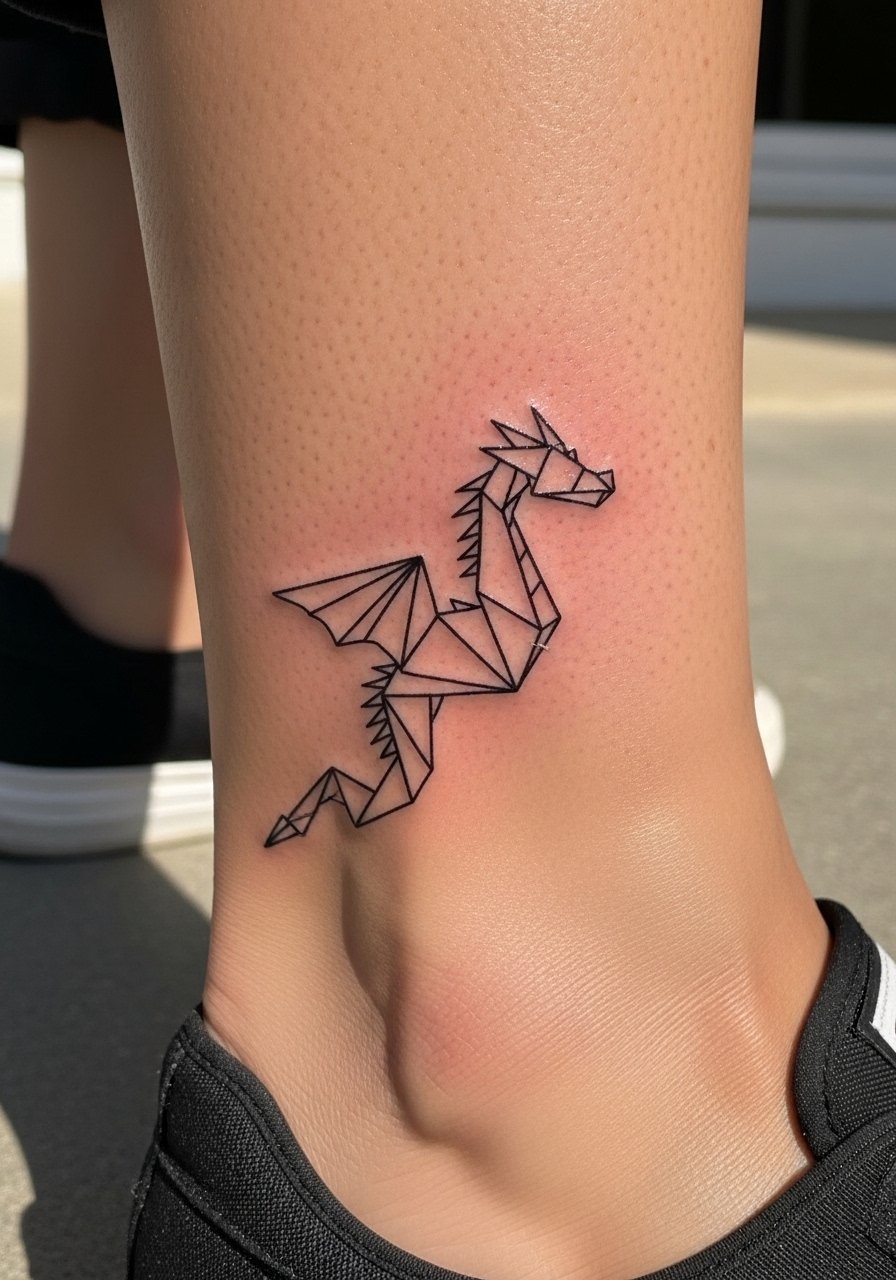
An origami-inspired dragon uses angular facets rather than curls, so it reads as geometric at micro scale. It creates a modern, architectural feeling and sits well on an ankle or low leg. This style tolerates small size better because the shapes remain readable from different distances. For aftercare while wearing shoes, keep socks loose and follow up with a gentle antiseptic wash and unscented soap. This is a good pick for someone who likes clean edges and a slightly graphic vibe.
Style/Technique: Geometric fine-line
Pain Level: 3/10
Session Time: 25 to 50 minutes
Best For: Ankle, people who wear sneakers or flats
Mistake to Avoid: Choosing too many small triangles which muddle together once healed.
5. Tiny Dragon on the Ribcage Curve
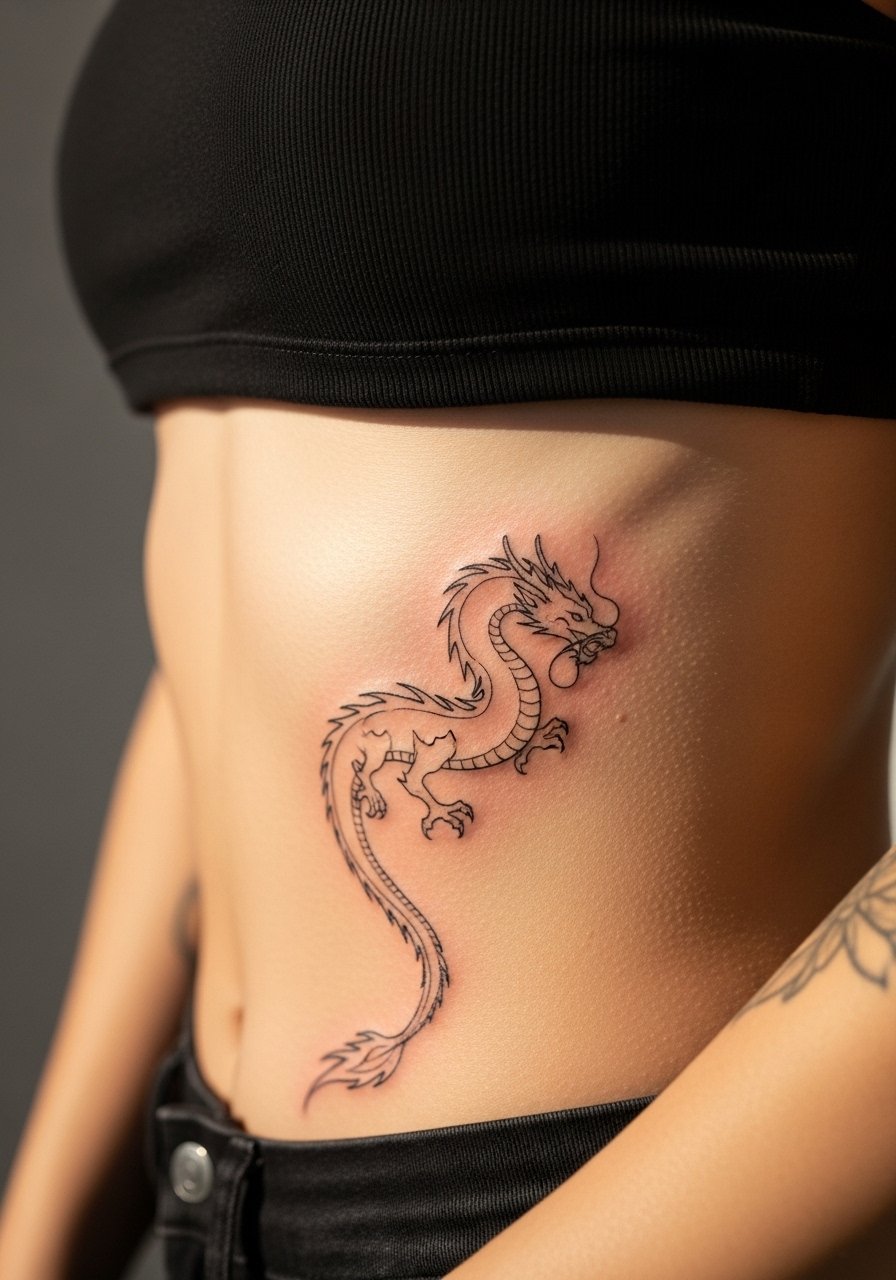
A small, curved dragon along the ribcage uses the body’s natural sweep to create motion without size. It is discreet under tops and flatters the torso when uncovered. Consider that ribs can be a higher-pain spot, so budget time for a calm session. Keep the lines simple and consider single-needle work for crispness. Pack a breathable compression wrap for the trip home and a fragrance-free lotion like gentle body lotion for week-two care. This option fits someone who wants a private piece with a bit of intimacy.
Style/Technique: Curved fine-line
Pain Level: 5/10
Session Time: 30 to 60 minutes
Best For: Ribcage, people comfortable with higher pain tolerance
Mistake to Avoid: Crowding the design with small scales that read as noise at this size.
6. Celestial Minimal Dragon on the Wrist
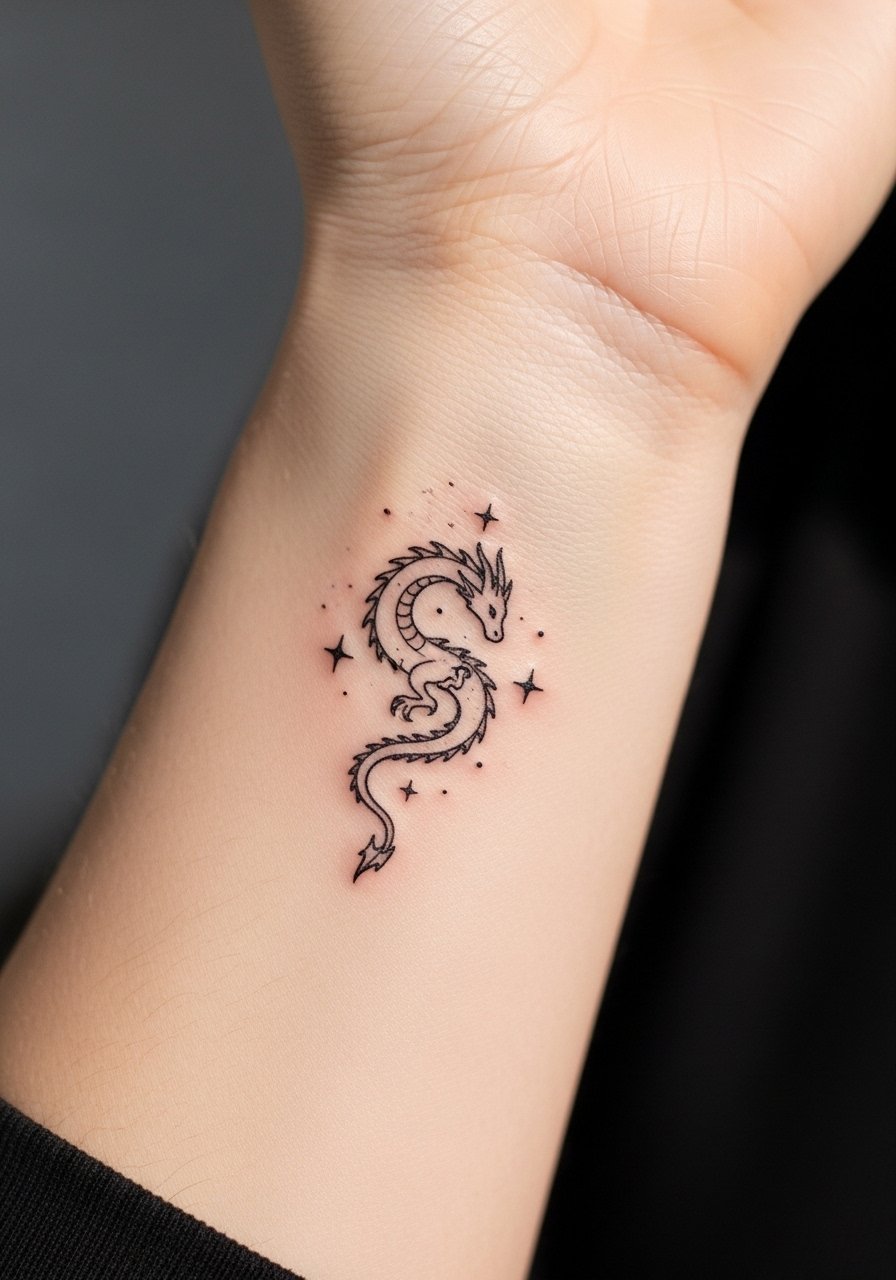
A small dragon curled like a crescent pairs well with tiny stars or dots and sits neatly on the wrist. It reads like jewelry and plays well with bracelets. Use micro-dot accents instead of textural shading to keep the piece delicate. This style suits someone who wants a visible daily reminder without dominating the arm. Use a silicone-based scar gel after peeling to keep lines defined and consider a delicate touch-up after six months. Pair it visually with a thin watch or simple bracelet for an intentional look.
Style/Technique: Crescent fine-line with micro-dots
Pain Level: 3/10
Session Time: 20 to 40 minutes
Best For: Outer wrist, people who wear jewelry
Mistake to Avoid: Requesting heavy dot work that can clump and look muddy when the skin heals.
7. Single-Needle Dragon on the Nape
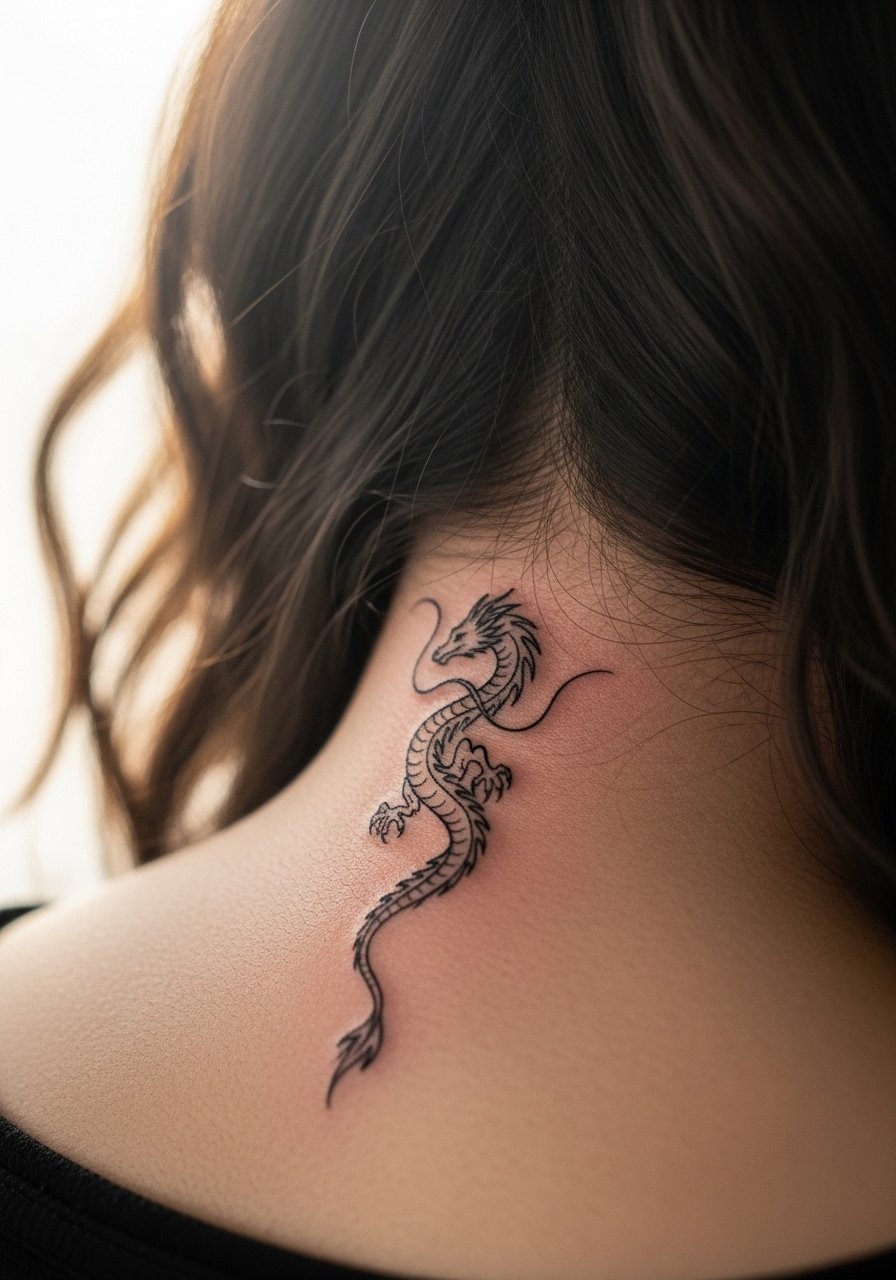
A single-needle dragon on the nape reads whisper-quiet when hair is down and shows when you pull hair up. Single-needle technique gives hairline thin detail and a delicate look. This is best for someone who wants a subtle reveal and prefers low visibility during formal settings. Healing here is straightforward but watch friction from collars. I recommend fragrance-free healing balm and sleeping on a clean pillowcase for the first week. Ask the artist about single-needle line spacing so the design does not bleed over time.
Style/Technique: Single-needle micro-line
Pain Level: 3/10
Session Time: 25 to 45 minutes
Best For: Nape, people who want an easily hidden design
Mistake to Avoid: Asking for too many internal lines which vanish with single-needle aging.
If any of these make you ready to shop for basic care and prep, here are the essentials I actually use.
Minimal Dragon Aftercare Kit
Skin Cleanser:
- Unscented skin soap (~$6-12), gentle daily wash that does not strip ink.
Healing Ointments:
- Tattoo aftercare ointment (~$8-15), for first 48–72 hours.
- Fragrance-free healing balm (~$10-18), for week-two moisture.
Protective Films & Bandages:
- Transparent aftercare film (~$12-20), useful for travel days.
Sun Protection:
- Mineral sunscreen stick (~$8-16), for healed tattoos.
Tools & Comfort:
- Clean pillowcase set (~$20-40), swap during first week.
- Non-abrasive washcloth (~$6-12), for gentle cleansing.
Tattoo Choices That Age Well
Start with a healed-focused question. Ask your artist how a design looks at a 1 cm scale and request a test line sample. This can save a blurry tattoo later. Grab a sterile single-use razor to prep skin cleanly.
Small beats detailed at tiny scale. A tiny dragon with simplified anatomy ages cleaner than one packed with scales. Try a healing balm for long-term line retention.
Avoid constant friction. If your chosen spot rubs against clothing, expect faster fading. I found a thin silicone adhesive film helps protect during the initial week.
Book consultation photos. Take reference shots of your preferred size, not just the print. A portable mirror helps visualize placement before committing.
Wait on color for small work. Tiny colored fills can blur quicker than black at micro scale. If you want color, plan a small black outline first and add color later if the lines stay crisp.
