
I kept redoing my nails because every soft pink I tried read either too beige or too Barbie in photos, and I finally realized the problem was how I layered finishes, not the shade. One small switch in top coat and a consistent coat count fixed more manicure photos than any single polish did.
This set is for people who like quiet manicures that read polished in snaps, not loud art. These ideas run from five-minute at-home looks to salon-level gel, with most costing under $30 for the main product. A tech who works at a salon downtown showed me the cure times and layering order that actually survive real life, so expect practical timings and at least one budget-friendly option per style.
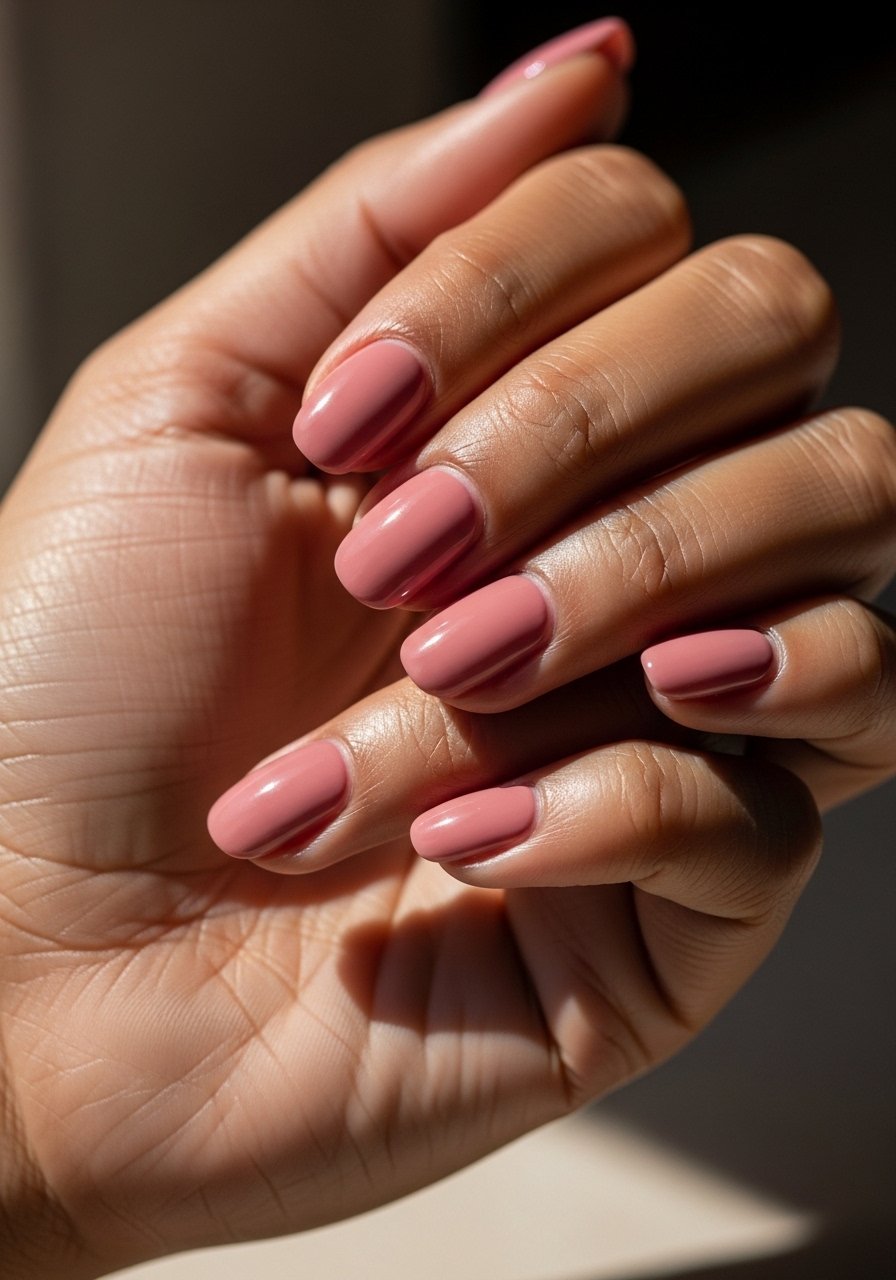
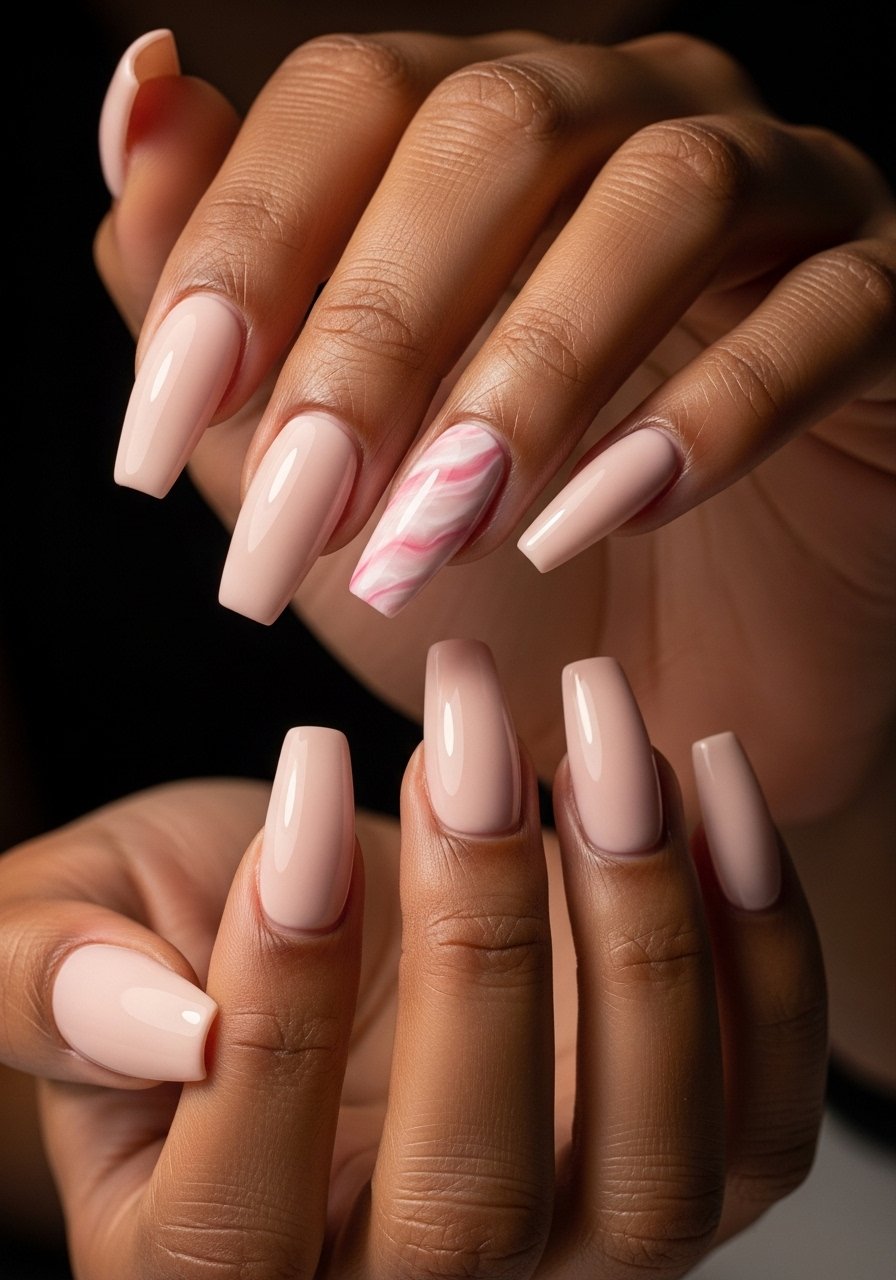
1. Sheer Baby Stain That Reads Natural
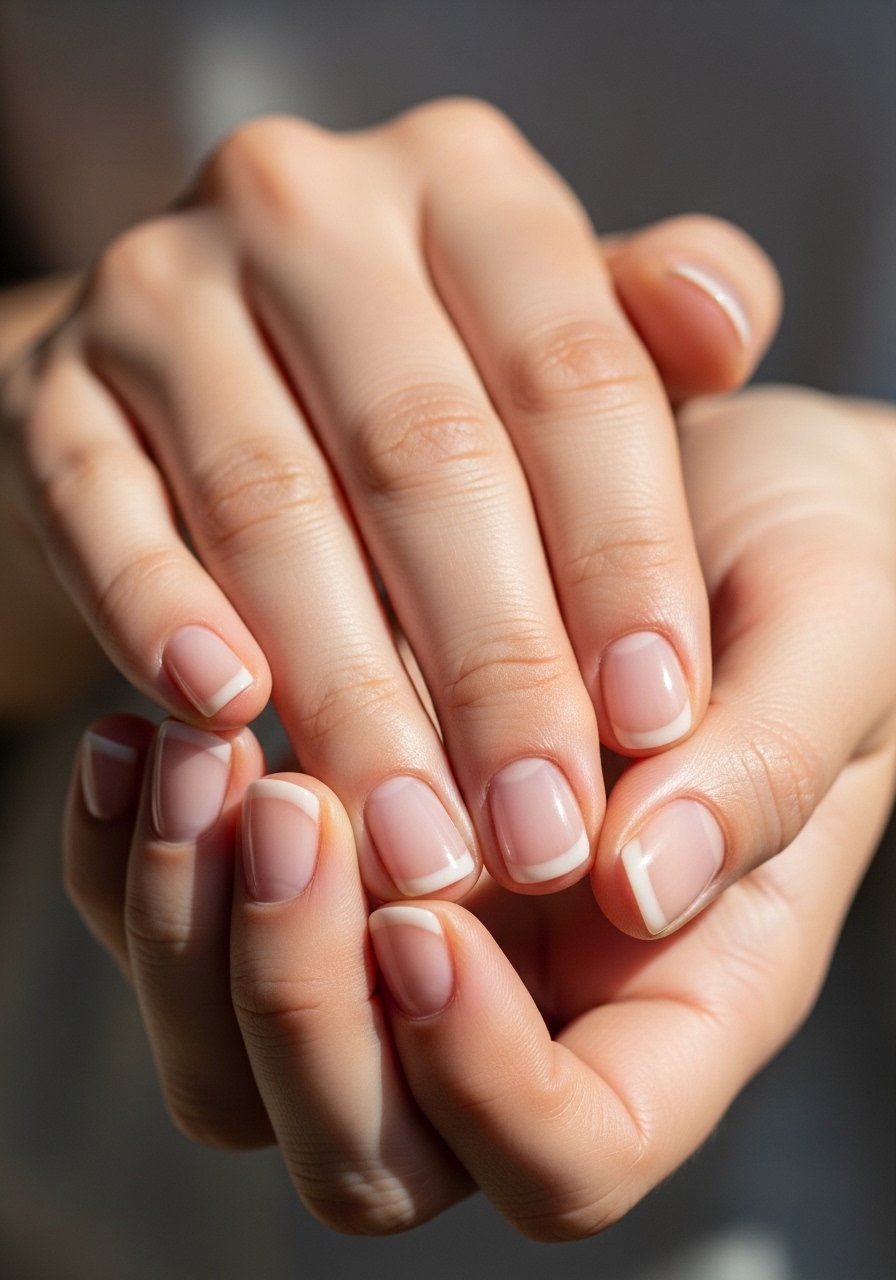
Style/Vibe: Soft stain, barely-there glow
Best For: Short nails, everyday wear
Skill: Beginner
Start with a thin ridge-filling base, then wipe on two thin coats of a sheer pink stain, keeping each swipe one to two millimeters from the cuticle. Two thin coats beat one thick coat for streak-free translucence, and if you use a fast-dry top coat your mani will feel dry in six to eight minutes. For at-home picks try sheer pink nail polish and a quick-dry top coat.
Mistake to Avoid: Applying full-thickness coats, which traps bubbles and looks streaky in photos.
2. Milky Rose Gel For a Creamy Look
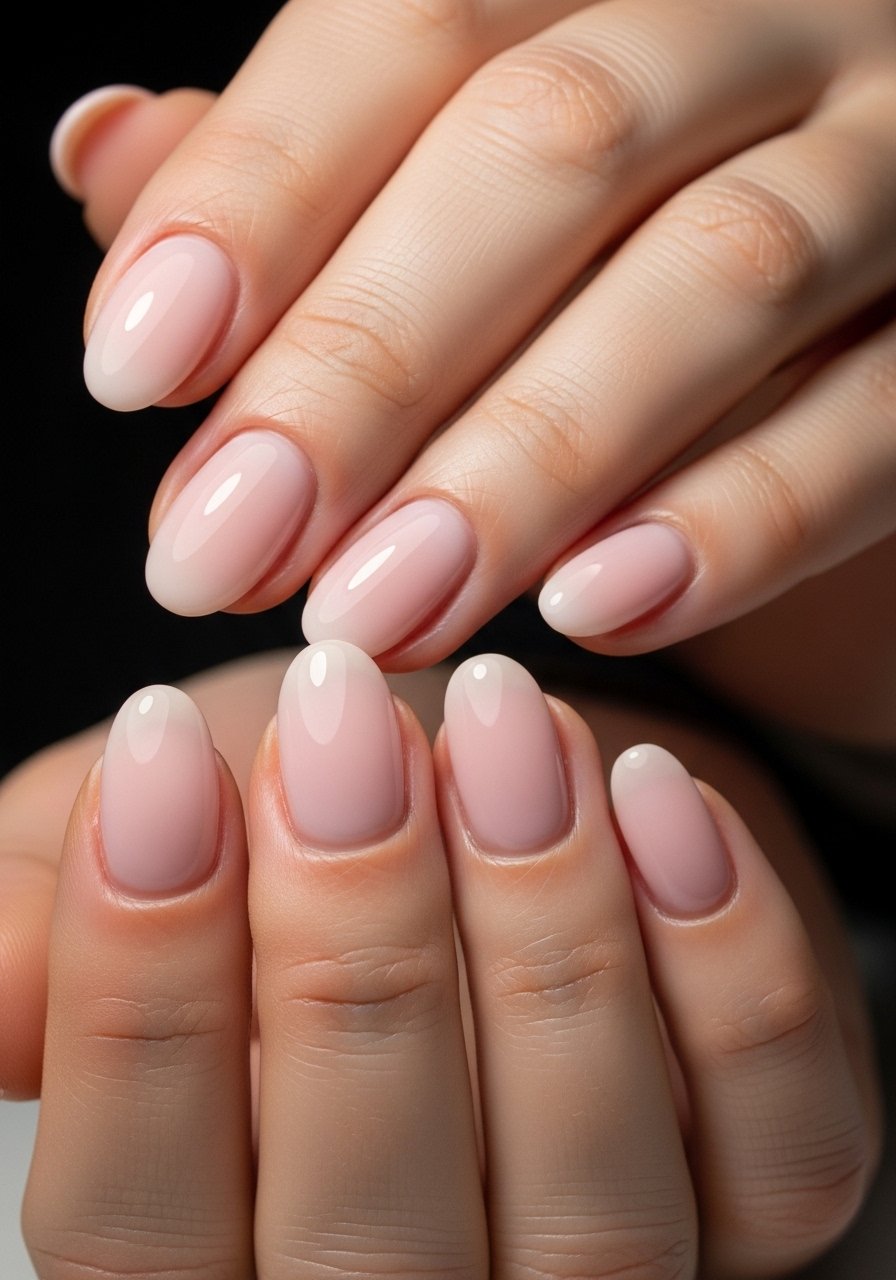
Style/Vibe: Creamy gel, soft coverage
Best For: Medium-length nails, special occasions
Skill: Intermediate
Gel gives a dense milky finish with minimal brush strokes if you apply two thin color layers cured 60 seconds each under an LED lamp, then finish with a 30-second top coat cure. Use a slightly opaque milky rose rather than full-coverage pink for a soft depth that photographs well. Try milky rose gel polish and a compact LED nail lamp if you plan to gel at home.
Mistake to Avoid: Skipping the wipe between gel layers, which traps tacky residue and dulls the final shine.
3. Soft Smile French, But Blurred
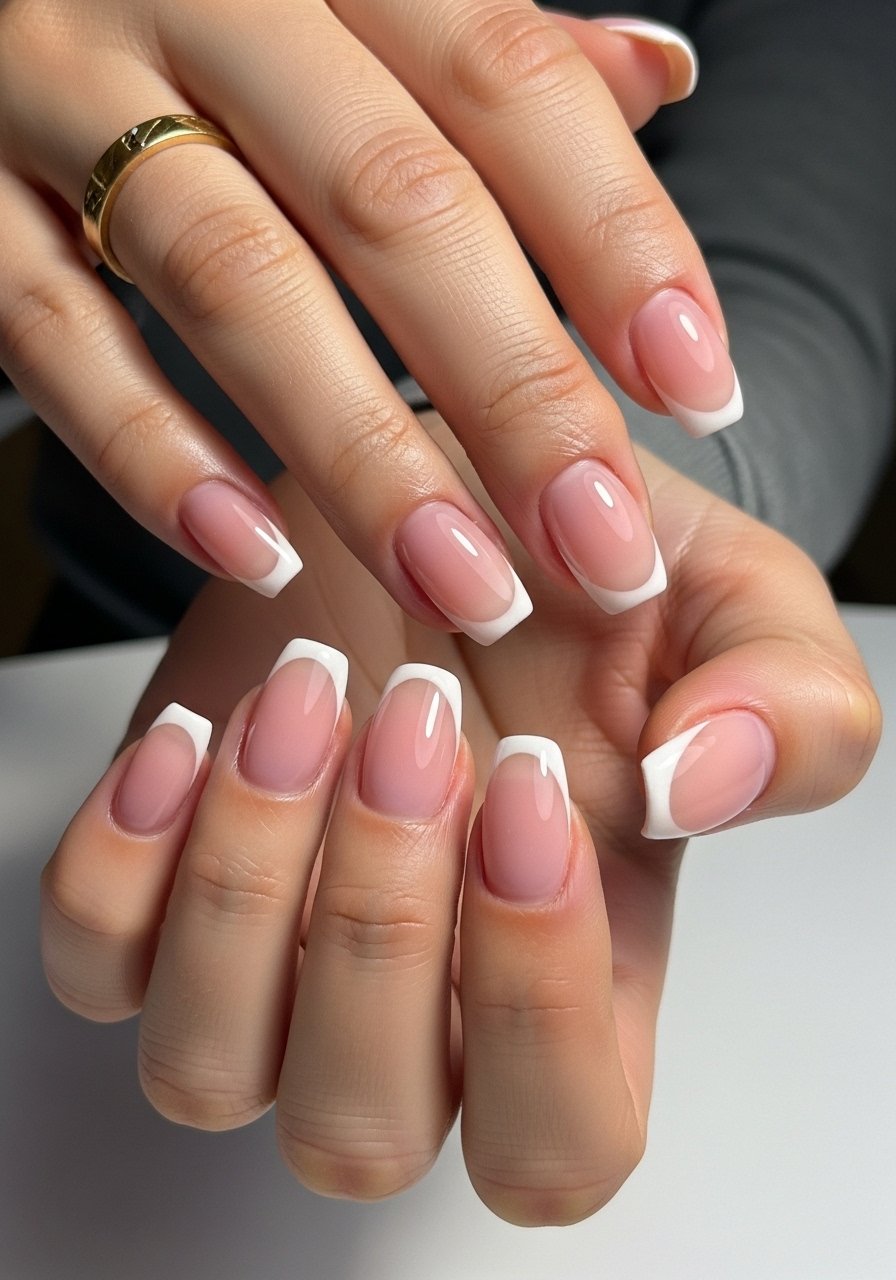
Style/Vibe: Modern French, soft edge
Best For: Medium nails, office-friendly looks
Skill: Intermediate
Instead of a sharp white edge, paint a narrow white tip then blur it upward with a dry brush or a tiny sponge for a soft smile line. Use a 1.5 to 2 millimeter smile width for balance on medium nails. Seal with a satin or glossy top coat depending on whether you want a lived-in or crisp photo. A thin detail brush and an opaque soft-pink polish will make this easy.
Mistake to Avoid: Painting thick white tips, which emphasize growth lines within days.
4. Subtle Ombré With a Makeup Sponge
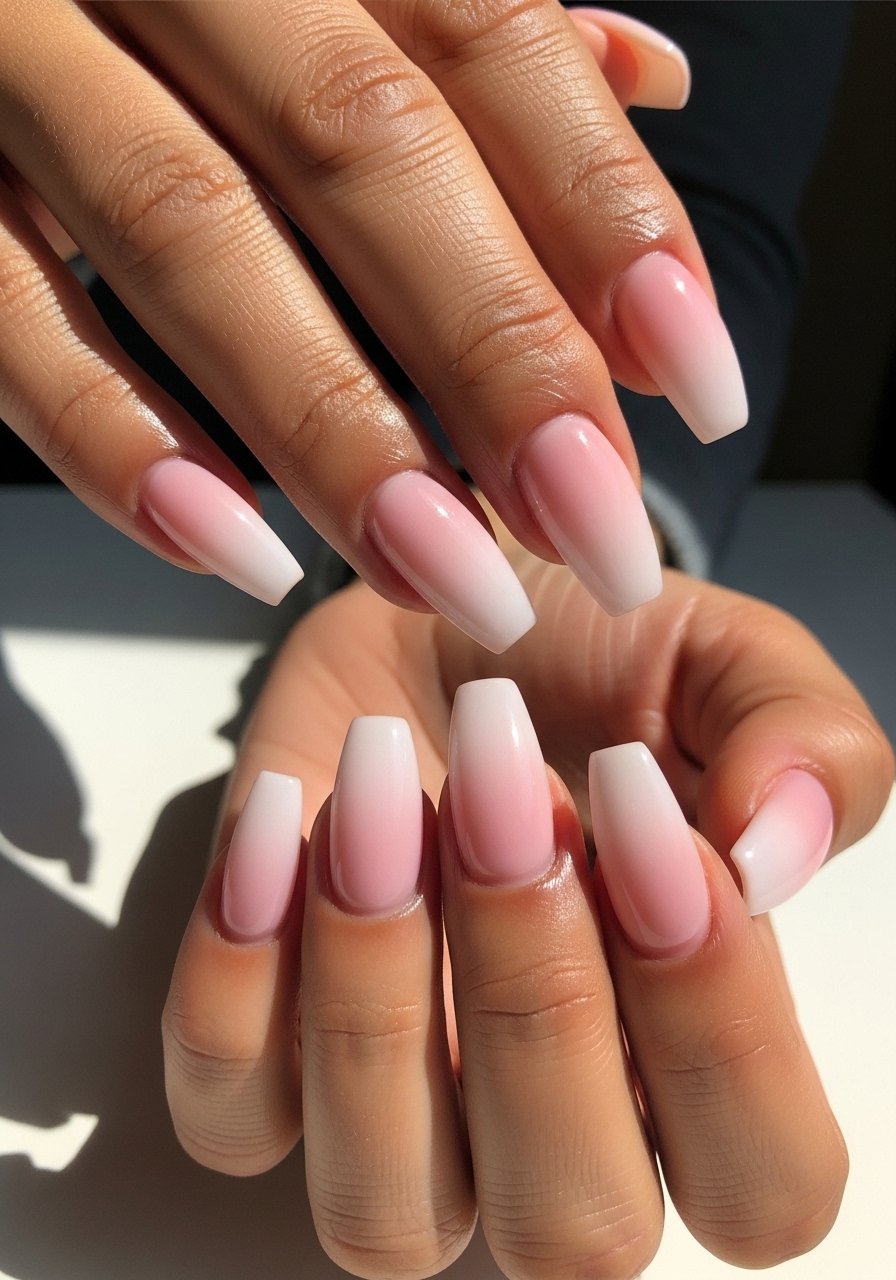
Style/Vibe: Faded ombré, soft gradient
Best For: Long nails, glam nights
Skill: Intermediate
Use a makeup sponge to press a 70/30 fade from the base color into a paler tip, dabbing lightly to build the gradient. Two thin coats of base, then two passes with the sponge usually does it. For gel, cure 60 seconds after each thin layer. The trick I learned is to let the sponge mix partially on the nail rather than pre-blending on a palette, which gives a softer edge in photos. Try nail sponges and a shimmer pearl polish.
Mistake to Avoid: Over-blending on the palette, which creates harsh lines once transferred.
5. Matte Petal Accent For Low Shine Interest
Style/Vibe: Matte base with glossy detail
Best For: Medium nails, photos that need contrast
Skill: Beginner
A matte top coat over a soft pink base downplays reflection while one glossy petal accent nail adds dimension. Apply two thin color coats, cure or dry, then matte everything except the accent where you leave a glossy finish. The result reads intentional in pictures without being flashy. Use a matte top coat and a gloss top coat.
Mistake to Avoid: Spraying a matte top coat from too close, which leaves streaks that show up in close-ups.
6. Rose Gold Foil Accent For One-Point Shine
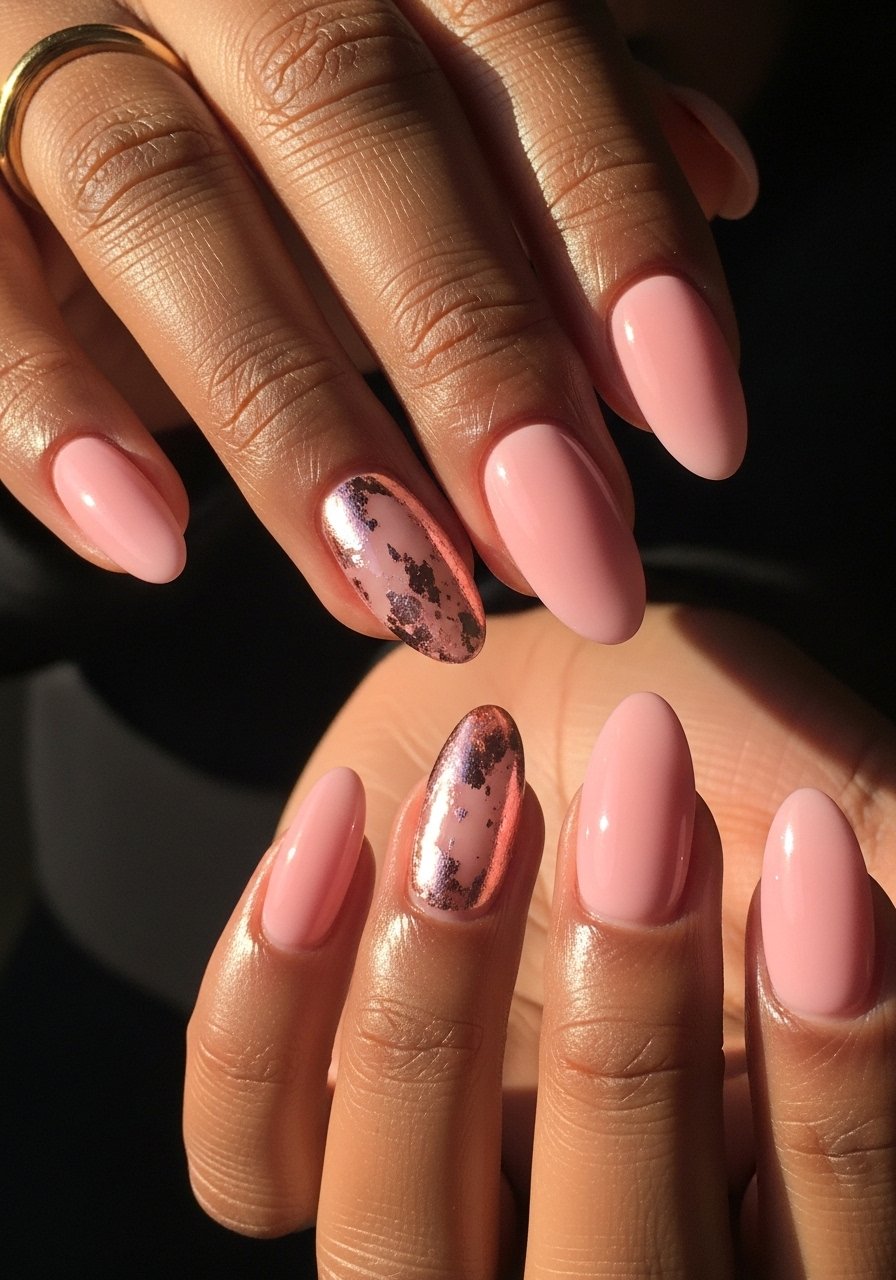
Style/Vibe: Metallic accent, delicate glint
Best For: Long nails, evening looks
Skill: Intermediate
Apply foil glue in a random crescent near the tip, press the foil, then seal with two thin top coats. One small foil crescent looks more intentional than full-coverage foil. For longevity, add an extra seal around the foil edges with a thin brush. I like keeping the foil size to under 4 millimeters for subtlety. Try nail foil sheets and foil adhesive.
Mistake to Avoid: Covering the whole nail with foil, which ages poorly as it chips.
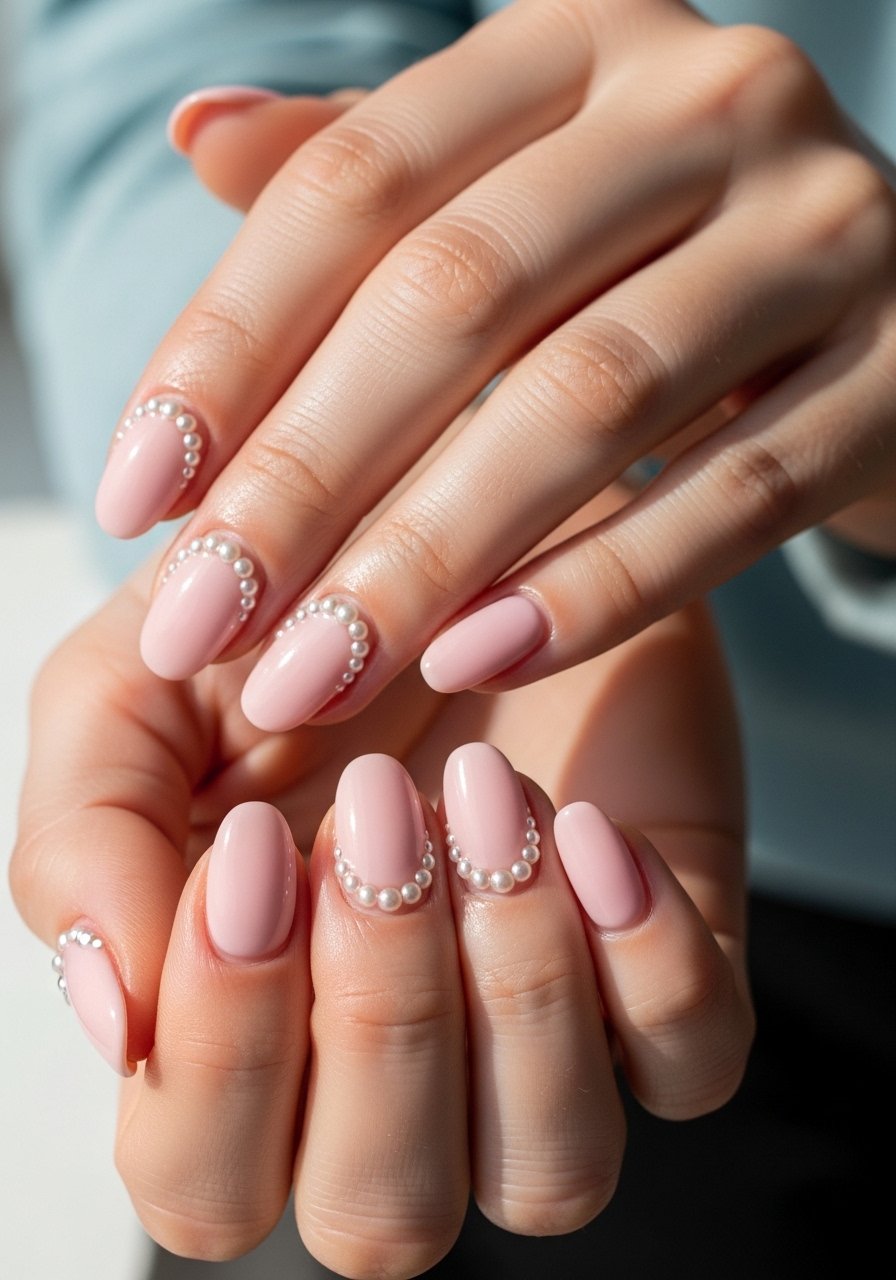
7. Tiny Gem Cluster at the Cuticle
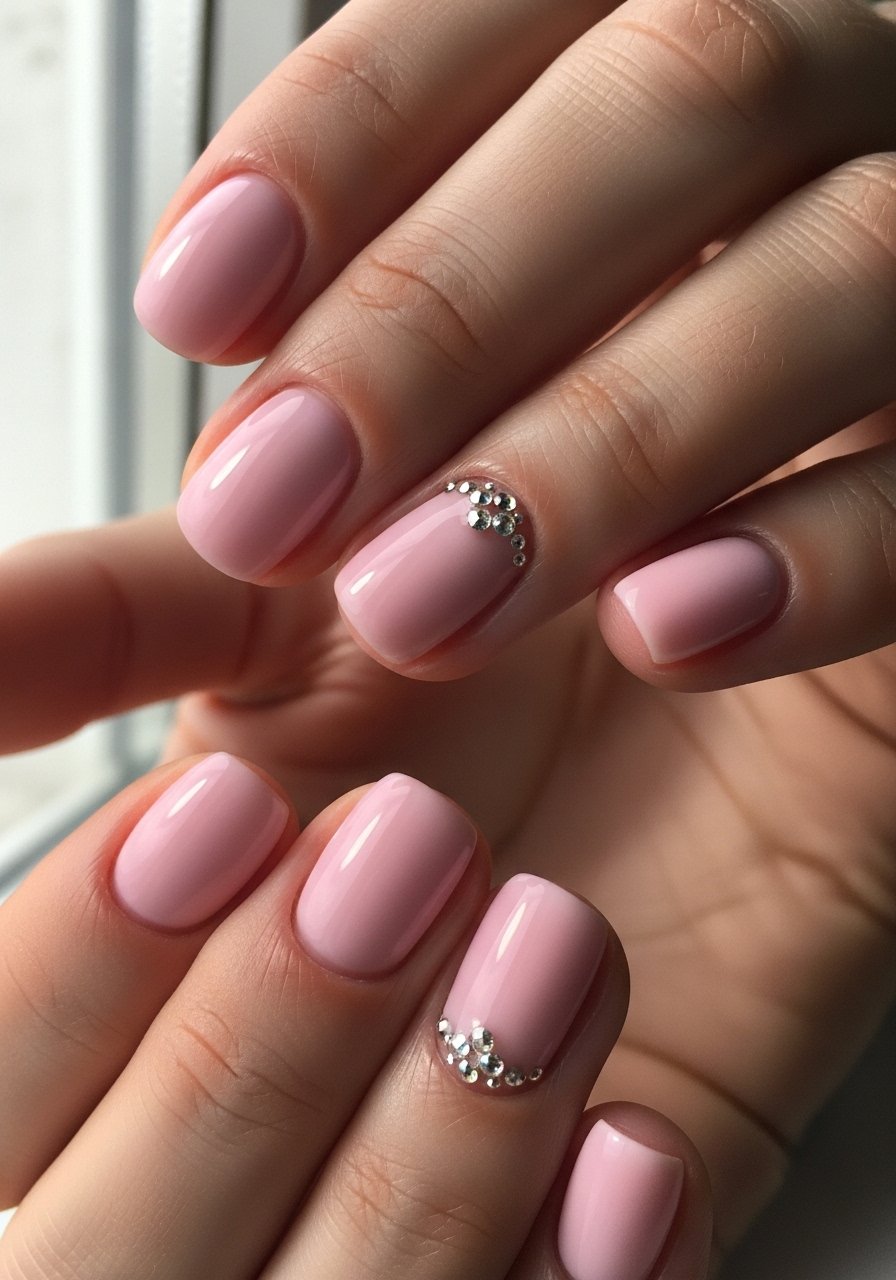
Style/Vibe: Minimal sparkle, refined placement
Best For: Short nails, weddings or photos
Skill: Beginner
Place a three-to-five stone cluster at the cuticle of the ring finger using a dab of clear gel or top coat as glue, then cure 30 seconds if using gel. Small clusters anchor the hand in photos without reading gaudy. Use tweezers and pick stones under 2 millimeters so they sit flush. A rhinestone kit and a pointed tweezer make this quick.
Mistake to Avoid: Using oversized gems that catch on fabric and tunnel the polish underneath.
If any of these ideas have you ready to shop, these are the products doing most of the work.
Soft Pink Mani Essentials
Polish & Finishes:
- Sheer pink nail polish (~$8-18), a thin-build formula that layers well.
- Milky rose gel polish (~$12-25), when you want a creamy gel finish.
- Quick-dry top coat (~$6-15), for fast at-home touchups.
- Matte top coat (~$7-14), to mute shine on select nails.
Tools & Extras:
- LED nail lamp (~$25-60) for gel curing.
- Fine nail art brush set (~$8-20) for smile lines and swirls.
- Nail tape strips (~$5-10), useful for crisp color blocking.
- Rhinestone kit (~$6-18) for tiny cuticle clusters.
- Nail file and buffer (~$5-12), choose a 180/240 grit combo.
8. Sculpted Almond With Subtle Sheen
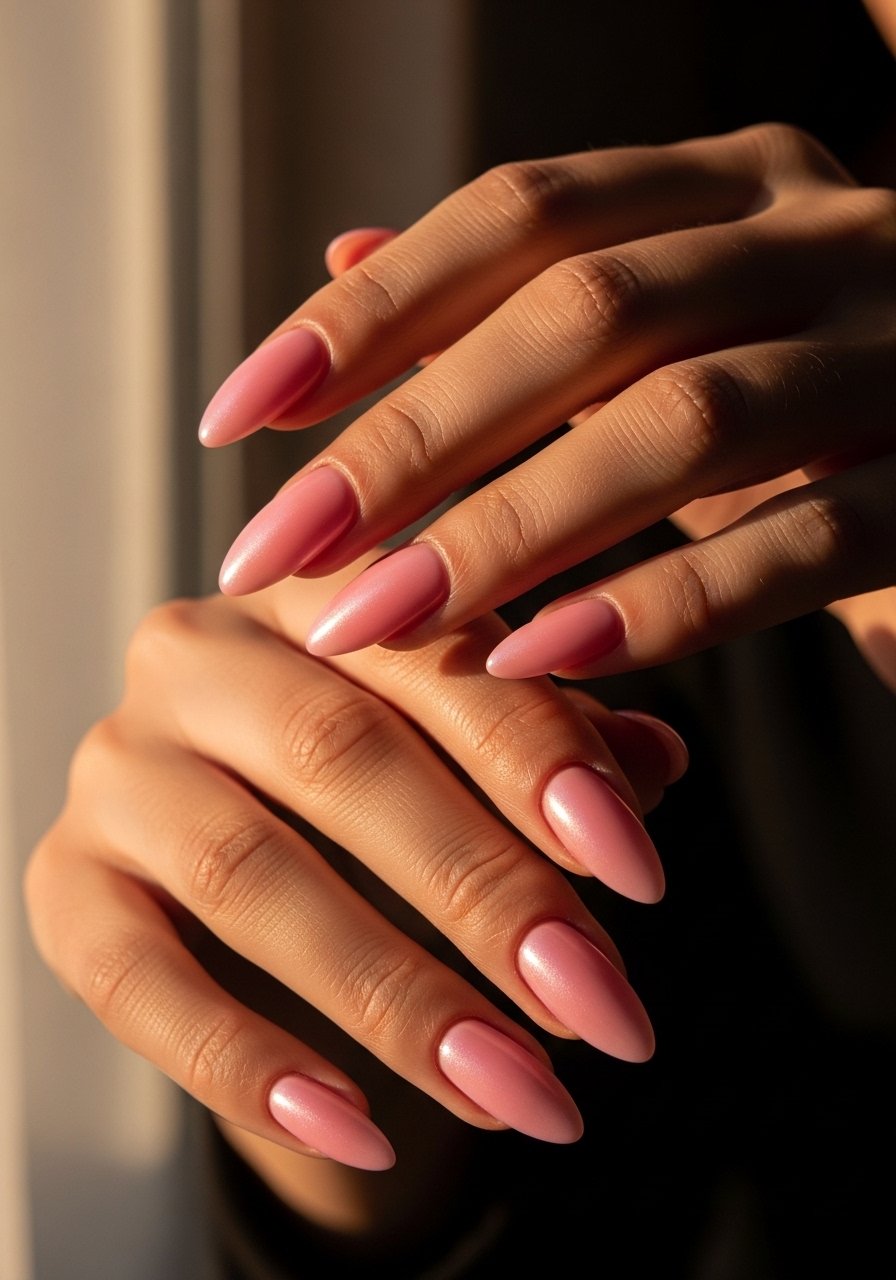
Style/Vibe: Sculpted almond, satin finish
Best For: Long nails, style statements
Skill: Advanced
File to a balanced almond that narrows evenly from the sides, keeping the free edge about 2.5 to 3 millimeters past the fingertip for photos. A satin top coat over a soft pink base gives enough reflection without looking glossy in bright light. If you are ordering extensions, ask the tech for subtle curvature rather than extreme taper for daily wear. A satin top coat and a quality nail file finish this.
Mistake to Avoid: Over-tapering the sidewalls, which makes the nail prone to breakage.
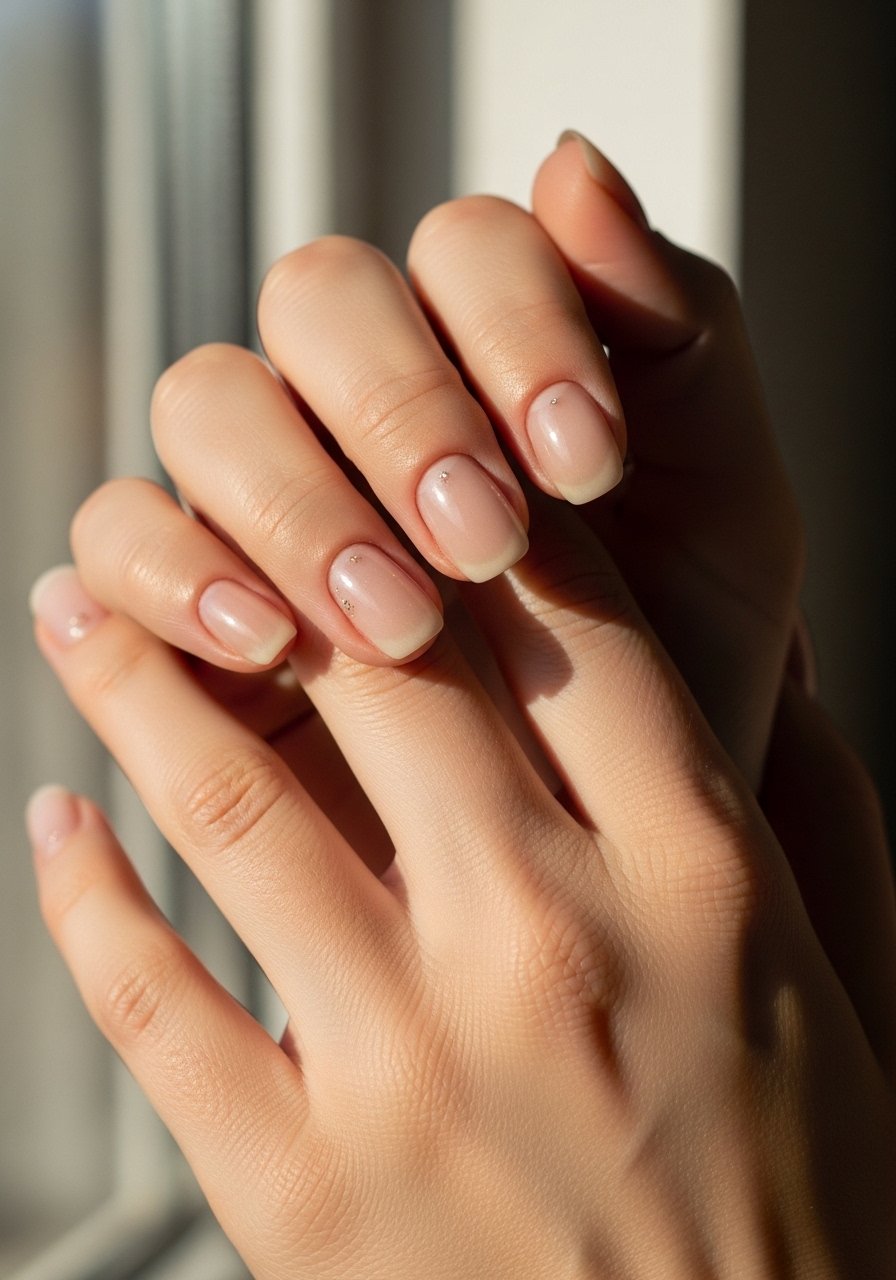
9. Work-Friendly Short Squoval, No Drama
Style/Vibe: Practical squoval, subtle color
Best For: Short nails, office and childcare days
Skill: Beginner
Short squoval nails look clean with a single even coat of a pigmented sheer pink followed by a ridge-filling base and a thin top coat. Keep the free edge under 2 millimeters to reduce chips. For fast touch-ups keep a small bottle of the polish in your bag and blot chips with a nail polish remover wipe before reapplying one thin coat and top coat. A ridge-filling base coat and a durable pink polish are the two essentials here.
Mistake to Avoid: Painting past the skin line, which accelerates chipping around the cuticle.
10. Two-Tone Color Block At The Tip
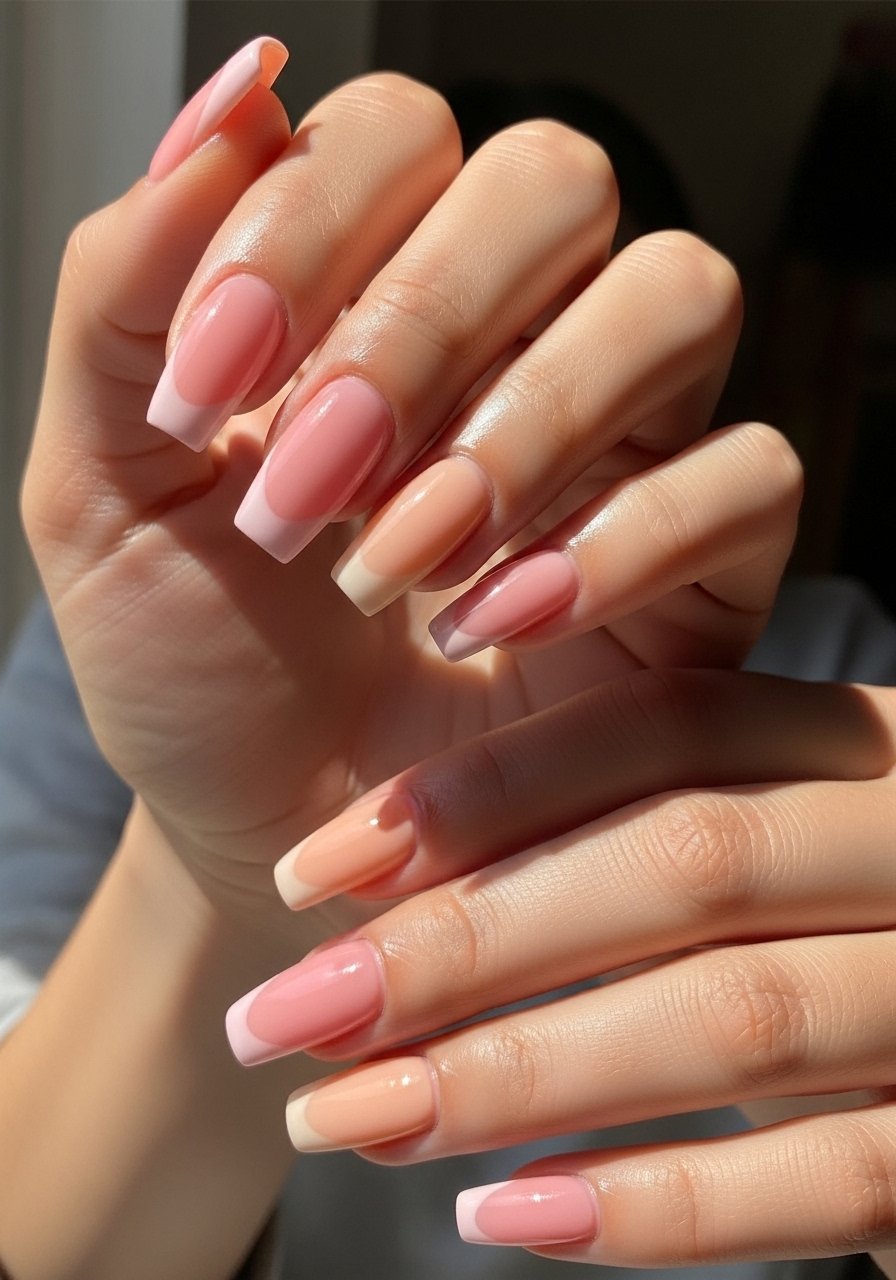
Style/Vibe: Modern color block, negative space
Best For: Medium nails, editorial shots
Skill: Intermediate
Use thin strips of nail tape to paint a clean diagonal or horizontal color block at the tip, leaving some negative space to keep it airy. One coat of each color plus a thin top coat keeps the block crisp. For a softer look, feather the inner line with a light touch of acetone on a brush. Try nail tape and a pair of complementary creamy pink polishes.
Mistake to Avoid: Pulling tape too soon, which lifts paint and creates uneven edges.
11. Reverse Moon With a Pearl Crescent
Style/Vibe: Reverse French, pearlescent moon
Best For: Medium nails, date nights
Skill: Intermediate
Paint a pearl crescent at the cuticle using a fine brush and a thin coat of pearl polish, then seal. The pearl should be about 1.5 to 2 millimeters wide so it reads in close-up without dominating the nail. This plays well with rings and hand photos. Use a pearl polish and a fine detail brush.
Mistake to Avoid: Making the moon too large, which shortens the look of the nail in photos.
12. Satin Sheen Overlay For Fewer Touch-Ups
Style/Vibe: Satin overlay, low-maintenance sheen
Best For: Medium nails, people who hate daily touch-ups
Skill: Beginner
After applying your color, finish with a satin top coat for a low-reflective finish that hides tiny surface chips better than high gloss. I wore a satin finish across a full season and the slight texture kept small scratches invisible in photos. Reapply the satin top coat every two weeks for the best lived-in look. Try satin top coat and a durable base coat.
Mistake to Avoid: Layering too many textured products, which can create uneven sheen.
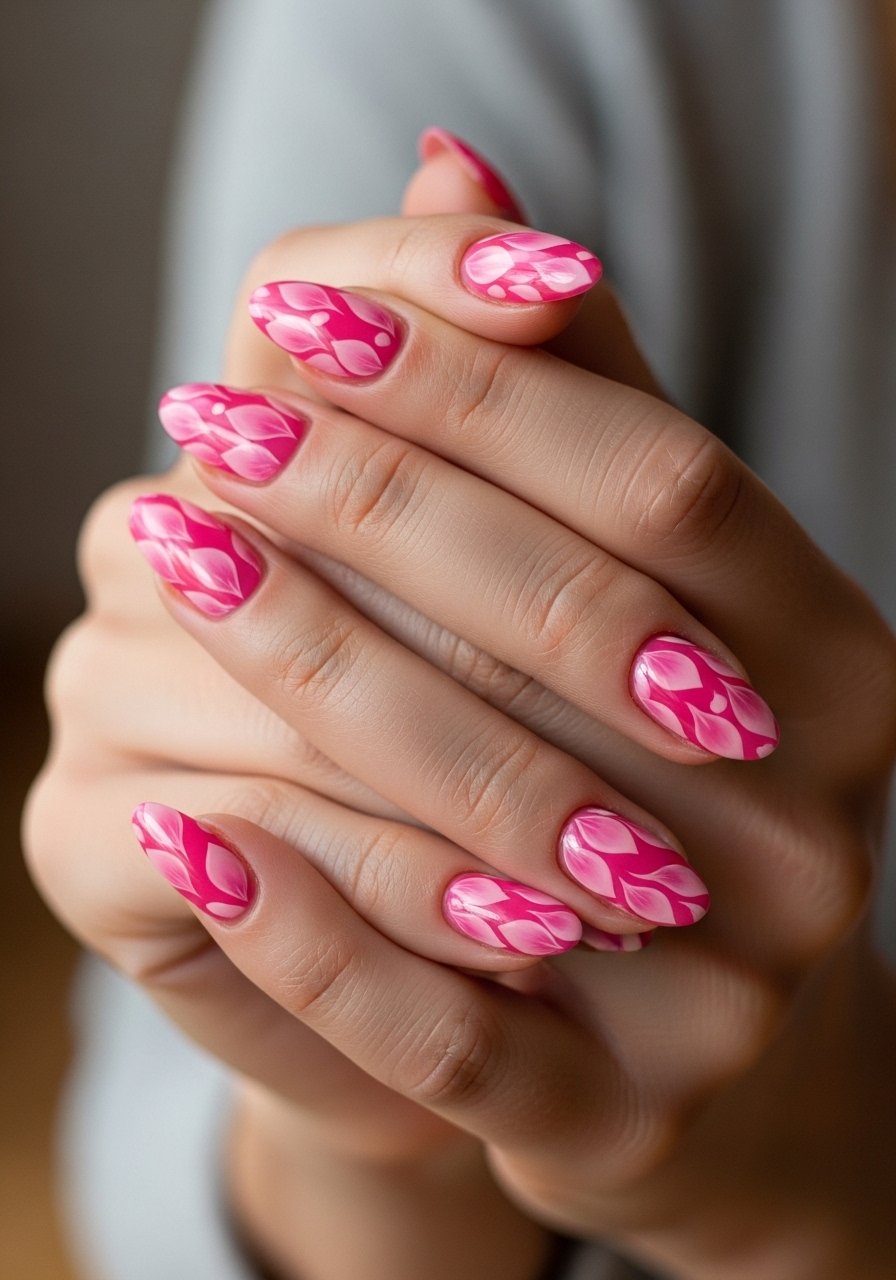
13. Soft Pink Marble Accent, Tiny and Controlled
Style/Vibe: Controlled marble, artful smudge
Best For: Long nails, creative shoots
Skill: Advanced
Mix one part white, three parts soft pink, then drag a thin dot of acetone through the mix on the nail to create veins. Keep the marble confined to one accent nail for balance. Use a toothpick or a fine striper and one thin top coat to seal the veins. A fine striper brush and acetone make this easier.
Mistake to Avoid: Swirling too long, which muddies the colors and loses the marble look.
14. Micro-Glitter Gradient For Dim Light
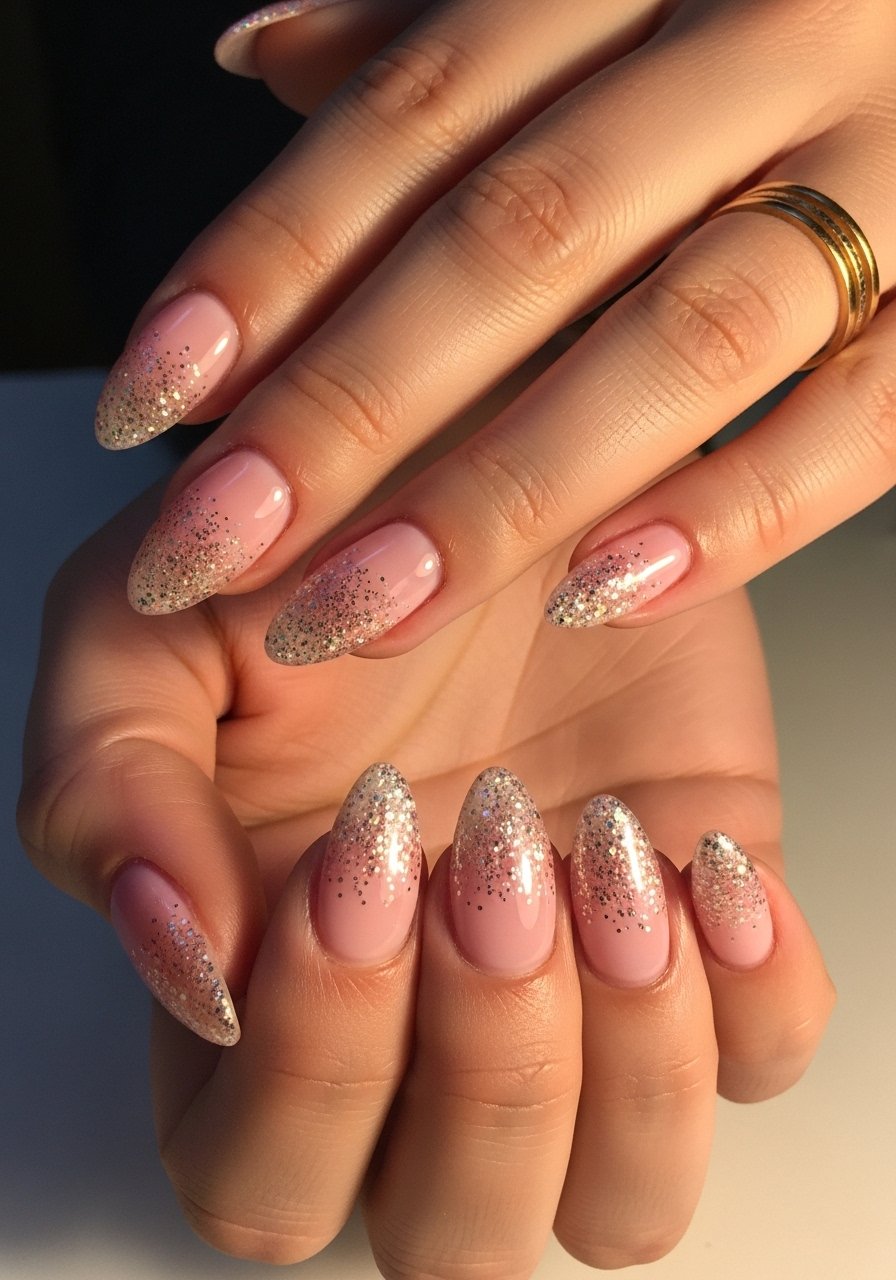
Style/Vibe: Micro-glitter gradient, evening-friendly
Best For: Medium nails, low-light events
Skill: Intermediate
Add micro-glitter in a dense-to-sparse gradient from the tip down, using a sponge to press it into place. In dim or candlelight this reads as a soft sparkle rather than disco. Seal with a thick gel top coat if you want the texture to be glass-smooth. Try micro-glitter polish and a gel top coat.
Mistake to Avoid: Applying glitter in thick globs, which creates rough texture that scuffs easily.
15. Chip-Hiding Sheer Shade For Busy Hands
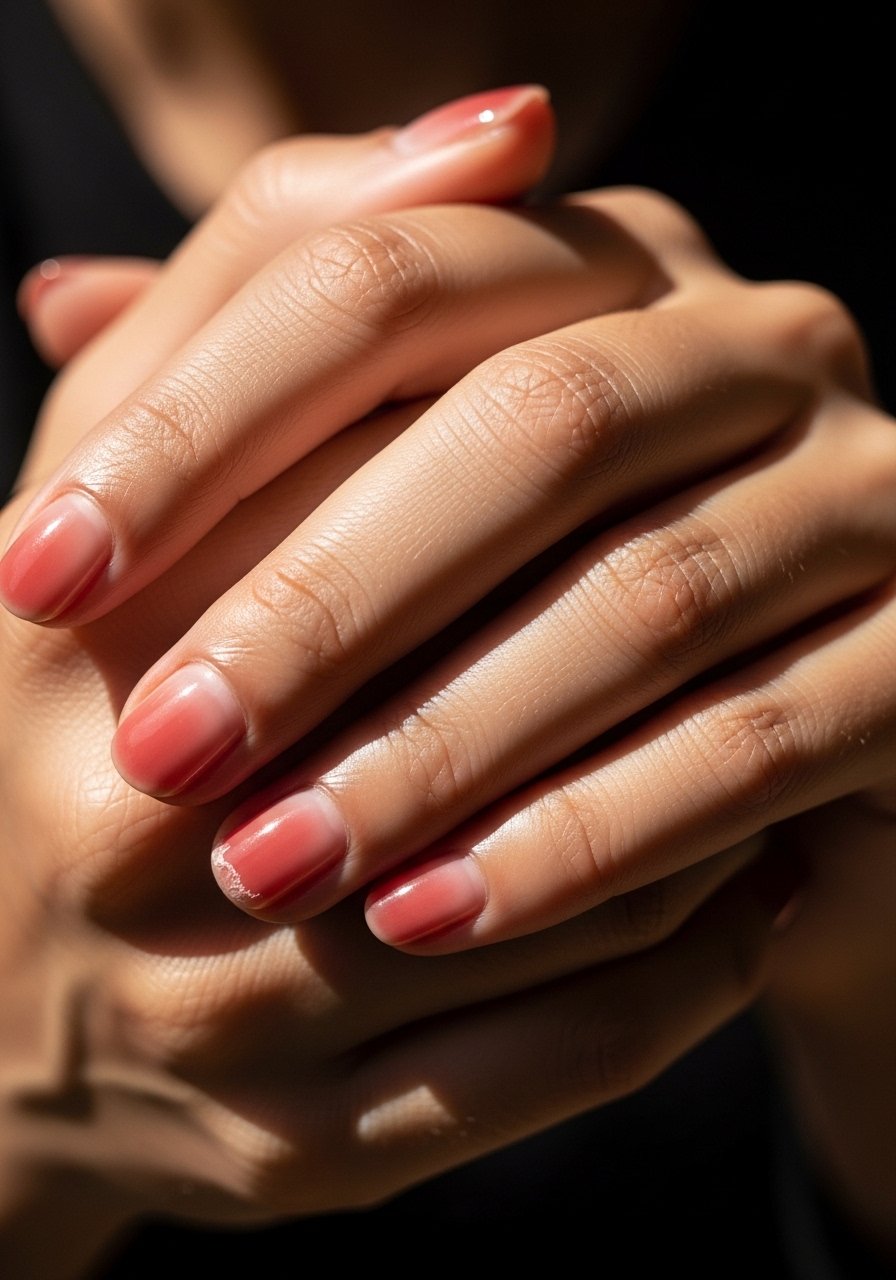
Style/Vibe: Sheer wash, practical camouflage
Best For: Short nails, hands that get work daily
Skill: Beginner
This approach uses a slightly pigmented sheer polish that visually softens the edge where chips form. Apply three thin coats, letting each flash-dry for 90 seconds, and finish with a durable top coat. The semi-sheer layers create a forgiving surface that makes small chips less visible until you can properly fix them. A sheer rosy polish and a nourishing cuticle oil help it last.
Mistake to Avoid: Relying on sheer polish alone without a resilient top coat, which still lets chips spread.
Soft Pink Mani Habits
Thin coats beat one thick coat every time. Three thin layers of a quick-dry top coat look smoother and last longer than a single heavy layer.
Grab cuticle oil and use it nightly. Hydrated cuticles keep polish from lifting at the edges and make hands look cared-for in photos.
When you are doing gradients or ombré, wait 30 to 60 seconds between sponge presses so the colors meld but do not become muddy. A set of nail sponges is worth the small cost.
Most people skip a ridge-filling base for short nails, which makes even simple colors look uneven. A thin coat of ridge-filling base coat smooths the canvas and reduces required polish layers.
