
I kept stretching stencils to cover my whole forearm, and every time the dagger's tip looked like it was melting toward my wrist. After three touchups and one horrified client, I learned to size, place, and adapt traditional designs so the lines sit clean on curved skin. That error pushed me to save the stencils I actually return to, not the ones that look good flat on paper.
These picks are for people who want bold, classic forearm pieces without endless redraws. They work for beginners bringing art into a consult, and for pros tightening their stencil workflow. Across five shops I have visited, the same few stencil habits made sessions shorter. Expect affordable supplies, quick prep, and stencils that respect muscles and veins rather than fight them.
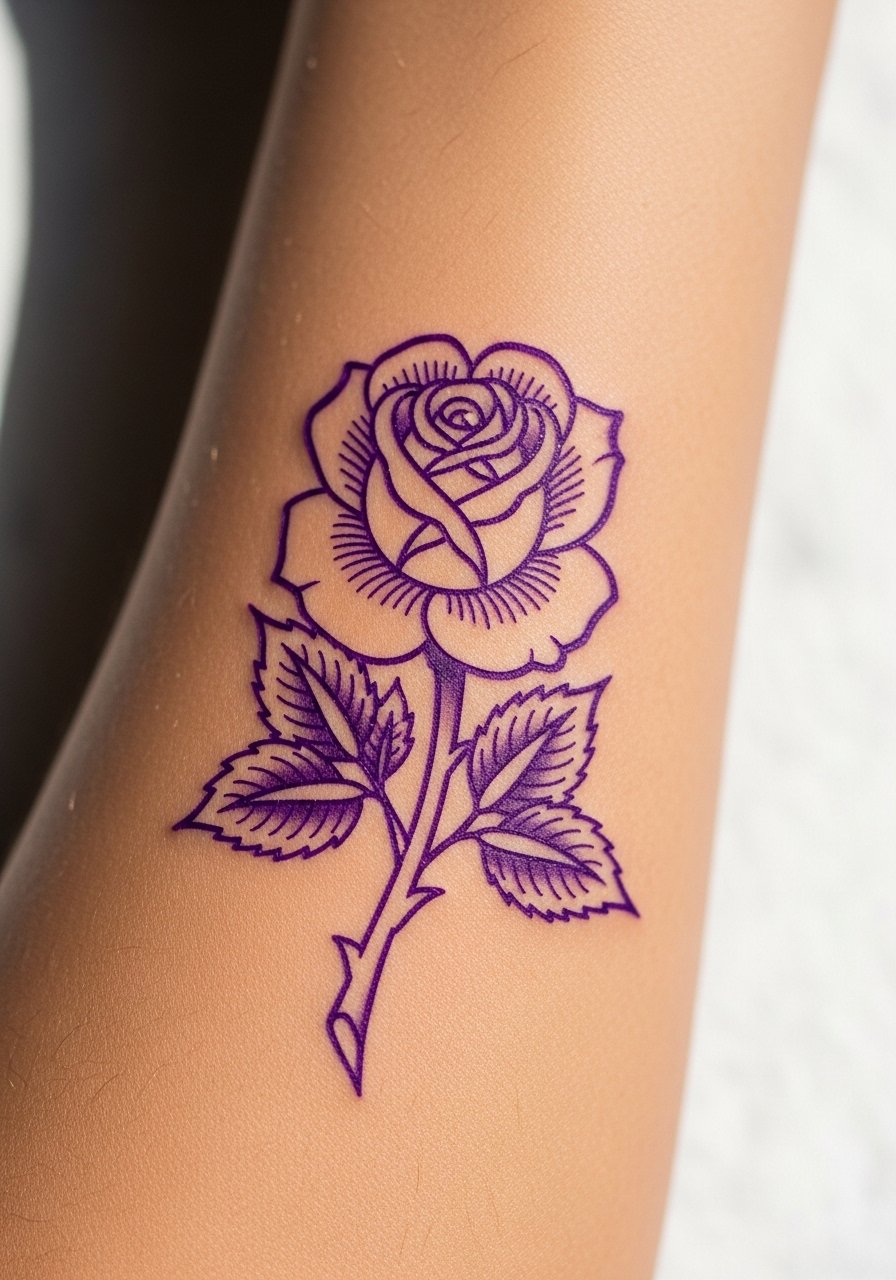
1. Scaled Classic Rose Stencil
Style/Technique: Traditional bold line rose
Pain Level: 3/10
Session Time: 1 to 1.5 hours
Best For: Inner forearm, work-visible designs
Start by resizing the rose to about 85 percent of the paper mockup so petals do not balloon when the arm bends. That 15 percent rule saved me from constant line distortion. I use a simple stencil paper pack for practice and a small bottle of stencil transfer gel for consistent prints. This look feels solid and graphic, it reads well from across a table, and it fits most forearm widths without extra shading work.
Mistake to Avoid: Stretching the paper to cover the muscle, which warps line thickness.
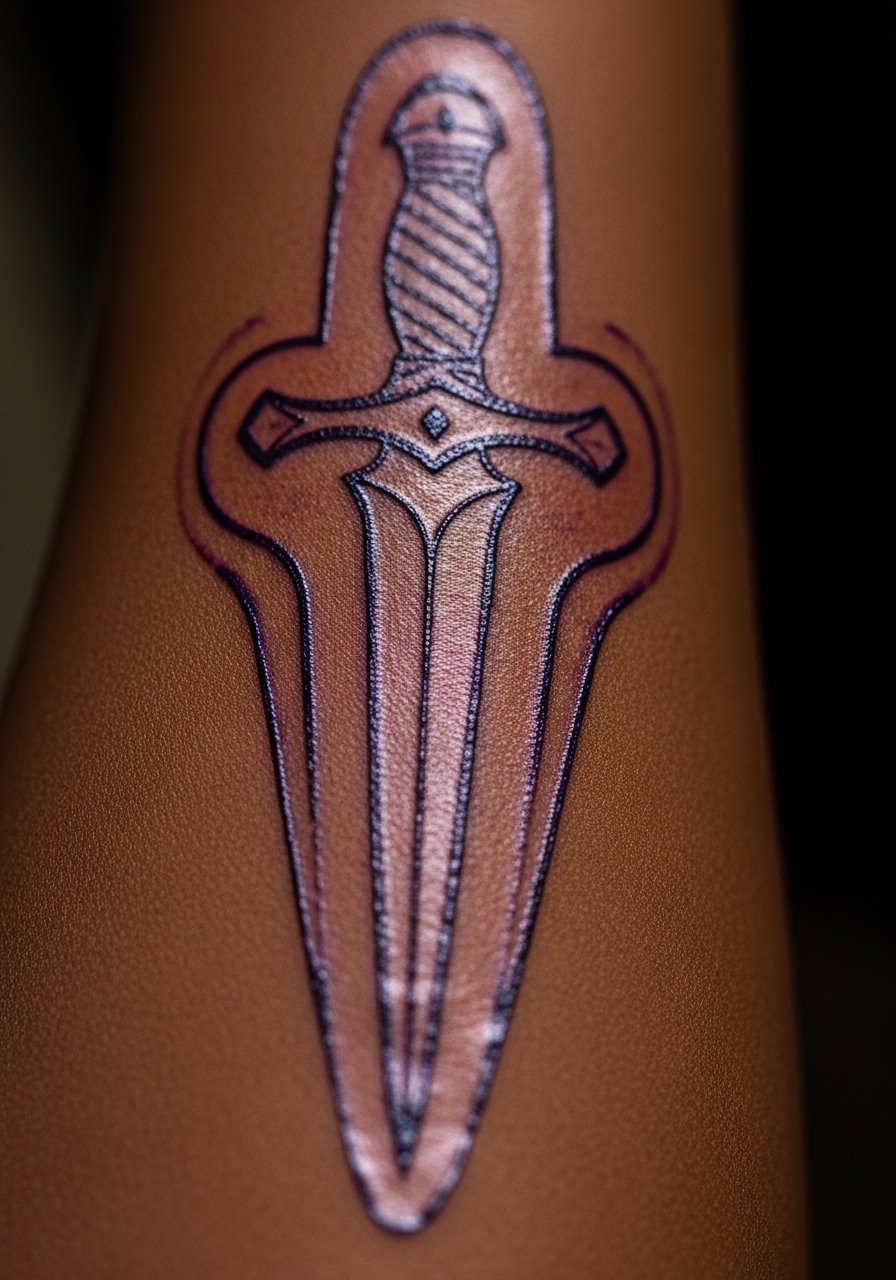
2. Dagger With Folded Placement
Style/Technique: Traditional dagger linear
Pain Level: 4/10
Session Time: 1 to 2 hours
Best For: Outer forearm, vertical placement
I learned to place the dagger with the tip pointing toward the wrist at a 10 degree inward angle so it follows the forearm taper. That small angle keeps the blade looking straight when the arm turns. For crisp edges use a thermal stencil printer for consistent line density and a disposable single-use transfer paper during trials. Budget wise this is quick in one session and the finished vibe is clean and bold.
Mistake to Avoid: Centering the blade without angling, which visually shortens the forearm.
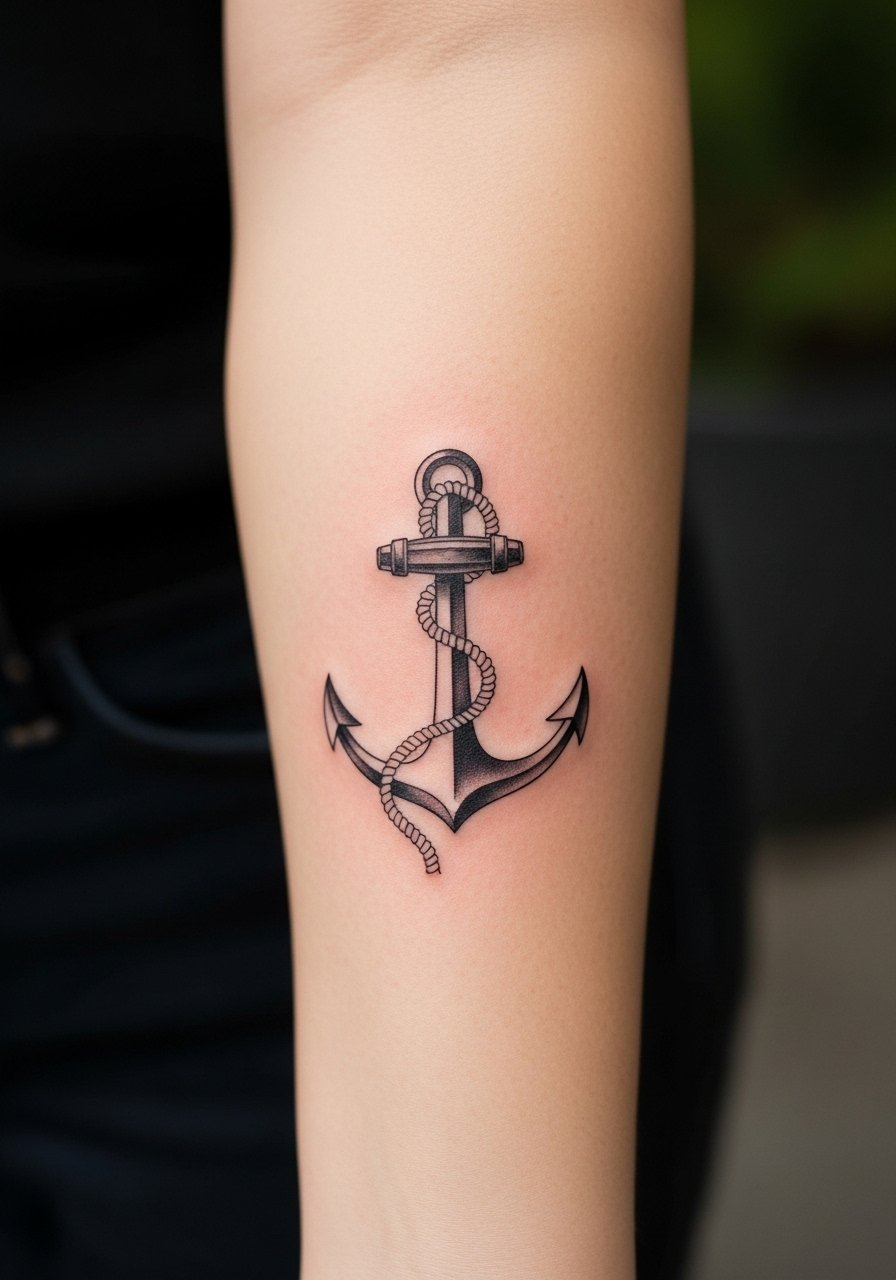
3. Compact Anchor For Narrow Forearms
Style/Technique: Compact traditional anchor
Pain Level: 3/10
Session Time: 0.75 to 1.25 hours
Best For: Narrow forearms, wrap-friendly placement
If the forearm is slim, reduce the stencil width to two-thirds of the mockup, then move the anchor to the outer third of the arm. That spacing prevents the flukes from touching veins. I like a small rotary stencil machine for tight fills and a dab of green soap solution during transfer to keep edges crisp. This keeps the piece readable from a distance and age-friendly.
Mistake to Avoid: Using a full-size stencil that wraps and compresses the design.
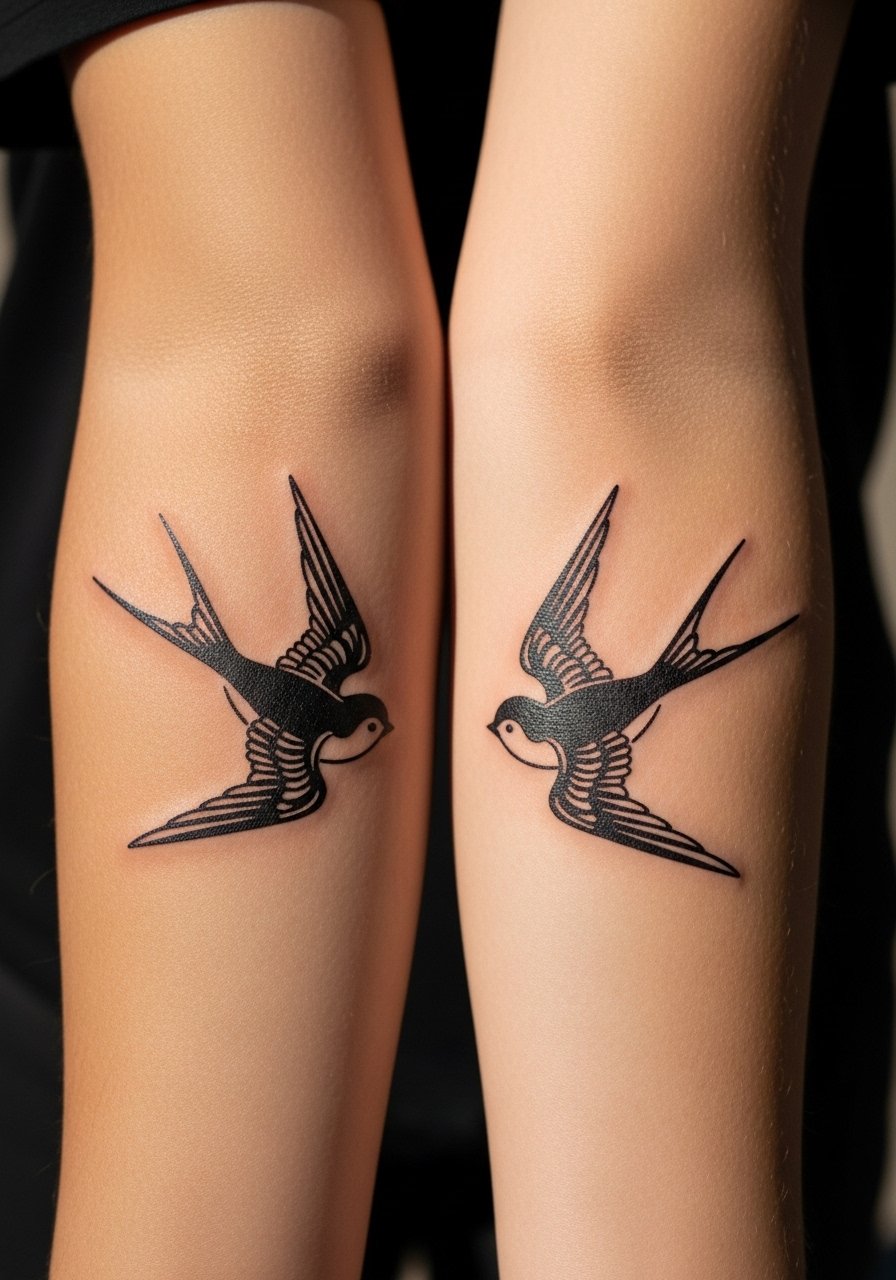
4. Mirrored Swallow Pair
Style/Technique: Mirrored traditional swallow pair
Pain Level: 2/10 each
Session Time: 1 to 2 hours total
Best For: Symmetry-focused placements, visible arms
Mirrored designs are trickier than they look because each arm curves the opposite way. I trace the right stencil, flip it on a lightbox, then trim 5 mm around the wing tips to prevent overlap with the elbow fold. A portable lightbox helps get the mirror exact. This gives a balanced, intentional vibe without forcing large composition changes across sessions.
Mistake to Avoid: Printing one copy and rotating it, which makes the birds fight the arm shape.
5. Banner Word With Natural Curve
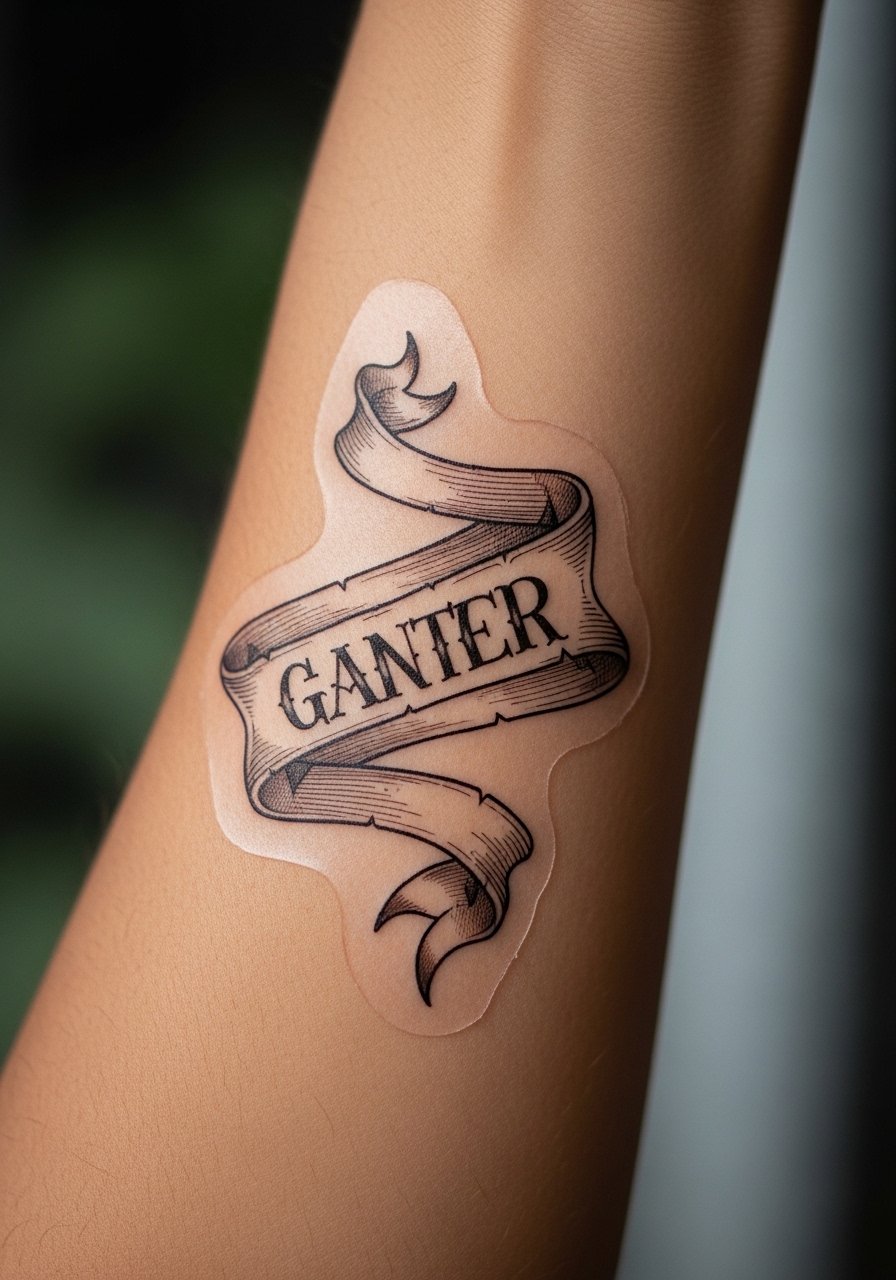
Style/Technique: Traditional banner script
Pain Level: 2/10
Session Time: 0.5 to 1 hour
Best For: Inner forearm text, readable at arm rest
Text needs to arc with the arm slightly or it will read crooked when relaxed. I draft the banner at a 6 percent arc across the stencil so the lettering sits flat when the client rests the arm. For tight lettering use a fine lining stencil pen during adjustments and a clear transfer gel for small corrections. This keeps the word legible years later.
Mistake to Avoid: Laying text perfectly straight on a cylindrical surface, which forces letters to curve oddly when the arm relaxes.
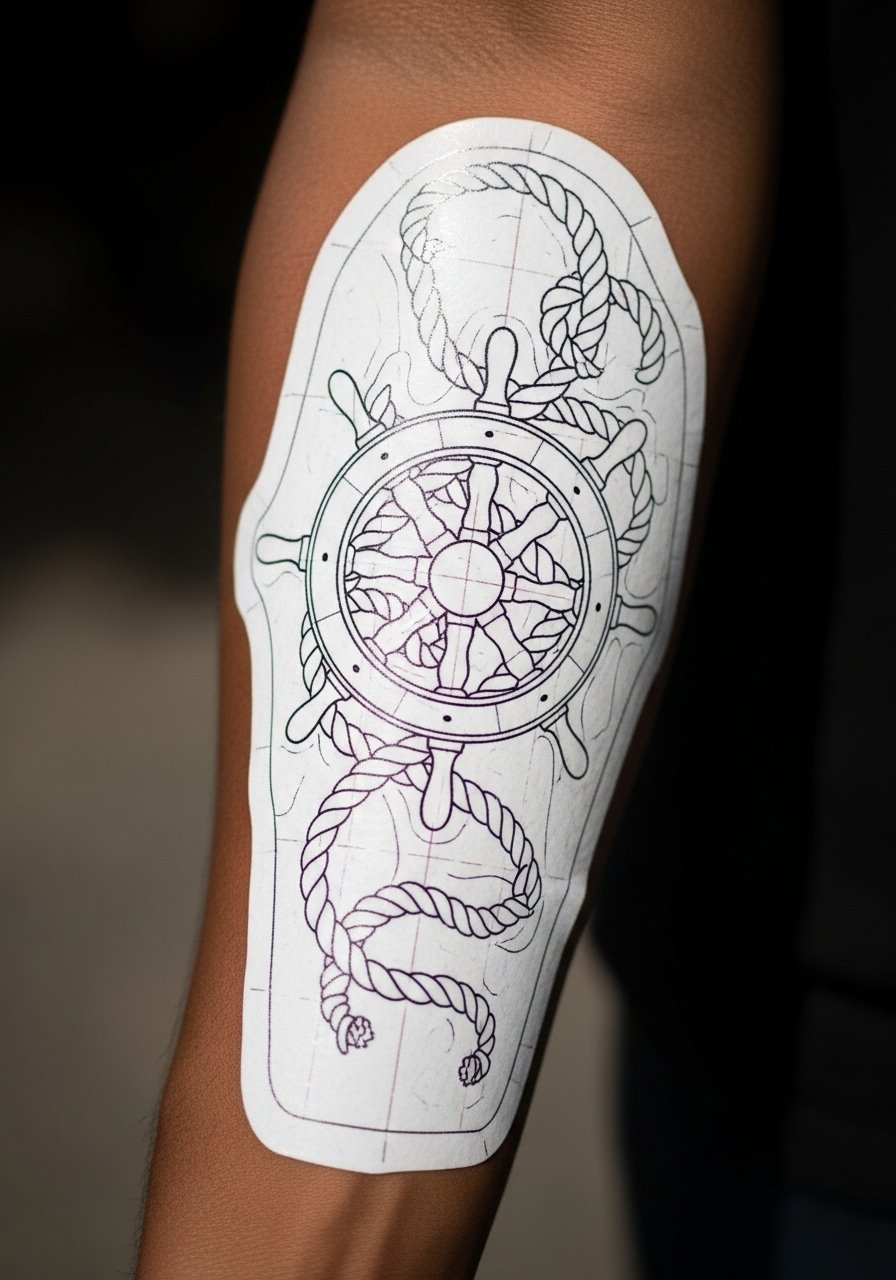
6. Small Nautical Wheel For Wrapping

Style/Technique: Compact nautical wheel
Pain Level: 3/10
Session Time: 0.75 to 1.25 hours
Best For: Center forearm pieces that wrap slightly
For pieces that wrap, I mark the 1/3 and 2/3 forearm points, then center the wheel between them so spokes avoid joint folds. A trick I use is wetting the transfer paper lightly and letting it sit for 10 seconds before application to avoid slipping. I rely on a precision stencil applicator and alcohol wipes for prep. The result is a compact nautical motif that reads bold without extra shading.
Mistake to Avoid: Placing wrap stencils too close to the elbow crease, which blurs spokes when bent.
7. Healed Anchor For Coverable Work

Style/Technique: Healed coverable anchor
Pain Level: 3/10
Session Time: 1 to 1.5 hours
Best For: Work-visible but coverable pieces
When a client wants something coverable for work, I keep lines compact and shading measured so a long sleeve hides it without awkward lumps. Photograph the stencil on the arm before inking, then show the client a phone mockup of the healed look so they know how dark it will age. I use a low-bleed black ink and recommend a blanket aftercare ointment. This approach respects both presence and concealability.
Mistake to Avoid: Overpacking shade so the healed piece reads too heavy under sleeves.
If any of these stencil styles have you ready to shop, here are the supplies I reach for.
Forearm Stencil Supply List
Application Tools:
- stencil transfer gel (~$6-12). Keeps lines crisp on hairy or textured skin.
- single-use stencil paper (~$8-15). Cheap practice runs before committing to a final print.
Printing & Tracing:
- thermal stencil printer (~$60-120). For consistent line density across runs.
- portable lightbox (~$20-40). Helps mirror and resize designs accurately.
Prep & Aftercare:
- alcohol wipes (~$6-10). Quick skin prep.
- tattoo-aftercare-ointment (~$8-15). Simple healing without heavy creams.
- stencil-applicator-tool (~$10-25). For precise placement on curves.
8. Bold Nautical Sleeve Starter
Style/Technique: Sleeve-start traditional helm
Pain Level: 5/10
Session Time: 2 to 3 hours
Best For: Forearm sleeve foundations
When starting a sleeve I place a strong anchor piece at the 40 percent mark of forearm length so future fillers nestle above and below. I map the negative space with light pencil after the stencil goes on. For endurance use a stencil paper pack and mark the muscle boundaries with a washable marker. Planning by thirds makes future sessions faster and keeps line weight consistent across the arm.
Mistake to Avoid: Dropping the main piece too close to the wrist, which forces awkward fillers later.
9. Tiny Traditional Symbols Pack

Style/Technique: Tiny traditional symbols
Pain Level: 1 to 3/10 each
Session Time: 0.25 to 1 hour per symbol
Best For: Scattered forearm accents, first-timers
Clusters of tiny symbols work if you plan spacing as if placing beads on a string. I leave 12 to 15 mm between motifs so each symbol breathes as the skin moves. Tiny pieces are forgiving on price and time and are good for clients easing into visible ink. For crisp micro lines use a fine lining needle set and a small tube of sterile stencil gel for quick transfers.
Mistake to Avoid: Packing tiny designs too close, which turns them into one blob once healed.
Stencil Care Shortcuts
Clean skin first. Use alcohol wipes to remove oils before any transfer. A dry, clean surface means fewer smudges and less retracing.
Thin transfer layers win. Apply a light coat of stencil transfer gel rather than a heavy layer. One thin pass reduces smearing and preserves fine line detail.
Grab a portable lightbox if you trace or mirror designs often. It makes resizing by precise percentages far easier and speeds up setup.
When positioning, photograph the stencil on the arm before inking. That photo helps clients decide about minor shifts and saves redo time later.
If you expect to tattoo across different skin tones, test a small transfer first with your chosen ink and line weight. A quick proof run shows how bold lines age on that particular skin and cuts surprises during the session.
